Search the Community
Showing results for tags 'test kit'.
-
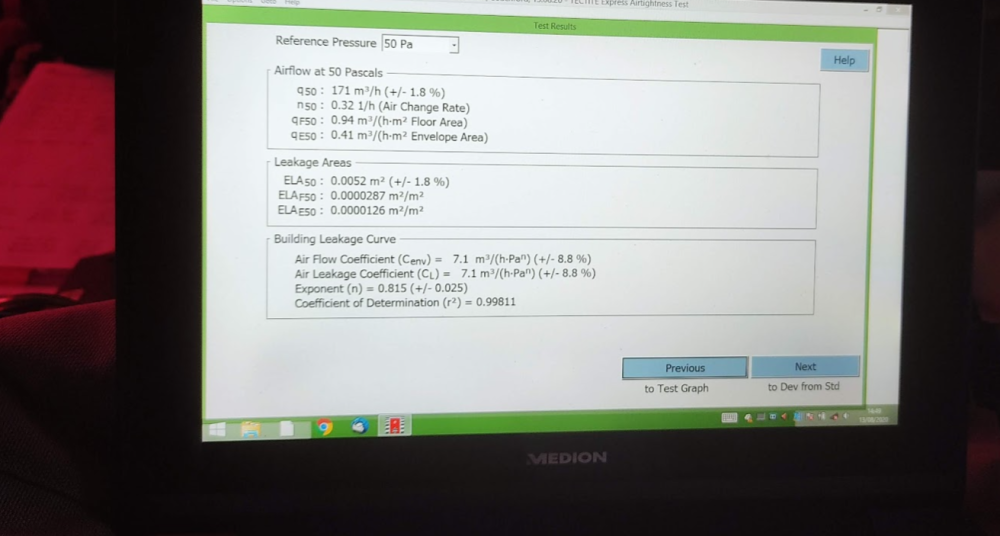
@ mods not sure if this is the most appropriate section. We don't have a dedicated Airtightness one. Time: 1hr. Cost €60 Materials: 1 X Sheet of OSB or PlY 1 x Used car radiator fan including housing ( I used a lexus IS200) 1 X Roll of Airtightness tape. 1 X length of automotive wire. 2 x Crocodile clips. 2 x wire connectors. Some short wood screws Tools. measuring tape. Jigsaw/circular saw. Pocket Knife. Large 12v powersource. ( I just used my cars battery in situ) Screwdriver Direction. 1. Measure an opening window sash/door of your house. 2. Carefully cut the OSB so that it fits snuggly into the opening and presses evenly against the seals of the window. 3. lay the radiator fan including housing on the sheet of OSB and trace the outline. 4. Carefully cut a hole out of the OSB just slightly smaller than the radiator housing. 5. Screw the housing into the hole such that the edges of the housing are all supported by the OSB. 6. Using Airtight tape seal the edges of the fan. 7. Connect the wires to the crocodile clips leaving enough length to reach your power source. 8. Insert the rig into the window and secure in place. It should fit reasonable snuggly, if it is an outward opening sash the vacuum generated will pull it tight to the seals. Consider using tape or a wedge to hold it in place. DON'T use airtightness tape. It'll stick to the window forever. 9. Connect crocodile clips to the power source. You can simply reverse polarity of the clips to swap between depressurisation and pressurisation. Testing procedure. 1. Close all doors and windows in the house. 2. Temporarily seal up/close all vents. 3. Ensure all combustion appliances are off and isolated such that there is no risk of fumes being drawn into the house. 4. Set the fan to depressurise the house. 5. Methodically go room by room using the back of your hand to detect and seal any leaks. Most are found at junctions between floors, walls and ceilings, sockets, windows and doors and wall chases. 6. Use a lighting candle to visually see any pinhole leaks (the flame will flicker). It's much more successful than smoke. Jamming the candle in a length of rigid electrical saves doing too much climbing and descending of steps. Be careful not to burn the house down!!!!! Outside View Using a candle to check leaks. Official test Final Result
-
Anyone got any recommendations of which to avoid, please? My reading suggests cheaper ones, like this The 'sensible' ones are about £100. The way I'm going at the minute I'm going to open a tool hire shop.....


