Novice Becky
-
Posts
60 -
Joined
-
Last visited
Novice Becky's Achievements
Member (3/5)
7
Reputation
-
Good question! I think the app only tells you the conditions in the machine. I've made up this 'method' but here's what I did: RH - I bought a basic humidistat and most of the time I leave it in a shower/utility where we dry washing. Heat recovery - I bought an 'Air Con Performance Test Thermometer' - very basic, it has a probe and an analogue dial on the end and I've wedged it in an inlet valve. I can see the supply air temperature. I can then work out the heat recovery % = supply temp (inlet valve) - intake temp (outside temp) -------------------------------------------------------- Extract temp (I use room temp) - intake temp Or if the supply air is 5C (when it's really cold outside) I know it's pretty bad heat recovery! I've just finished re-insulating all the ducting so will monitor the situation.
-
Hi Justin, my installer ended up putting drains on both LH and RH too. This is not correct but I've left it. The insulation you have on the condensate is much better than my foam lagging. Do you know what it's called (so I can get some)? Is your machine in a loft/cold space? If so I'd say check your insulation. Here's my story ... The Vent Axia engineer adjusted the tilt of my machine like you said. It did improve things (got rid of the slooshing as far as I'm aware), but RH was still too high so machine was in boost most of the time and heat recovery was very poor (I have a thermometer in one of the ceiling vents). I think I have resolved the problem (well I haven't finished the job yet) - the problem is that the whole ducting system was/is insufficiently insulated. I asked for 50mm insulation, the installer said nobody uses 50mm - 25mm (building regs min) will be fine. When it was done and I had problems, the Vent Axia engineer looked at my installation and said it all looked really well-insulated and was a good job - which got my installer off the hook. Anyway, I bought a whole load of new ducting insulation, 50mm - https://insulationandlagging.co.uk/Pipe-Insulation-Lagging/Duct-Insulation/25mm-Thick-Thermo-tek-RL-ECO-ALu-18m-Long-1.2m-Wide-Duct-Insulation-Roll-21.6m_2. The 25mm insulation from BPC is like a bit of crepe paper in comparison. I can't see it's possibly 25mm. Plus the installers compressed it by wrapping the rubbish BPC aluminium tape round it. I am using Rhino cold weather tape (https://www.vikingtapes.co.uk/products/rhino-cold-weather-aluminium-foil-tape?variant=33273303728191). I recommend opening the insulation in advance to give it time to expand before installing it. So far I have re-insulated over half of the ducting, including the silencers, and I can see already it has made a massive difference. The RH is down indoors (about 50%) and the machine has a happy face on the app and is not continually on boost. Also the heat recovery has improved (still below par). There was a long section of the extract that had been installed following the apex of the roof, ie. high up in the coldest point of the loft. I think the moisture in the wet air had cooled down and was condensing before it got back to the machine. There is a nice big downward slope for it to run down into the machine and overwhelm the machine with water. I feel confident that this 50mm insulation is going to resolve the problem and improve heat recovery. I will also insulate the machine by building a sort of cupboard out of PIR sheets. Also, I had my cavity wall insulation sucked out and replaced with bonded EPS - I got them to fill the gable wall in the loft where the machine is.
- 30 replies
-
- 2
-

-
- leaking mvhr
- poor heat recovery
- (and 1 more)
-
I'd def recommend finding a couple of friends and DIY - or a builder who can remove and dispose of old windows and secure new windows in place. Doing the foam and tape is easy (illbruck even have some videos)
-
Measuring for composite front door and threshold design
Novice Becky replied to Novice Becky's topic in Doors & Door Frames
@Roger440 Did you get your door measured and fitted? I worked out my threshold detail in the end and carefully measured and calculated door size perfectly, allowing for door mat etc. But the installers didn't even check with me what height the threshold should be and cut the Compacfoam (insulated threshold used in place of concrete) without asking. So the door sits too low for a doormat and there's a big gap at the top of the door frame. Grrrr. -
@Sparrowhawk and @Nickfromwales, guess what? You were right!! Install was really shoddy. See my post today in 'Measuring up for replacement windows'. The new TP654 system is not available in the UK in the width I needed so I used Illbruck i3 (Compriband - FM330 - ME508) Sorry, I don't know how to put a link to that post here.
-
Hi @haythorn_1, I got 2 timber windows (3G) and one insulated timber front door supply only from Russell Timber Tech. I measured them myself and they were all a perfect size. I was pleased with RTT. The recommended installer was pretty shoddy. They were supposed to use the Illbruck i3 system supplied by me (Compriband - FM330 foam - ME508 airtight tape). It looked such a mess that I removed the ME508 in one corner to re-do and discovered that they hadn't used any FM330 foam in the gap. I ended up cleaning the glue off the frames, doing the foam and applying new ME508 tape myself. On top of this, when they applied the Compriband they stretched it around the corners in one continuous run rather than cutting it at each corner. Even I know that's not the way to do it! Consequently I have gaps in the corners - some worse than others. The worst ones you could see daylight through the corners (if they'd bothered to do the foam I wouldn't have spotted this). Also, they didn't check with me about the height of the threshold before cutting the Compacfoam. So the door is too low, not enough space for a door mat and there's a bigger gap at the top of the door. And I'm still waiting for the FENSA certificate. Grrrr. I paid £1000 inc for two people to come one day (not more than 6 hours) and fit 2 windows (not huge) and one front door. They were very good at removing the old windows but I would NOT recommend them. The other quote I got was £1750 to install. In hindsight I wish I'd not listened to the people who told me to leave it to the experts. If I could do it again I'd still measure myself and get timber frame windows from RTT (they seem just as good as my expensive 16 year old Rationel windows). I would then either pay for someone to come and remove the old windows/door and lift the new ones into place and level and fix to walls (with them/me applying Compriband before lifting into place, me deciding where in the cavity to locate them - ie. all building regs my responsibility). Or I would get a couple of friends to come and help me remove the old windows/door (I understand not easy if you've not done it before) and secure/lift into place the new joinery, hacking off plaster on the reveals etc. Lift new window to check fit and remove again. I would apply the Compriband correctly (and quickly) before finally lifting into place. I would also stick the ME508 to the side of the frame before lifting into place. I would then foam (FM330) and do the ME508 myself. I would obviously have to sort out Building Regs myself too which would cost me £304 in Surrey (for up to 20 windows). For me it's not necessarily about saving money. It's about having the job done properly with minimal hassle. No point in having 3G windows if they're not installed airtight.
-
Measuring for composite front door and threshold design
Novice Becky replied to Novice Becky's topic in Doors & Door Frames
Hi @alexnh, apologies for the slow reply. Yes, I got a timber insulated front door from RTT in June. I was pleased with RTT. The ordering was as you'd expect with made to measure. I measured them myself and they were all a perfect size. And even with £500 delivery for just 2 windows and a door the total price was still good. They sent me the wrong handle but promptly sent me the correct handle when I spoke to them. They had a very limited choice of door knockers so I didn't get one from them. I managed to find one I could stick on with 3M tape to avoid drilling holes through an insulated door. Also you couldn't have a woodstain finish on the insulated doors even though they're timber. The install however was a different, shoddy story. -
Renovation and Extension = money pit
Novice Becky replied to Clark Kent's topic in Introduce Yourself
@Iceverge interested in your post and diagram thank you. I have a similar issue (I can see it in cold weather with a Flir camera). Could it help just to put internal or external insulation in the corners or would I have to insulate the whole wall? -
Renovation and Extension = money pit
Novice Becky replied to Clark Kent's topic in Introduce Yourself
@Onoff do you think this worked for you? I was thinking about doing something similar. Like you, I have some (15 year old but still) decent windows but they are fitted close to the edge of the external leaf rather than across the cavity. -
Good point. Yes, I've talked it all through with the installer. Unlike others they were happy to fit my windows airtight. They were happy to use either system. The TP654 should save them time compared to using Compriband/foam/airtightness tape!
-
Yes, you're right, you do have to be quick to put the window in place once the tape is on! They were happy to use either the i3 Compriband system or the TP654.
-
Thanks @Chanmenie. The Pro Clima system is equivalent to Illbruck i3. The Illbruck TP654 is different - it's an all in one system. So instead of using foam tape then expanding foam then airtightness tape you just apply the TP654 tape to the full depth of the window frame. You don't use foam or airtightness tape. A benefit I see for retrofitting is that I won't need to remove as much plaster on the reveals.
-
You apply the TP654 to the window frame immediately before lifting the window into place. And you don't need the ME508 airtightness tape on the inside. https://www.illbruck.com/en-gb/products-systems/product-finder/tp654-illmod-trio-1050/ Installation video see 1m50s I thought I read somewhere that you could also apply the Compriband before installation? I've definitely read that it can be fiddly! But hopefully worth it for airtight windows.
-
Thanks @Tosh. You're right - TP654 does look pricey on the surface. I'm going to use TP600/FM330/ME508 on a door but because of the roll lengths it actually works out about the same price to use TP654 on 2 windows - and sounds like a much quicker job and less making good after (this is a retrofit). Good to try something new! If I can't get the TP654 then I'll use Compriband.
-
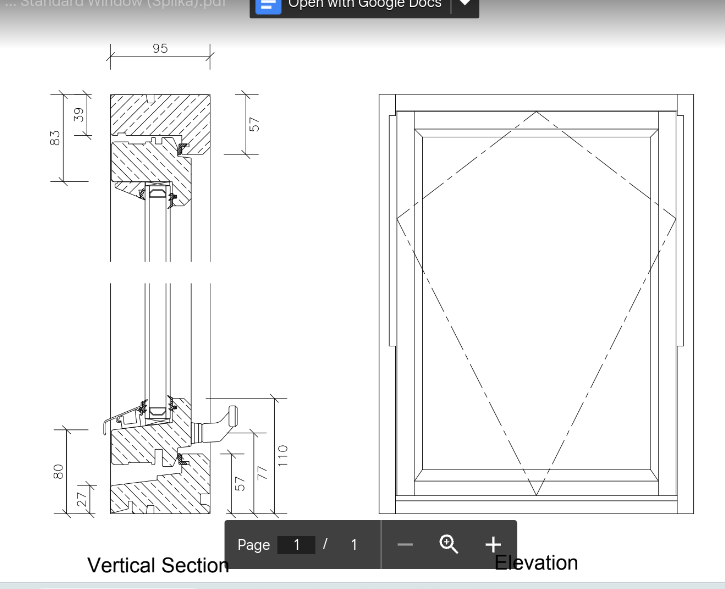
@craig or anyone. Can anyone suggest a supplier for Illbruck TP654 88mm/6-15 all-in-one tape? Sealants online are out of stock for 4-6 weeks (I need it in 5 weeks). Dortech don't stock 88mm (just 58 and 66mm). Nothing else comes up on a search. I need deep tape as the timber windows are 95mm thick. Thanks