Foundations - Stage 1 - Nothing but Snow and ICE
Well, a few weeks have passed since my last past.
We finished up the road and last post we had scrapped back the house footprint. I feel like we haven't come that far since then, but in reality we probably have actually now that I look at the pictures.
Once we had scrapped back the top and subsoil we got the levels down to where I thought we should be. The house was meant to have FFL of 138.5m (referenced to sea level of course!) but I increased the height by 0.75m. It was just too low in the ground for the plot and the driveway would have ended up higher and now seems to be in the right place.
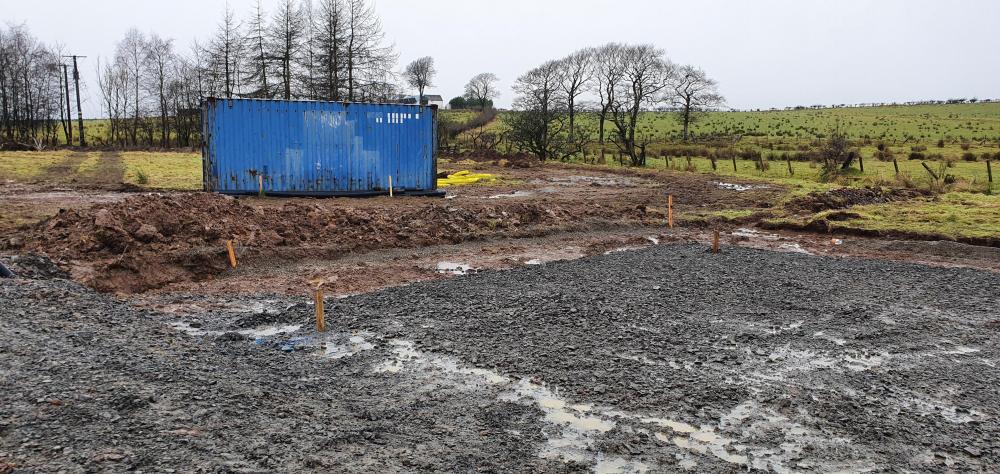
So first full week at it, I was basically running around organising things as you do. I gave Jewson about zero notice of all the stuff I wanted. They gave me good list prices, 90% off with my self build credit account. I tested these on the internet and a few others merchants and they were decent. They delivered the mesh and underground drainage pipes, mesh castles, visqueen etc all in quick time which was good. I also took delivery of my container - which was much required and has been a god send to store everything.
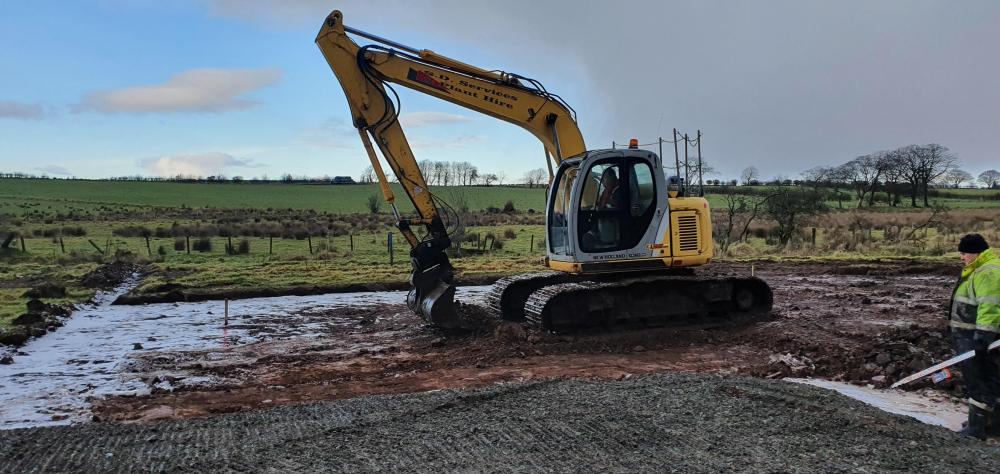
On the first day when I was out, the groundworkers were scrapping back to ground bearing soil, but found a soft patch at one end - instinctively they dug another 500mm deeper to get hard ground. Then called me to say we had an issue. They felt it was quite soft, I turned up - had a look it seemed softish but not overly. However I have no experience - fortunately I called the SE and he came straught by to have a look ...wasn't an issue and he told us to continue. Phew.
I'd ordered type 1 for the sub base. I did price both type 1 and type 3, but there was quite a difference of 3-4 per tonne. I needed 120 Tonne (turns out actually 250 in the end). I checked with Tanners who had stated Type 3, but they said if it was a struggle type 1 would be fine. Plus I checked with a local guy who does passive foundations and he said they just use that so all ok.
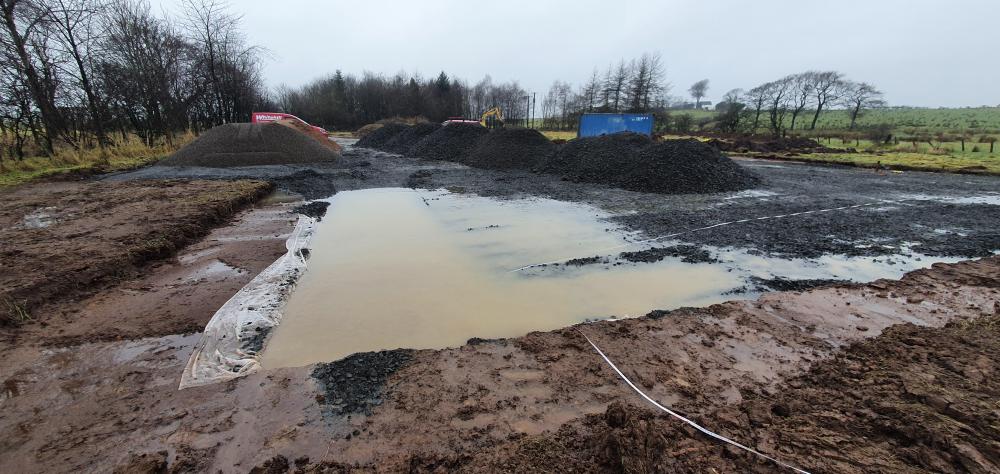
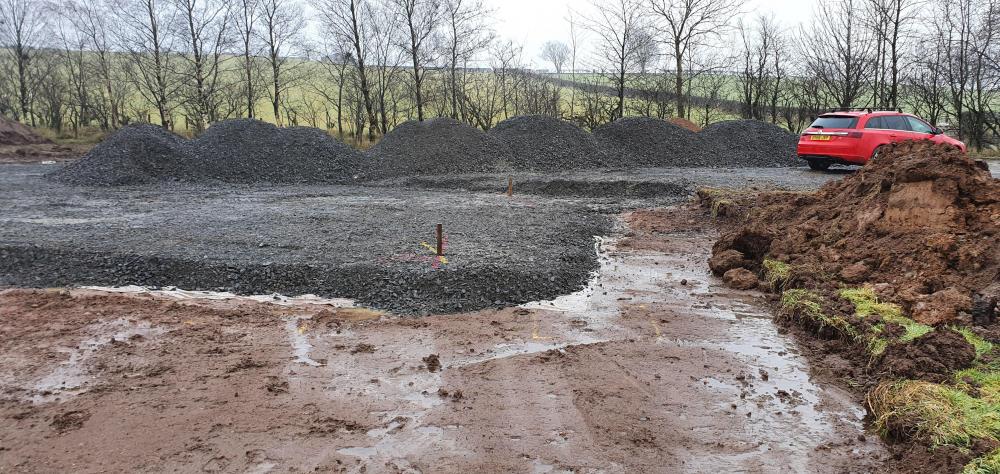
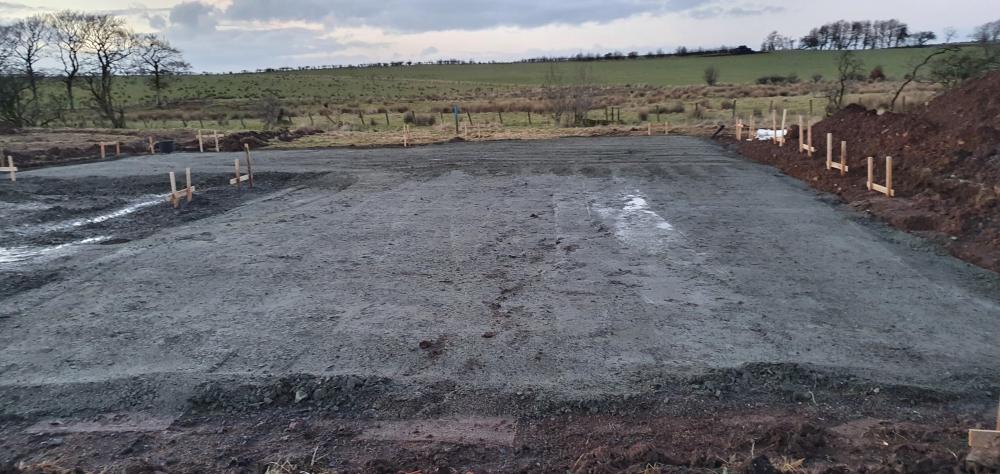
We continued the scrape down, then we laid a geotextile and covered with the type 1. What was immediately apparent was how wet it was, that extra dug down section filled with water quickly to form a lovely swimming pool. From here we tried to stone up a little more, but stopped due to rain. Then the guys decided we needed to get that land drain in to dry it up.
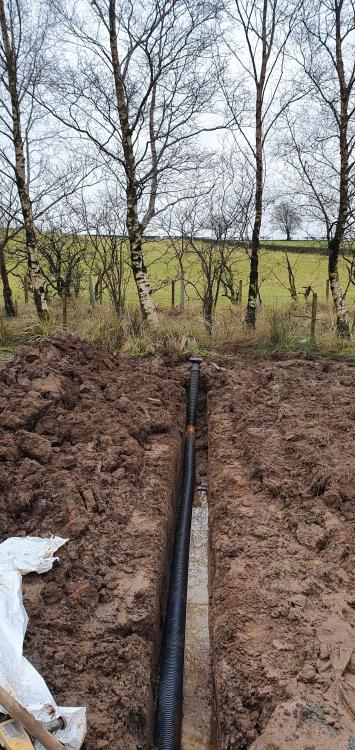
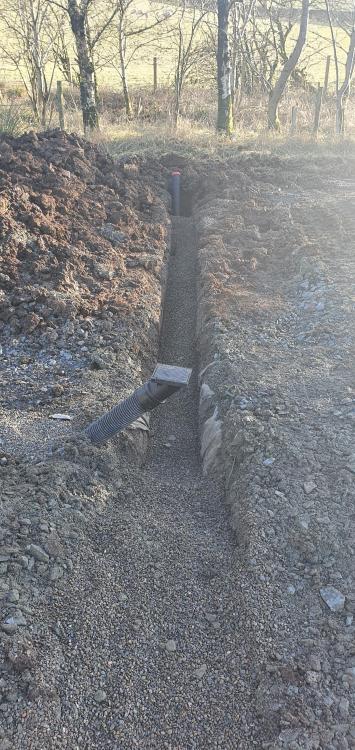
I have used twinwall perforated pipe to do the land drain (under the guidance of my groundworkers) then added Tees wherever downpipes are going to be. This saves costs as then you're not digging another pipe above it later on. You can just roll the tees up and drop the downpipes into it. I discharge directly into a burn too so makes sense. I helped with the drains and we used the laser the set the fall ( @LA3222 ) I know why you like it so much, great tool and makes it dead easy. I did nearly make a schoolboy error and lift the full pipe up in the pea gravel...before the groundworker stopped me
Once we had the drains in this has helped no end with getting the water out, and allowed us to continue a little more.
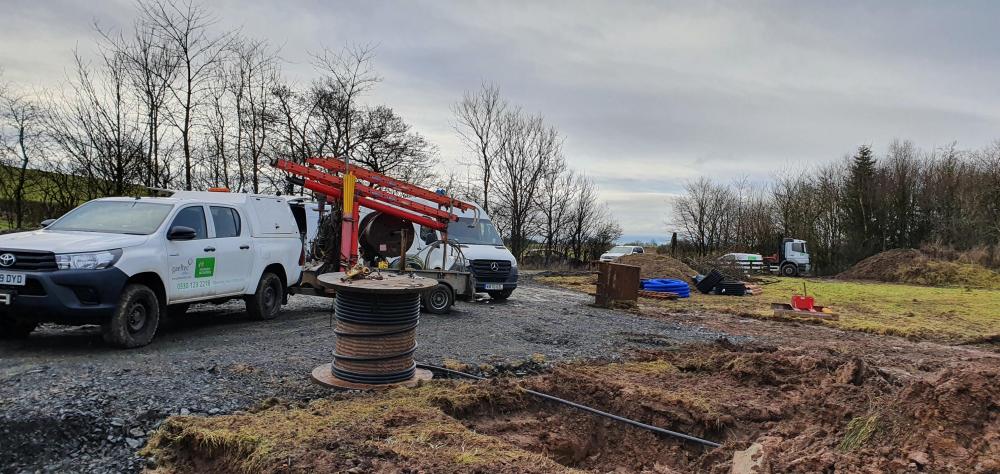
In between this the power connection was brought on site, I had 6 poles put in from 3 fields away. I managed to also get them to hide the transformer pole in my woods which was ideal as I had planned it in the corner if the plotand that would have been visible always so a good win. The trench was also repositioned around the outskirts of the plot so that if I ever build another house ( my retirement bungalow) in the front garden I don't need to move it again. 6 poles put up in a day, then a week later cable pulled and terminated. The connection currently resides under the ground about 15m from the plant room, once I'm ready. I'll dig the duct to there and then I can call them back and pull it into the house at my leisure.
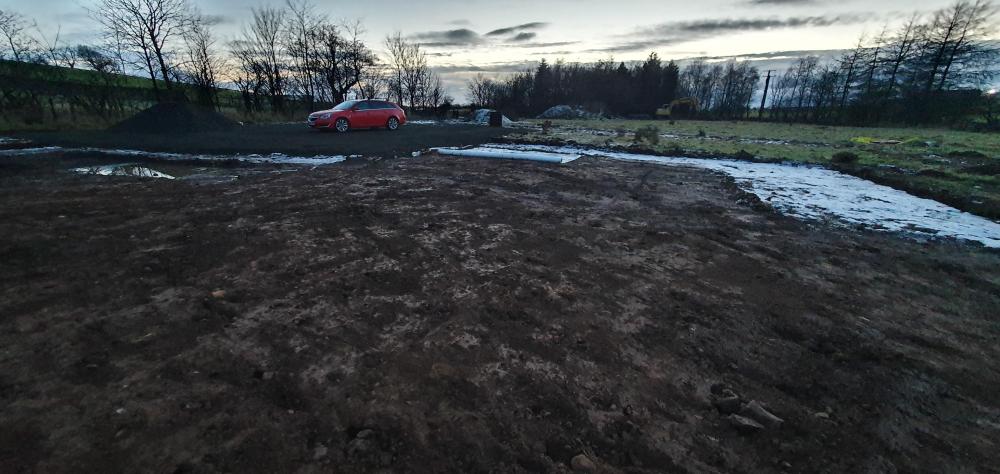
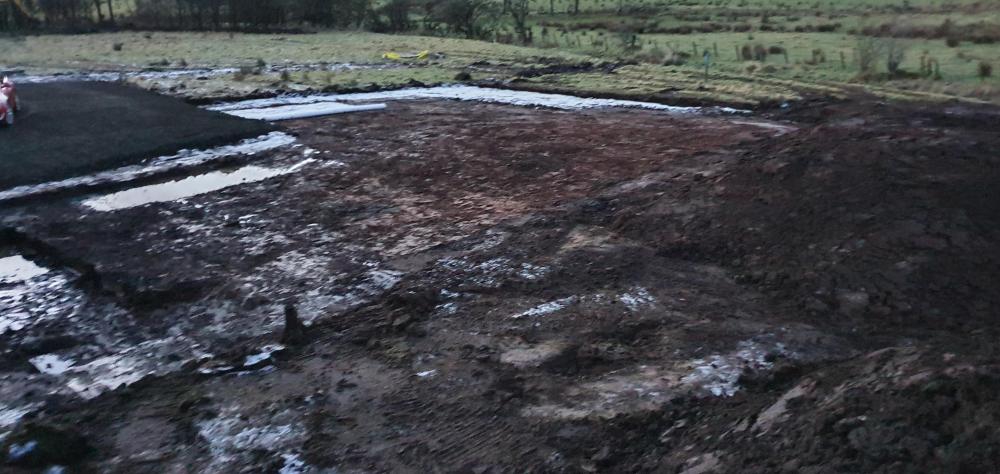
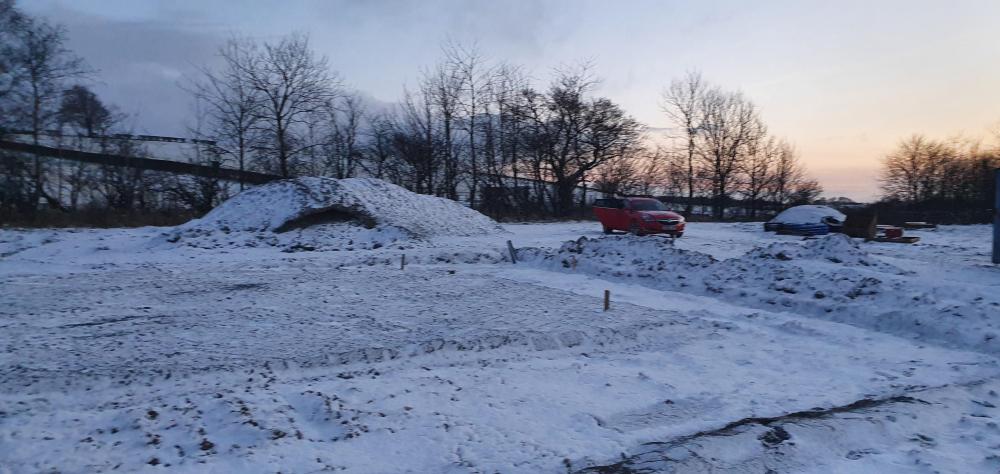
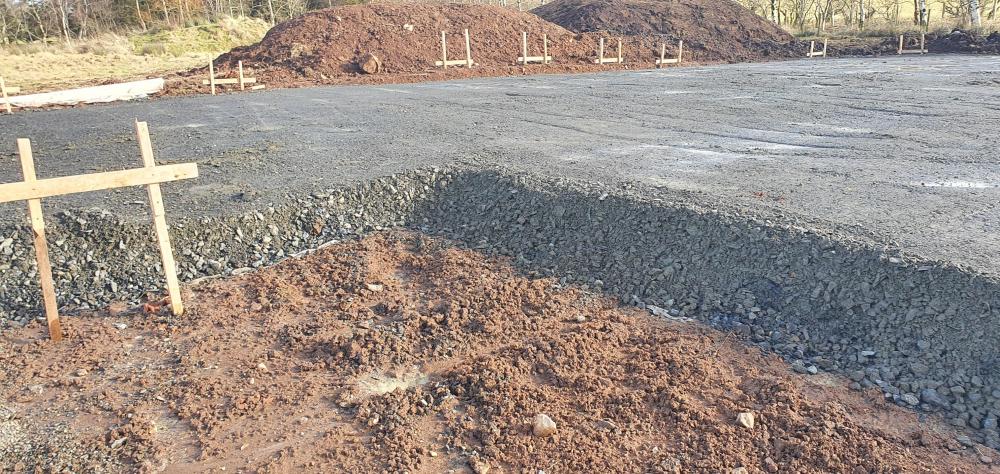
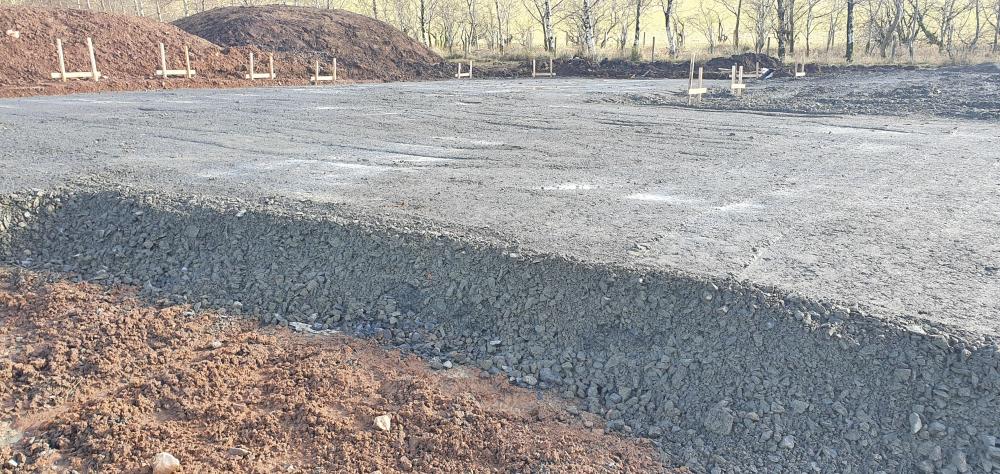
We got a little bit of rolling done on the first layer of Type 1, but it's been mega cold and snowy for a few weeks which has stopped us. One thing that has been a pain was the test holes left big soft spots. We had to dig these out completely and fill with stone. The groundworks boys said he always have this issue and would be better if the SE put them off to the side. A good bit of info for others.
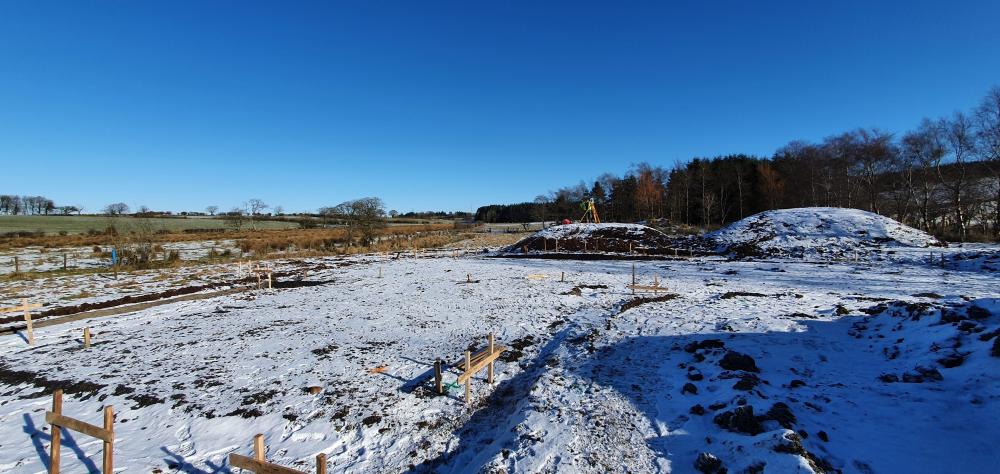
So since that point it got basically rock solid cold. little happened for about 10 days just due to weather. Then last Thursday after postponing him 5 times, got the surveyor on site. I had marked up various times using the TOPO stations and tapes, but wanted very accurate positions on site for the walls and so I can get the ducts and drainage bang on. I spent days on the plant room design and layout which is now hopefully pretty good.
The surveyor and I put all the profile boards up outside the footprint which went well, I was 400mm off the actual CAD position I had given for the house. Which considering I was using tapes from topo points which were 80m away wasn't bad. I had already cut drains in so we just moved house position quickly by offsetting using total station. The profiles are in and all good.
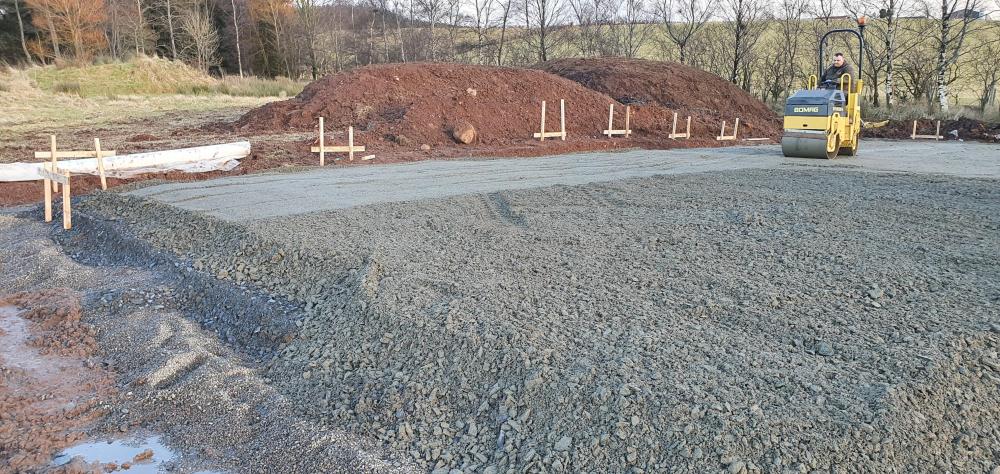
So this week we managed to stone up more, the boys done a bit of rolling on Tuesday - in fact I even did the rolling while they moved stone around. The stone is compacting but not as hard as I would and as quickly. They had to put a thicker layer on that the 150mm due it being so wet it would just bubble up. But the stone is soaked, and taking a while to drain off through the type 1 as my stone seemed to have loads and loads of fines. Now If i go back to the start of this post....maybe I should have bought that Type 3, but we are where we are! We rolled it down, then got another layer on and continued to roll it.
It was still quite spongy at the end of the other day in a few places but we haven't finished rolling this layer just due to it being wet. The boys definitely put on thicker layers than stated and we rolled the lower layer less than the required 16 passes. I was having a bit of a hairy canary when I cam home and started to doubt what had been done, I was checking the roller weight and spec religiously against the KORE manual, and then getting worried that it would leave the lower layers too soft. It's hard here as, how hard is hard enough as I don't have any experience of laying a sub base and reading on here it should be rock solid. So I was back and forth the next day to site, jumping up and down, seeing how hard it was. I made a plan the night before as it was concerning me, that if needed I would just strip it back down a layer and re roll that bit and not to worry myself too much (the boys keep telling me to put my worry beads away) that we can fix it. Now that we have had two sunny dry days with no ice, it has drained off well and feels better actually and I talked it through with the groundworker that i was worried and didn;t think we had enough passes, and he help reassure me somewhat (and I trust him) that albeit the textbook says 16 passes and 100mm layer that, it simply isn't possible here to do it in the 100mm layer as the roller would bring the water through at that point and we need a thicker lower layer. Now that we are up a but and it's drying it should compact better. It's now pissing it down for the rest of the week and we can't do anything. However he has left me the roller over the weekend, so I can roll it to my hearts content which will make me very happy. Hopefully we get a couple of days dry at weekend and I can et that done, then they will be back Tuesday to hopefully get the last layer or two on and bring it all up to the correct level and then we can mark the ducts and drains and get them dug in to the stone.
I was quite surprised at how not flat my flat looking plot was. Standing looking at it is quite deceiving, at one end of my 20m length footprint, I needed around 150mm stone, at the other end I will end up with 4-500mm stone which is quite remarkable. To the eye it's very deceiving. Having the laser there is great and helps make it all very easy.
Lots of challenges, on site with weather and generally getting organised. Also the stone compaction and not having done it before definitely caused worry which unsettled me, simply I think because there's nobody else really to take the responsibility as ultimately it's for me to say what's ok and what's not. Having a major responsibility is not a daunting thing for me, I work at a high level in a business and directly responsible for managing and being the technical expert for very large value and complex equipment. However there's something about being in unfamiliar territory here and doing it for the first time with nobody to else to take the responsibility which is both exhilirating but also slighlty terrifying. It's like when you take your first foreign trip without your folks, or when your new born baby won't stop crying. It's a challenge and when you get through it, it's good. You just need to feel your way through and make as best decisions you can and rely on the people around you.
I can say I am absolutely thoroughly enjoying myself. I have loved being out my home office (daughters nursery!) and being out and about on site. I cannot wait till get further ahead, the kit comes, which is planned for April now, and I can work up there every night in the spring and summer.
The kit has been delayed somewhat due to messing around with L shaped combination skylight windows for a week, I can firmly say trying to get them figured out has been a PITA. Also, I had added the angled reveals at the top and bottom (which I may scrap tonight!) but that's another post for another day....
Lots of pictures as that's what blogs are about.
Test holes
sense having them dug below.
-
 5
5

5 Comments
Recommended Comments
Create an account or sign in to comment
You need to be a member in order to leave a comment
Create an account
Sign up for a new account in our community. It's easy!
Register a new accountSign in
Already have an account? Sign in here.
Sign In Now