
Getting there, and time to sell up

Entry posted by BotusBuild in Moving
2573 views
Don't Panic - we're not selling what we've been building.
Back at the end of April (I thought it was longer ago than that - time either slowed down or we sped up, not sure which) SWMBO had just had a toe joint fused together to try to resolve a long period of pain following the critical infection she got over 3 years ago. We're pleased to say that it seems to have done the trick, and she has now rejoined me in getting the house ready for habitation.
I left you all with another list to contemplate. So here it is with some brief updates:
- Hassle the SH1T out of the window installation company to investigate and fix the leaks (three fixed windows and a sliding door) that came to light after we did the first lot of plastering - it worked, and the window no longer leaks - yeehah!!
- the rest of the plastering - was all completed
- the rest of the mist coating and painting - one bedroom and an ensuite left
- more stone work - still on the list
- moving as much stuff into what we now call the attic (a very large room downstairs as we don't have a real attic) in order to clear all the other rooms - done
- Install the UFH upstairs with plywood cover - done, and manifold connected up and filled
- fit the bathroom - done
- fit the kitchen - done
- fit the utility and cloakroom, utility done
- electric 2nd fix - done and signed off
- rainwater soakaways - still on the list
- rainwater collection system - still on the list
- backfilling - partly done, still on the list
- concrete lego brick retaining wall - delivered, to be fitted
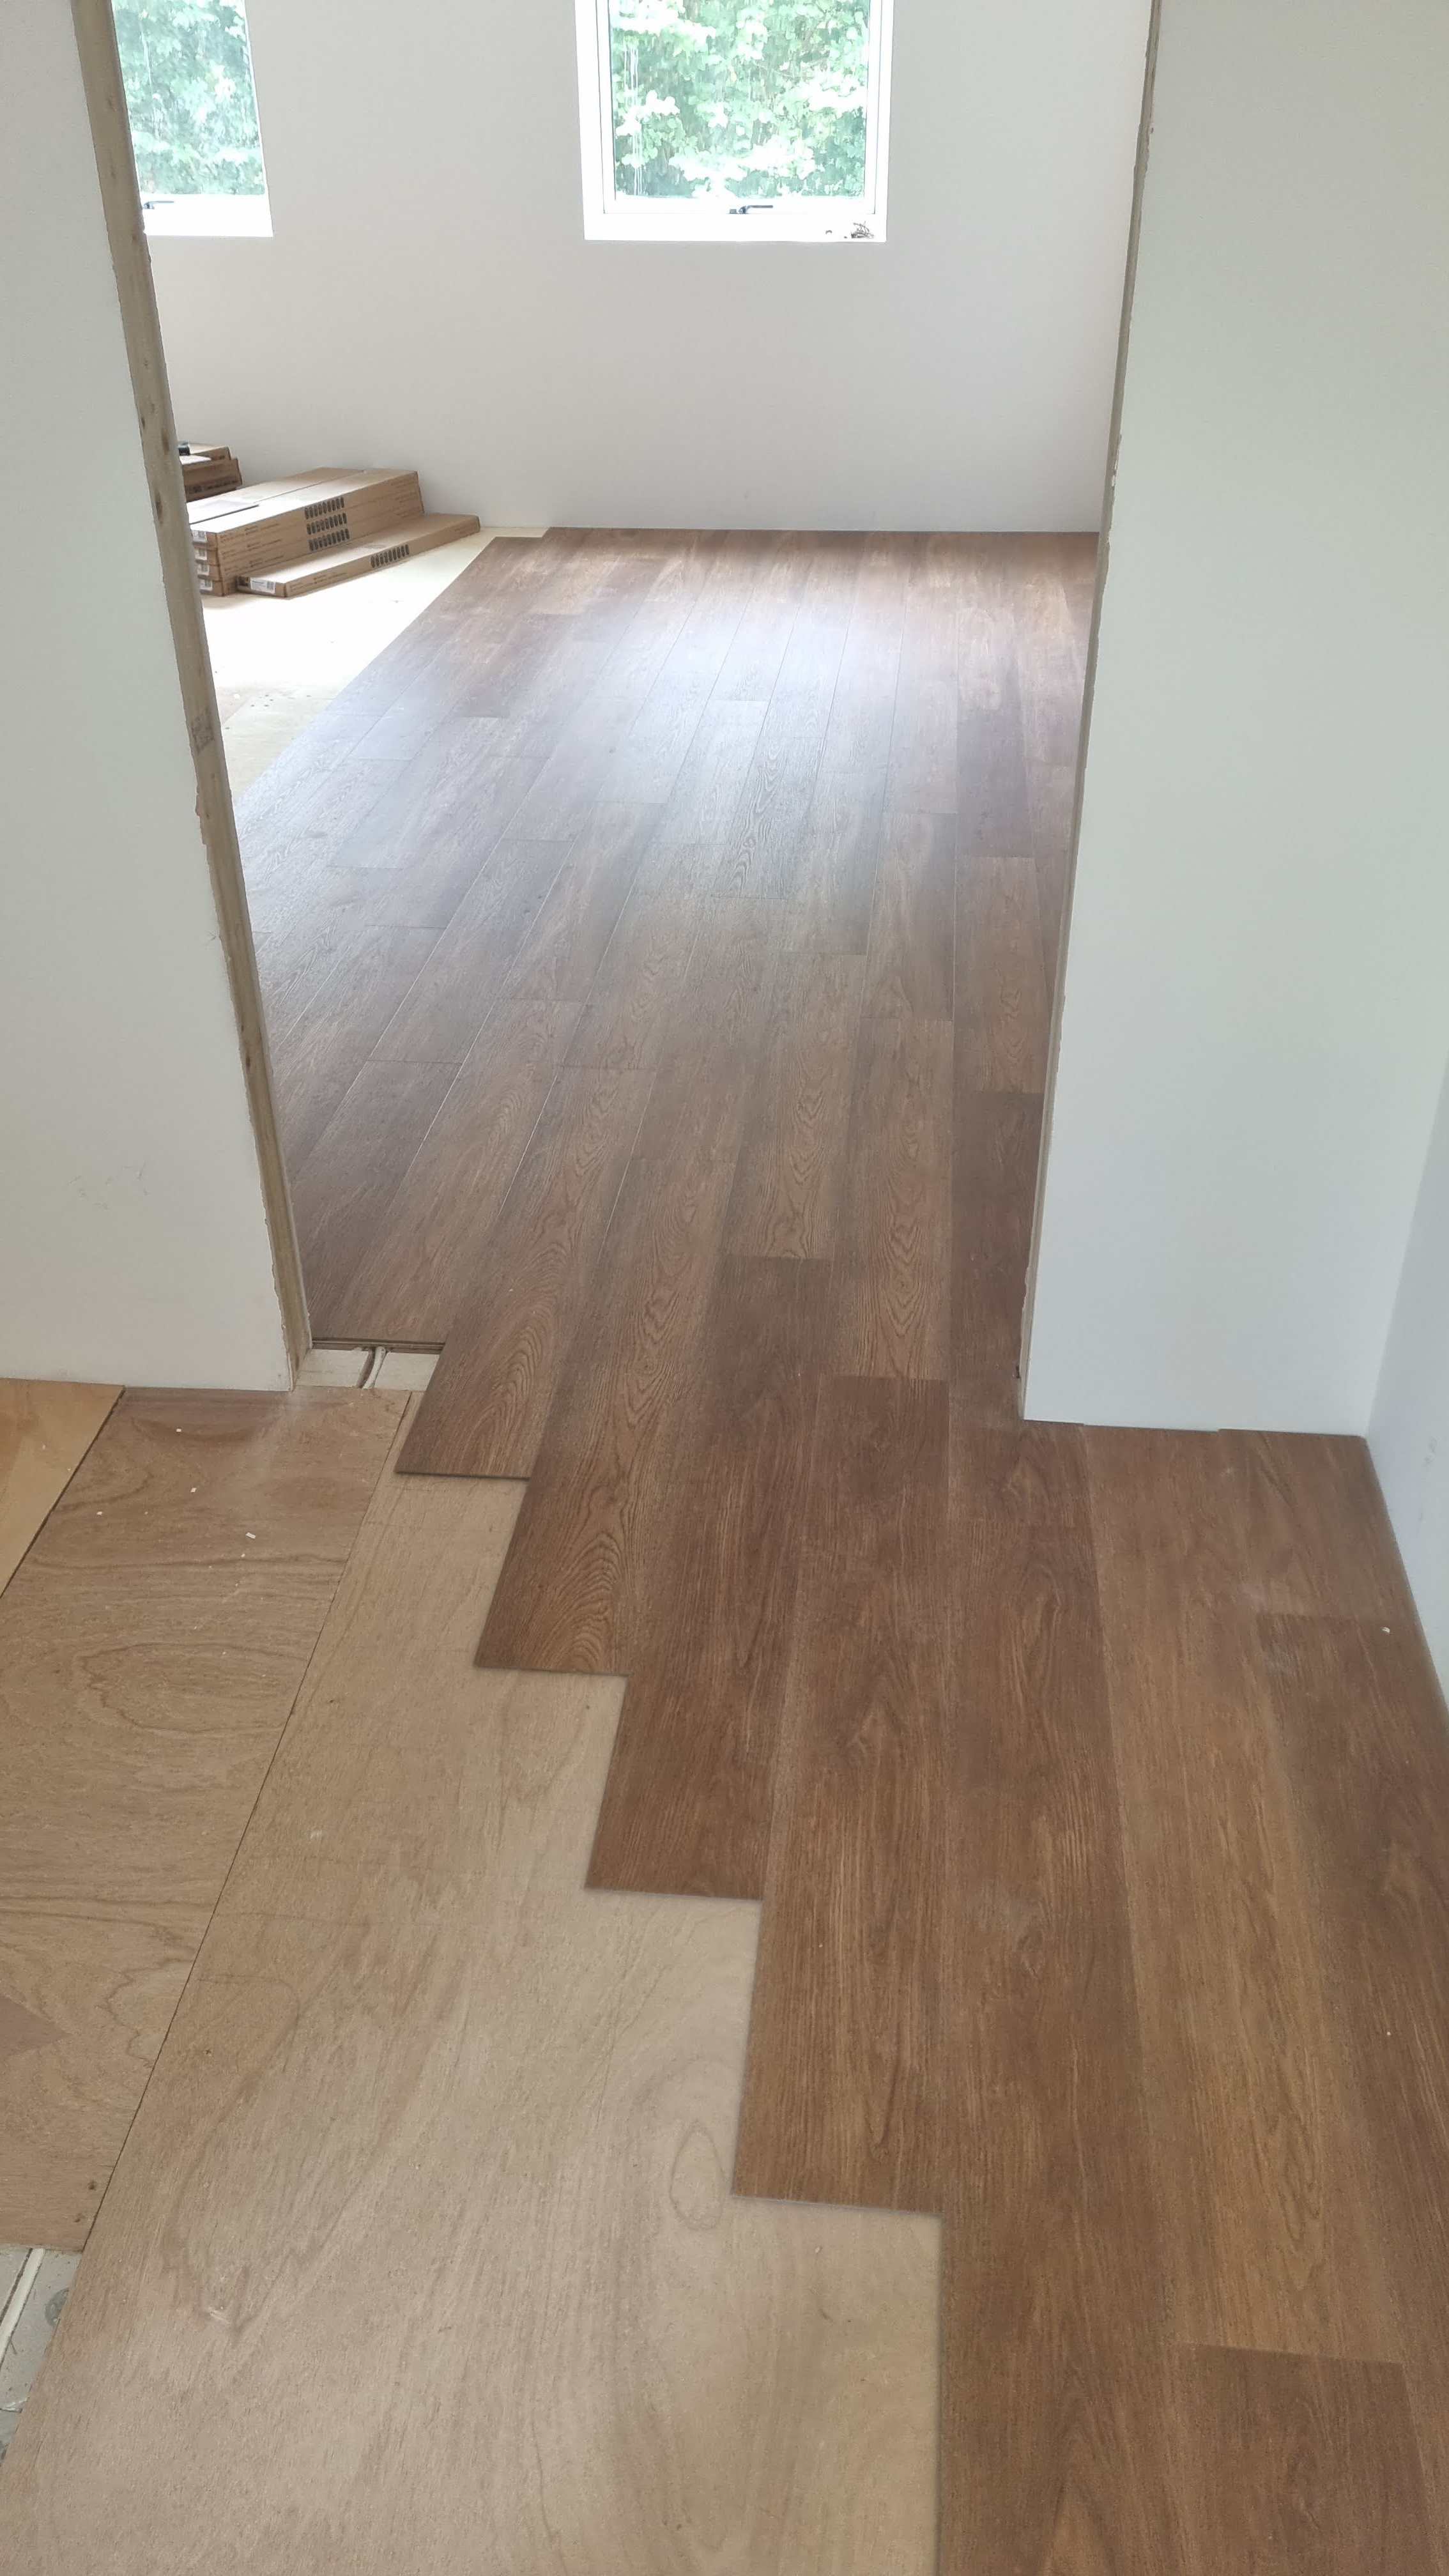
- Flooring - in progress
- Wood cladding - still on the list
- Air tightness test (as I write this, I think "oh, sh1t, I must get that booked in") - done and certificate issued
- Fit internal doors - still on the list
- Fit en suite - still on the list
- Build MY garage - still on the list
- A green roof system, because its on the planning application, and may be required for certificate of completion (unless someone can enlighten me as to how to avoid this, and be able to delay the installation) - still on the list
So, that big window, the one in the middle bottom below. First chap who came to inspect and report back left the company without doing anything, so two chaps came out (I think mainly as protection for each other from my wrath). Suffice to say they inspected thoroughly having listened to the fact that we had investigated excessively to find the point of ingress of the water. The ensuing repair entailed the whole window (glazing, individual door frames, and the outer rail frame) being removed from the hole (thank goodness for the steel beams above), a manufacturing fault being rectified, and the multiple installation faults also be repaired and then finally reinstalled correctly. A few days later to allow the massive amounts of sealant that were applied to cure, we sprayed a large amount of water at the window and gladly it seems to be OK. We now await a traditional SW'ley storm this coming winter.
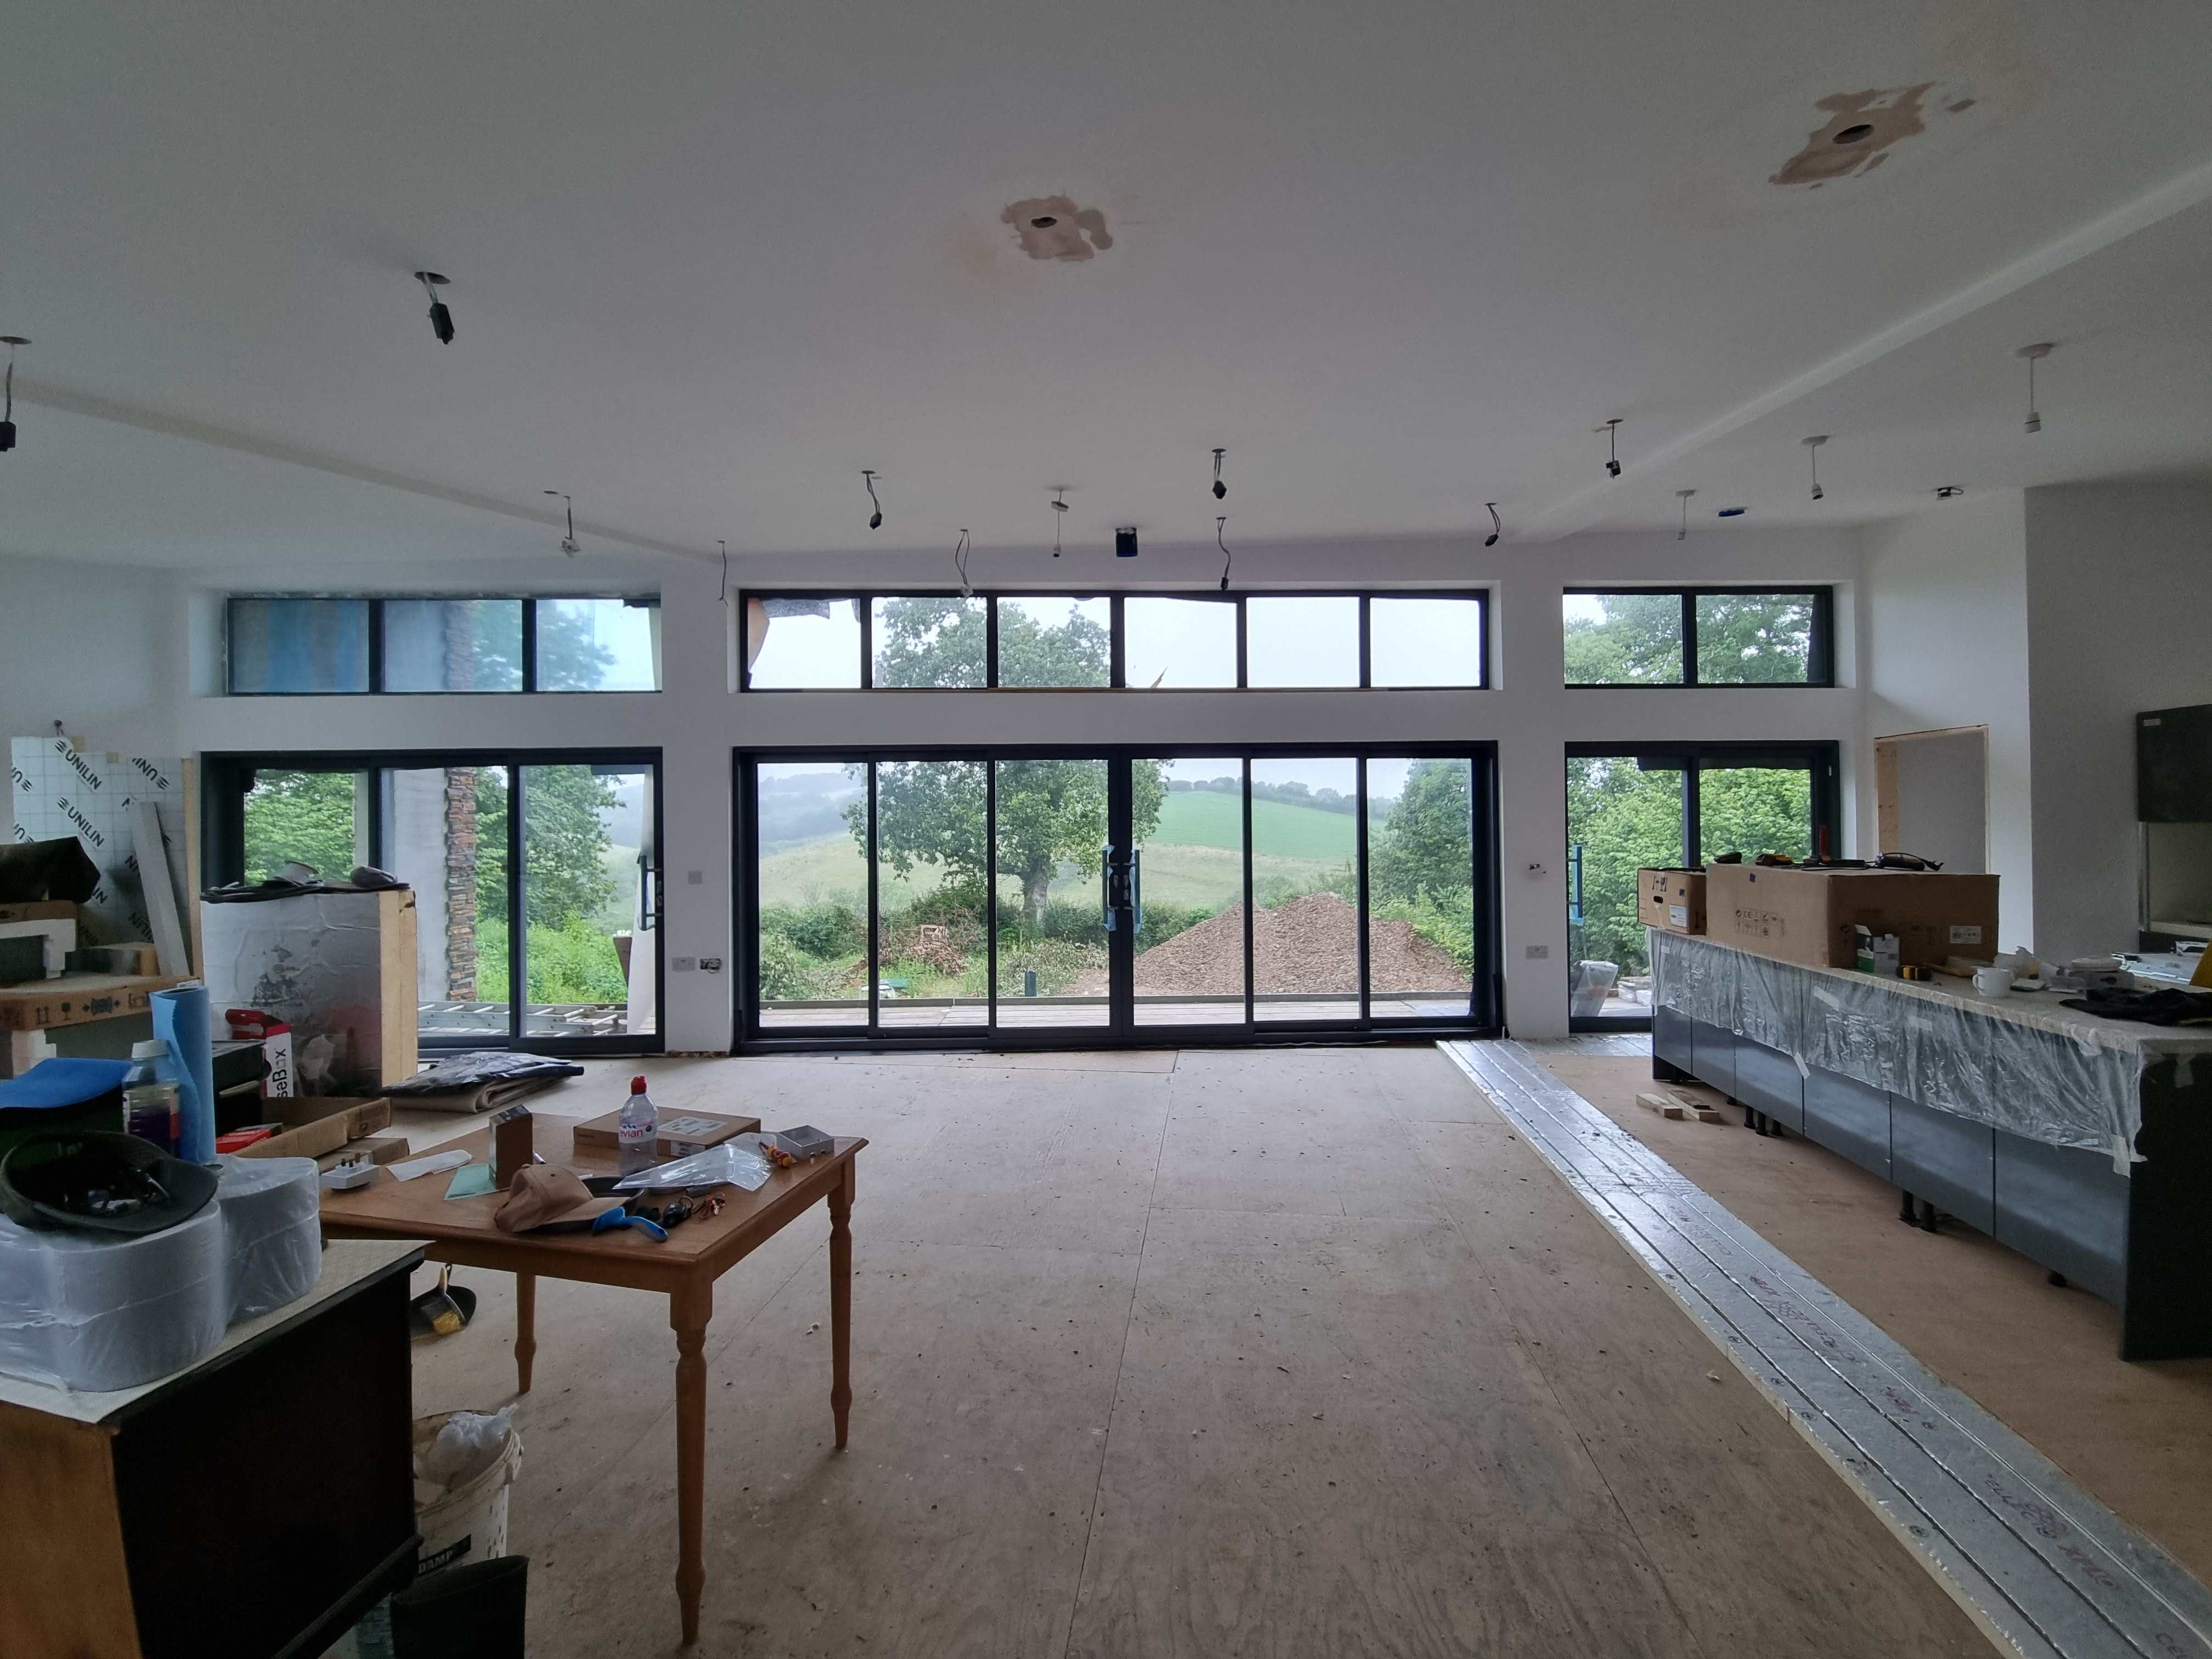
All the remaining plastering was completed, and not only did the mighty SWMBO mist coat all but one bedroom, she also painted all the walls bar the bedroom and the en-suite. I'm not sure she wanted to see a paint roller for a few weeks after doing that lot.
As you can see in the picture above, on the right hand side, we started laying the UFH insulation and pipes and overlaying that with 6 or 9mm ply, depending on what the final floor finishing was going to be (we planned ahead 🙂 )
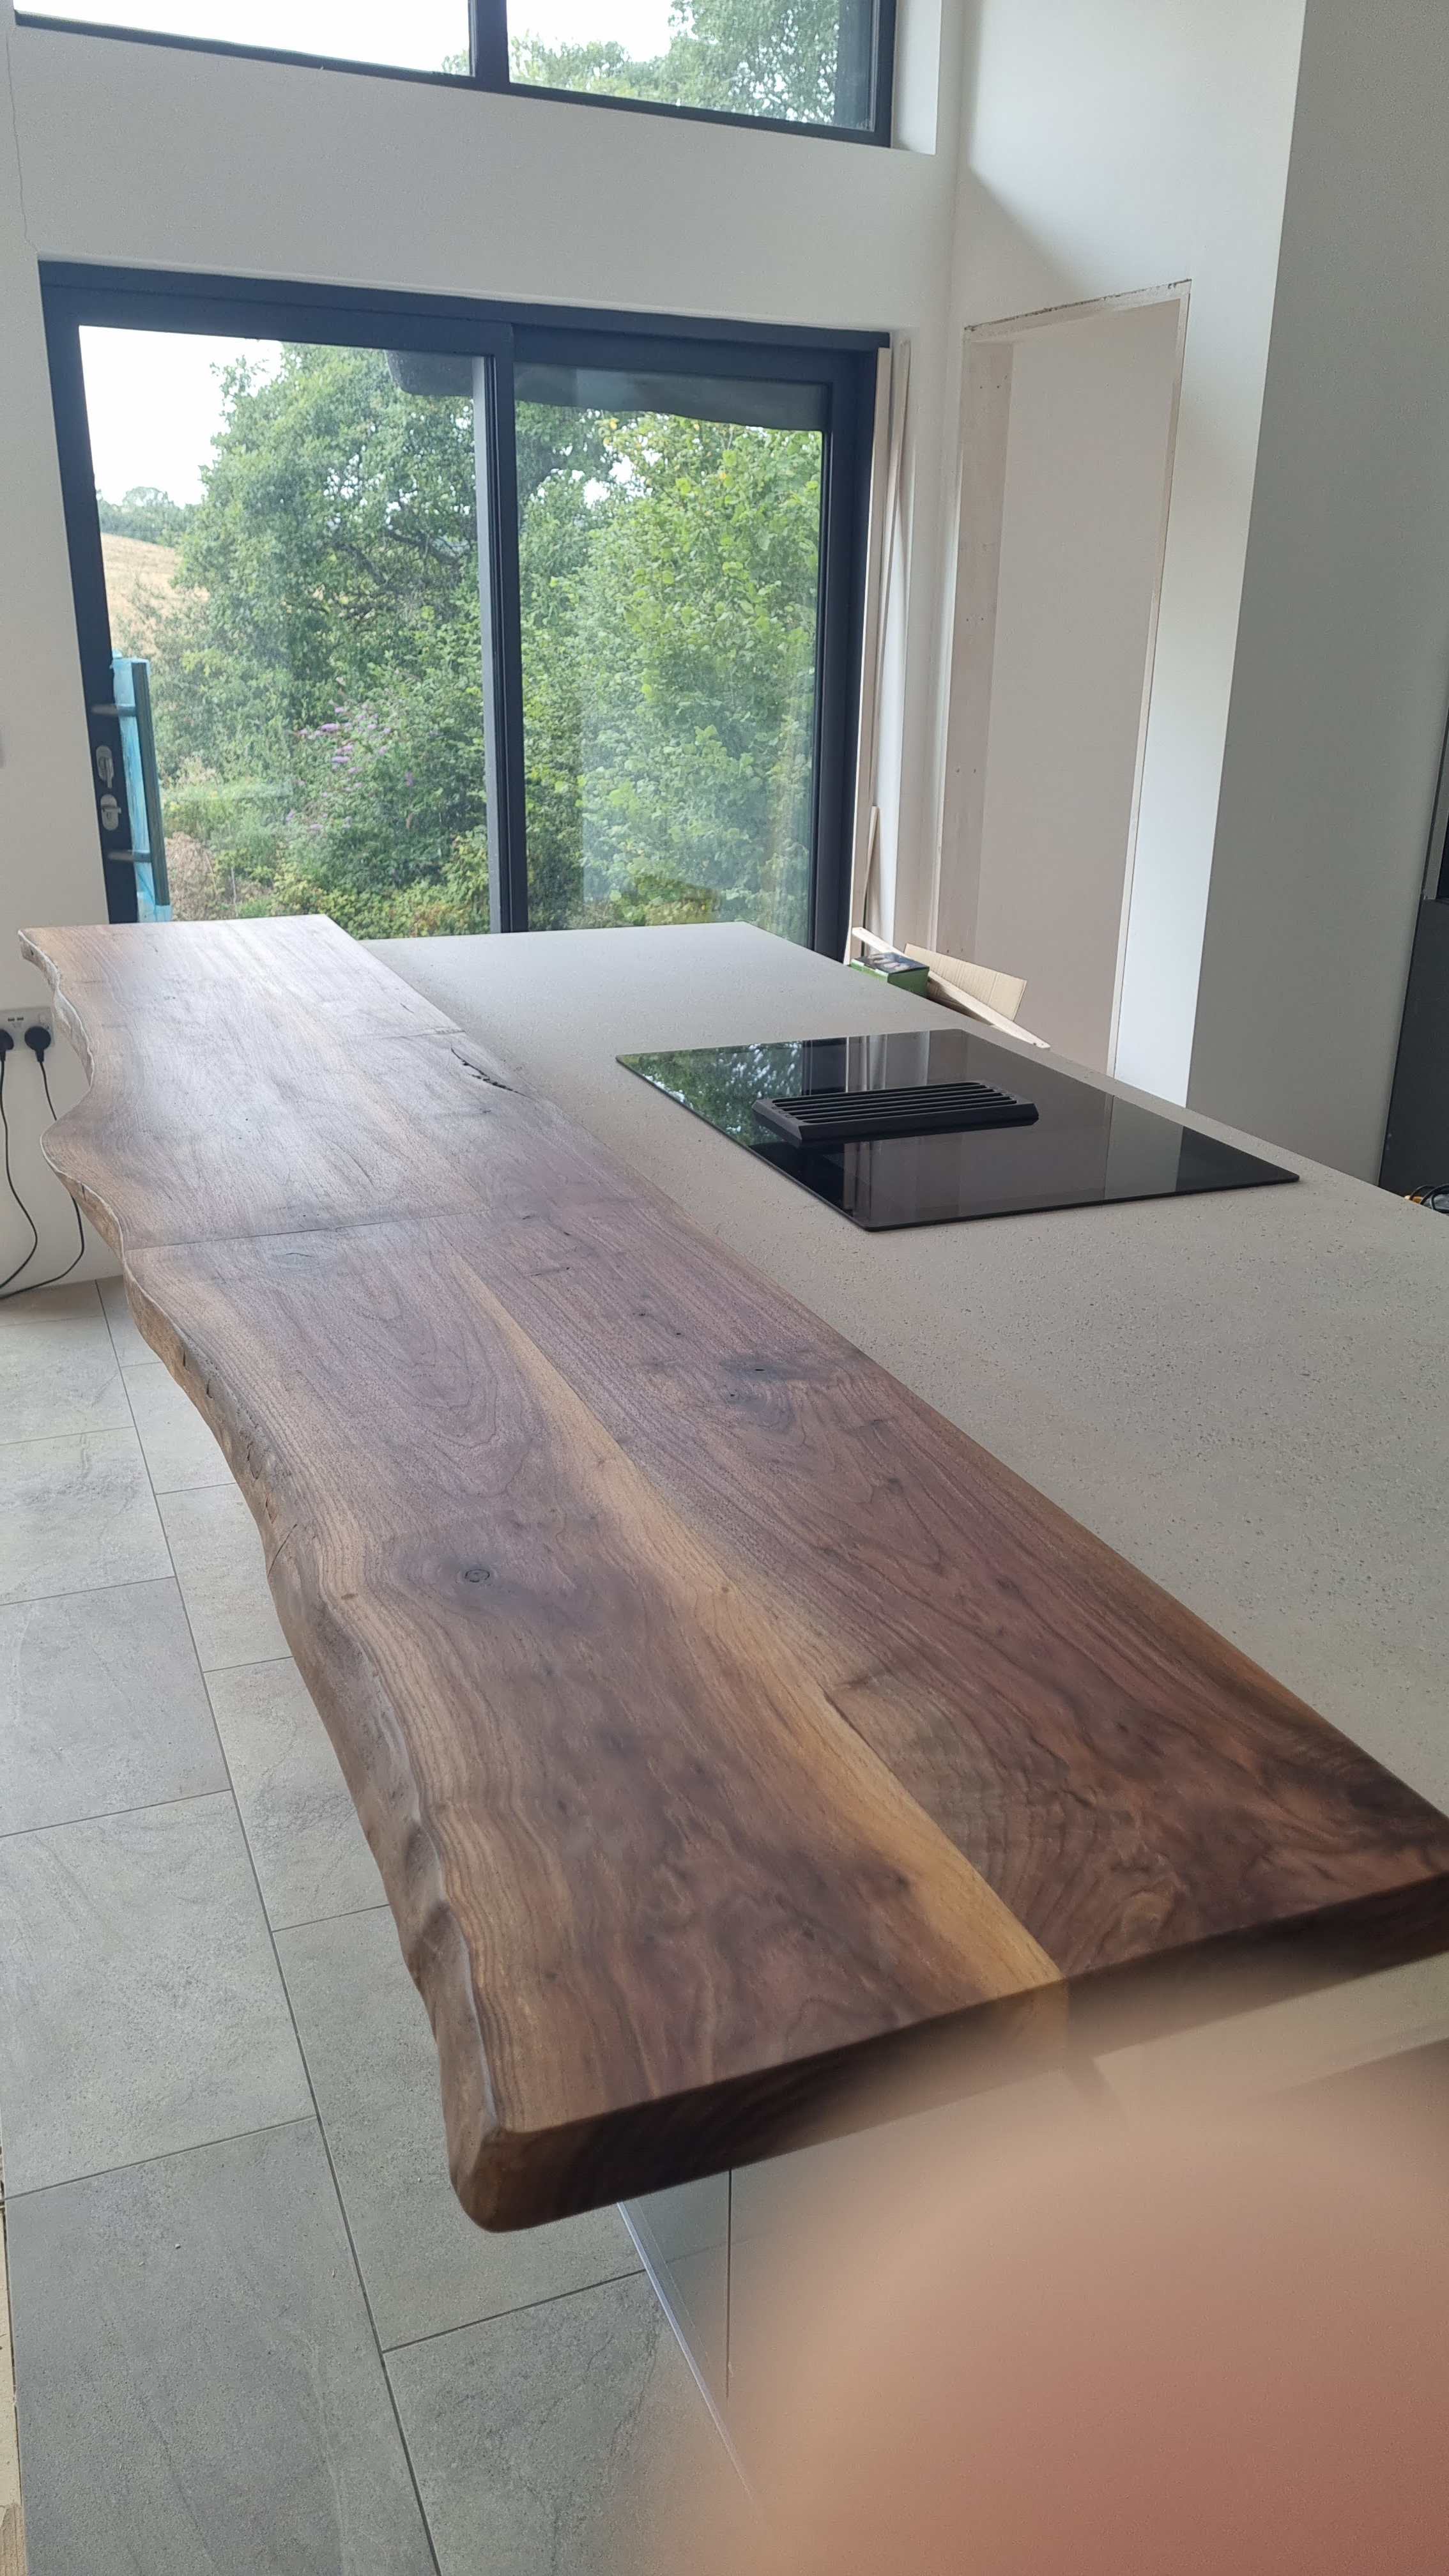
In May, we were joined by our son who had stated clearly that he wanted to help us with fitting the kitchen. This was very welcome as there were a few heavy units to move into place, and it was fantastic to have a pair of stronger arms (than mine) around. And so with his help we managed to get to this point (left photo). Since then I've been doing all the finishing off (doors, plinths, hidden handles etc..) But the "pièce de résistance" was having the breakfast bar made from planks of the trunk of a walnut tree that we had to remove to build the house. Here it is in the right hand photo

Having done the kitchen, focus turned to the bathroom. Here's the result
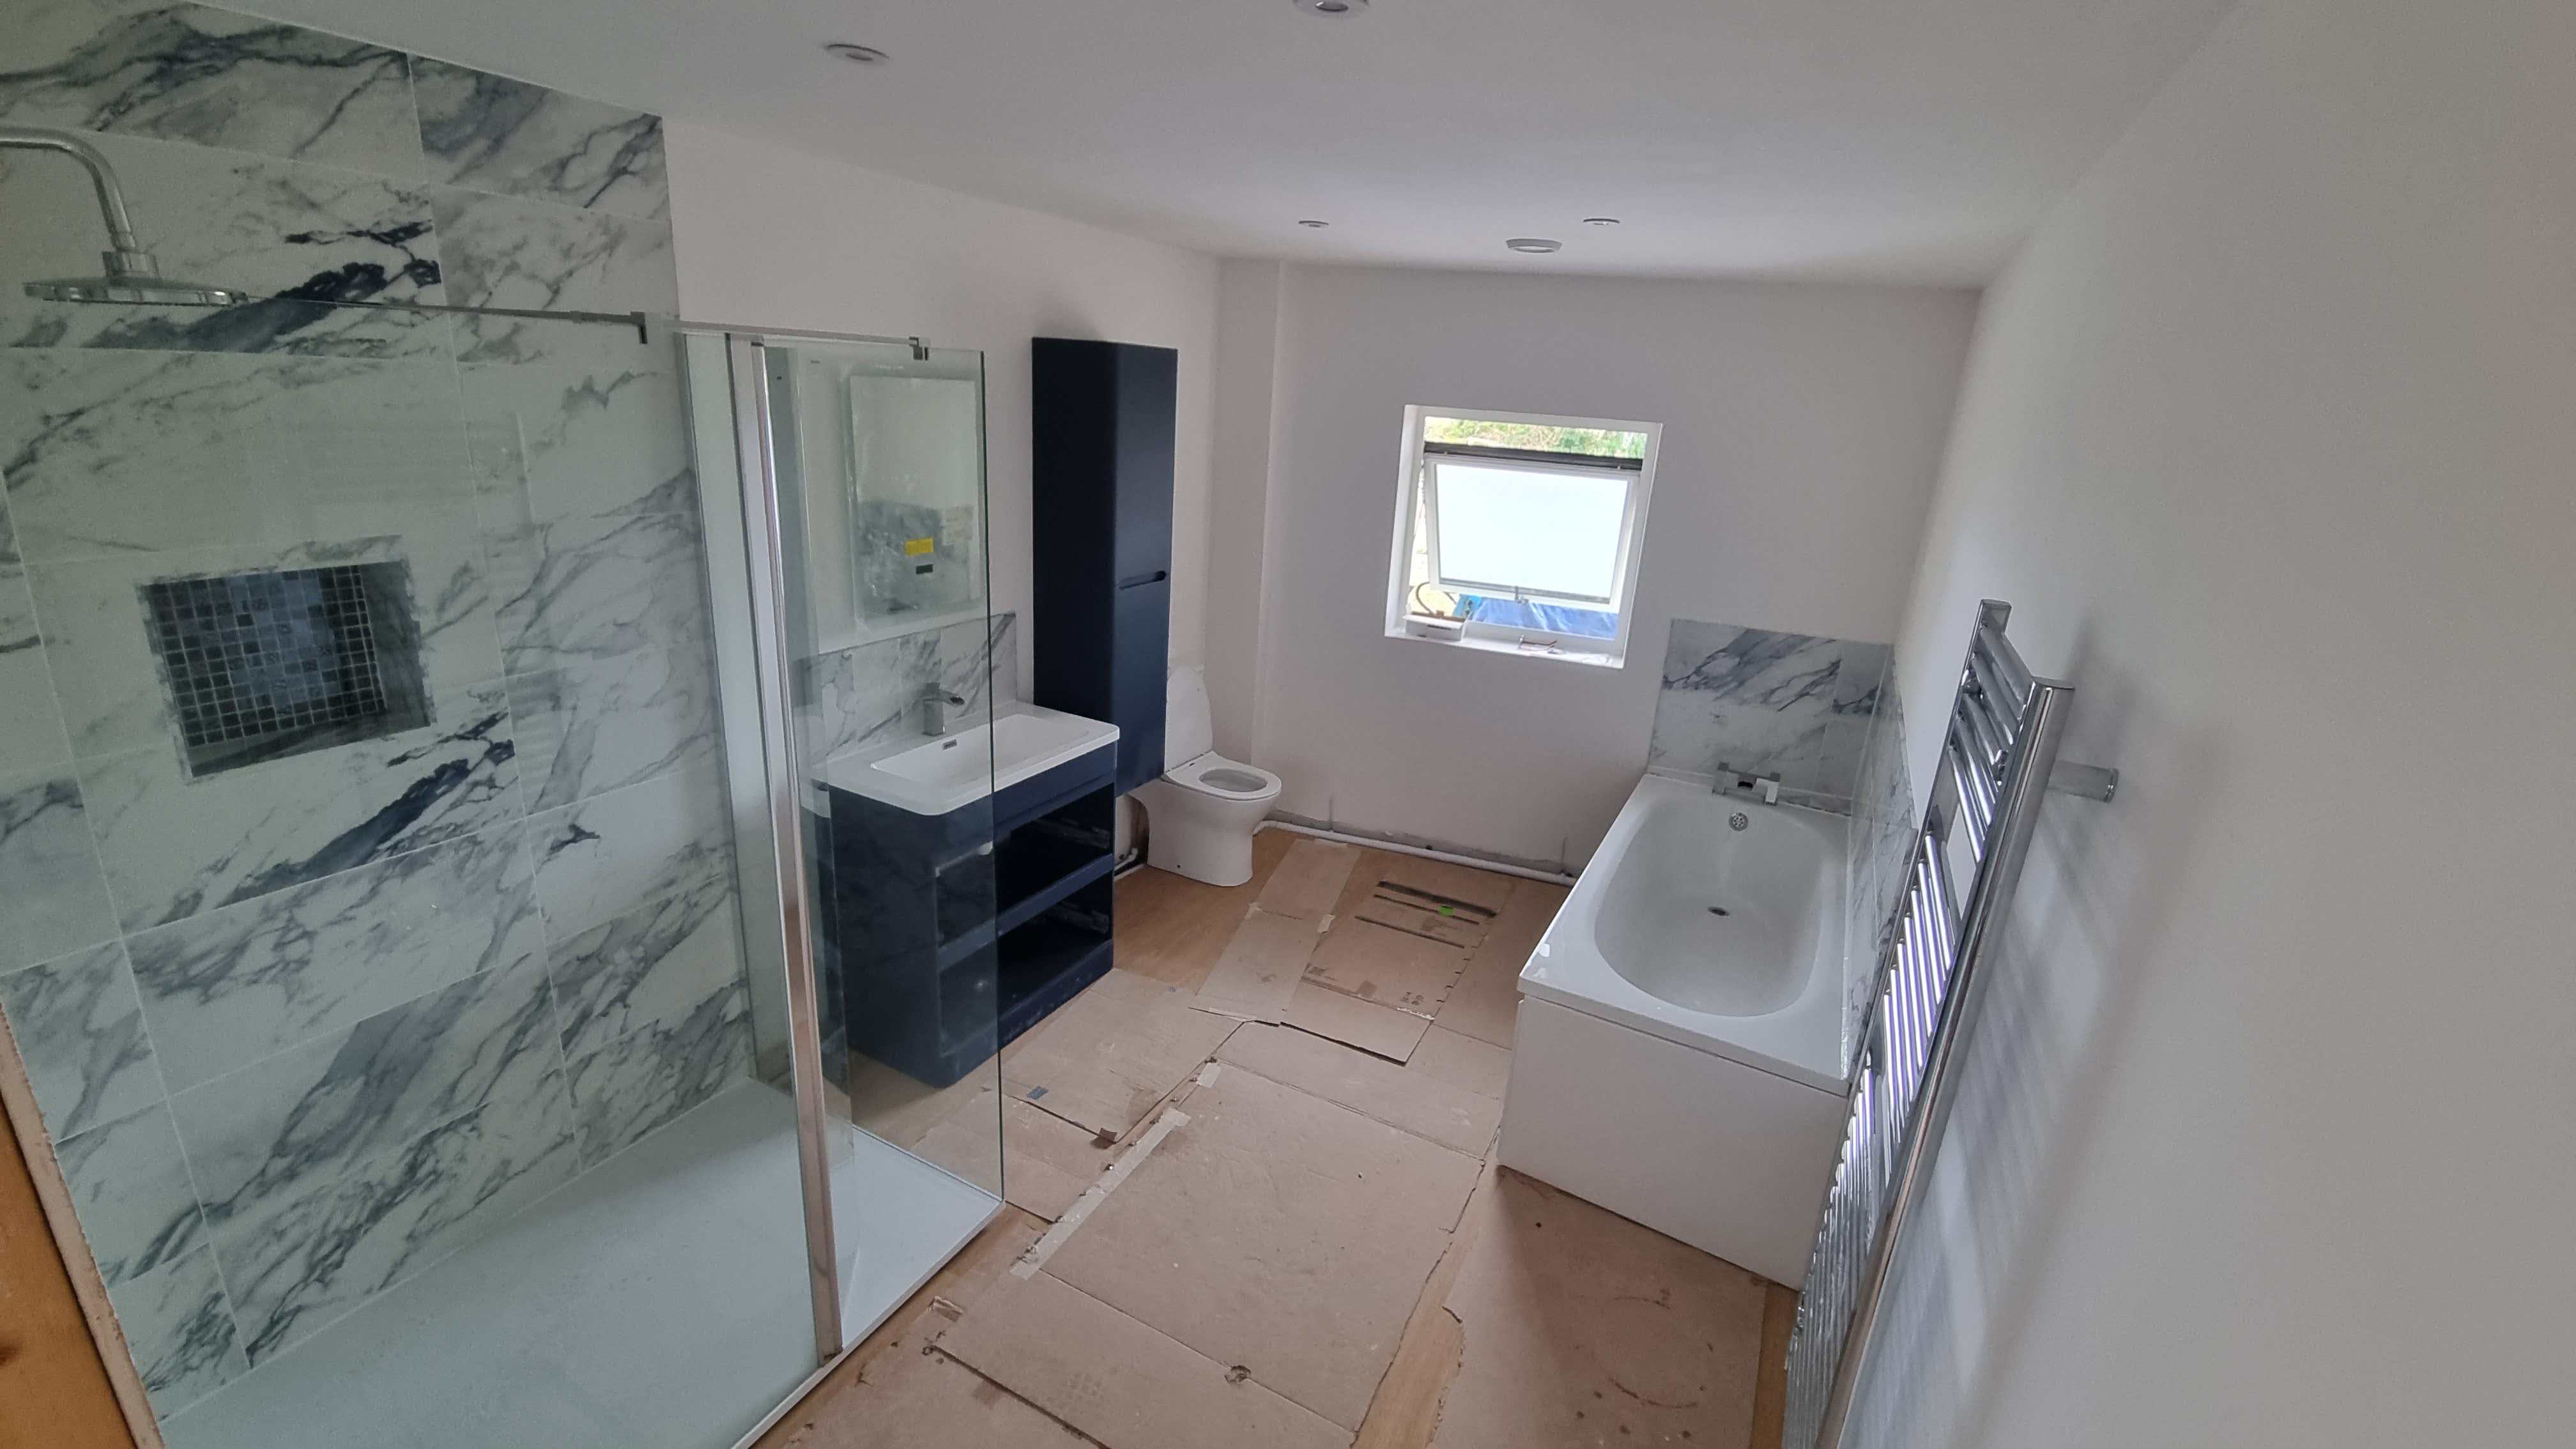
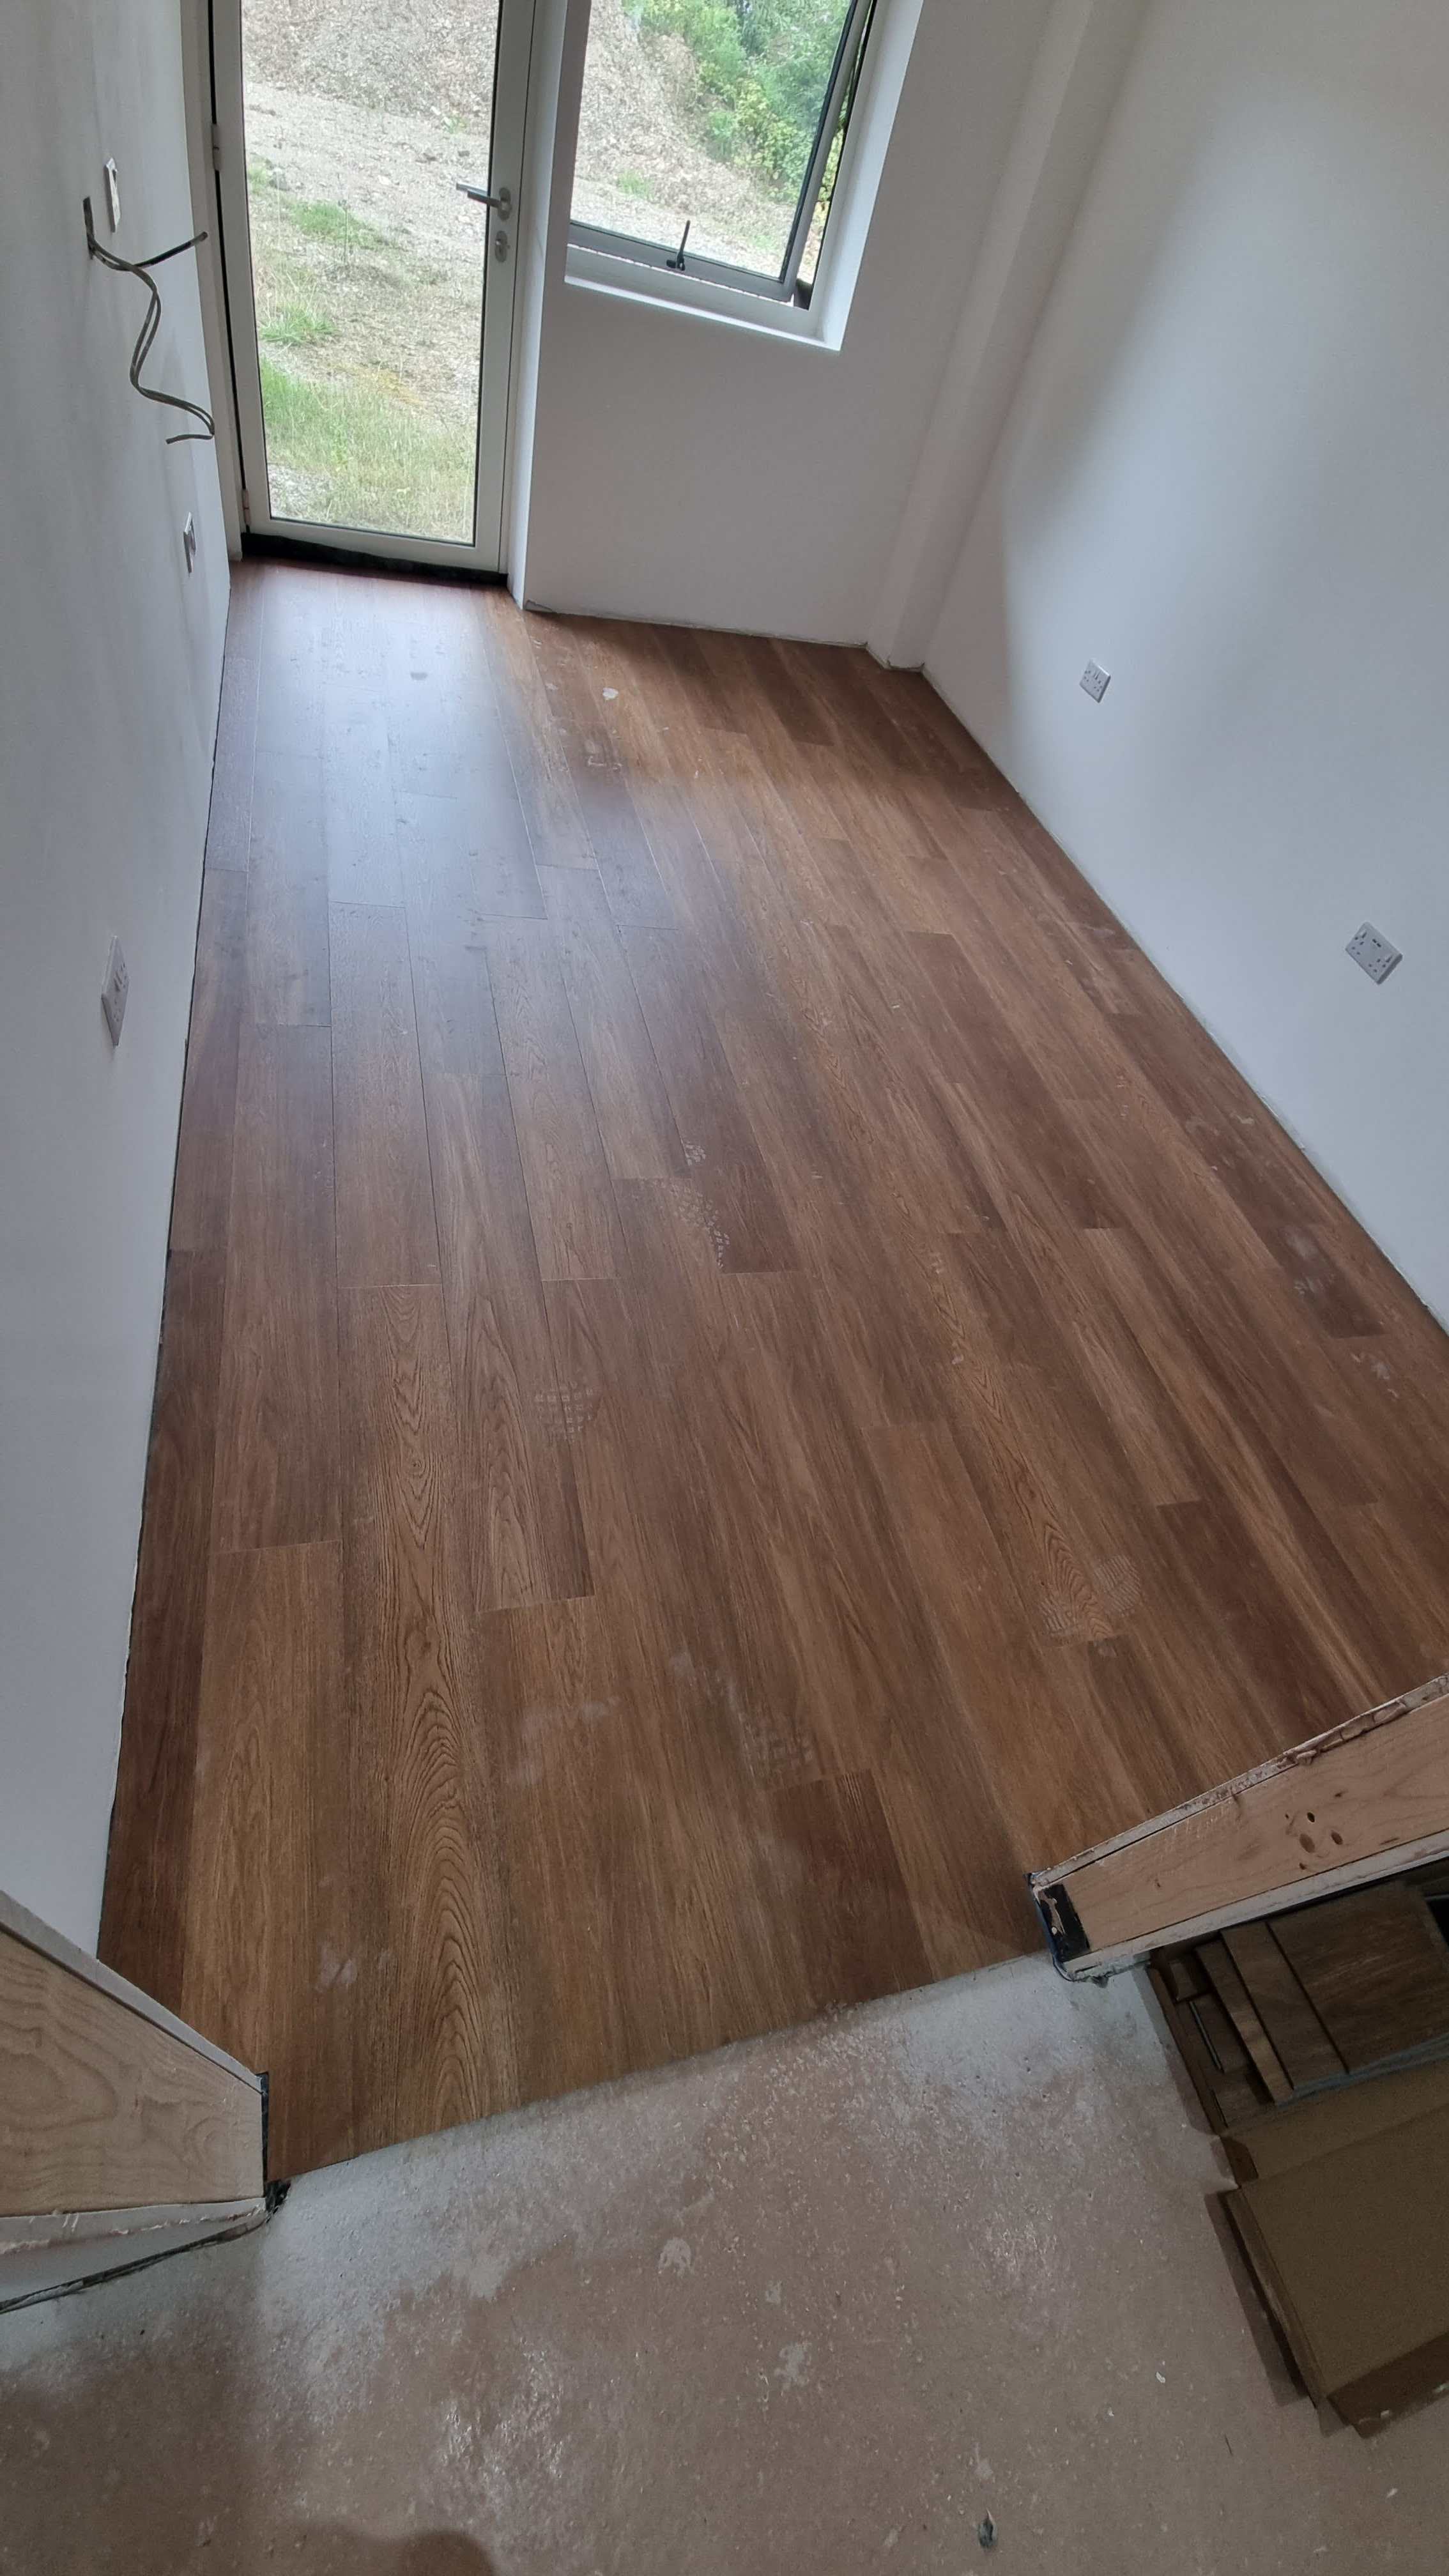
We started putting down final flooring. In the breakfast bar picture above you'll see the stick down LVT that we had fitters into do, and we've done LVT click flooring in the bathroom, a bedroom, the utility and cloakroom, and one other room.
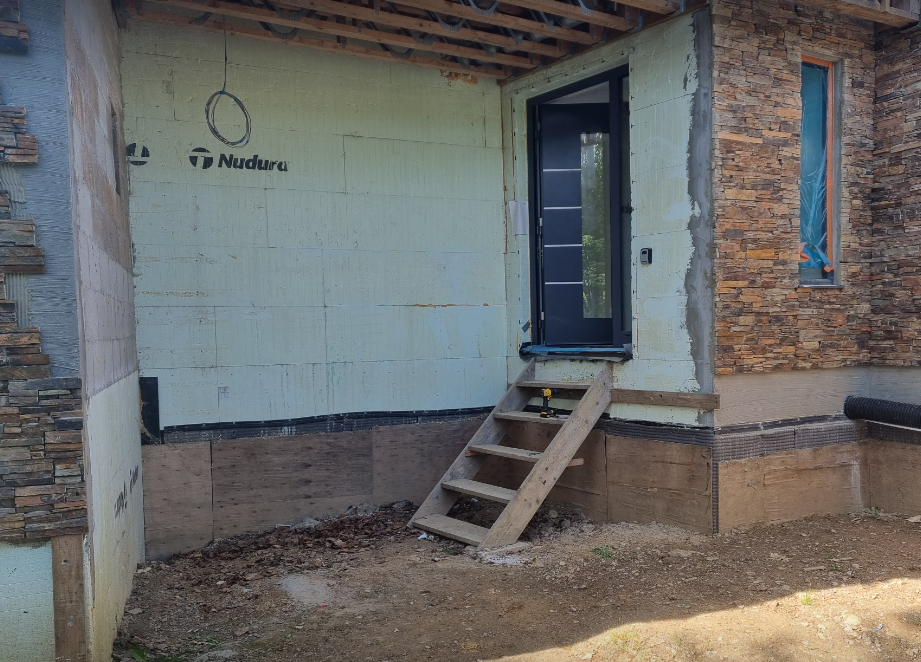
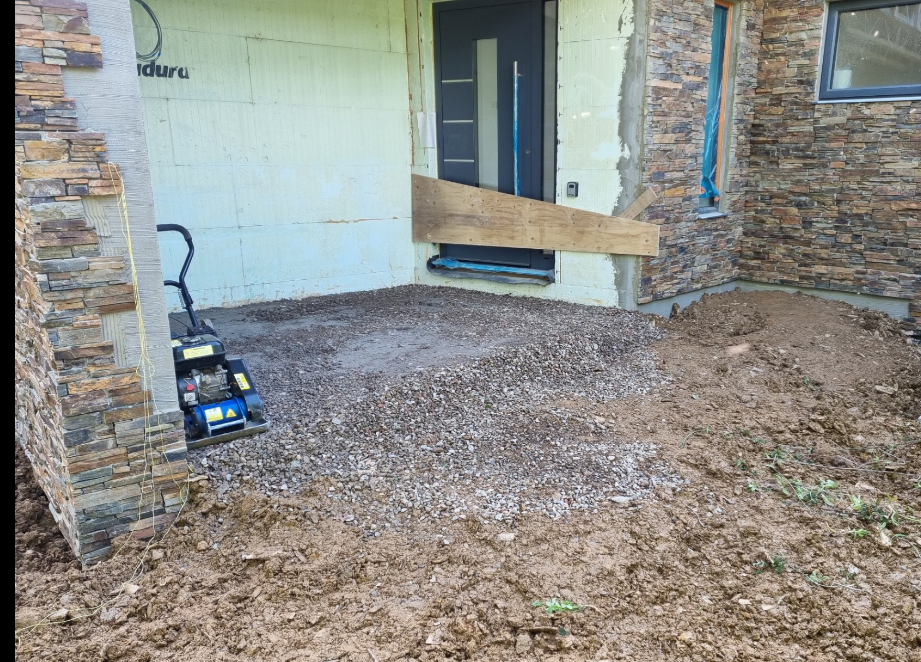
We also had some of the backfilling done, meaning we could do away with the temporary steps upto the front door and the areas around it.
So, still a lot to complete. This last week has seen the temporary utility removed and the permanent one installed, and a bed has arrived into the one floored bedroom.
Selling up:
We've sold our "holiday home", and our primary residence is on the market (anyone want a four bed detached with double garage in the Reading area?).
Next week we begin the process of moving into a building site, albeit one with a few luxuries (like the ability to cook a full roast dinner without the electricity tripping, and have the option for a bath!)
No new list this time around 🙂
-
 8
8
9 Comments
Recommended Comments
Create an account or sign in to comment
You need to be a member in order to leave a comment
Create an account
Sign up for a new account in our community. It's easy!
Register a new accountSign in
Already have an account? Sign in here.
Sign In Now