
Weeks 35 to 39
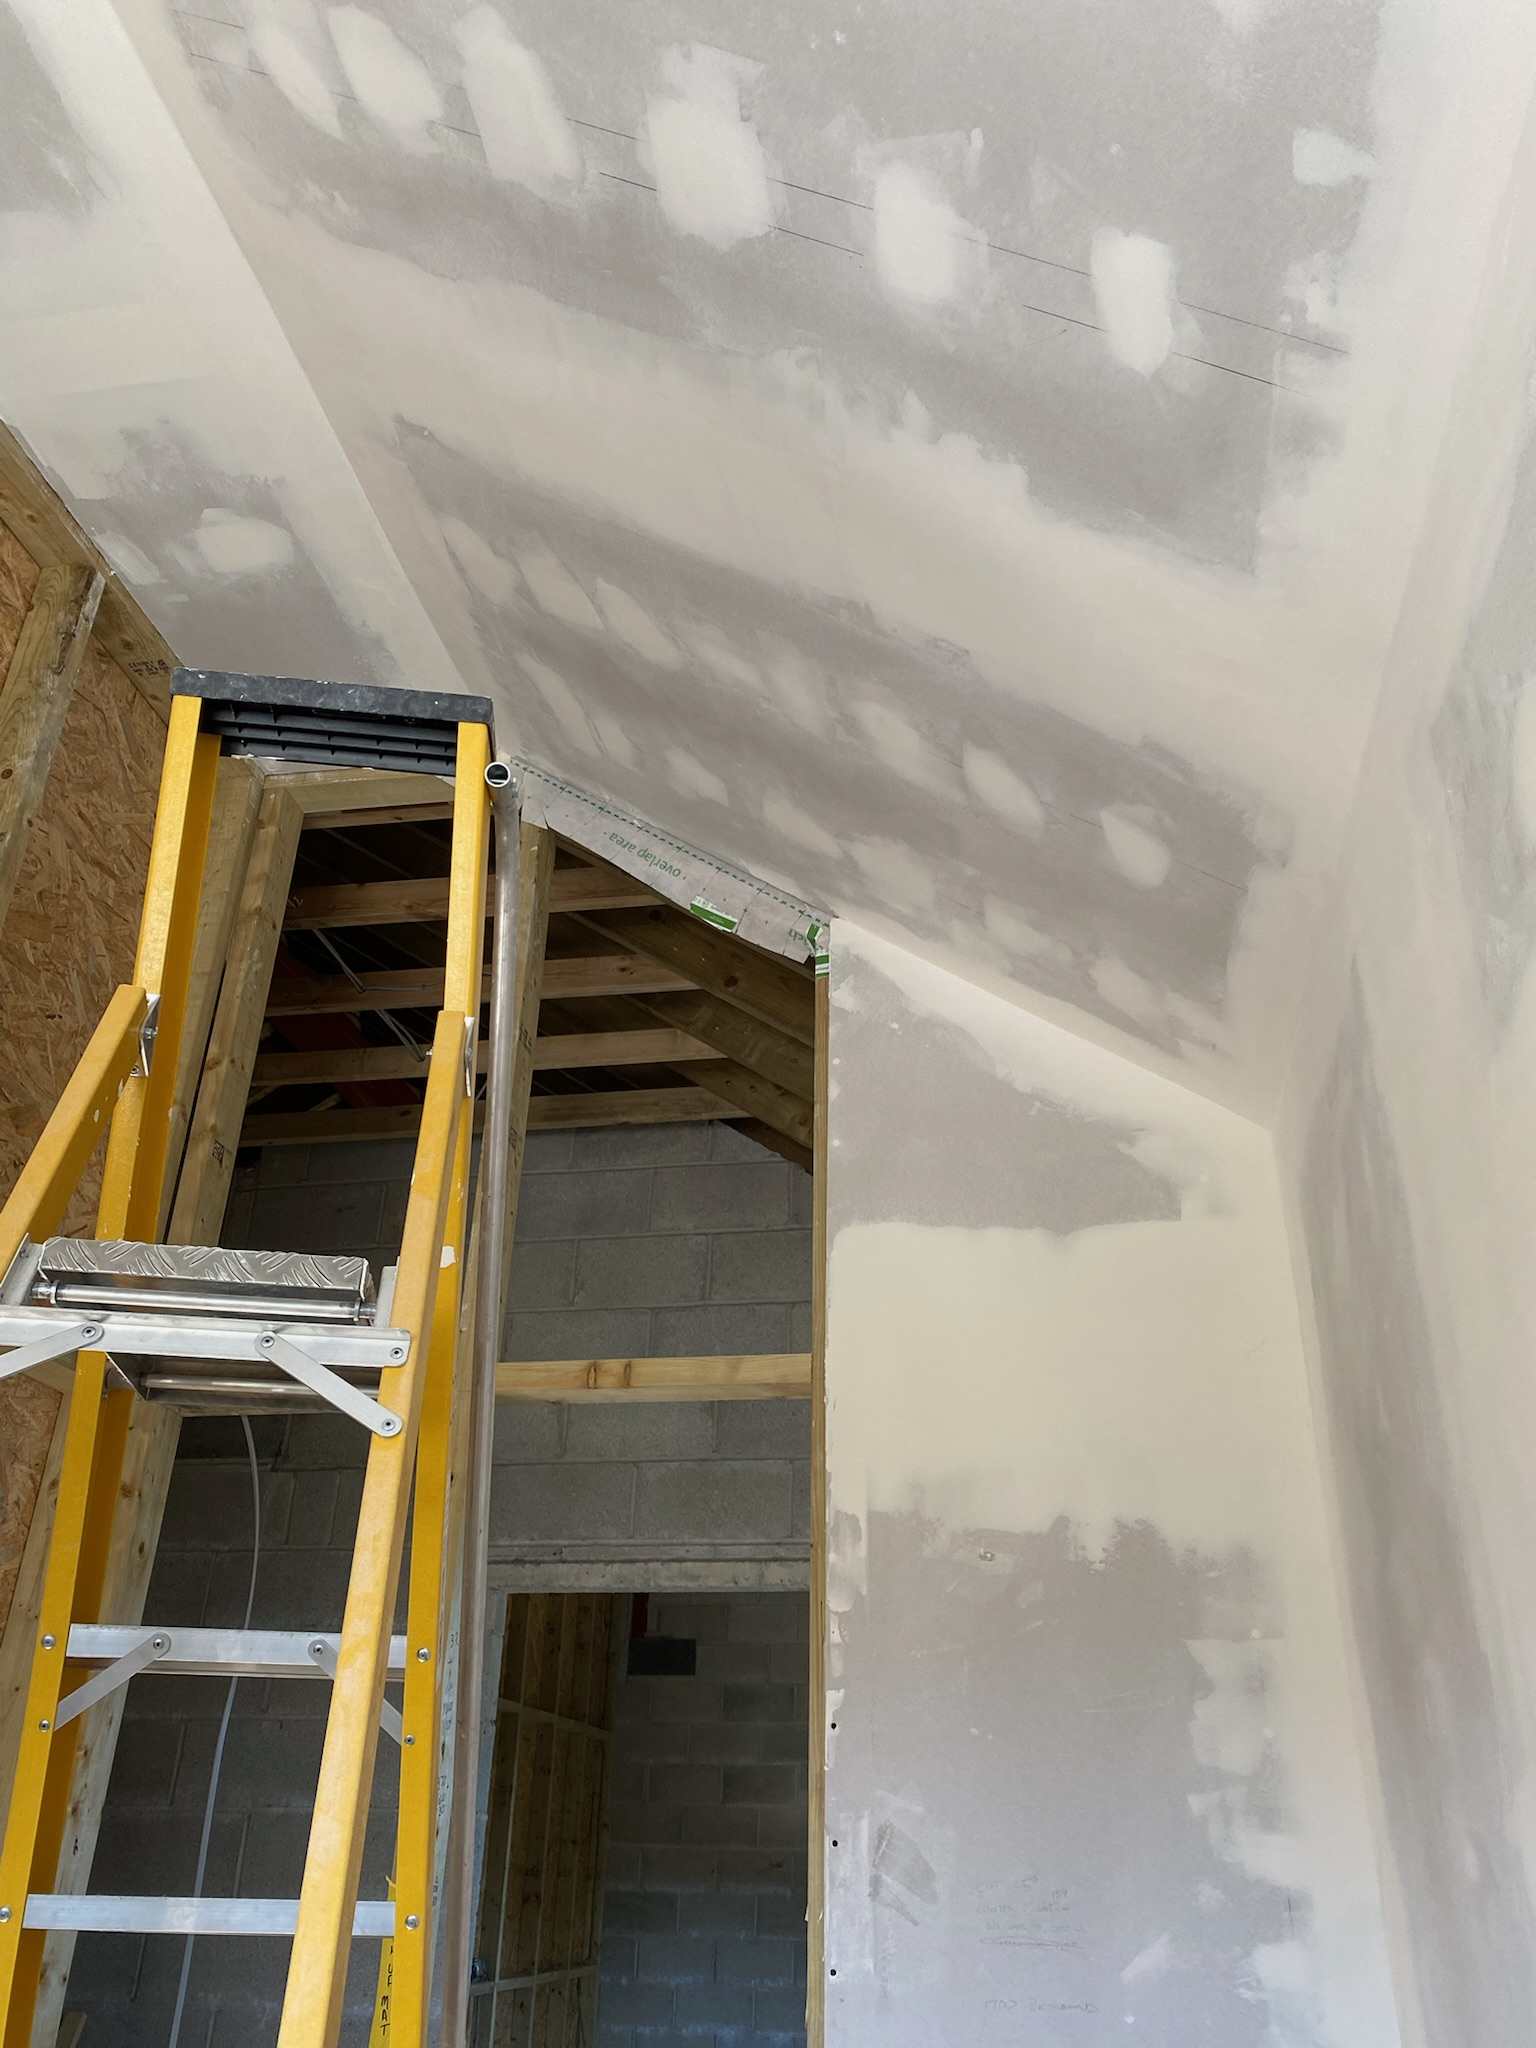
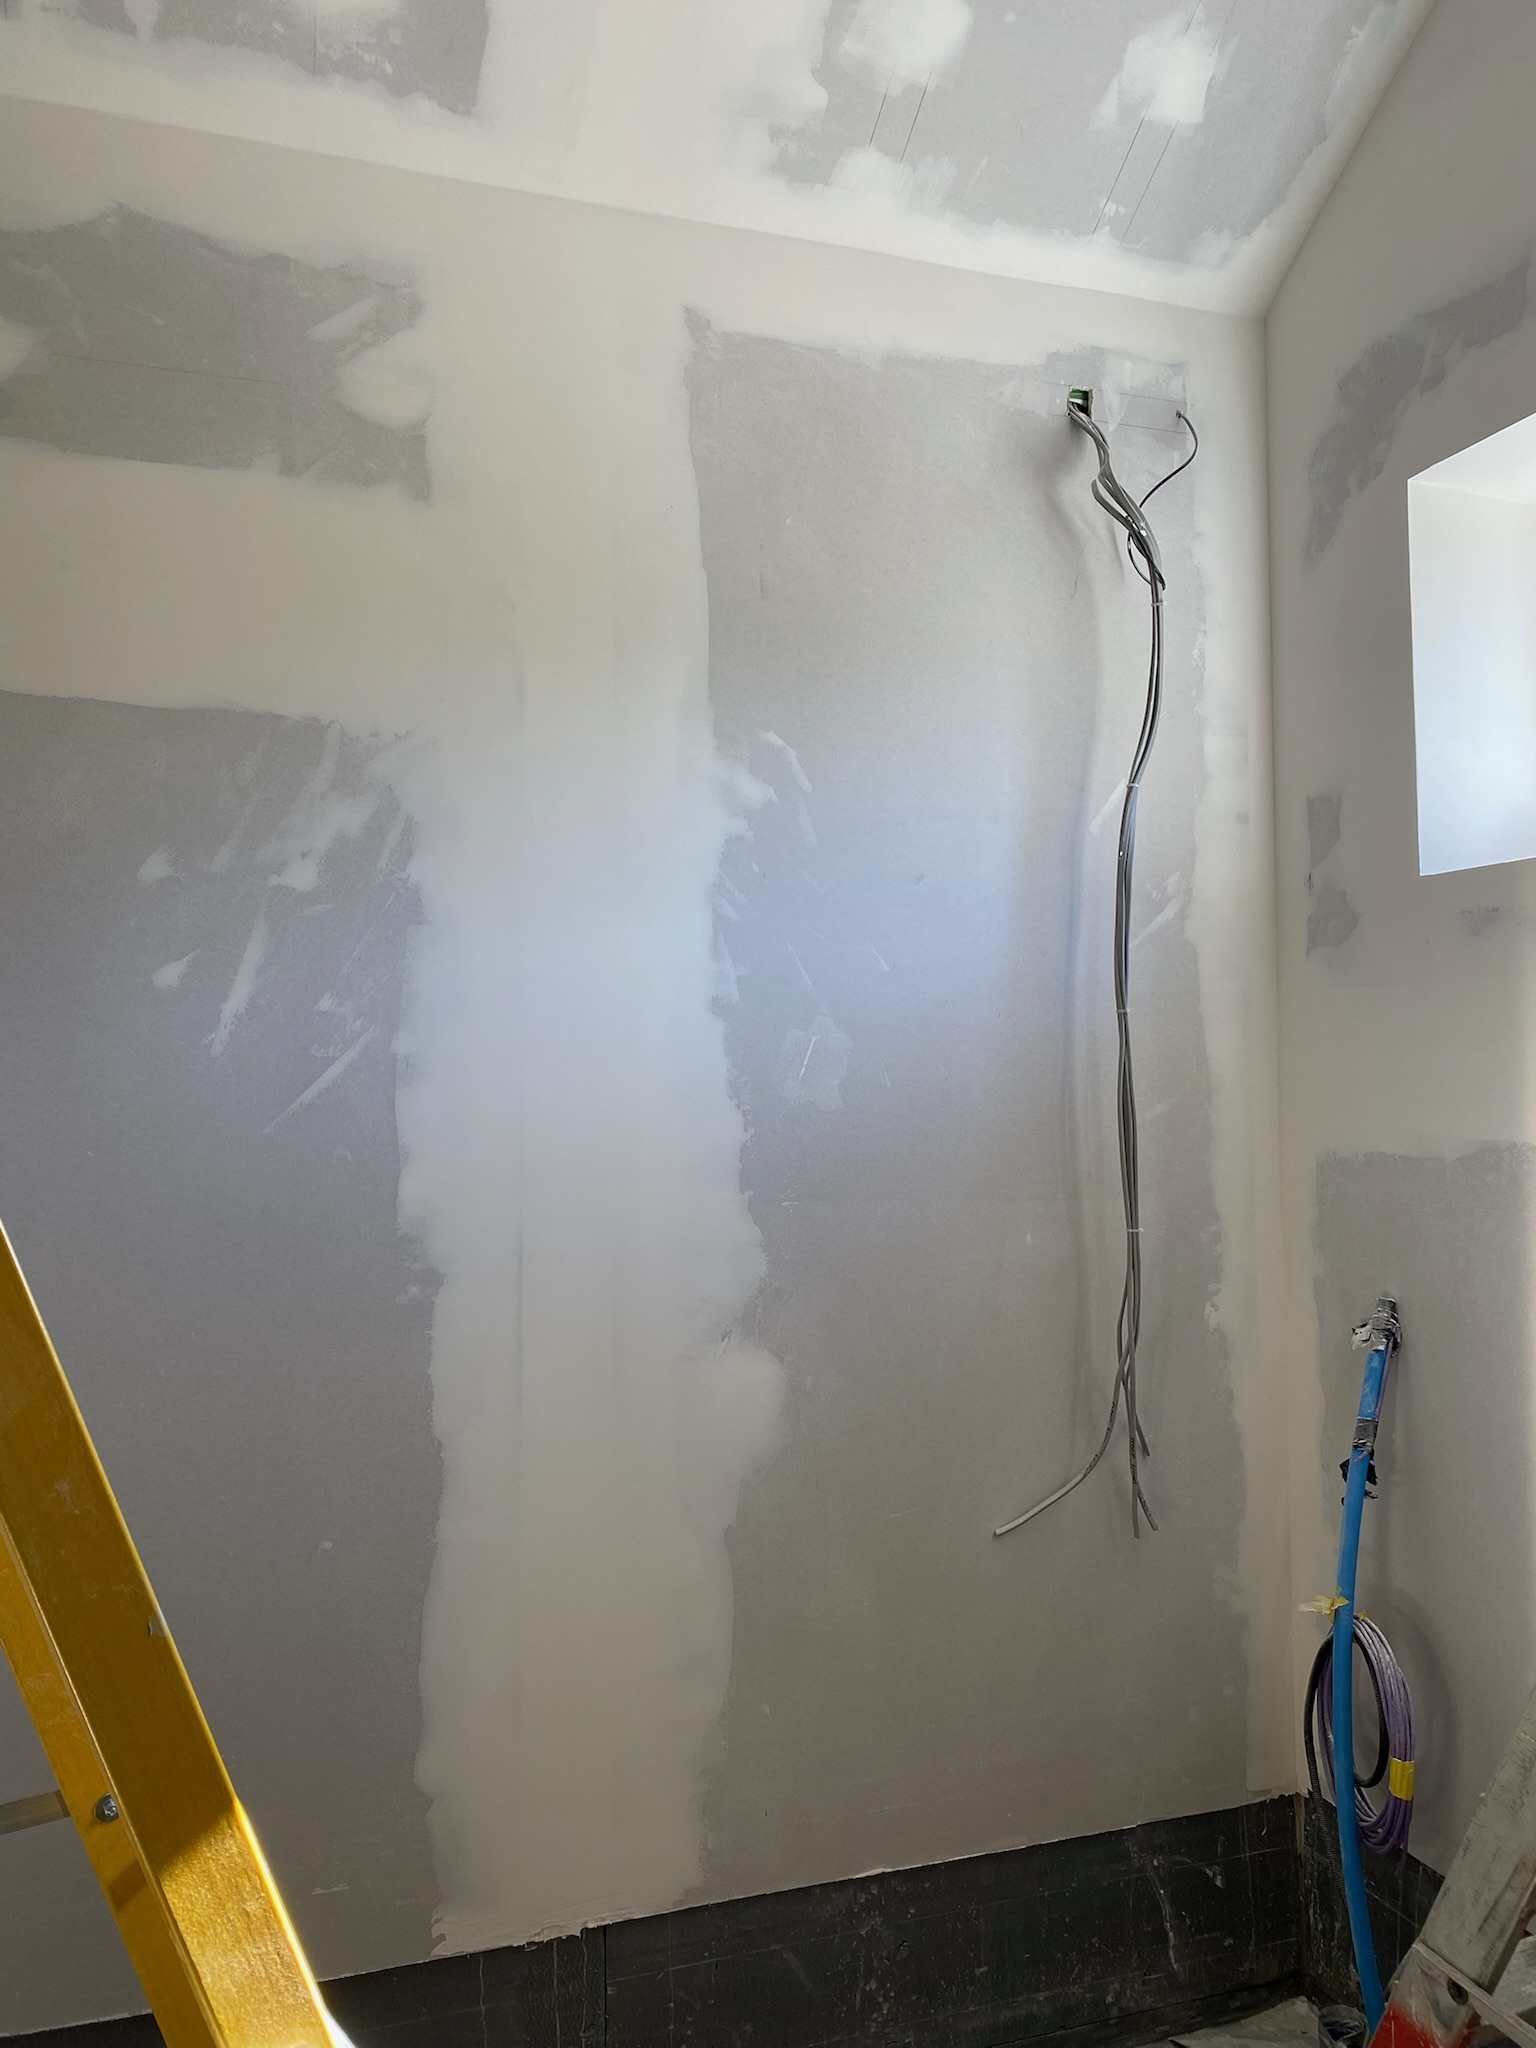
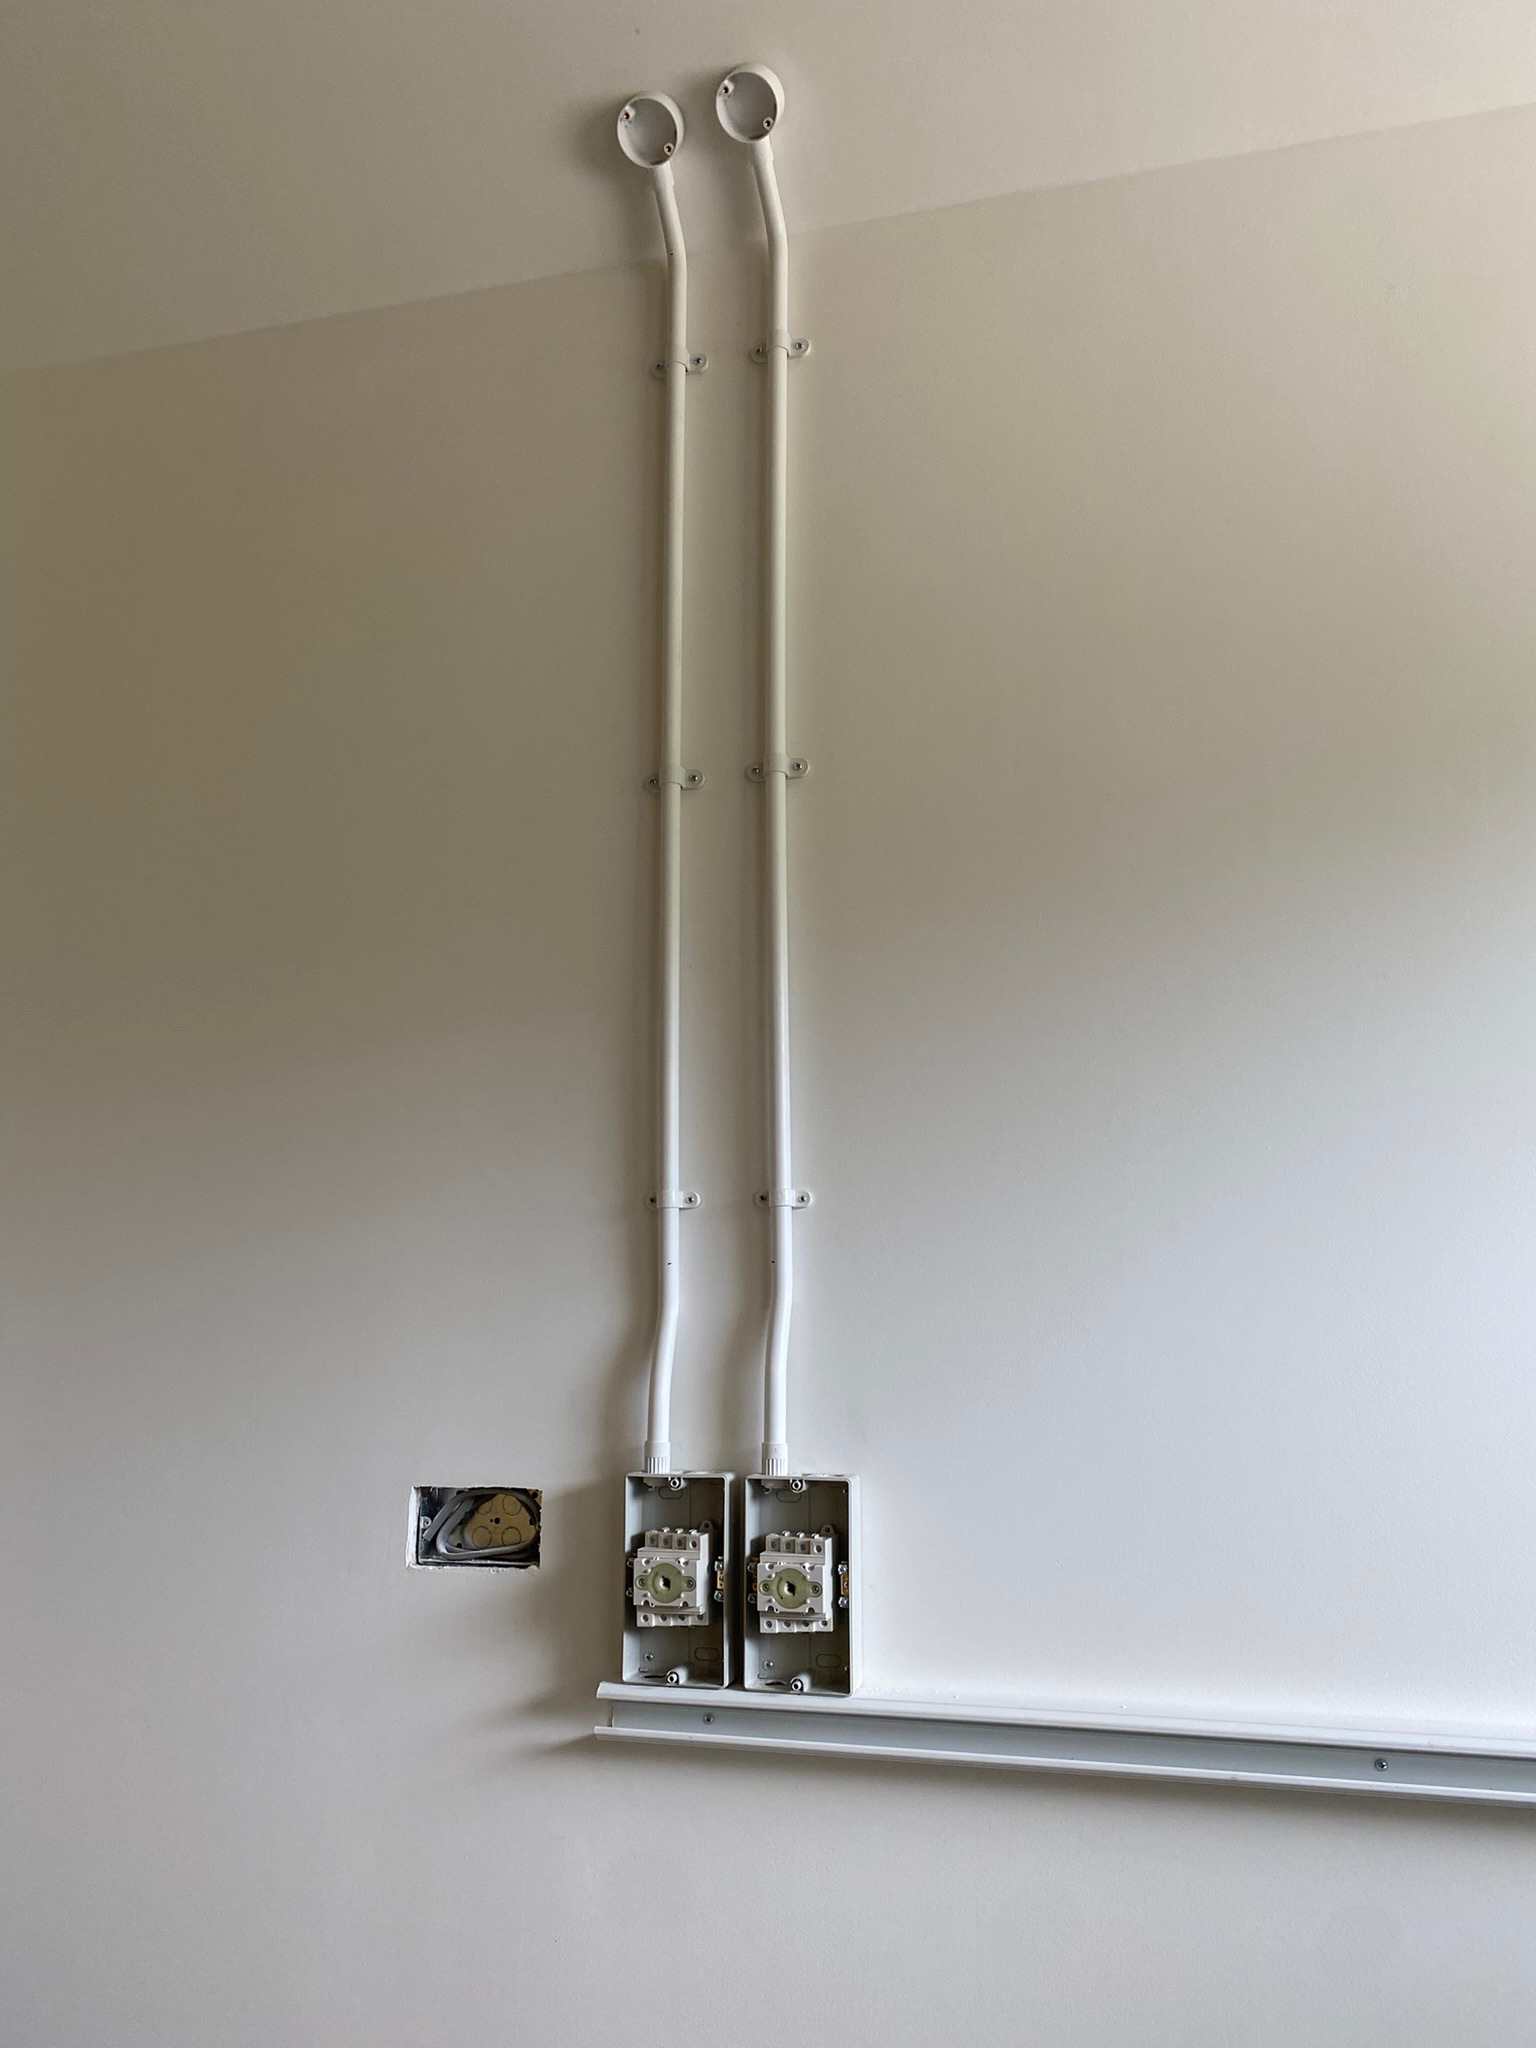
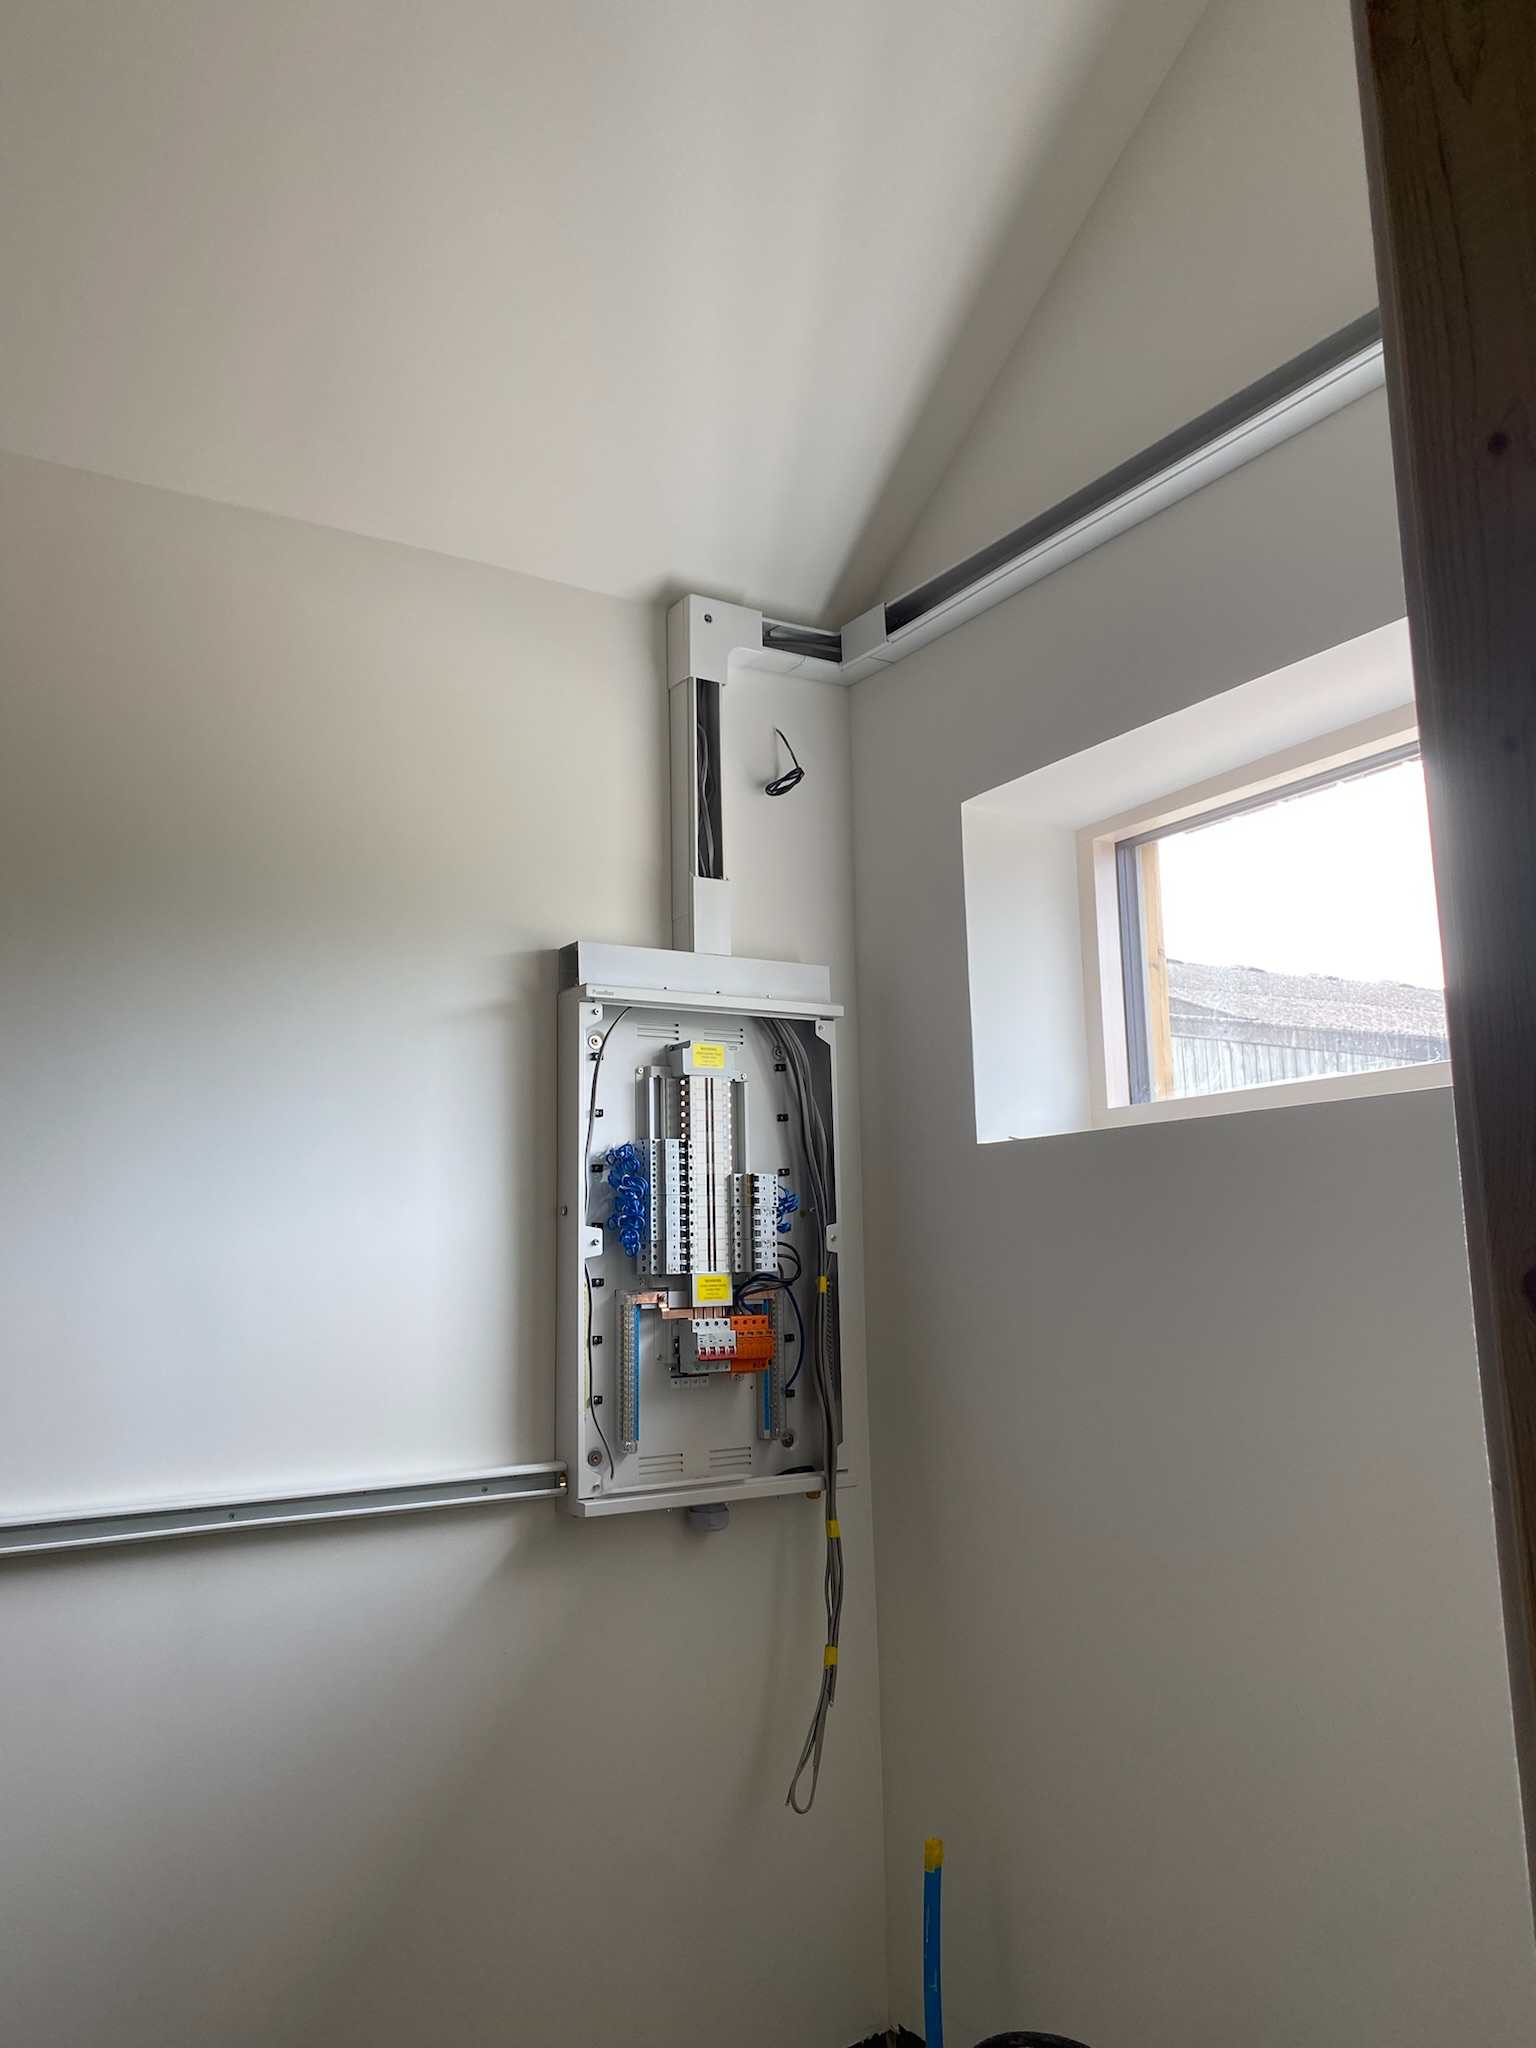
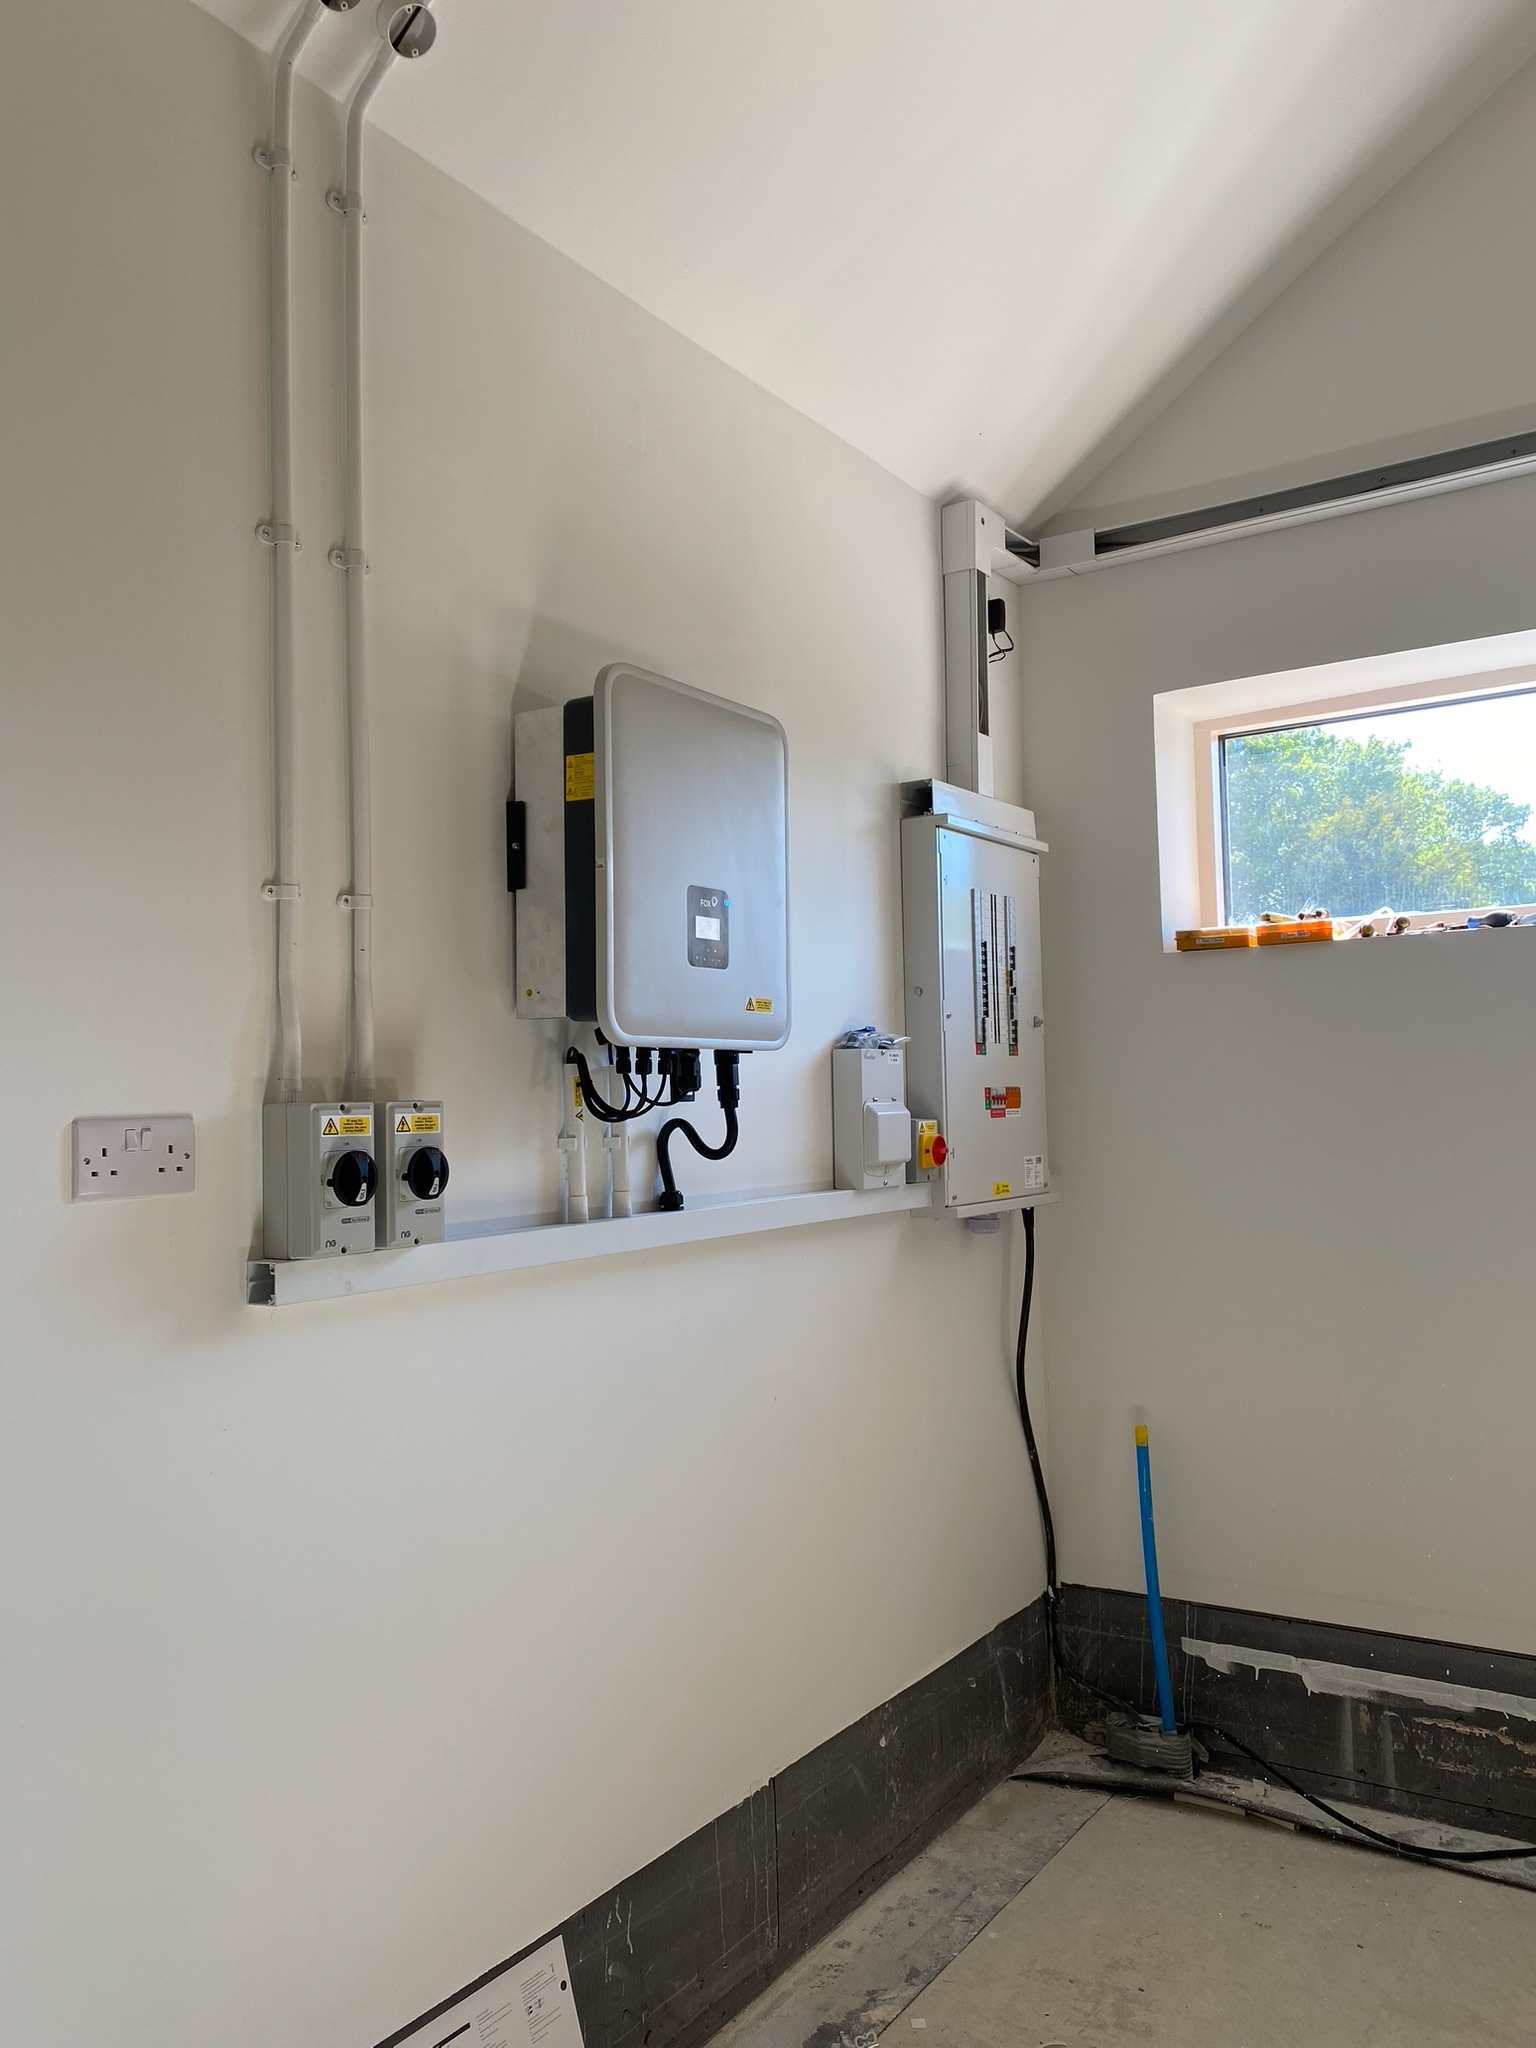
The build is close to our existing working barn and home, close enough that as a Cow Shed power and water was fed from the working barn. We have renewed the power cable and water connection so that the new build with its 7.5 kwp of solar can power the working barn. With the solar on the roof the plant room became my priority to get the CU and wiring ready for the solar installation to continue. This meant us plaster boarding in the plant room, a new plaster board lifter up to 16ft for some rooms, and me watching loads of U-Tube and learning a new skill of paper taping and jointing, drylining. We have knocked old plaster off solid brick walls and put up a small amount of square edged plasterboard for a plasterer back in Manchester but never used tapered edge plasterboard or had to think which way round is best to hang it on stud walls and around windows. To make things a little easier for a first timer I used ready mixed Knauf Fill n Finish, this sanded easily and I didn’t have to waste time thinking about the consistency of the mix. I really enjoyed the process, I wasn’t quick, I wasn’t perfect, but the end result is very good. I did get a few blisters in my first ceiling joints, but I know why and I solved it and overall I quite impressed David with my new skill, so much that later on I can do other more important rooms. The main problem I had in the plant room was its size, a small room with a high ceiling in parts, the tall step ladders wouldn’t fully open width ways and then when they did open fully I was not close enough to the wall/corner. Just moving the ladders around was muscle building but our smaller ladders were not quite tall enough.
Once I had painted the walls I handed the room over to David to do the wiring. Back in Manchester we have an Industrial and Commercial Electrical business and David was the NICEIC qualified supervisor for the business, he has now handed that role over to his younger brother but still has the knowledge (once checked the new regs) and skill to get the plant room wired ready for the solar to be finished.
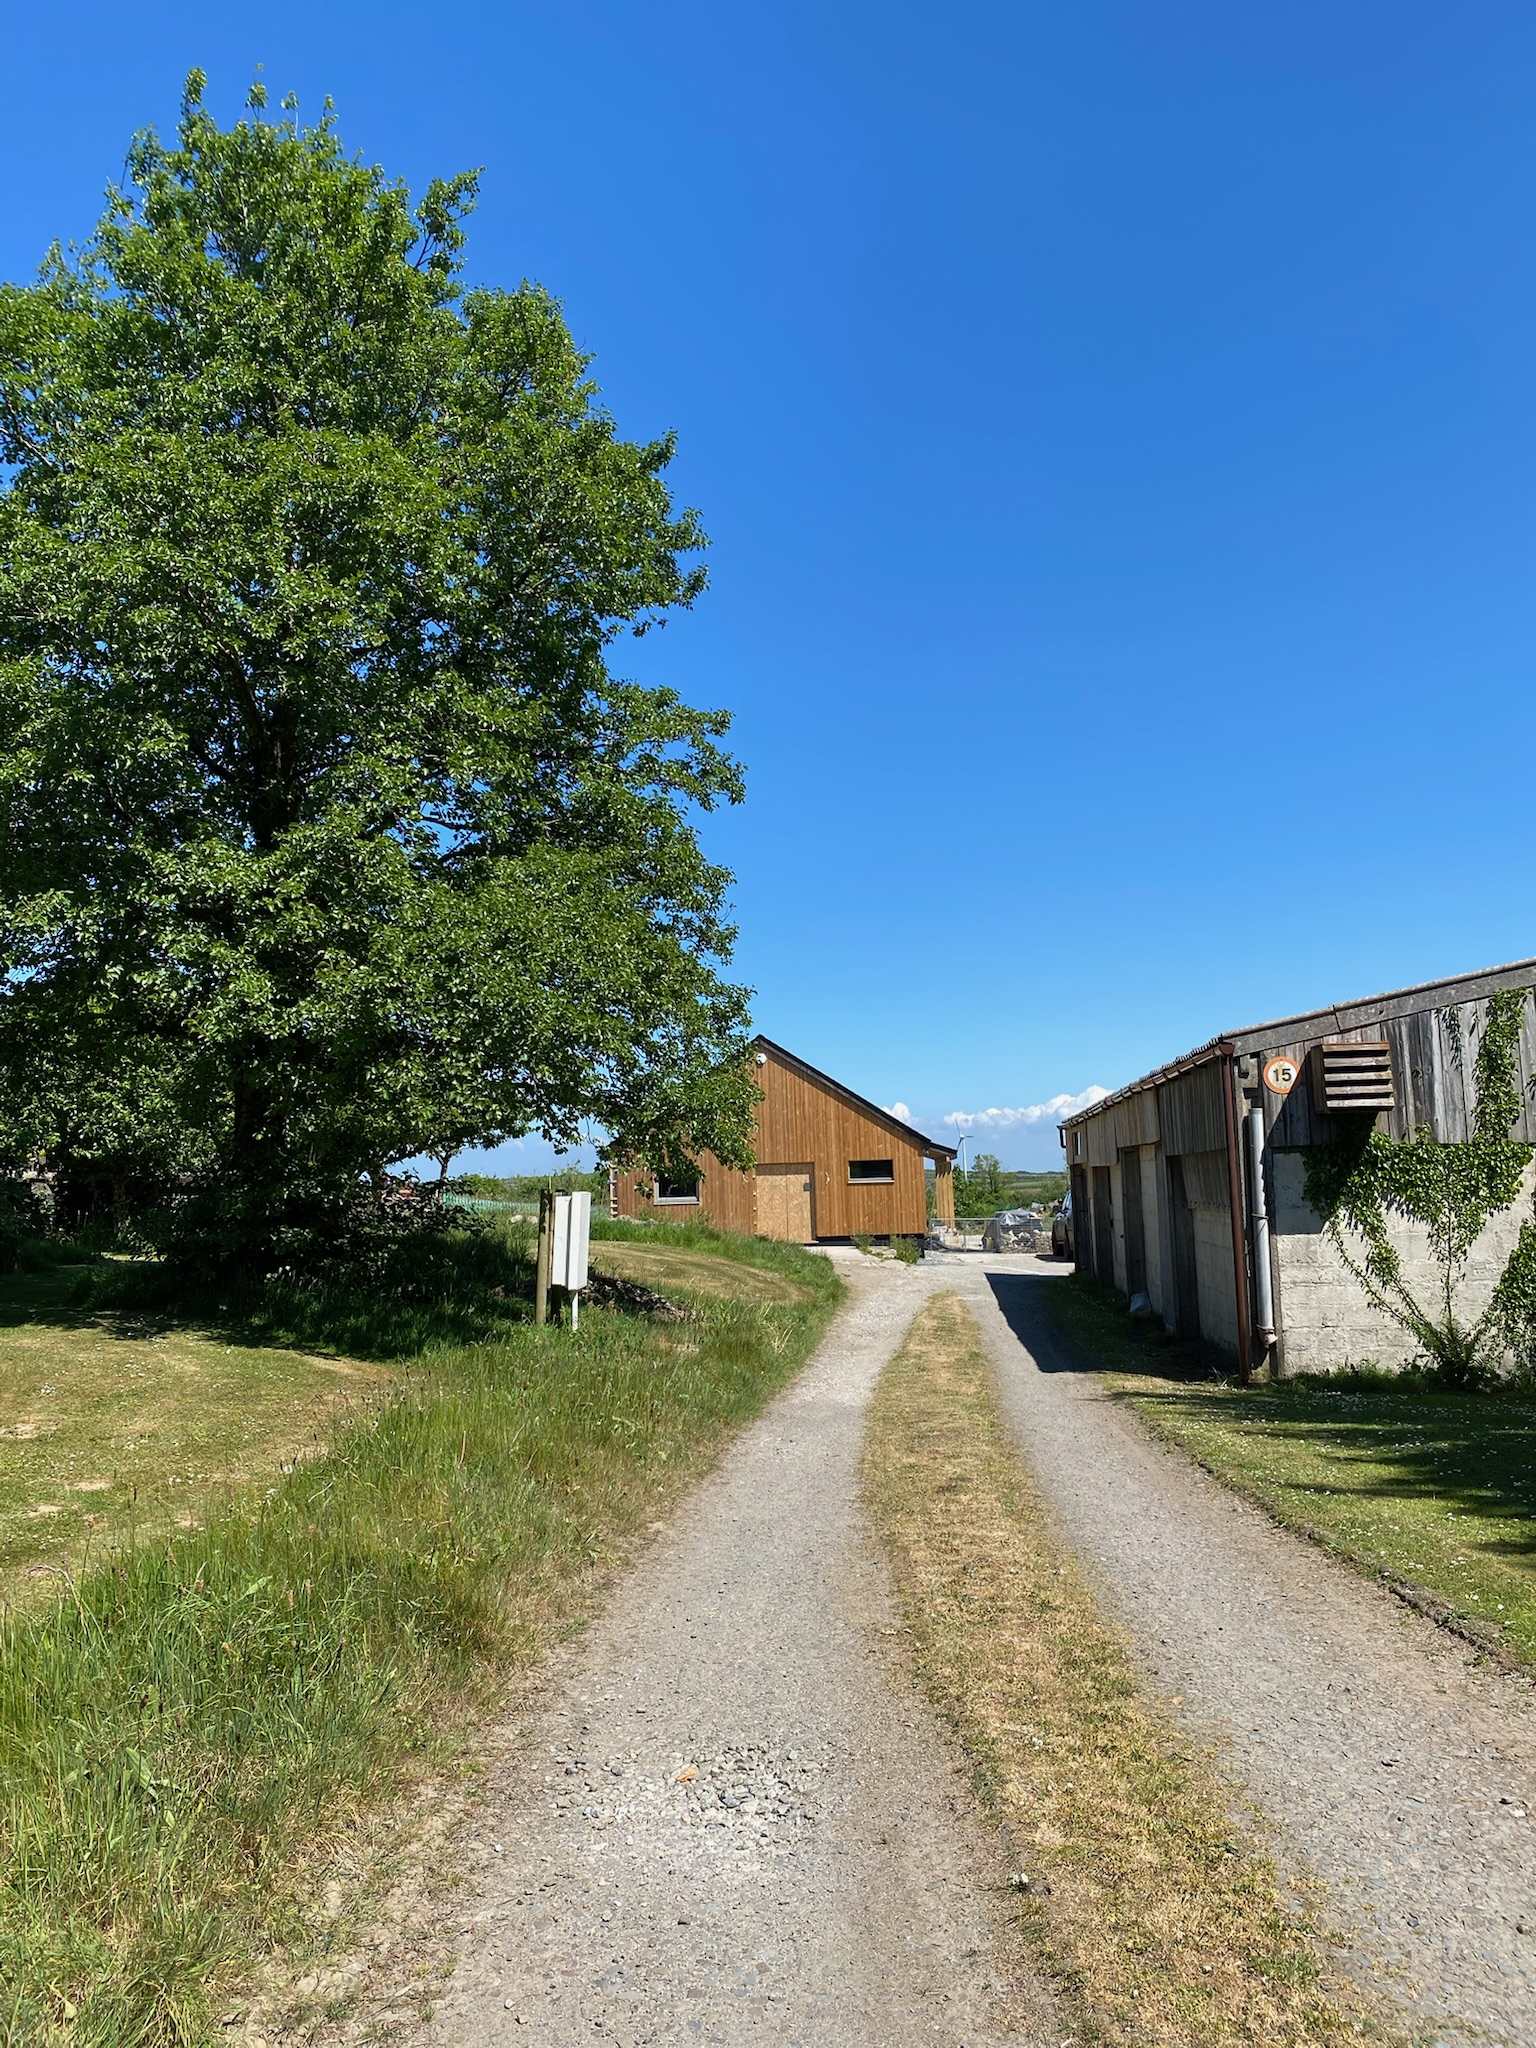
That meant he had to stop cladding and come inside the build so I went outside to get ready for the renderers who were coming to render the North wall. Due to the change in ground levels around the building, as it’s situated between the field and the concrete farm courtyard, I wanted to protect the walls with stick on waterproofing, that the renderers batten over. There are so many variants out there of sick on or paint on waterproofing membrane but not many that say they have no solvents or can be used on ICF, most of the small print says block or concrete. I chose Newton Hydrobond SA as it acknowledges its use in ICF builds, but the warranty is provided by the waterproofer ie me in this case. Once the soil is level with the build there will be a gap between the ground level and the render I hope to stick on the roofing slate I have saved possibly with tile adhesive. The walls currently being clad will also eventually be waterproofed below the cladding but I didn’t want the stick on membrane getting damaged and the ICF needed protecting from the sun so as a temporary measure for the ICF walls and a permanent solution on the concrete dolly block, in the area we park the cars I have painted on a bitumen membrane. David will love that I am now sharing my ‘kitchen utensil methods’ with you all, for the sticky black paint I used a washing up dish brush (also good for patio grout, and bathrooms), Its stiff bristles worked the paint in well and long handle kept me relatively paint free and I can also recommend a spaghetti measure that has various size holes and spoon end for stirring paint but his favourite one was me tiling the bathroom and trying to get the grout up between some wood cladding and a tile, a wooden spoon was used, in my defence I was very tired.
So now I’m back collecting stone from our excavation piles to fill the gabions and next week when the weather is not supposed to be as sunny I shall be inside continuing with the insulation I’m on my 3rd pallet of Rockwool and soon will have completed two thirds of the roof, next is PIR insulation. A bread knife is great for this as I have to cut various shapes out of the insulation for the eaves, steel ridge beam and the join of the flat ceiling collars to the sloped ceiling rafters. Before the windows were fitted the openings were covered in roofing membrane so this was a cold job and the daylight hours limited my progress, now I’m extremely hot in the loft wearing a polo shirt as protection against the itchy insulation. I’m nearly done for now as I can’t reach any higher in the vaulted lounge/kitchen until we insulate and screed the floor then I should get another row completed before handing the job over for the last bit of insulation and the plastering from off a scaffold tower.
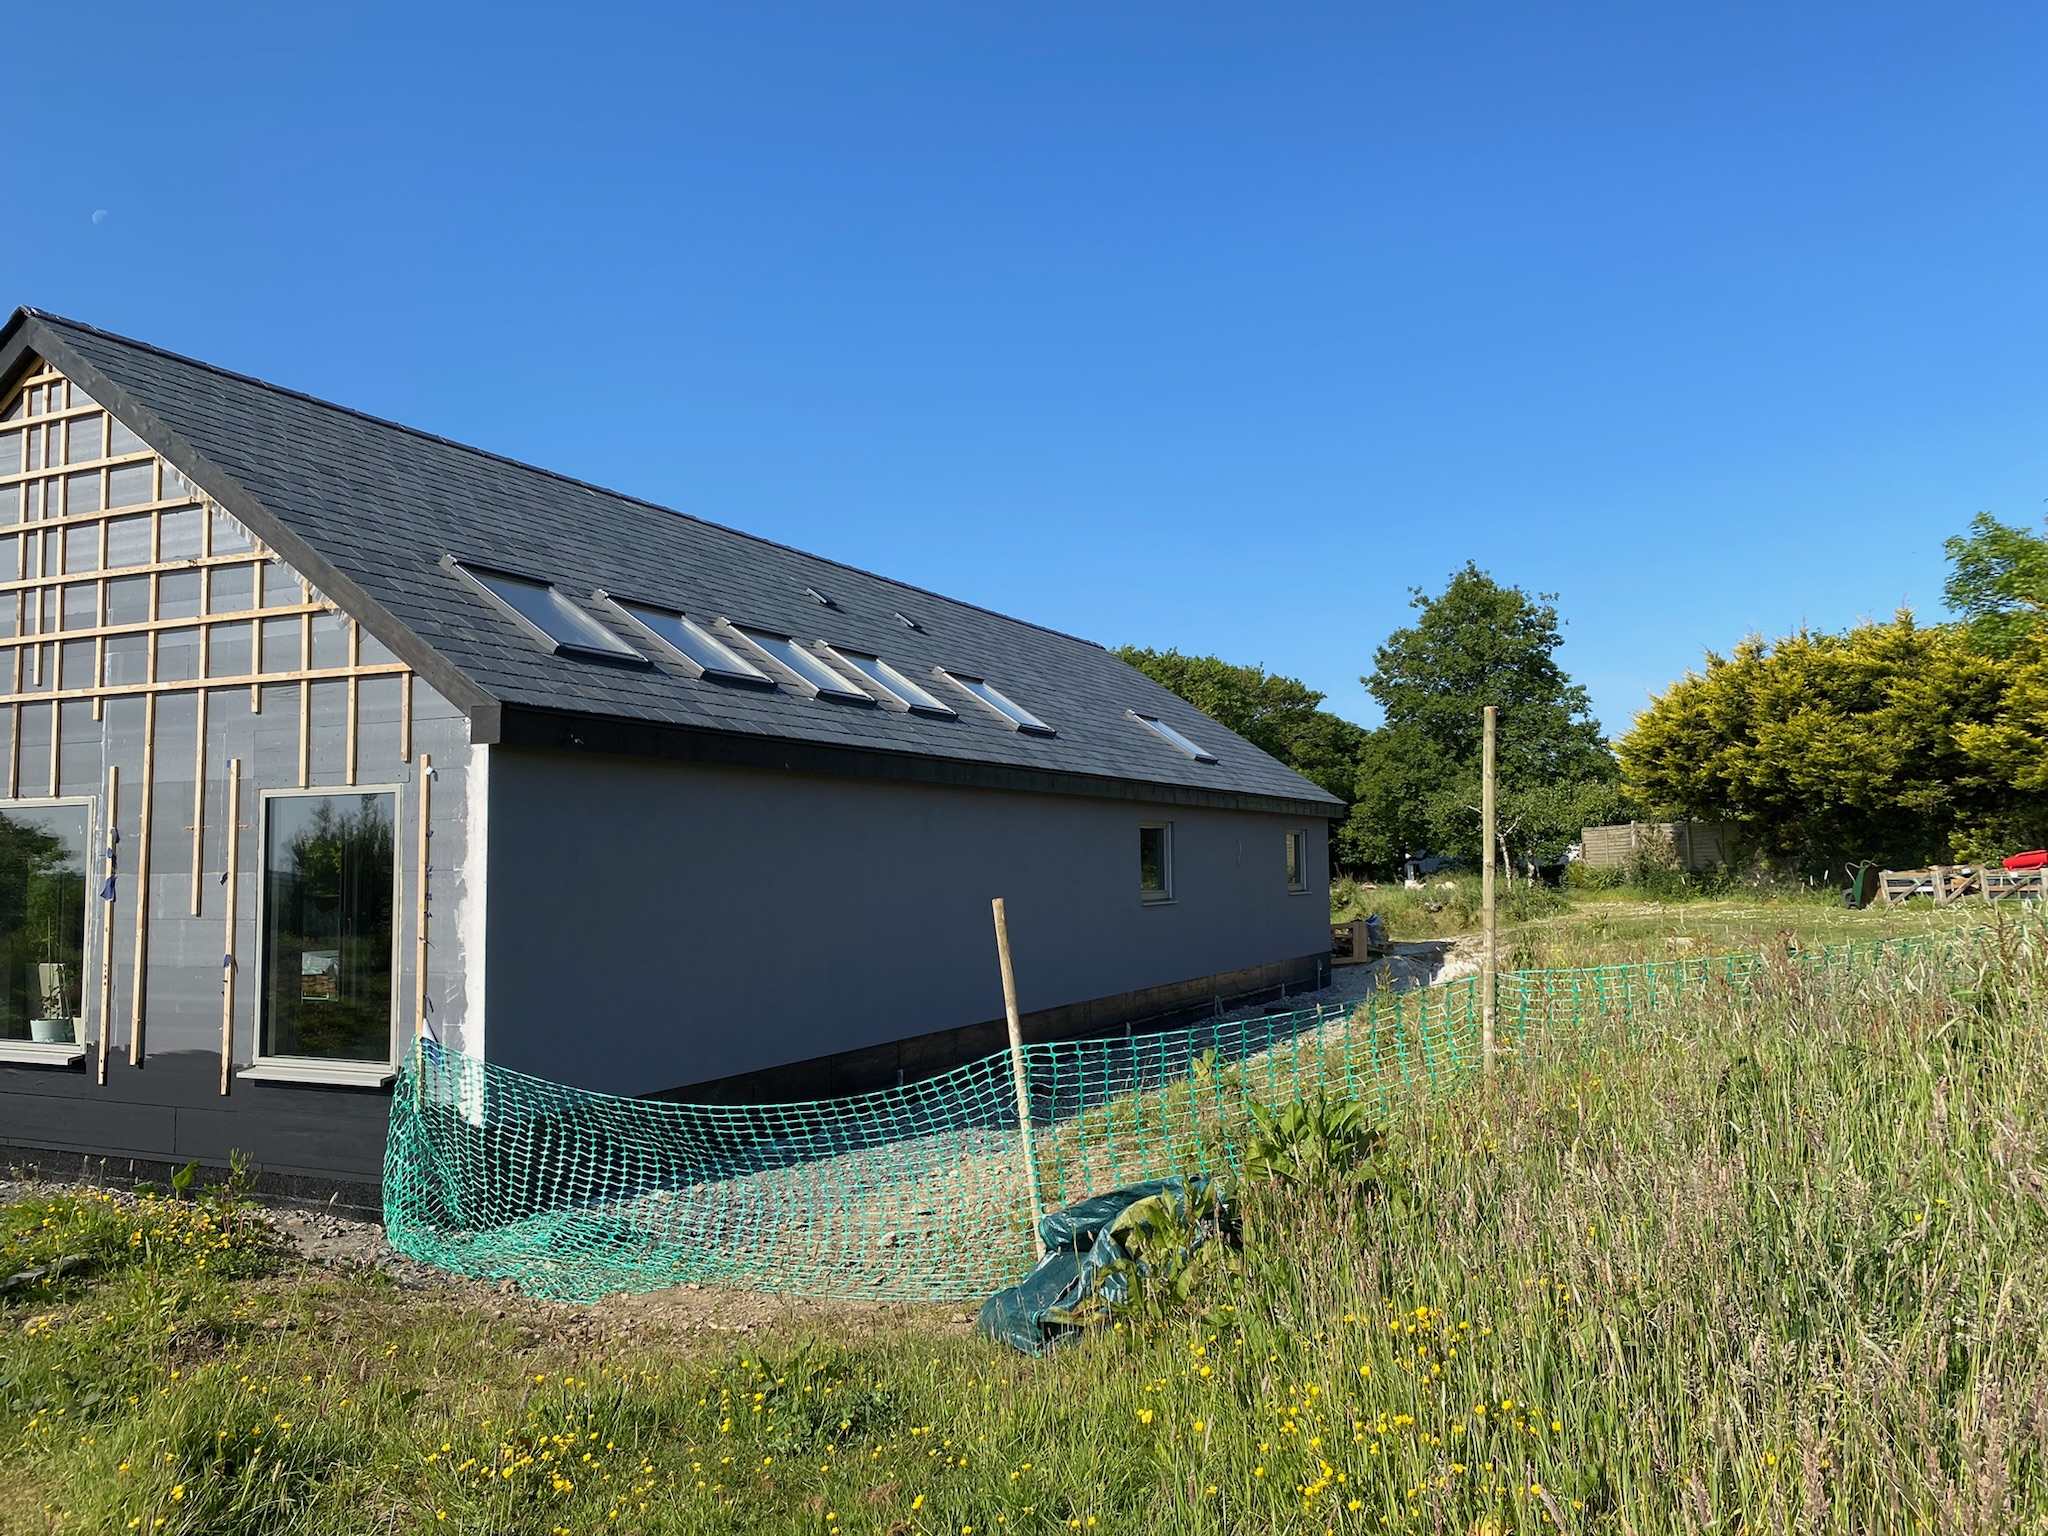

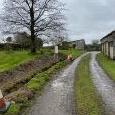
May 2025 front cladding completed and March 2023 before we knocked down.

-
 4
4
2 Comments
Recommended Comments
Create an account or sign in to comment
You need to be a member in order to leave a comment
Create an account
Sign up for a new account in our community. It's easy!
Register a new accountSign in
Already have an account? Sign in here.
Sign In Now