Some progress - at last
Once again it's been much longer than it should have been since I last posted with my last entry being July, wow where has that time gone.
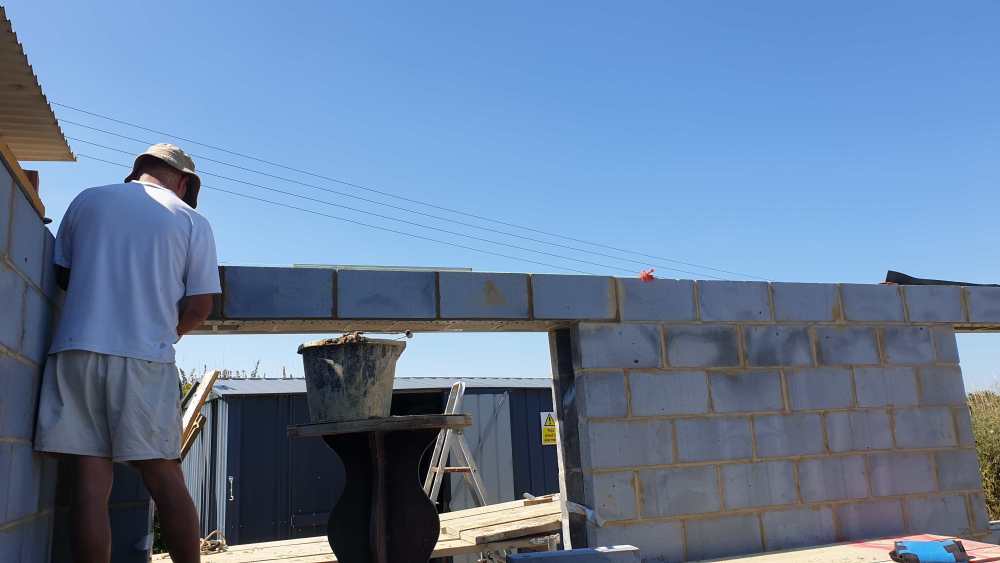
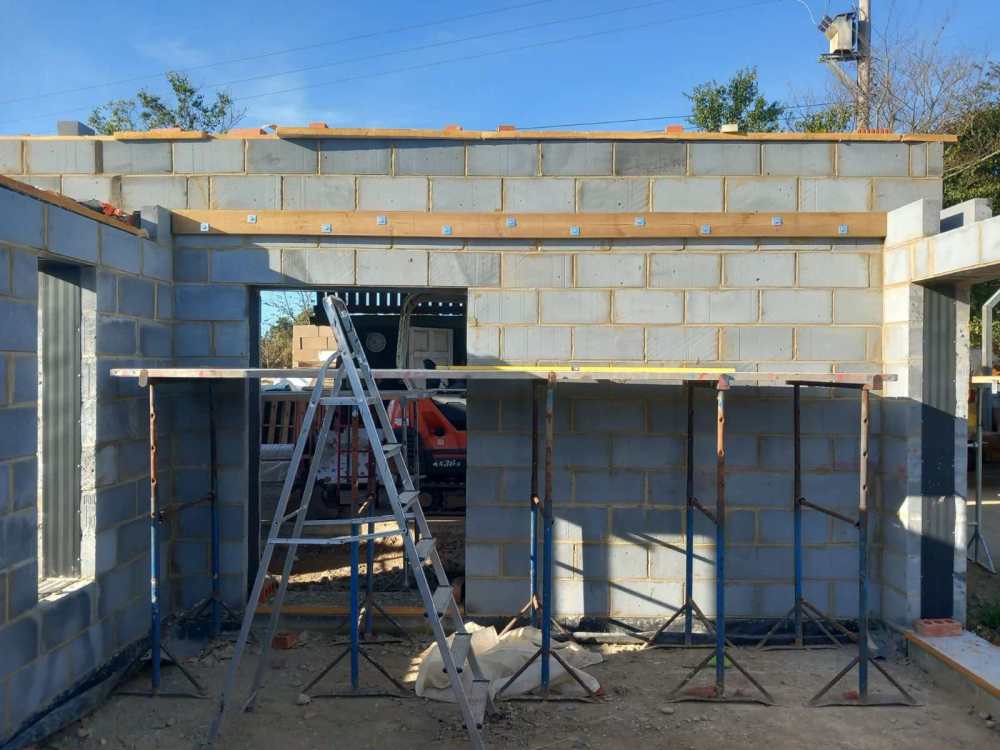
Back then we were building the walls for phase 1 and installing the window and door lintels.
Back then it was warm, unlike now and building could be done in shorts and T shirts
Once these walls were built then it was time to think about a roof, even though it is going to be a temporary one for now as the whole house will have the final roof at the same time.
This part of the conversion is designed to look like an extension as it did on the original.
So, the South wall is higher and this 'hooks' on to it.
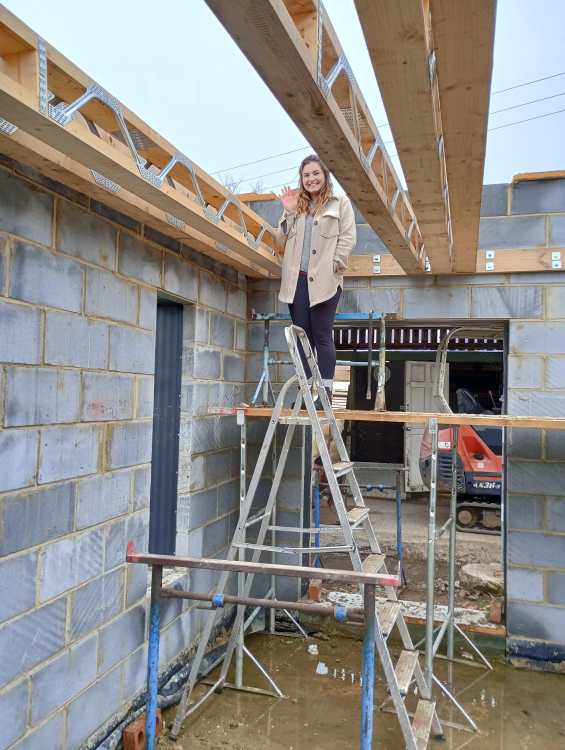
We also have on-site building inspectors checking out their new home
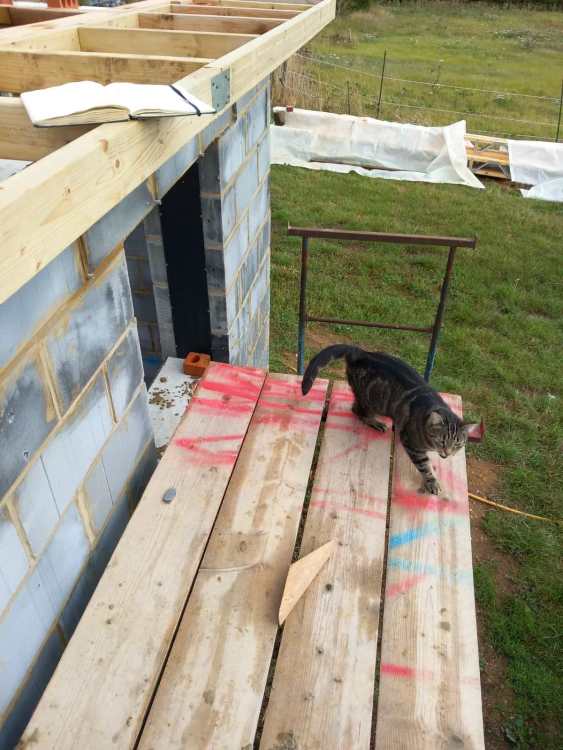
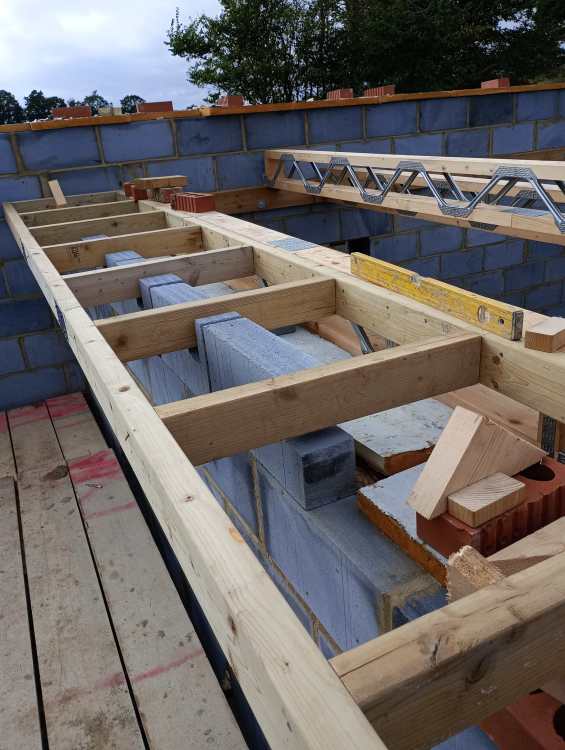
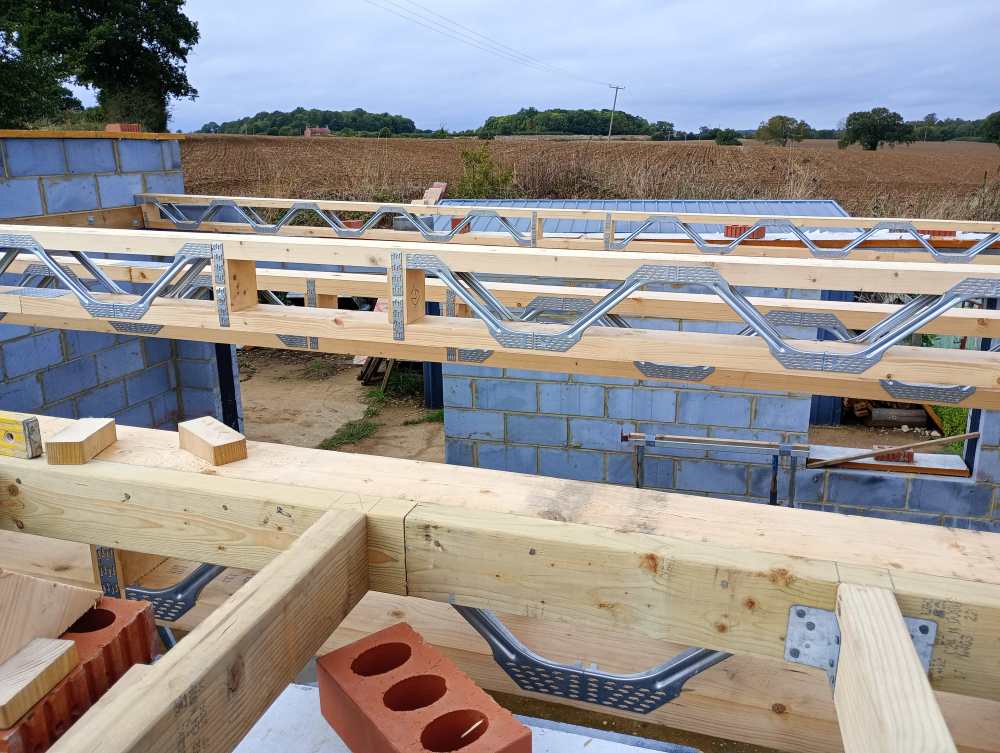
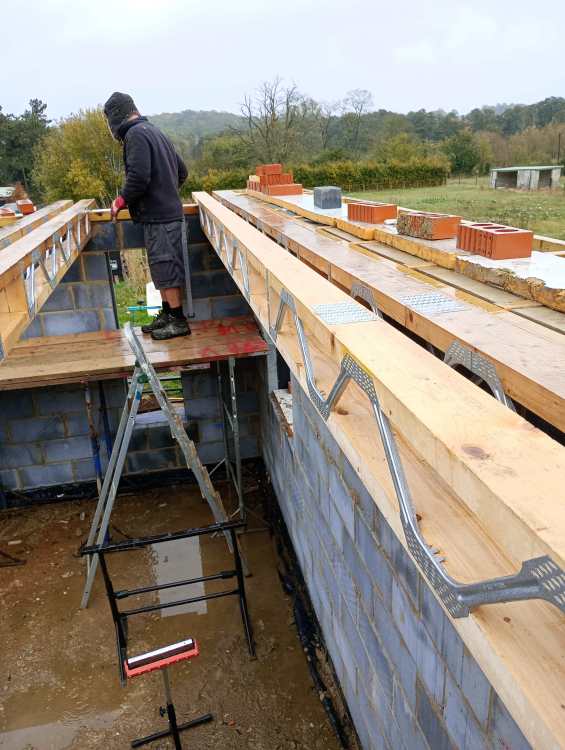
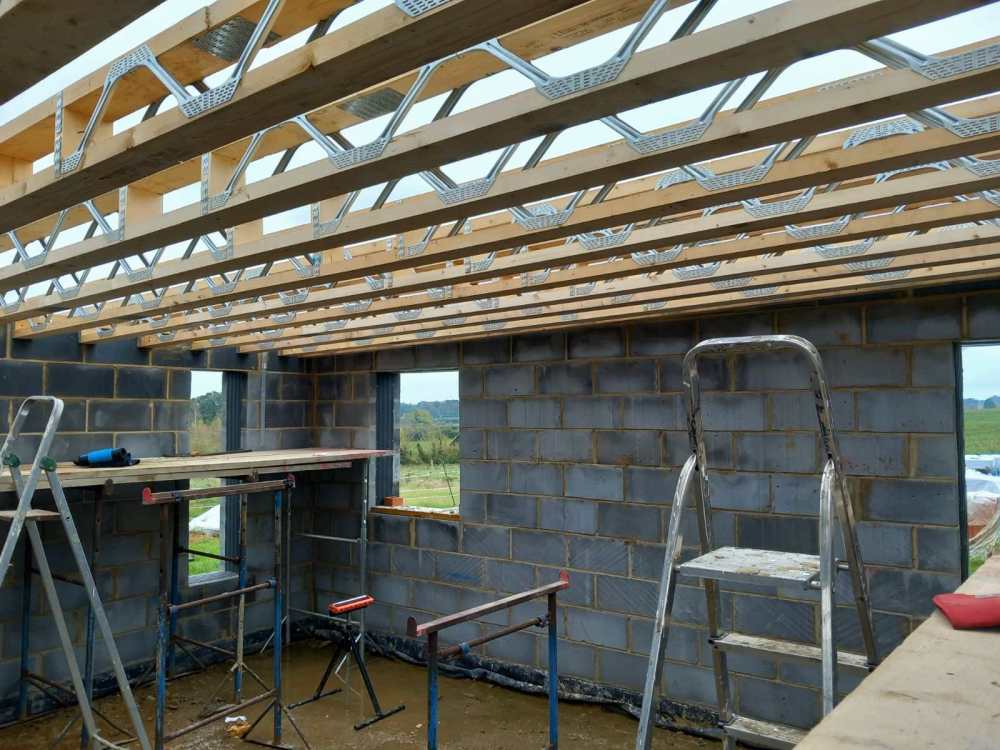
Then we had to start getting the rafters in situ, allowing for the overhang on the sides and end.
The roof 'ladder' was built from the wood that was used to line the windows whilst building.
These did take a long time as the roof is 4 degrees so slightly sloped so each block of both cavities times 2 had to be cut to the exact size required
The weather wasn't always kind, but we did have some visitors to check out what was happening.
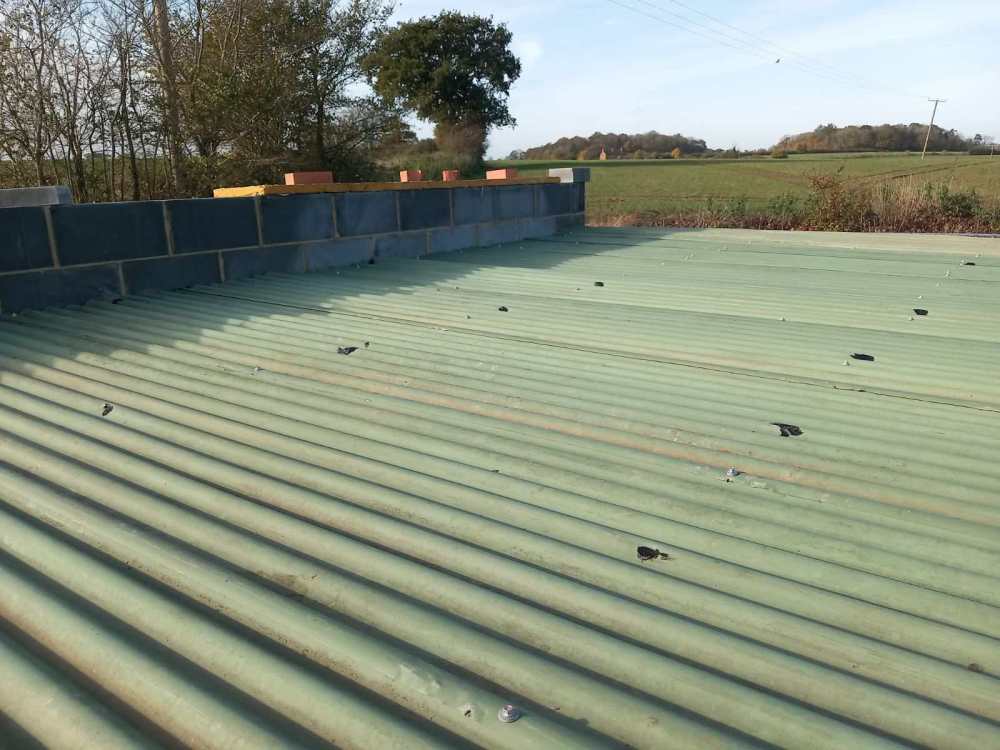
Eventually, it was finished with the temp roof on.
Windows covered for now as this will become our storage shed for a while
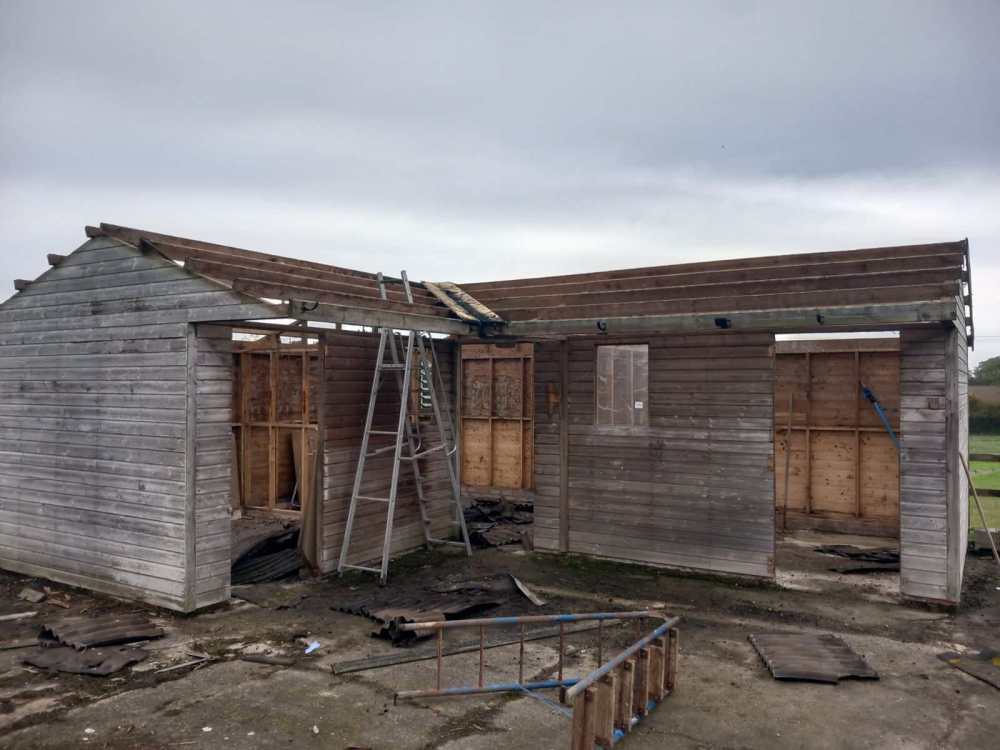
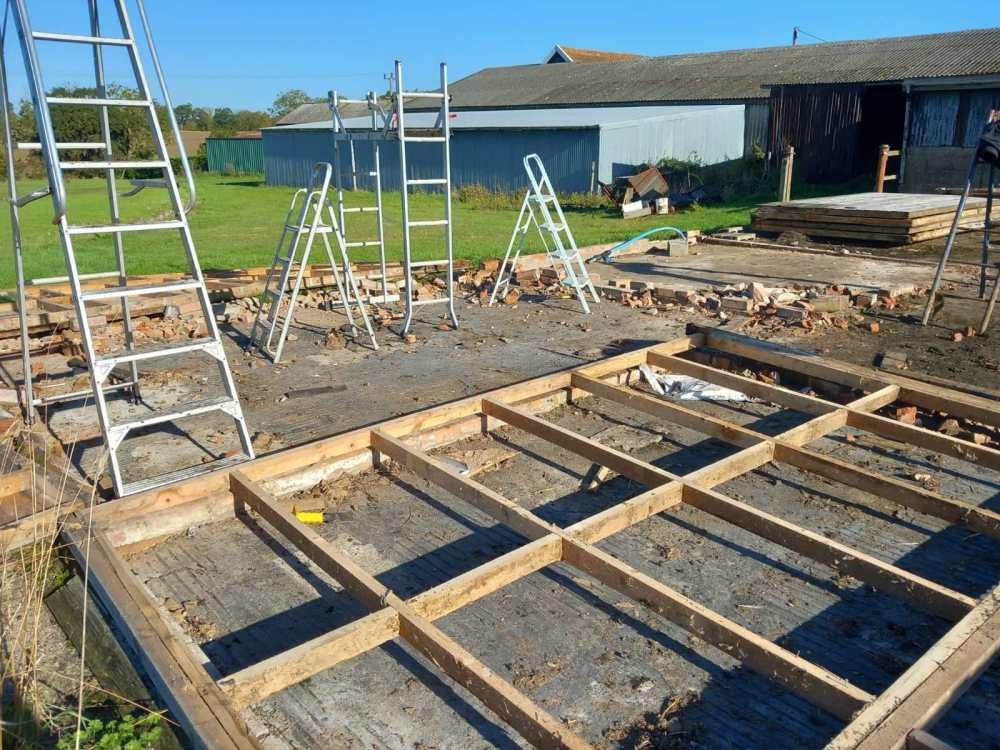
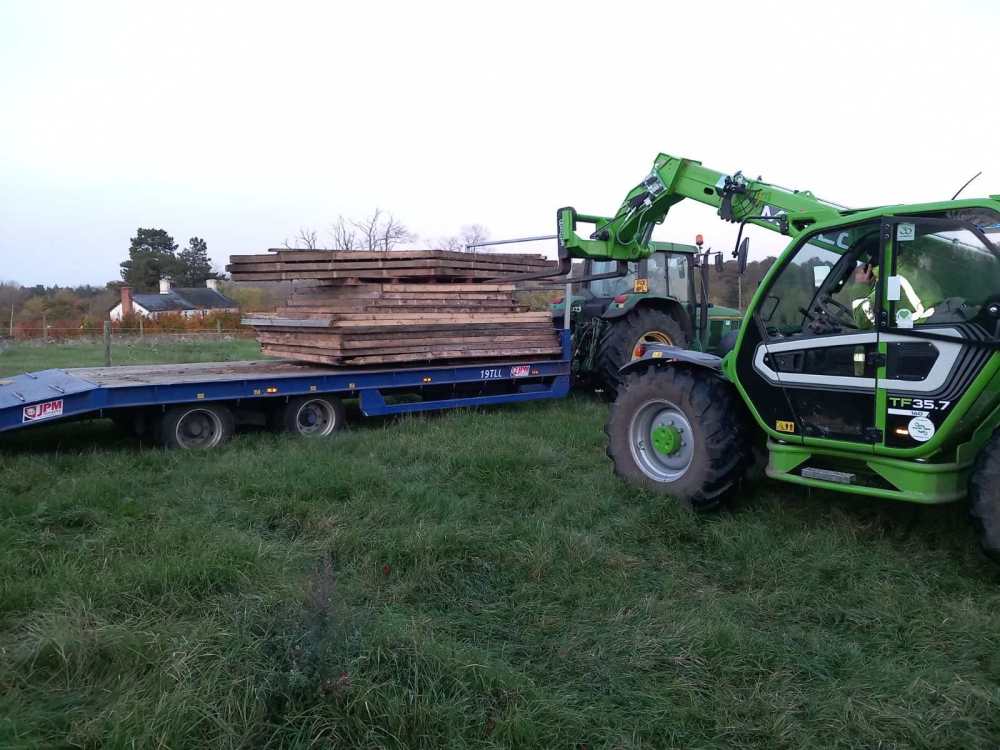
During this time, we also had to move the stables.
From this, already part demolished, not sure where the original pictures have gone.
To this
to this, luckily moved by a local farmer.
Not sure when the horses will have them back though.
Next is to start on the East side of the main part of the build.
Originally our SE said that we had to have 2.4m deep underpinning foundations.
But, our BCO had on on-side meeting with the SE as he felt this was over the top.
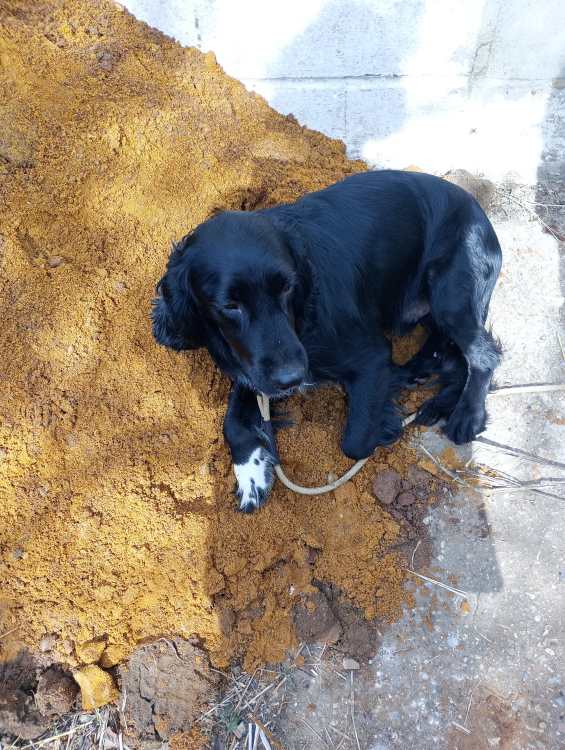
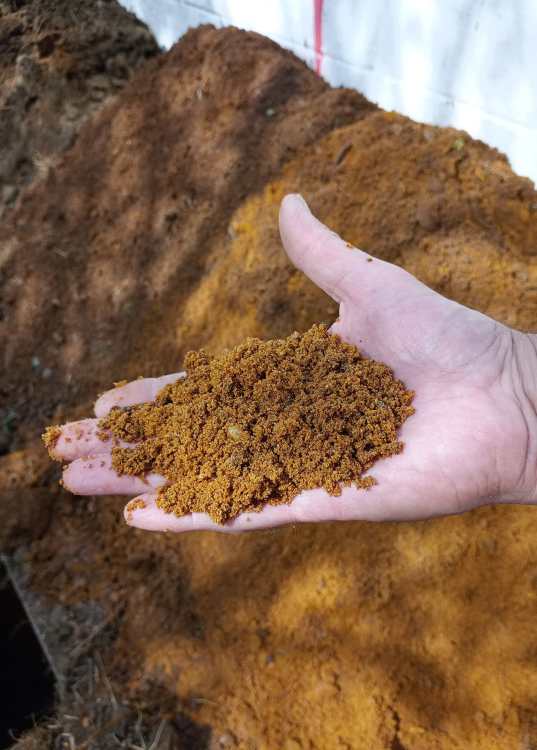
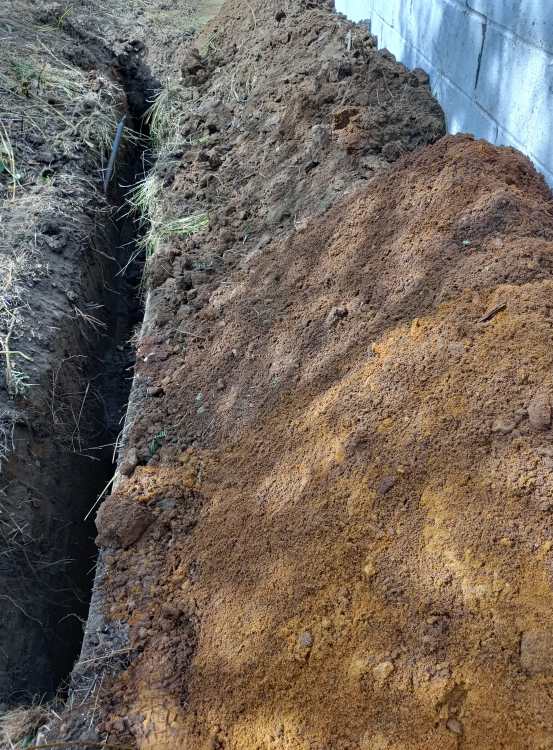
We dug some example trenches to show what the soil was.
He agreed with the help of the dog that it really is sand in this area.
We do have some clay further on where we can have stepped foundations
But he has agreed that we can have 750mm where it's sand so we are doing phase 2 which will be the office, master, bathrooms and 2 bedrooms.
It will be the plant, another bedroom, family room and pantry which need deeper foundations.
We have started digging out for the 2nd phase so will post my next update in due course.
Thanks for looking and good luck with your builds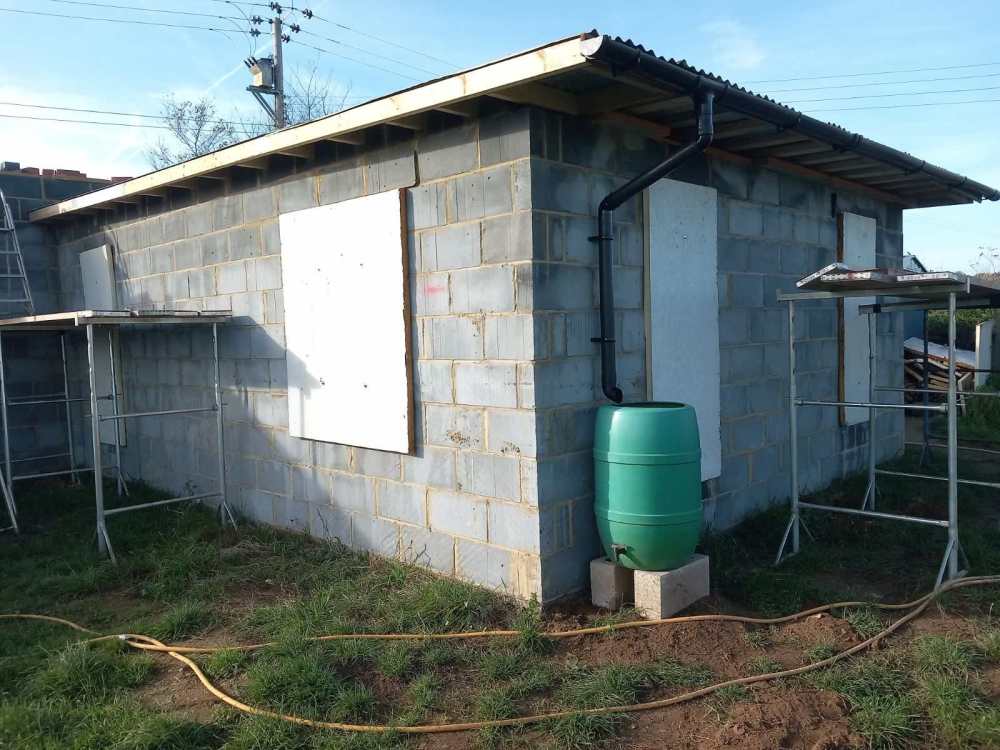
-
 6
6


3 Comments
Recommended Comments
Create an account or sign in to comment
You need to be a member in order to leave a comment
Create an account
Sign up for a new account in our community. It's easy!
Register a new accountSign in
Already have an account? Sign in here.
Sign In Now