

Bathroom refit into new extension

Entry posted by MikeGrahamT21 in Bathroom
2227 views
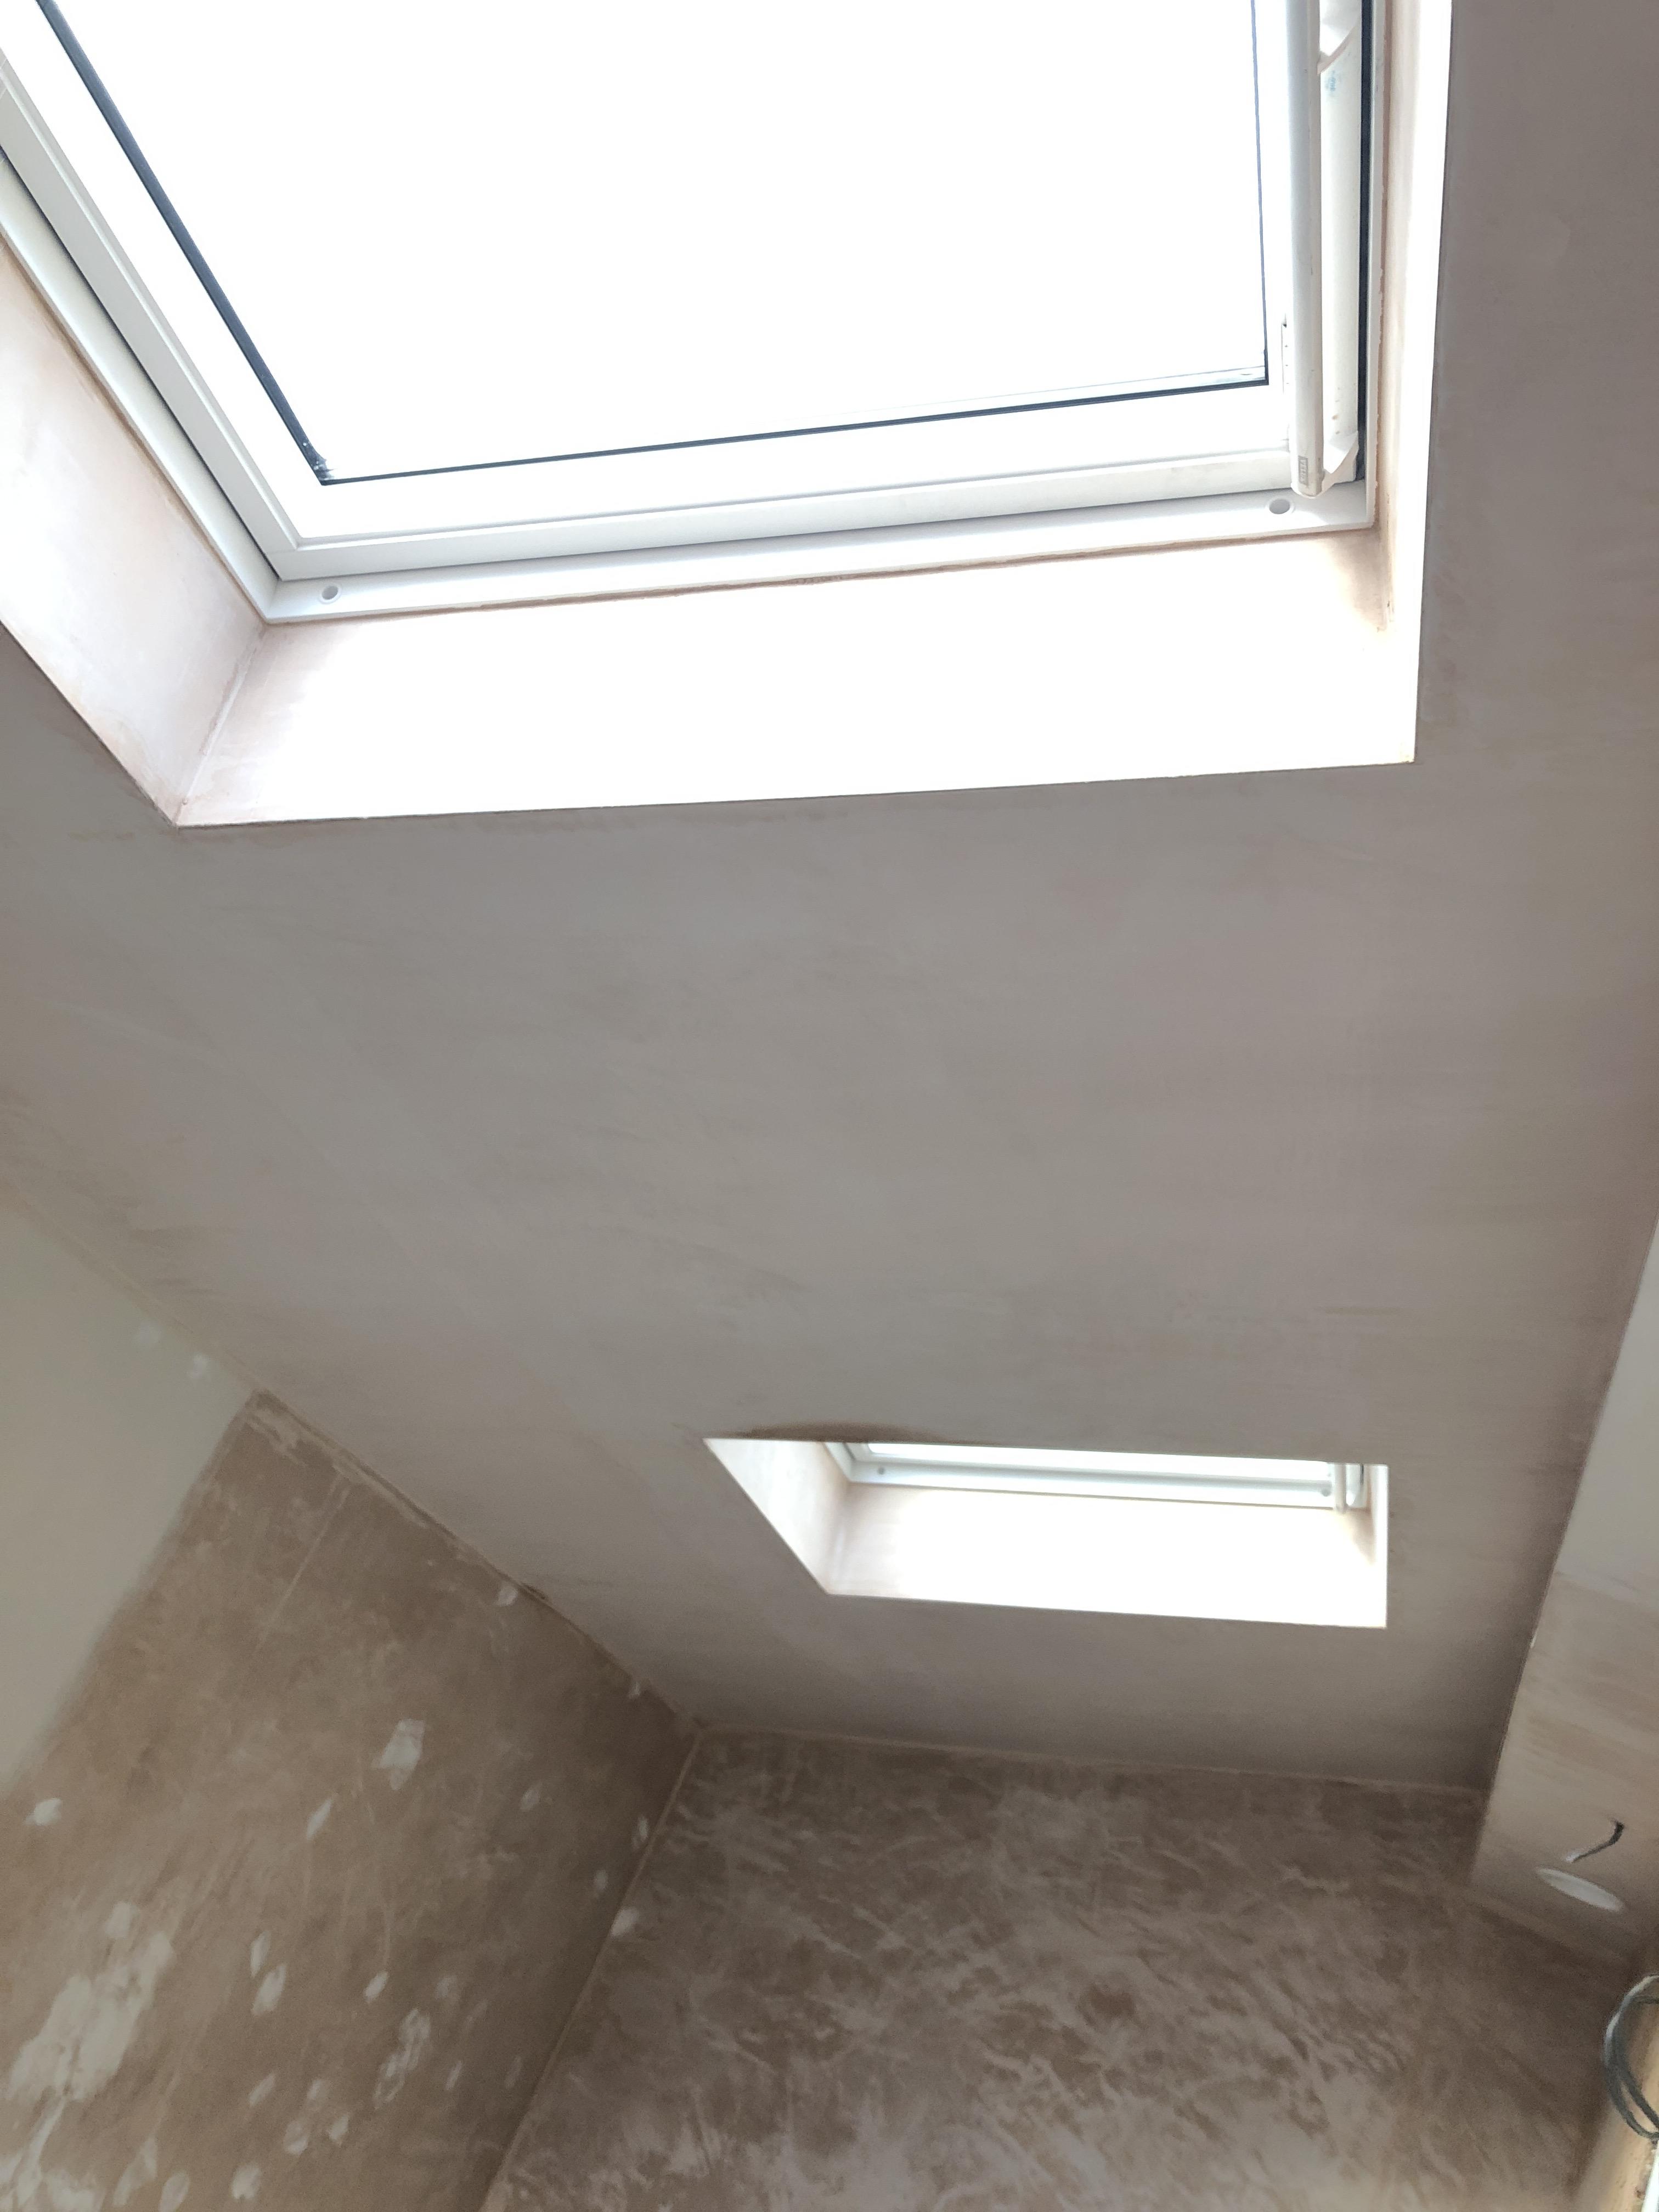
Thanks to the relatively mild weather this winter i decided to start chipping away at the bathroom project, which is being extended into part of the extension which was finished over a year ago. This gave me the opportunity to install the bath, sink and toilet in the new bit, at which time I’d totally disconnected the old bathroom allowing me to strip it out and that’s worked really well for my as I struggle to do more than 4hours in a single day so I could keep doing a bit and stopping when I’d had enough.
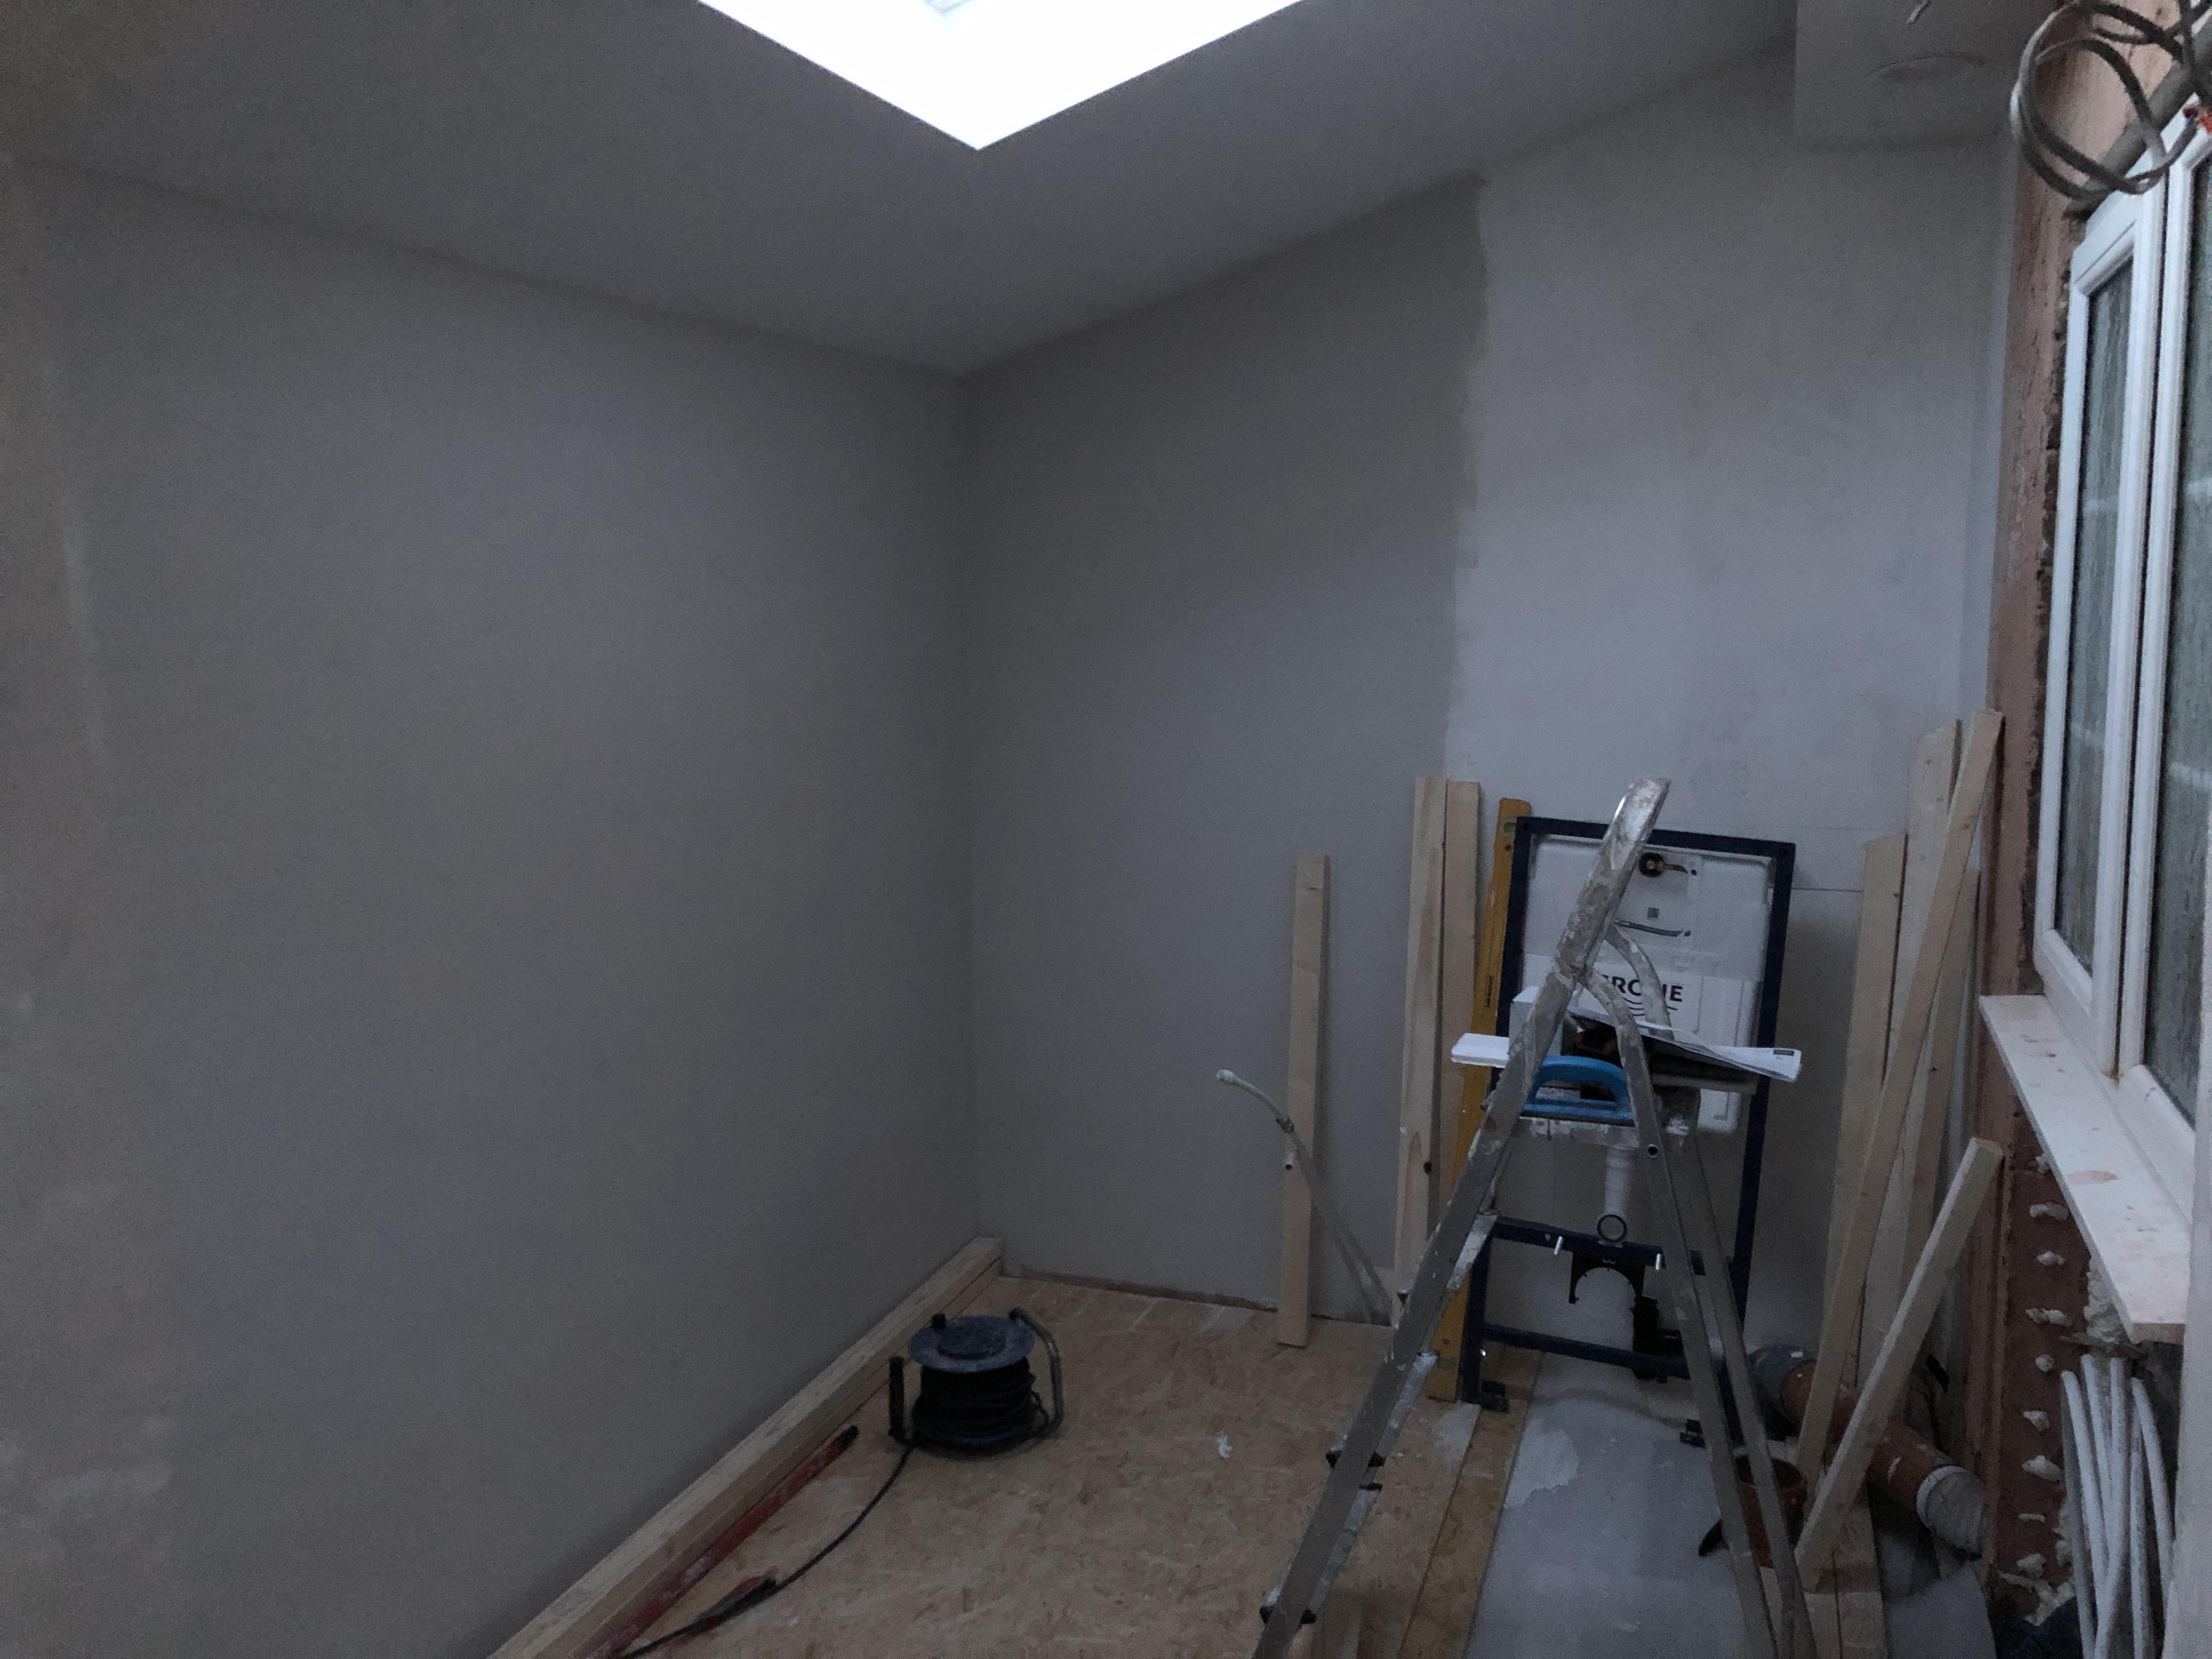
didn’t fancy tackling the ceiling for plastering in the new bit so got a pro in to do this bit for me, all done in a couple of hours which was nice.
and made the most of the space and got the painting done after putting a layer of 10mm marmox board down ready to accept the underfloor heating mat

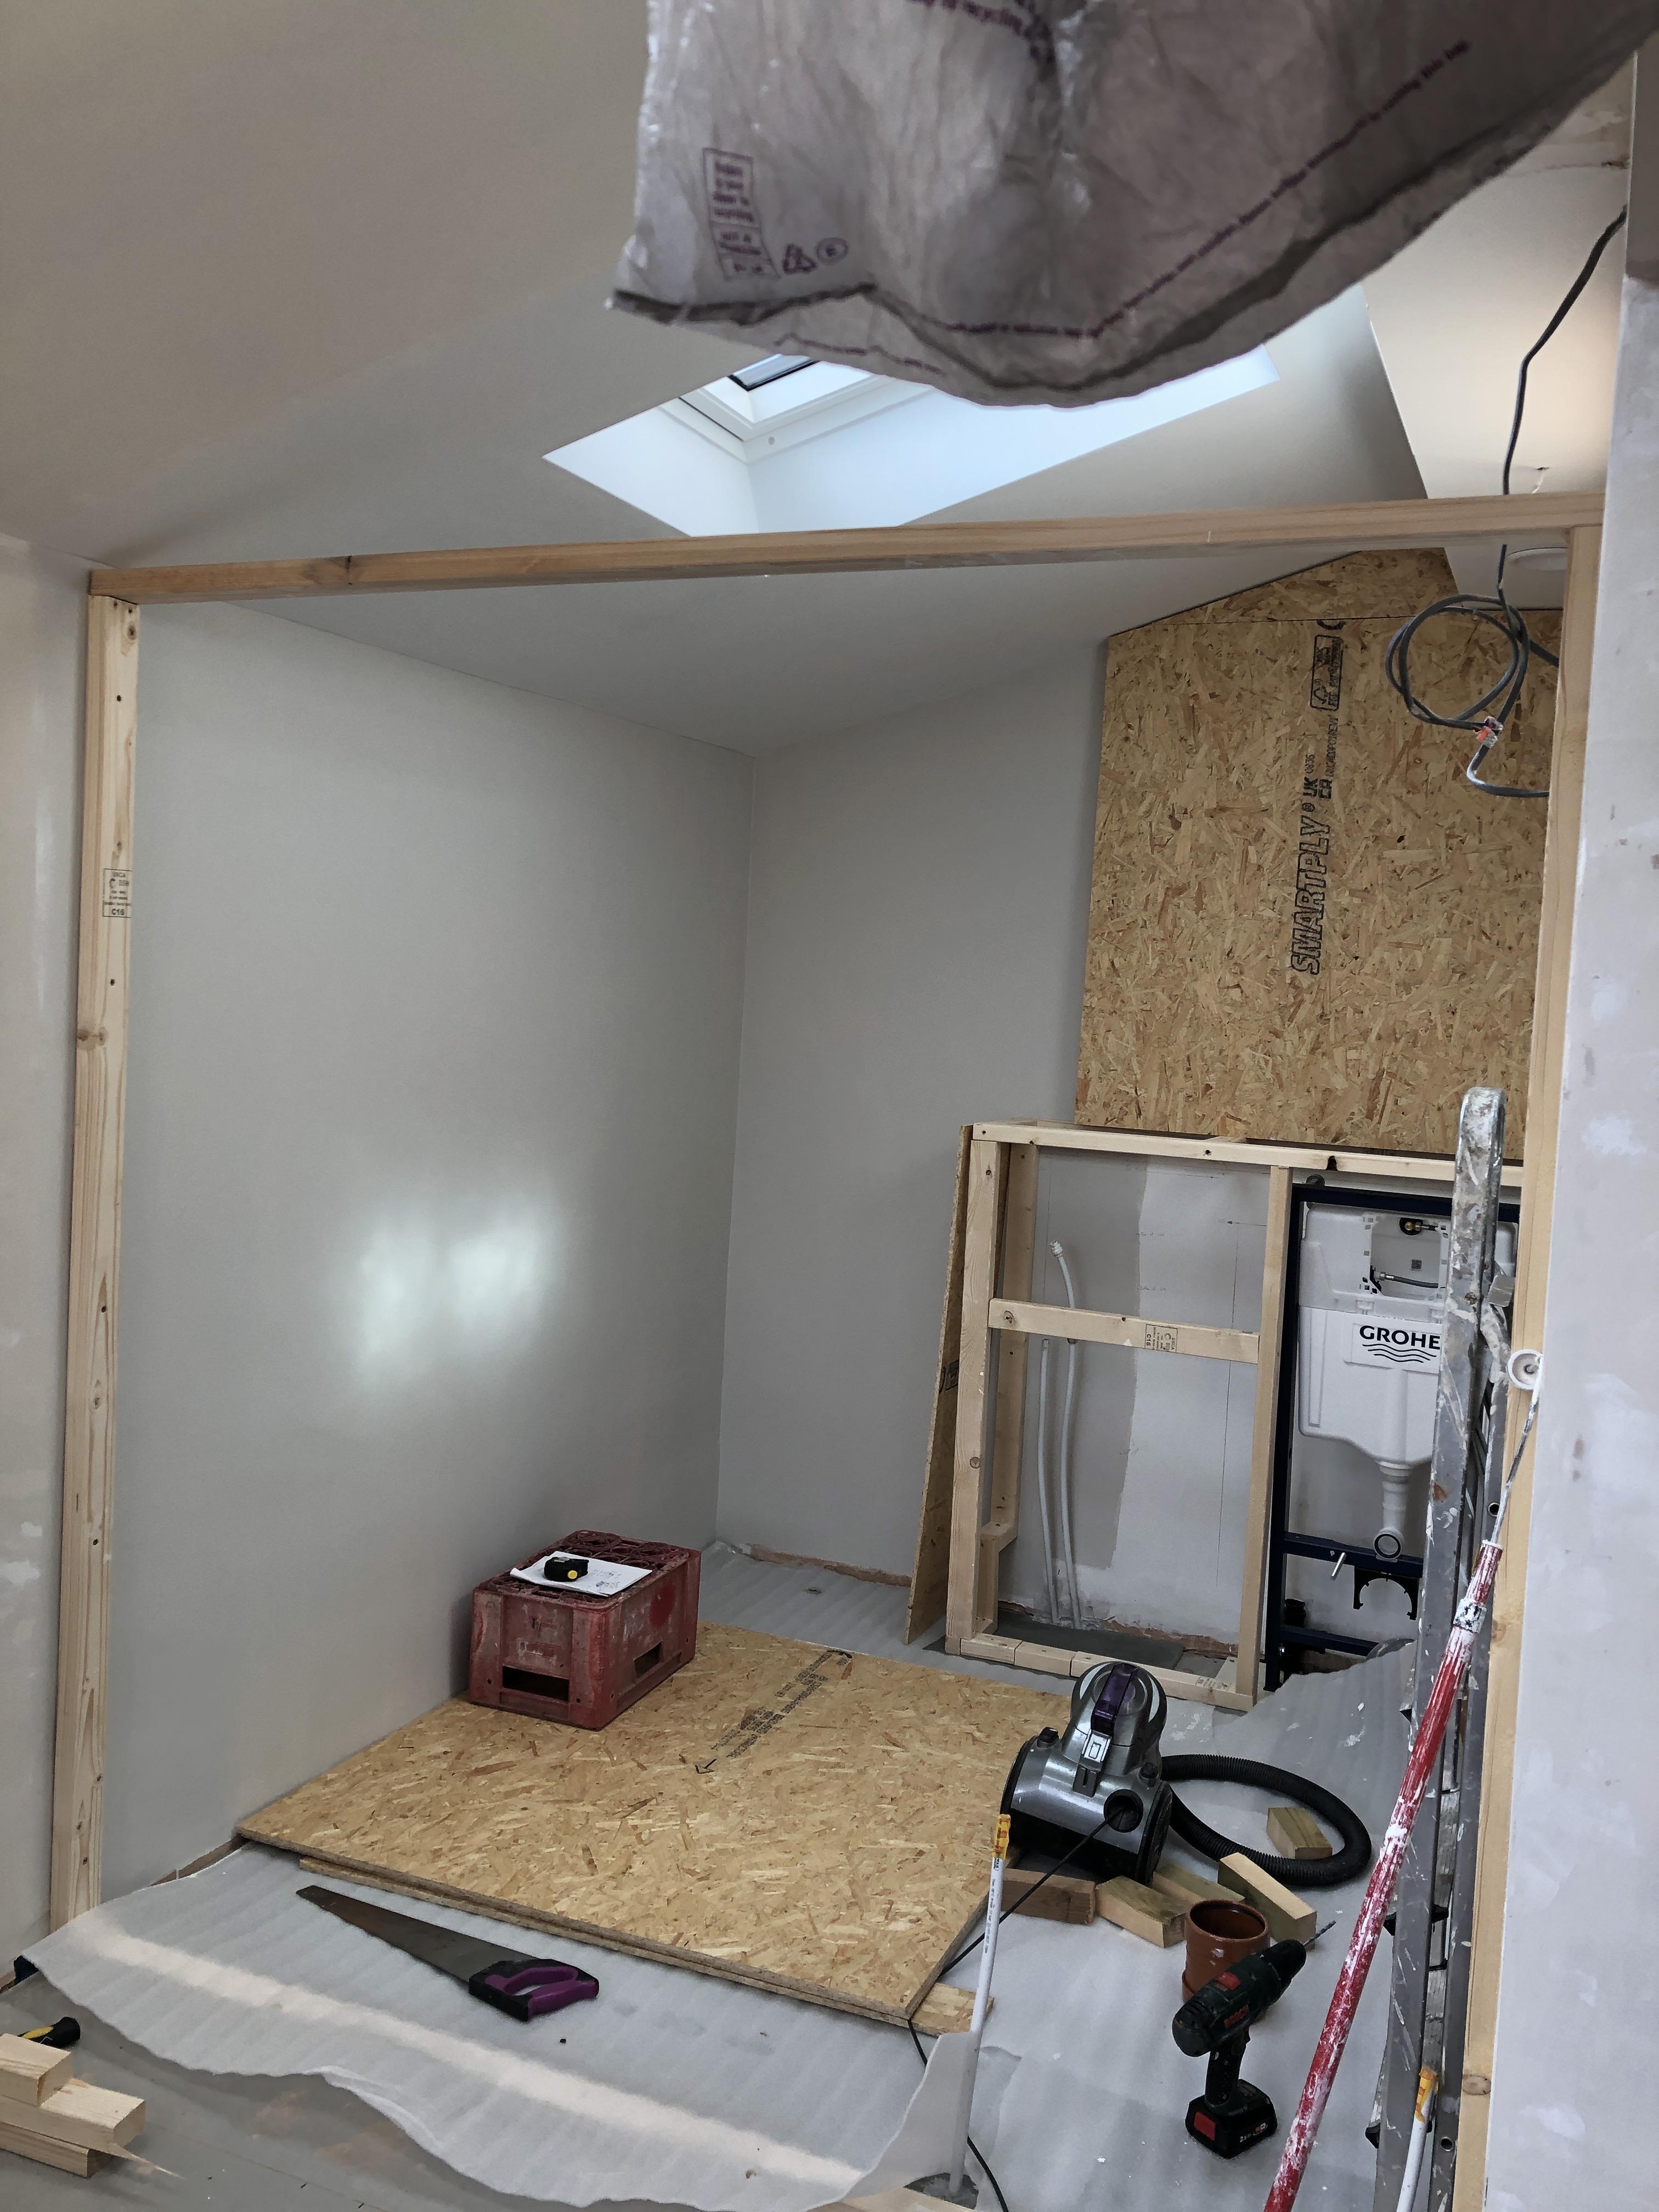
Next job was to start making a frame to hold the toilet frame and the sink and cabinet
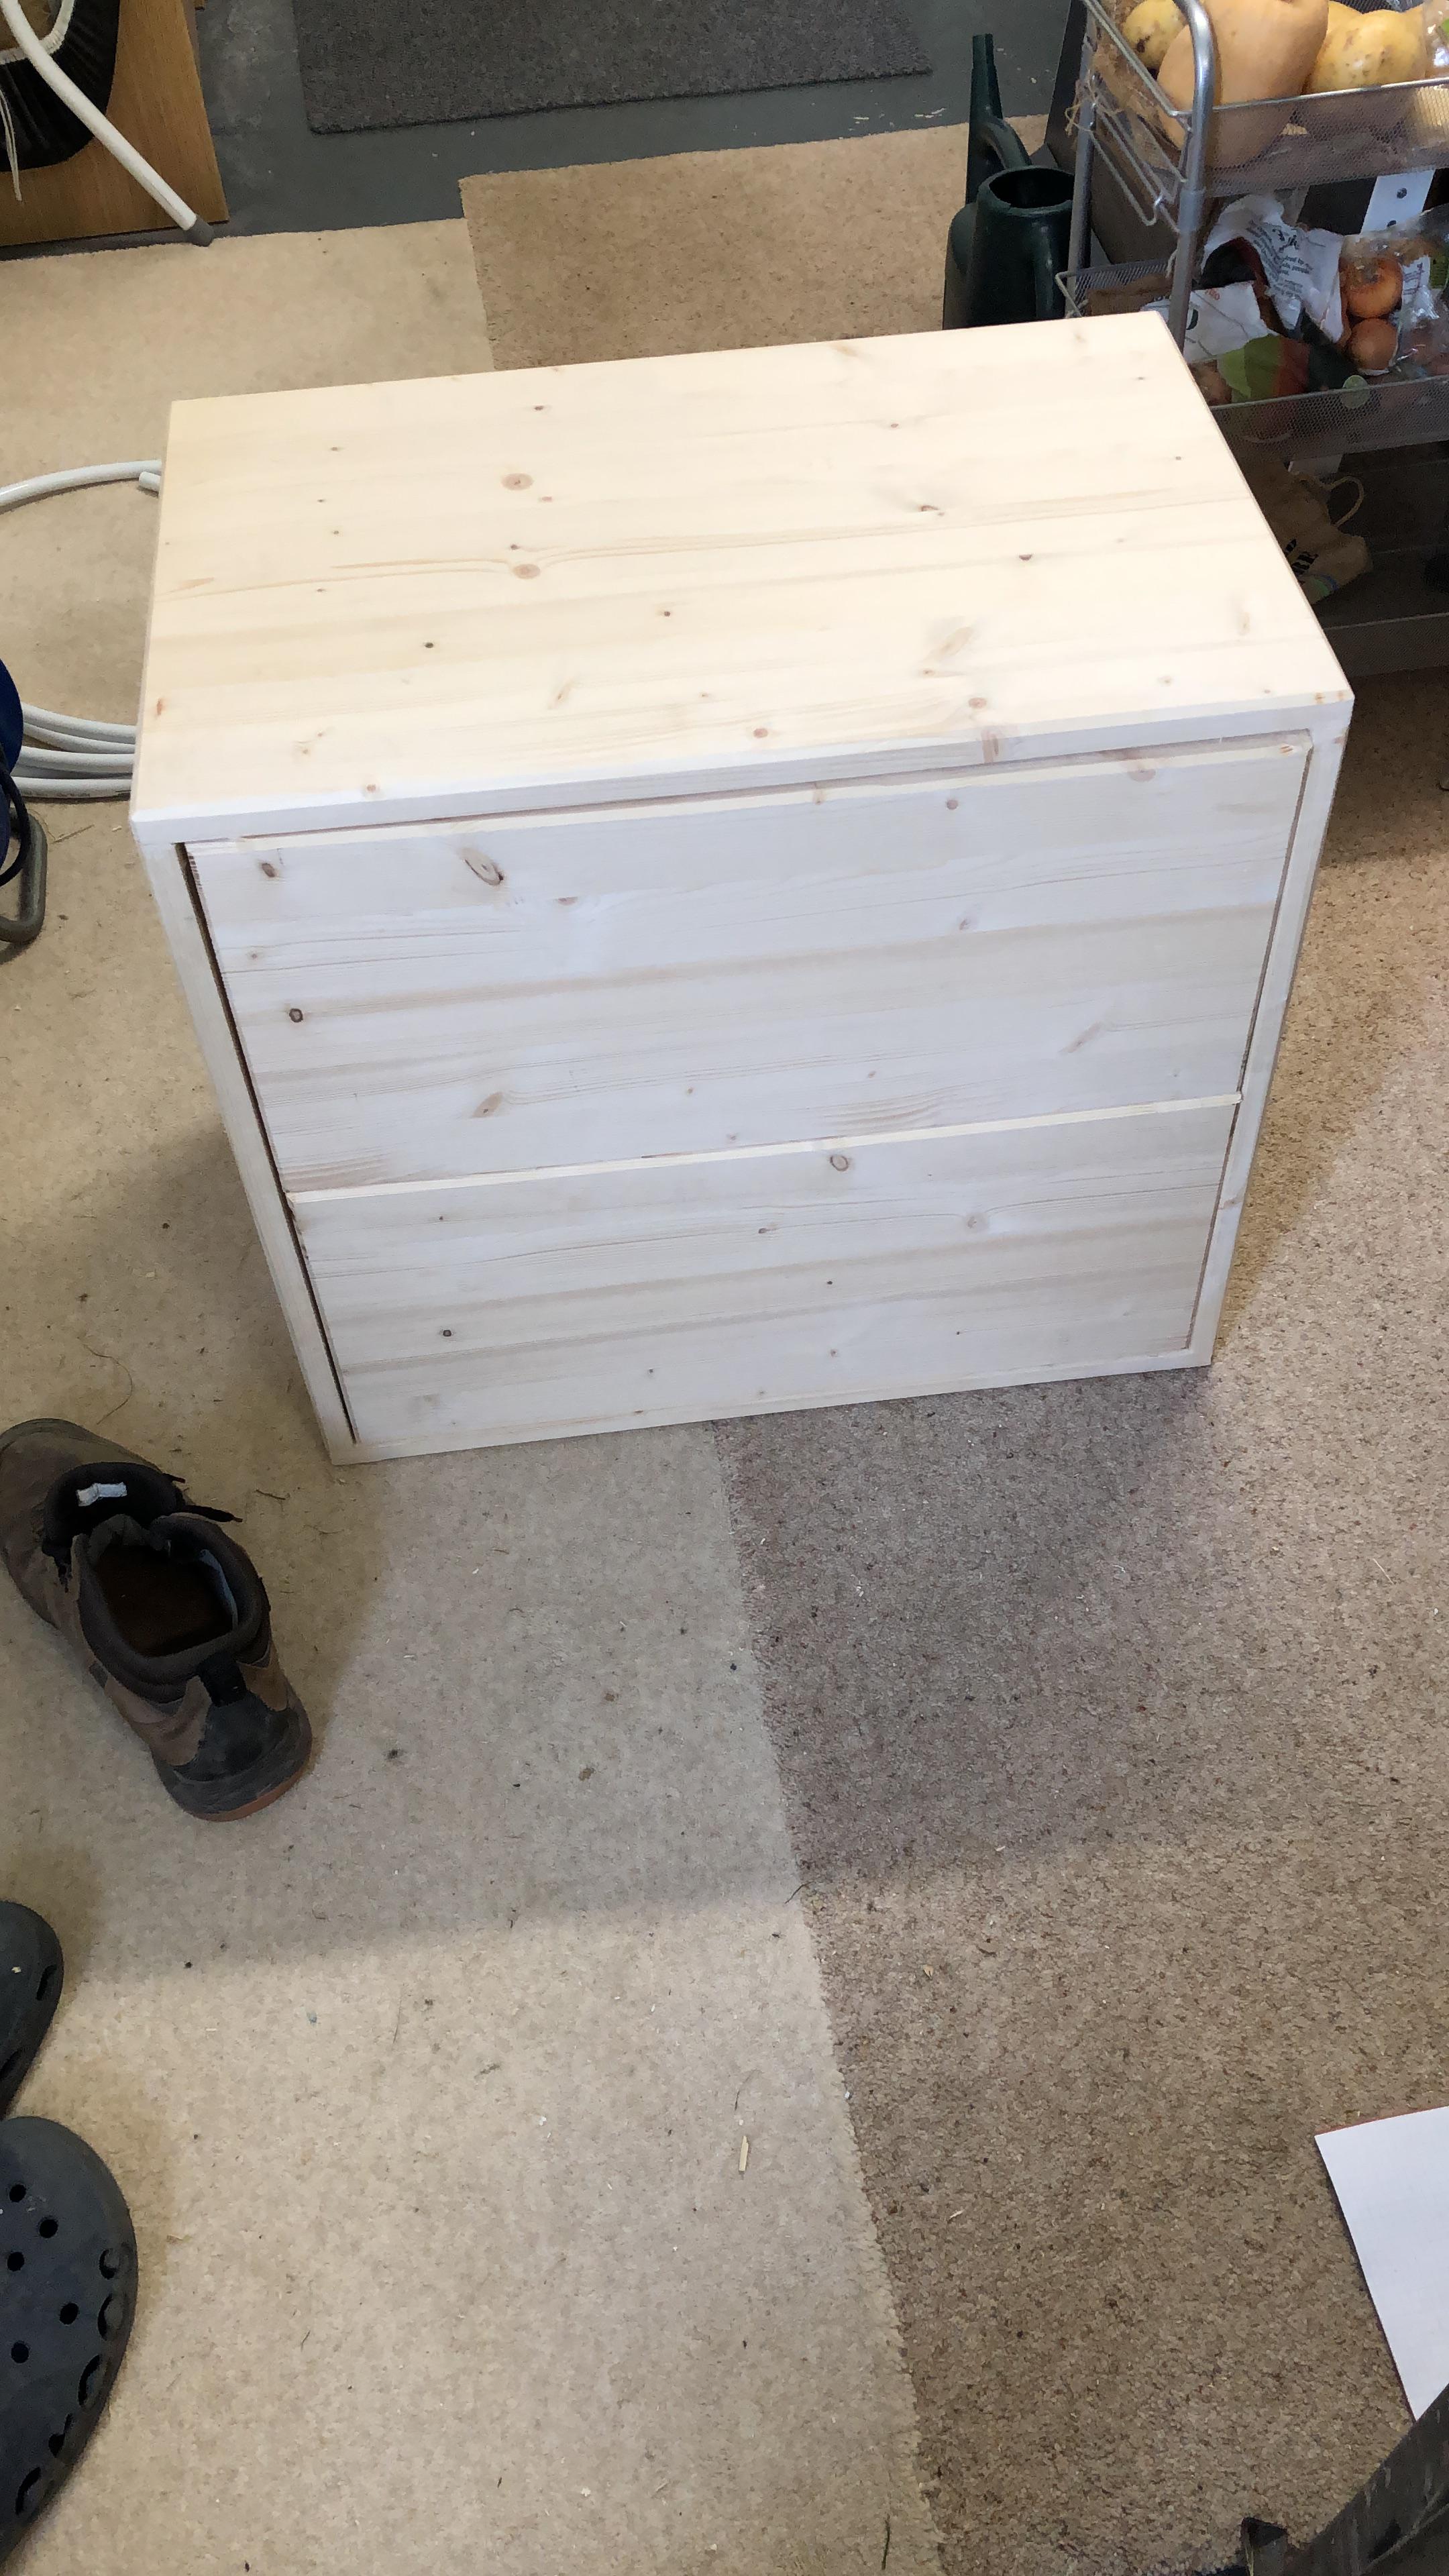
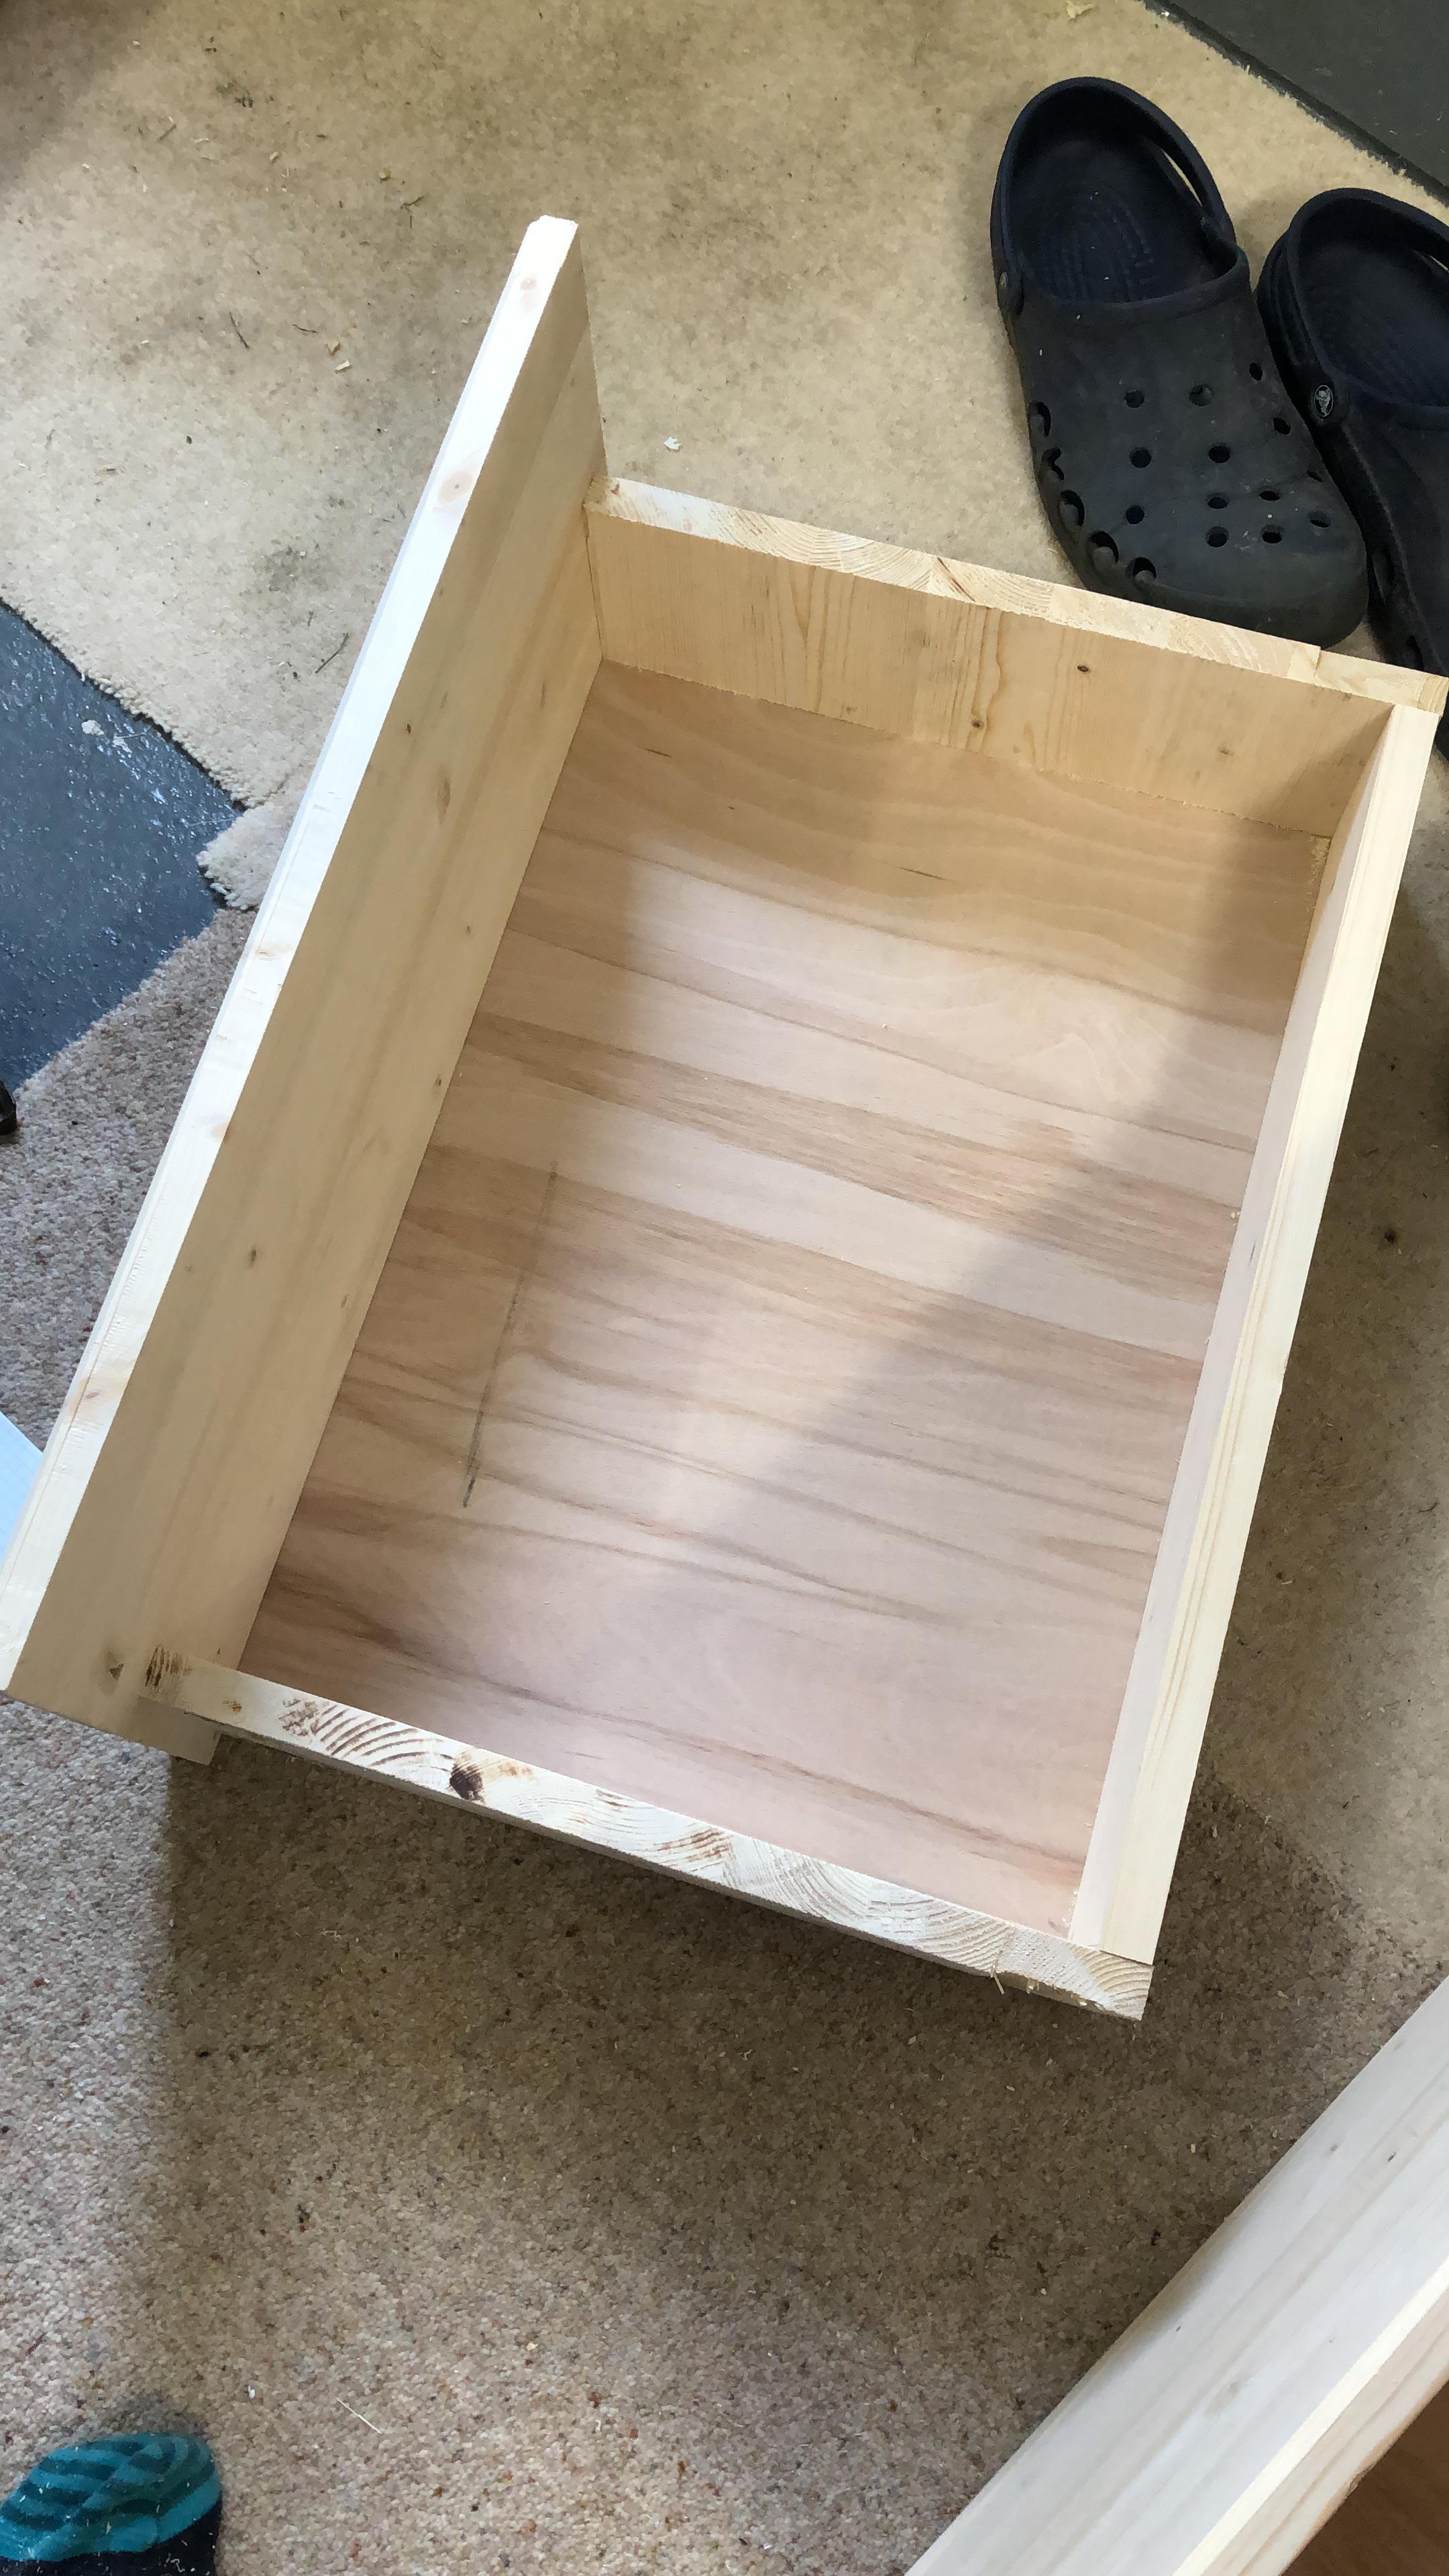
Decided on making my own cabinet rather than paying silly money for an MFC one, got pine furniture boards, a pocket hole jig and a new router and came out with this which I’m pretty happy with
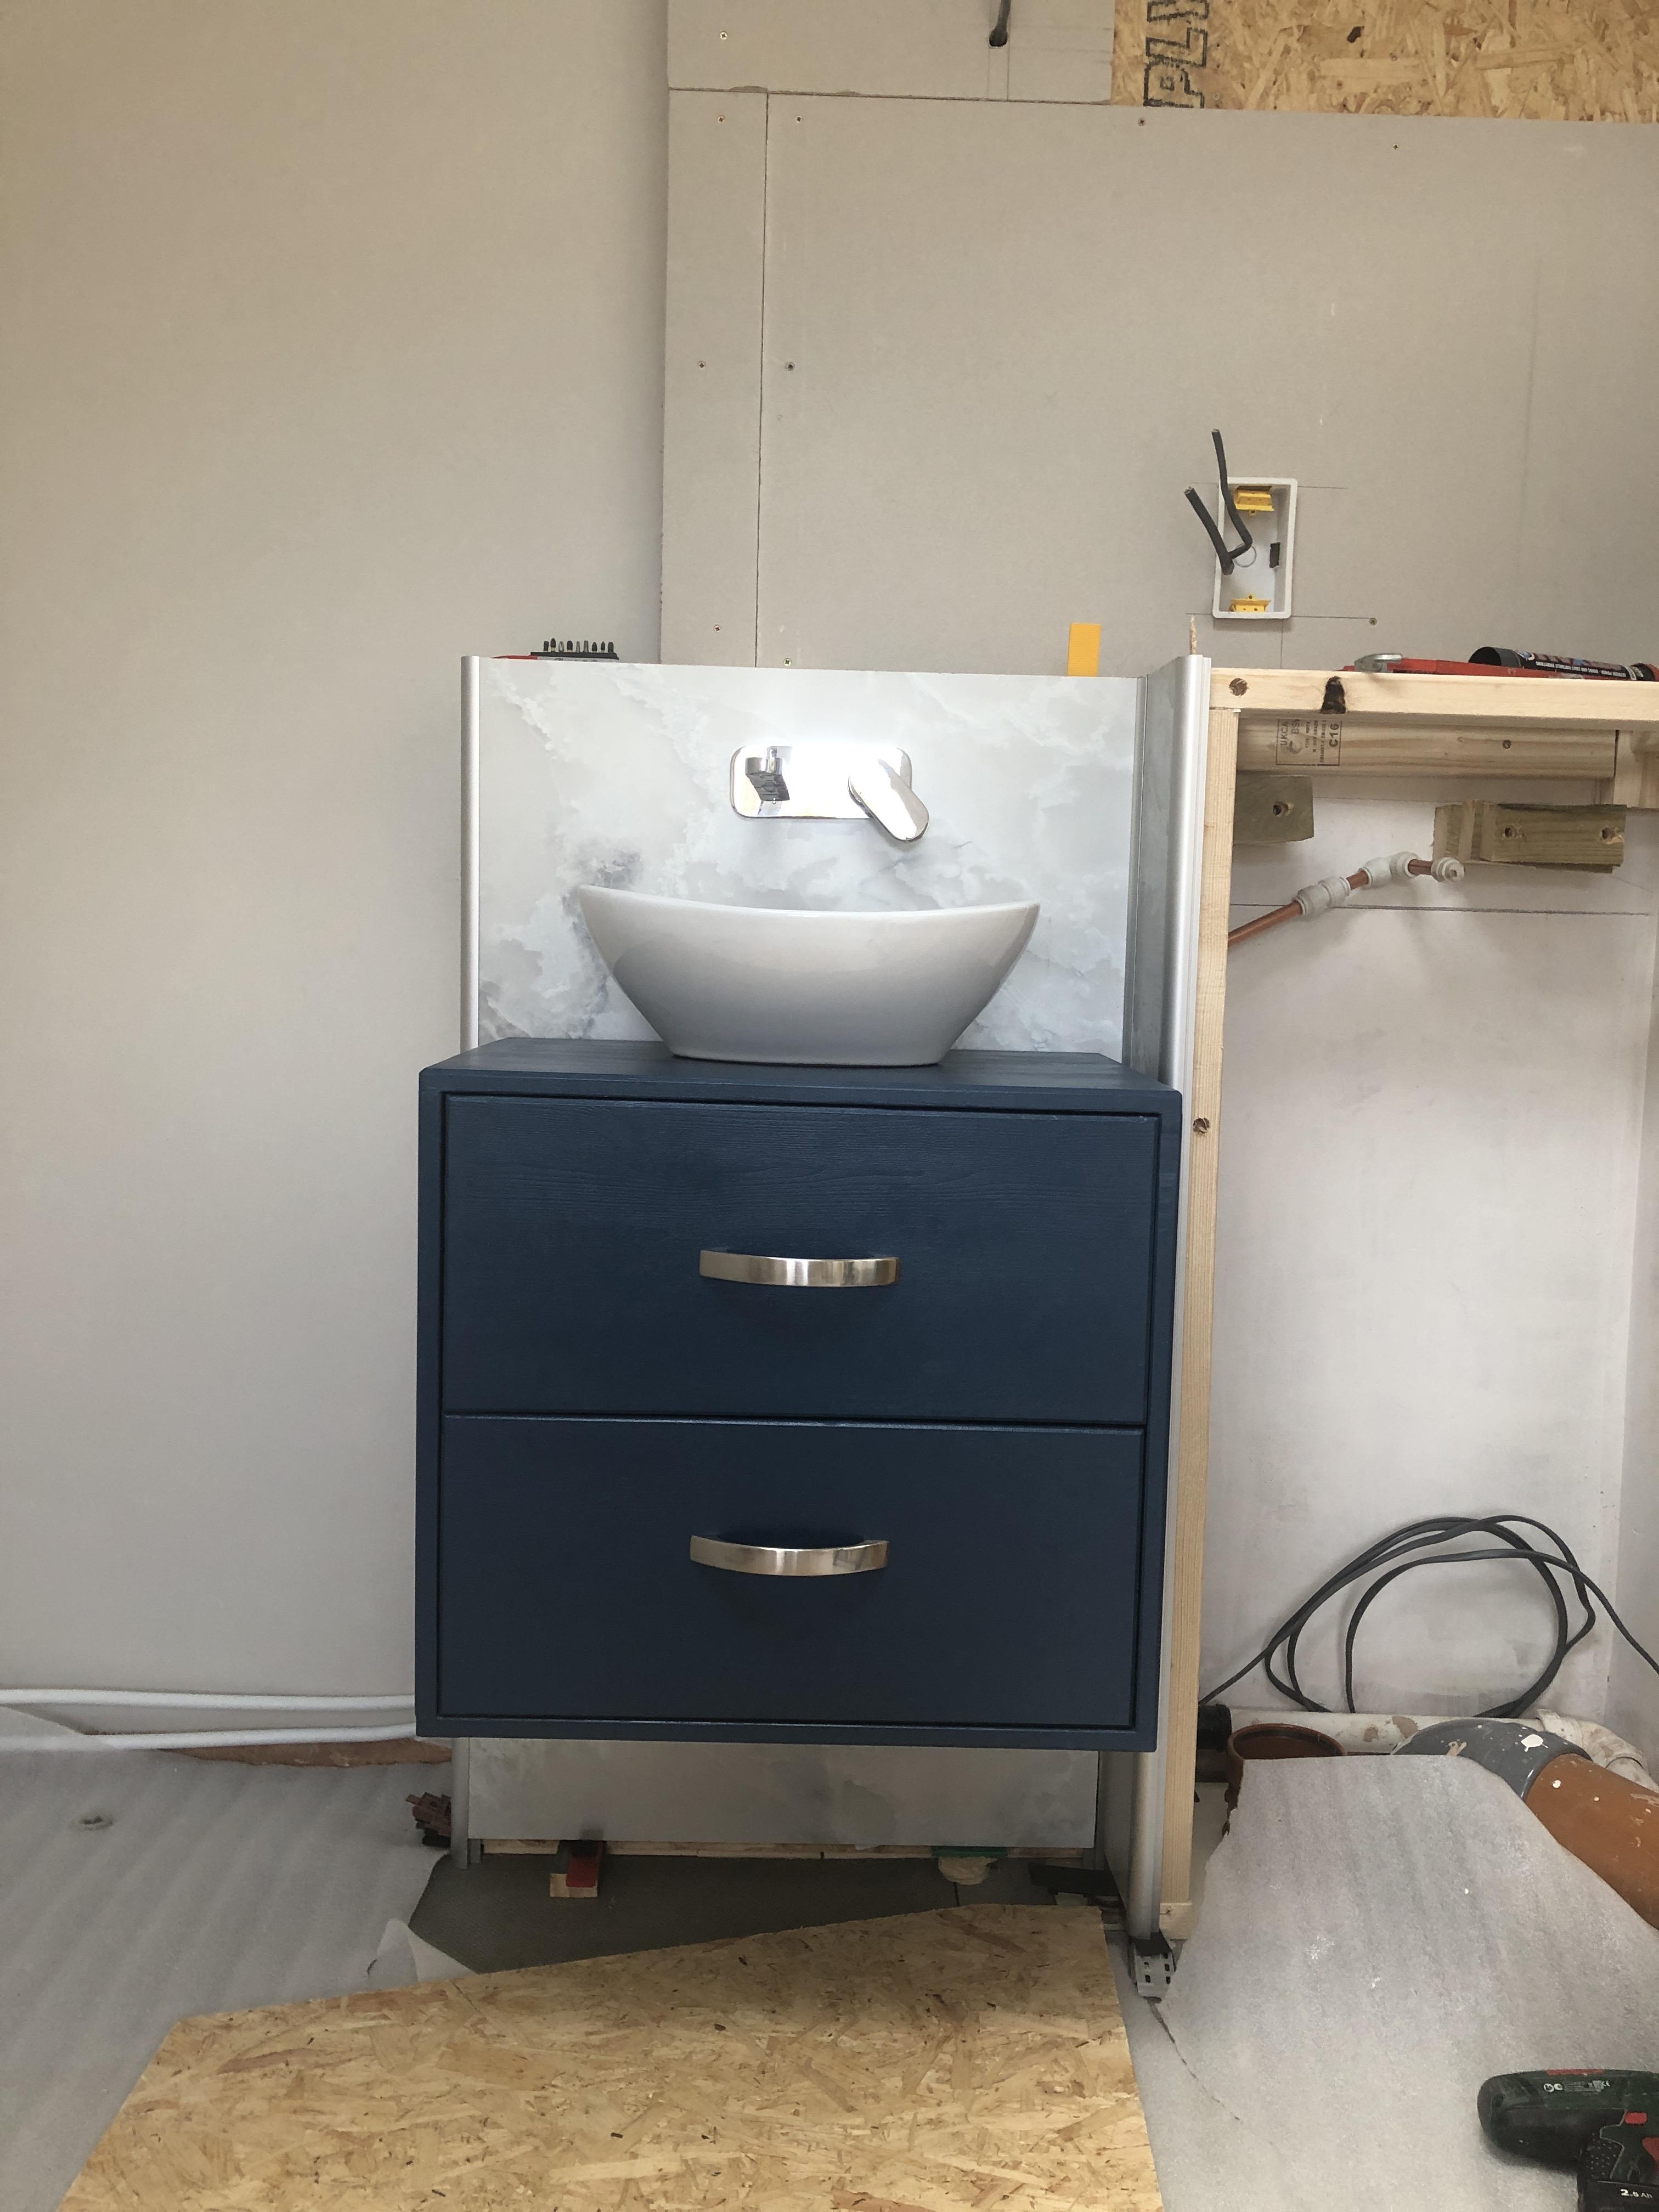
that all got painted and the sink installed, wall mounted tap and the wet room panels that I’m using both for this and for the walk in shower area all installed.


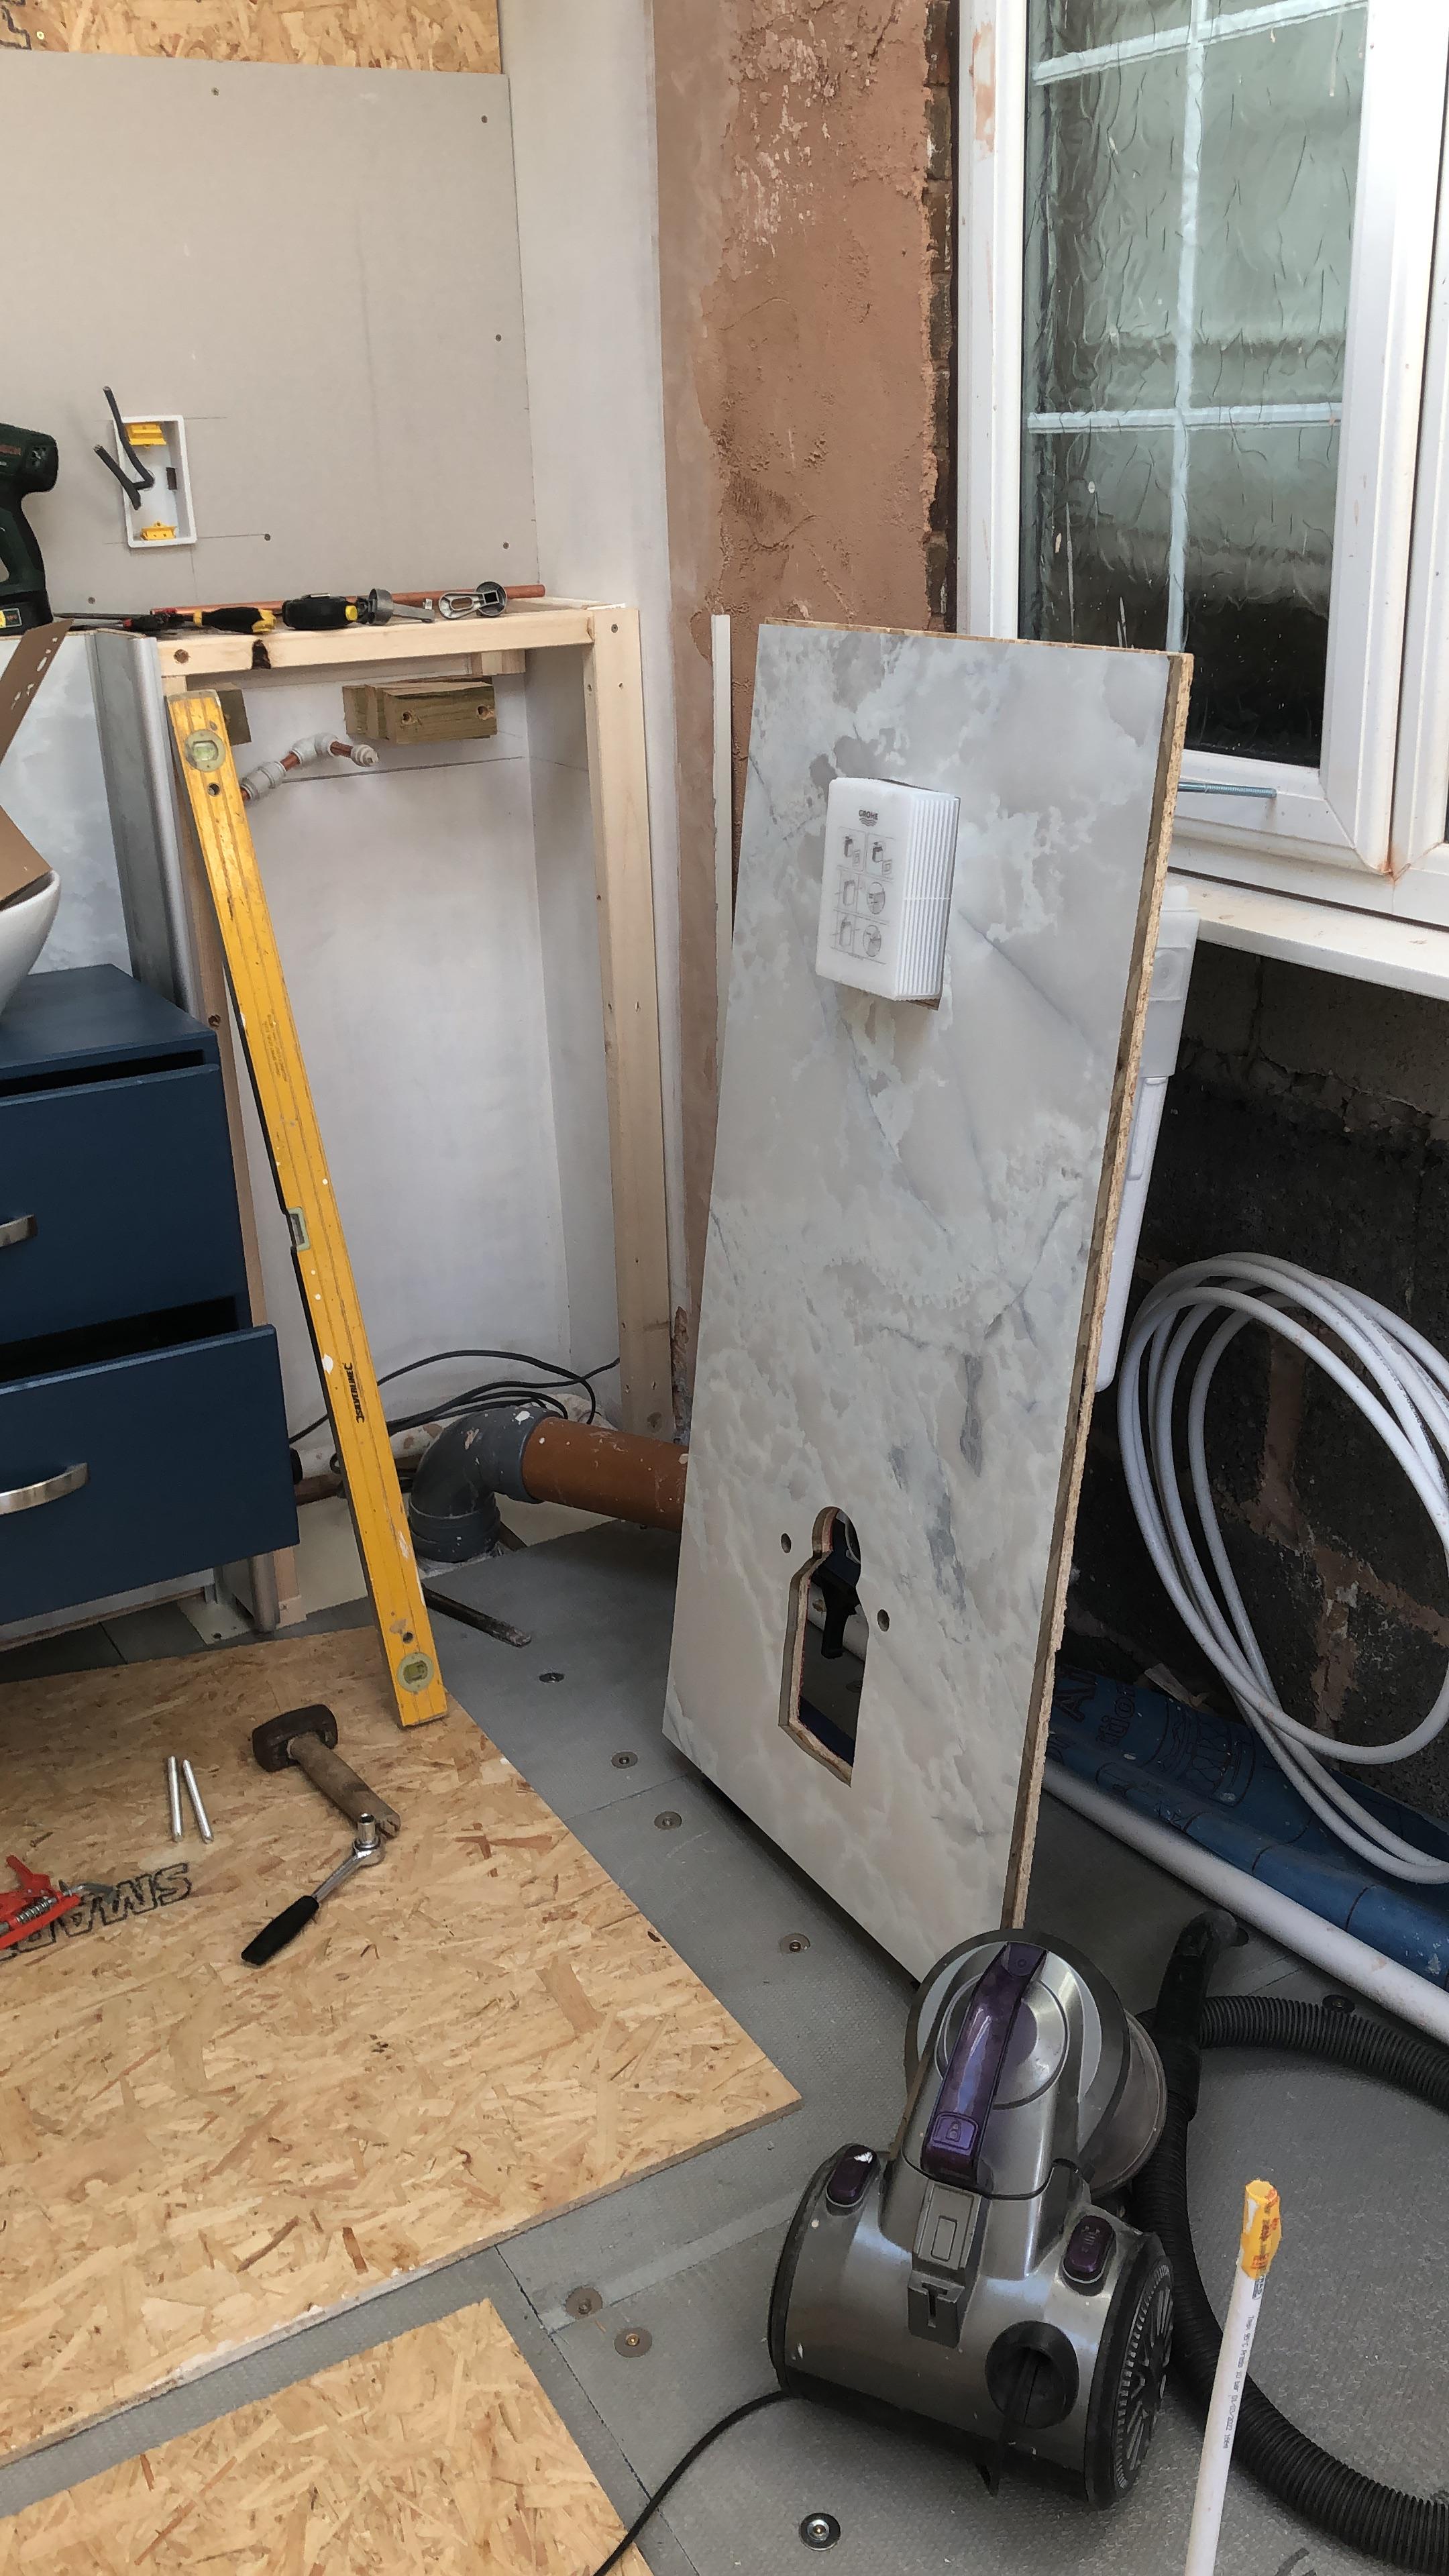
got to work cutting the OSB backing and wet room panel for the toilet in prep for the final big push to disconnect the old and commission the new, that was a hard days work!
And then bath and toilet all installed
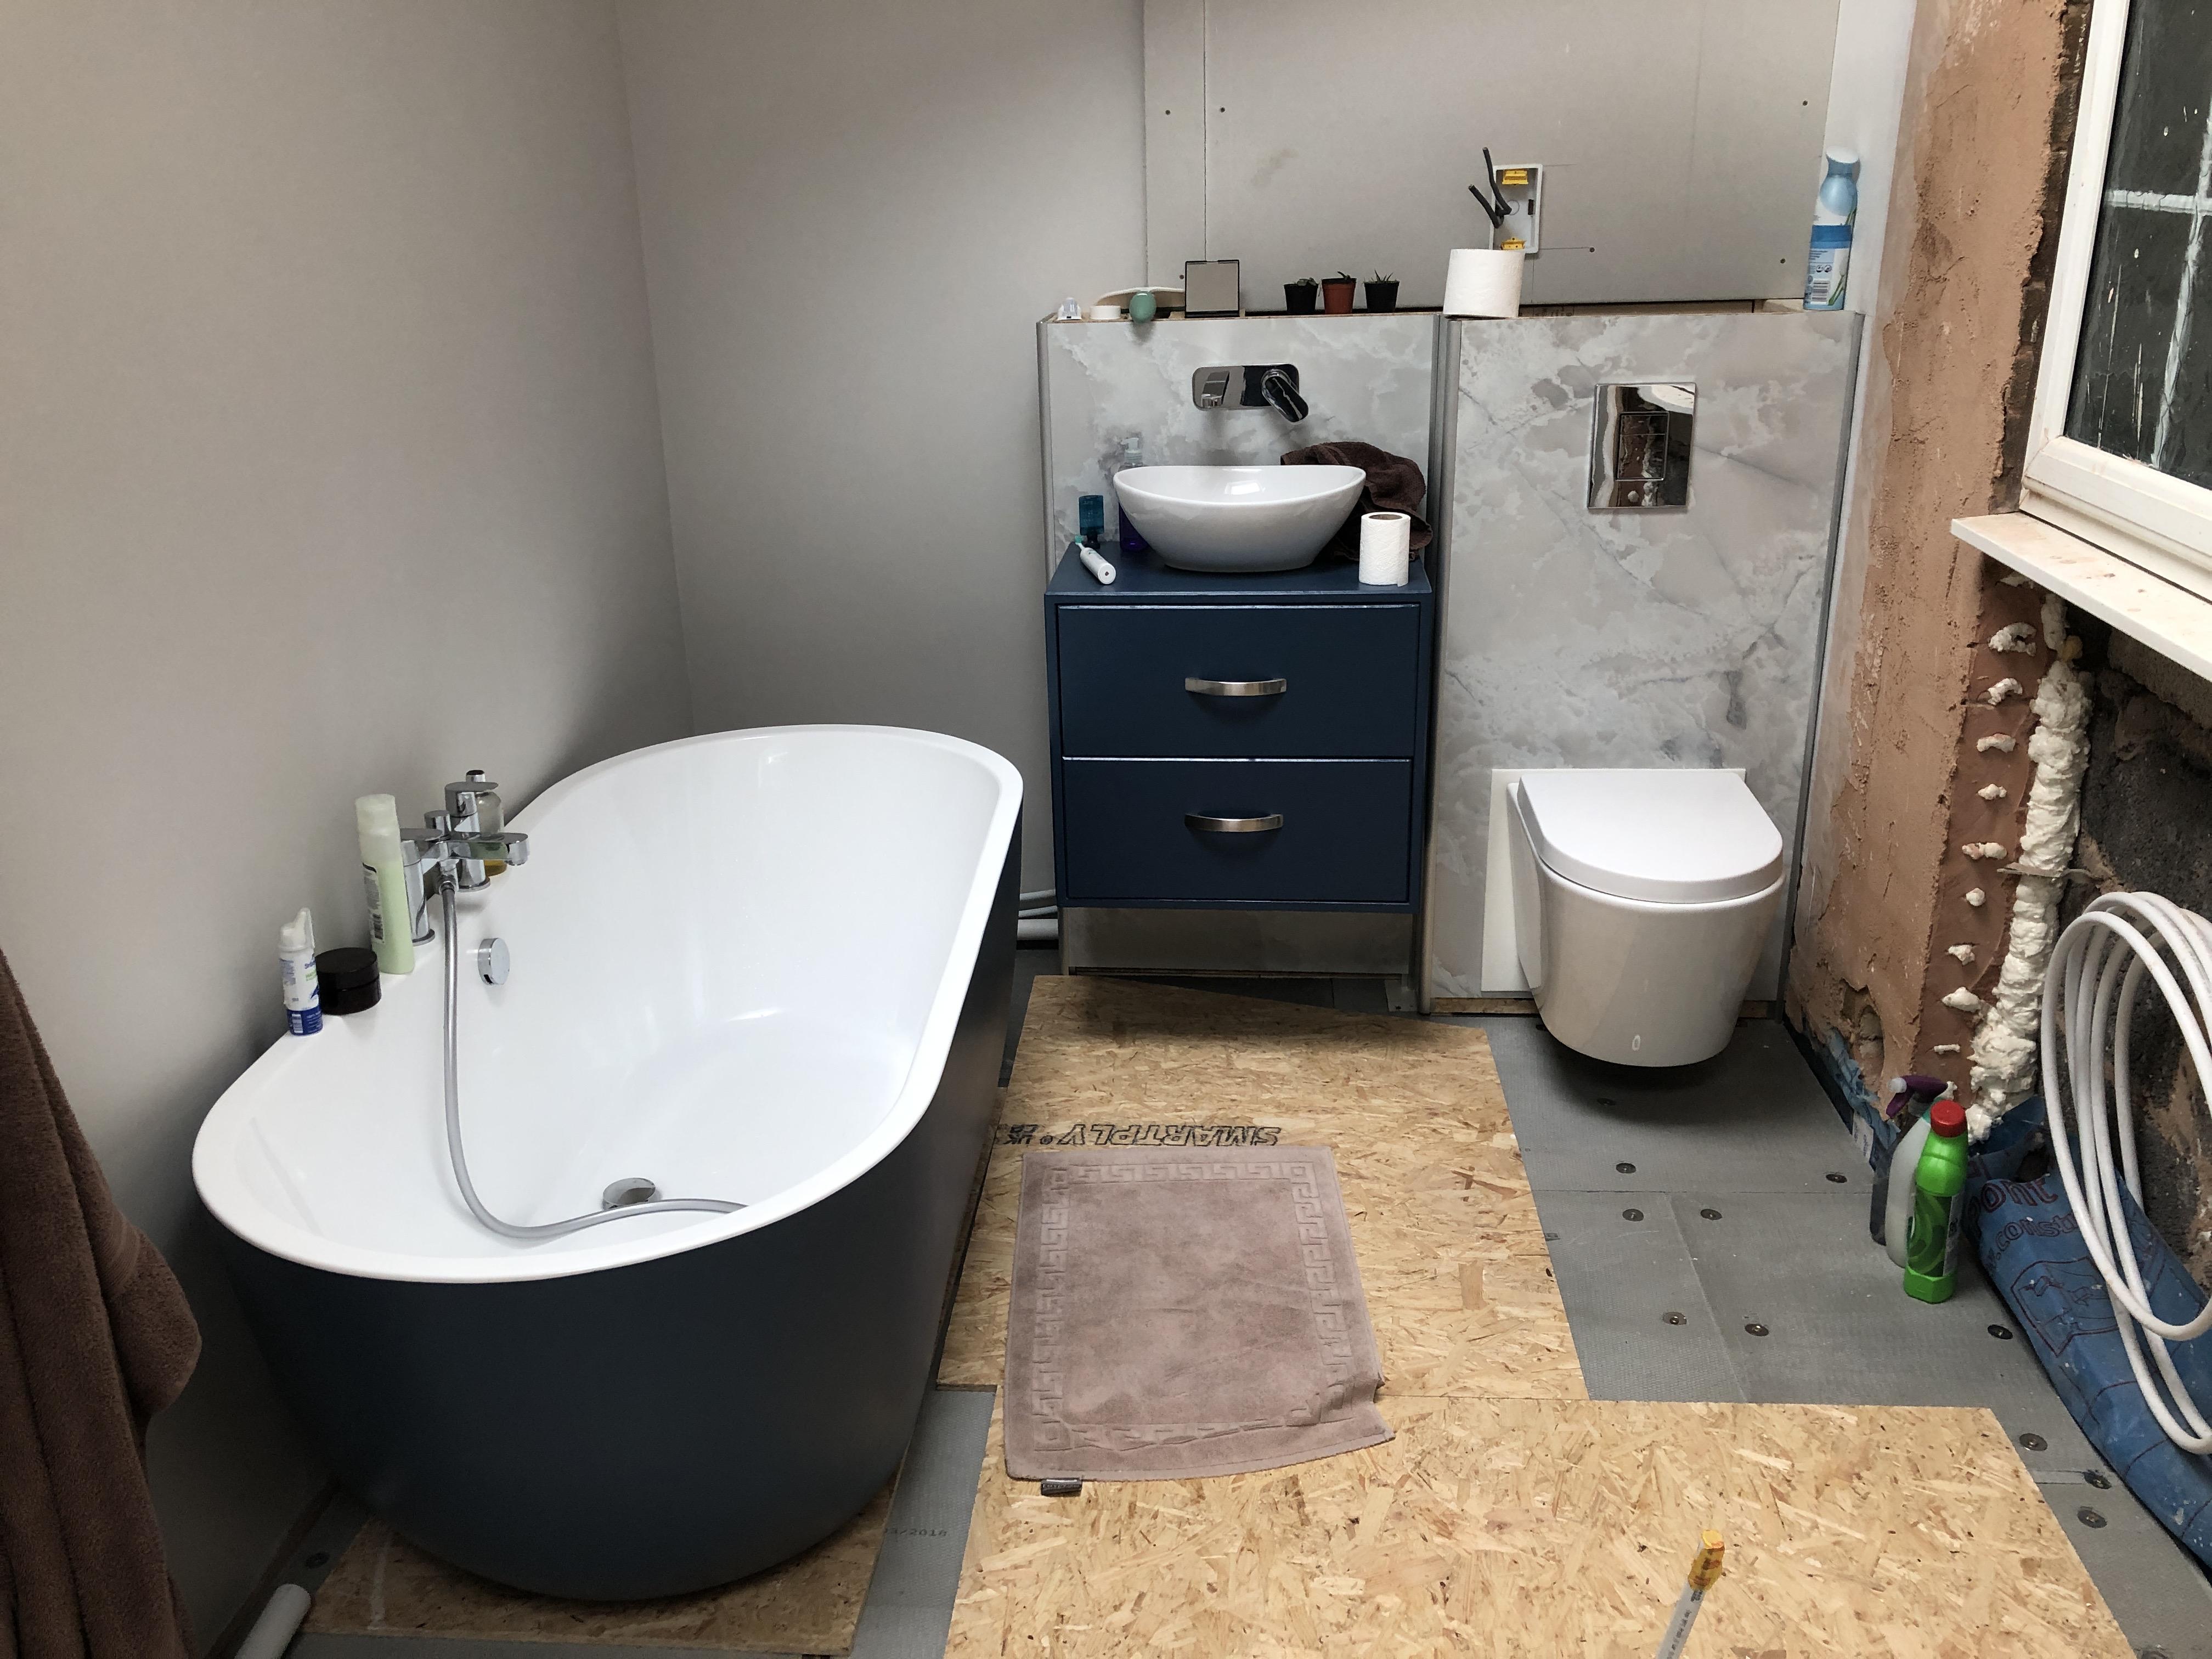
once the shower area is complete the bath will be disconnected again to lay the underfloor heating, self leveller and the flooring before being put back in place, and eventually building the wall and plastering it.
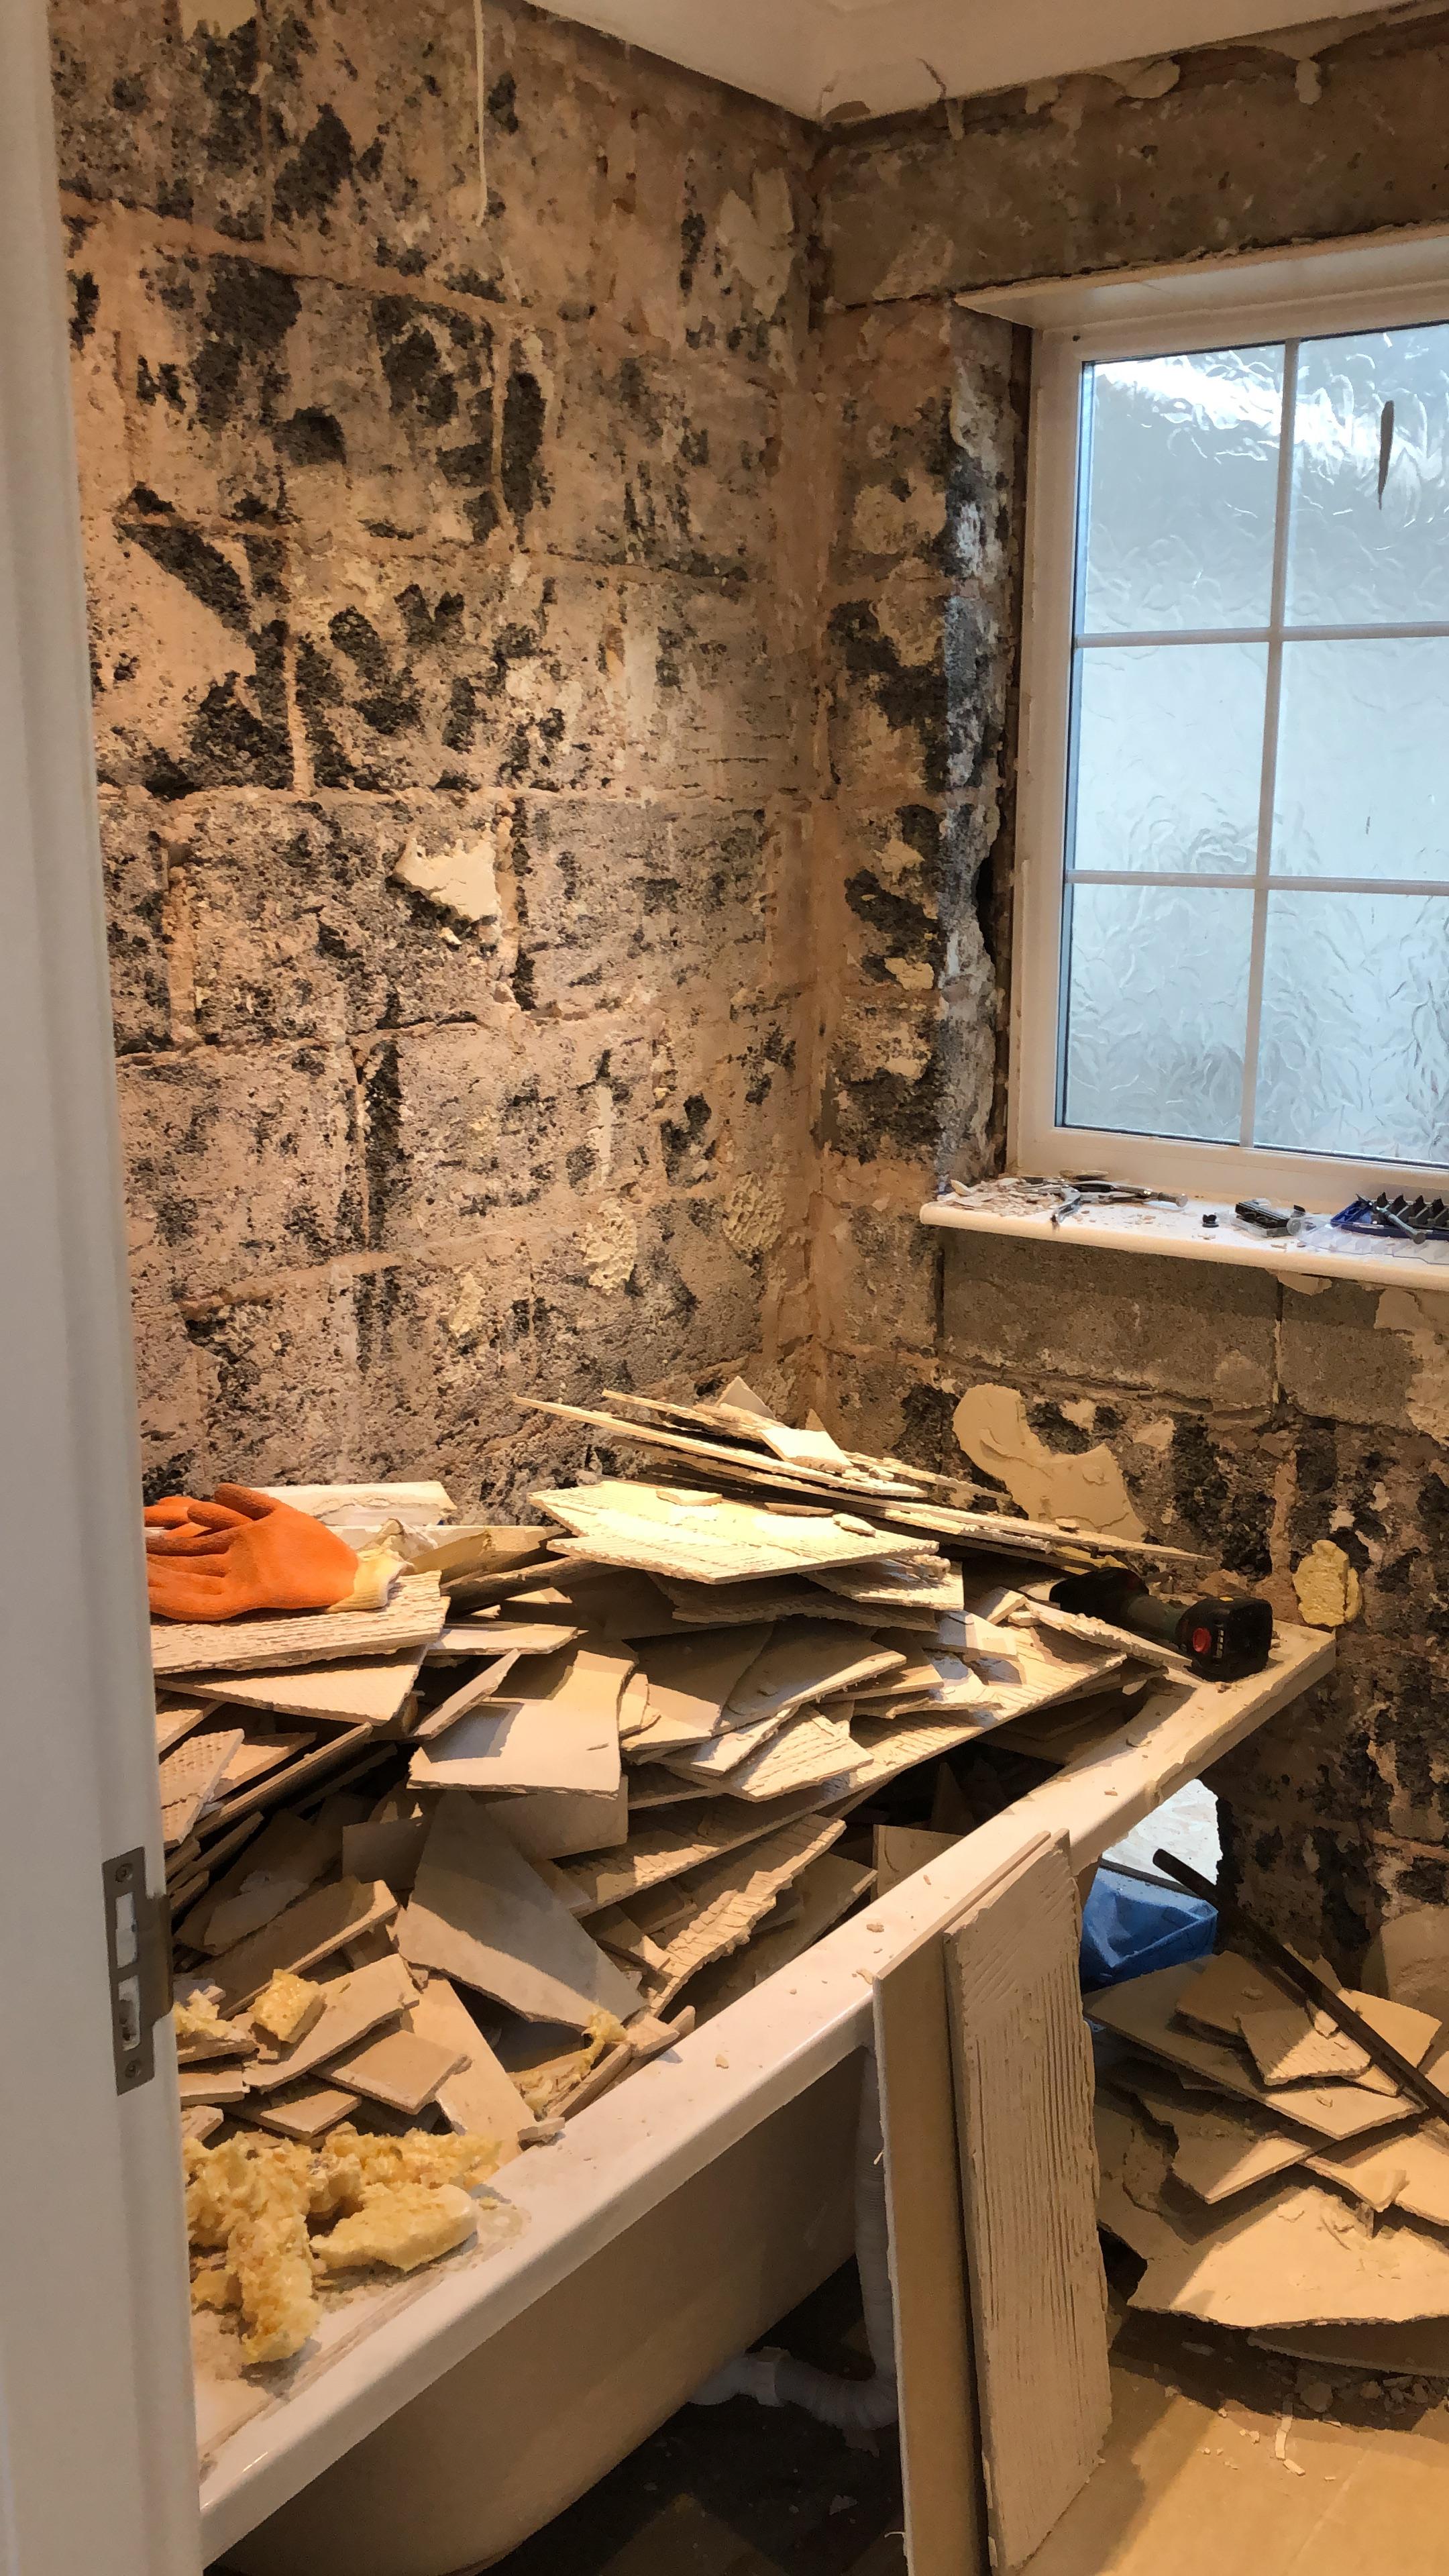
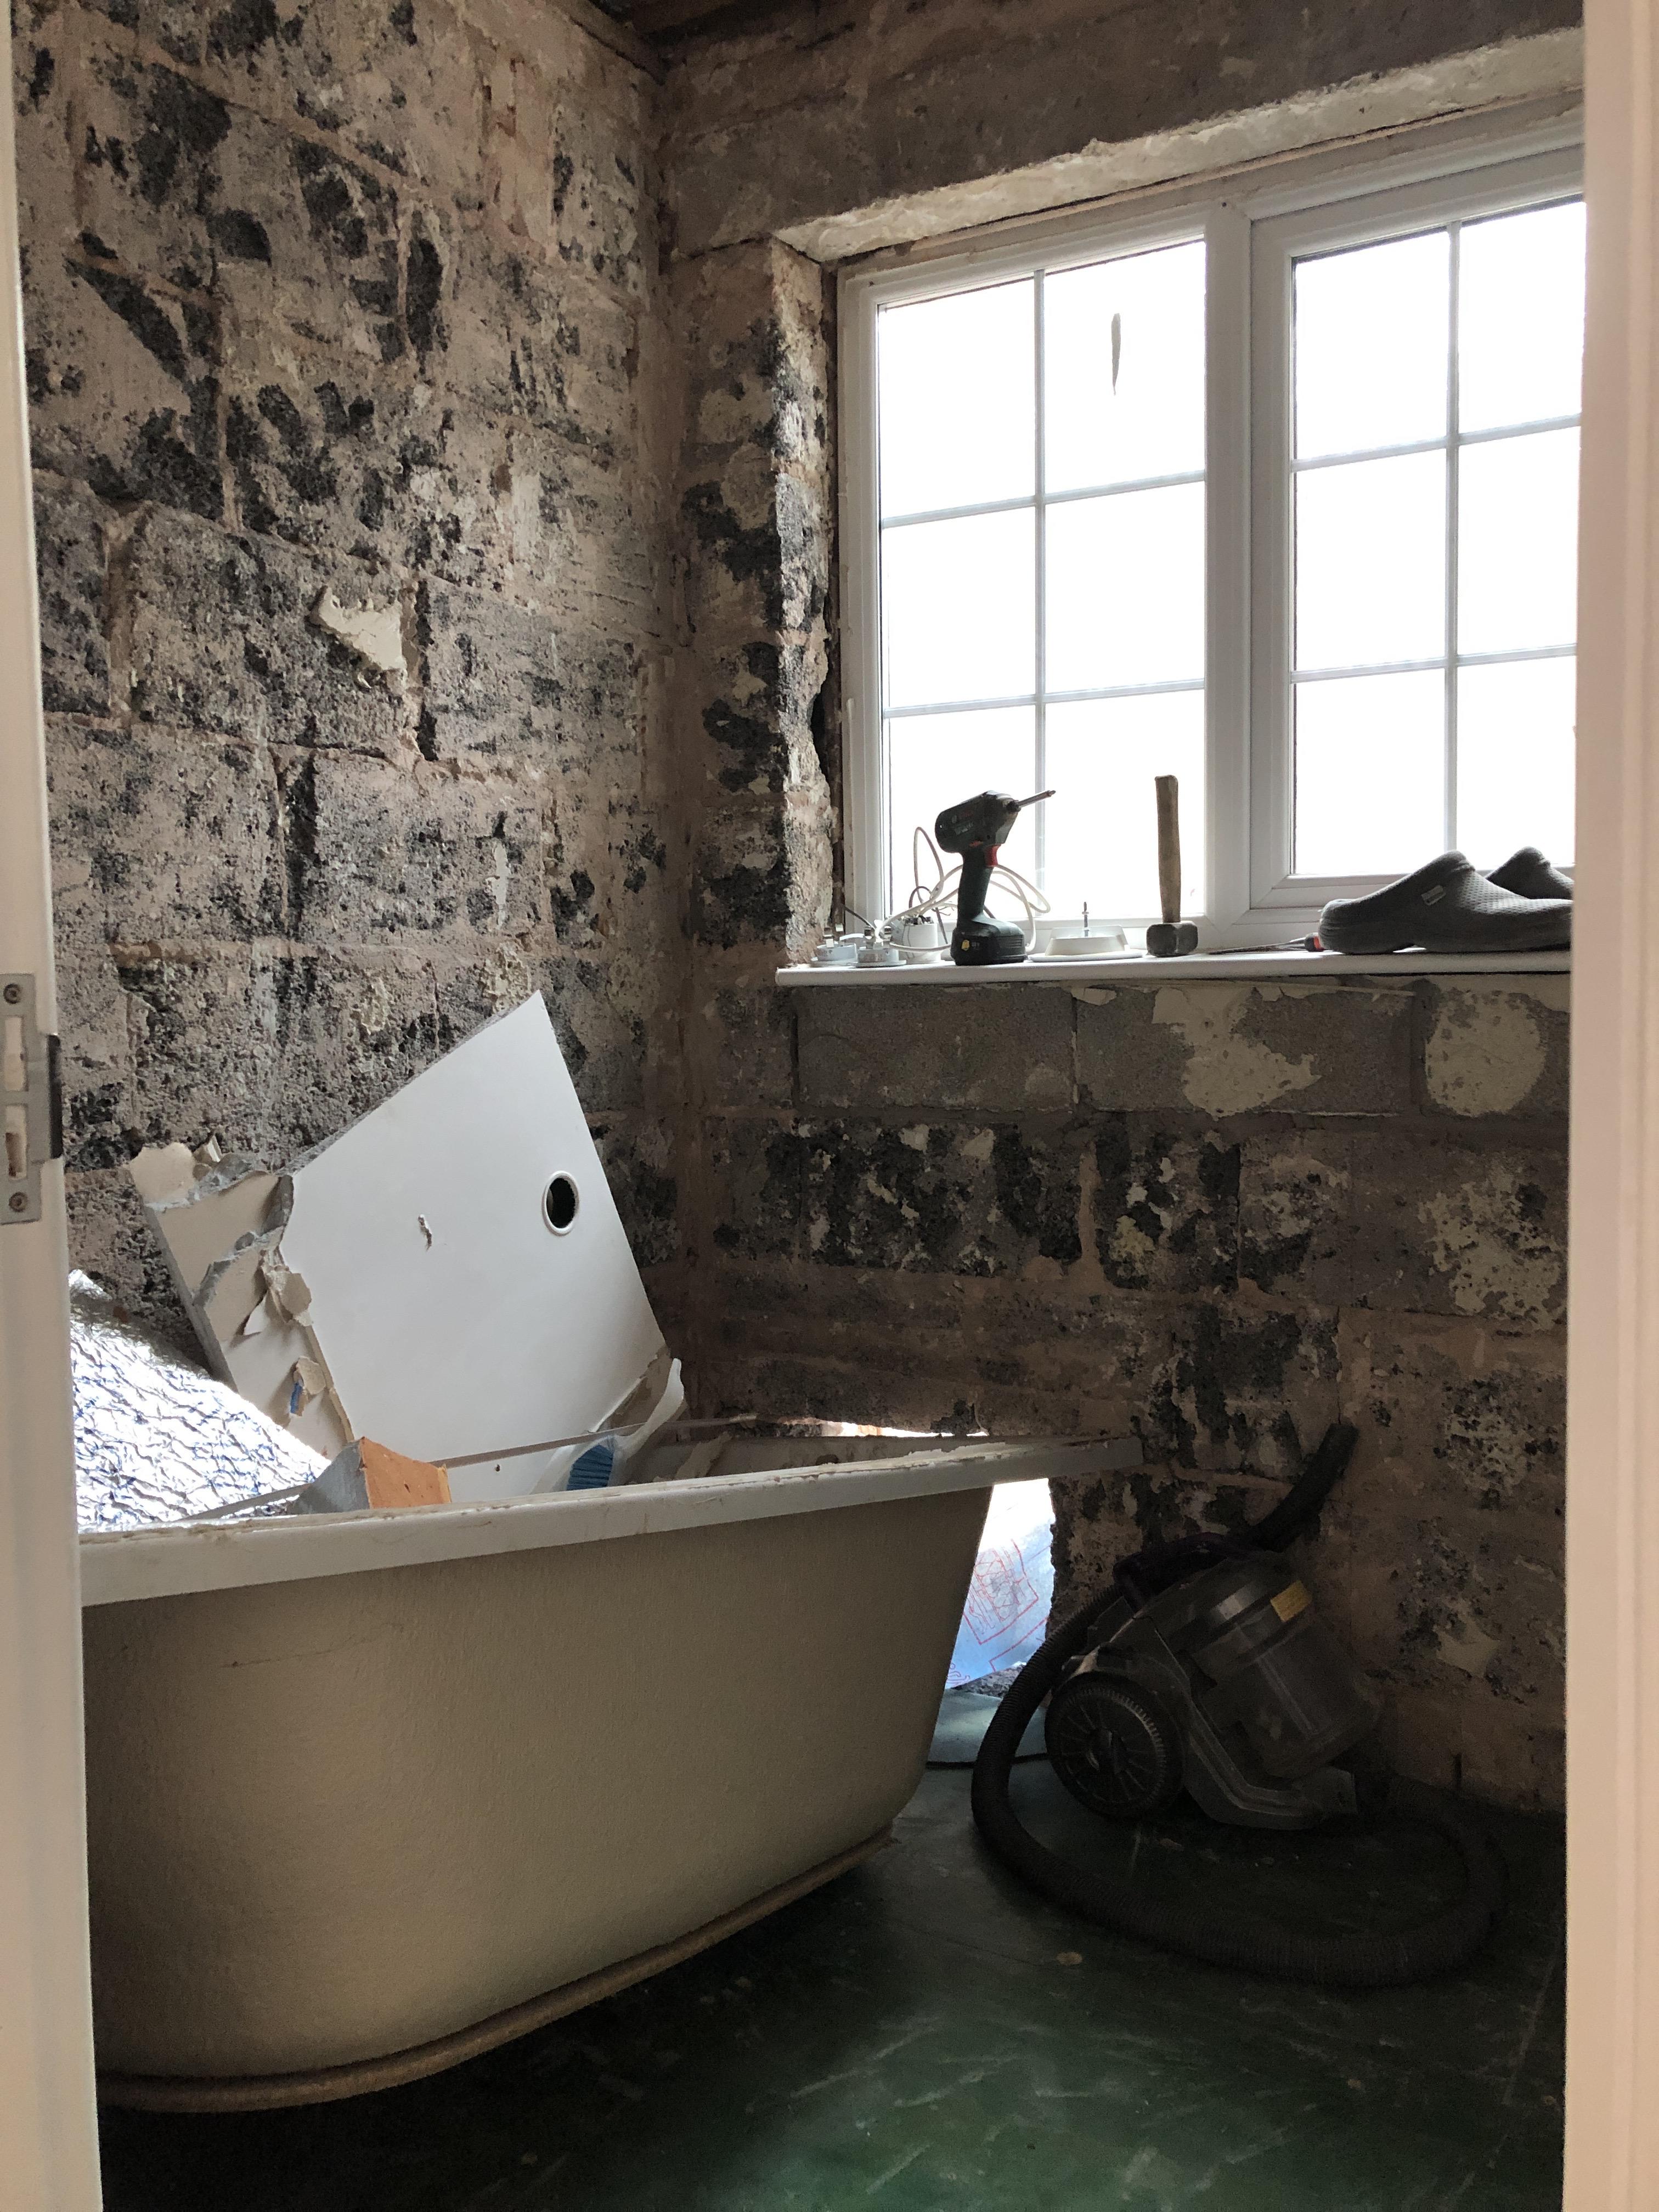
Made a start on stripping the old bathroom out
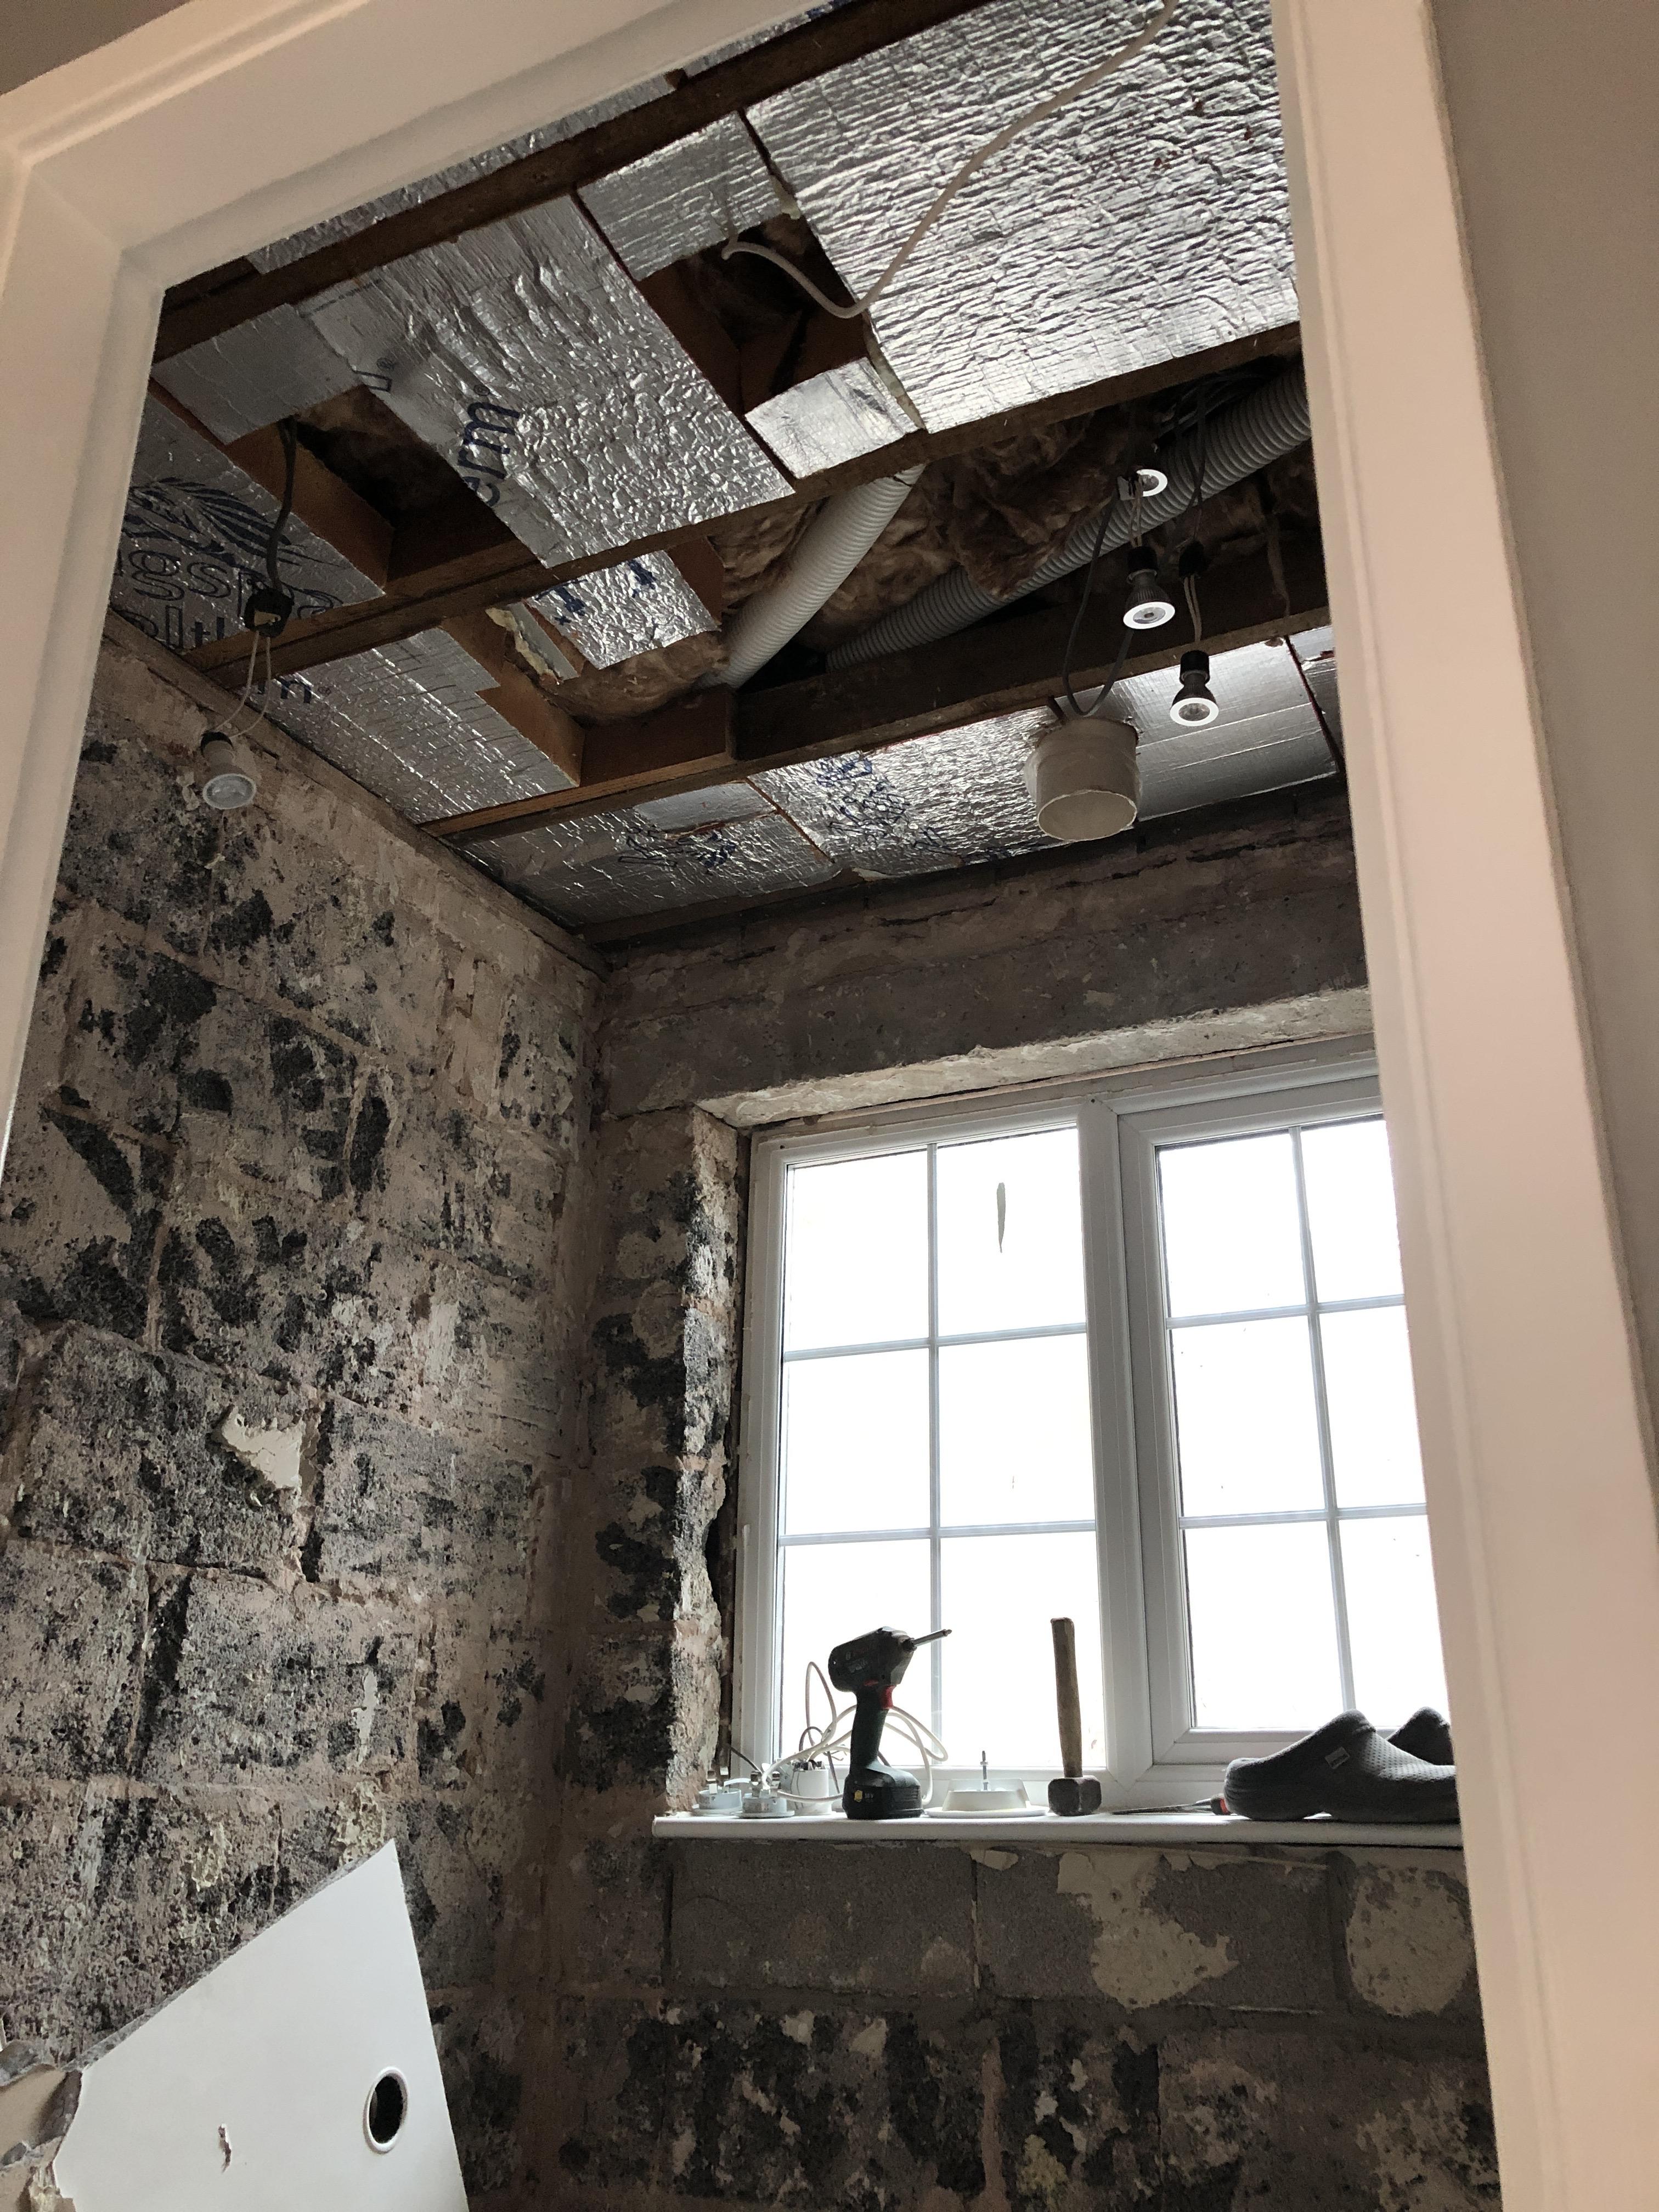
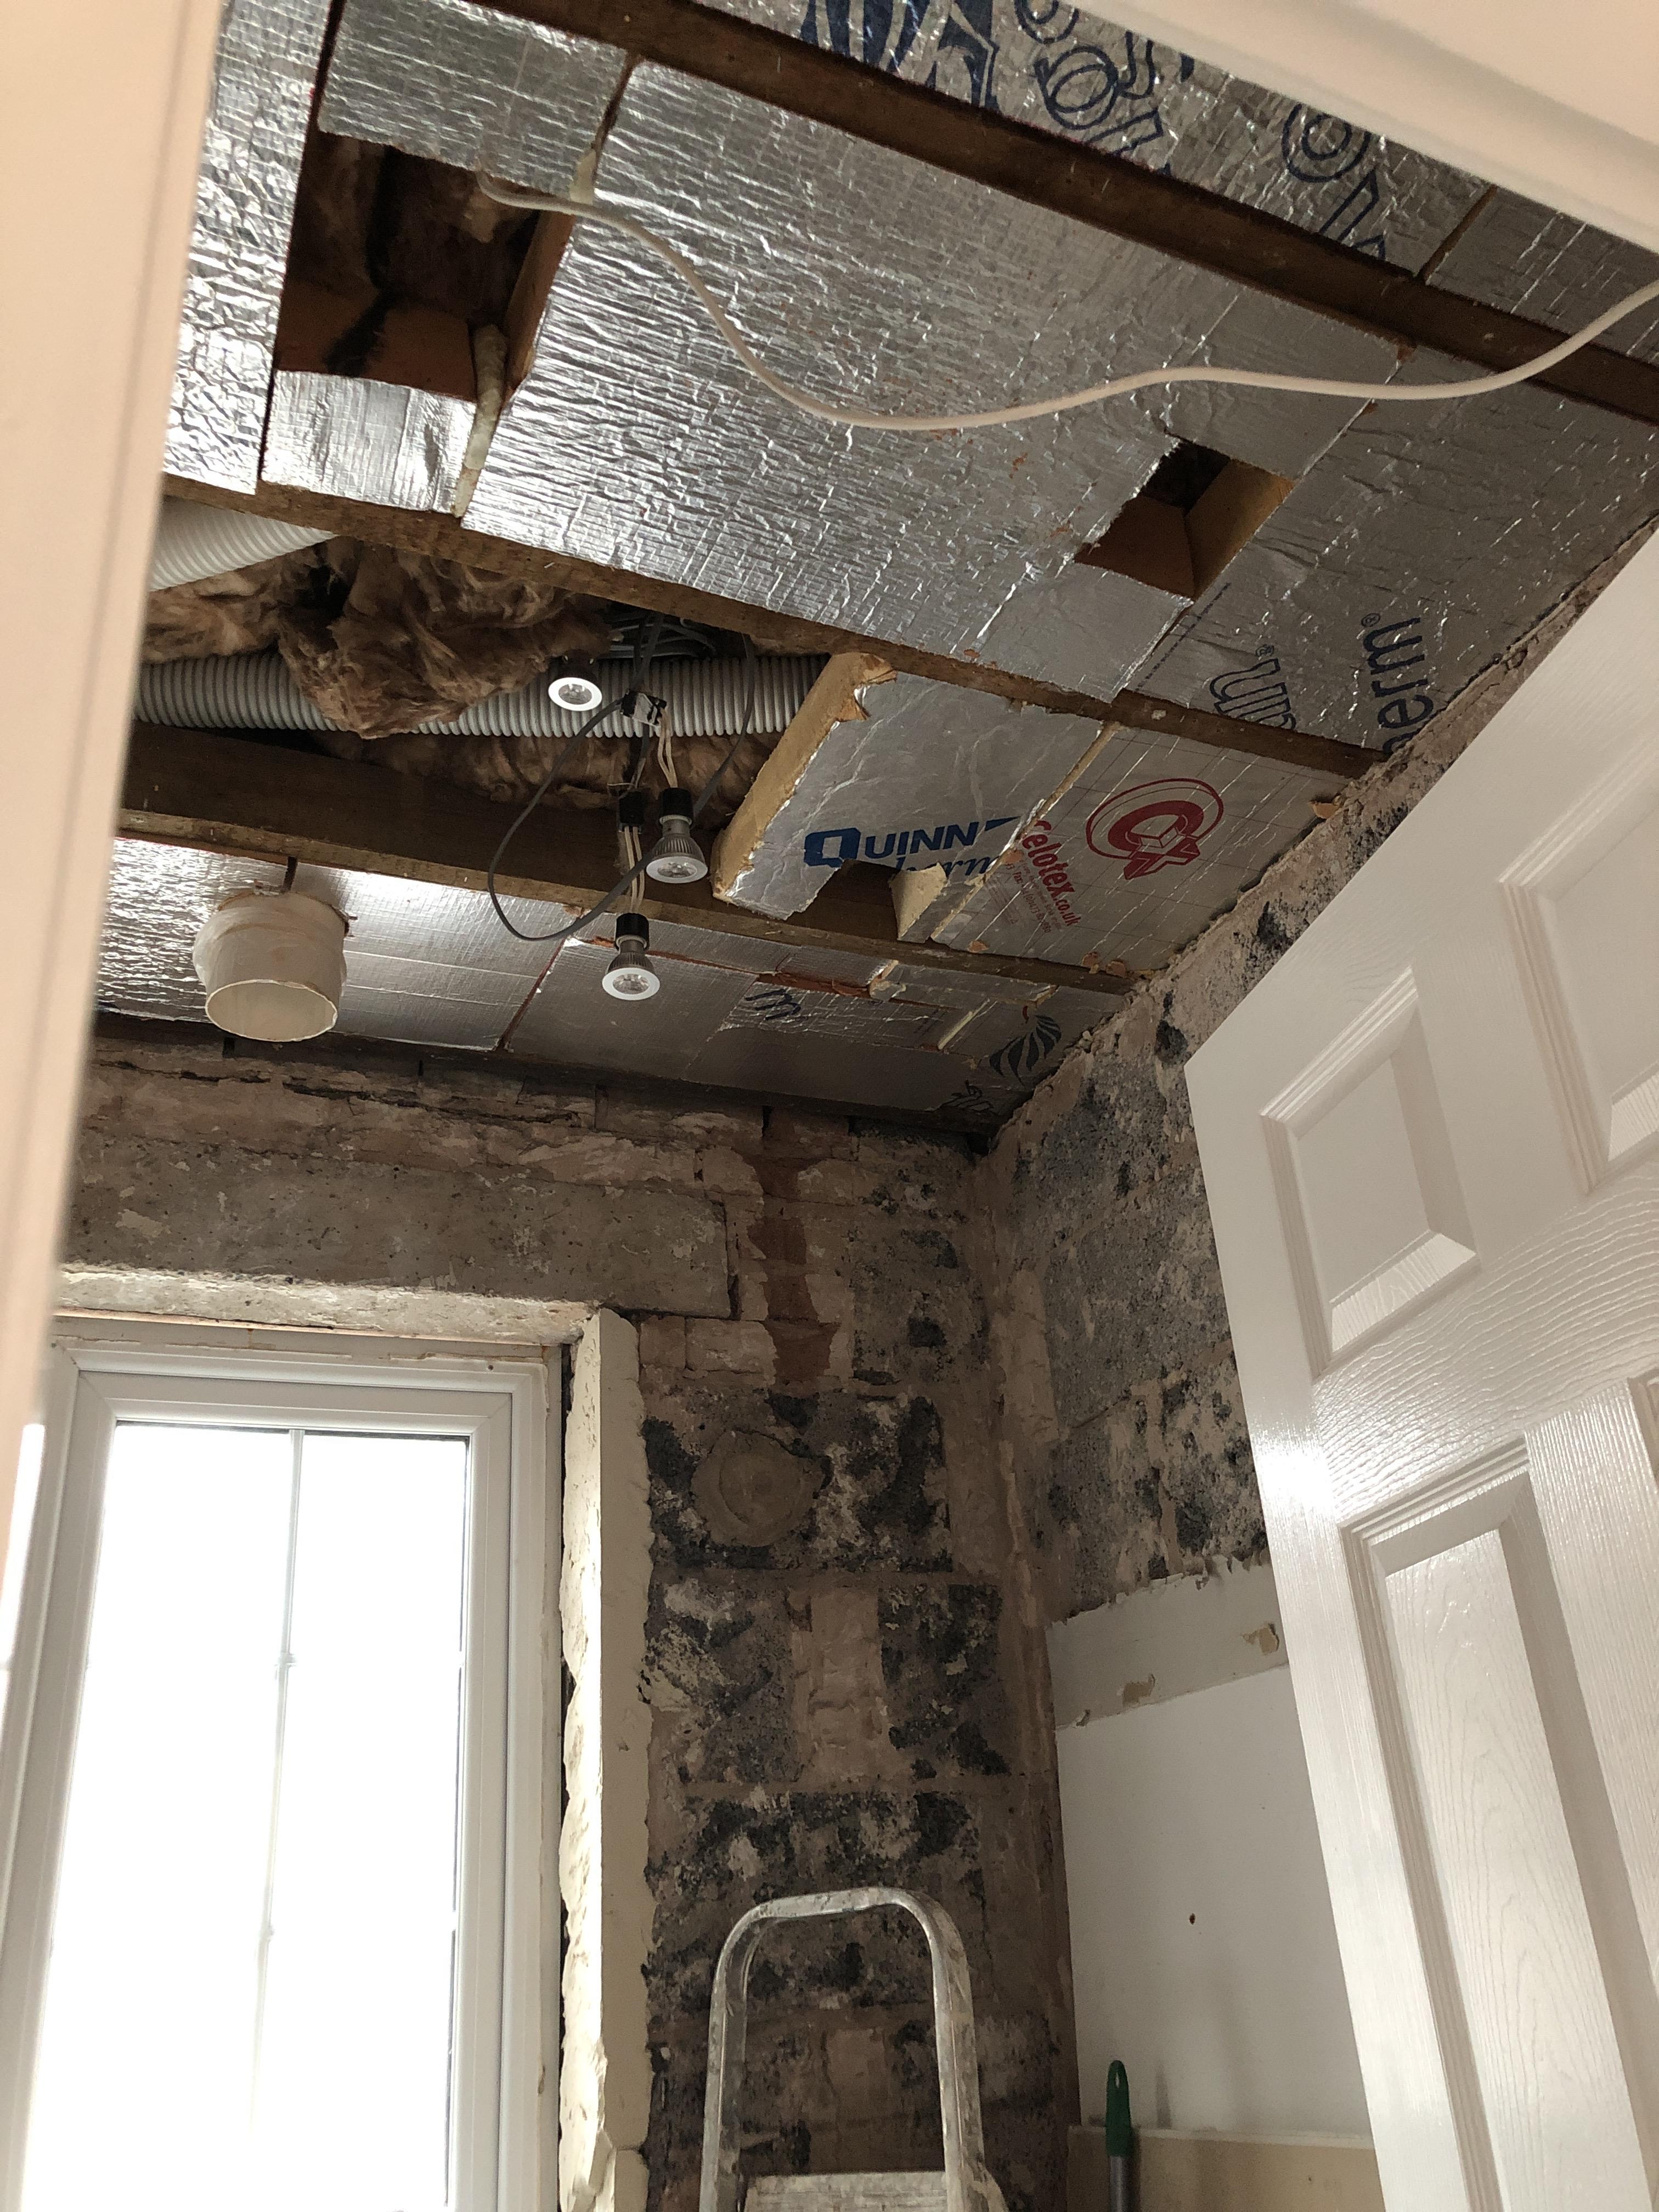

Next job is to patch up the loft insulation where the old spotlights were, new wiring in place for a single light fitting this time, airtight membrane adhered to the walls and then battens before reboarding it ready for plastering. Floor is coming up also to be replaced with 22mm chipboard to match new bit.
-
 7
7
1 Comment
Recommended Comments
Create an account or sign in to comment
You need to be a member in order to leave a comment
Create an account
Sign up for a new account in our community. It's easy!
Register a new accountSign in
Already have an account? Sign in here.
Sign In Now