Bramco
-
Posts
789 -
Joined
-
Last visited
-
Days Won
1
Bramco's Achievements
Regular Member (4/5)
249
Reputation
-
@Nickfromwales So your distribution boxes are hidden behind walls if I understand the diagram and the photos. Ours ended up being above the (lowered) plant room ceiling (daft fire concerns as there's no gas) But.... If you do need to clean each inlet and outlet connection through the semi rigid pipes, how do you do this? Or is it not considered necessary?
-
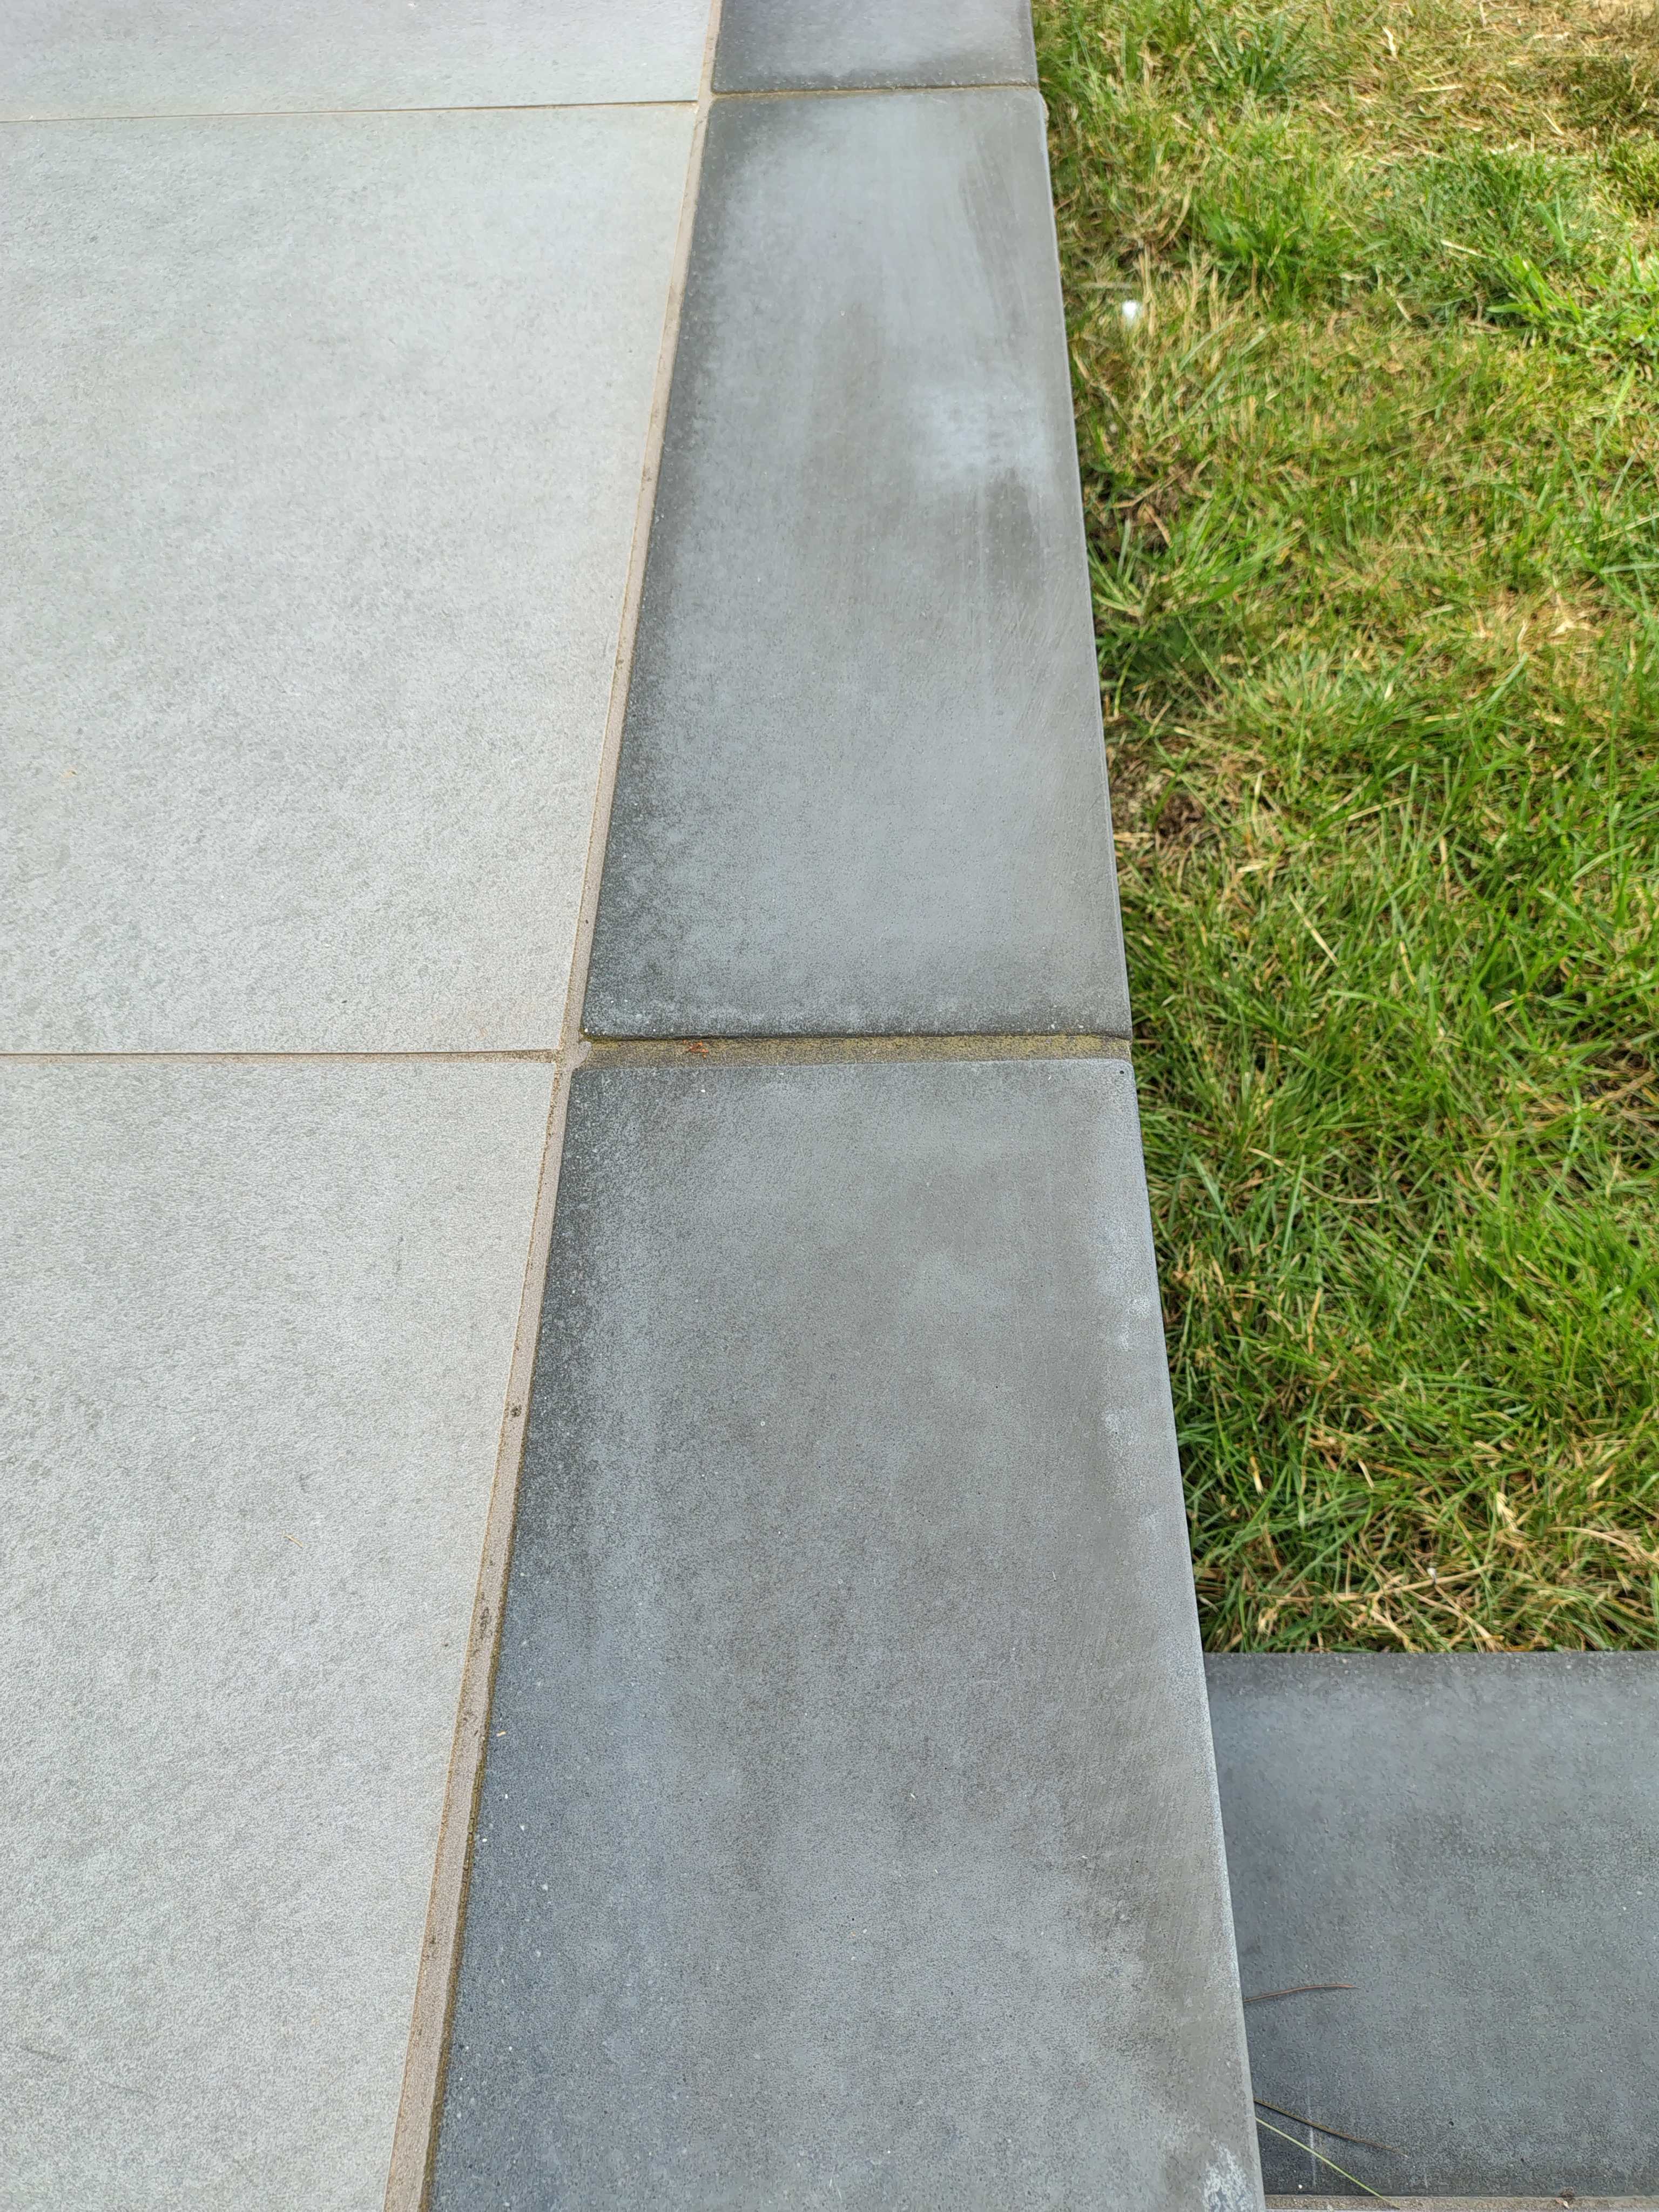
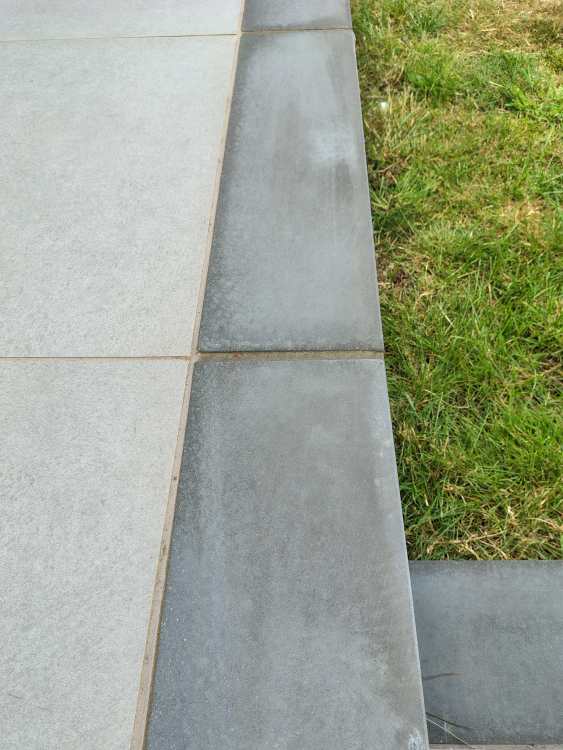
Hi, The edges of our patio and a raised planting area are finished with coloured concrete coping stones. Unfortunately these give off a coloured dust if you sit on them which given they are grey is a bit of a nuisance. Would be great if we could seal them somehow, so that they stop giving off the dust. Has anyone done this before? And if so what did you use? Otherwise, any ideas?
-
Heat Pump Running Cost Poor Reporting And Misinformation
Bramco replied to PhilT's topic in Air Source Heat Pumps (ASHP)
We imported 11,100kWh at a cost of £1009. So the princely sum of 9p/kWh on average. Exported £840 worth of kWh, so ran the house for £160 for the full year. (6.5kW Solar and 15kWh of battery, 9kW ASHP.) Given the standing charge is about 50p, the difference between import and export is about zero. We have no gas, so this is all our energy usage, heating, cooking, hot water etc. But this is for a 250 m2 timber frame house (almost passiv haus levels of insulation) with a UFH built into the insulated slab. All our heating is done by batch charging the slab at night on the cheap rate on Octopus Go with occasional daytime boosts when it's really cold. Our off peak usage is normally close to 100%. Trystan Lea at Open Energy Monitor has recently created a tool to show the co-benefits of solar, battery, HP and ev on the agile tariff makes interesting reading https://community.openenergymonitor.org/t/what-are-the-co-benefits-of-solar-battery-hp-ev-tariff/30095 -
More than likely sloppy app design/programming. Hmmm I need a column where I can put the values for heating and cooling. I'll put cooling in blue at the bottom and heating at the top in orange. Now simply drop in the values... Net effect the interface code which is no doubt a package will display the elements in the stack, even if one is zero. Probably never tested in earnest and even if it was, it probably wasn't seen as something that a user might question. One test would be to hover over the sections in the column to see if the orange one displays zero? That's assuming they implemented that. The Octopus app is similar, in it's display of cheap rate and normal rate usage for an hour. There's always a normal rate block even though you haven't used anything.
-
Noisy clicky corrugated metal roof- please help!
Bramco replied to jakeR's topic in Roofing, Tiling & Slating
Quick answer from our architects (he's our son, so needs to watch out on the inheritance front...) The go to organisation is -> The Metal Cladding and Roofing Manufacturers Association (MCRMA) Surprise, surprise. And the answer is mastic or butyl tape. See the attachments. (Anyone reading this in the future should probably check to see if the guidance has been updated.) GD19-MCRMA-sealants-guidance-document-1.pdf GD26-Aluminium-fabrications-executive-summary-1.pdf GD37-Sealing-of-end-laps-in-wall-cladding.pdf MCRMA-TP6-v1.pdf MCRMA-TP16-v1.pdf -
Noisy clicky corrugated metal roof- please help!
Bramco replied to jakeR's topic in Roofing, Tiling & Slating
I think our architect specified this as well - can't find the specs on this that he sent through to the roofer - I'll ask him if he can resend it to me. Also worth checking suppliers sites like Cladco, to see if they have any useful pointers. -
Noisy clicky corrugated metal roof- please help!
Bramco replied to jakeR's topic in Roofing, Tiling & Slating
We don't get clicks but we do get bangs as the metalwork heats up. But they aren't often and aren't that loud, more a boom than a bang. So it does't really worry us. The bangs and your case clicks can't surely be from expansion across the corrugations, so must be from expansion along the sheets. Our roof is screwed onto horizontal battens. So maybe there's play in the battens which takes up enough expansion to only occasionally have to jump and cause the bangs. Part of our build also has the walls clad in crinkly tin. Again the sheets are mounted vertically across horizontal battens. It would be a shame to have to demount what's already installed but the idea from @Spinny might be worth trying. If you do, do a test, then to really check things out, you'd have to do it with a sheet the same length as your roof and with a similar build up of at least the external part of the roof, otherwise you wouldn't be sure. Another thing to check might be the screws and washers - we used EJOT low profile screws. See the attachments. Hope you get things worked out. JT3_FR2_4_9_timber range.pdf JT3-FR3 range.pdf -
I should have said ours was an MBC build. But we'd already decided we didn't like/trust the idea of a soil pipe through the roof structure. Getting the taping right on 2 membranes at an angle seemed like a recipe for future problems.
-
Building control actually came up with the solution!!
-
Would it be possible to run a soil stack up the side of the house? We did this to avoid having a penetration through the roof. All internal soil locations have air vents. The external one runs vertically parallel to a downpipe, so isn't too out of place. It connects to the sump where all the internal ones come together.
-
I've noticed that if the overflow connection is a corrugated pipe and it attaches almost horizontally into the plughole base, then you can get backflow from the sink into the overflow pipe connection with associated detritus which eventually starts to stink. The only way to fix it is to get under the sink, disconnect the overflow pipe and clean it out. A bucket underneath is a good idea as well as a mask.
-
It's been a while.... So.... I noticed an interesting post on the open energy monitor site from a guy who lives in a stone house in rural Scotland built in 1874. The answer from the professionals when he asked for quotes to replace his boiler was that there was no way he could have a heat pump -> https://community.openenergymonitor.org/t/the-house-that-couldn-t-have-a-heat-pump/29921 He persevered, learnt a lot and now has a warm house heated by a heat pump. So it can be done but it requires first understanding the facts, then making sure that the heat pump is set up and controlled to meet the way the house behaves. @JohnMo @Nickfromwales @SimonD - the post is well worth a read.
-
On our pump controller, the pump only ran when there was enough heat in the header on the solar array. I'm guessing yours will also work this way. So in marginal conditions, it only runs intermittently. Using a narrower bore means that the hot water will actually get through to the tank. With 15mm or bigger, you can get the situation where a hot slug is pumped into the pipe but never reaches the tank. I've not checked but I'm guessing 10mm is also cheaper than 15mm. So probably also a better option if you are on a budget. EDIT Try this, it has good insulation as well as a cable for the temperature sensor. https://www.bes.co.uk/solarquip-twin-flex-insulated-solar-pipe-dn16-x-10m-21102/
-
If you use copper, use 10mm, it means there is less heated water in the hot pipe, so the heat gets to the coil in the tank quicker. we did this in a previous house and afaik, it's still running after 15 years... 😄
-
I tried to do something similar with our install but no one locally was interested in certifying things if they didn't do the full install. Good luck - and if you find someone, I'd be interested in getting in touch with them - we're south Notts, so not that far away.