EdSt
-
Posts
20 -
Joined
-
Last visited
EdSt's Achievements
Member (3/5)
0
Reputation
-
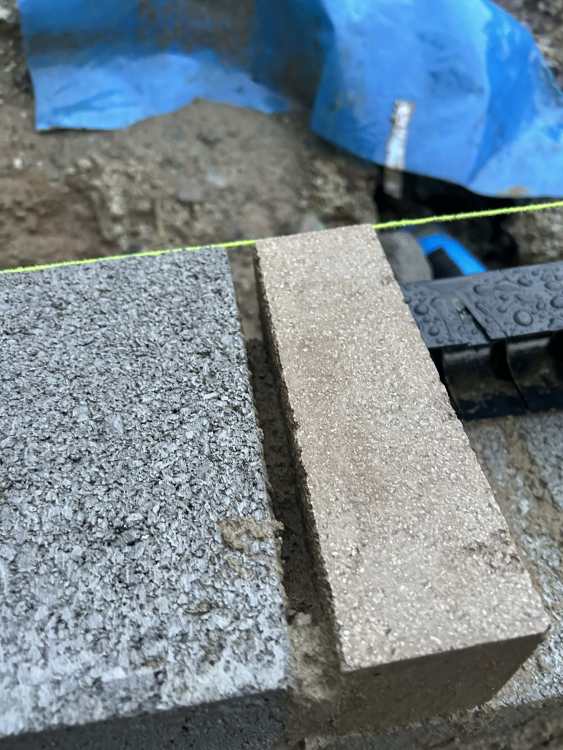
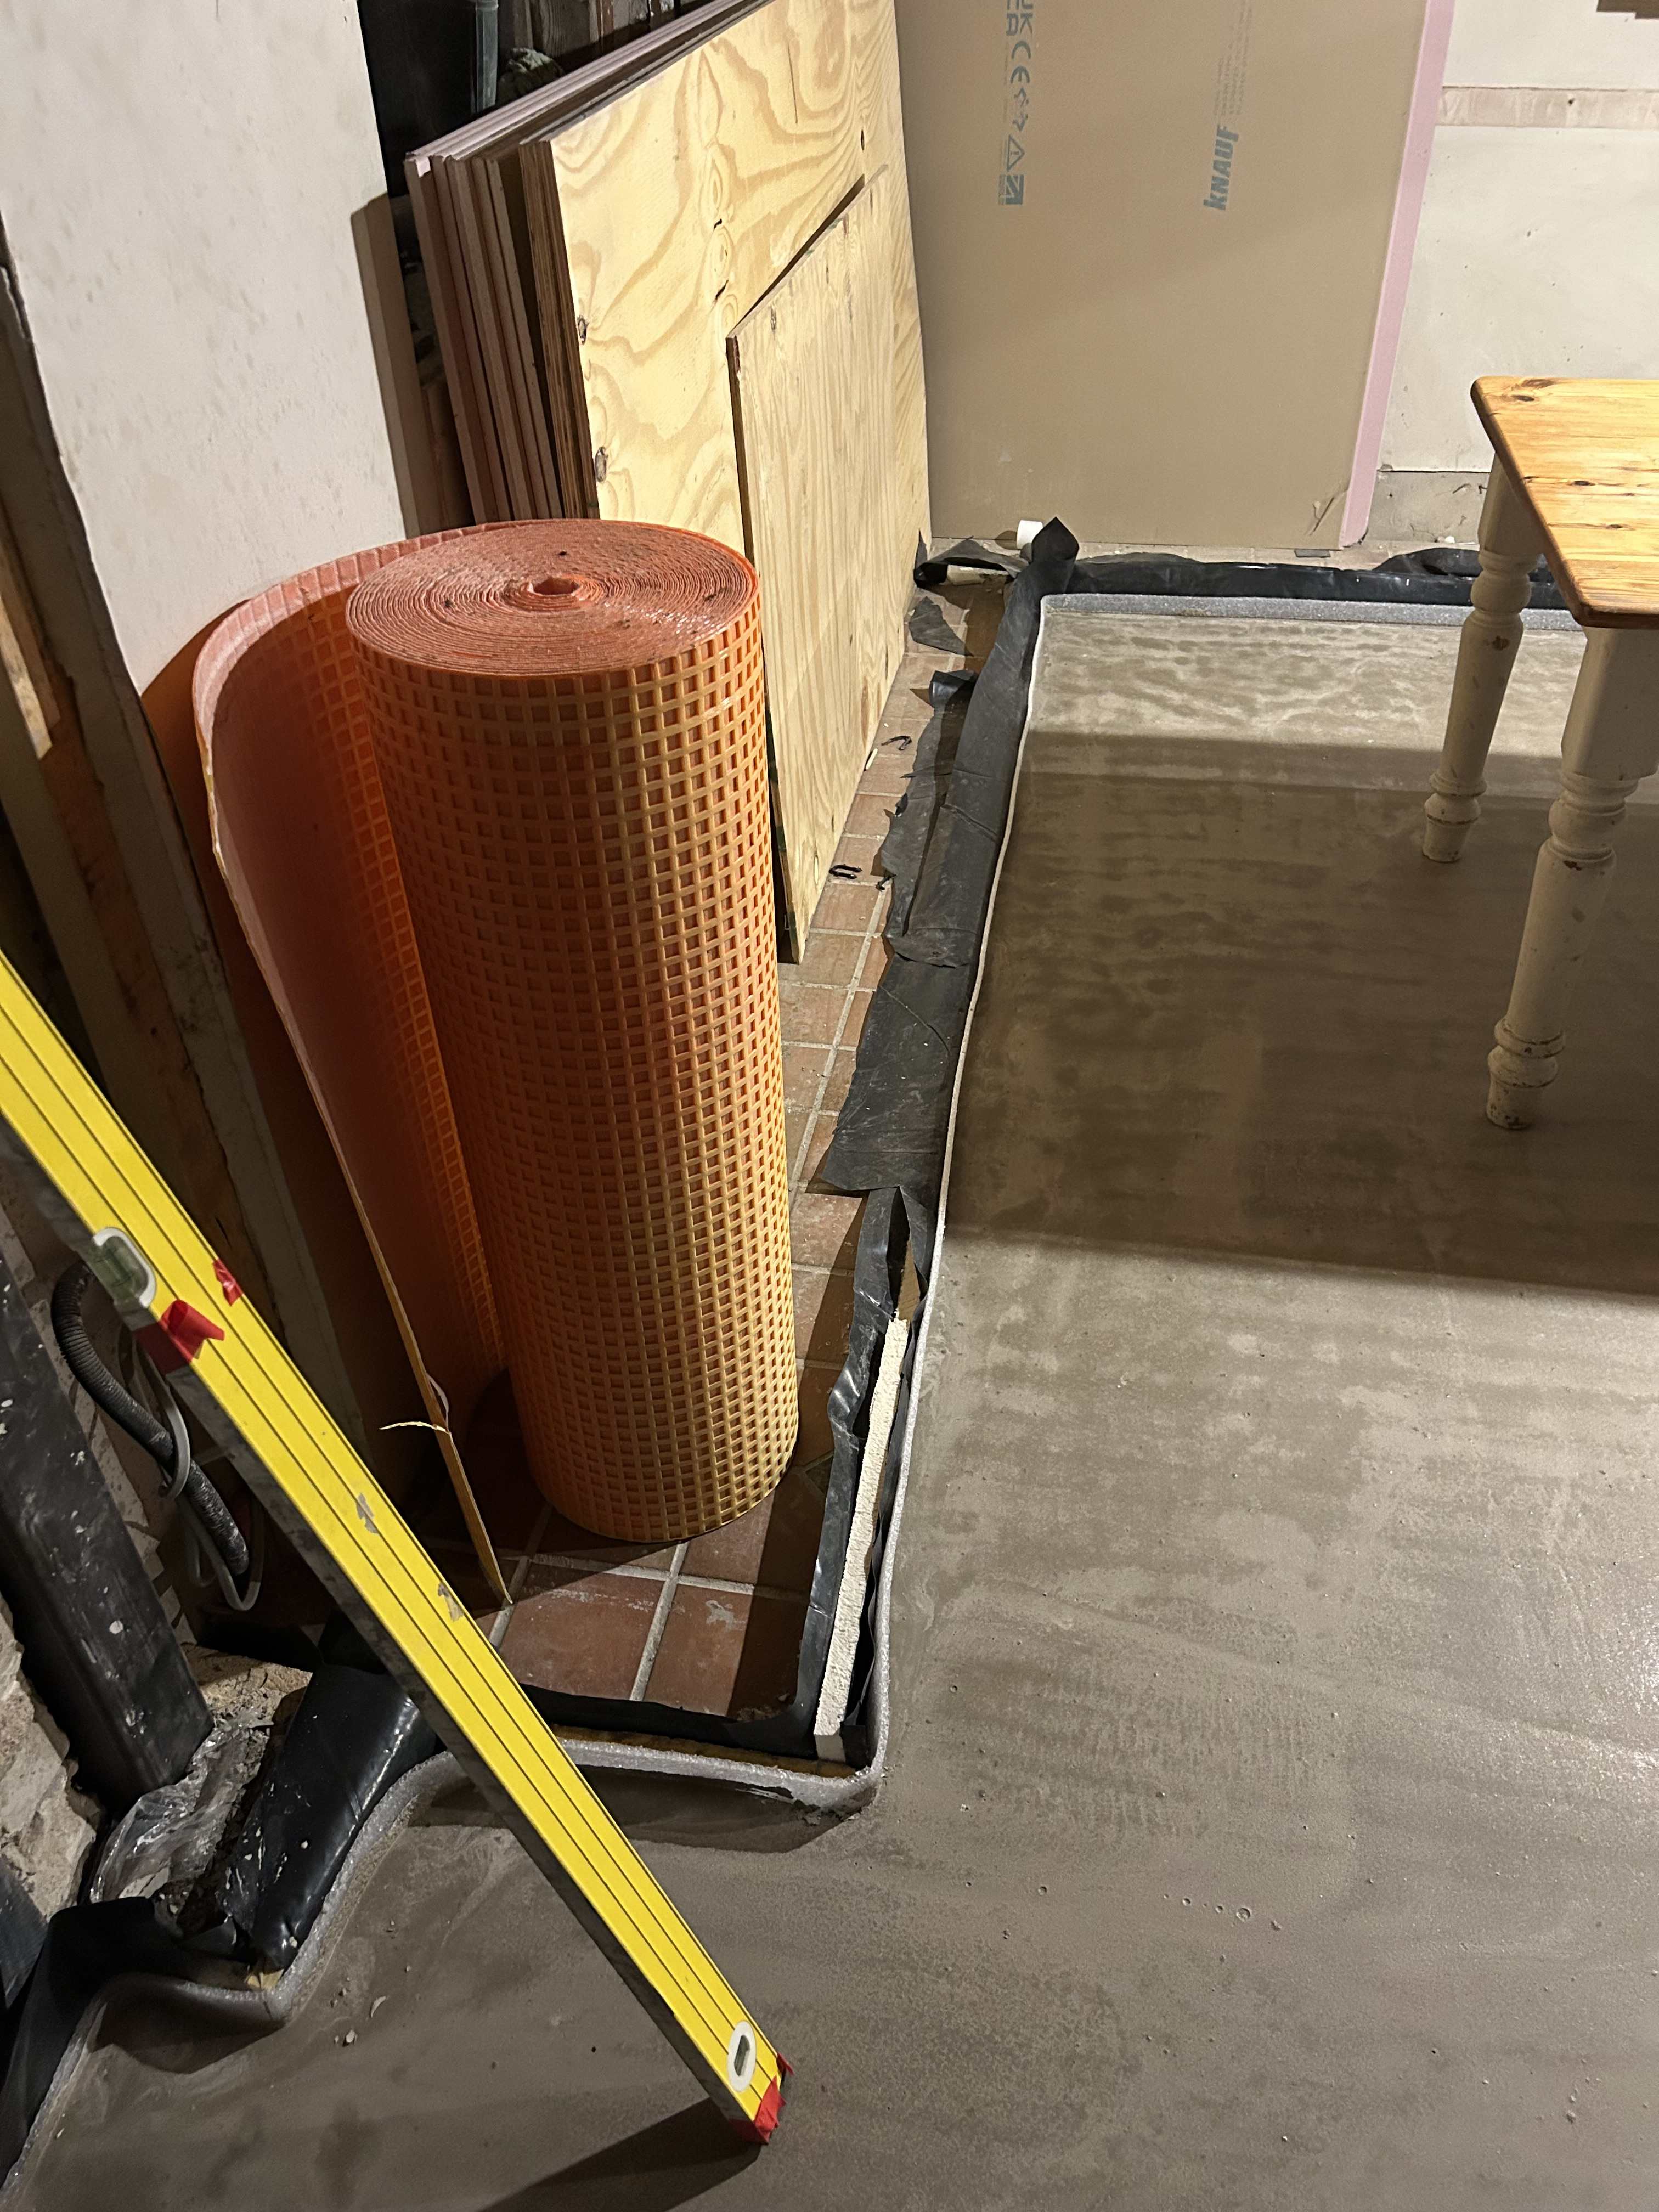
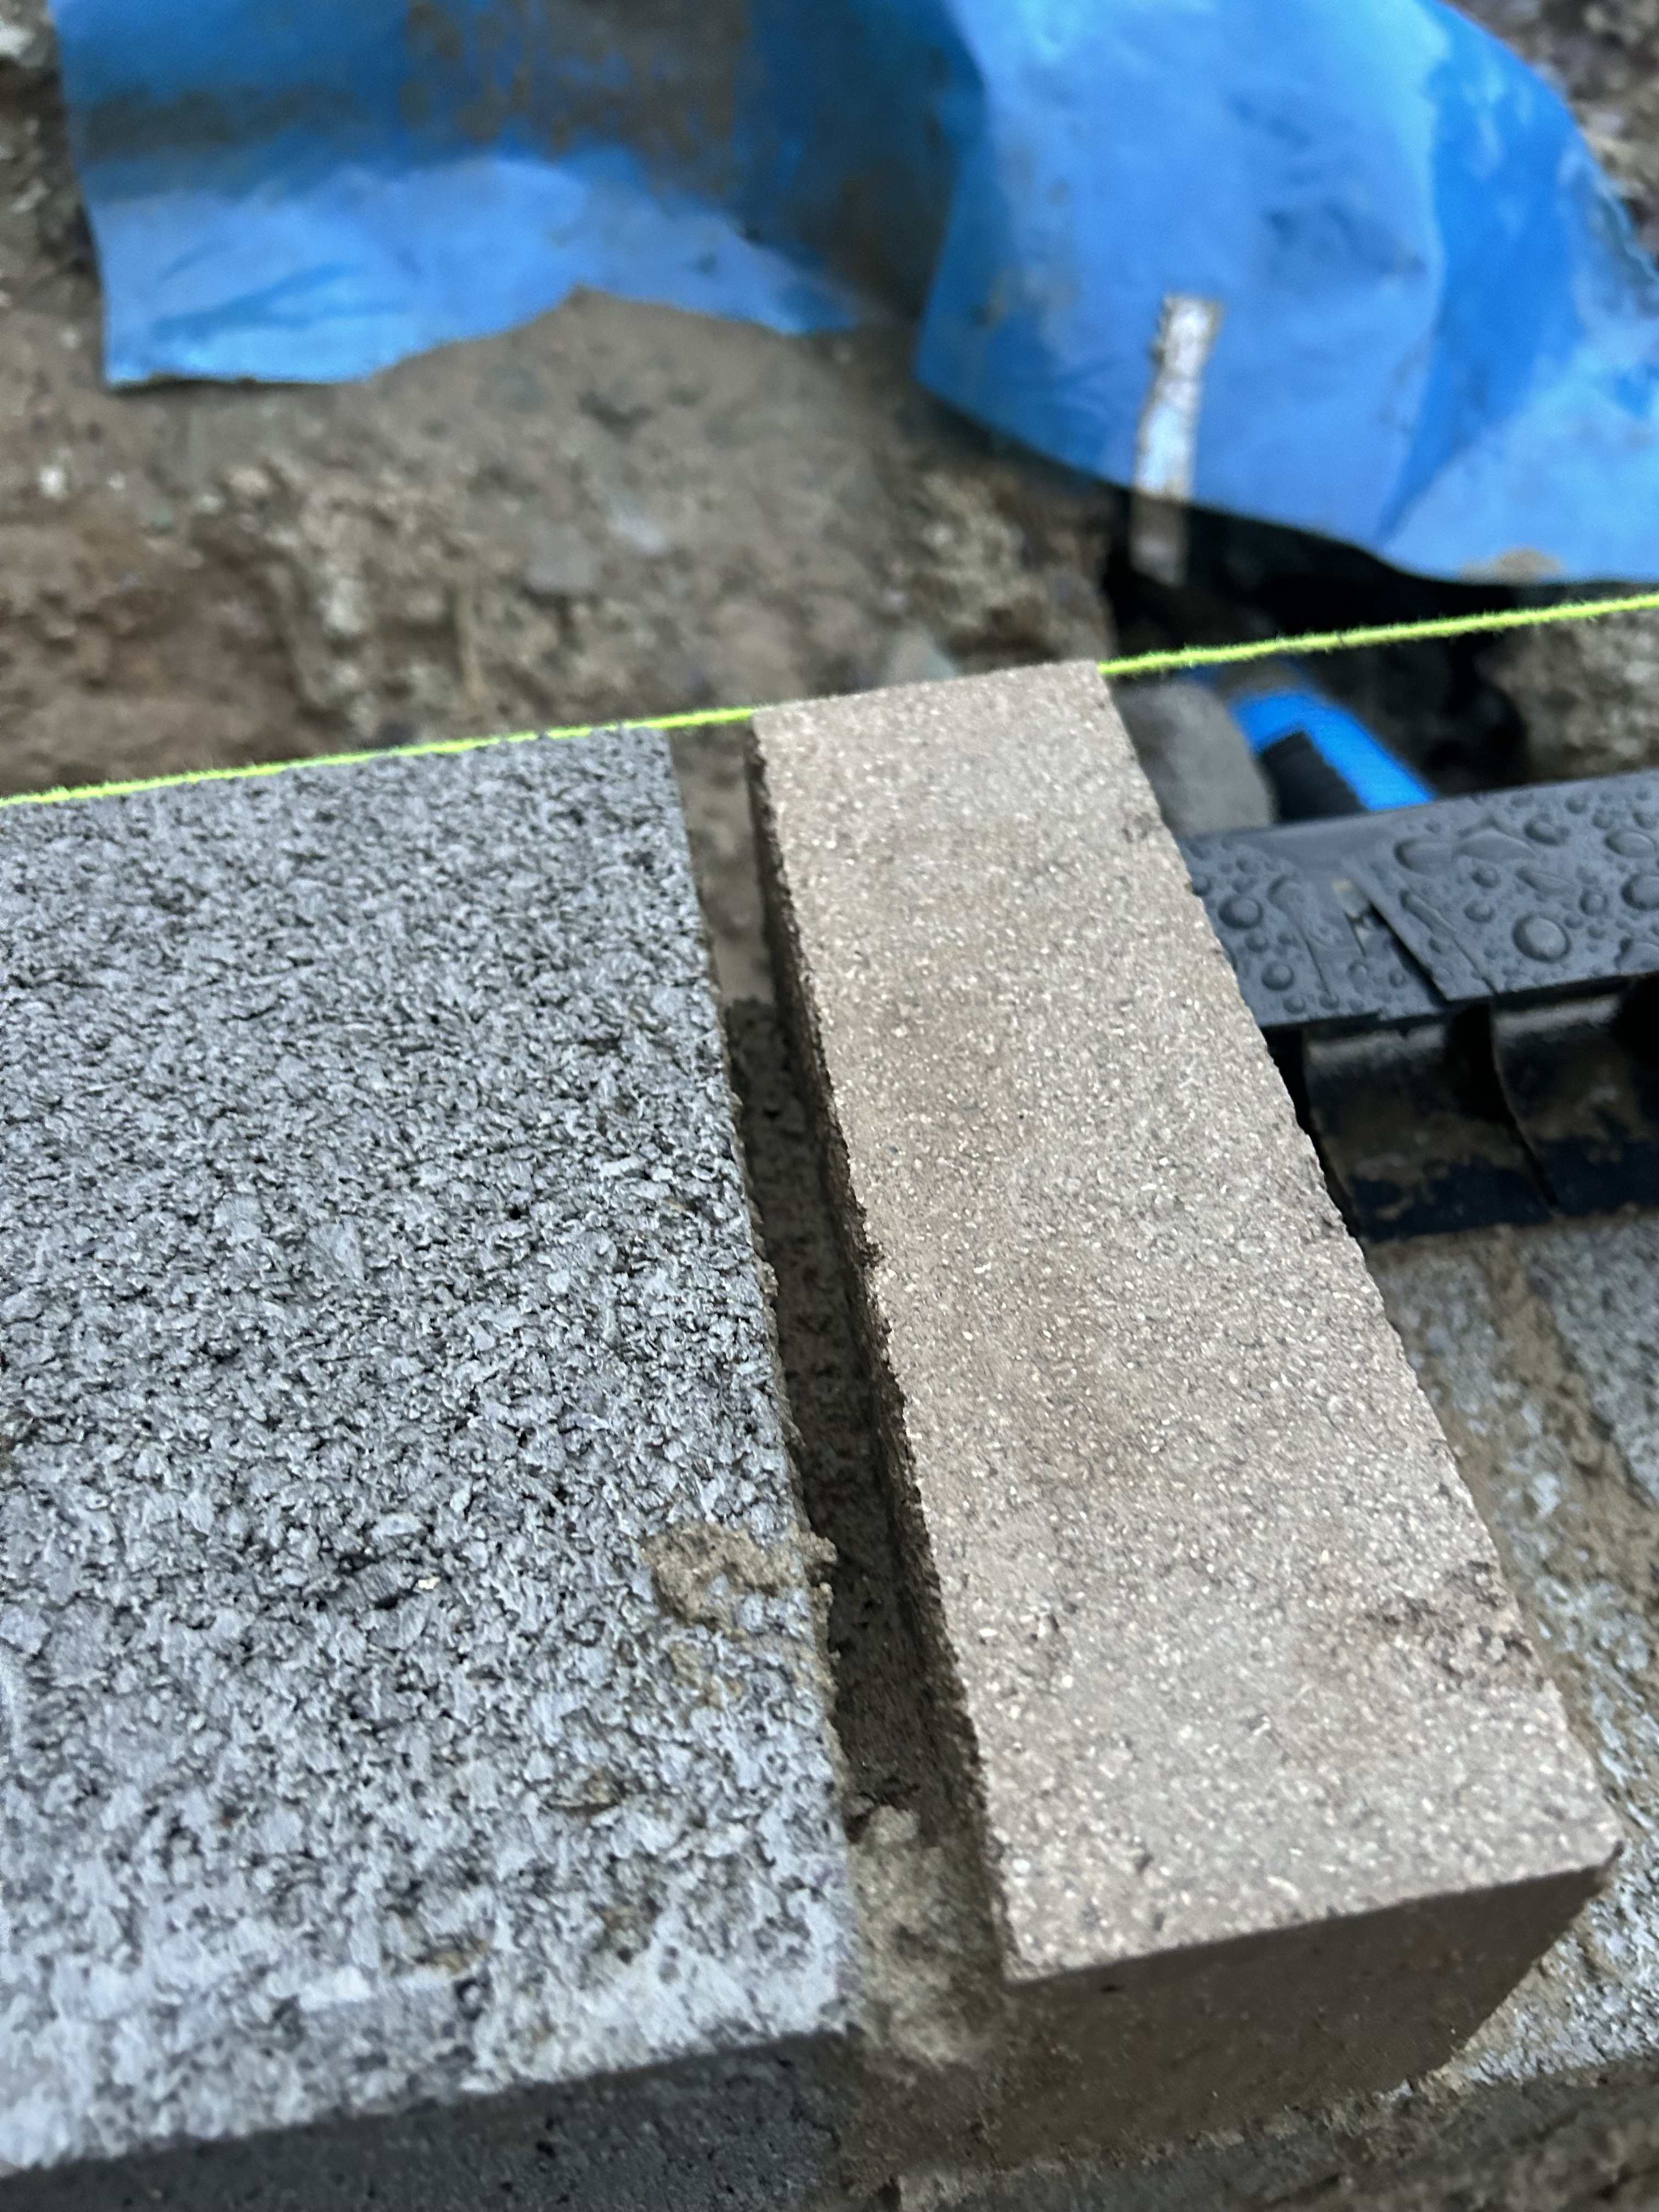
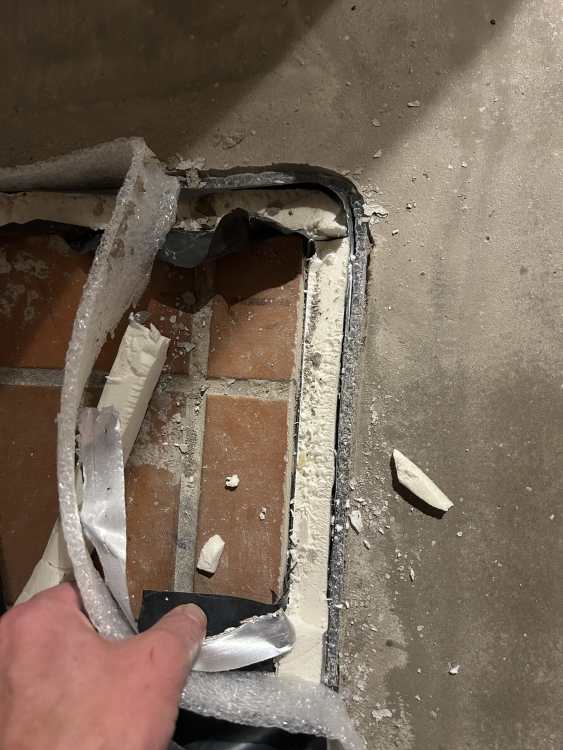
Installed UFH in new extention (over block and beam) and Exisiting house (over new 100mm conc slab). In the existing part I left in bits of old floor in two parts because new kitchen run is going over top and elsewhere because area covered by current kitchen units (we’re still living here) which in time will become toilet&utility room so not bothered about UFH. Now covered with cemfloor 50mm liquid screed. To avoid heat loss from UFH screed slab I used 25mm PIR upstand insulation and the 8mm expansion foam right round. It was all busy busy and my head was fully down to get ready for liquid screed man window - miss it and it would have be 3weeks till next. Now everything’s dried I’m wondering if the 25mm+8mm is going to be ok to jump with the adhesive and decoupling mat below the tile. I’d be really interested to hear people thoughts 🤔😬 in most places the border between old and new will be 50mm under unit kick boards but in a couple of places it’s more out in the open of walkways. (Edit: the old terracotta coloured quarry tiles will be sds’d off and self levelled up to same high as screed, the decoupling mat (pictured) used to cover right through and tiled on top. TIA

-
How to finish off cavity and floor heights
EdSt replied to Jacko994's topic in General Construction Issues
Hi Jackie, Came across your post as in a similar position and looking for clarify on perimeter insulation. I’m also on BB floor with UFH and have the inner skin removed. My take on this detail is floor insulation up to inner face of outer skin then perimeter insulation stick to block wall with spray adhesive (spray wall, sparky insulation let tack off then attach). On mine this perimeter insulation. Is 60mm high. Then bath tub the PIR slab in DPM and then 8mm expansion perimeter insulation on top of that and tape the skirt on that to the floor with gaffa. The 25mm PIR is to eliminate cold bridge and the 8mm has some give to cope with thermal expansion. Two difference jobs. Posting hoping others will confirm this approach really, most of what you see has people only using 8mm. I’m using decoupling mat on to of liquid screed and as away carry the tiles over the 25+8mm gap. …. -
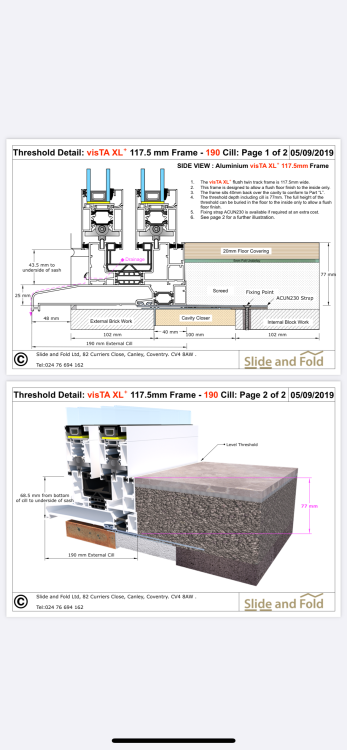
Hi, Apologies for raft of what I'm sure are obvious simple questions to those in the know. I've found the answers in various different places and in isolation but wanted to try and consolidate them together for responses. I need to understand this bit of my build bang on, so as to get liquid screed level right for tiles to be flush with threshold of sliding doors (Slideandfold's Vista XL model - not currently listed on their website but give them a call - super helpful) I understand I need to back butter the 9mm tile (looking at Topps tile 1.2Mx0.6M) with thin adhesive layer to fill indentations and ensure full contact. I also get that you press down on the tile to collapse the ridges so the adhesive spreads to ensure full contact, same with the decoupling mat bed below. Questions are: 1) What size notch trowel is best for decoupling mat adhesive? 2) If I use a 3mm decoupling mat, what thickness will I likely end up with for Matt+(collapsed) bed=?mm 3) What size notched trowel is best to spread tile adhesive on decoupling mat? 4) With back buttering the tile and notched tile bed on decooupling mat, what overall tile bed size am I likely to end up with for (collapsed)bed+tile=?mm (* I assume you don't top butter the Decoupling mat ?!) As I say I need to understand 3&4 to work out finish screed height. Thanks in advance for your all and any help! Ed
-
@JohnMo thanks for the notification tip, wondered how to do that. Sorry must haven’t been clear, only jumping from insulated slab to non insulated with tiles and decoupling. UFH pipes will only be in new slab. Cheers.
-
Nick from Wales. Thank you for that. I had been weighing up what the 160mm PIR would span if I put two brick under it and then stood on it on a 18mm board (simulating dissipated loading of the screed) sure it would stand a span of 600mm.I’m so paranoid about getting this wrong and the potential backtracking needed… that’s the problem with DIY, you’ve no experience to know where the performance gaps are acceptable or just too anal, and so have to resort to text book (or sleeping pill! 😂) need to find a tiler. But I just wanted to hear people’s thoughts on decoupler. I understand it deals with movements but just wondered if it would deal with such a stark difference in insualted&heat vs cold slab&screed. huge thanks for sharing your thoughts - have you any recommendations on good decoupling adhesive and decoupling membrane? Thanks
-
Thanks Nod. Somehow got the B&B slurry stage wrong. Don’t think I wet it down enough and have ended up with a thin uneven layer of cement&sand on top of blocks meaning an uneven finish. When I put straight edge down can see it’s not bang flush contact throughout. Would hate for any problem so was thinking self level just to be belt and braces, somebody suggested sand blind but was thinking a thin layer might be difficult (and faffy) to achieve, again hence self level. 8mm tile adhesive - thanks will check with tiler what he wants.👍
-
Hi, built a 6x3M block and beam (B&B) single story extension (new dining room) on to existing extension (old kitchen&dining room being turned in to kitchen and utility) which backs on to original stone house. B&B level 26Omm below existing Finish Floor Level (FFL). Make up will be: SBR prime&self level B&B 3mm, DPM, 160mm PIR slab with 25mm insulation around perimeter, VCL/UFH Mat/grid, UFH pipes tacked down and encased in 65mm semi dry sand&cement with fibre, self level 2/3mm?, 5mm adhesive?, decoupling mat, 8mm adhesive then 15mm tumbled limestone tiles. I have 3M two pane sliding doors to go in and plan (fingers crossed) is flush threshold. I also want the UFH to extend in to Exisiting part of the house. So will be hiring diamond floor saw with 18” disc to achieve 175mm cuts. Current make up of that floor is top>down is: 12mm quarry tile,60mm S&C screed, 100mm conc slab, dpm, 300+mm builders waste infil/MOT. Plan is to get down in to the infil re tamp/whack any disturbed ground, and build up with 100mm conc slab to match B&B floor height and then same build up from there. Due to position of new kitchen units -a 6M ‘L’ shape run along back and side of old extension, some of the old floor might as well stay insitu with a clean cut say 650mm out from walls so around worktop kickboard depth. *Question* is how do I deal with the boundary of insulated &UFH built up section with old floor slab? and taking in to account the tumbled limestone tiles will span across this boundary? I was thinking 25mm perimeter PIR cut flush with FFL (?) - but will decoupling adhesive bond to PIR and/or be ok across this 25mm gap? Will the decoupling mat cope with movement between heated and none heated floor slabs? I will have quite a bit of this interfacing old&new to deal with as also UFH will head through a trench in other part of Exisiting house which will become utility. As this small space houses the oil boiler and UFH manifold it will be plenty warm enough so hence just a 2.5M long trench for flow&return UFH pipes (make up 100mm new con slab,160PIR,65screed, 25 Matt/adhesive/tiles) across the old slab Any observations on the plan much appreciated! Sorry it’s long winded but thought I’d tag and explain what I’m up to for benefit of anybody else on this route. Thanks!
-
Yeah, thanks I knew that already but you‘ve conveyed it well, it’s a mentality shift. 👍.
-
-
Cool. Thanks for that.
-
Doing a kitchen extension and due to our lifestyle (both out at work all day and require warm house quickly of an evening) I’d ruled out UFH at planning stage. Partly also because the existing house space which we’ll break through to wouldn’t match as just has radiators. (current heating system is oil boiler which I’ve confirmed can run UFH as well as rest of house heating system) Was talking to bricky the other day and he got me thinking about it on basis that it’s relatively cheap to put in, gives a nice heat and wouldn’t matter about existing areas as air temp would balance and be nicer ambient temp. Different levels out the back of the house mean the extension is in block and beam (B&B) construction and block work shell is now up… I.e my levels are set. Current drawings/plan is sand blind on B&B, 125mm PIR, 100mm Concrete slab, 5-8mm self level, 8mm tile on 8mm bed. Question. Could I do sand blind, 150mm Kooltherm/PIR then 75mm Screed (instead of conc) as a structural floor finish before self level and tiles? Thanks in advance !
-
Thanks Dave. I’m not sure. There were plenty around covering block stacks which were lower priority.
-
Thanks Russell 👍
-
..just to add, I messaged him with some pictures to say a lot of mortar had washed out and he said he’d come repoint when he comes back to finish it.