
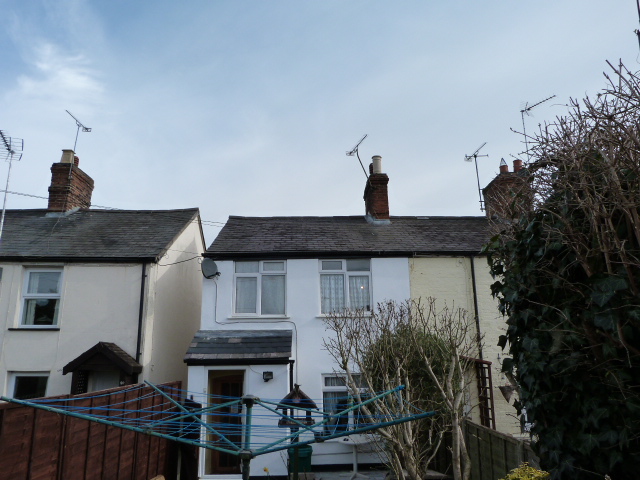
A month into the renovation.

Entry posted by TheMitchells
3094 views
Well, a month into our renovation project, I thought I'd post an update on the progress made so far. Bearing in mind that we didnt plan to do much till OH retires in november, we have not been able to stop ourselves and have been there quite a lot, naturally.![]()
![]()
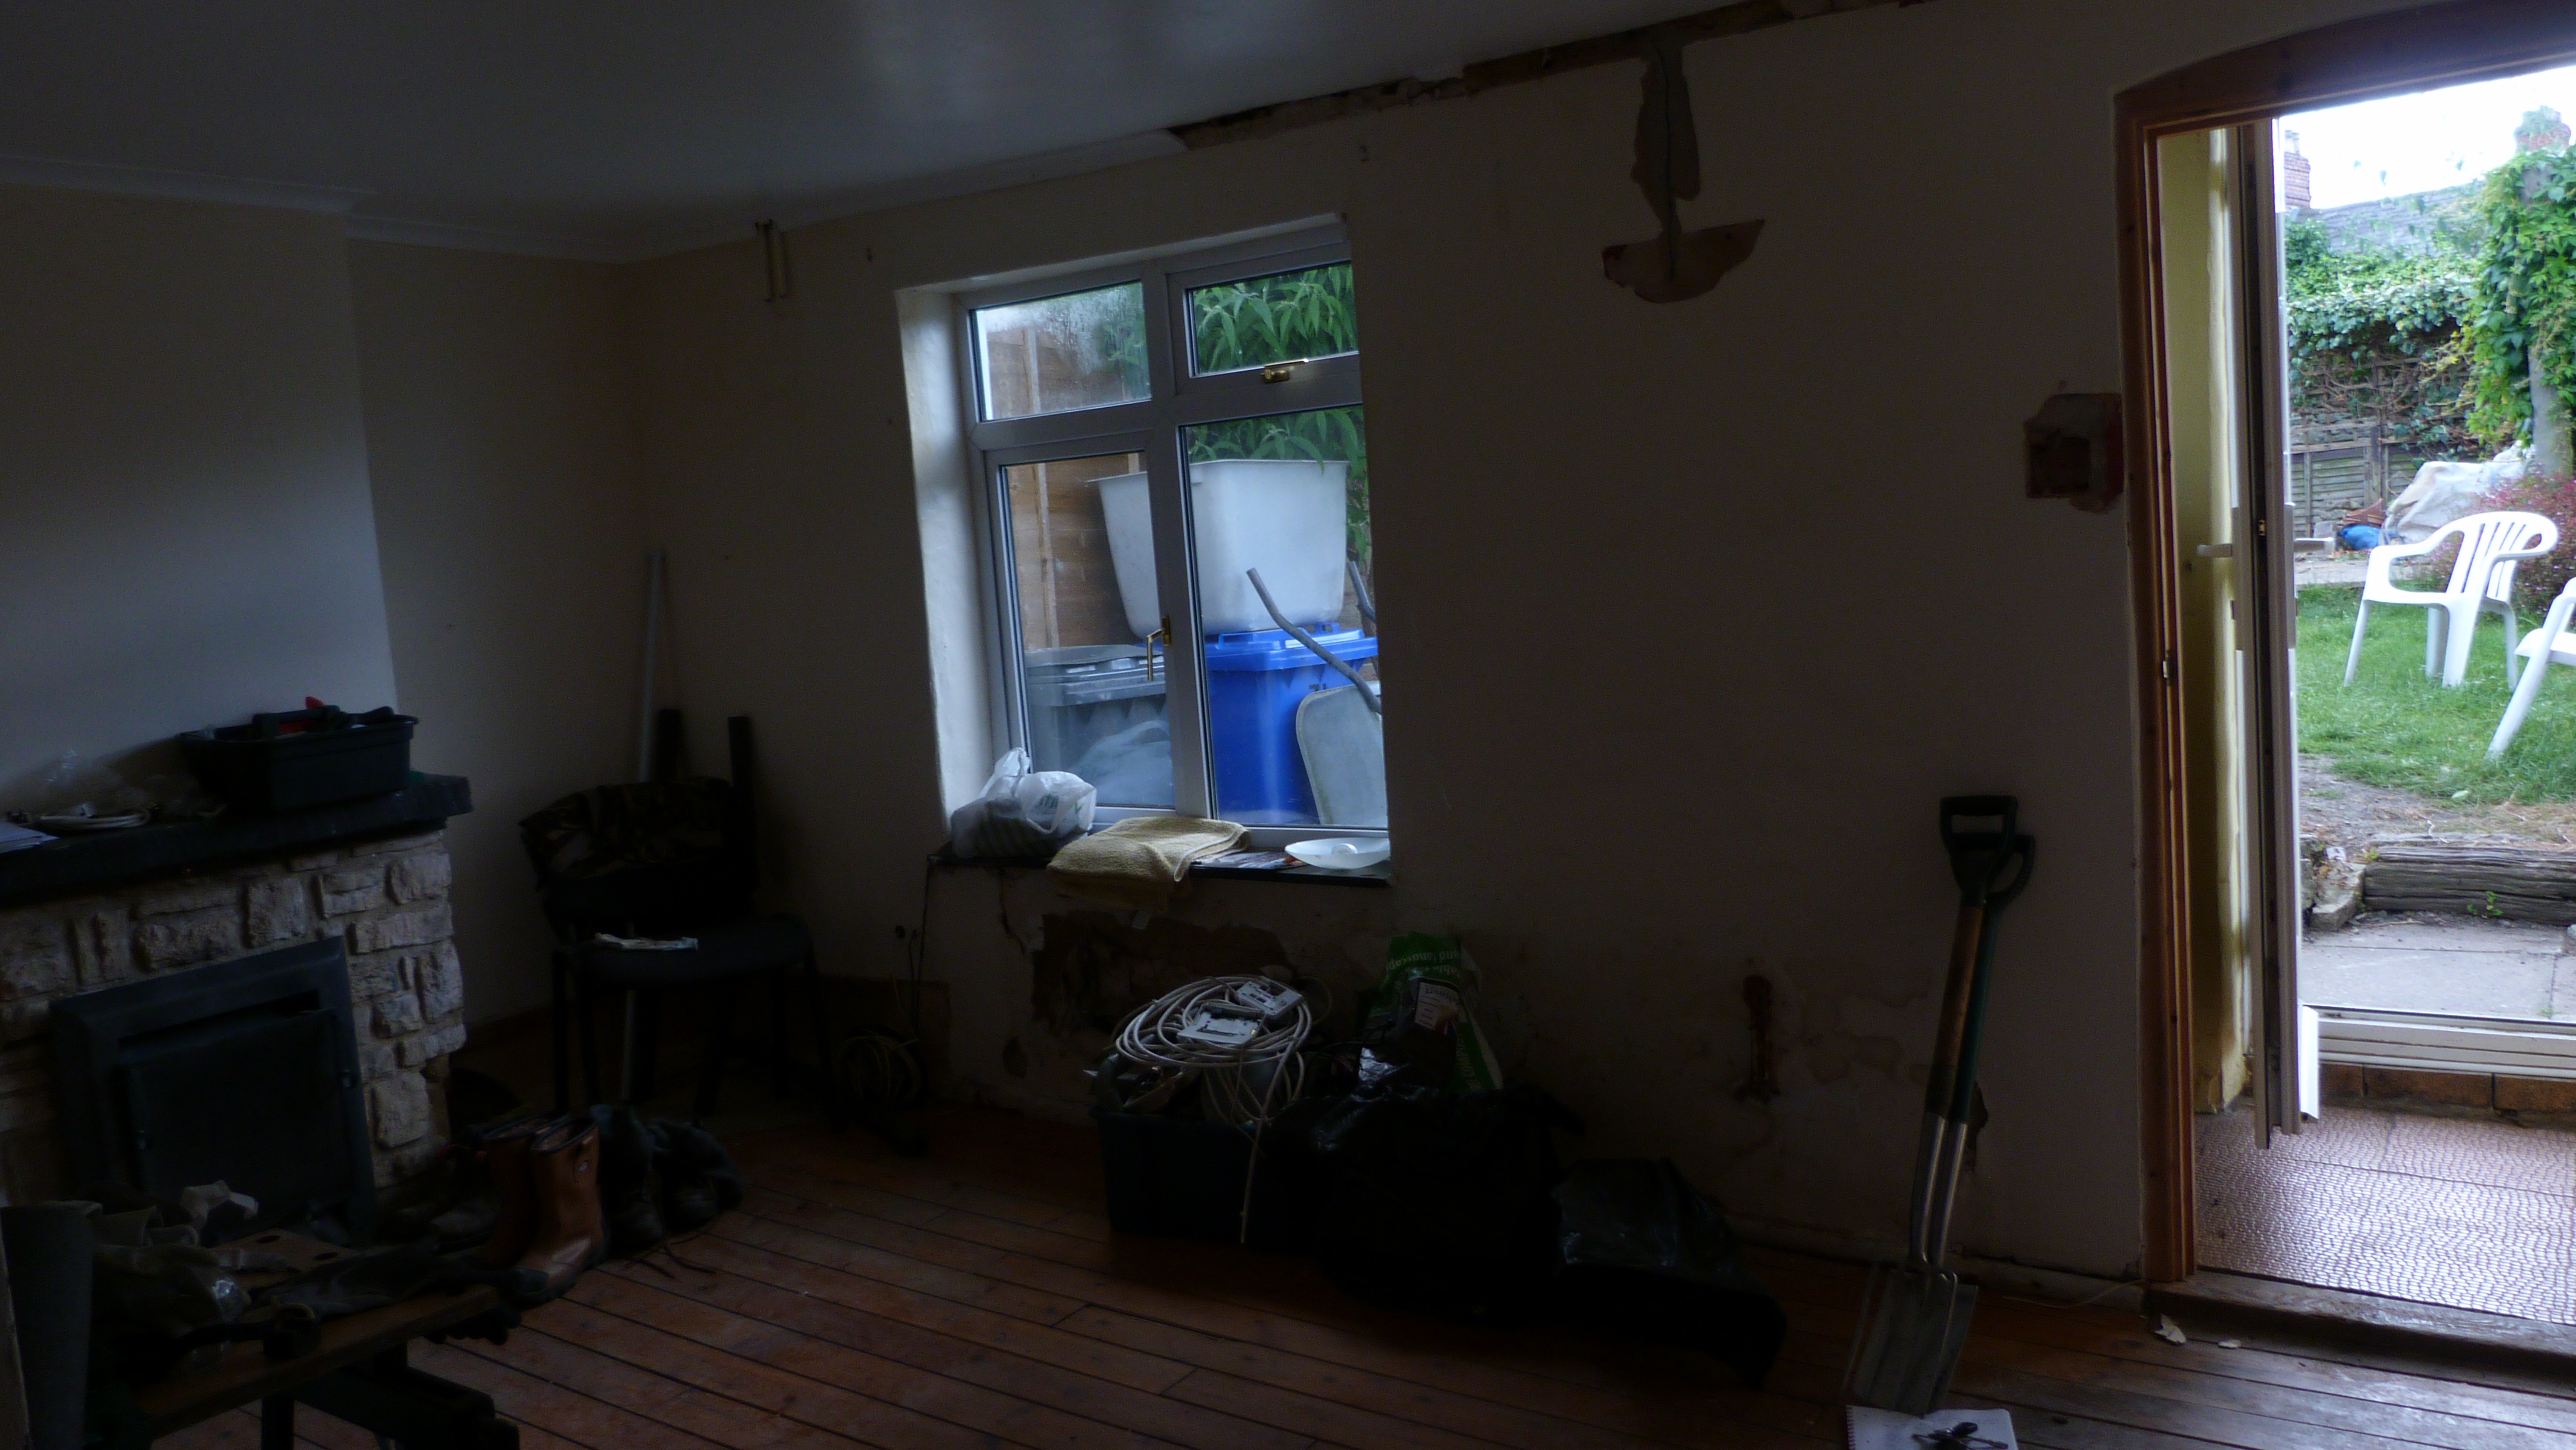
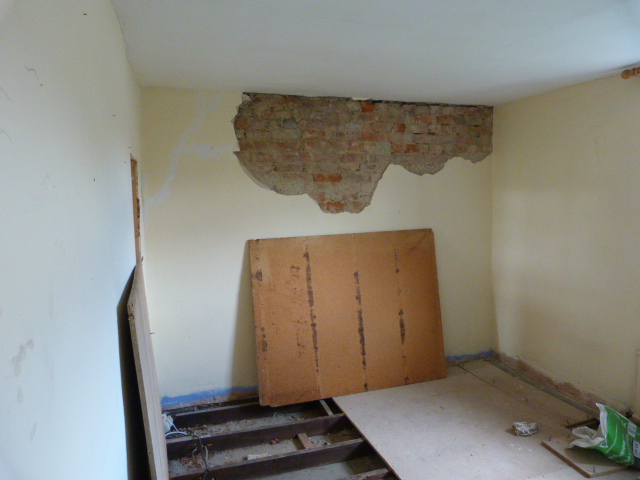
Starting in the lounge, this was made instantly better by the removal of the old carpet - less doggy smell now. As the OH plans to redo all the electrics, he has been stripping most of the cabling out, leaving just a couple of working plugs on each floor. the cabling tended to be attached to the outside of doorways and along skirting so easy to pull off, or hidden behind plasterboard at funny angles, which have been fun to trace back and see where they go and what they are for. The electric board is on the outside wall, above a radiator and we thought about moving it along to the bottom of the stairs, so that lounge wall could be clear. But having been told by Western Power that its likely to be around £800 to move the location of the incoming cable, we may leave it where it is and just build a nice cupboard.
The Earth was not reading very well even after much fiddling about (my description - not his) so eventually he bought a new long rod and fitted it in the cellar floor and he's very happy now to have a good Earth to the house. Apparently its quite important!
Apart from removing all the radiators the other day, thats all thats really happened in the lounge. We plan to replace the window with patio doors to bring in more light and push the garden back giving a nice sitting area. It faces south and is a real suntrap.

Moving into the bathroom, this is the one room causing the most discussion. Should we move the bathroom upstairs so we can remove the stud walls and create a large kitchen/diner, leaving the old kitchen to become more of a utility room? I believe most buyers will prefer an upstairs bathroom. Thats option one.
Option two is to keep part of the bathroom, swop the loo to the far wall and have it as a small downstairs loo with 3-4 foot gained in the middle room. The problem is the same as option 1 - where do we put it upstairs?
Option three is to leave it as it is. This has the advantage of being the cheapest but does mean the middle room is quite small. We plan to open up part of the stairs and put in a sunpipe to add to the light coming into the middle of the house. We have to bear in mind this is a renovation to sell for a profit; it is balancing the cost of doing things agaisnt the possible increase in value.
I shall continue this discussion in a post in the bathroom section or I will never get this update done.
 As it was.
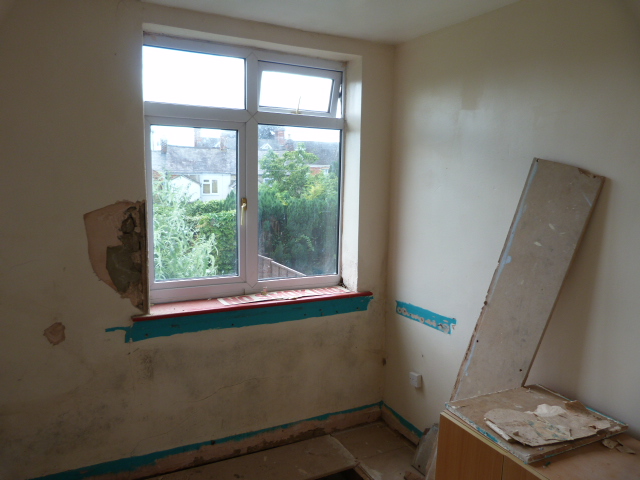
So while thinking of what to do with the bathroom and wanting to ripe out more things - its quite addicitve this demolishing business![]() , I suggested we remove the bath to give us a little more room in there. Before I could say 'Scooby Cottage??', the water was turned off and while I ripped off the tiles around the bath and back wall, the OH had disconnected the pipework and we were able to manhandle the bath out. What is great about doing all this work, is that is doesnt matter if water sprays everywhere and the doors/walls get knocked about - its all getting changed anyway!
, I suggested we remove the bath to give us a little more room in there. Before I could say 'Scooby Cottage??', the water was turned off and while I ripped off the tiles around the bath and back wall, the OH had disconnected the pipework and we were able to manhandle the bath out. What is great about doing all this work, is that is doesnt matter if water sprays everywhere and the doors/walls get knocked about - its all getting changed anyway!
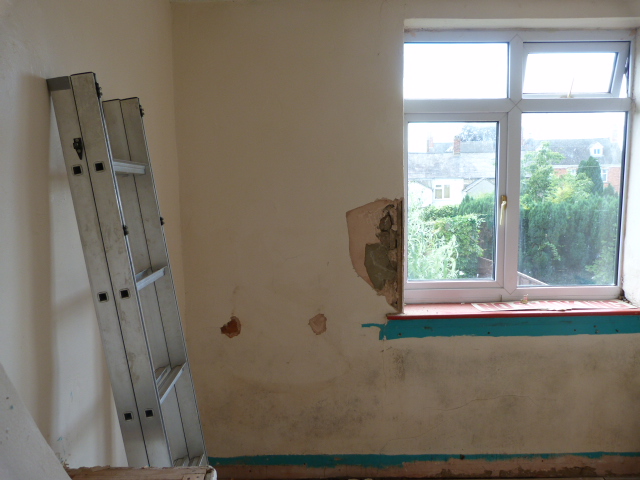
It did reveal a couple of anomolies.
When they put in the bath, they had bought the wrong size - it was too big by about an inch.But rather than build it into the stud wall, it was easier apparently to hack out the external wall bricks and fit it that way!! 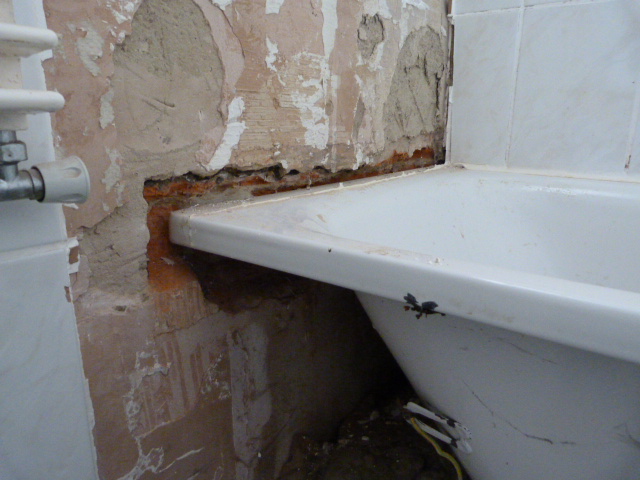
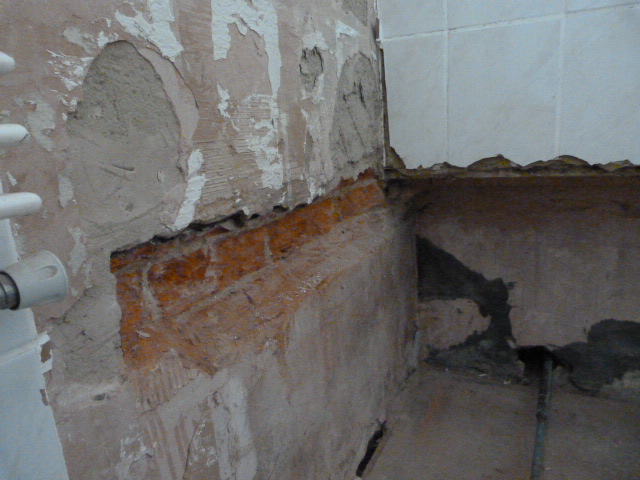
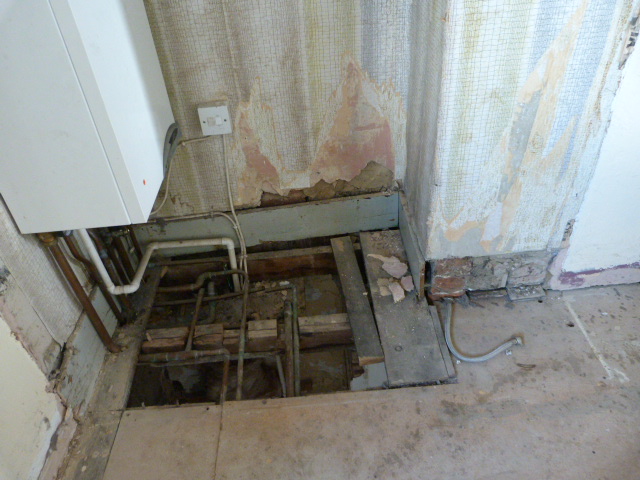
and once we had the bath out we could see that the wall between the bathroom and kitchen behind, was only a short distance, not the two foot thick rubble wall we expected. Which was great news as the new position of the boiler is likely to be the other side of that wall and the OH was worried about getting the pipework through the wall - piece of cake now!
Of course the only issue is the large hole in the bathroom wall - but an old towel does the job nicely. We just whistle. And its nice to have plenty of space while we whistle.....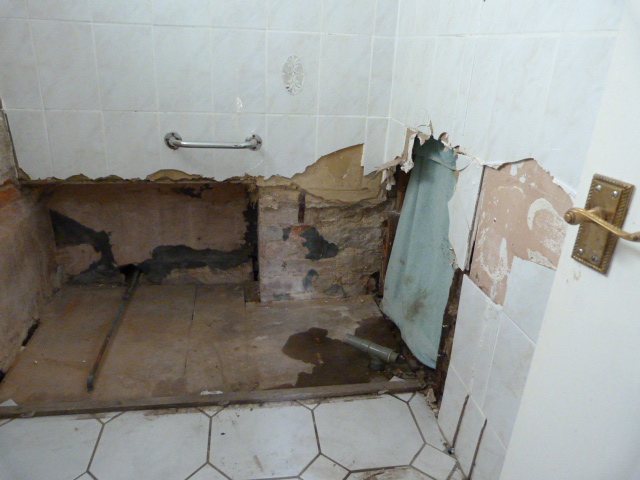
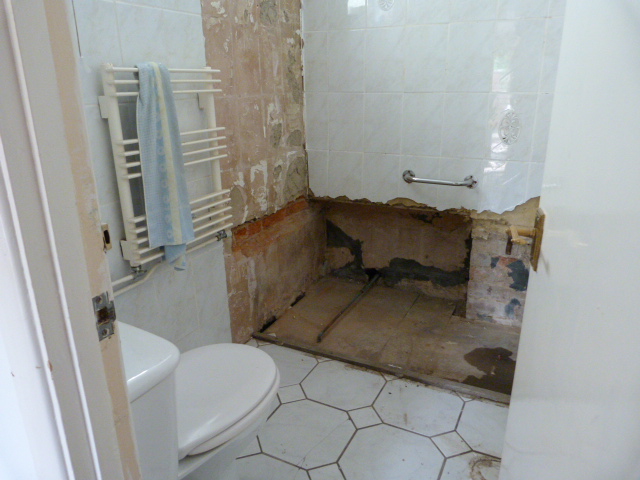
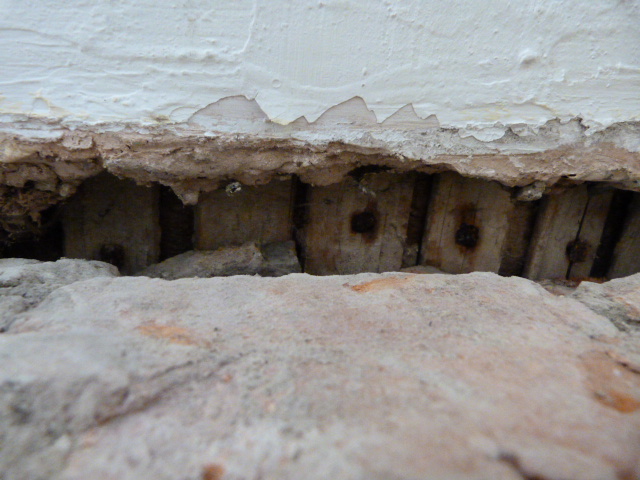
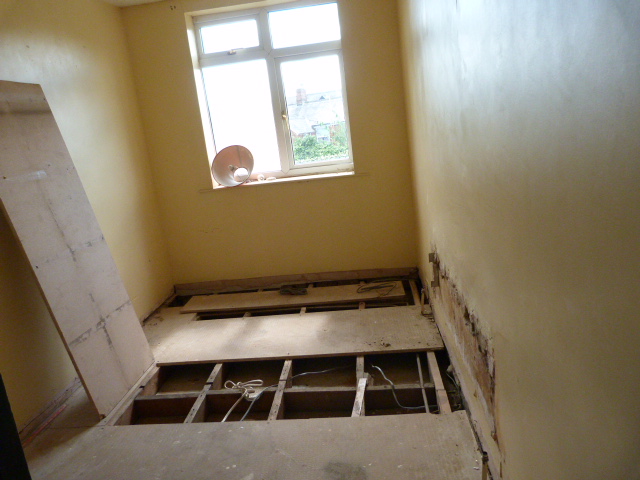
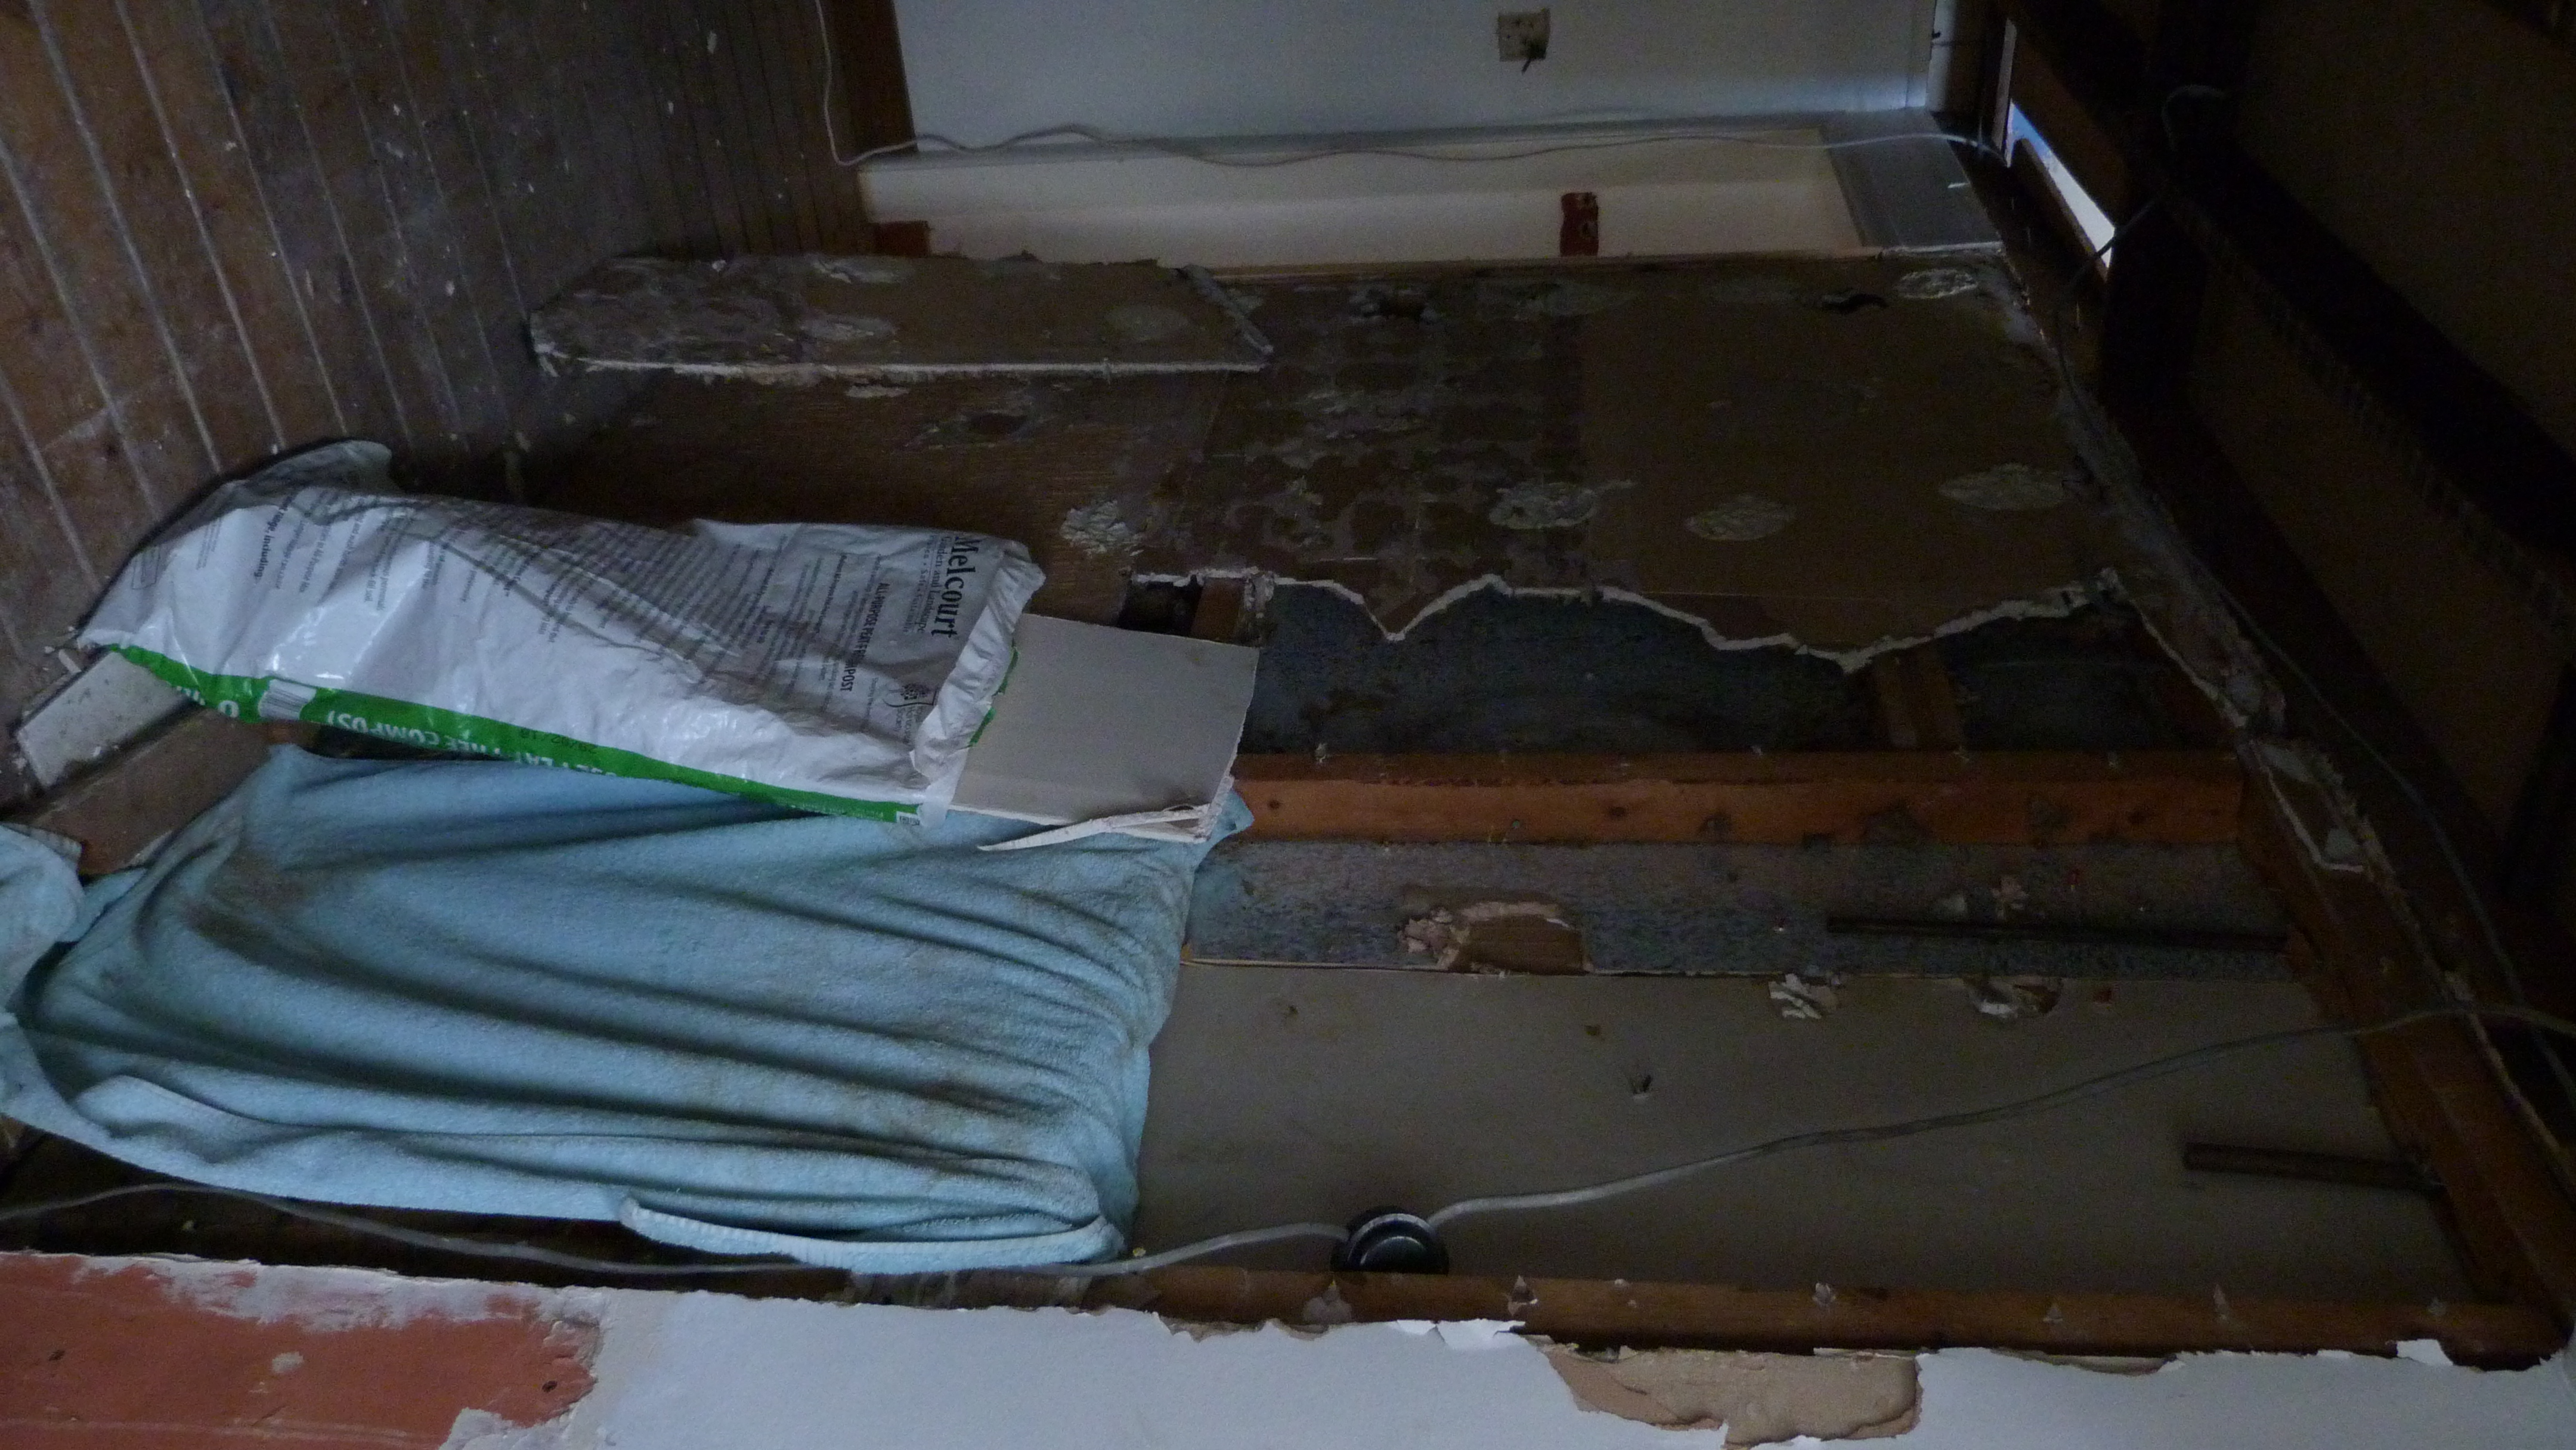
Where the floor is wet on the picture below is the only part of the house (apart from the cellar) that we have found damp.
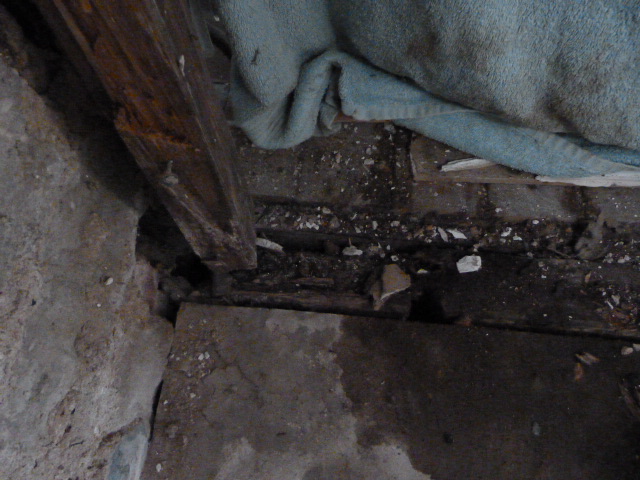 The floor board is disintergrating as are the uprights. Its wet in the picture as we had just removed the bath and didnt worry too much about catching all the water.
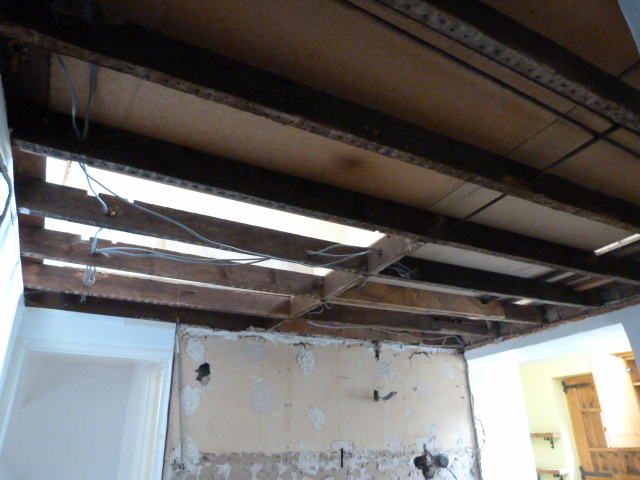
In the dining room, we have done quite a lot. The horrible wooden tongue and groove ceiling has gone so we can see the beams above. (you can still see the nail holes and shape of the Laths that must have been there - long gone though.
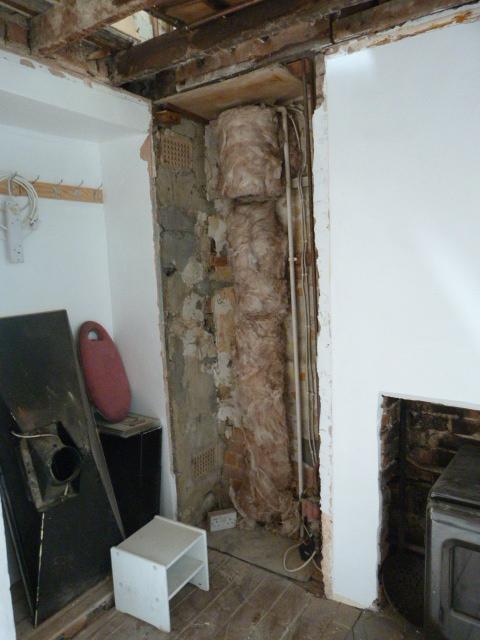
the cupboard has been stripped and most of the redundant pipework removed. Now the hot water has been disconnected the upstairs boiler could go but we've not done that yet so some of the pipes are still there, running up the back of the cupboard. As I was warned not to nick them, I had the brainwave of using some of the old insulation to wrap around the pipes, protecting them. Well, I thought it was a good idea. 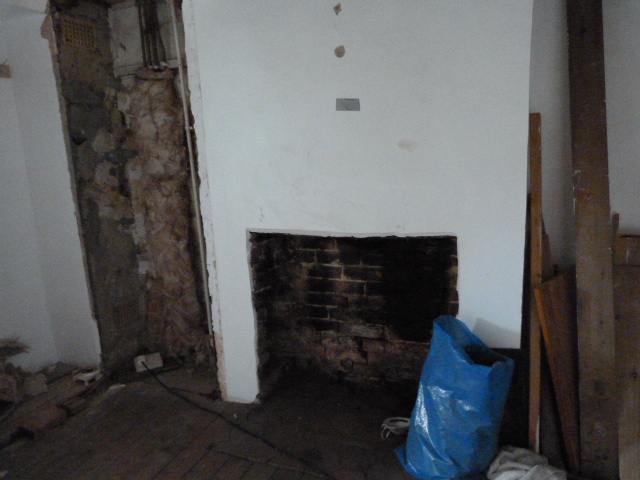
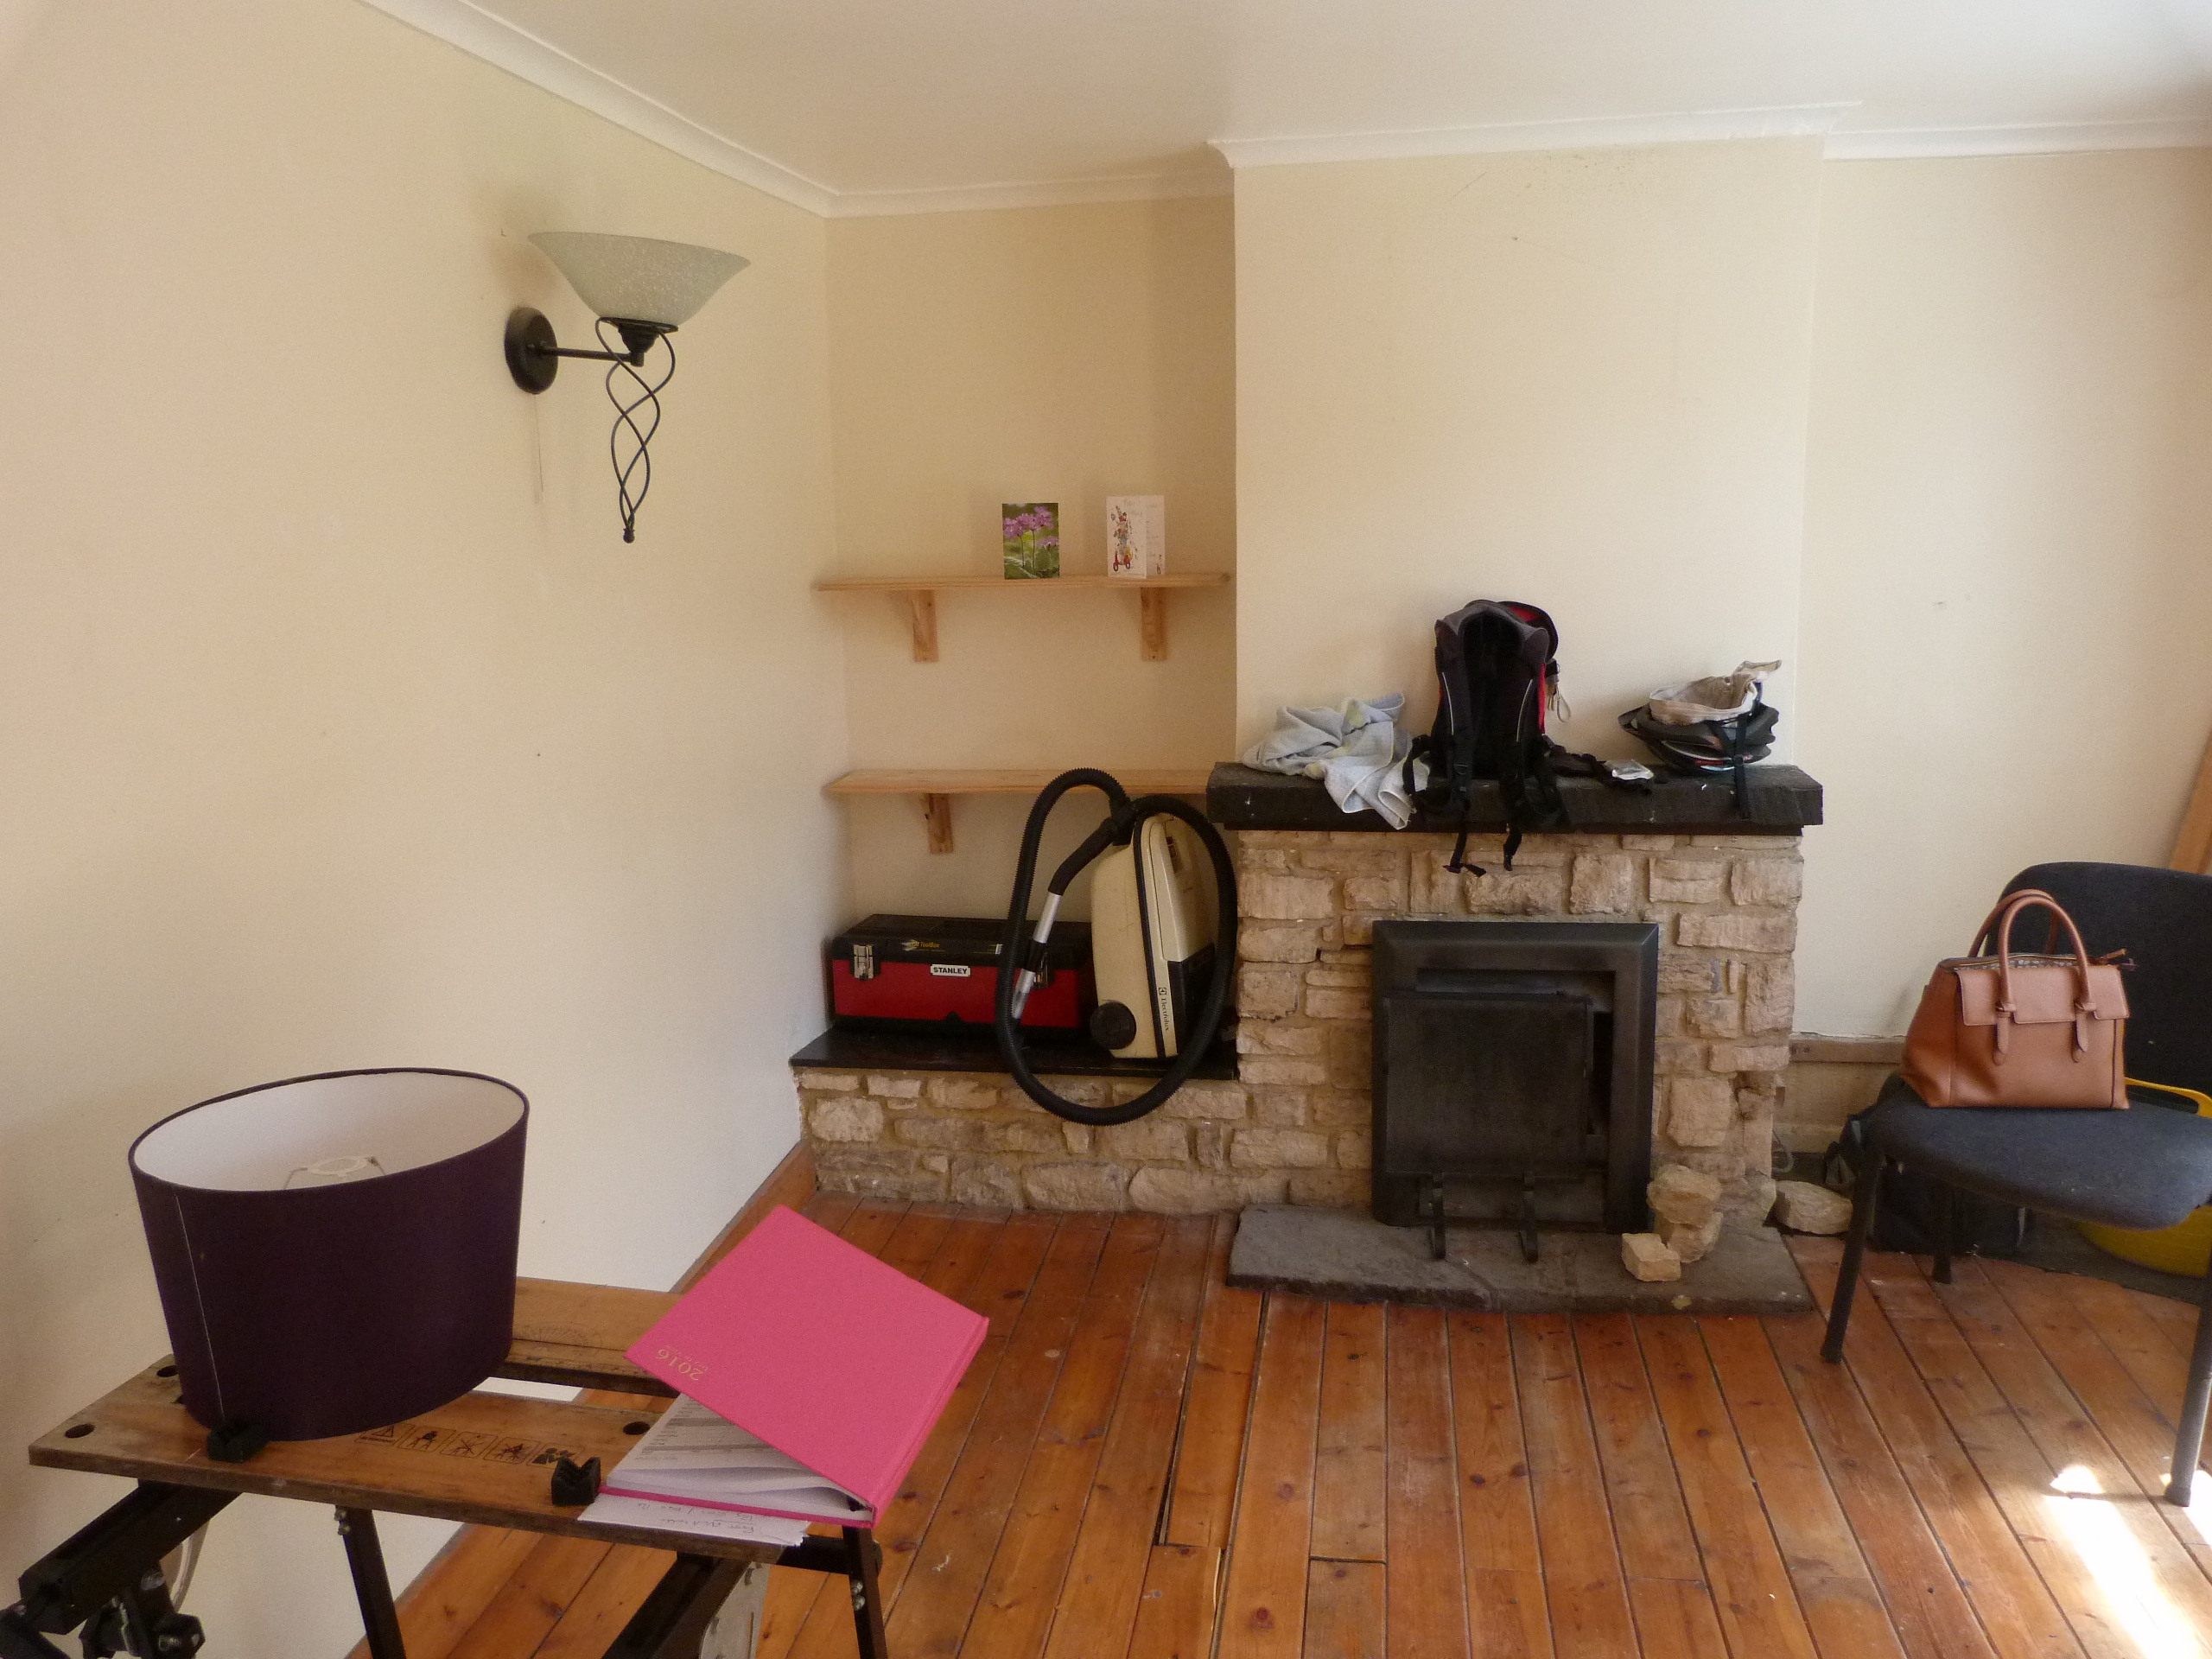
The OH has removed the old wood burning stove and back boiler. It was extremely heavy but he managed to get it into the garden along with quite a lot of copper piping. The chimney looks in fairly good order with only a few loose bricks that will need mpointing and securing. A nice small wood burning stove with Victorian surround should bring this room to life but thats in the future.
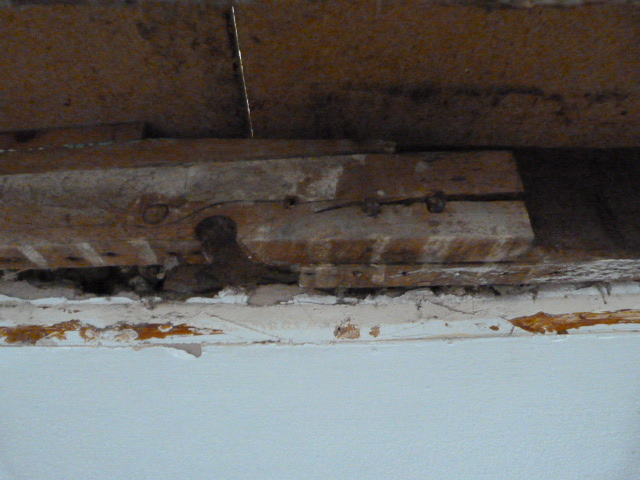
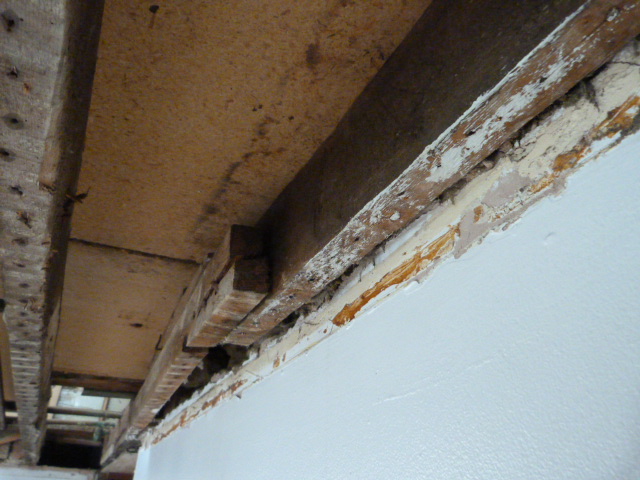
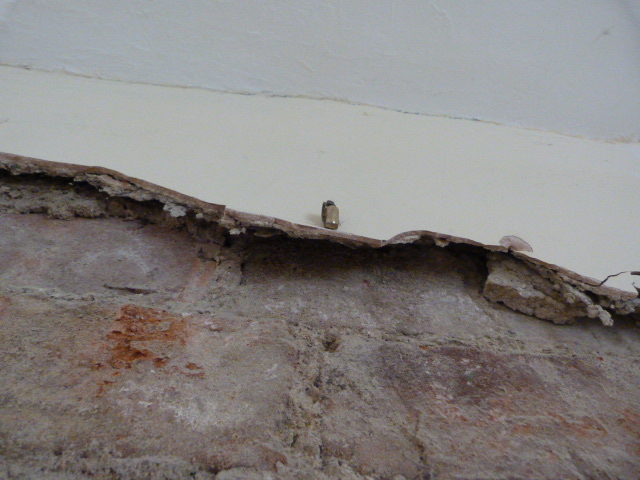
The beams were in reasonable order apart from the one which runs across the room in front of the fireplace. One end appears to be sitting on nothing and the middle has a rather large split, so that will need replacing.
The kitchen is pretty much as it was, with only the range and hood gone. It will probably be the last room to get stripped as its useful to use while doing the renovation. After all - we need our cuppa's and biscuits.
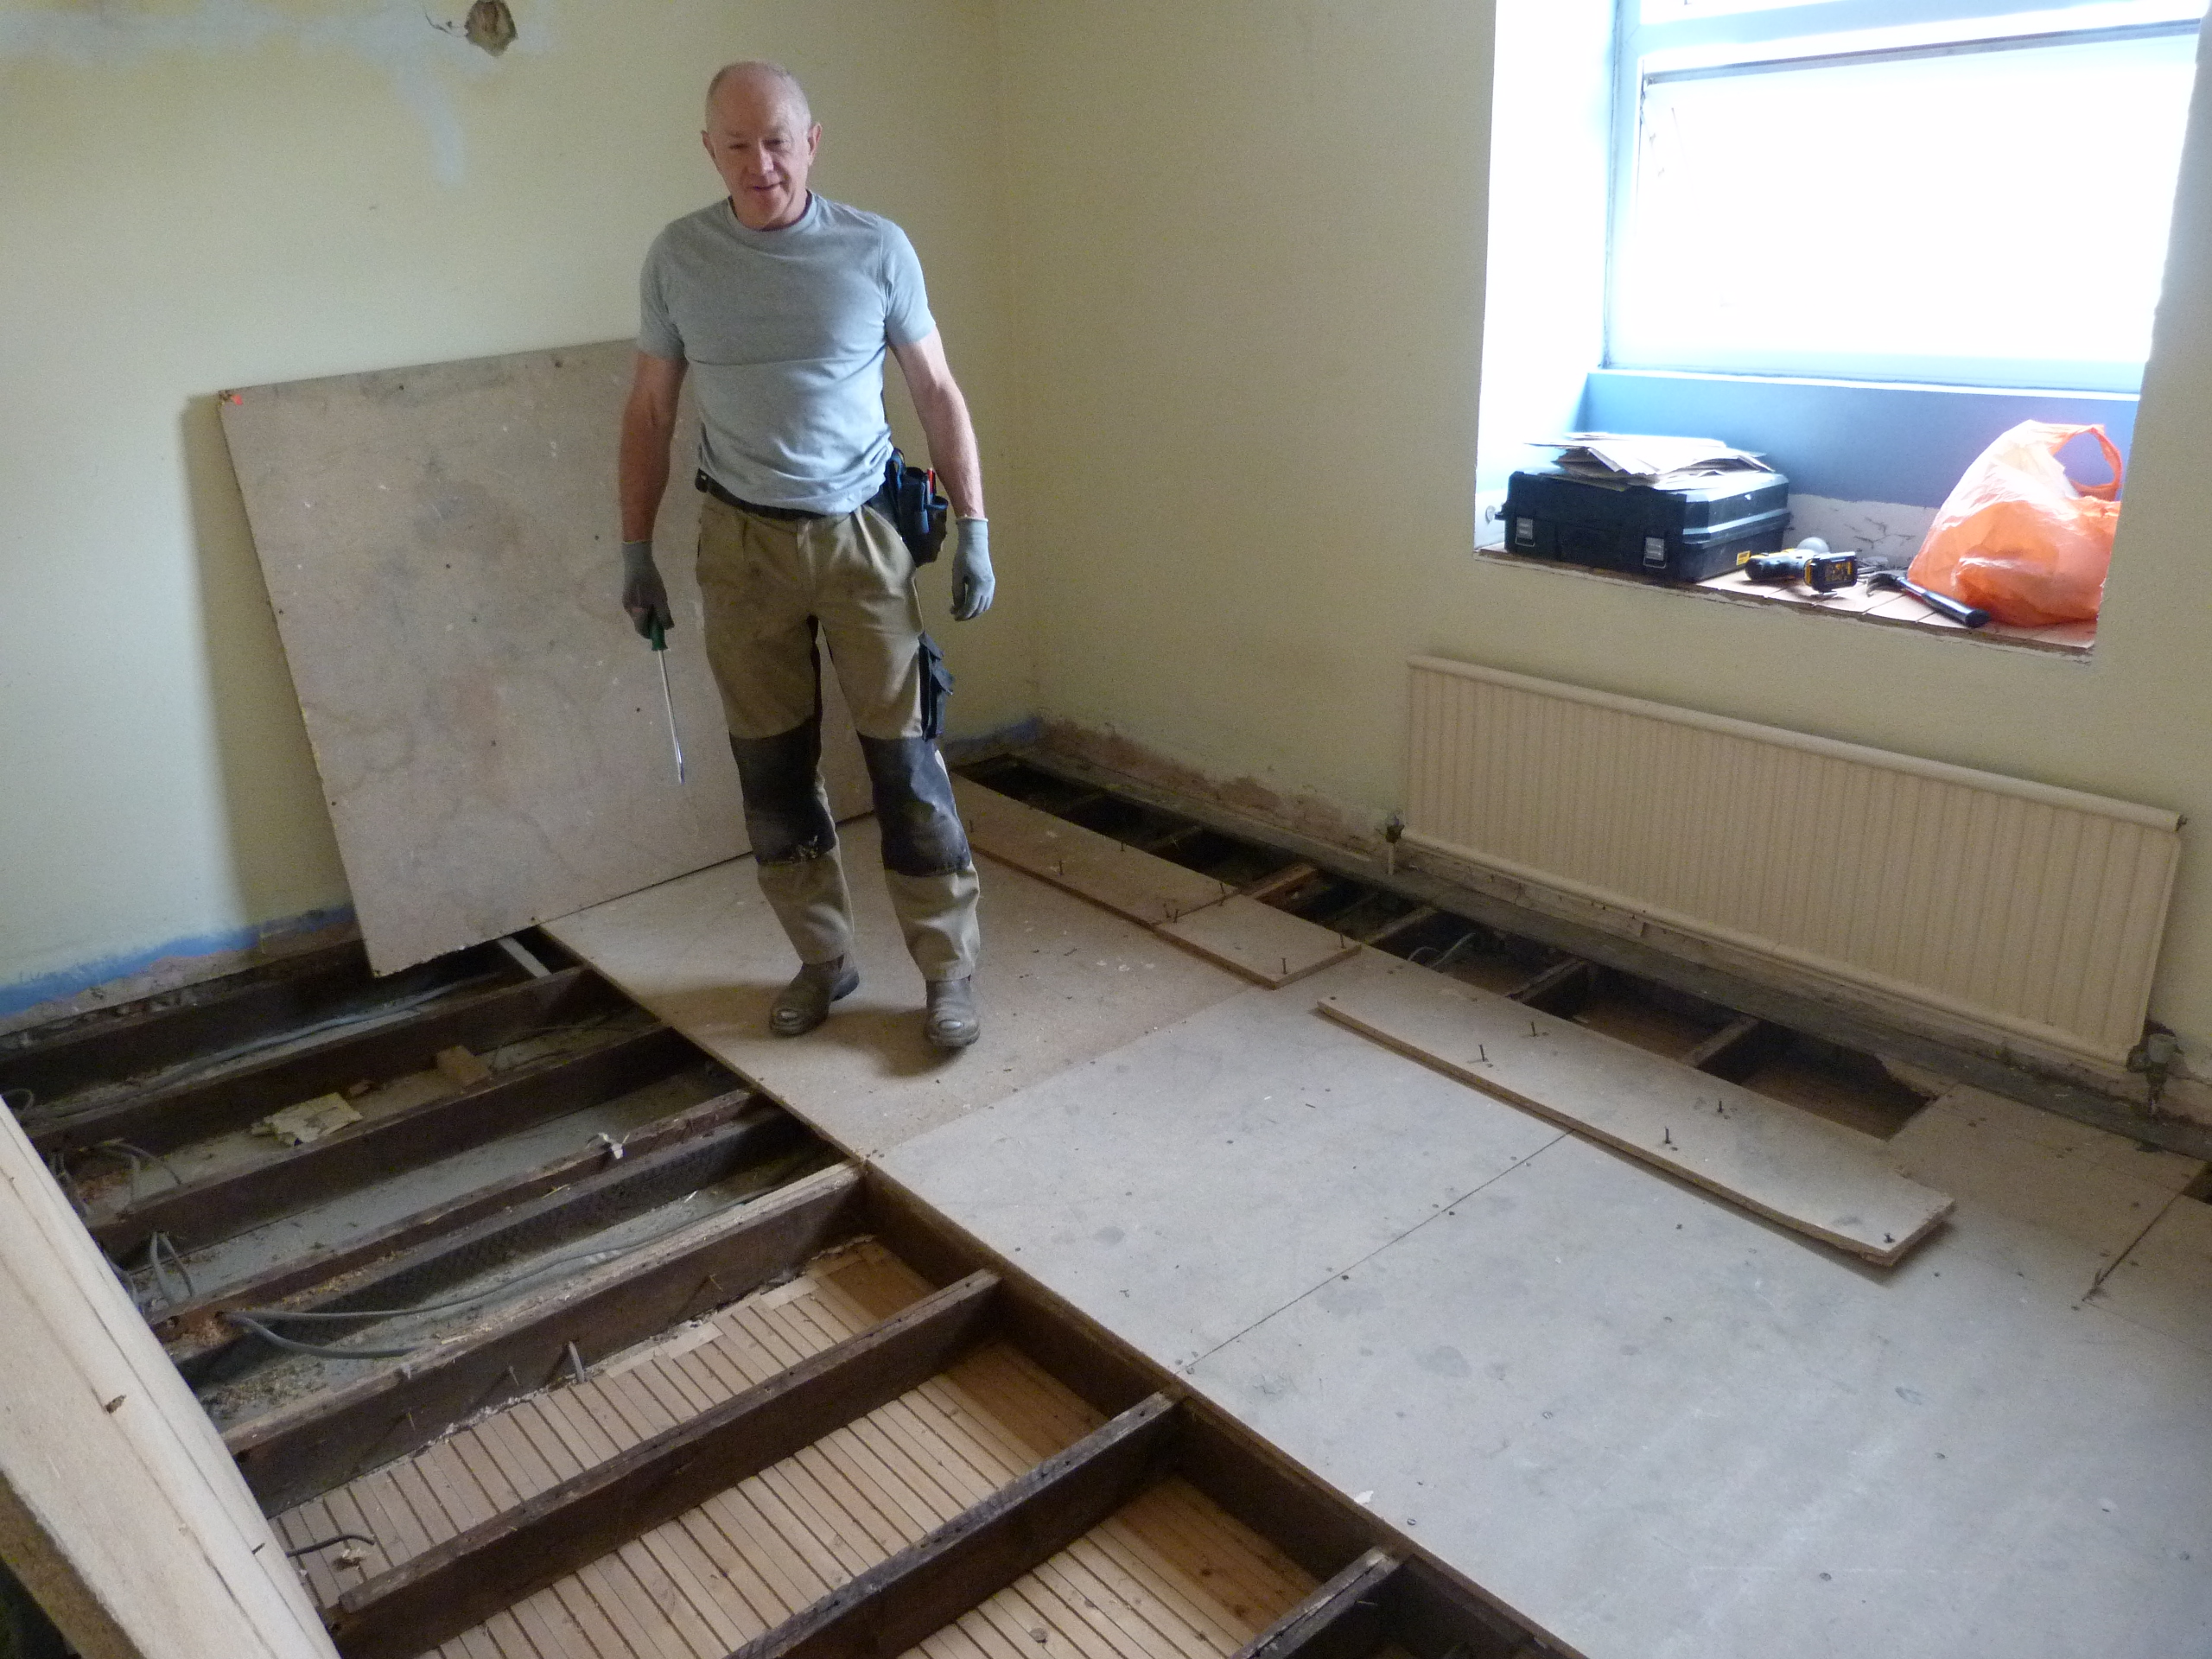
Upstairs in the large rear bedroom I have started stripping off the plaster but did not know whether to take it all off or just the parts that are loose.
At the top of the wall, I was surprised and excited to see that the ceiling appears to still have the laths and plaster.

So we will try to keep the ceiling and just repair any damage. How lovely that there is still at least one piece of history still there.
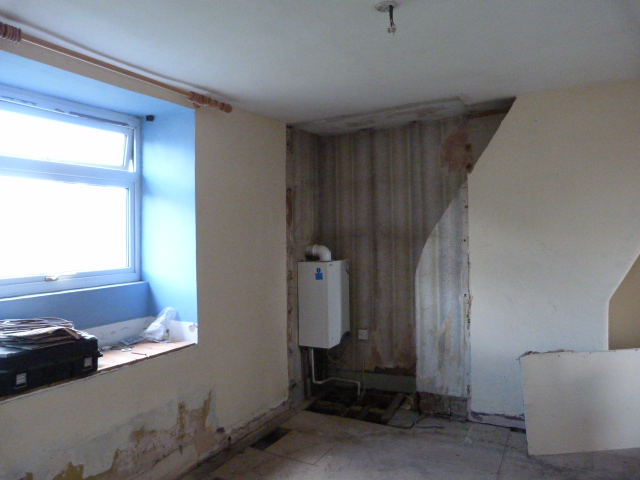
Hopefully not long now and the boiler will go. The space will create a nice cupbard eventually and it will be lovely to finally get rid of all those pipes. Although that was one corner of the bedrom where we thought we could put a new bathroom. The disadvantage of putting it there would be the position of the window in the remianing bedroom - I think it will look silly as it will be right agaisnt the new stud wall, rather than in the middle of the wall and thats the really thick stone rubble wall, we cannot easily move the window position. But it would be easy to plumb with pipework running down the dining room cupboard as it does currently.
The third bathroom location option is at the back of the rear bedroom which would be easy to install as it is above the current location and it would be easy to plumb in the wastes but it would mean the bedroom becomes quite small as we'd also loose some of the space on a small corridor to give access.
The second and my preferred option is the small front bedroom.
This room could quite easily take a bathroom. I would make that window half size, bricking up the right hand pane, with the right hand side of the room moving into the the other front bedrrom, which would make that a nicer size, its currently only a single and it would make it a small double.
 But the problem with that part is where would be put the loo waste stack. It could go straight down but thats through the lounge and into the cellar, but its a long way for it to connect across to the drain, almost the whole diagnal of the house. And there may not be sufficient drop. It could be taken out to the front of the house and down the outside, witha new drain connecion in the alley. That may not look very nice as its the main part of the house seen and would involve digging quite a large trench to connect it into the drain.
As said, i shall discuss this in a bathroom post and I'd welcome any comments/thoughts.
With regards the rest of the work demolition; as you can see, the woodwork has been removed as well as the radiators. so the rooms are now empty and waiting to be transformed. But thats for the next time. When I will report what advice our 'expert' has given us on what we can and cannot do and what he thinks we aught to do. Some good and some not so good but all doable. ![]()
![]()
0 Comments
Recommended Comments
There are no comments to display.
Create an account or sign in to comment
You need to be a member in order to leave a comment
Create an account
Sign up for a new account in our community. It's easy!
Register a new accountSign in
Already have an account? Sign in here.
Sign In Now