
Cladding Complete, drainage in and general update
Weeks 40 to 56
So it’s been a year now since we started the build and I’m happy with our progress but perhaps more importantly I’m still enjoying it.
If you have followed the blog from the beginning you might have thought this was going to be a quick build as the shell went up quick but don’t worry work is continuing as we expected at our own slower pace, we have no definite finish date but it would be nice to be in for winter next year.
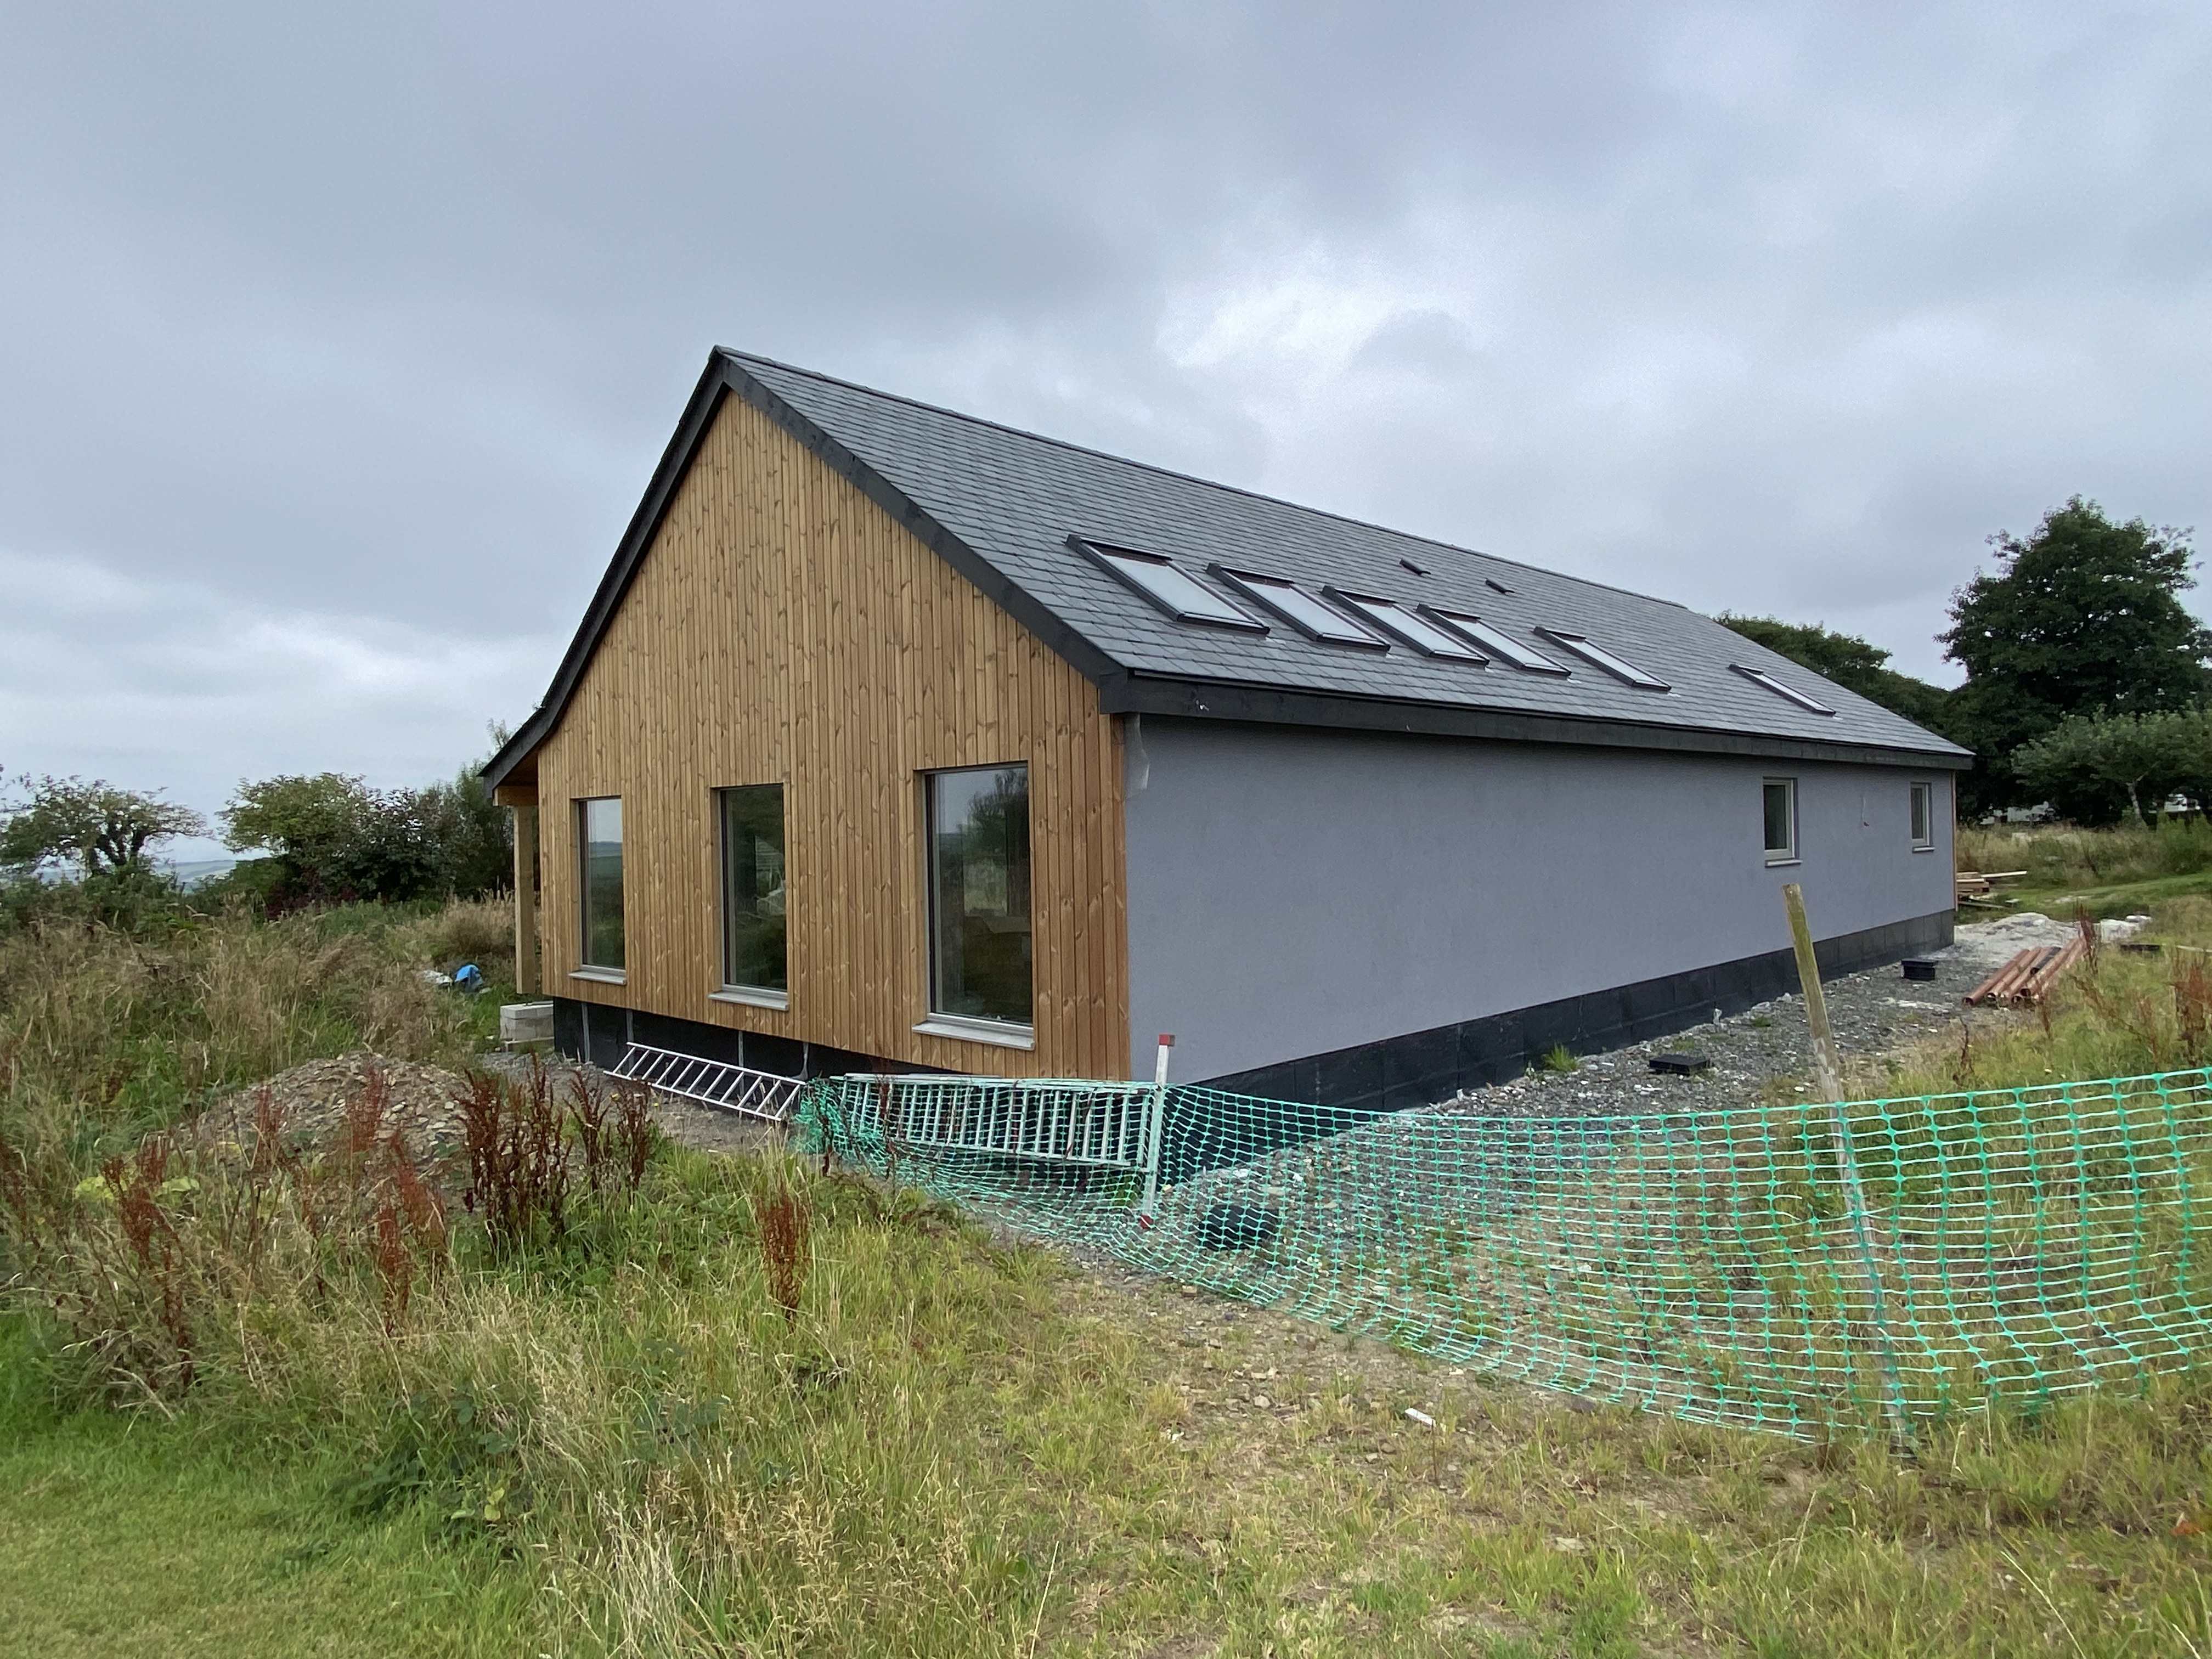
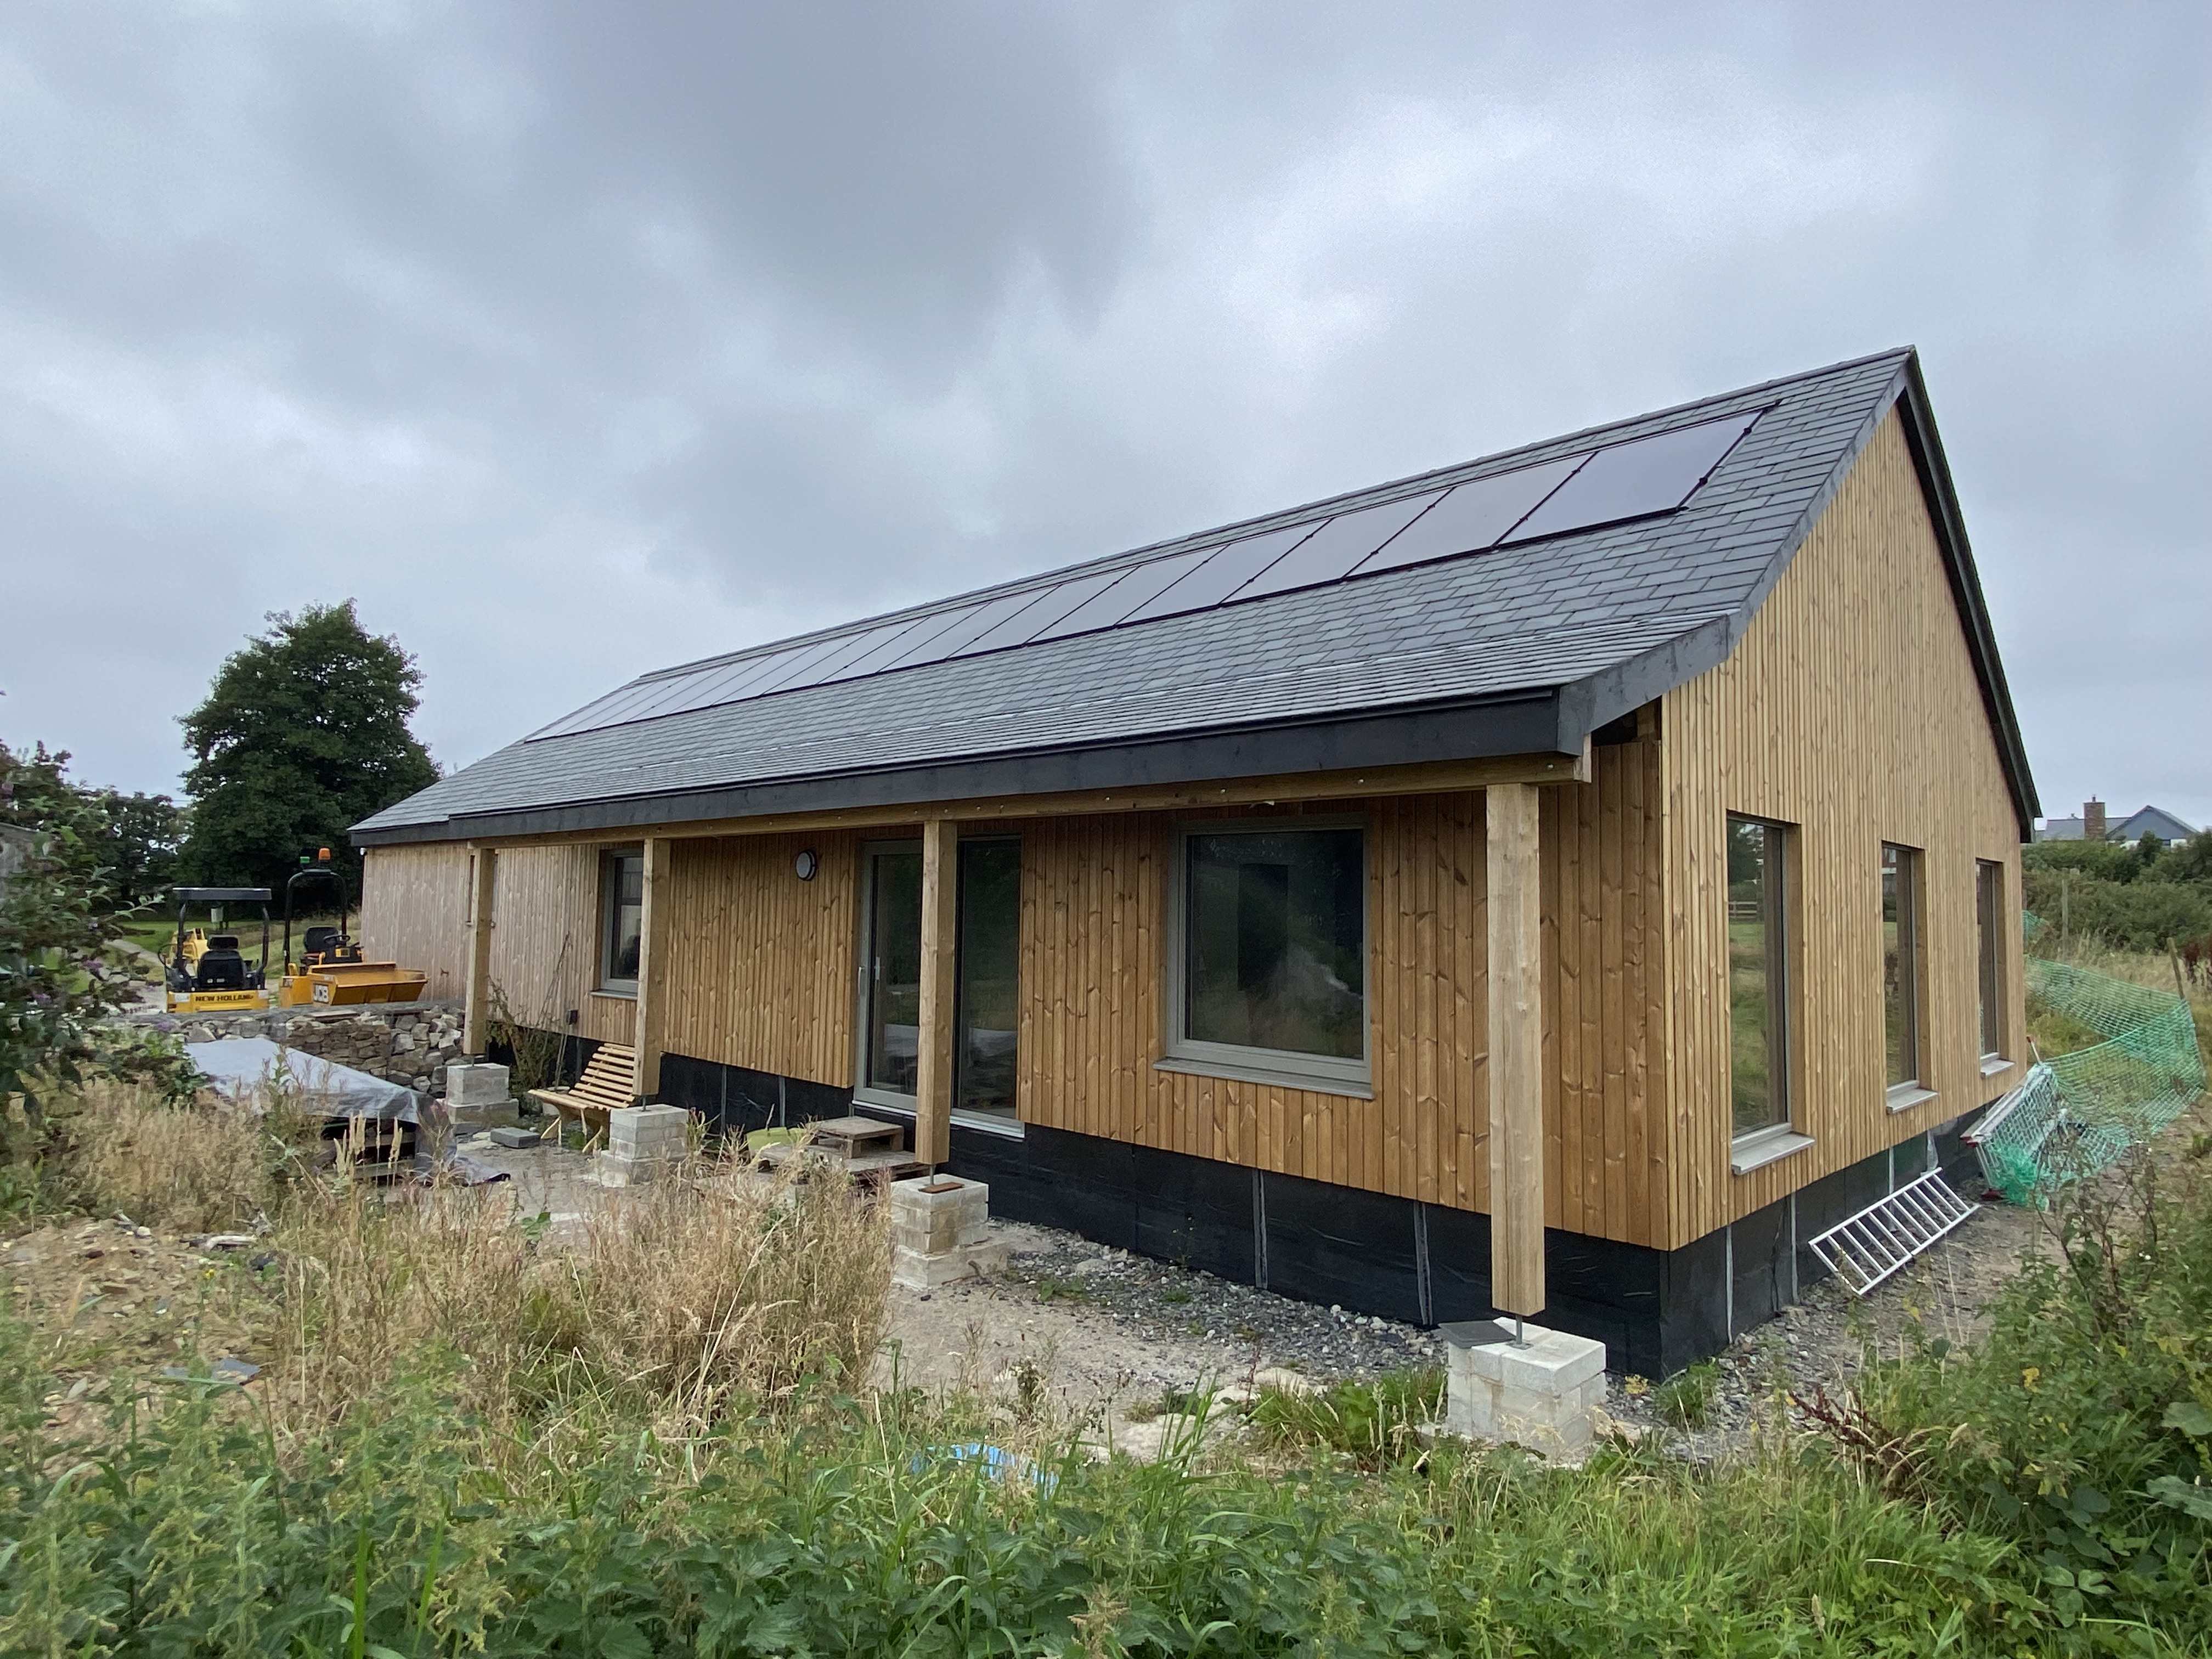
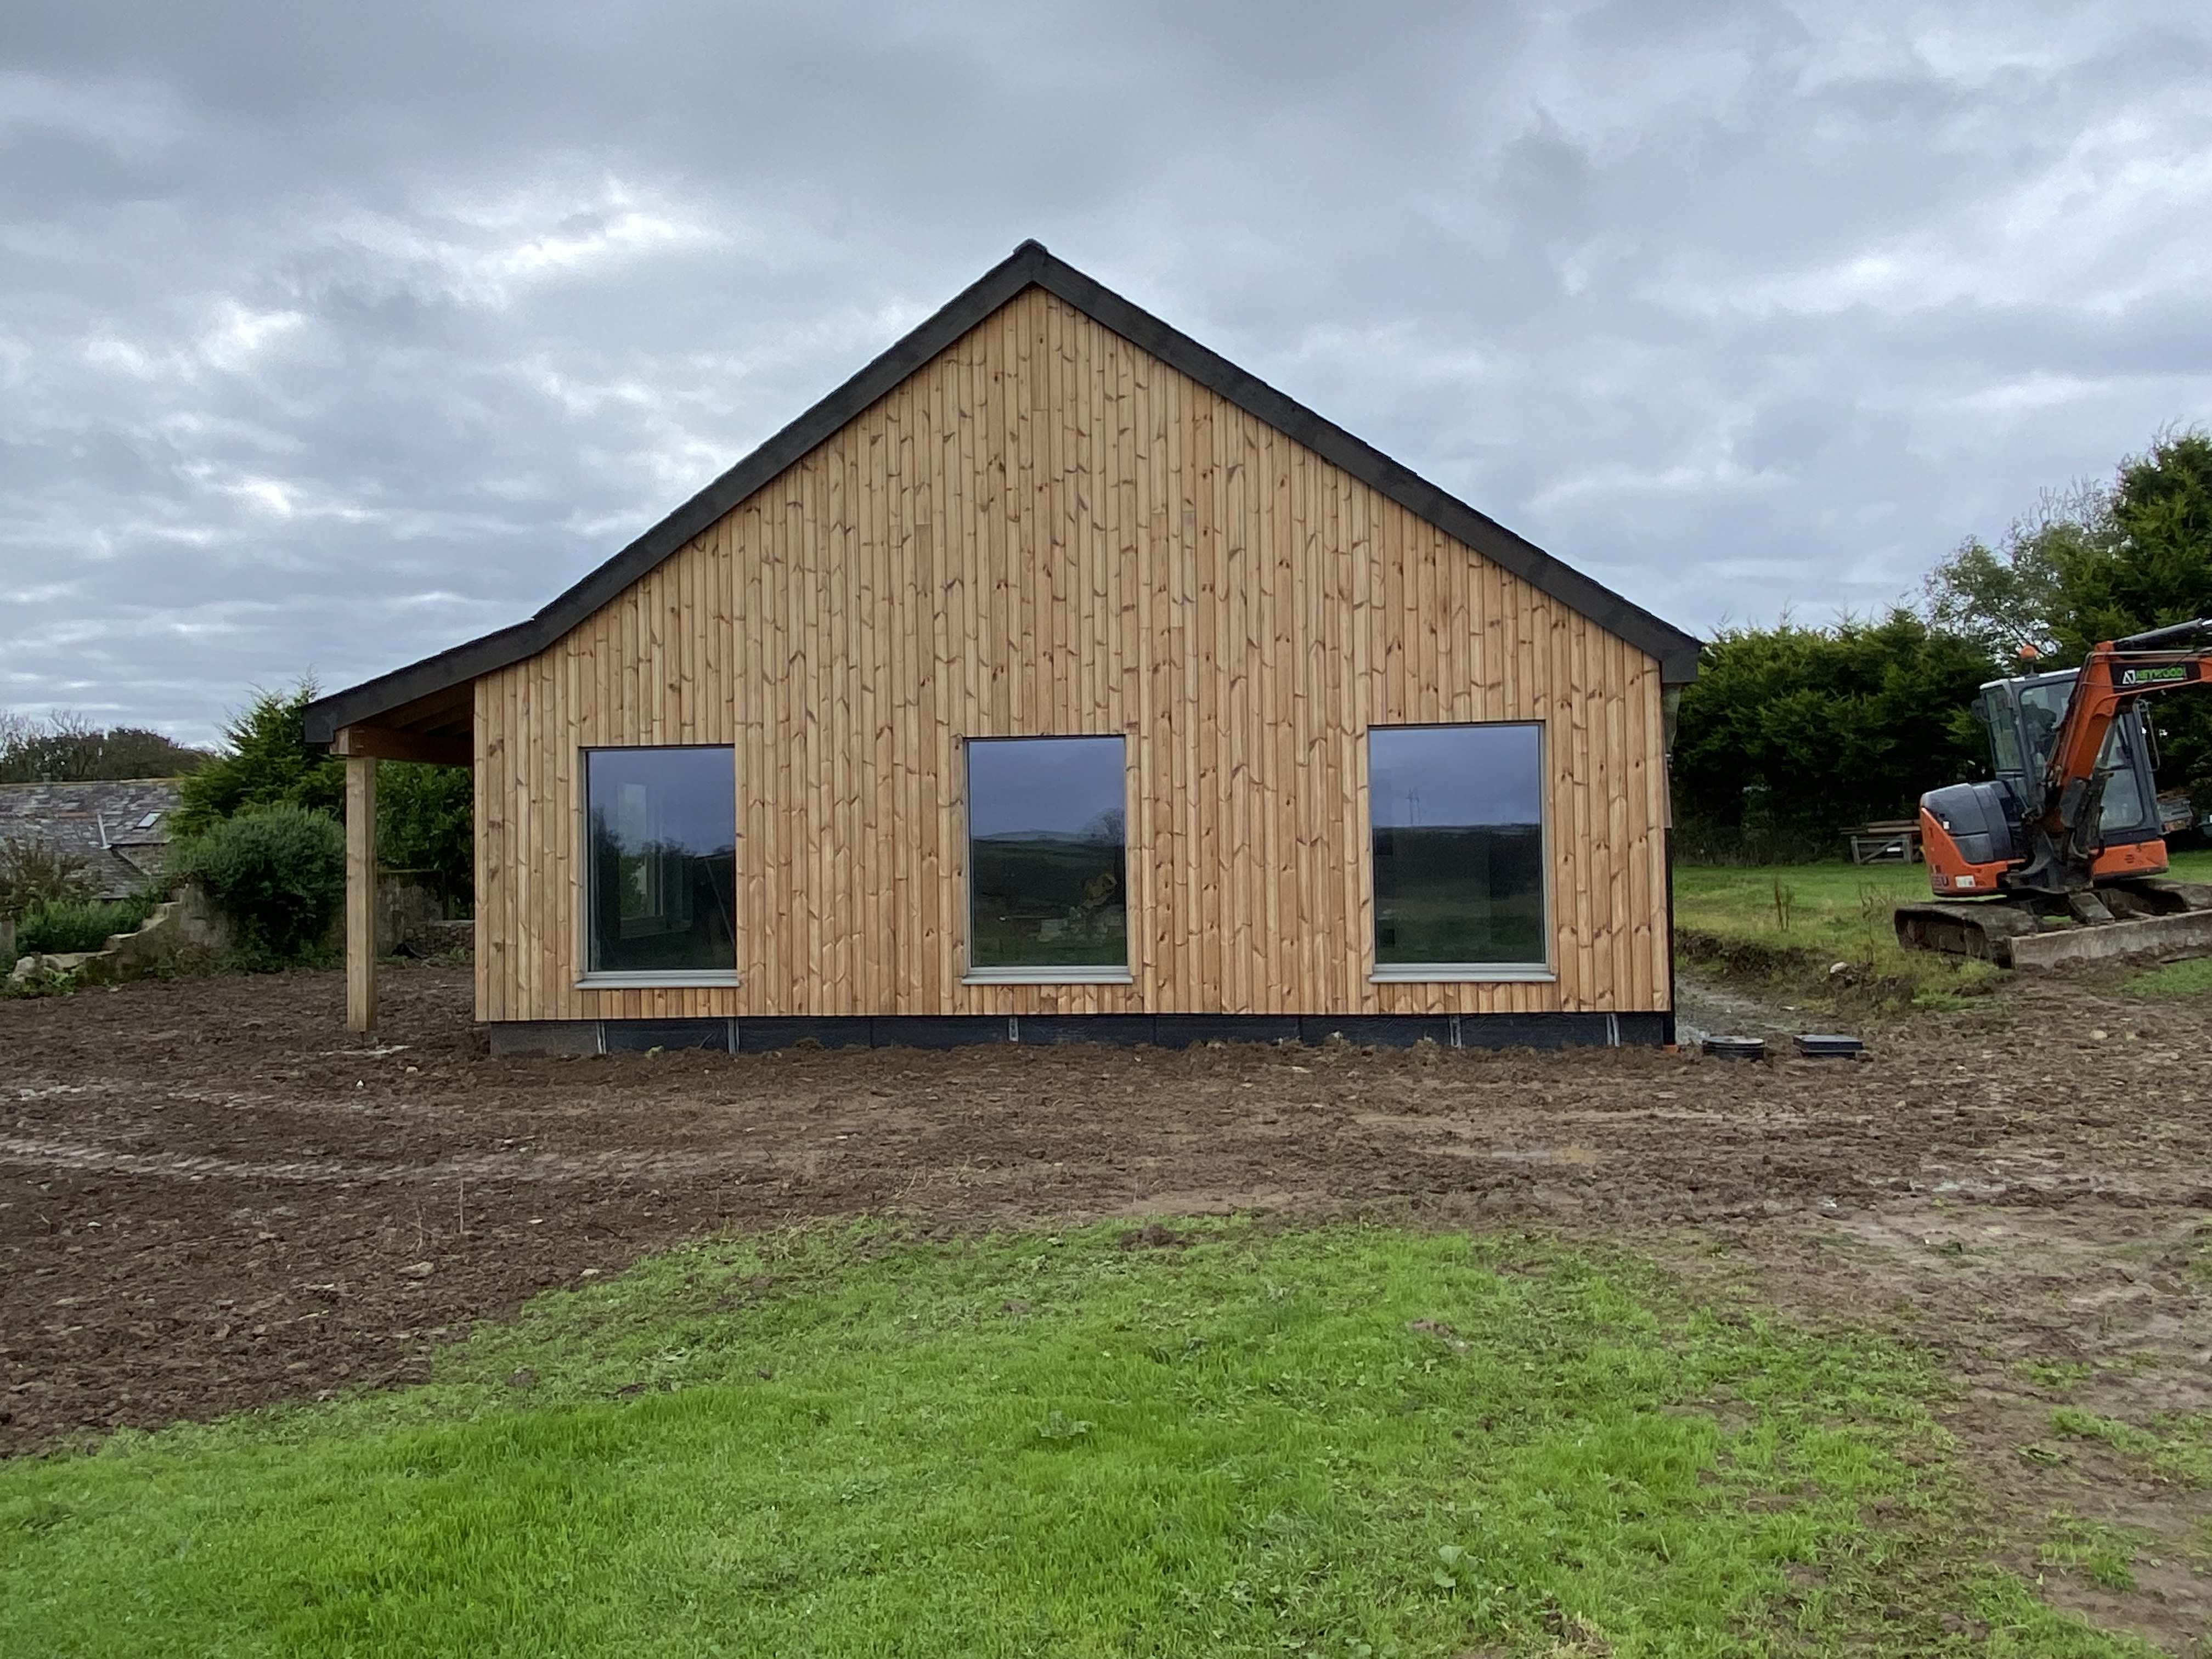
The cladding is finally complete. David started the cladding at the end of March and I think it’s fair to say it took him a lot longer to complete than he expected, but like me he likes to get the details correct ie drip angles on bottom edges etc and neat finishing around the doors and windows.
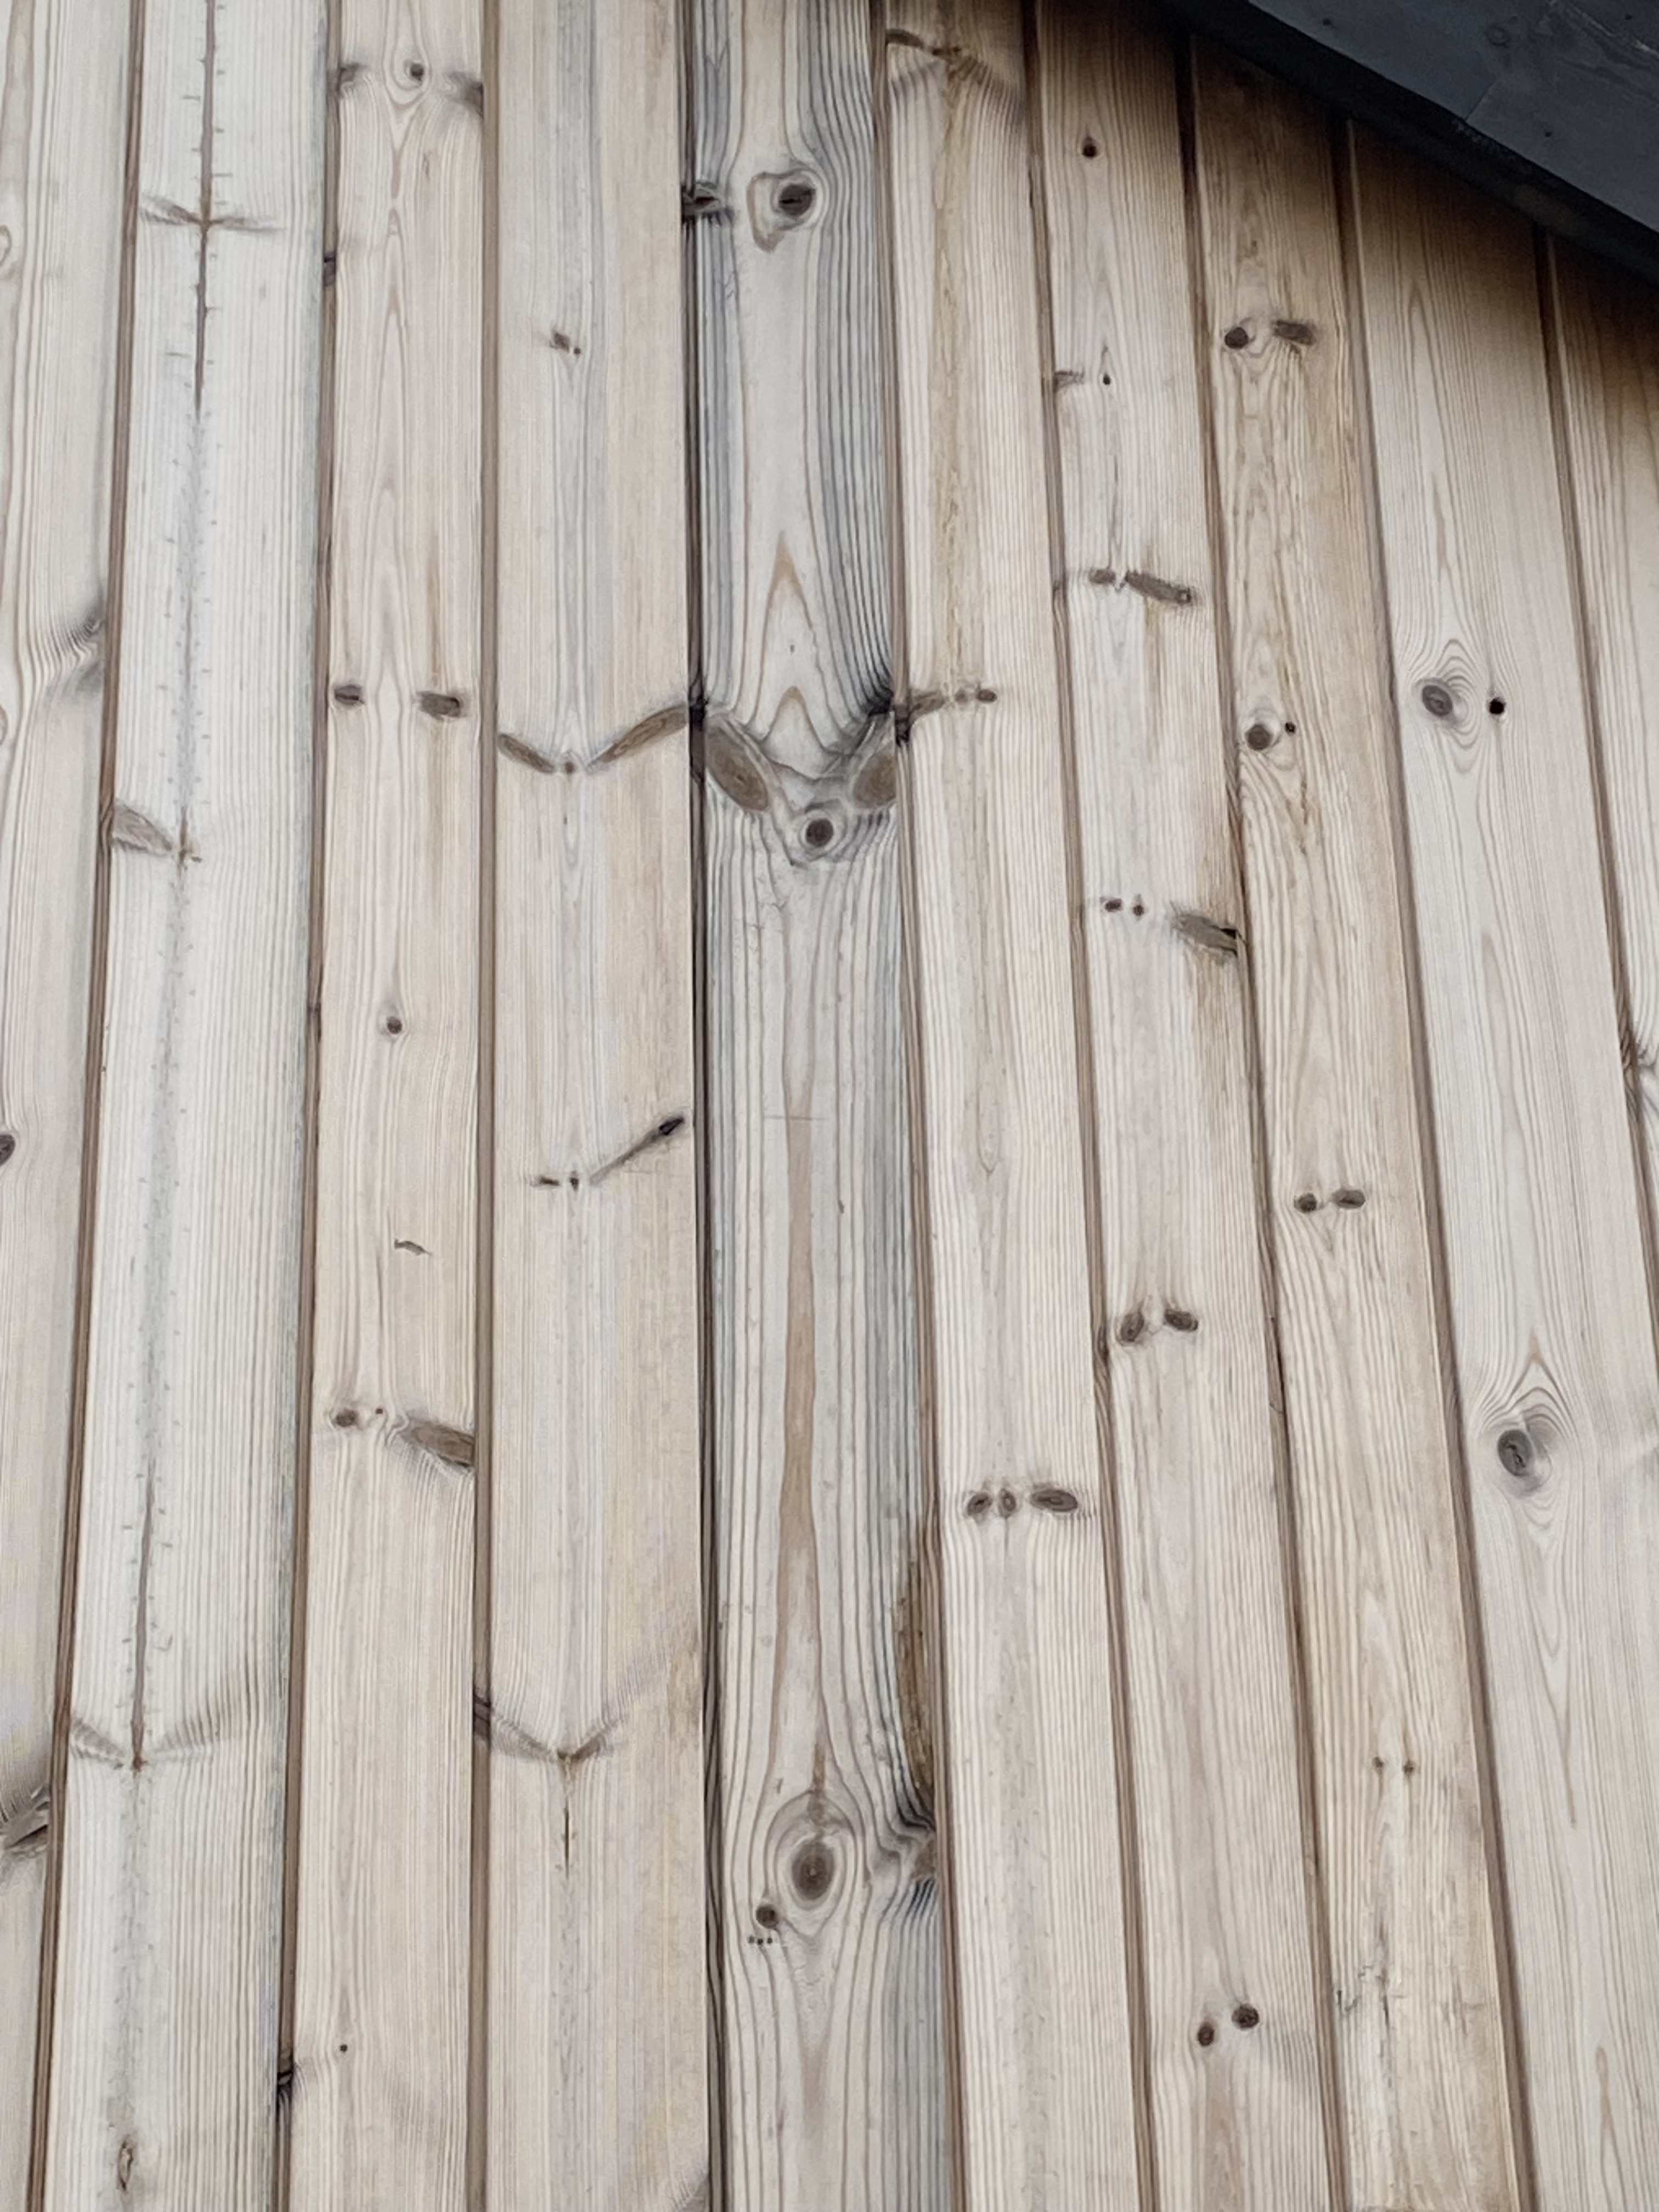
The photos show how the Thermo Pine has already started to fade. We are happy with the colour changes it is greying nicely and hopefully will blend in with our working barn after another summer.
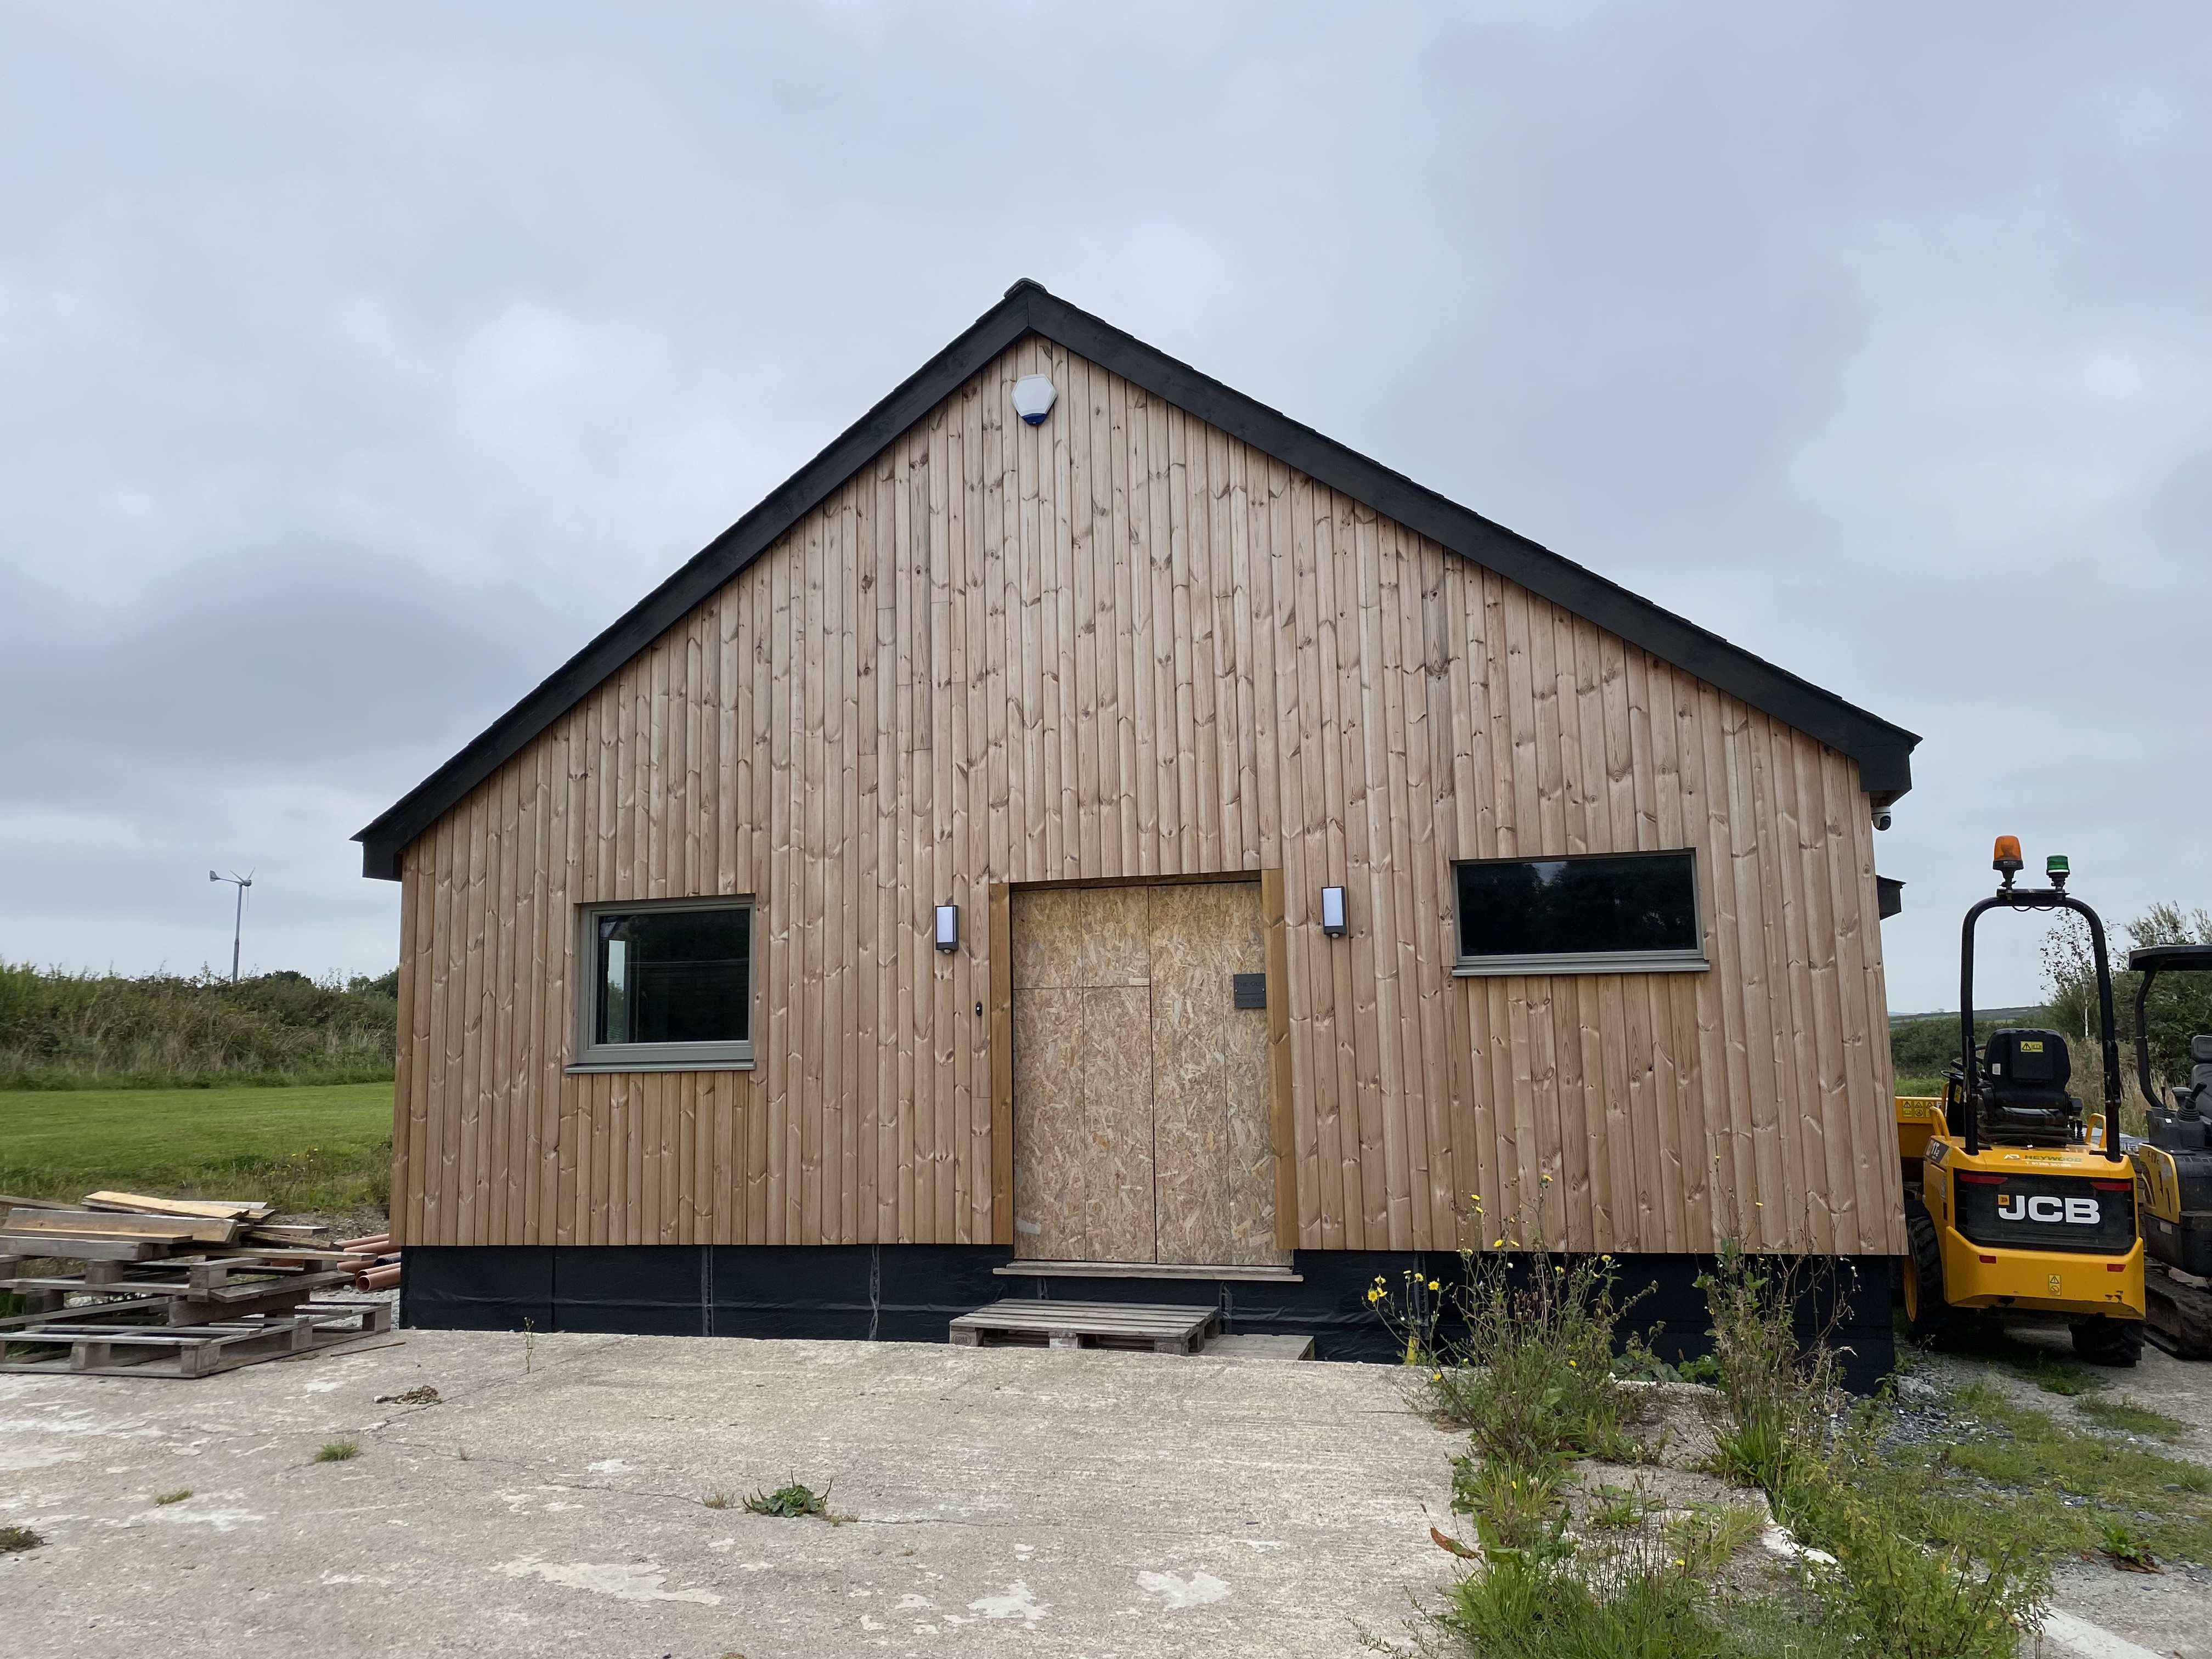
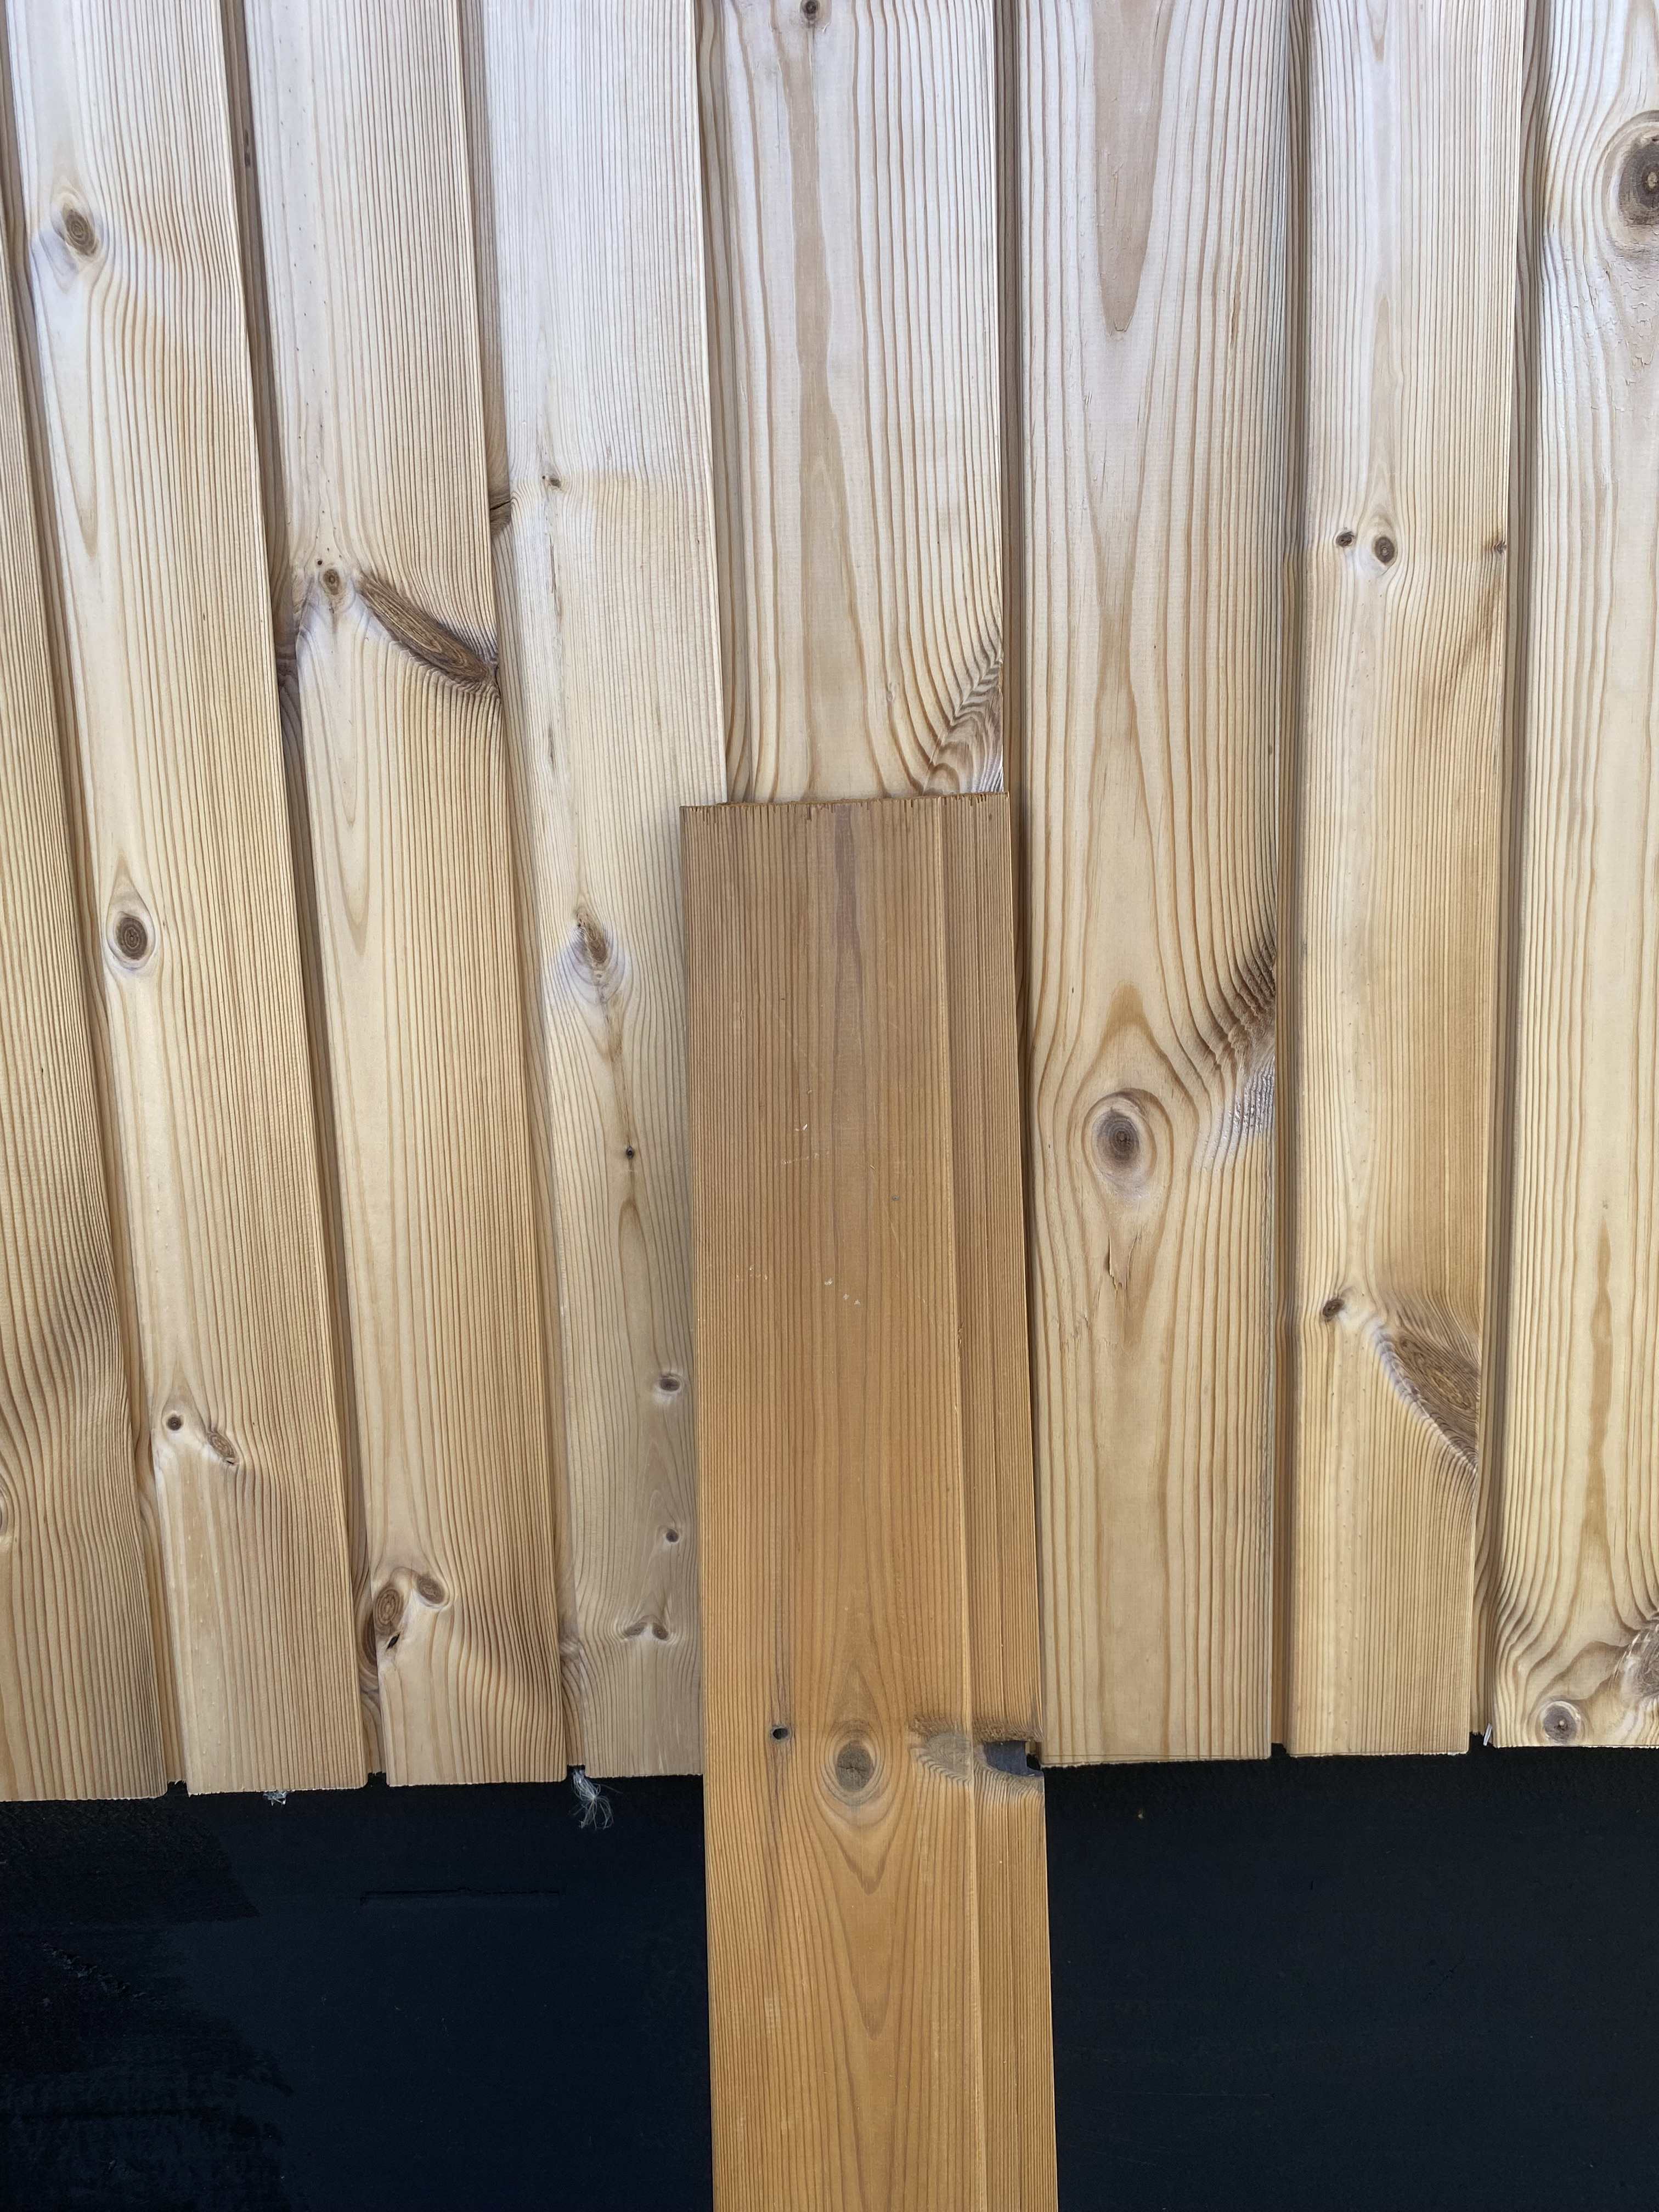
Above is a sample piece that has not been exposed to the weather and the other image shows the first signs of the greying colour change.

This is our working barn the wood on here is a minimum of 20 years old more likely 40 years old.
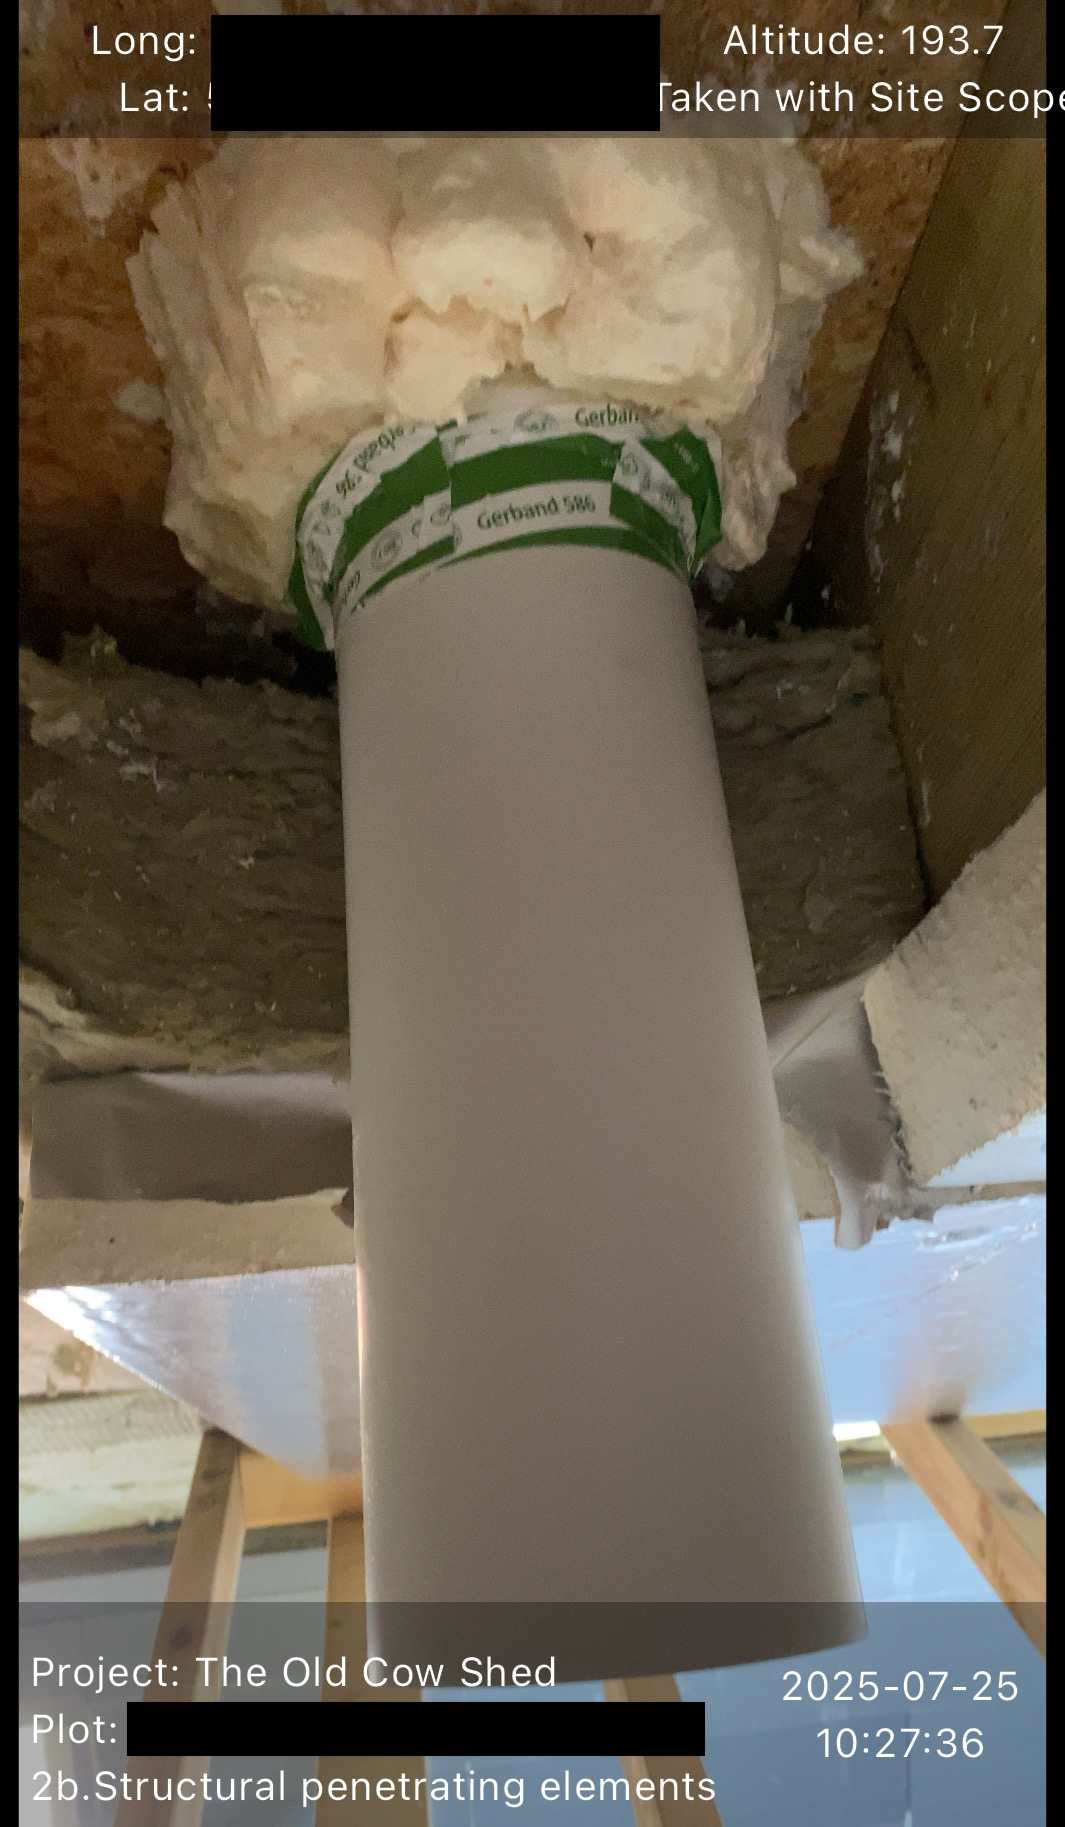
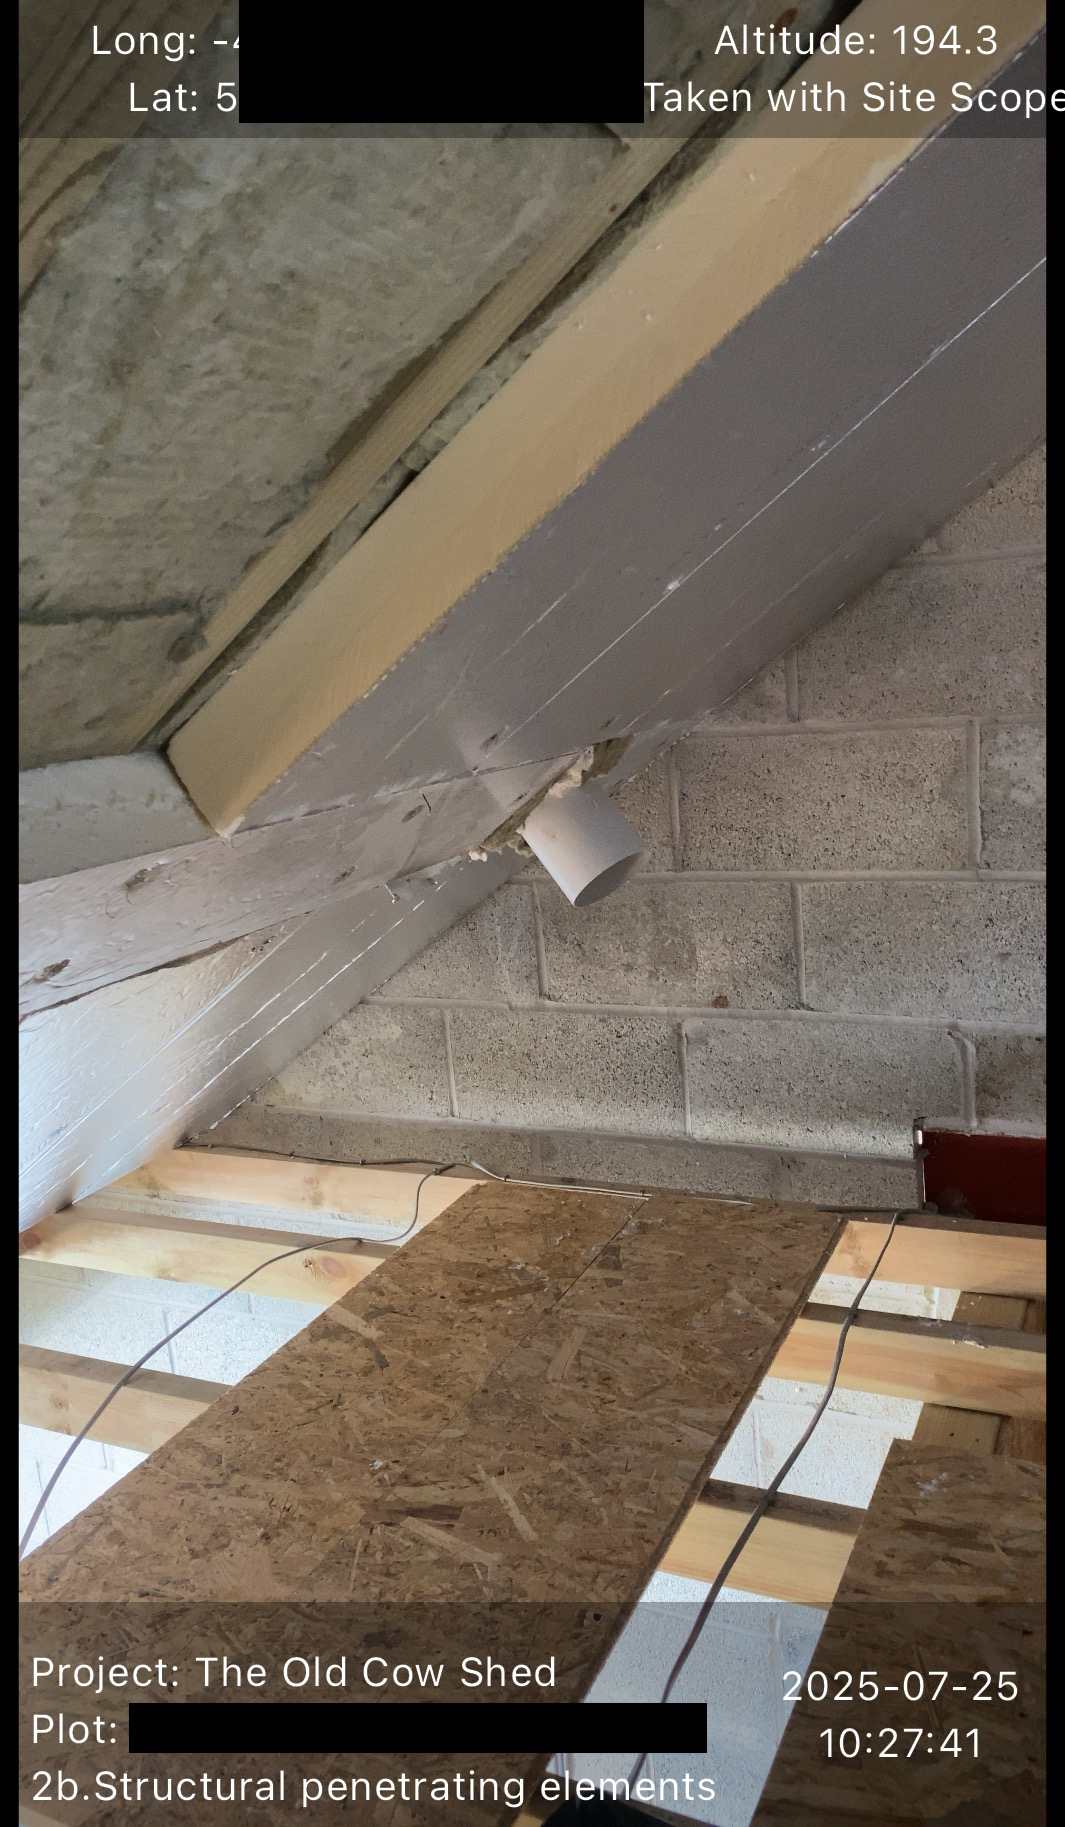
Inside I have completed most of the insulation above ceiling height, we have slopping ceilings in 2/3rds of the building that will be completed after the screed is done. The MVHR ducts are in the roof, I carefully insulated around them as they pass through the Rockwool layer and the Celotex, then the VCL layer which is Gerband SD control. Not the most expensive VCL but still a reasonable price for a control layer. Putting the VCL up on my own was tricky I used double sided tape to attach it to the Celotex initially pressing it on top, middle and bottom as I unrolled it for 12m. This held it in place surprisingly well leaving me ample time, (days as it often too hot to work in the loft) to tape it up properly with Gerband airtight tape. I finally took a break from the roof insulation and moved on to floor insulation which is a much nicer job on my knees.

Back in June we had a Cornwall/Devon meet up of fellow build hubers. It was great to put a face to the user names. The weather had one quick shower just as some arrived but then cleared up so that we could all sit around eating pizza and chatting.
The waste for the two wet rooms is completed ready for the screed. I’m now ready to lay the UFH separation layer for this I have chosen something a bit different https://www.laminon.co.uk/. The material is a bit like weed membrane which if any body has ever pegged down knows how those pegs don’t want to come back out easily. It also has a grid marked on it that might make it a job for me on my own, together with the decoiler and stapler I have borrowed, or David will help me.
Like many on here I downloaded LoopCad, input all the data about my location and the build then designed the loops. For reference I used the Ashrae load calculation method, rooms that didn’t need UFH e.g. the pantry I input as already having a heat source. I have kept my results and all the print outs but in the end I have chosen Wunda because they are very competitive compared to me buying the manifold and pipe from an online UFH trade shop. They have saved on their costs because they can send the coils out in lengths more compatible with my circuits e.g. I have 5 circuits between 109m and 117m so they can send out 5 x 120m coils. No matter how I combine different circuits I always ended up with a lot of wastage pipe. They don’t use LoopCad to its full extent e.g. the whole house modelling for the load calculation but from what I discovered most UFH suppliers don’t either so I might need my LoocCad summaries for the flow rates as Wunda are not accounting for a well insulated and air tight building. They are for now not supplying the pump or any thermostats as our plan is to get the house fully insulated and the VCL layer completed on the at least most ceilings so we can monitor the room temps with a few data collecting thermometers. This will hopefully tell us how cold its going over winter without occupation, and so far its certainly feels warmer than our current house.
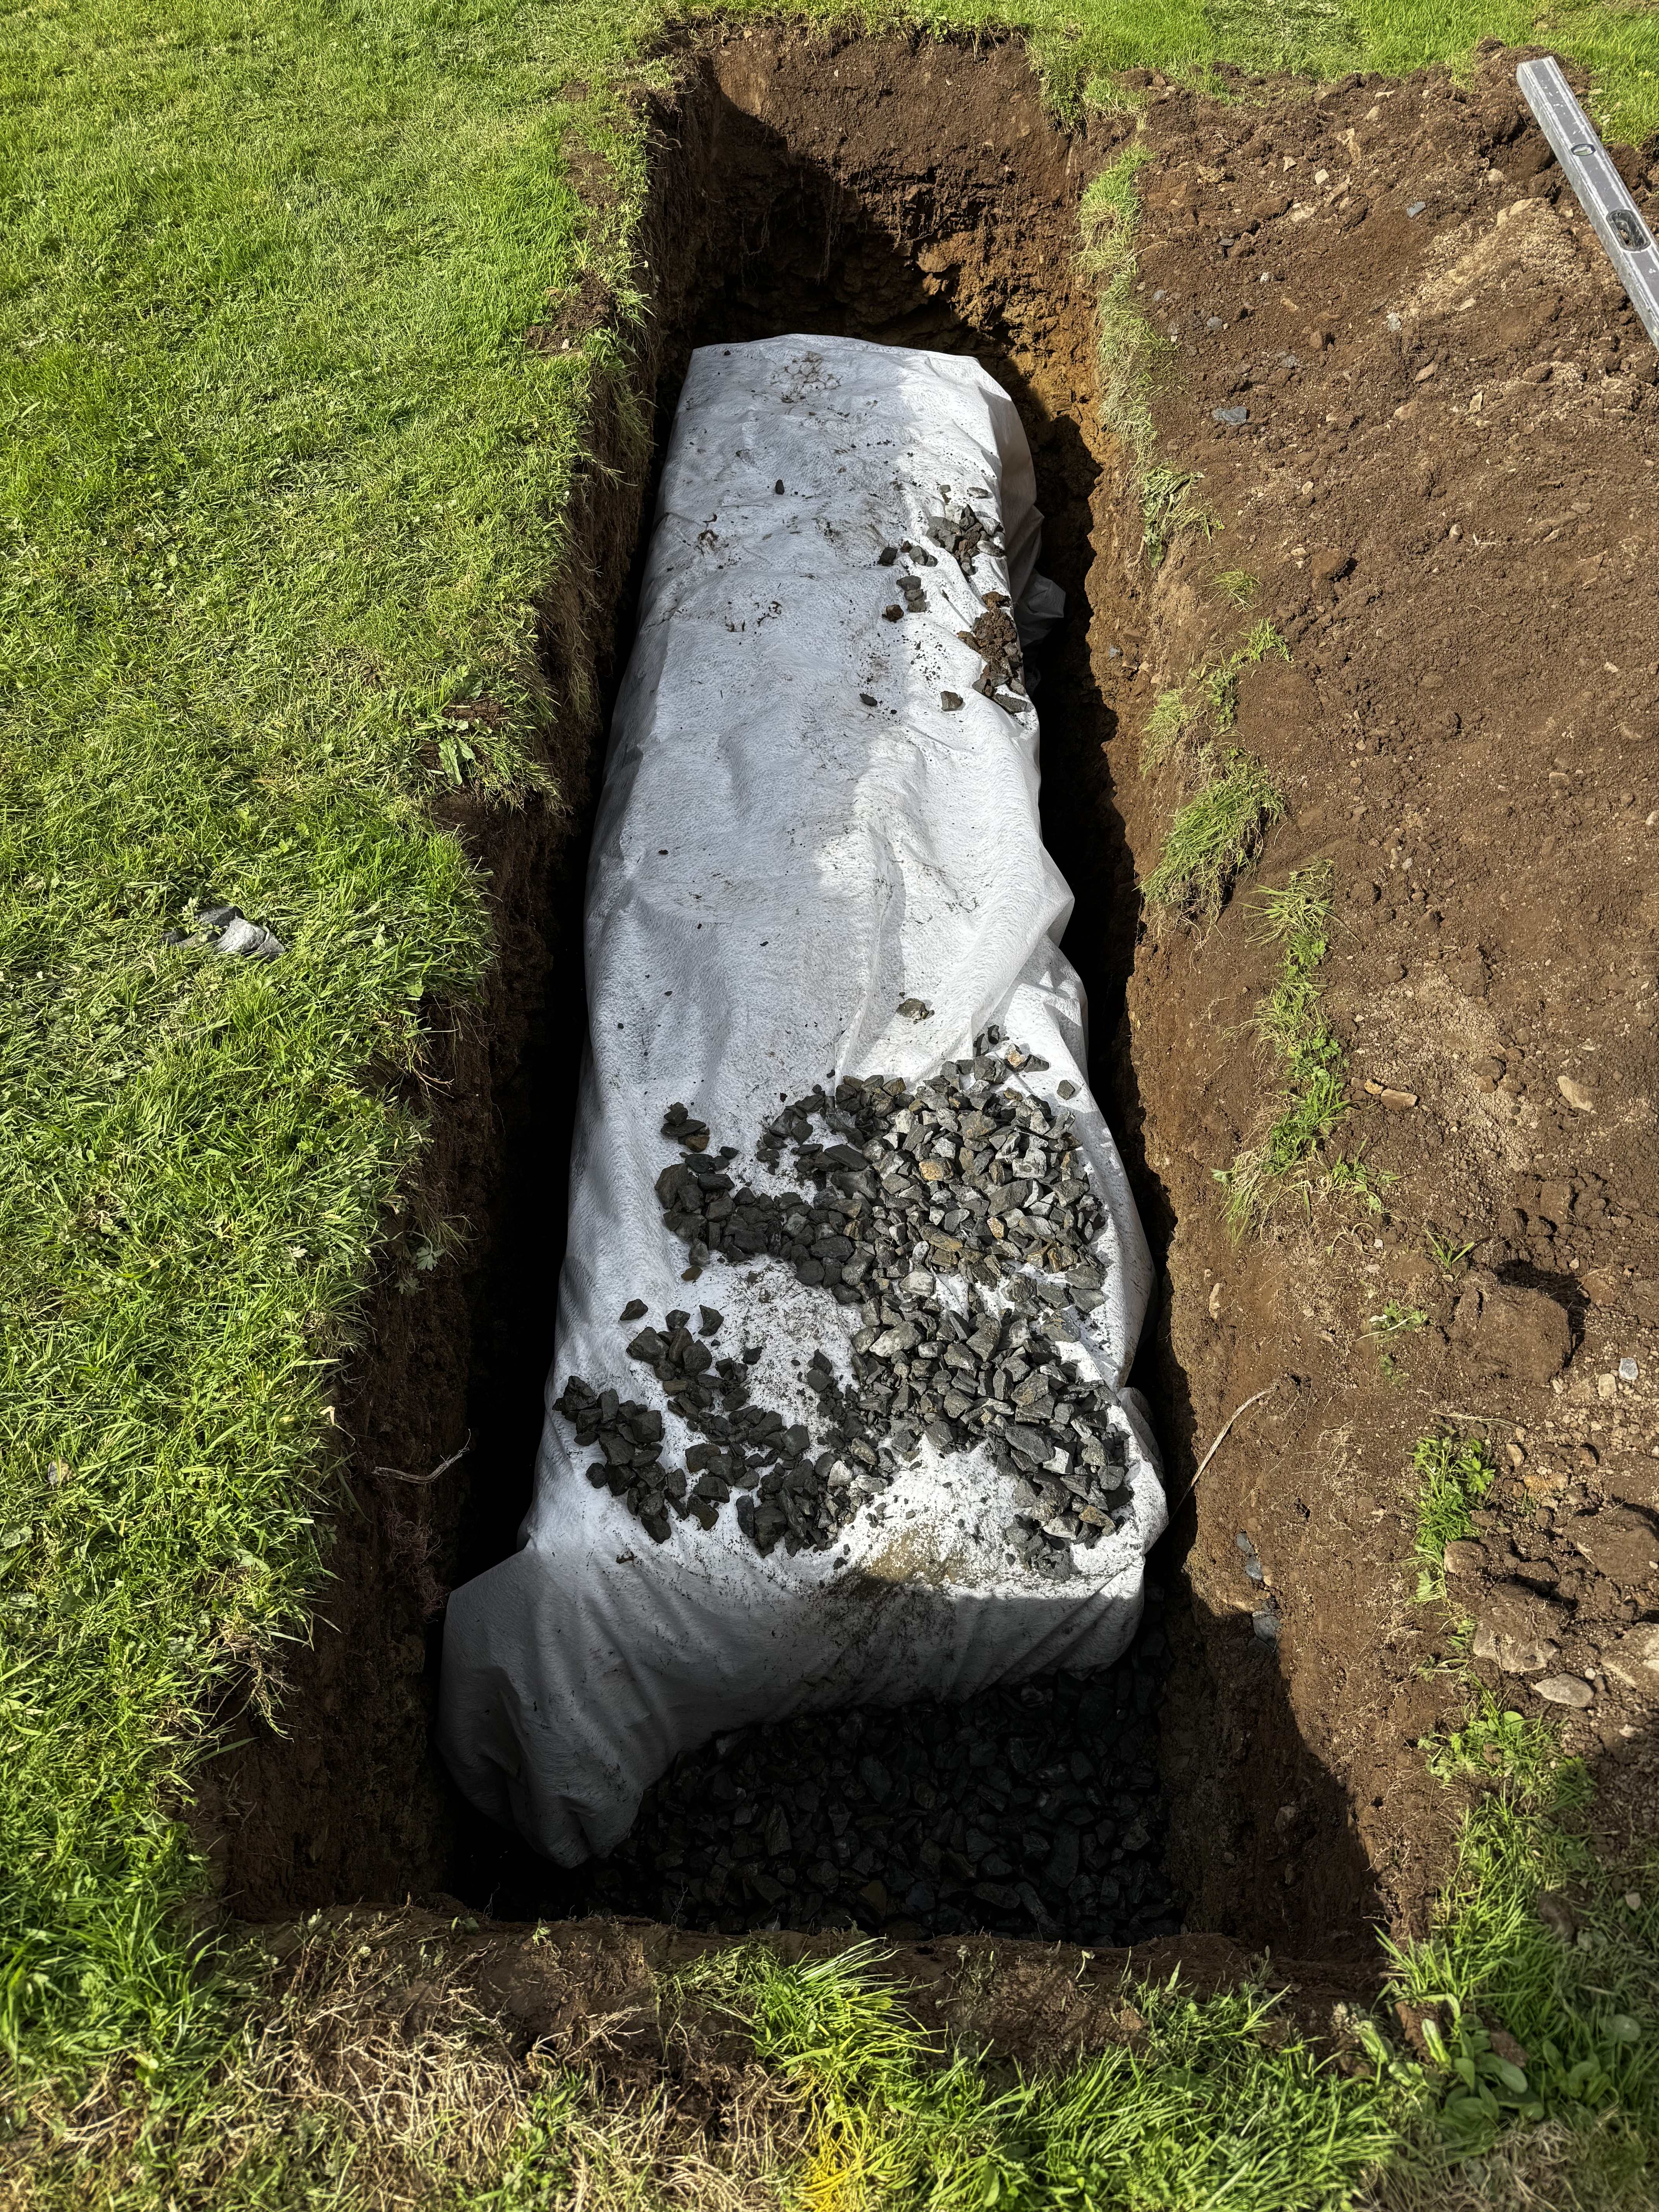
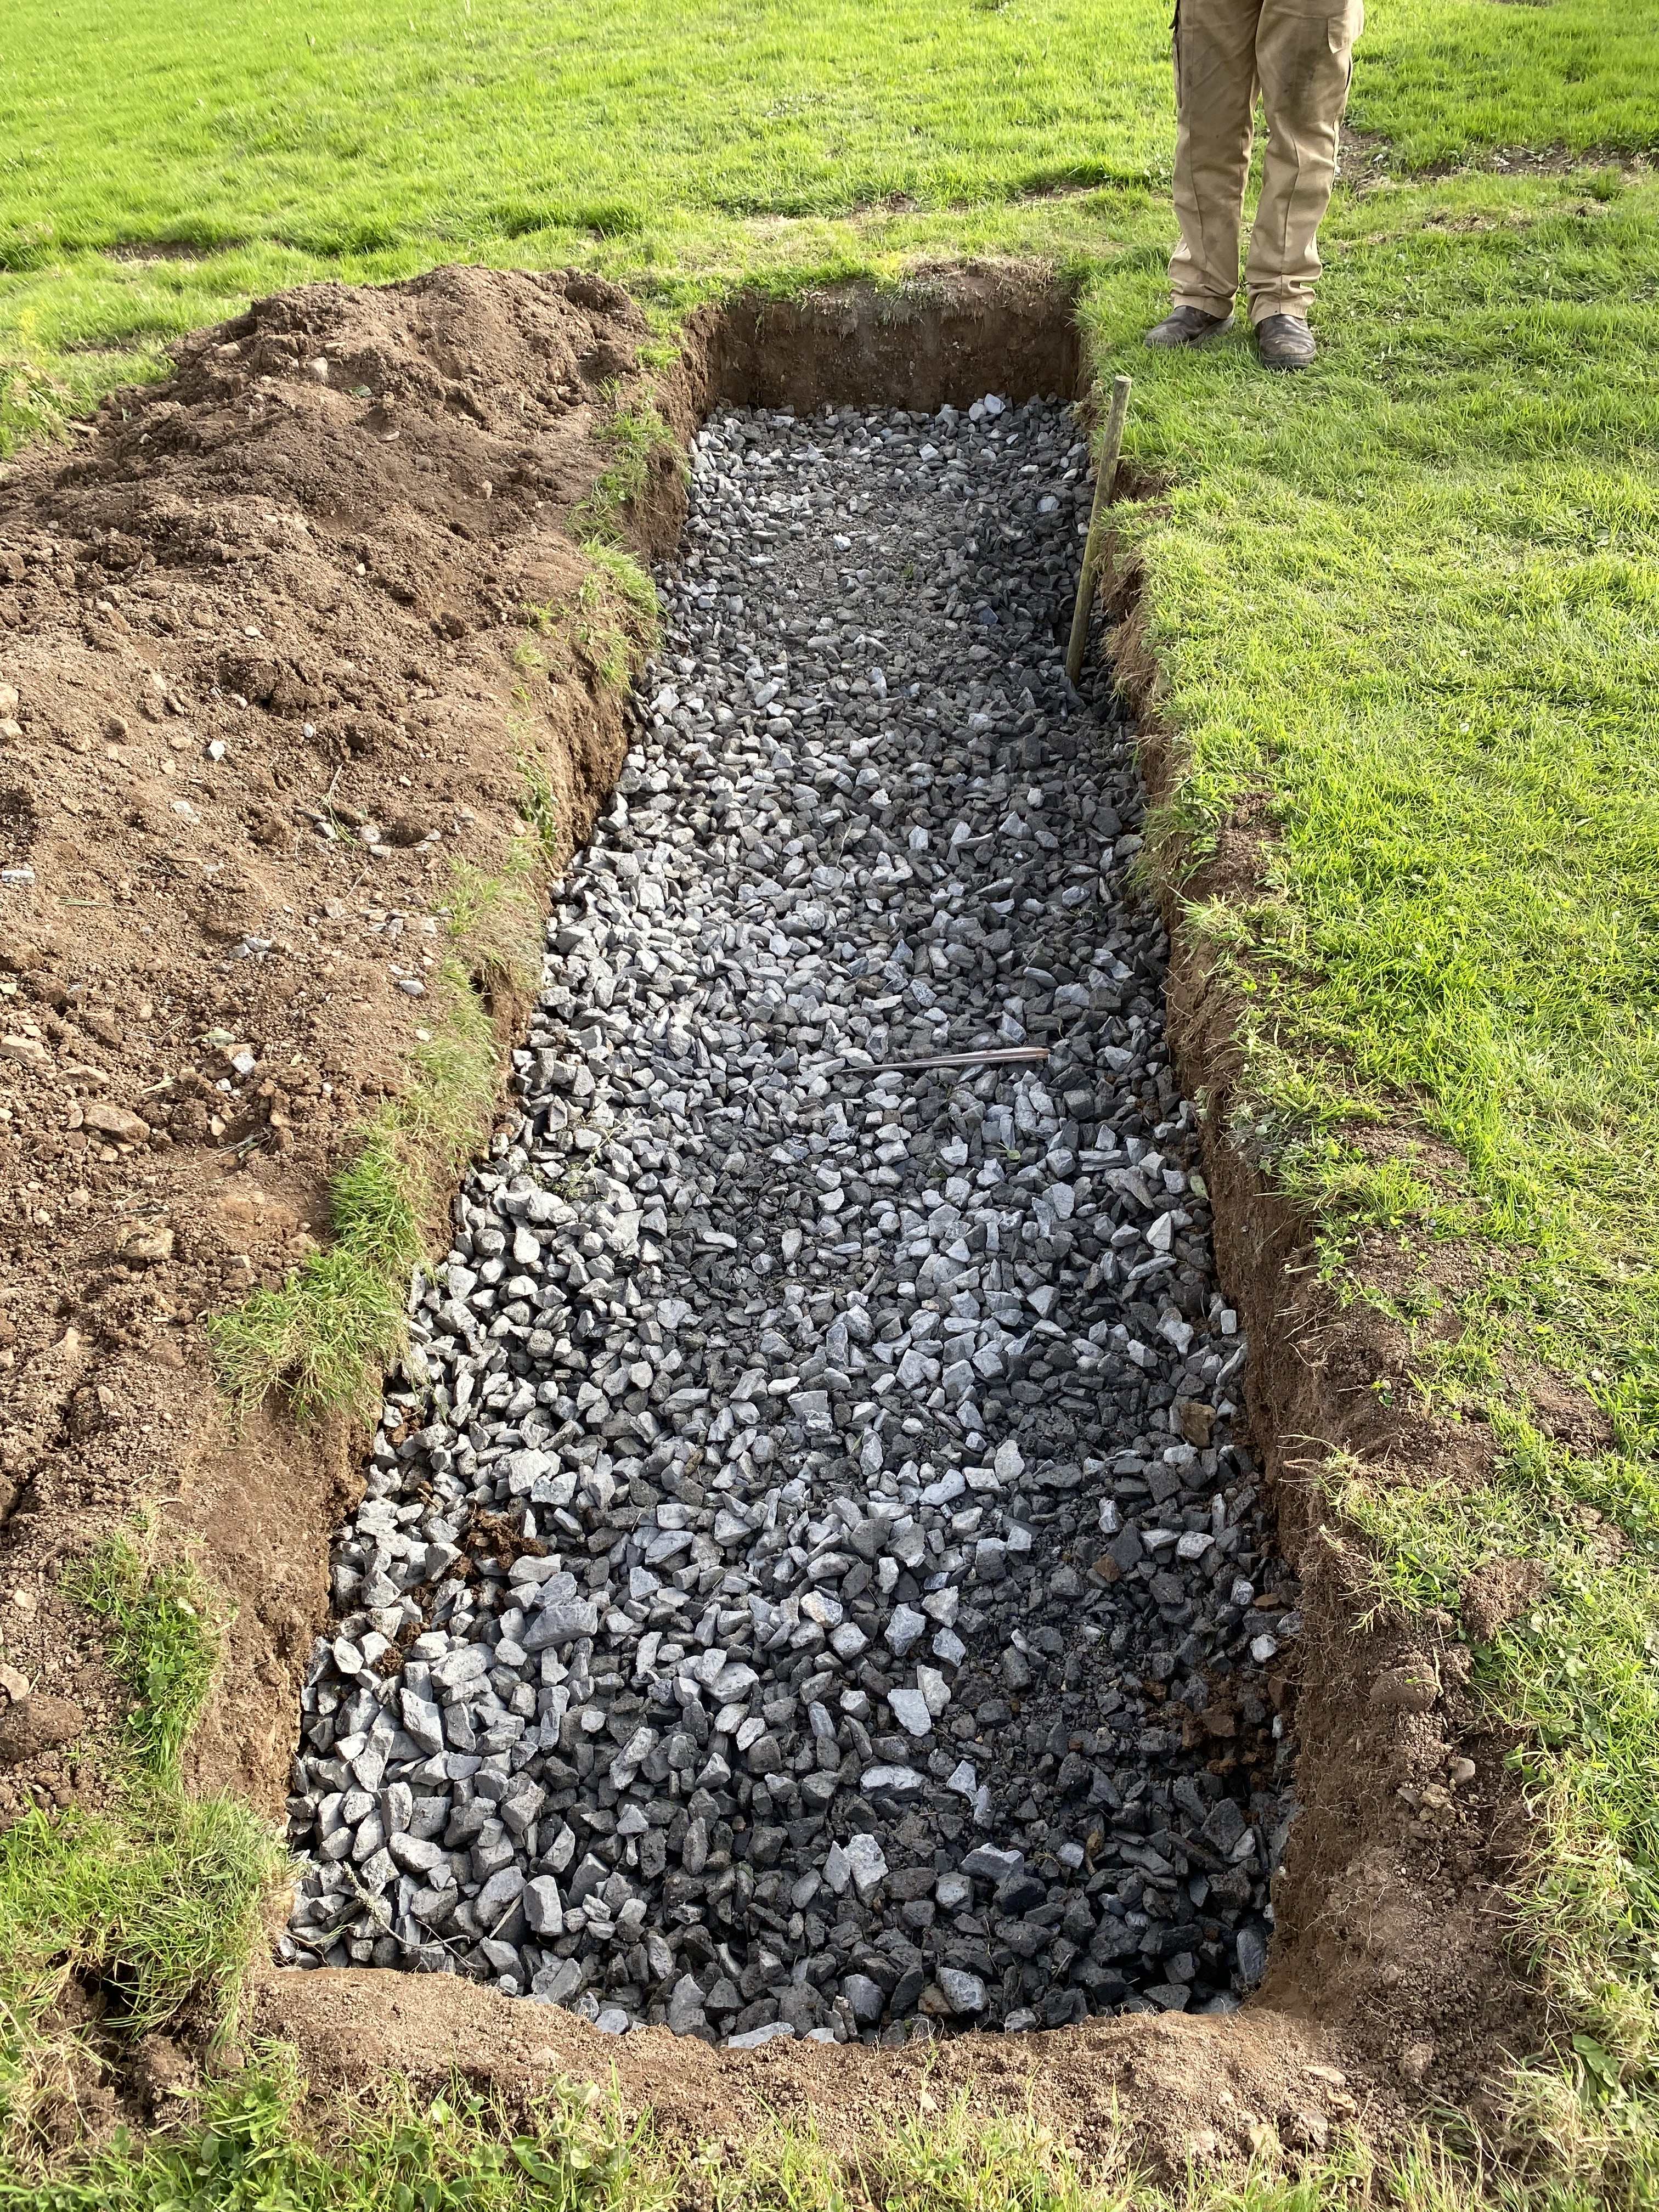
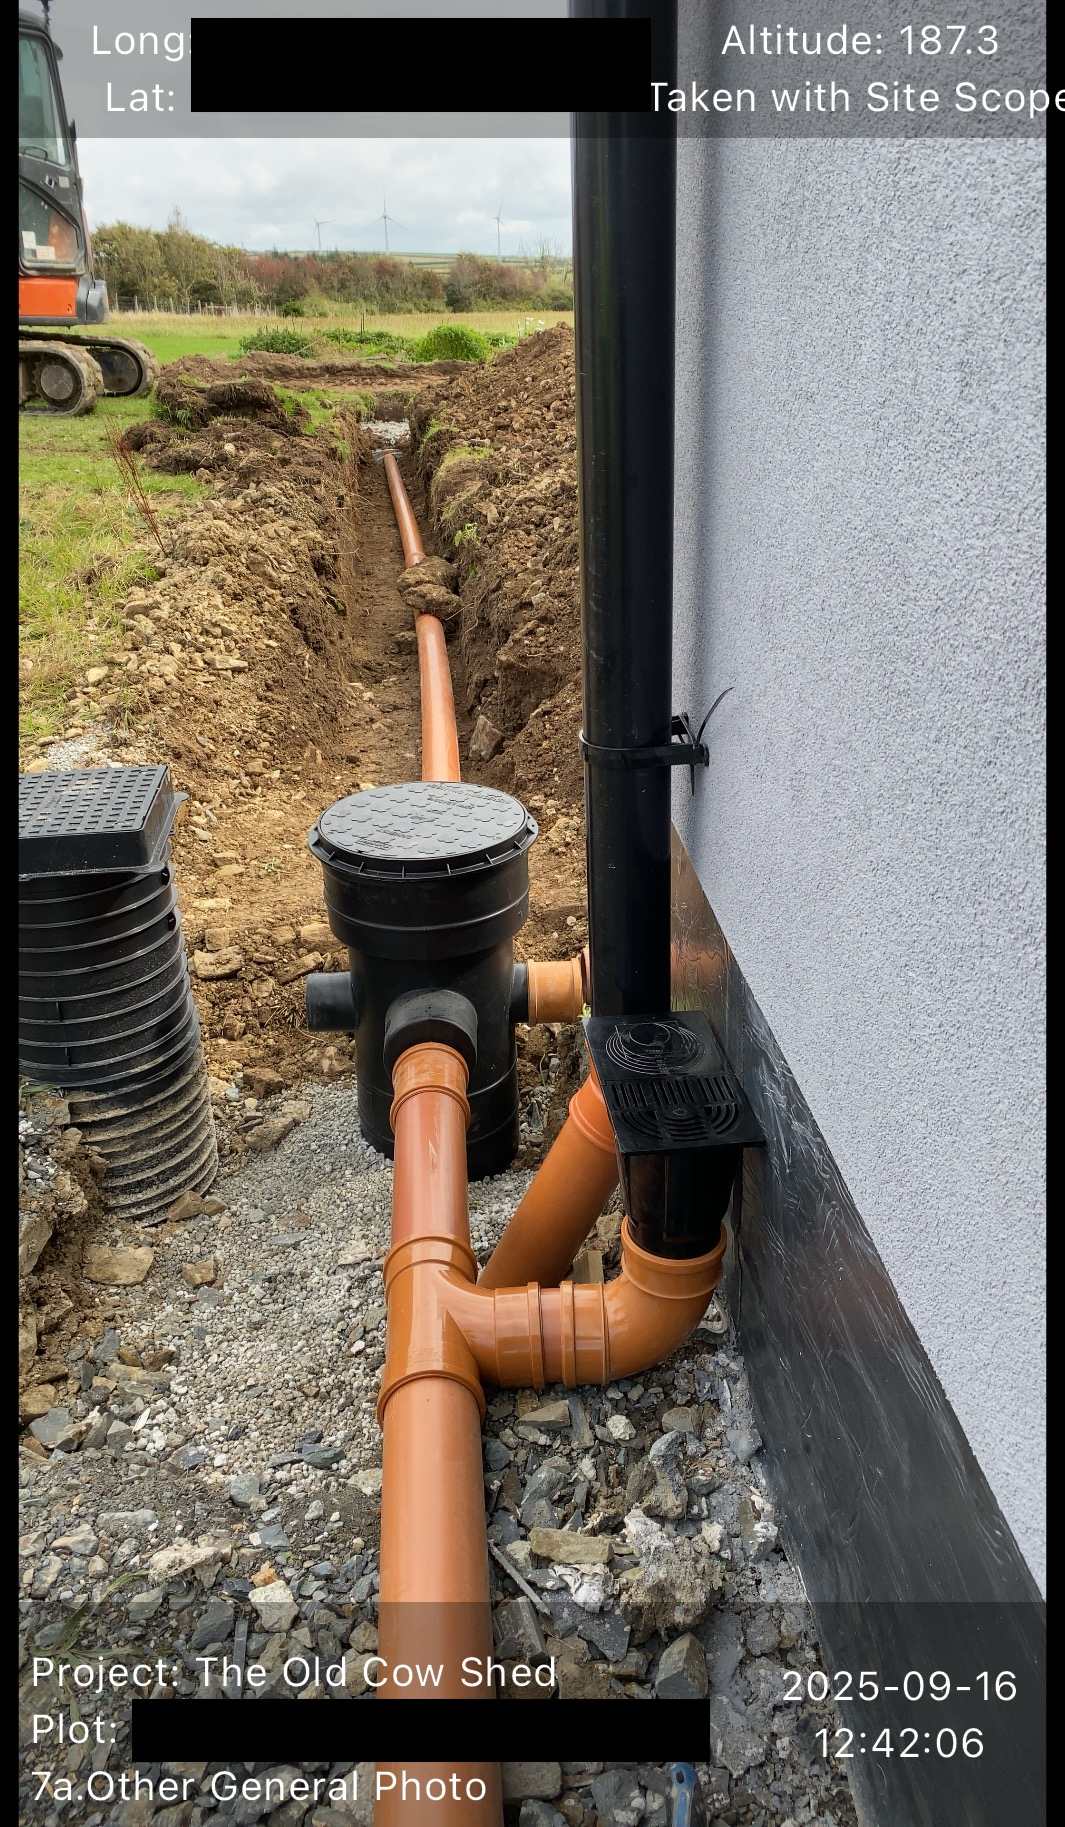
We now have drains connected to the main sewer line and our soak away is installed. Next job will be the guttering. I had to take down my potting shed for the build but hopefully next year I can reassemble my potting shed in its new location which is the opposite side of the cow shed than it was previously, but my view is a lot nicer.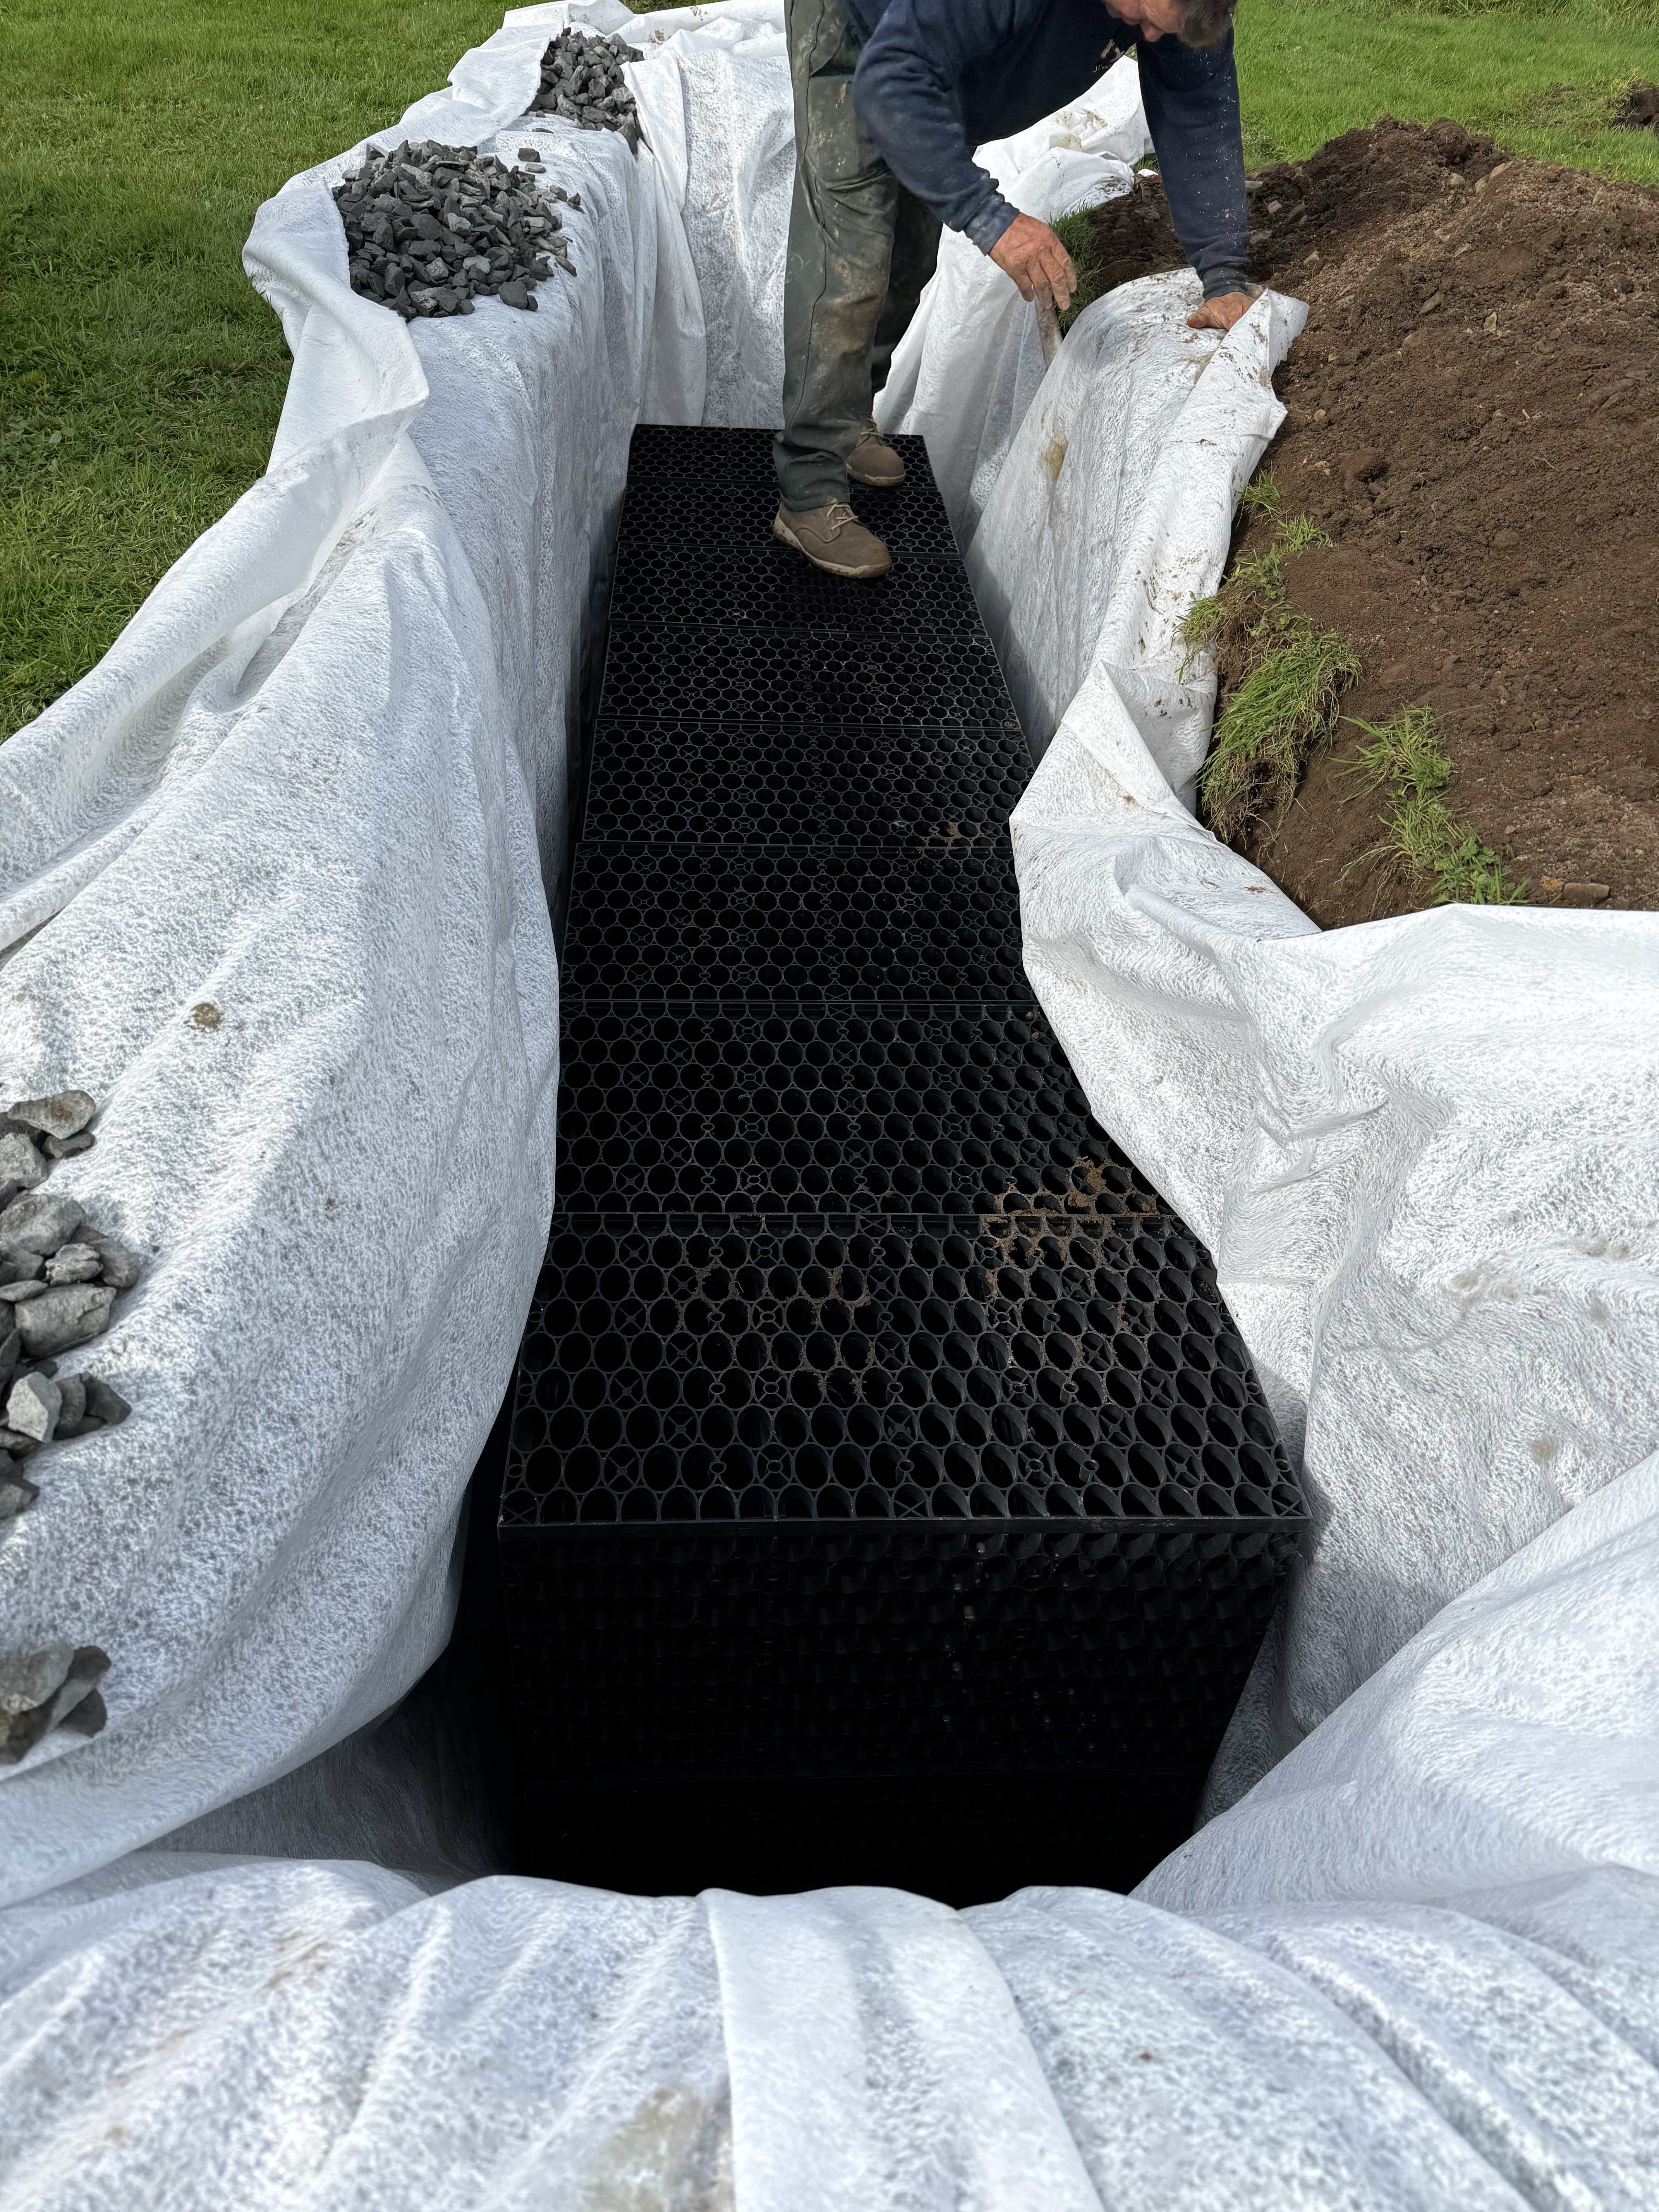
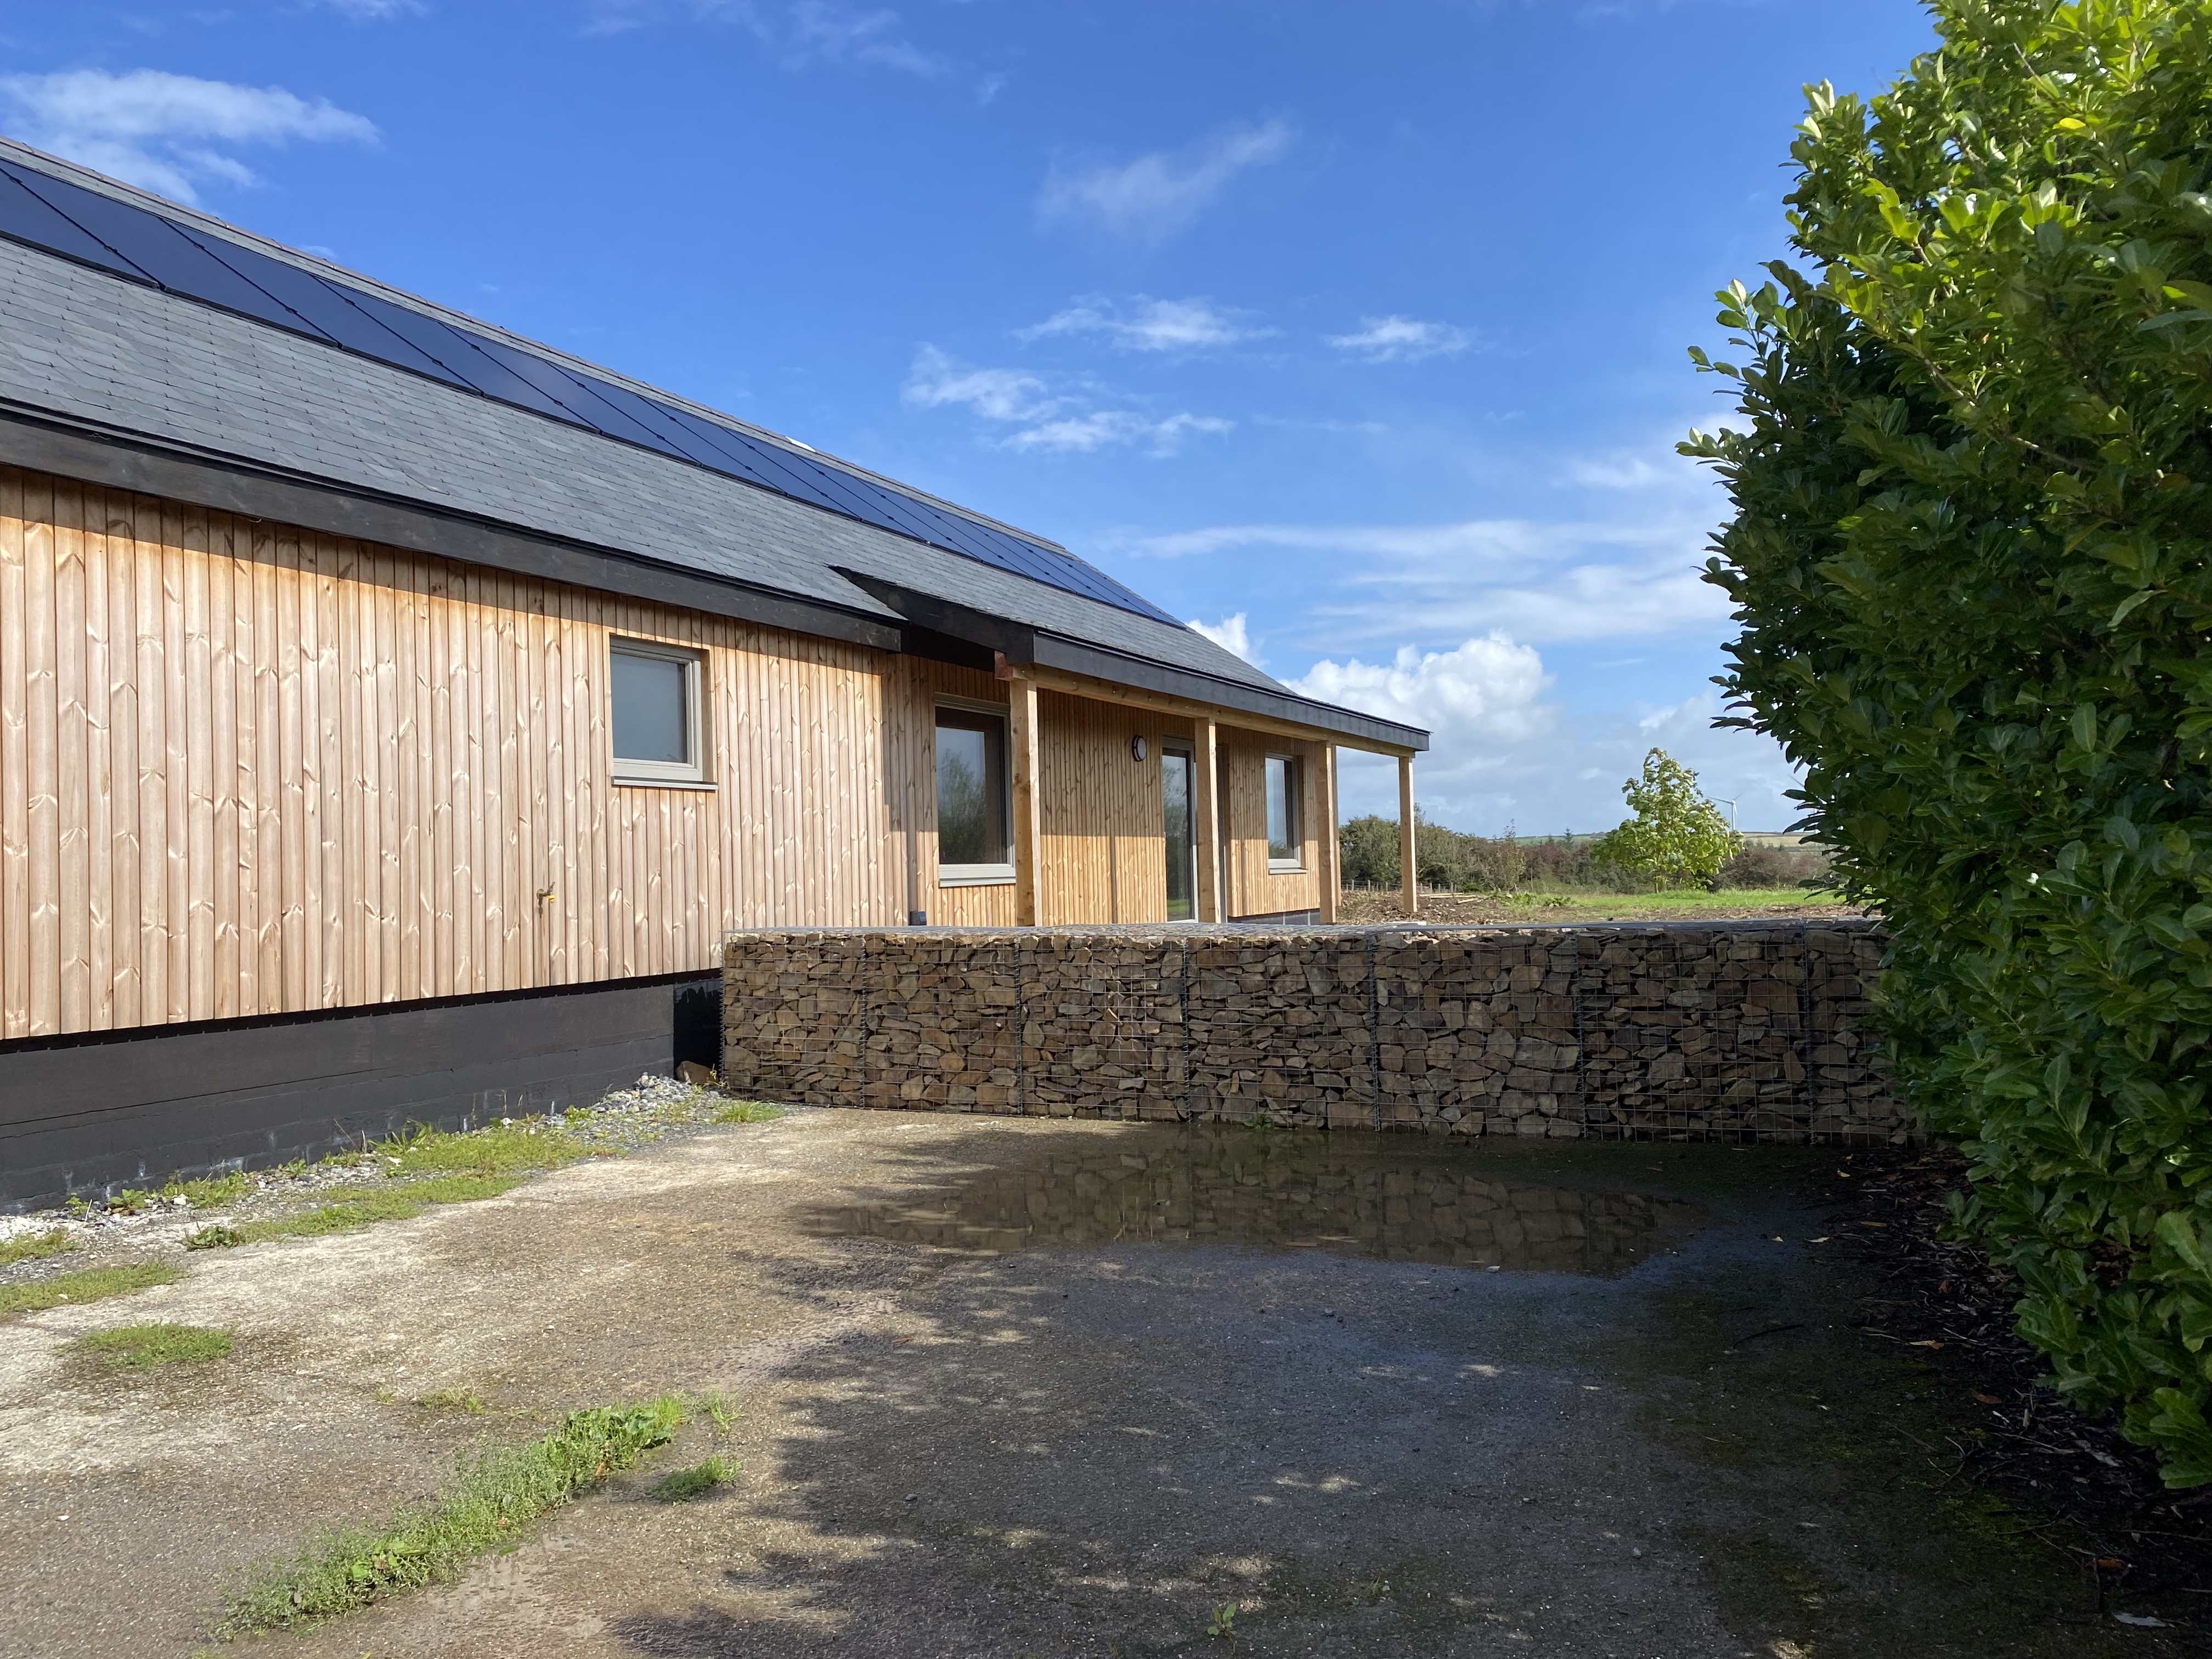
I also finally finished the Gabion wall, I used all our own stone and rubble. Most of the stone was from the initial groundworks that we had moved down to the lower field. This meant that I took the lawnmower and the garden mini dumper down there, climbed the piles and picked out the best stone and brought it back up to the house. When I was nearly completed and I knew the groundworks team would be returning for our drainage connection and soakaway I decided to wait for them to hopefully unearth some more nice stone. They did but I had to work fast to use it before it was back in the ground around the house getting the levels correct. There is still a lot of stone in spot on the lower field but for now I don’t want to build any more Gabion walls. Of the trades people we have had on site so far the groundwork’s have been the best and I would be happy to recommend them.
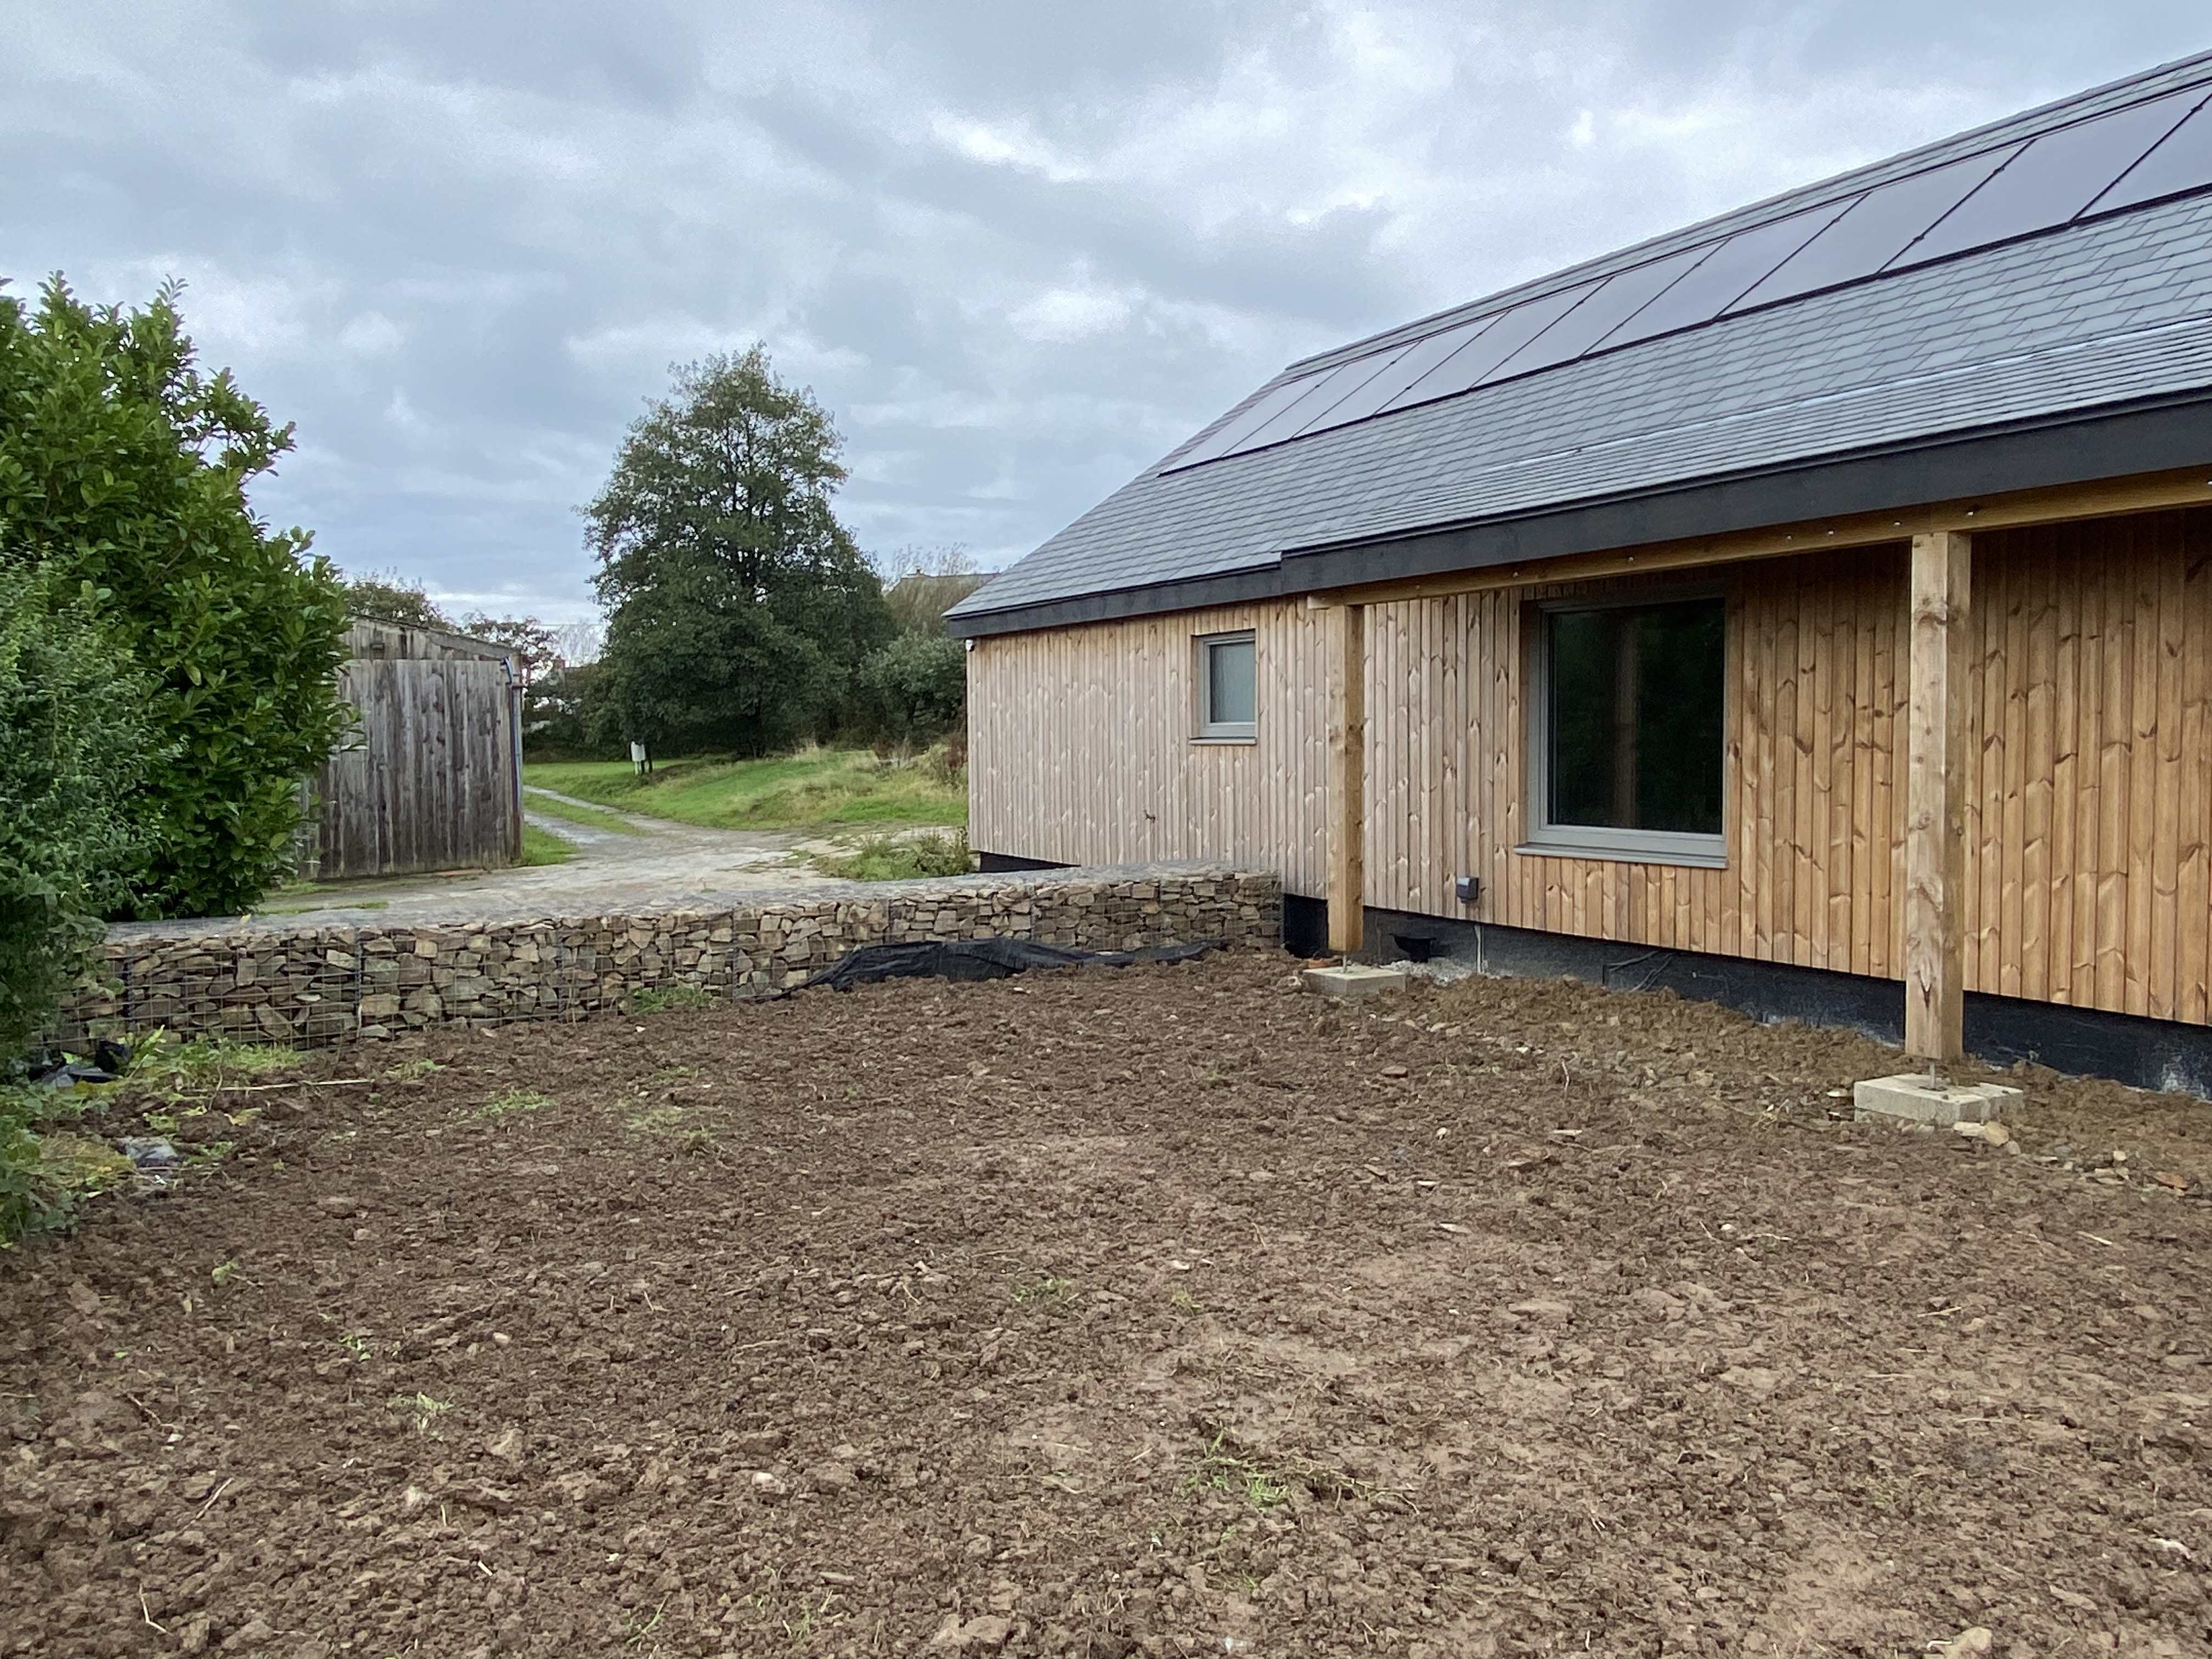
To the left of the photo is the old stables you can see how this wood is aged, hopefully our Thermo Pine will age similarly and blend in.
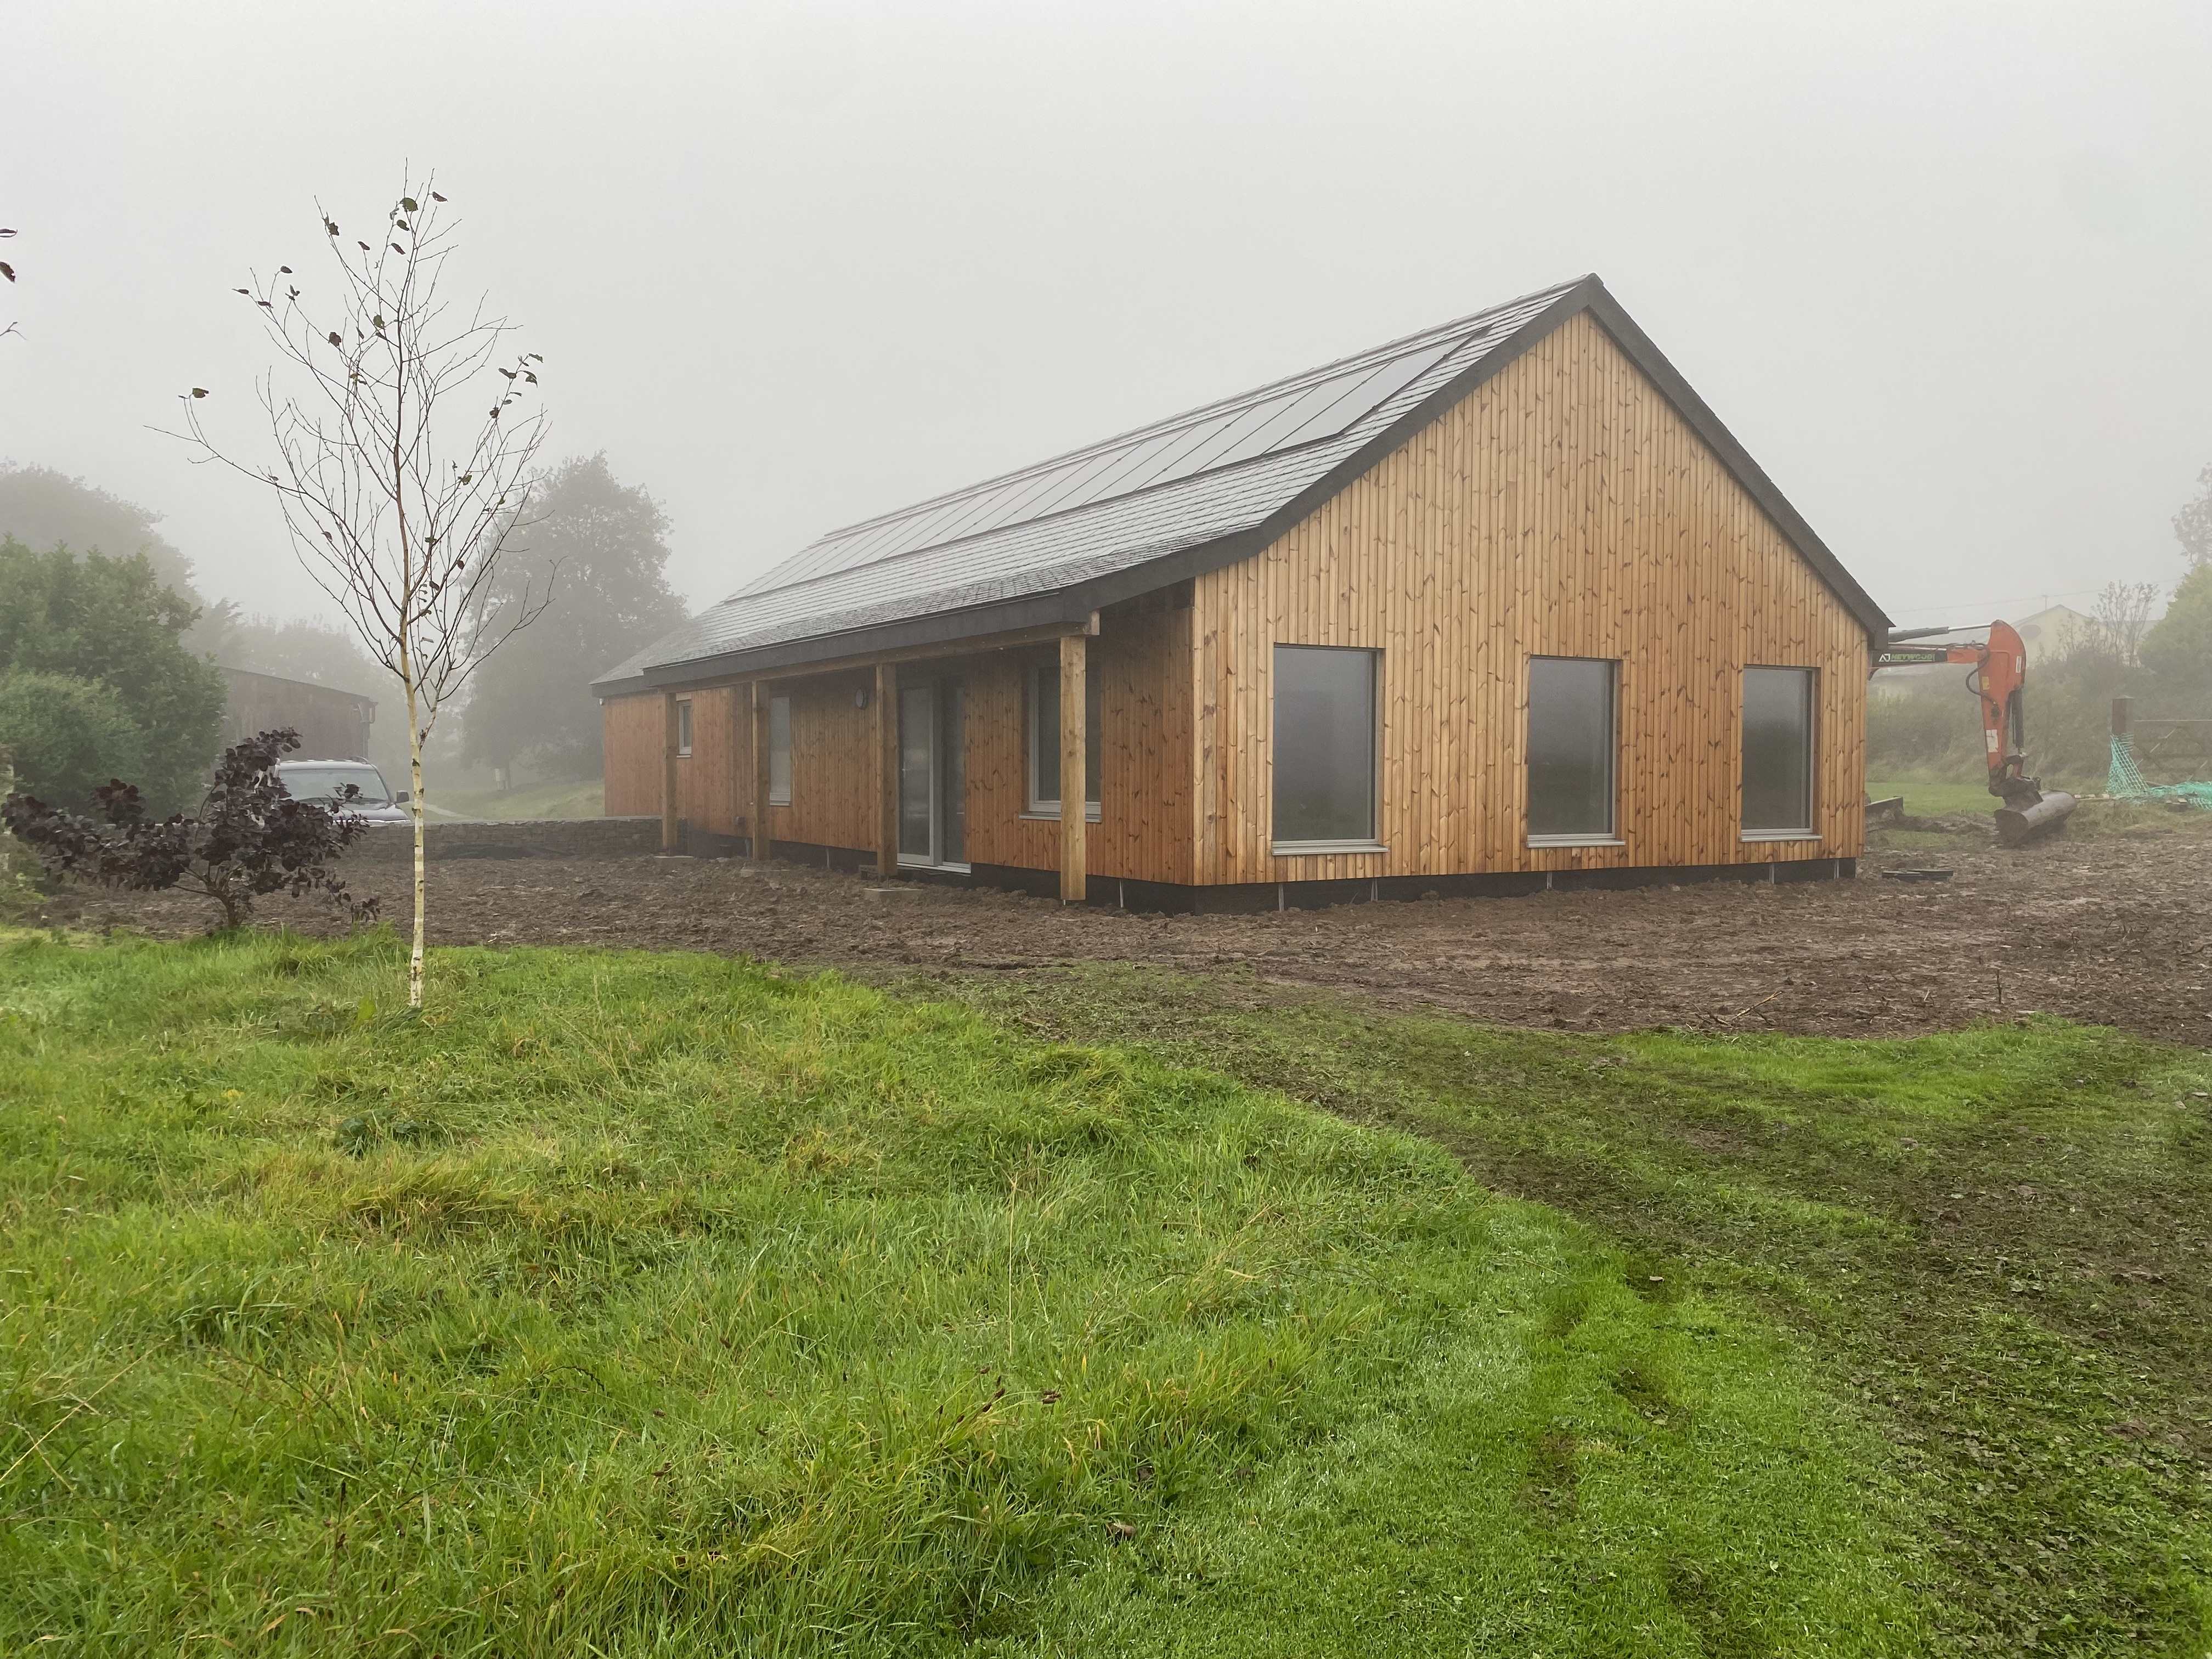
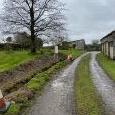
The photo above was taken just after the Groundwork's finished for the day, you can see the mist has blown in and the cladding looks different again when wet.
The following day and we can see how great a job the groundworkers have done, its hard to believe this is the same soil I have picked the stone for the Gabion walls from.
They sorted the soil with the digger and buried the bigger stones leaving quite good soil on the top.
They are returning next week with a bigger dumper truck to bring the soil back up from the lower field. They will then fill in the bit to the right of the photo and round the front.
Edited by Susie
-
 8
8
4 Comments
Recommended Comments
Create an account or sign in to comment
You need to be a member in order to leave a comment
Create an account
Sign up for a new account in our community. It's easy!
Register a new accountSign in
Already have an account? Sign in here.
Sign In Now