Condensation Alert!
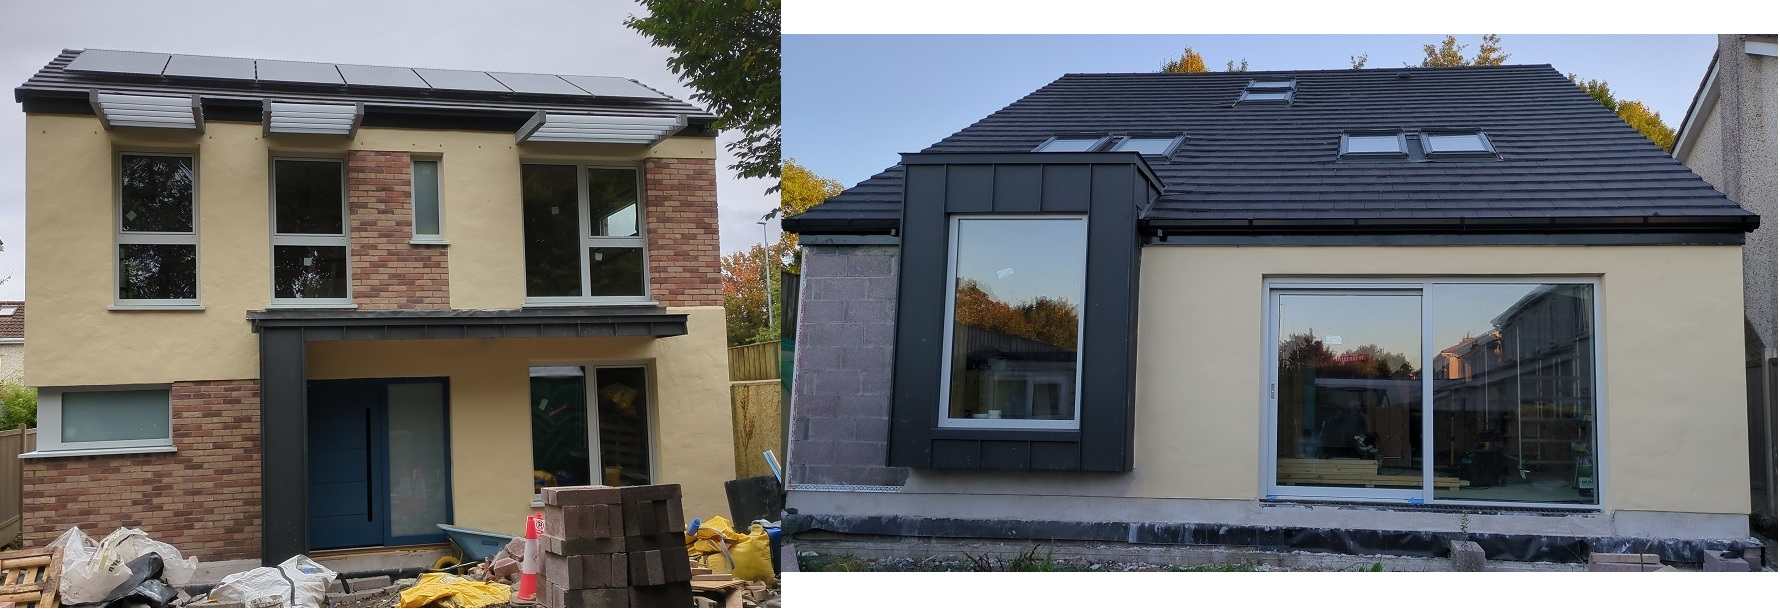
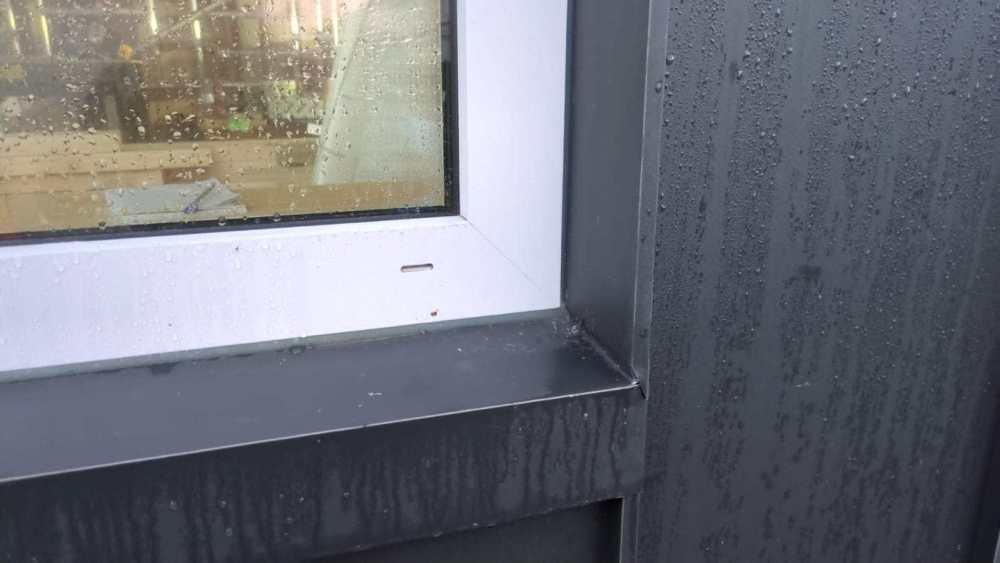
I've two last major areas to details for air tightness and insulation - this post relates to one of these - a single rear Oriel Window, an architectural feature that juts out from the rear of the building and is finished externally with a metal standing seam. The plan agreed was to create a 20mm lip of metal for the window to sit against. I was right about to commence work when I noticed dampness and beads of moisture and sure enough despite the window being surrounded by a later of insulation, because I didn't think through this detail on the inside, the 2mm metal is bringing in the cold outside and condensing - even though the inside is only 5-7 degrees or so! It's happening all 360 degrees around the window and dripping down to the bottom of the frame too. Obvious in retrospect why this is the case now and lucky I'm aware now due to the time of year so I can address it. I have other metal in the form of an I beam supporting the side of the porch cantilevered outside (80% inside, 20% outside) but this is dealt with by the timber frame company using a thermal farrat - the beam is in two parts and bolted together through the farrat reducing cold bridging immensely. I'm keeping a close eye on this internally during this cold spell to satisfy myself.
Anyway, if anyone is to blame for the detailing it's me, it just happened and I had considered angle grinding off the lip to get a better seal as the 2mm metal meanders a bit making it hard to pin against the window frame with rigid insulation or squeeze sealant / spray foam either side of the metal continuously. The window company didn't recommend the angle grinder as the lip provides a water barrier if the external sealant fails. The company I buy my gutex and air tightness products from were confident that covering the metal lip with insulation and using tape would prevent air circulation and address the issue. So, onto the fix:
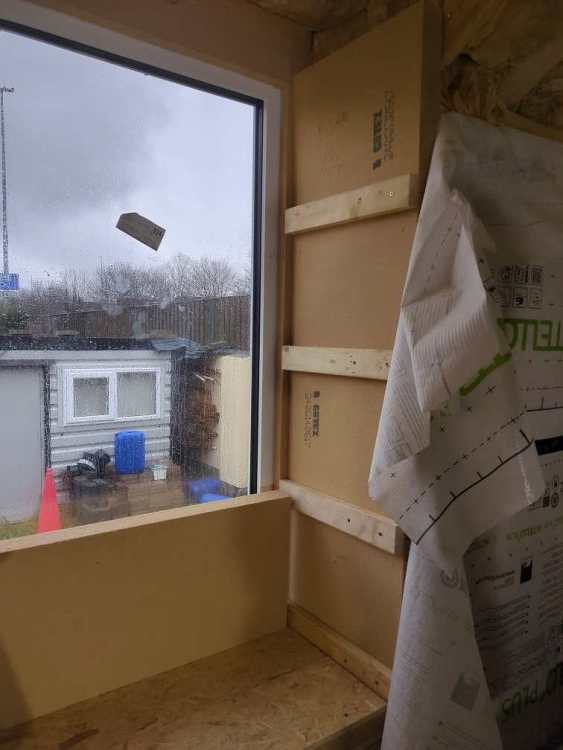
I'm working with Gutex for some areas of the build, a wood fibre board. Messy when cutting (accumulates inside my circular saw) but easy to work with. Not cheap but I'm trying to stick with breathable, natural products and gain experience in their use. I've used Multitherm which is a T&G product around the windows, this time I wanted to use Thermoroom which is a non flexible flat product (no T&G) that I could stack up around this opening. I plan to finish off with a fire rated (A/B) oak veneer rather than plasterboard so needed batons to attach to (main use for this ply is around the internal picture window separating the kitchen from the bedrooms, hence the fire rating but it will match nicely if use in this other area too. I'm going for an air tightness test soon so my current finish is intello plus only so I can inspect and pinpoint leaks.
I packed out the Moy Metac flexible insulation and then cut a few Thermoroom boards to size. The board is a lot smaller than the Multitherm so I cut them in half minus 20mm to get the width I wanted and they stack at 50cm heights on top of each other. Battons to secure although I'm finding it hard to get 150mm screws through the baton at times and then through the gutex to bite into the wood frame beneath. When I could get my weight behind it it helped but overhead was a nightmare. Ended up drilling 5mm holes as the top 50mm of the screw was unthreaded and I just wanted it to bite the wood 120mm away and clamp the baton, this worked fine but I've 180mm structural screws to use under the vaulted ceiling later! Drill was set to 15 but still rapped out a lot of time, any suggestions?! SDS with a clutch?! Needed to get a lot of speed up and push force to work.
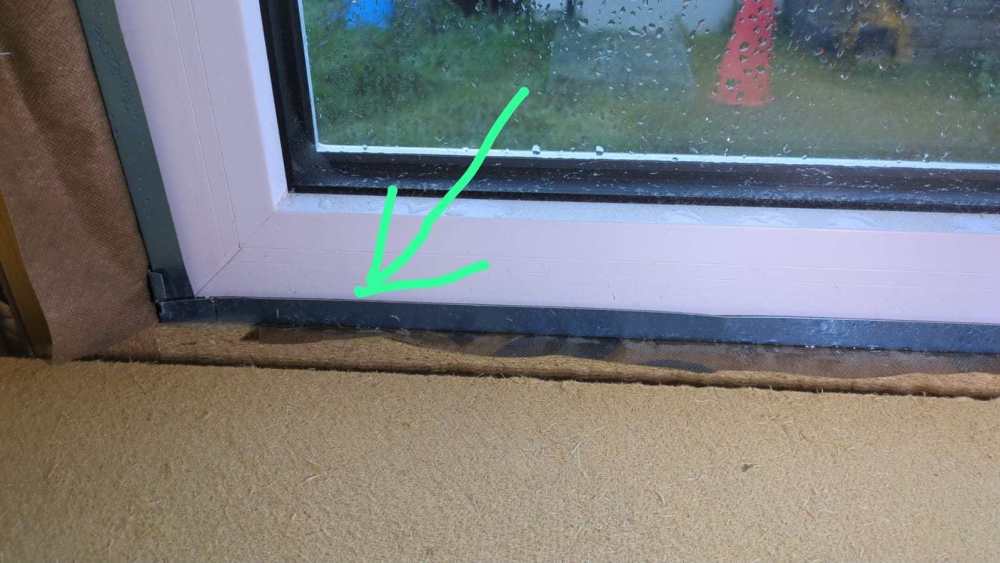
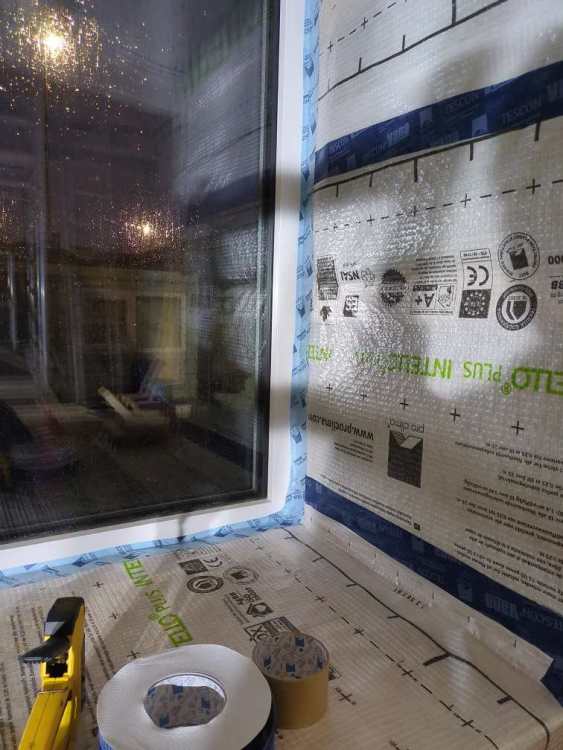
Once the batons were on I filled out the spaces with 50mm rockwool and stapled on the intello plus and tescon vana joined them. The lighter blue tape is tescon profil which has a separated backing allowing you to seal onto the intello first and hinge the tape 90 degrees before removing the 2nd backing to seal to the window. So all 4 sides are now done. I've 11mm OSB on the floor of the opening rather than batons, this sits on 60mm multitherm on top of 25mm bosig phonotherm, a structural insulation board I had spare offcuts for. As this will be sat/stood on a lot I wanted something more secure to sit the plywood on.
Now, it's just a case of monitoring and checking if any evidence of condensation still occurs, maybe peeling back the tape in one or two areas and quickly checking but I'm happy for now! Lots more to do. I've to figure out the 6 x Velux openings next and box out about 400mm of splayed / insulated / air tight spaces and close off the last part of the roof. More tower work for me so!!
-
 4
4

0 Comments
Recommended Comments
There are no comments to display.
Create an account or sign in to comment
You need to be a member in order to leave a comment
Create an account
Sign up for a new account in our community. It's easy!
Register a new accountSign in
Already have an account? Sign in here.
Sign In Now