
Brick, Blocks and Mortar!

Entry posted by mike2016 in brick, block, mortar
2223 views
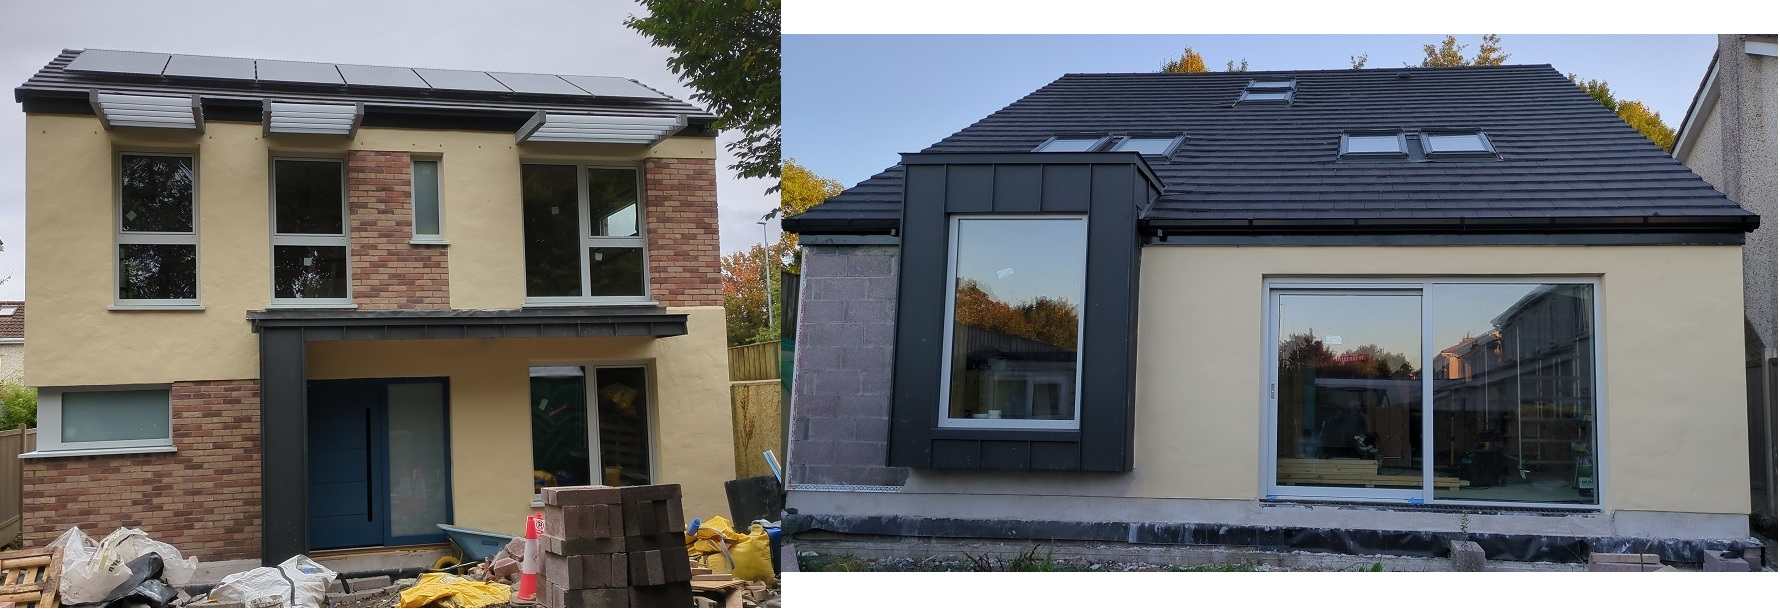
Just an update - had the last two weeks off. Ran a bit low on energy for first week and took a few days off from the build to step back and recharge. The bricklayers arrived onsite and I was able to collaborate with them and address any issues or questions they had as they started off. We're currently about 3 days from finishing - half way up to the 1st floor and it's giving me a massive appreciation for the hard graft/work bricklayers face every day. There are two of them and their labourer quit on the 1st day of my build. Apart from another young lad coming onsite for a day this week to give a hand they have been working between them to convey all the materials, mortar etc and mix the cement themselves without complaint (to me anyway!).
I was facing a crunch a week ago - couldn't get a bumpa conveyor in time for the 1st floor and needed a driver to cover the insurance risk - we got a brilliant young lad who pitched in rather than sitting in the cab all day. Really made a difference, plan to get him an Amazon voucher as I wasn't onsite myself to reward him! The whole side of the house that's got a band of brick was finished a day ahead of schedule as a result!. Only hired for a day and it wasn't cheap but they lifted all their bricks/blocks up to the two scaffolding levels above ground and are set from that point of view.
The cheap plastic bucket I bought them failed and they need to carry a lot of mortar up in the last few days, am looking out for a sturdy replacement if anyone has a recommendation?
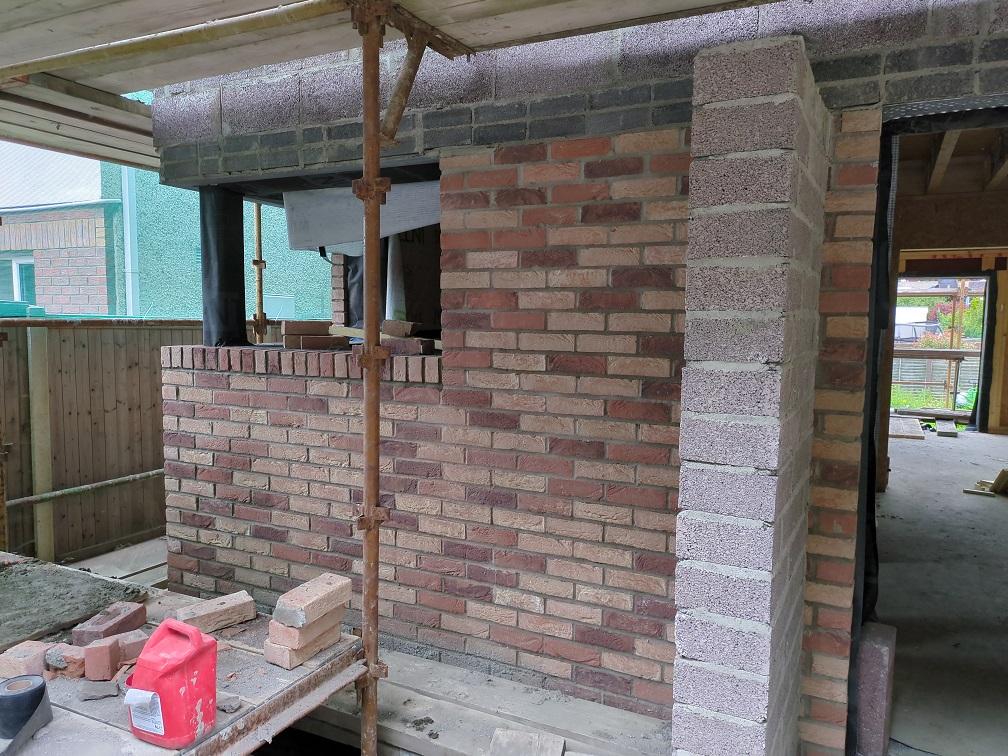
The Azaela Brick design is made up of 3 colours - got 4 pallets, probably 1 too many and they took bricks out of 3 of those to mix them up as each batch can be slightly different and this masks any variations. Will use the last pallet on the garden wall down the road.....
I've been ferrying in water in 30 litre jerry cans, they use about 90 litres per day and around 6 x 25kg bags of cement. Bought more today to ensure they have enough to finish and top up the water regularly.
Next up is measuring the soffit/fascia - 2-3 weeks to manufacture (metal) and although I intended to render the blockwork myself, due to my energy levels sagging last week, I'm getting a quote for a professional to see what that looks like. I can focus on the inside. Windows and Doors due Week 28, or mid July to the rest of the world!
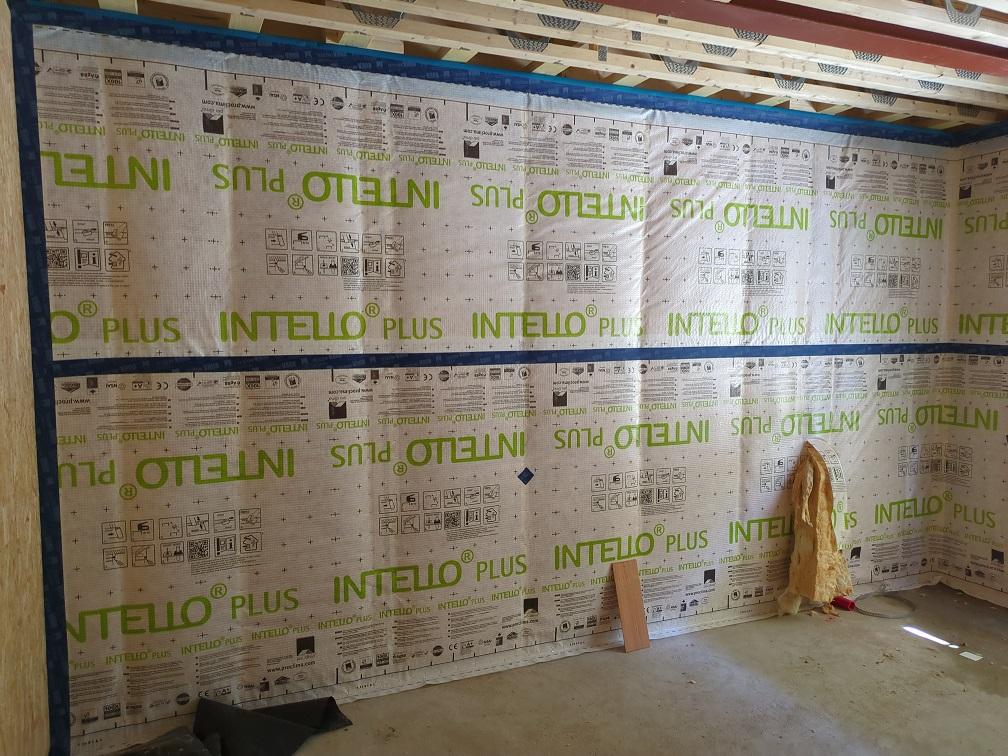
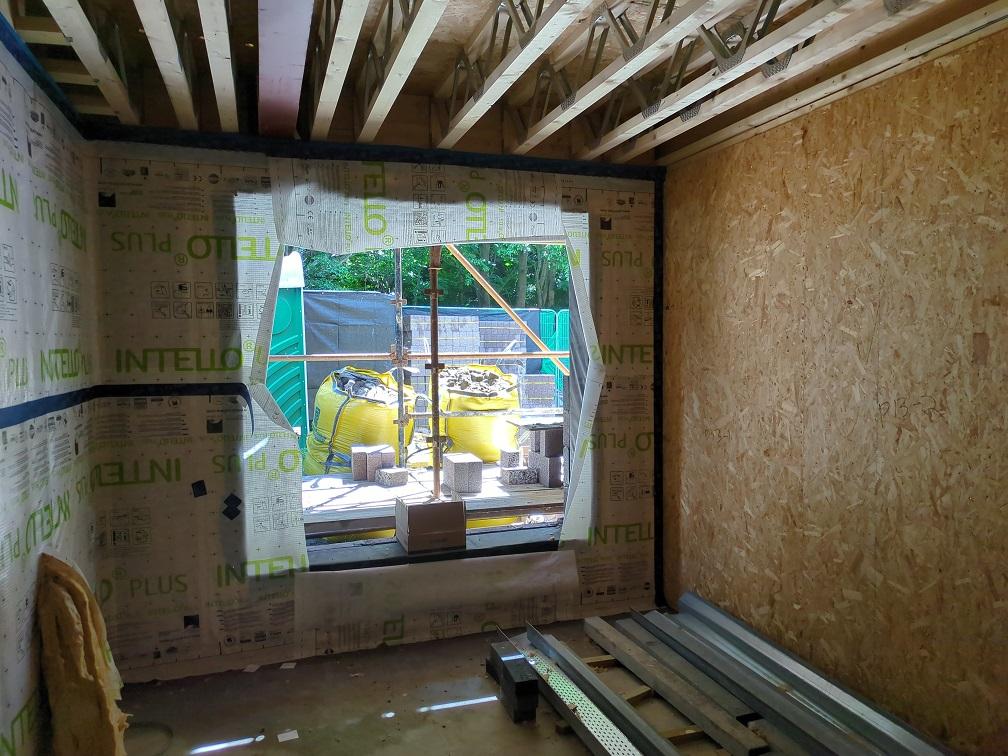
Internal Insulation and Air Tightness started - new skills! Have to keep ahead of the bricklayers though, turn your back and they are up a level and I don't recommend dropping anything down a 50mm cavity!!! It's very hard to retrieve! Penetrations like Electricity Meter Boxes are best prep'd in advance when you have full inside and outside access. Similarly my window preparations for the last window they reached weren't there and I almost lost the chance to finish it in time!
I'm doing 25mm Bosig Phonotherm under the window and 40mm Gutex around the sides and top. The window is brought out to close the cavity (almost) by 47mm with this insulation in situ. There are batons to meet the window straps and the bricklayers come past this by 20mm if brick or match it if block (render will foll the reveal 15mm). That's the best I could come up with from the Architects drawings and some onsite photos they shared with me. It should help the windows perform well, we'll see. I'll close the cavity with a fire rated foam.
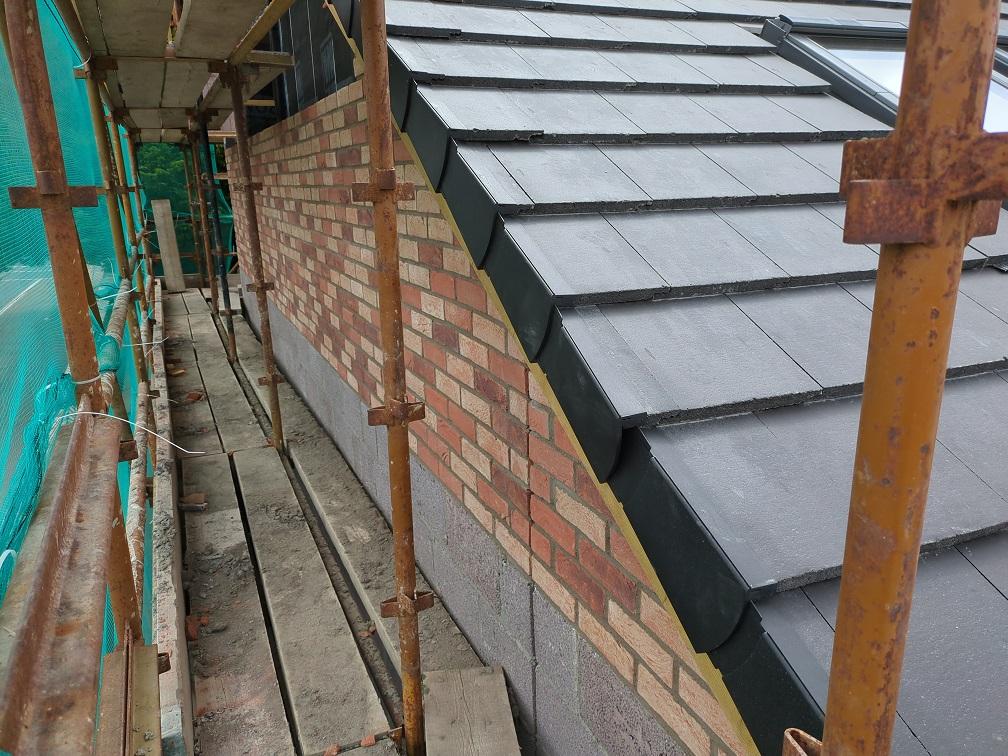
I did have a worry over the DPM over the side window and when onsite yesterday this confirmed my fears. It has fallen down into the cavity leaving the window exposed below should the render fail. This corner faces 80% of the prevailing weather and is exposed as my new house sits proud of the existing one. I texted the bricklayer as they are onsite a lot earlier than me and when I turned up they had installed another DPM and this one was 100%. I marked three levels where I need to install weep vents (drill vents) on this window in my case but am much happier with the extra detailing and it was worth pointing out.
The bricklayer came up with the idea of not using brick slips just below the window - although most of it would be covered by a aluminium cill, he suggested cutting bricks in half and facing them outwards. Less likely to move / get loose over time. He mocked it up and I approved, looks well don't you think?!
The only upset was 4 stitches in my head from a scaffolding pole I rammed into just at the start of my holiday, I'll save you any pics, last thing you need to see on a Friday I'm sure!!

-
 1
1
0 Comments
Recommended Comments
There are no comments to display.
Create an account or sign in to comment
You need to be a member in order to leave a comment
Create an account
Sign up for a new account in our community. It's easy!
Register a new accountSign in
Already have an account? Sign in here.
Sign In Now