Jer70
-
Posts
10 -
Joined
-
Last visited
Jer70's Achievements
Member (3/5)
2
Reputation
-
Thanks again everyone for all the advice. I managed, after a bit of fiddling and swearing, to fix a piece of board in the gap and then glue a shaped piece of plasterboard onto it. Have to say I was very proud of myself for that! I’ve spent the last few days layering on filler and waiting to make sure it was dry. Just need to sand and paint now. Thanks again
-
Wow, that finish is amazing. I’ve watched a few of his videos, he explains everything really well. I’ll make a note of the Forever white. Thanks for the info.
-
Thank you for the detailed reply and picture, very helpful. This all started with me tidying up the shower by replacing mouldy sealant but, of course, once you start these things you notice how untidy other areas are. Each end where the shower meets the wall looked really rough so I thought I’d neaten them up a bit and, well, once I started ....what was supposed to be a quick spruce up is turning into a bit of a project.
-
This makes sense, I hadn’t thought about putting the batten at an angle and couldn’t work out how to fix the bottom but this should fix that problem. Thank you for your help.
-
Thank you. Think I’ll just leave the trim for now as our bathroom cabinet should cover that. I can’t see it from the shower so I’ll eventually be able to forget it’s there!
-
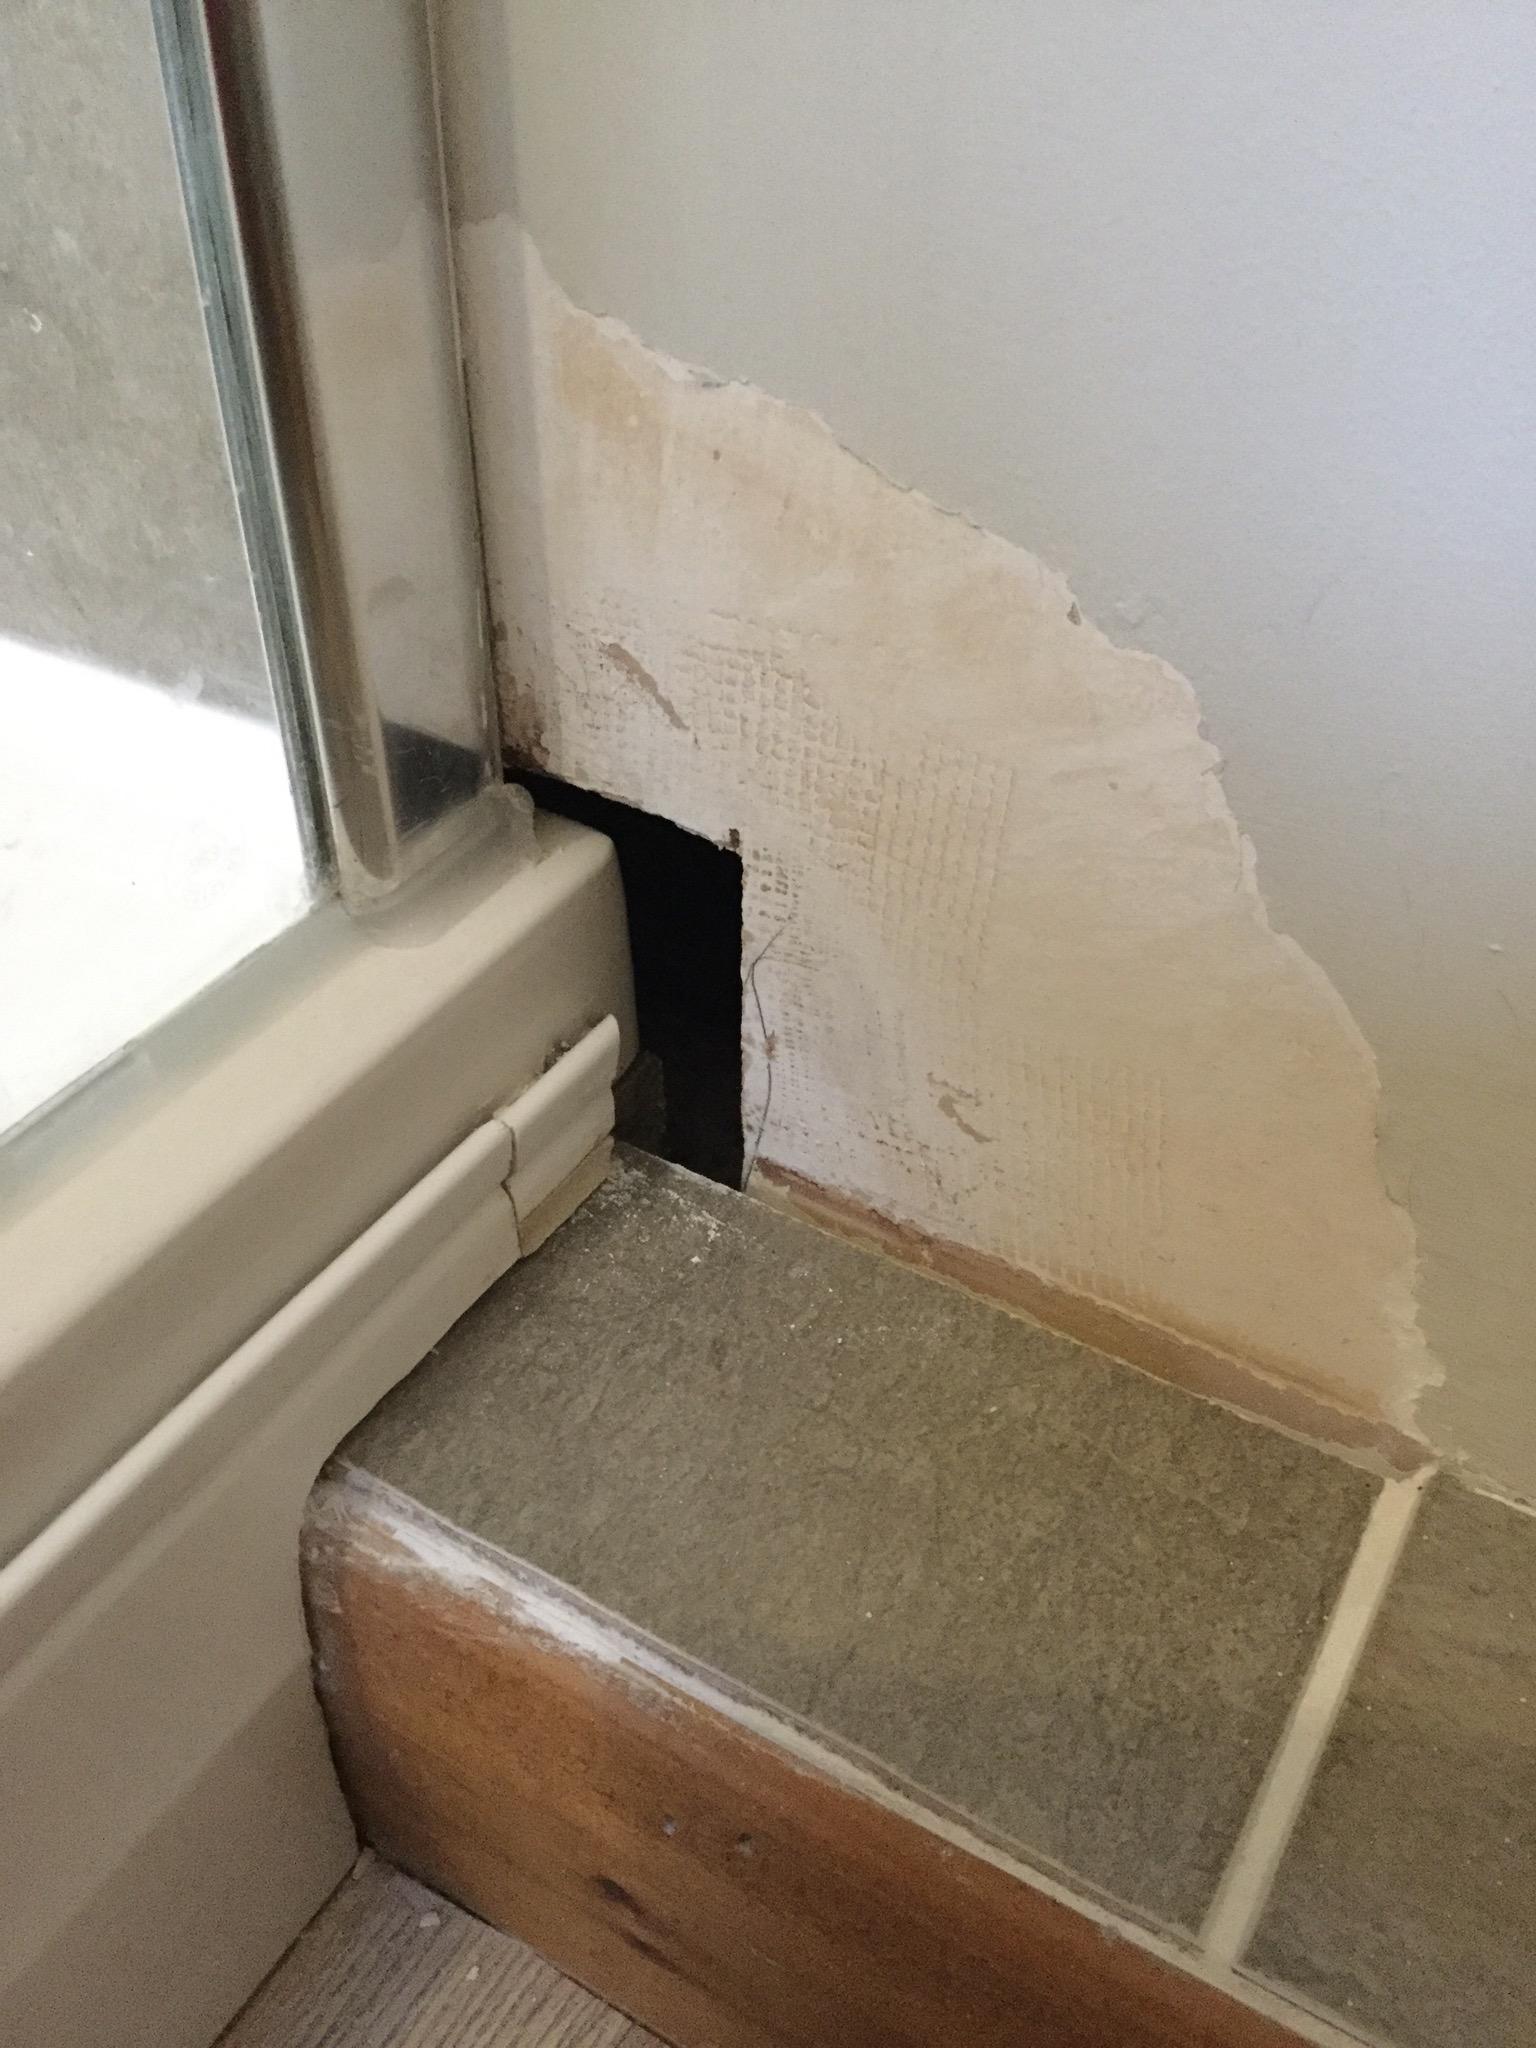
Please can someone advise how best to fill the gap/hole between my shower and wall? I have very little diy experience so don’t want to start ripping things out. As you can see from the picture below, the previous owners have done a bit of a bodge job and the hole was badly filled using mesh tape and a lot of uneven plaster which I’ve now removed. I have watched videos where plasterboard is glued behind and then plastered over but I don’t know how I can actually get a large enough piece in the hole as it needs to sit behind the shower tray.i don’t think I’m explaining this well but hope you can see from the photo. is there another easier way of filling that gap? Also, any ideas how I can deal with the dodgy inch or so of plastic trim that looks so bad? Any advice greatly appreciated.

-
Help to find clear glazing packers, please
Jer70 replied to Jer70's topic in Bathrooms, Ensuites & Wetrooms
Thank you, I’ll see how it goes. -
Help to find clear glazing packers, please
Jer70 replied to Jer70's topic in Bathrooms, Ensuites & Wetrooms
Thanks for replying. The glass panels are already in (about 10 yrs old) so Im literally just replacing the silicon at the bottom so wouldn’t be able to allow it to dry before sitting the glass on. Can I just silicon the glass as it is? -
Help to find clear glazing packers, please
Jer70 replied to Jer70's topic in Bathrooms, Ensuites & Wetrooms
Thank you so much for such a quick response. Can I ask how many you would use and spacing? Also, do you cut them into shorter lengths? The existing ones are only around 15mm. one other question, my glass is 5mm and these are 6mm is that ok and do I just silicon over the protrusion? Many thanks -
I’m not sure if i’m in the right forum but stumbled across this site whilst searching for info on re-siliconing my walk-in shower screen. I’m a total diy novice (sorry!) so these could be silly questions and, if so, please can you direct me to other diy forums that may be more suitable? My question: where can I buy (in small quantities) transparent/clear glazing packers? I think that’s what they’re called anyway. Basically, whilst removing the old sealant I found 2 small hard pieces of plastic under the glass and this is what I need to replace. Or do I? Whilst searching, I’ve read instructions on sealing showers and they don’t mention these “packers” and some just say silicone alone is enough. I’ve searched for the clear packers for hours and can only find coloured ones so am now at the point of considering just going with the silicon but am worried this might be unsafe?? Hoping someone may be able to help.