OscarWilliams
Members-
Posts
24 -
Joined
-
Last visited
Everything posted by OscarWilliams
-
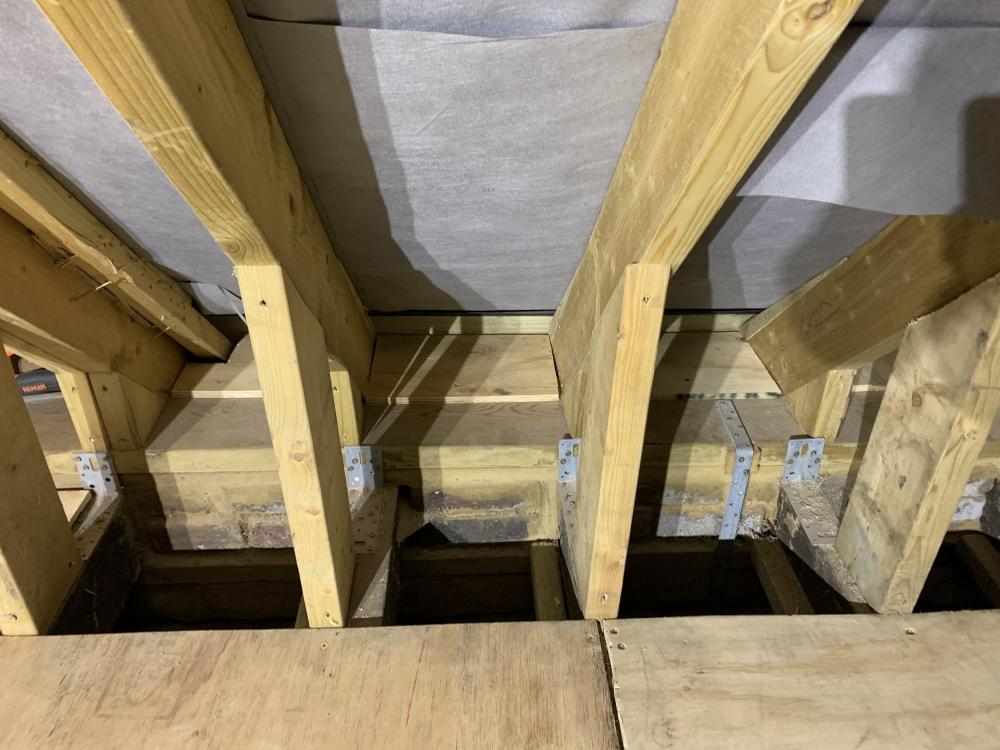
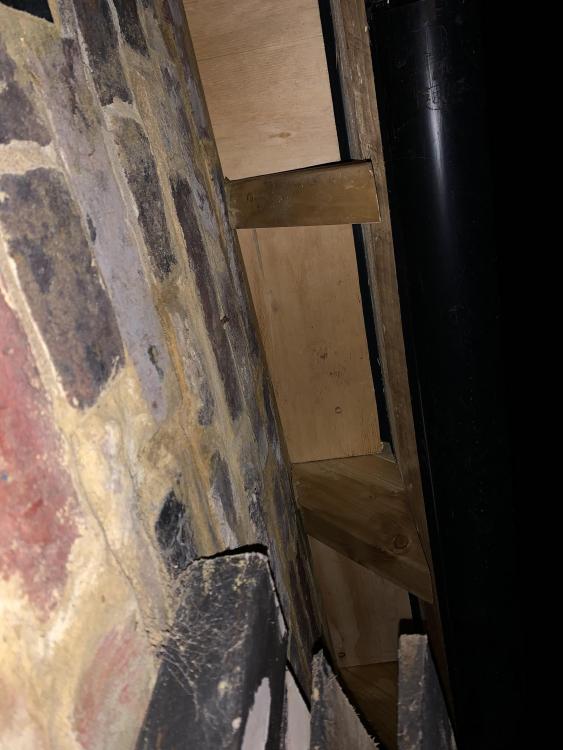
I’ve put some ply boards down between the rafters to fill the eaves space and left about an inch gap for airflow - I will then cover this gap with insect mesh (sealed and stapled). The building in question is a 200 year old barn that’s recently received a new roof - I’m not interested in contemporary ventilation systems - plastic vents etc. Its unconventional but I’m confident the concept is sufficient (and nicely uses left over ply)...question is how bigger gap should I leave? The more airflow the better but the less heat efficient. A 1 inch gap at 14 inches long is the equivalent to there being a square hole 3.75” x 3.75” for each rafter (14 sq inches). My guts telling my it’s fine but I’m tempted to make the gap 1/2” bigger! Thoughts on this? Any formulas to work this out? Thanks in advance, Oscar
-
Tile hung gable end - window detail advice
OscarWilliams posted a topic in Roofing, Tiling & Slating
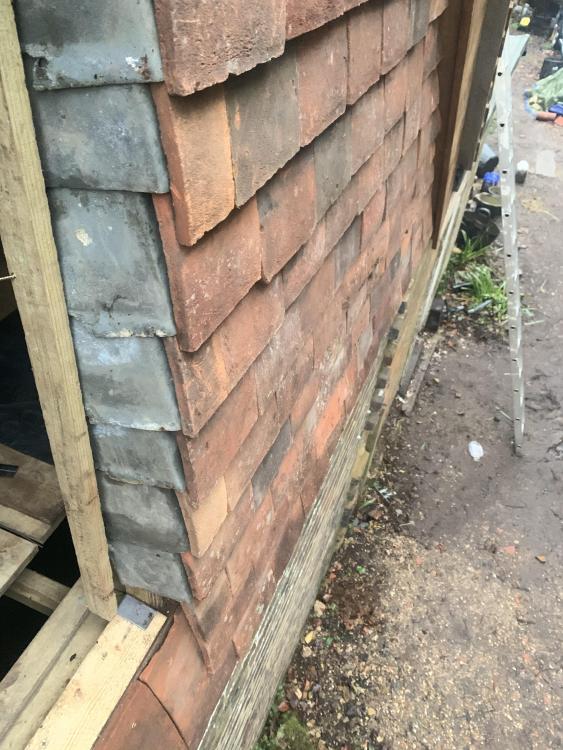
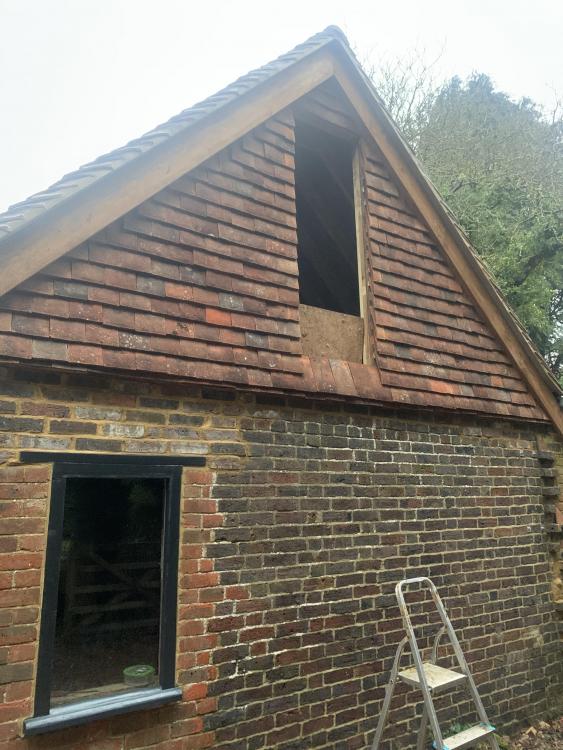
After some advice for a personal project, gable end is tile hung, in hindsight I probably should have put some cement board behind the battons as they cut into the window so the muck has a good surface to key to...I didn't, so If I do decide to muck the around the window It will be straight onto membrane / battons - is this likely to be an issue? Also thinking about the mortar cracking as the timbers dry out etc. Maybe i'm overthinking it. Option number two is to use soakers (I'll buy some new ones and paint them or i'll make a wood fascia to cover them). Although it's not as traditional it's probably more effective. Pros / cons of each / words of wisdom appreciated, Cheers Oscar -
18,000 tiles? Sounds like rather a lot...60 tiles per sq metere laid at a 4 - 4.5 inch gauge (a tighter gauge with a shallower pitch). The manufacturer should specify the weight of the tiles, with that its possible to work how much weight is roughly exerted through each rafter (or truss) and per meter of wall plate depending on your desired measurement. I would have thought its only worth worrying about the weight of the tiles your buying if you had a shallow pitch and no truss.
-
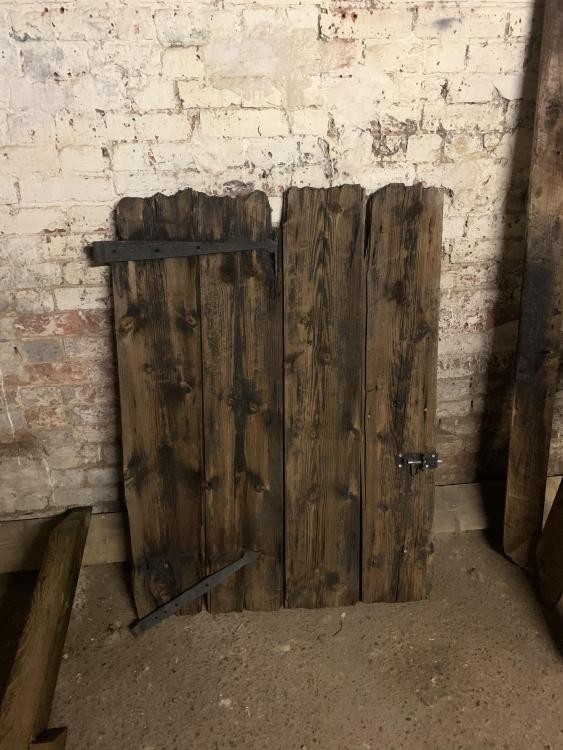
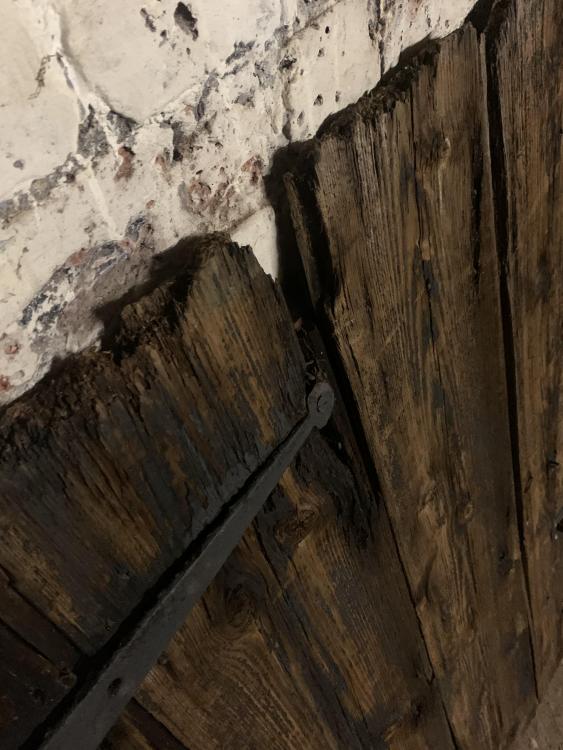
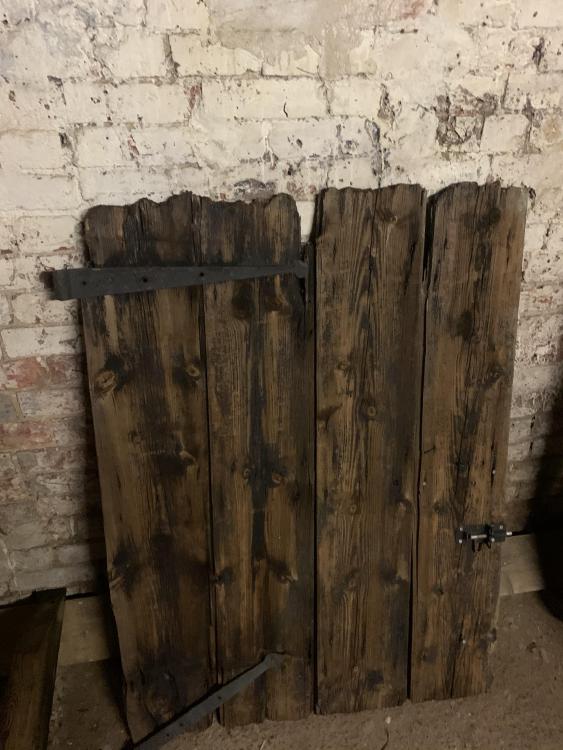
The door is approx 150 years old and comes from a barn I am renovating. Its been stored inside since summer and has become a little brittle as its dried out. I'd like to preserve it and put it back in its original place to continue the history of the building (although now just as a fascia not a functioning door) - I don't mind that it looks tatty as the rest of the building is now looking much sharper and has a some modern features (double glazed panels etc) to offset the rustic look. If I can get 5-10 years out of it before it falls to pieces I'll be happy. What wheather proofing treatment would people reccomend that won't drastically change it's current colour, or damage the wood? I'm thinking...wet rot hardener https://www.screwfix.com/p/ronseal-wet-rot-wood-hardener-clear-500ml/63540#product_additional_details_container and then just clear danish oil?
-
Thank you, I've bought some...keen to see if it helps
-
Attached...soil at the base of the wall gets cleared once yearly. Always lots of standing water on the road autumn to spring - gets flung at the wall by every car that passes.
-
I live in an old house which part of backs onto a busy main road, there is no pavement - it is literally a road and then one of my walls. Its bare brick with lime joints, the road has become busier over the last ten years and the condition of the brickwork and dampness has become worse and worse. So far I've been against putting a membrane on the wall as it will be hard to get a good seal and water getting behind it may make it worse (I could be wrong). I Was thinking maybe some black Proplex sheets sealed the edges. Any ideas? Any work I do on it will have to be at 6am on a sunday morning to avoid being hit by traffic so any solutions can't take too long to complete. Many thanks
-
Peg tiles - finding a suitable peg nail
OscarWilliams replied to OscarWilliams's topic in Roofing, Tiling & Slating
Anyone ever successfully used peg tiles with a 19mm batten and underlay combination? -
Peg tiles - finding a suitable peg nail
OscarWilliams replied to OscarWilliams's topic in Roofing, Tiling & Slating
Solid to walk on...with a good pitch you are putting the majority of the load through the thicker 38mm side (19mm x 38mm ). More frustrated that a 19mm batten more or less prevents the use of peg tiles and underlay... -
Peg tiles - finding a suitable peg nail
OscarWilliams replied to OscarWilliams's topic in Roofing, Tiling & Slating
Not the craziest, my dad had the same idea actually. My worry is that there is some variation in the peg hole size, the sleeve would stay in some but fall out of others so would have to use sealent on the ones which didn't, at which point I wonder its worth it for 1500 tiles. Still something I might consider though... -
Peg tiles - finding a suitable peg nail
OscarWilliams replied to OscarWilliams's topic in Roofing, Tiling & Slating
Battens are the same thickness as the ones that came off the roof (they'd lasted over 150 years)...bit late now I have the roof fully felted and partially tiled. The rows of tiles Ive nailed in have good purchase, however I agree 25mm batten would be superior. Strange its still sold...probably just for penny pinchers like myself. -
Peg tiles - finding a suitable peg nail
OscarWilliams replied to OscarWilliams's topic in Roofing, Tiling & Slating
I agree 25mm battens would have probably made all the difference. Perhaps thats a general rule then...when using peg tiles dont use a 19mm batten. Maybe the 30mm nails ive got are intented for nailing slates. -
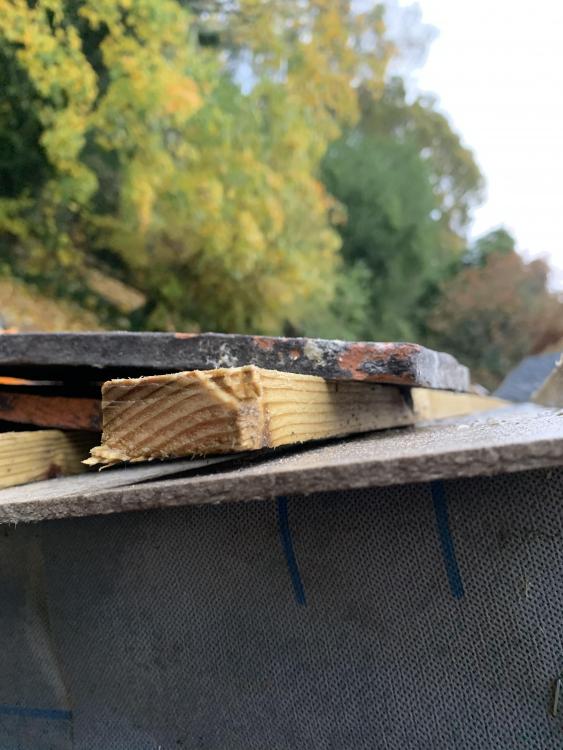
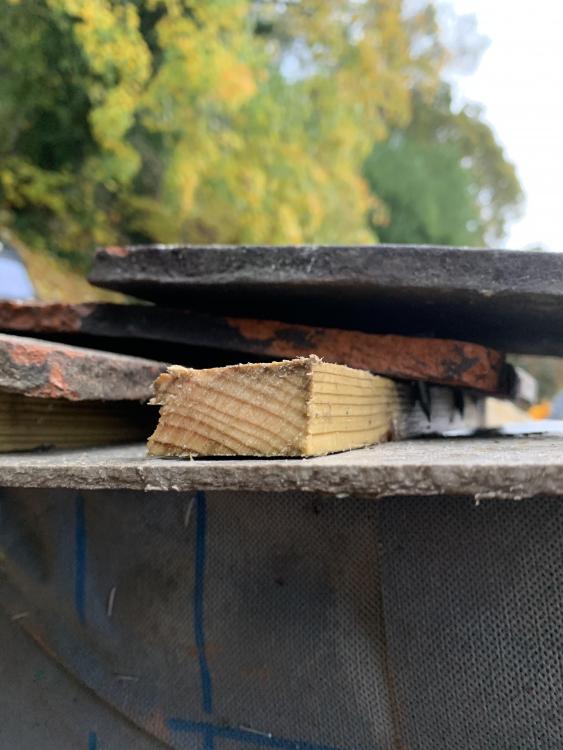
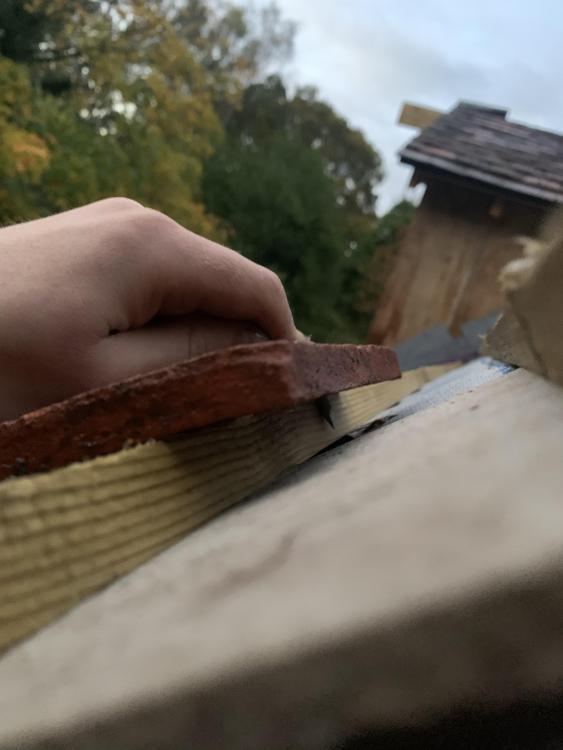
Finally starting to get some tiles up on the roof. Im using all nibbed one side of the roof (blended) and all pegged the other side (blended). The only reason for using peg tiles is that I have 1500 of them already so it seems a shame not to use them, especially as they are quite pretty Victorian tiles. I bought a bag of 4.5mm x 30mm peg nails and they seem a bit crap - not enough contact with the batten to firmly lock the tile, mainly due to the fact the peg hole in the tile is a fair bit larger than the nail and this makes the angle of the nail so that it wants to slip off the batten. There are 7mm x 40mm peg nails available online but these will pierce the felt with 19mm batten, I really need a 7mmx35mm peg nail but this obviously doesn’t exist. Originally the roof had 7mm x 50mm pegs (actually 1/4” x 2”) but there was no membrane to worry about. If it’s a case if having to nail every row I’d rather get rid of them and go all nibbed. .....Or maybe I’m being too paranoid and they’re fine as are once there’s some weight on top of them from the tiles above? Any advice much appreciated, Cheers , Oscar
-
Thanks Peter, I hadn’t really considered at all how much weight I’ll be adding mucking in the verge. Regarding the wall, it will be built from timber to frame a window and then boarded and ship lapped. Also just crossed my mind I’ll be using a 6x1 gravel board as a barge board (it’s an old barn) so that will take up an inch and reduce the overhang to 2” ... grateful I cut the battens for a 3” overhang and not any shorter !! Cheers, Oscar
-
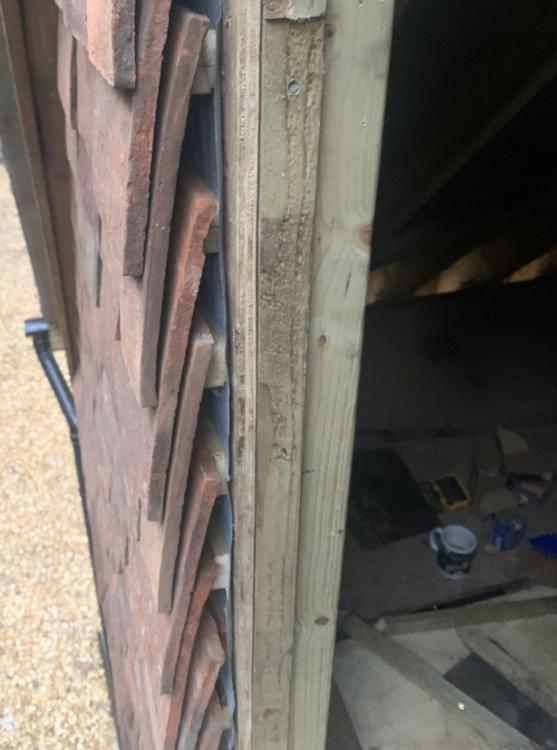
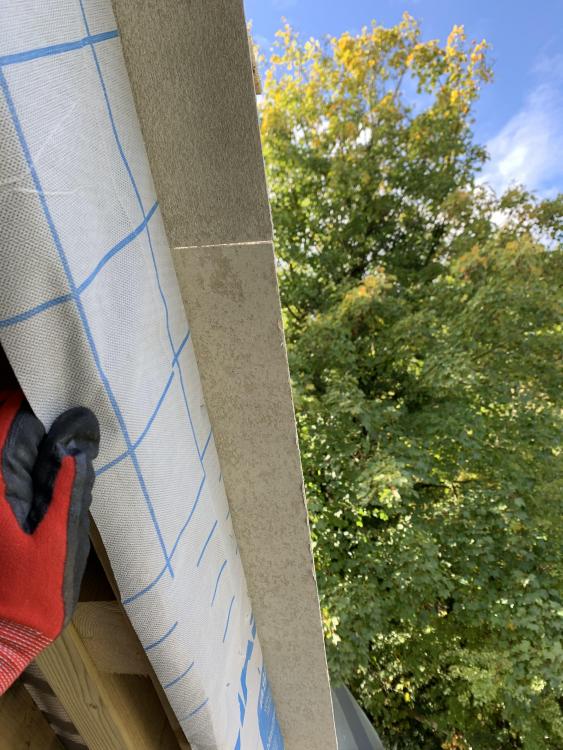
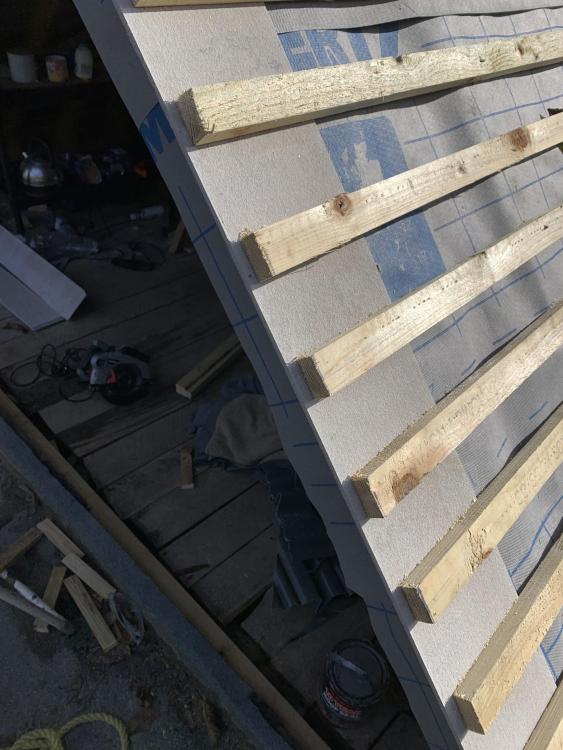
Wondered if there was any reason I shouldn't push undercloak board to a 3" overhang? Manufacturer recomends 50mm...with a nail through the end of the batten its solid as anything - battens trimmed at 2.5" out from end rafters rafter and undercloak set to 3" currently. See pictures for reference. Many thanks in advance, Oscar ...Also, on a side note will be approx 2-3 weeks before I take delivery of tiles, does the undercloak fair well in the rain - I know the underside has a whetherproof coating but the rougher topside I'm not so sure about.
-
We tried putting the end of the valley timber at the begining of the doormer wall plate (where it should be) but this then kicks the jack rafters up because the two angles are different. The intersection point (where the doormer and main roof battens converge) between the two angles is constant and only occurs where they are currently...hence I don't think it can be solved without re pitching the doormer. Starting to think a grp valley is the only way forward...!
-
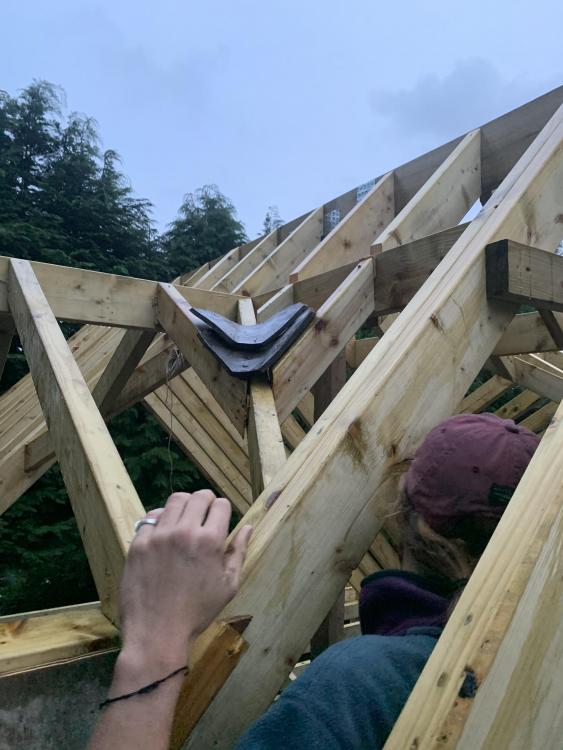
First time pitching a roof and mistakenly made the doormer (32 deg pitch) a different pitch to the main roof (46 deg pitch) in order to increase headroom, the result of this the two pitches / slopes dont intersect at 45 deg, creating a valley which is slightly L shaped rather than v shaped, which in turn means I cant get my valley tiles to sit properly. Is there a standard solution to this problem?...perhaps use a dry valley with lead work at the bottom to direct flow onto main roof? Have tried putting the valley timber at 45 but this means the jack rafters are suddenly the wrong pitch. Changing the pitch of the doormer is not an option at this stage... Any advice appreciated, Cheers Oscar
-
Old stable block conversion - roof design
OscarWilliams replied to OscarWilliams's topic in Roofing, Tiling & Slating
Work space during the week, perhaps spend the odd night in there...I'm careful what I say, the canvas is blank at the moment. Fact of the matter is the old roof had collpased and we're putting a new one on...nobody else needs to know anymore. Perhaps naive of me to think that way but it's the only way the project will get done...my brother and I are both in our early 20's and using our own funds for the project, bottomline budget is 7k. -
Old stable block conversion - roof design
OscarWilliams replied to OscarWilliams's topic in Roofing, Tiling & Slating
There is an interior wall running laterally through the middle of the building with a joist running along the top of it - I could put a vertical support (4x5) running from the joist to the ridge board so that is supported in the middle (would have approx 4m ridgeboard either side), if I used 8x2 for the ridge board it should be fairly structual if only supporting 4m either side, hopefully removing the need for a steel or flitch beam? Thank you for all the feedback btw... -
Old stable block conversion - roof design
OscarWilliams replied to OscarWilliams's topic in Roofing, Tiling & Slating
No, as all within permitted development. Even if it wasn't, the building is very much off the radar; only visible to dog walkers, covered by trees in ariel photos etc...not that I am planning on taking any real liberties. -
Old stable block conversion - roof design
OscarWilliams replied to OscarWilliams's topic in Roofing, Tiling & Slating
-
Old stable block conversion - roof design
OscarWilliams replied to OscarWilliams's topic in Roofing, Tiling & Slating
Do you think with the wall plate fixed to the joists and also a stud wall on the inside tied from the rafter to the joist would provide sufficient triangulation? -
Old stable block conversion - roof design
OscarWilliams replied to OscarWilliams's topic in Roofing, Tiling & Slating
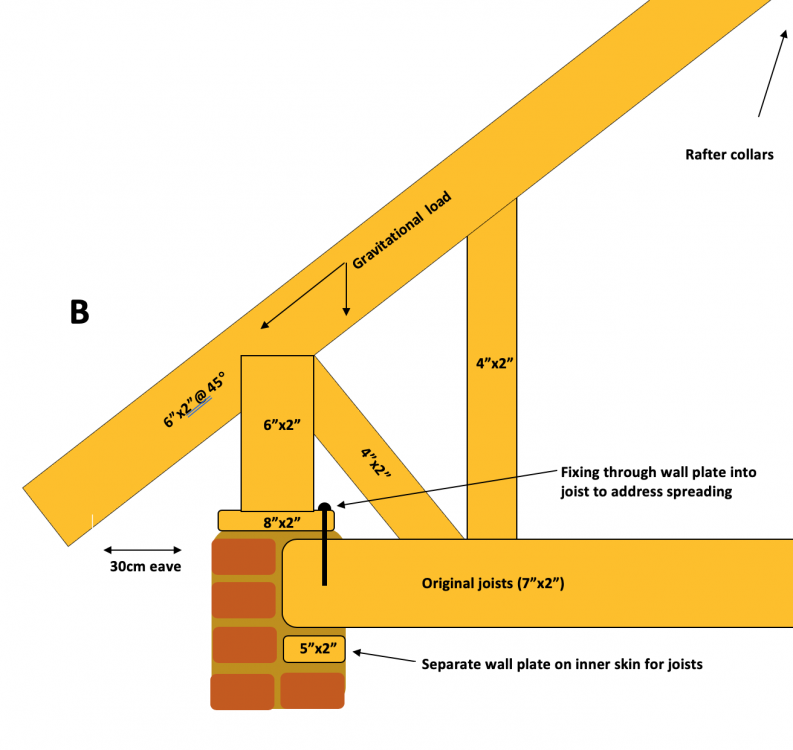
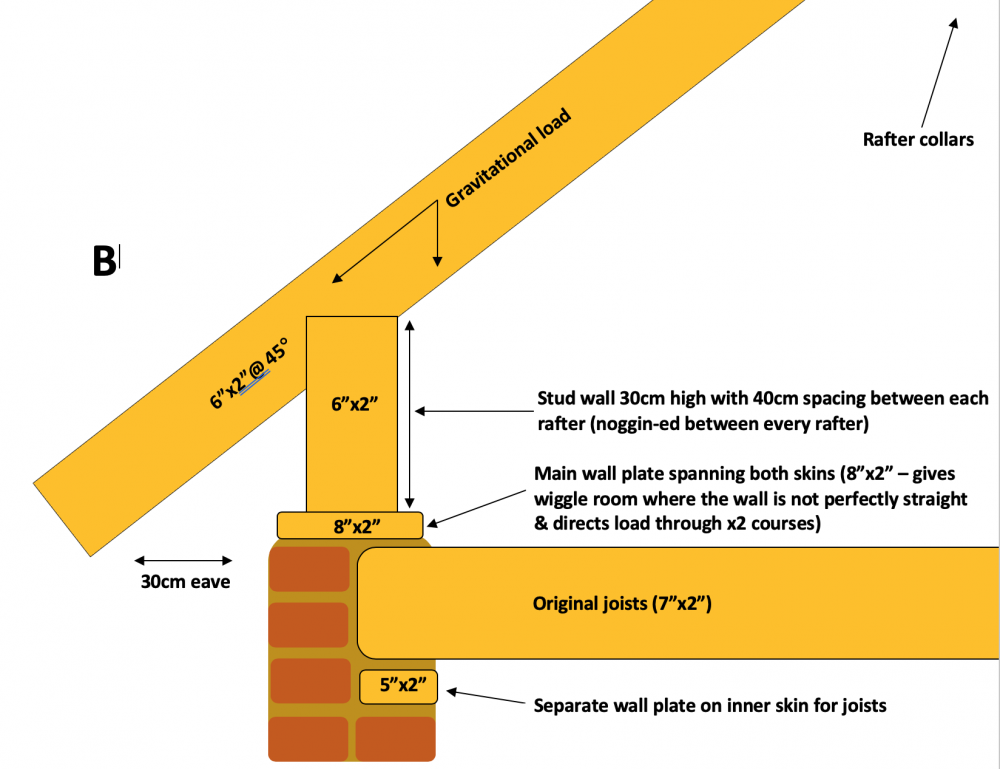
We are actually planning on driving fixings down through the wall plate and through the top of the joists where the 8x2 covers both courses which im hoping will minimise the chance of any spreading. The plates will also be strapped up every meter. Just to be belt and braces I could add some trianguation from the top of the 30cm lifter to the joist? There will also be a stud wall inside tied from the rafter to the joists. We'd like to go higher but worry it might attract some unwanted attention...30 cm seems to strike the right balance between keeping the ridge height the same but with a slightly flatter pitch which actually seems to make quite a lot of difference to the inside area (at least on CAD mock up anyway). I agree though I think the design would benefit from being better triangulated... -
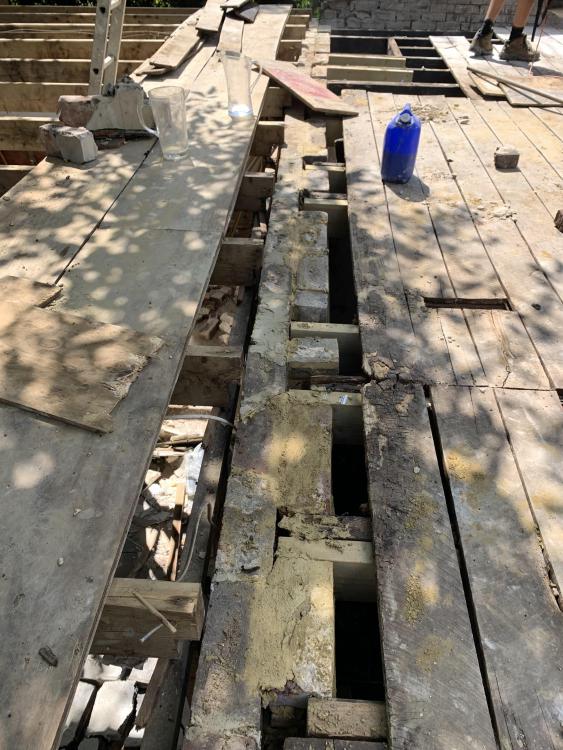
Just wondering what peoples thoughts are on this roof design...I'm considering sitting a roof on a 30cm stud wall to give more usable height on the second floor, however I haven't seen this method used elsewhere before. The structure will consist of 6x2 rafters with collars. The building in question is an 18th centuary stable block that I am renovating with my brother. We are reluctant to go up any more courses of brickwork in the interest of time and cost...we have done all the work so far and are on a tight budget (famous last words). We've calculated a 45 deg pitch will give us a 30cm eave with the stud wall and will not increase the ridge height too much (if at all) from what it was orginally. Note the odd design - two wall plates, one to bear the rafters and a second wall plate on the inner skin two courses lower to bear the joists which has brickwork ontop of that wall plate between each joist (the picture i've attached should clarify). In terms of building regs the building is an ancillary building to my parents house and we are treating the project very much as a restoration rather than a development...the original tiled roof had rotted and partially collapsed. We are considering putting a corrugated iron roof on but would like to build the frame so that it is strong enought to take tiles if we do decide to go down that route (unfortunately only about 30% of the original tiles are still usable). Any advice is much appreciated, keen to hear peoples thoughts... Cheers

