
WoodpeckerDentMan
-
Posts
8 -
Joined
-
Last visited
Everything posted by WoodpeckerDentMan
-
Were the ends of the old beams originally built into the outer walls, with sleeper walls built on the uneven sub-floor to support the middle of the beams? If so, I really wouldn't worry about never having built a wall before, the best place to learn is on a wall you'll n ever have to look at again! Don't worry too much that the sub-floor isn't flat, it's not like these walls are holding up the rest of the house, just put enough mortar on the floor to be able to lay a couple of bricks level onto it and go from there. So long as the joints are filled with mortar, the mortar is mixed right and the top faces of the bricks are relatively level, it doesn't really matter what it looks like. Use it as a school day! 😉
-

Double (2Ply) EasiJoist joints...?
WoodpeckerDentMan replied to WoodpeckerDentMan's topic in Floor Structures
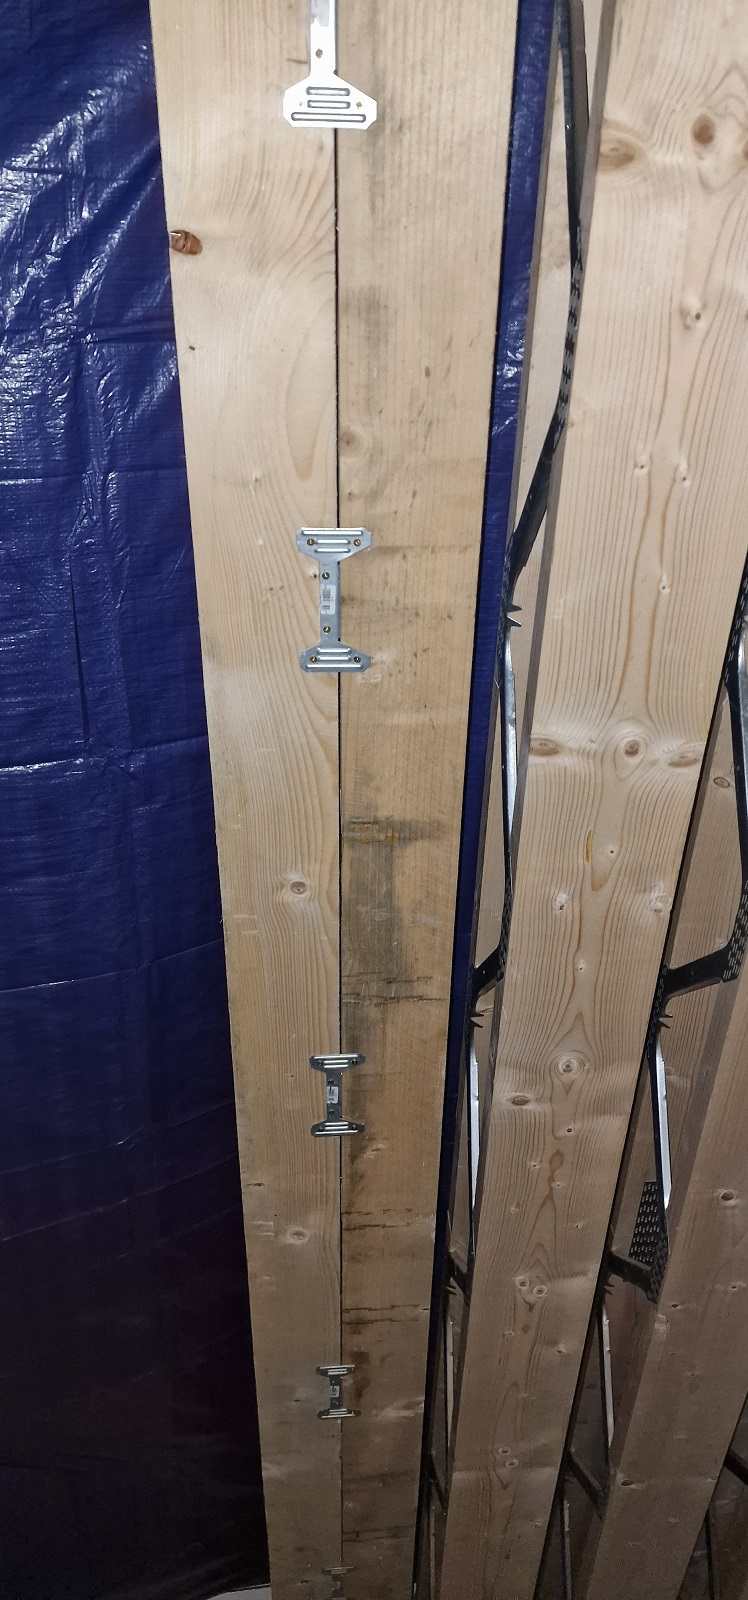
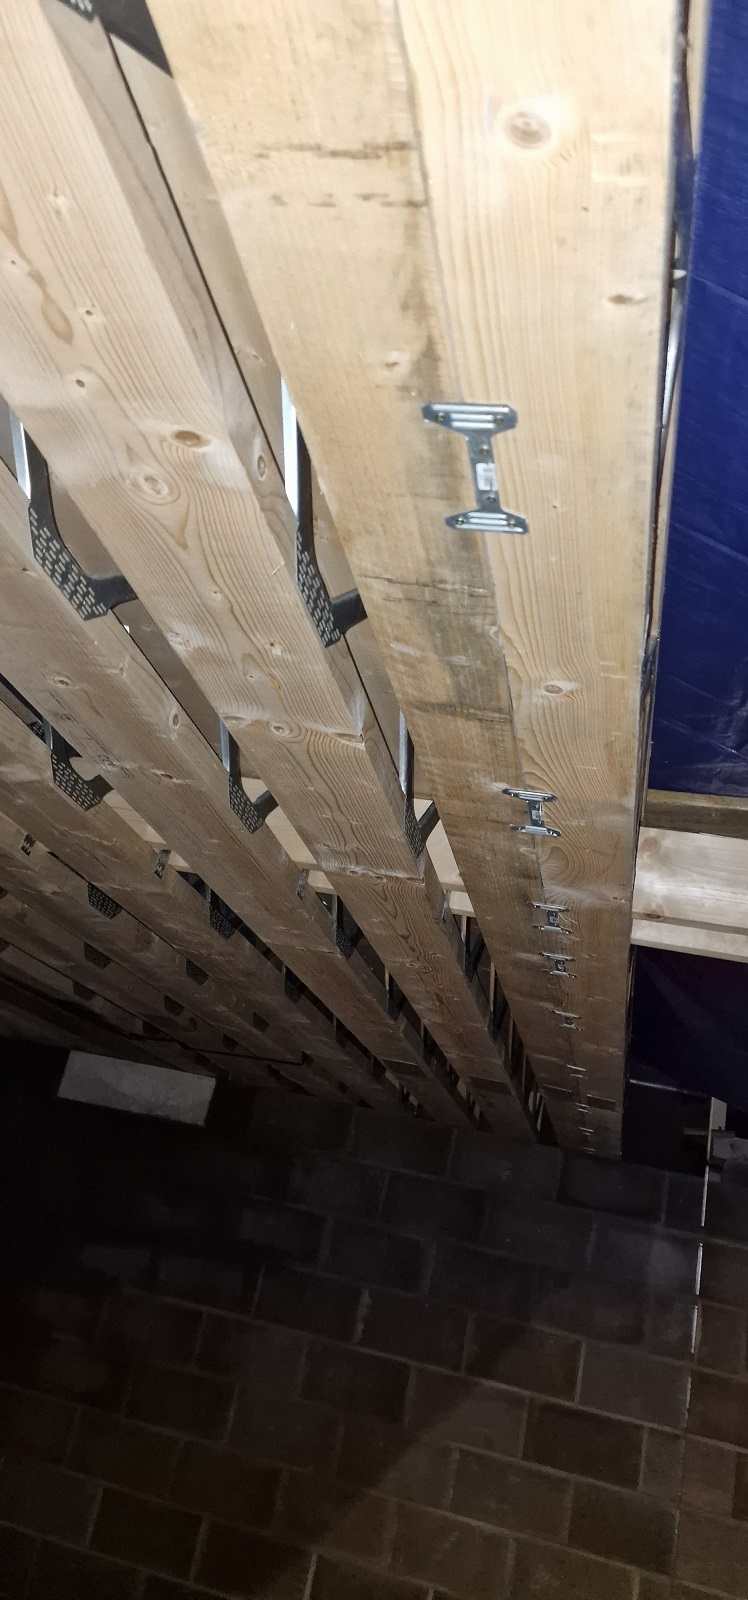
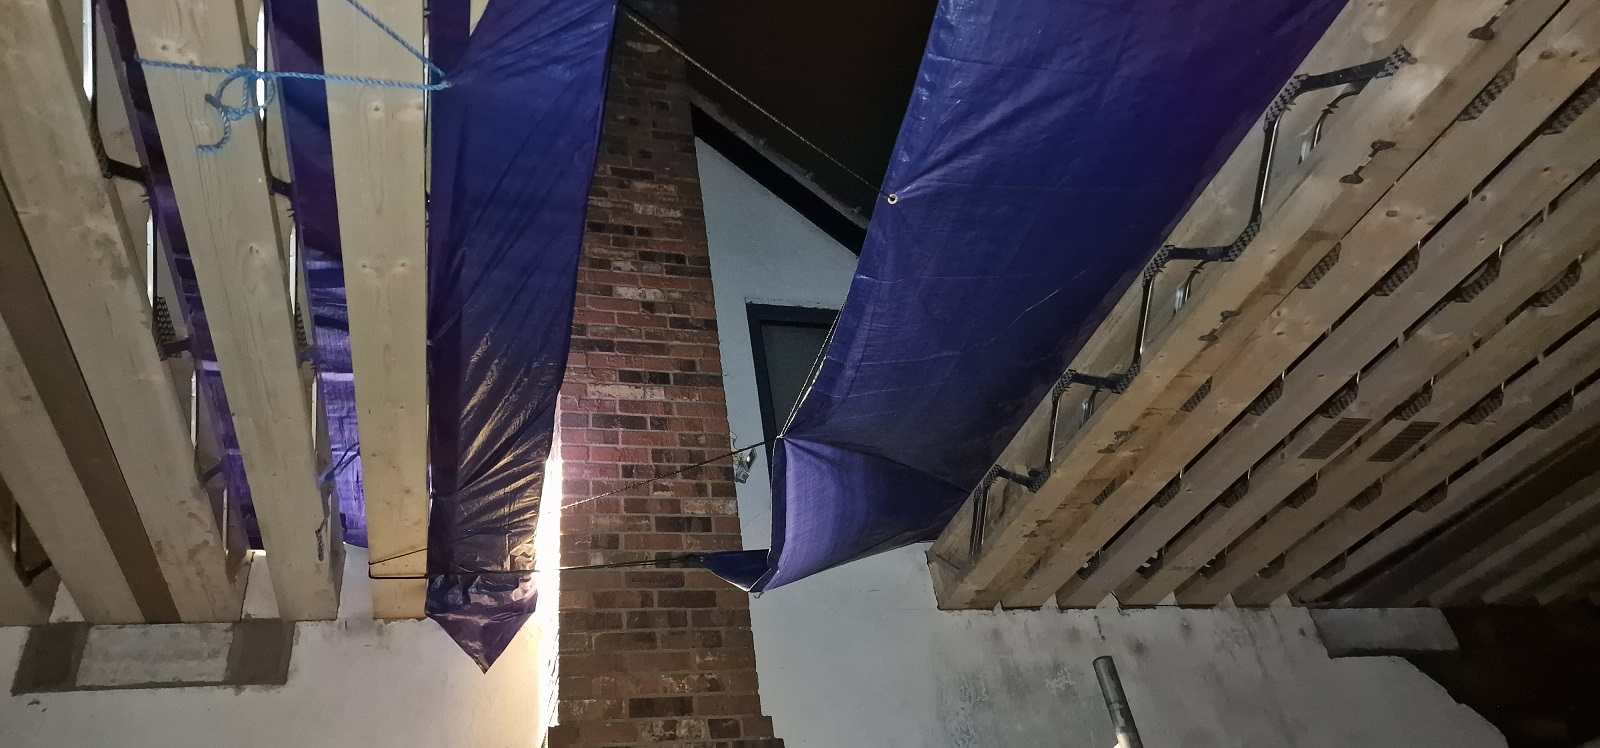
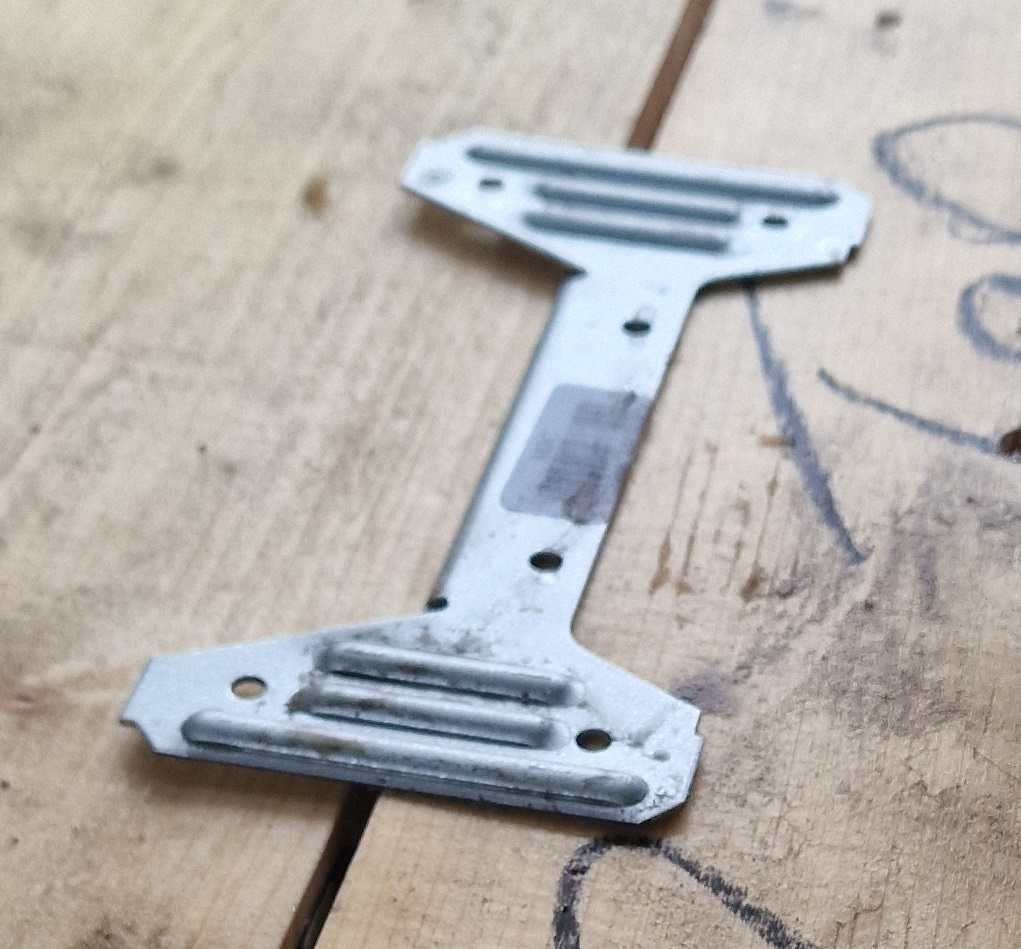
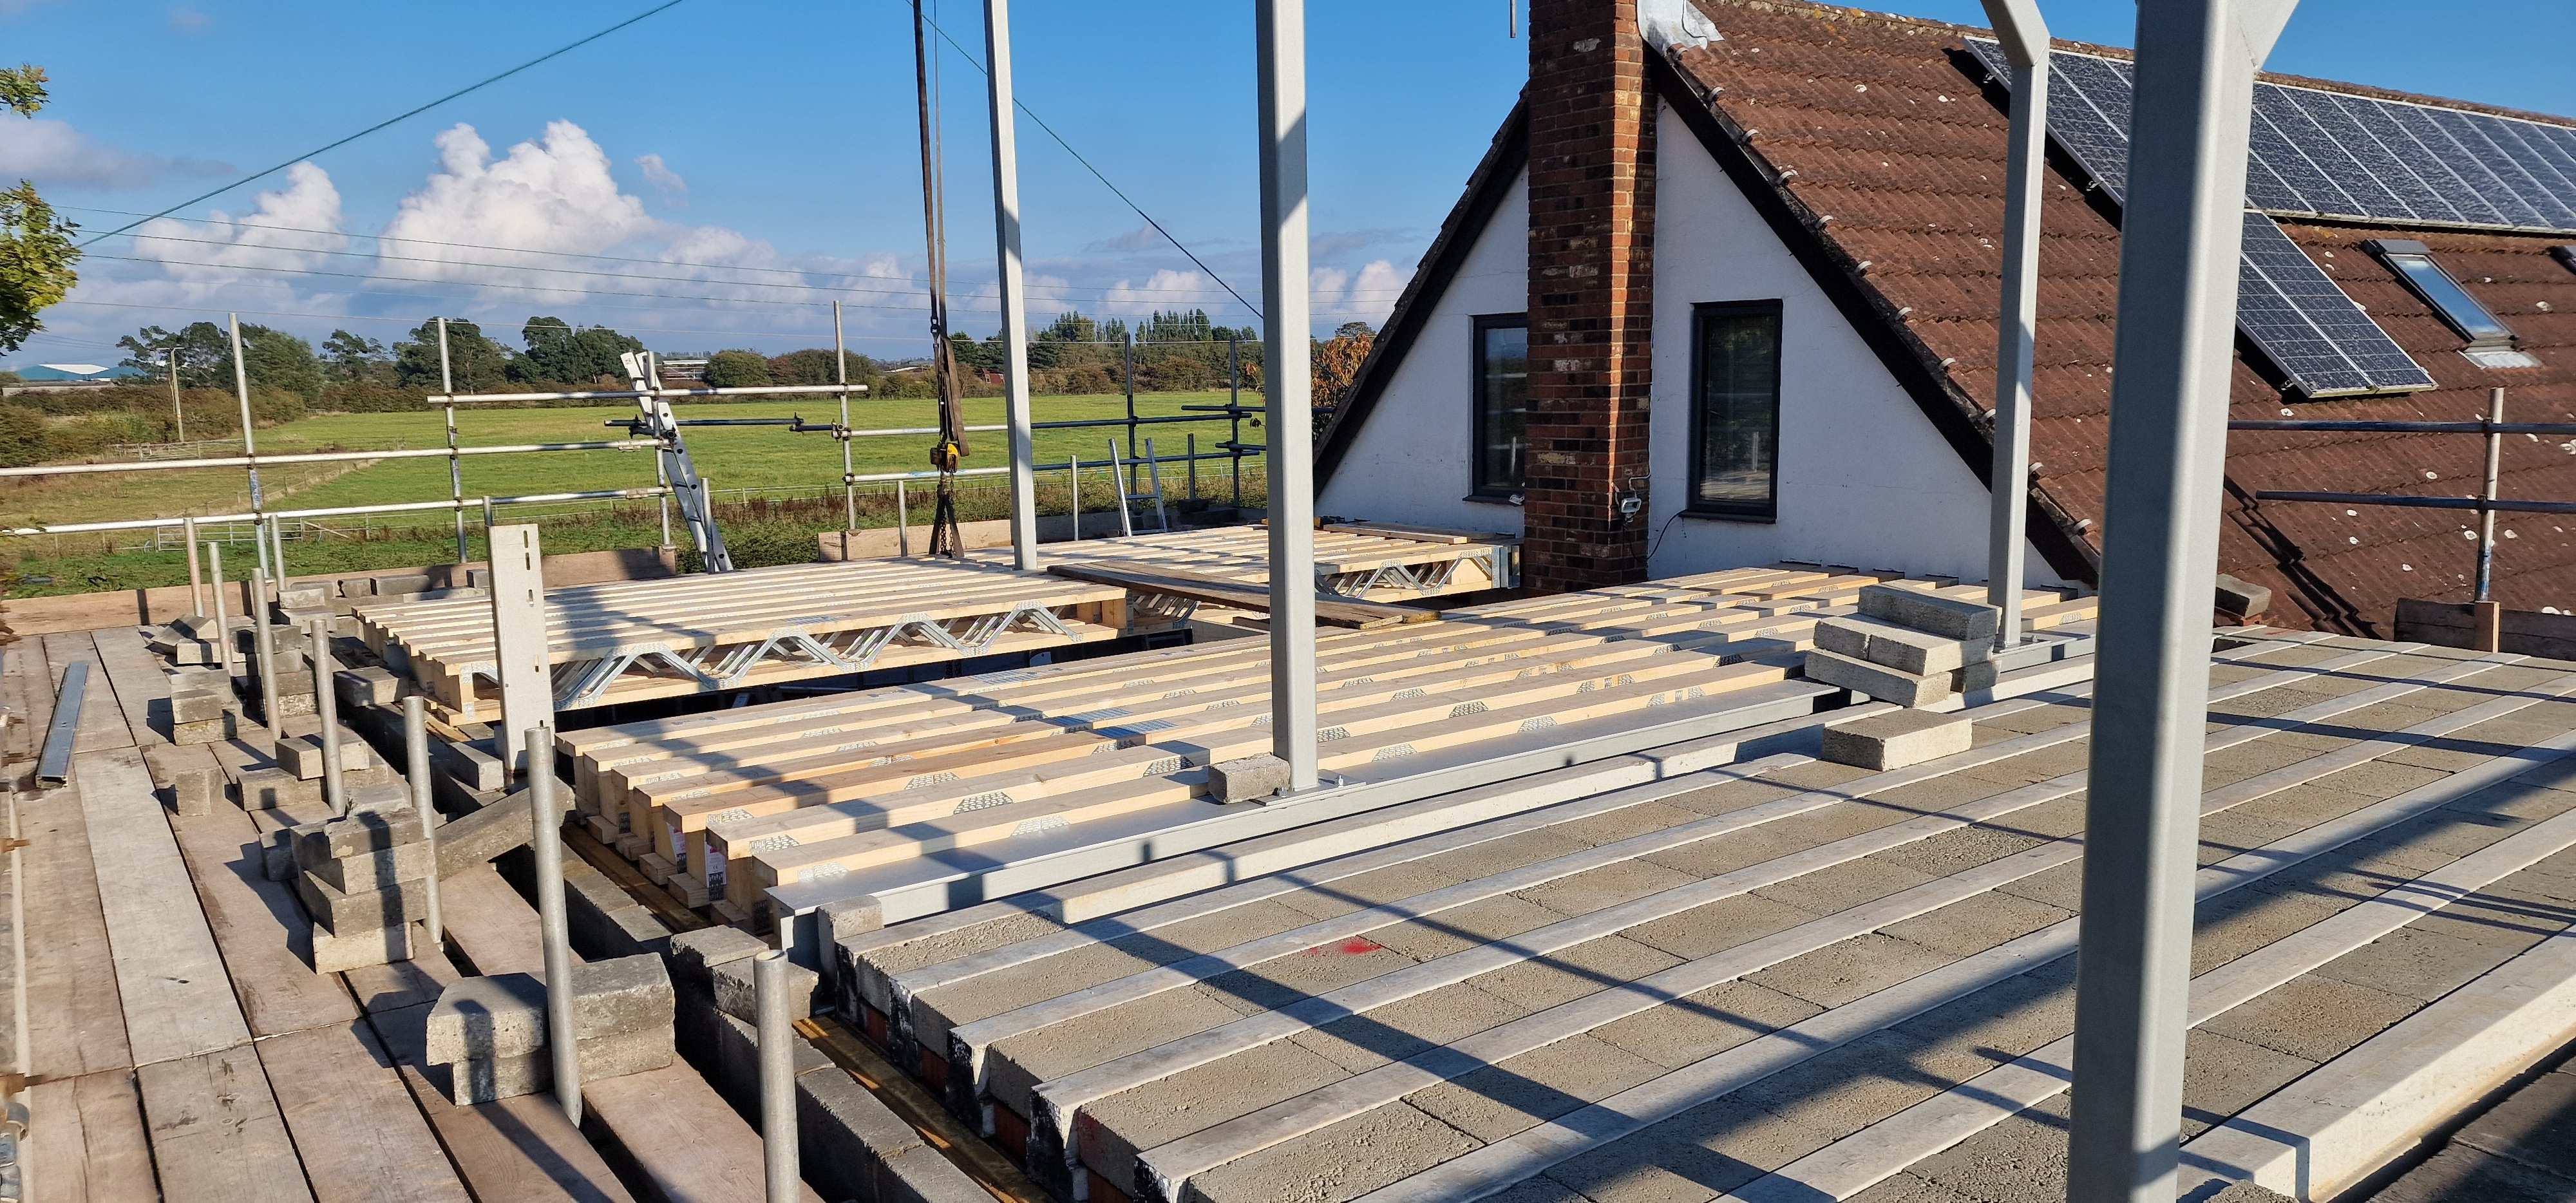
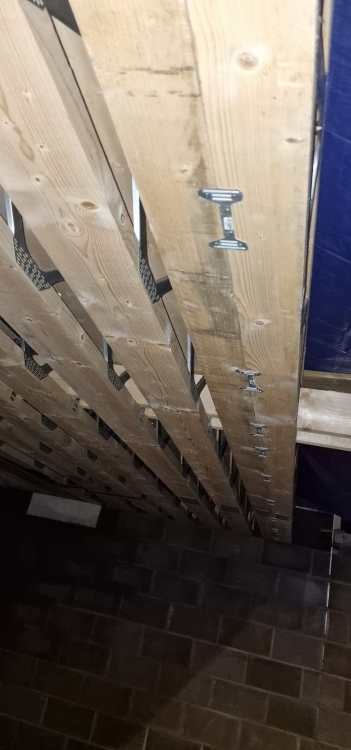
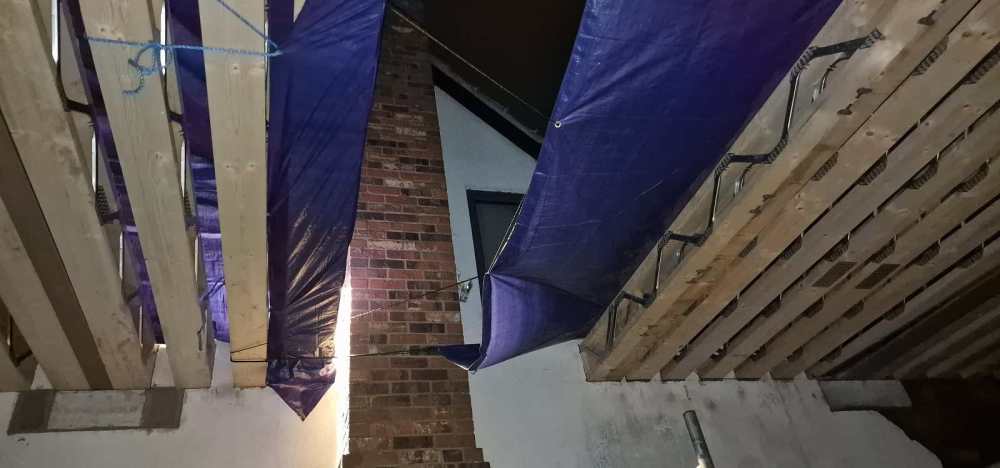
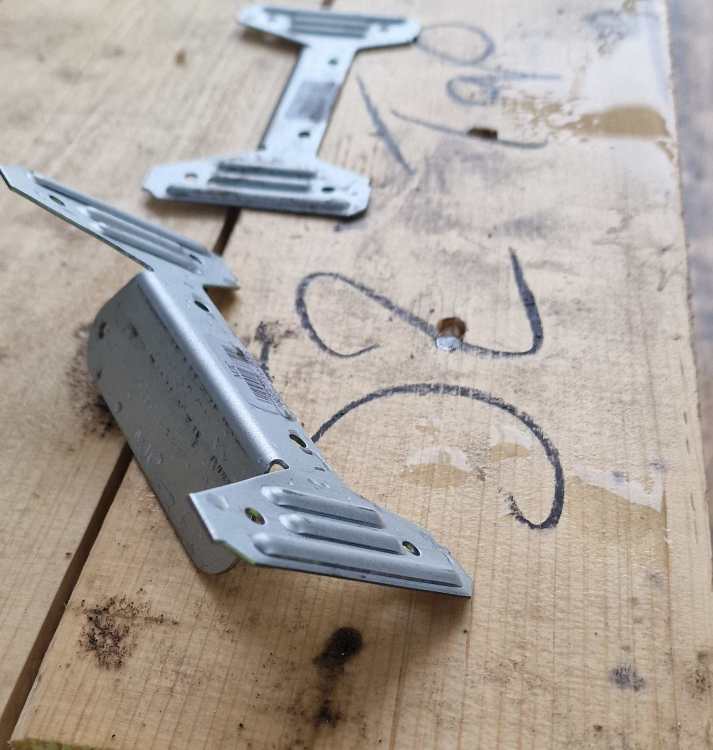
Yeah, sure. Basically, the face of the bracket facing the camera on that bottom pic with 2 screw holes goes into the side of the joist, then the two holes on the top get 2 more screws into the same joist. That leaves 4 holes (2 either side of where the bar-code sticker is) to go into the second joist, but as 2 of the screws go into the first joist on the side, you have to put those in, and all the brackets on both top and bottom edges, BEFORE you put the two joists together. They're only small skinny brackets, with 3.5x30 screws in them, but there's about 36 of them on each pair of joists! The 2-Ply joists are specified for either side of the chimney and stairs that will come through from the existing house. A big chunky trimmer will next be hung between the two 2-Ply joists and then 5 more shorter joists hung off the trimmer. It's a lot of wood for a floor, but it's a huge span, so it is what it is.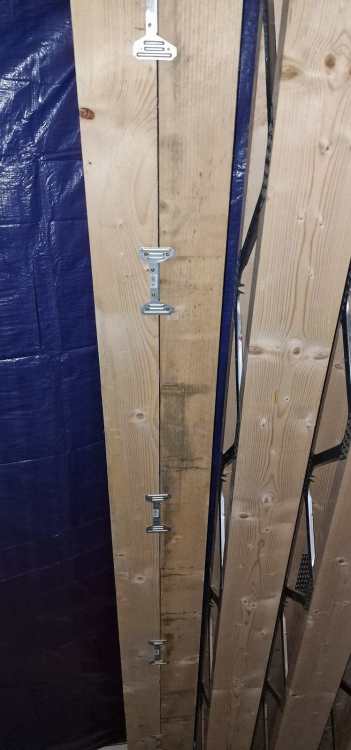
-
Double (2Ply) EasiJoist joints...?
WoodpeckerDentMan replied to WoodpeckerDentMan's topic in Floor Structures
Thought I'd attached photos of the little brackets to the original post, but can't see them now.😕 Here they are in case anyone in future comes across them...
-
Double (2Ply) EasiJoist joints...?
WoodpeckerDentMan replied to WoodpeckerDentMan's topic in Floor Structures
LincFrame got back to me this morning, and that IS how they're supposed to be joined together. Definitely not easy getting them brackets screwed up tight to the corners then inserting the second beam between the two sets of brackets, but using a thin wide bladed scraper to ease the edge of the timber into the brackets a little at a time got us where we needed to be. Having use of the steel ridge beam to hang a block and tackle off to lift them up made installation a lot easier.
-
Double (2Ply) EasiJoist joints...?
WoodpeckerDentMan replied to WoodpeckerDentMan's topic in Floor Structures
It's a fair point well made. I've gone for the brackets supplied as time is ticking. Not the easiest of things to install mind, but we got there in the end! Thanks for your input. 🙂 -
Currently on with installing EasiJoists on the first floor. The plan says the 2 PLy joists need joining together on site. I'd prefer to glue and screw them together, but they have supplied these wacky little brackets. Anyone used these before on EasiJoist? I've got 2 x 2Ply joists that are supposed to be joined together and they've supplied these brackets. Not entirely happy using them as it will mean the top face is no longer level. Any alternatives anyone? I'm of a mind to glue them and strap them together until dry. Unfortunately, it's Sunday and LincFrame aren't working today!
-
I'd never heard the term WBP, so had to google it! I don't know much about OSB, but I'd have expected a quality plywood to be more structurally sound than OSB? Is that not the case?
-
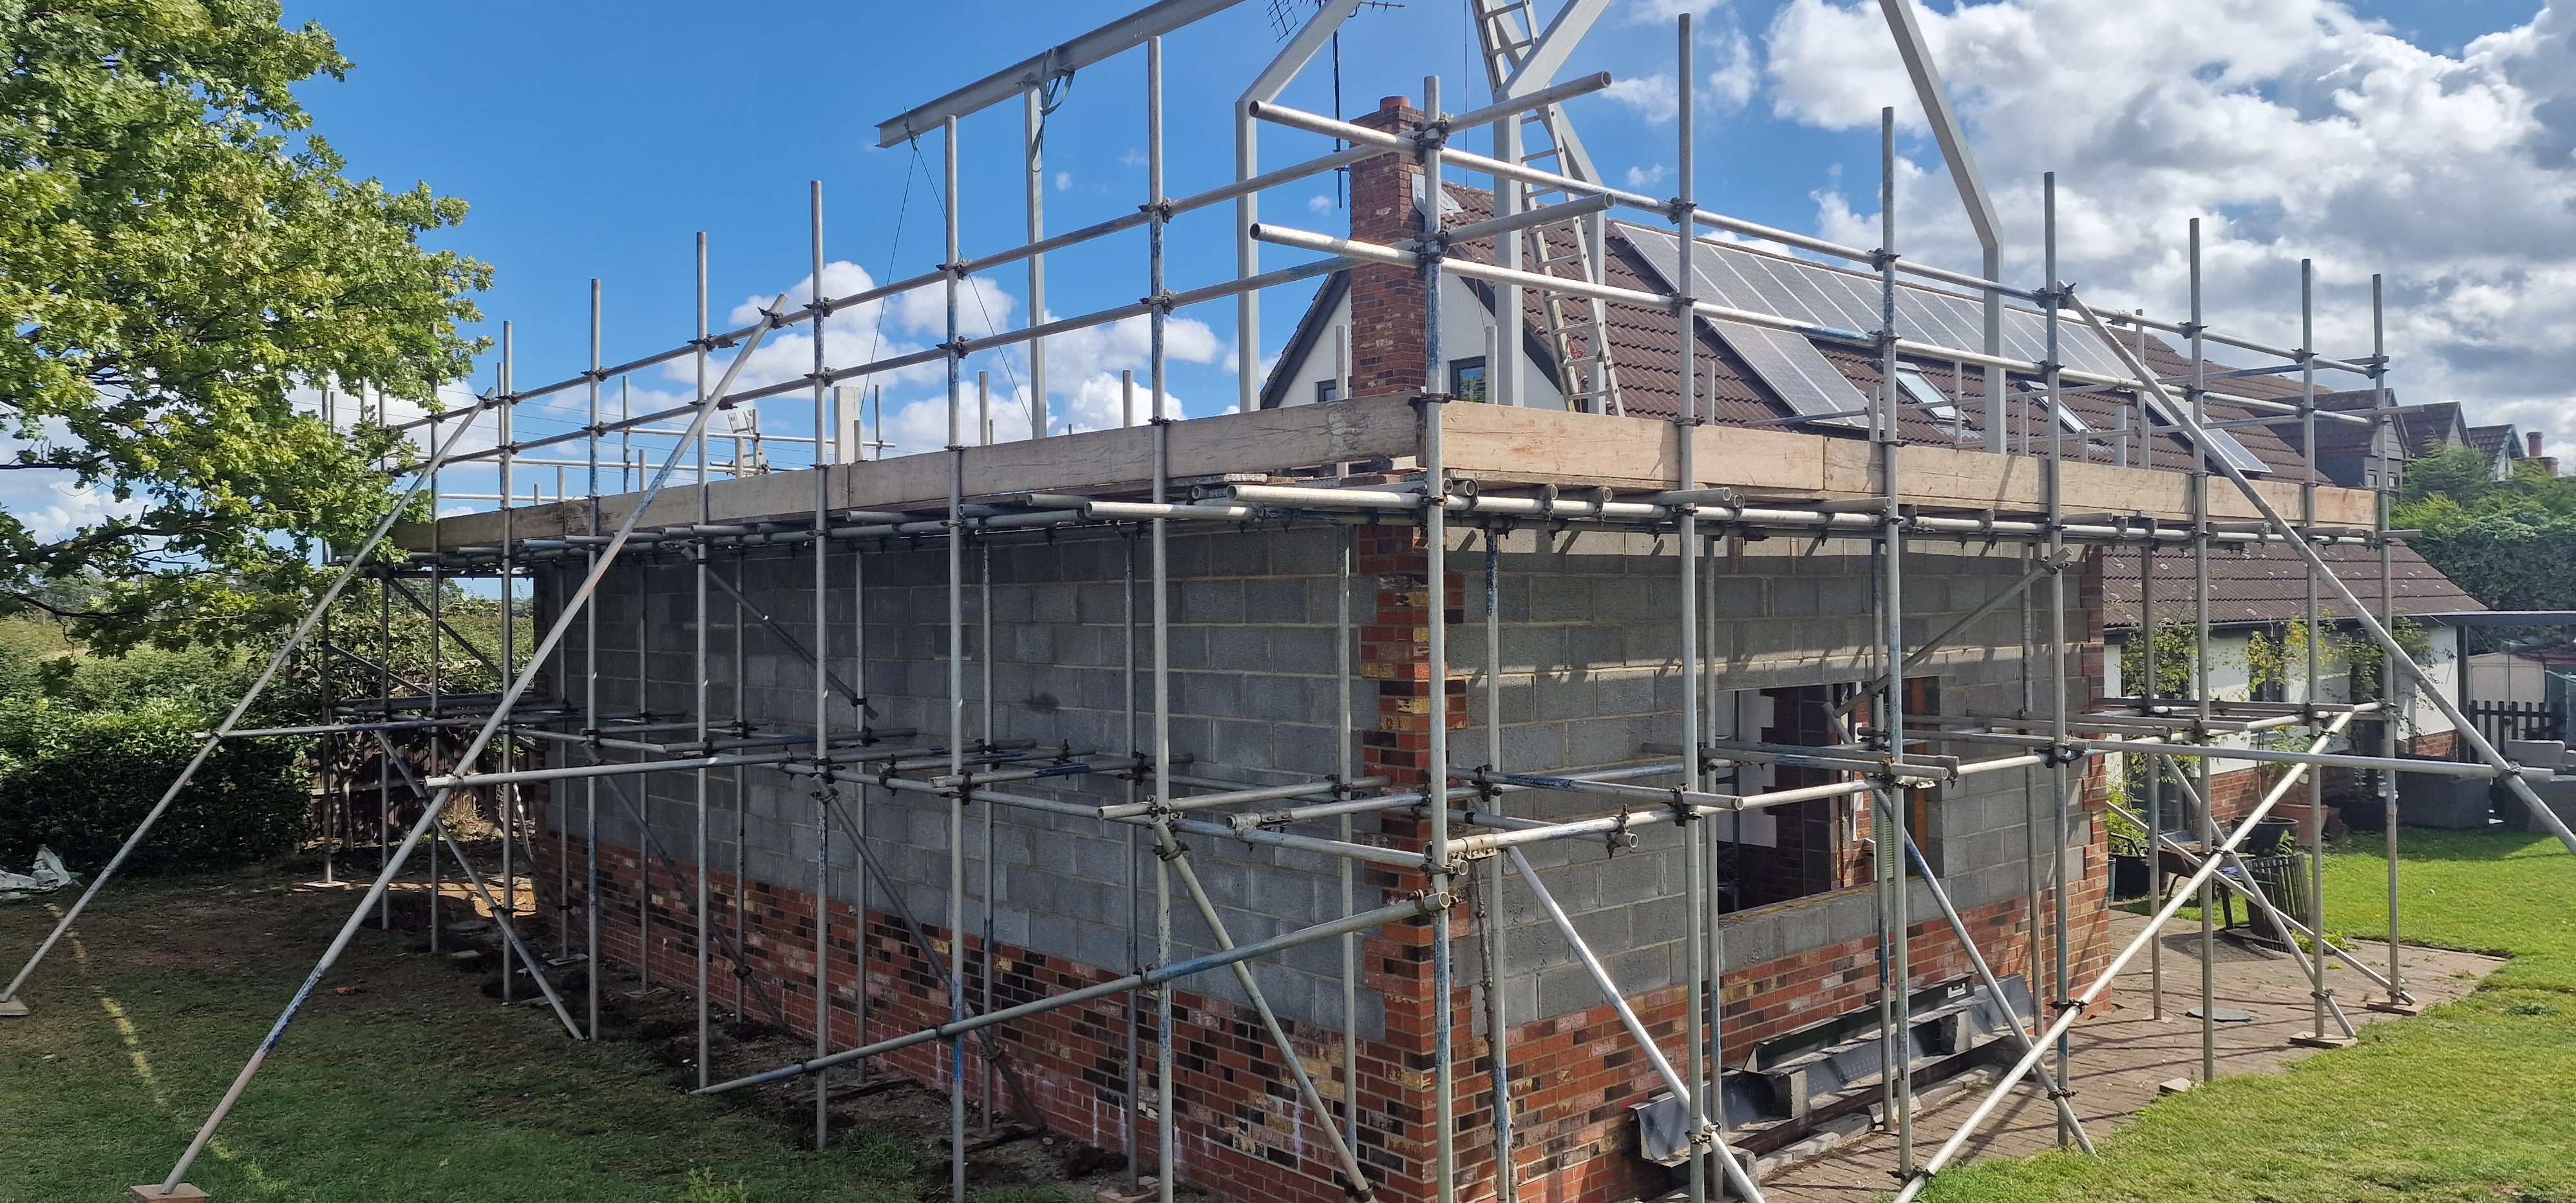
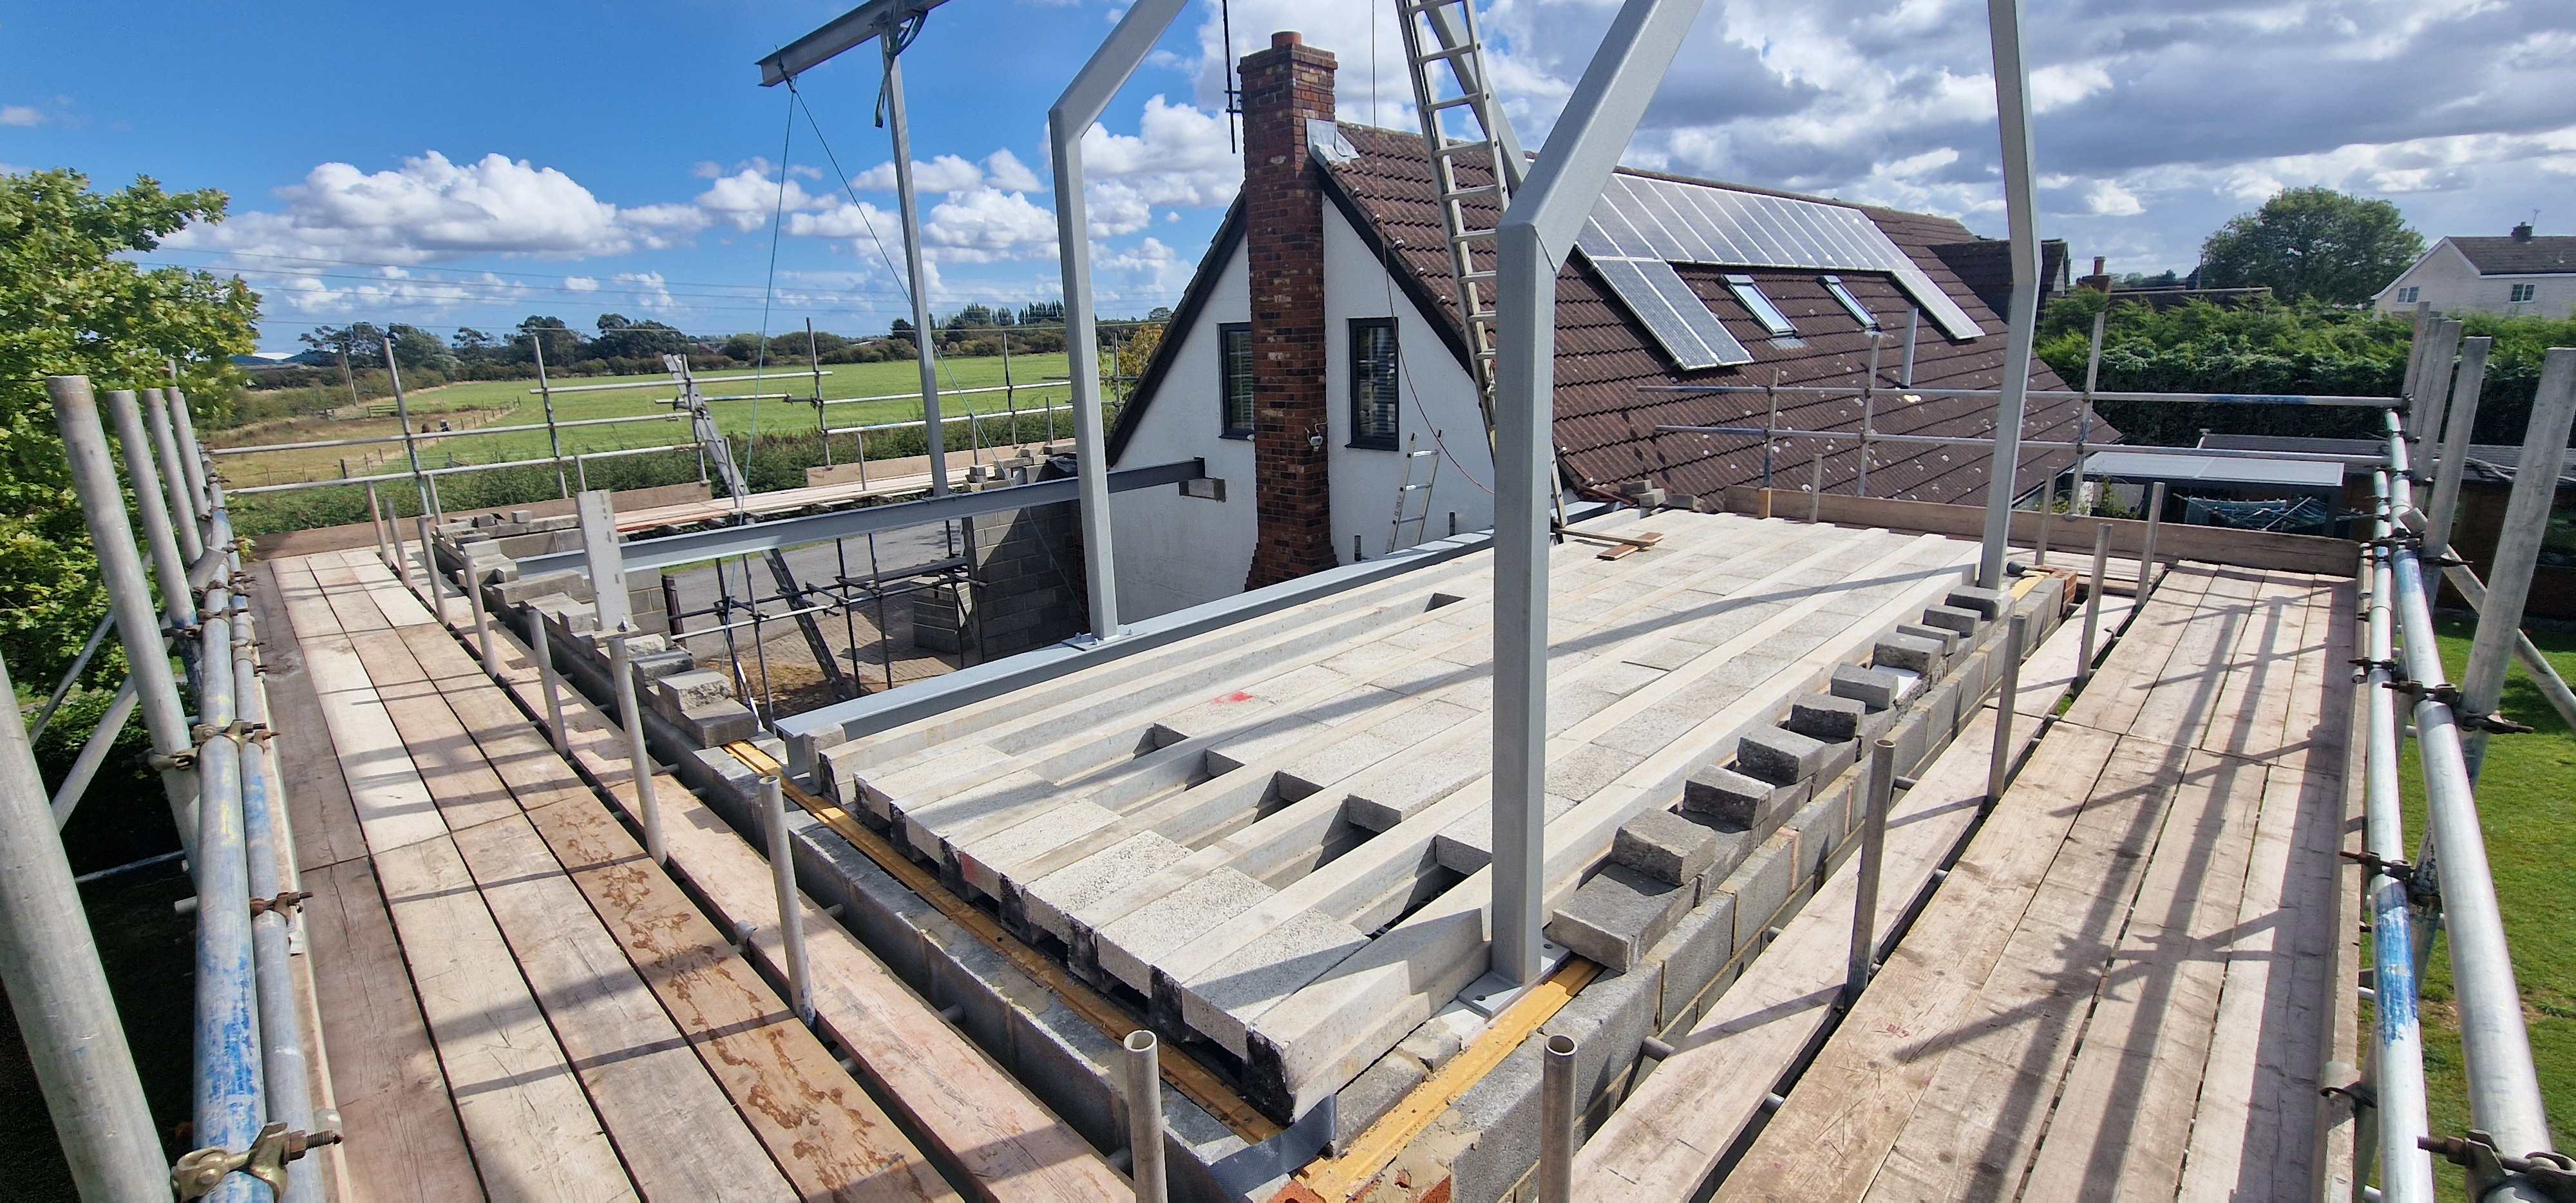
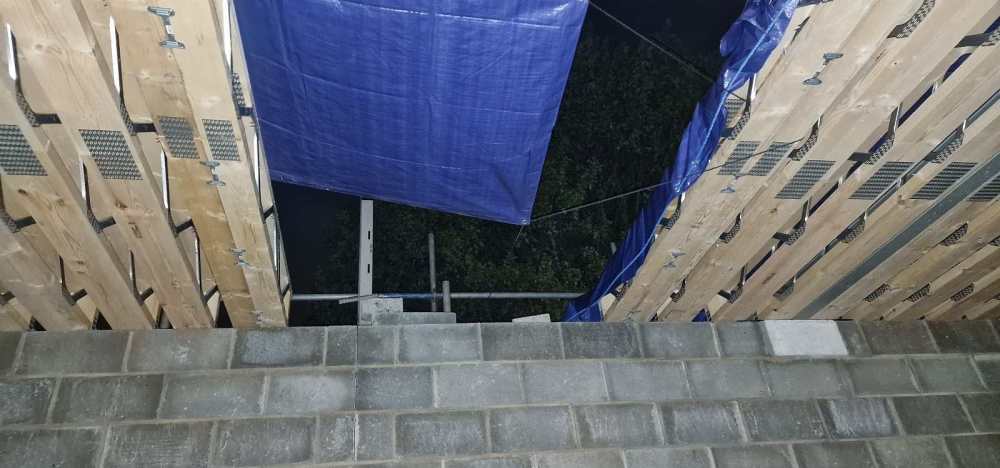
Hi all, I'm a first time builder (of anything bigger than a shed or a bathroom renovation) and hoping I can pick your collective brains to reduce the number of catastrophes I encounter en-route! My new workshop will have to be big enough to park my motorhome in it, so I'm needing a door height clearance of 3.1M and it's just over 10M x 6M, so 63ish Square Metres footprint. Upstairs will be a bedroom with large en-suite at one end of a full length apex roof, bedroom accessed via a few stairs down into an existing room in the end of the extg. house, and a covered balcony at the other end, overlooking the Humber Bridge. Current state is that we've got walls up to joist height, concrete block and beams in last weekend under the balcony floor and the steelwork including a ridge beam was also lifted in last weekend. Scaffolder just finished the scaffolding for the next lift of blockwork and I'm about to order easijoists for the floor under the bedroom. I will no doubt have lots of questions...

- 1 reply
-
- 3
-