GeoffSmith
-
Posts
48 -
Joined
-
Last visited
Everything posted by GeoffSmith
-
Removing the flue sounds like an enormous job, though. There's a difference with me removing four bricks to level off the opening, and removing 200+ spread across three floors! I think for my skill level and budget (skint), I need a solution that involves as little faff as possible. Removing the flue, unless I've wildly misunderstood what it entails, sounds like it would be a serious job? On your first point, should I see if a chimney sweep can give it a proper clean?
-
Great, thanks Joe, I'll get on with it. Once again, thanks for taking the time to help. Have a good week!
-
Yes, that's it, you've just put into words what's been in my head. If I seal both ends, and then fill, how is it any different to the rest of the house? I genuinely cannot find a single post anywhere online suggesting that it's OK to seal a chimney at both ends, but if I do seal it and fill with beads, how is it not that it simply becomes a cavity wall like everywhere else? Surely, in that instance, it simply ceases to be a chimney flue, and is now just one more cavity wall? Makes perfect sense. Thanks Joe, appreciate the advice. Had a huge hole in my understanding of this, but you, Dave, and RedBeard have really put me on the right path - thanks! I'll report back once the job's done. Final question: Am I OK to remove bricks from the left end of the chimney if it makes further access even easier? I'm
-
Yeah, that's what I can't work out. I don't know how to confirm either way.
-
Right I've got what you're saying. The house is cavity wall, with grey EPS insulation inside. And everywhere else, actually, since this stuff seems to get everywhere. I cleared the loft of old 100m insulation today in order to replace it with new 270mm, and there were three bin bags worth of EPS beads in a pile at the back of the loft that had blown in from a void in the cavity wall. I'm guessing if I'm plastering the internal facing side of the chimney, I can also batten and insulate before replacing the cupboard to further mitigate war air hitting it, right?
-
Hi mate, Thanks for reply. My problem is that since reading more and more on the subject over the last couple of days, I'm hearing repeatedly that blocking both ends would be the worst thing I could do, so I'm confused. In terms of access, it turns out that the mortar is so sandy that I can literally just unseat the bricks with nothing more than a slight lift, so I've now reduced the heigh of the cimney to the point where it's level and easily accessible. None of the chimney breast is plastered, but I didn't even realise that was a possibility. So if I just throw some bonding up, that'll make it airtight in those places. That's great. So if trying to avoid sealing both ends, but taking all the rest of your advice on board, is the following my best bet: 1. Rip out cupboard and get to exposed brick. 2. Bonding coat the entire brick face. 3. Block bottom of flue with PIR + seal with foam 4. Fill entire flue with EPS beads up to loft level 5. bask in the heat of suddenly warm home that doesn't feel like a meatlocker in December? Please please please tell me 5 is also a possibility!
-
Sorry, same, I didn't want to mix the threads as I felt they were different issues. I understand what I'm looking at now thanks to you and Joe, so I can focus on more specific questions.
-
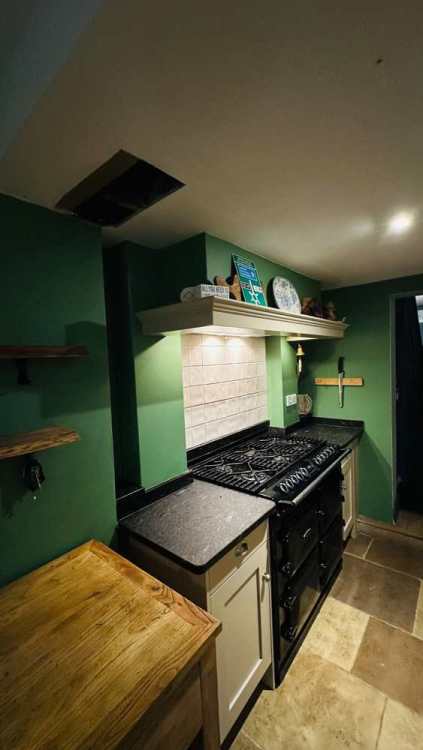
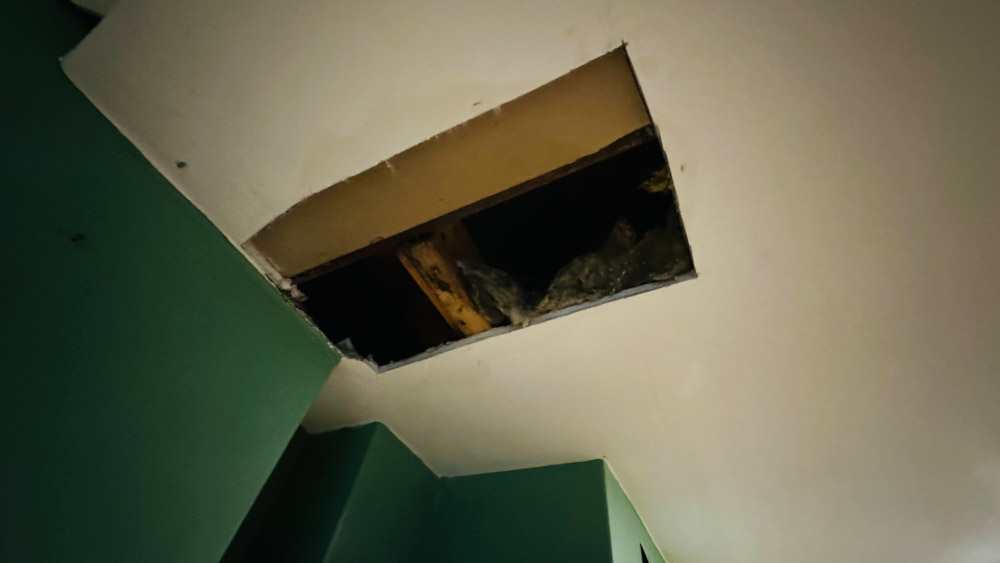
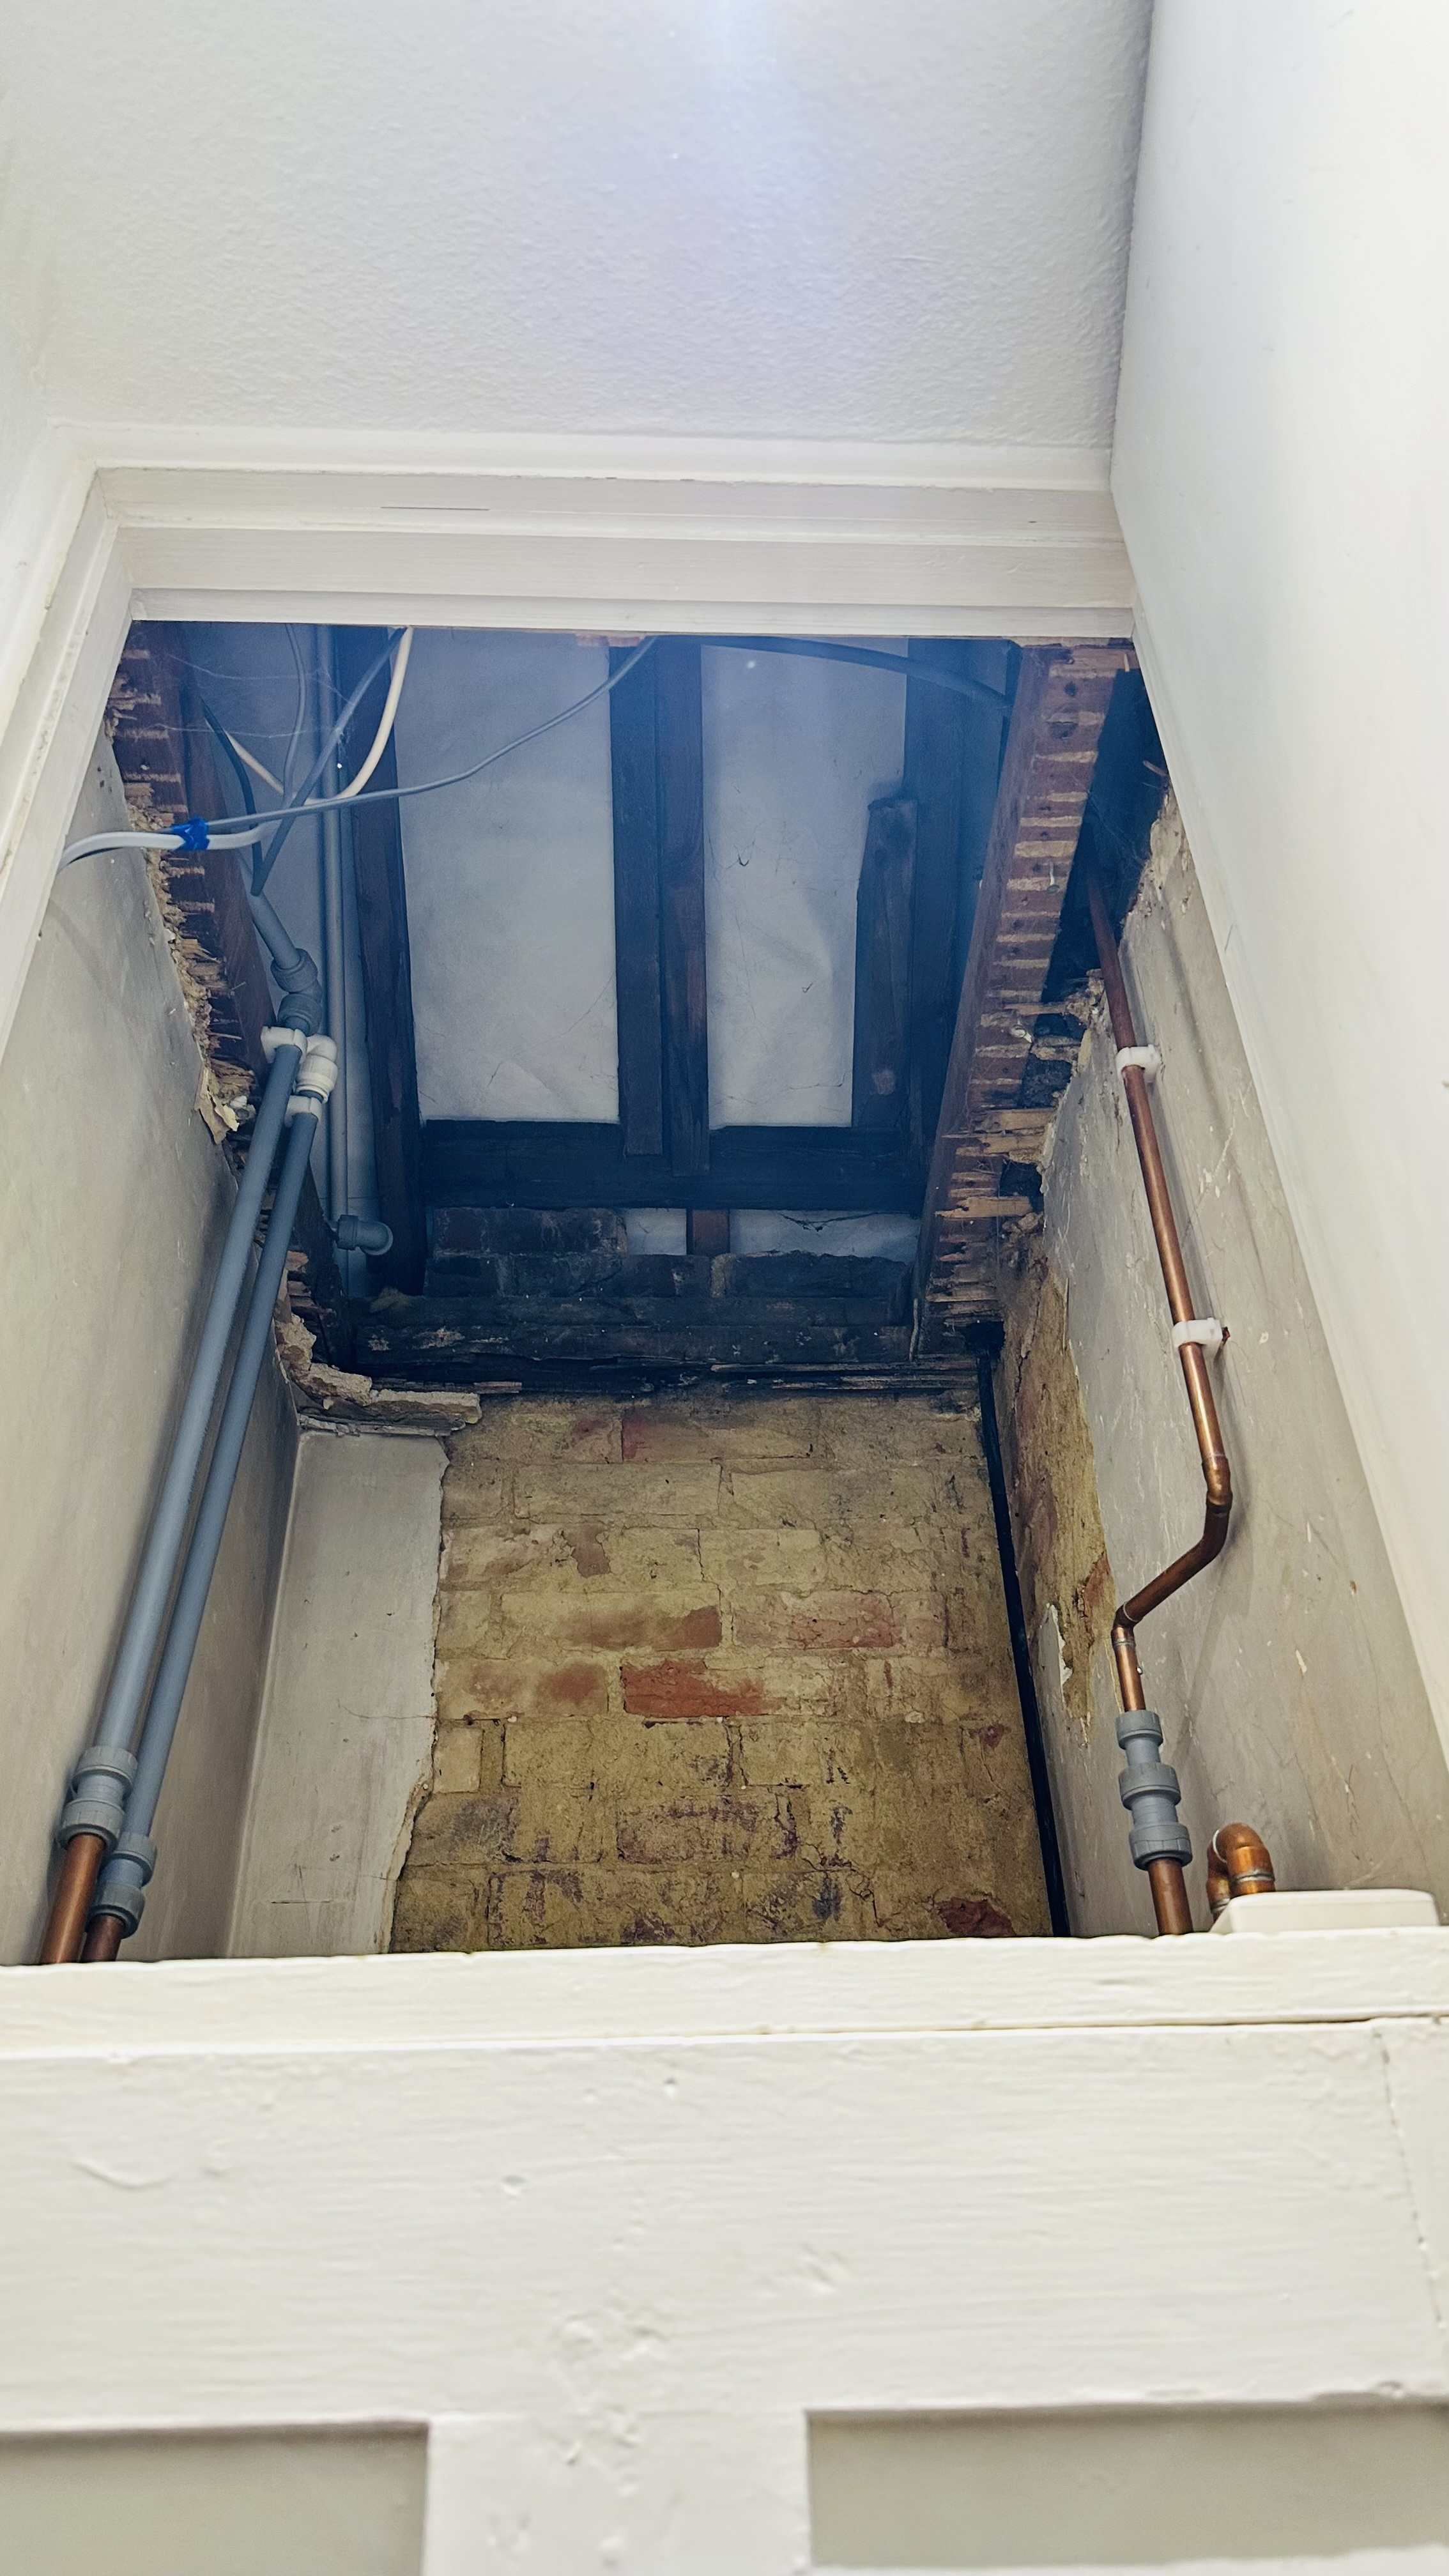
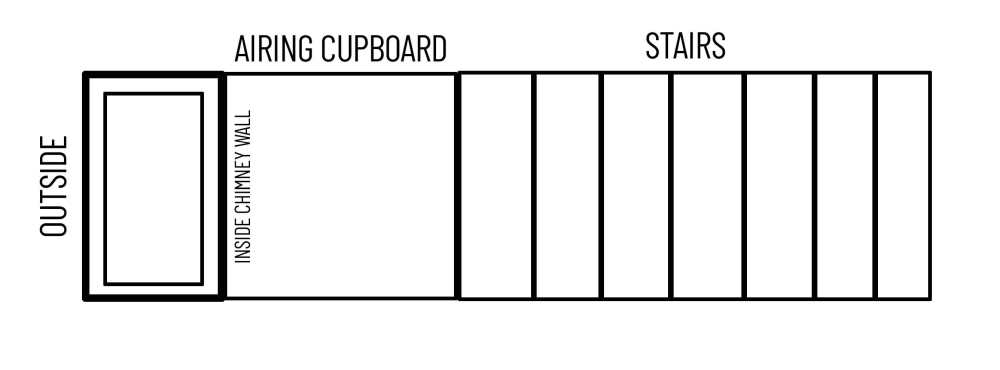
Hi Everyone, I've got a bit of a problem that I hope I'm posting in the right place. We recently discovered a disused chimney flue in our kitchen that leads to the loft. It terminates in the left, and both ends are open. Up until last week, it was unknown to us, and we only discovered it after the two year old damp patch it created started growing, leading us to cut it away. I'm wondering what the best course of action is, firstly, for sealing this chimney somehow. All of my recent reading is suggesting I should only seal it at one end, and leave the other end open. If anyone can advise on that, it would be great, but my bigger issue is what to do with the side of the chimney that is inside the house. One side is internal, the other side is external, like so: My problem is that all the head in the house is going up the stairs, and I'm pretty sure it's getting sucked into this massive floor to double height ceiling cupboard, and then hitting the exposed brick of the chimney flue. What's my best course of action here in terms of insulating this cupboard? Also, as a bonus question, if the walls of my house are cavity walls, will the chimney be a cavity wall on the external side as well? Thanks everyone!
-
A cool, simple enough! I wouldn't be able to get 50mm through the gap at the top, but I would be able to get 25mm - could I just double up?
-
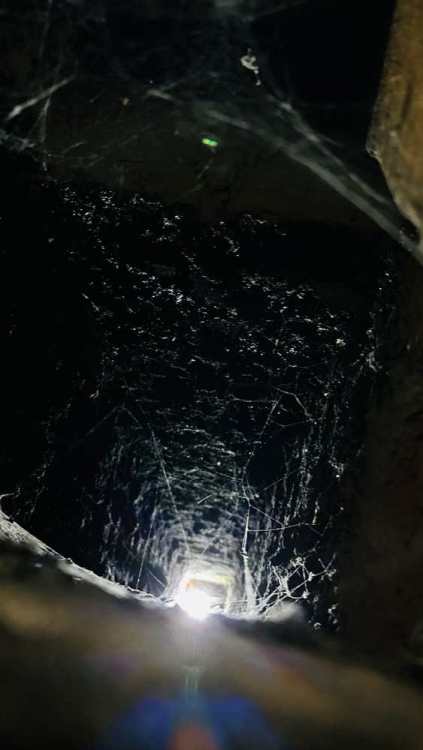
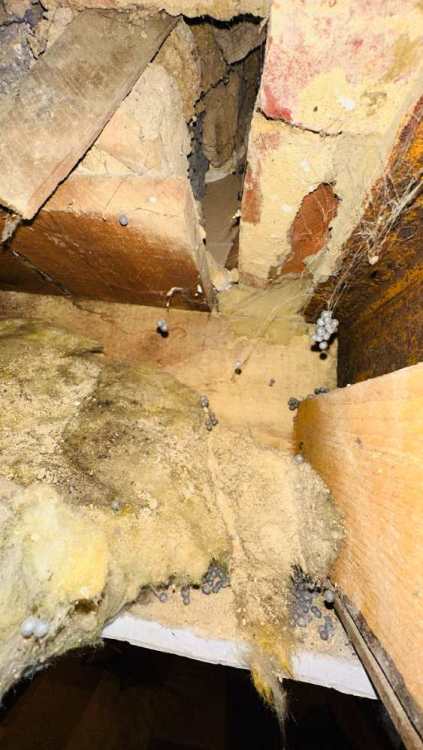
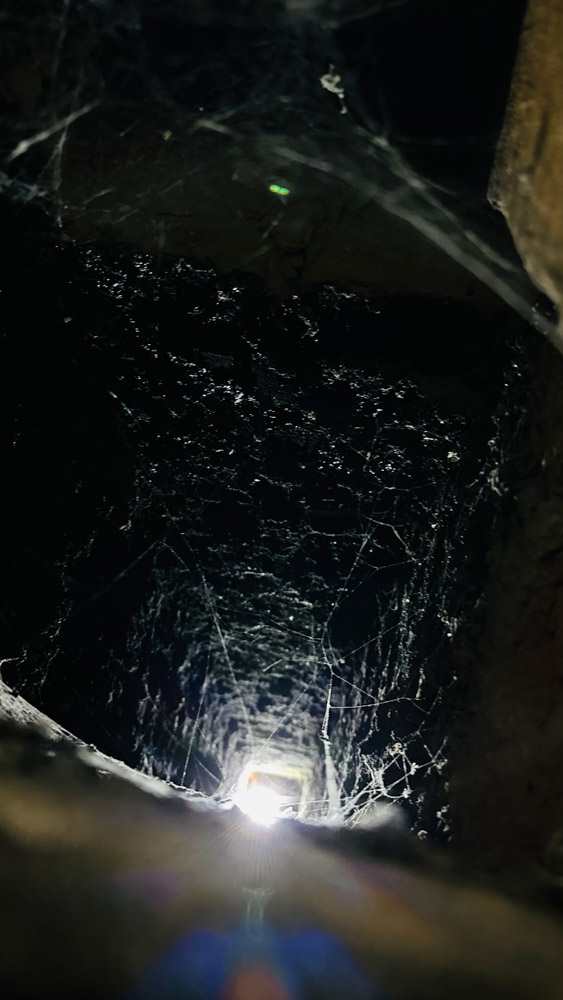
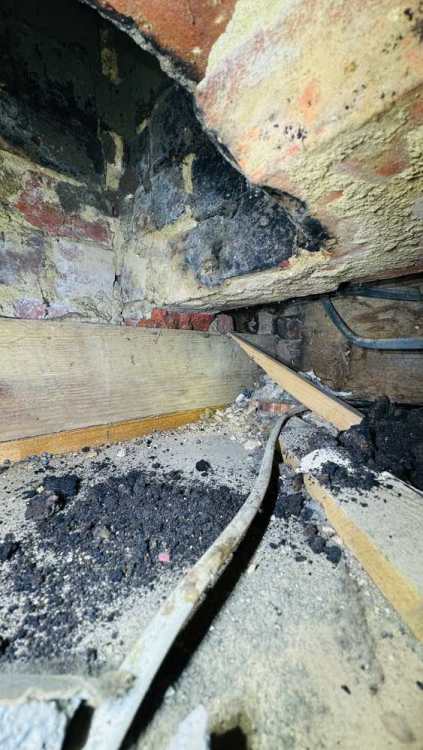
Hi Mike, Thanks for all that info, hugely appreciated. In terms of removing the flue, I meant remove the soot - I believe a chimney sweep would be inadvisable, since both parts of the flue are in the house, so it'd be hard to control the dust. In terms of at least sealing the flue, could anyone advise me of the best way, if I explain the area a little more. Firstly, the bottom of the flue ends around 200mm from the ceiling, as pictured here: This is taken with a wide angle lens, so the flue itself is actually much smaller than it appears. What would be my steps for filling this in from the bottom end? The expanding foam causing problems makes perfect sense to me. In which case, could you advise on the steps I'd take to sort the problem on this end. And finally, and I think this is my biggest problem to tackle, is the top part of the flue: As you can see, it ends directly at the roof felt, and the picture is being taken from inside the flue my hand can only just fit in to take the picture. With space being at a premium here, what steps should I take to seal this end? Getting an airtight seal from both ends is beyond my knowledge now that I know I can't cheat it with expanding foam. On that basis, any advice on this would be much appreciated. Thanks so much to the help from everyone for the help up until now, it's been brilliant

-
That was pretty much my thought process. If I just dump a ton of foam in and then cover the foam with insulation, presumably I can just forget about it?
-
Hi Mike, Thanks for the advice, how would I remove it? To my mind even sweeping it would be an impossible task, since it's so long and so close to the wall. Sweeping from above would also be impossible, because the chimney extends to only a few inches below the roof felt. Enough to squeeze a hand through to take a picture, but nothing else! Part of me was wondering if it's sensible to just stick an enormous amount of expending foam at both ends and thereby sealing it. Sensible?
-
Agreed, although in his defence, it used to have a boiler tank there. When we moved in we had it all ripped out and swapped for a combi, which freed up that space. I feel like an idiot, because it's so obviously a problem, and for some reason, I didn't even twig that it'd be losing heat. It's right at the top fo the bloody stairs, too, so it's probably sucking everything outof the house as it rises. No wonder the loft bedroom is absolutely freezing in the winter! I was putting up a partition wall elsewhere in the house last week and have enough material left over to fix all this up, and had a stroke of luck by finding an unused roll of rockwool in the other eaves space, so hopefully this'll cost me nothing - here's hoping!
-
Dave, you're a star, thanks so much, just brilliant. That's all work I can do myself, too, which is a relief. The funny thing is that the heating bills in this house are so high you'll think I'm lying: 66 quid a day if we leave the intelligent thermostat on 20c for 24 hours a day as it would be intended to run. It's simply impossible to keep the heat in the house, so the boiler just runs continuously trying to top up the heat. With the heating on, and an 8kw wood fire raging, we might be lucky to hit 21c after a couple of hours. Suffice to say that we never run the heating unless absolutely neccessary, and have spent the last two years keeping the heating off until mid-december, and then opening up for two hours a day, which still ends up costing over a fiver, alongside however much wood we end up using in the burner. I'll be over the moon is this ends up fixing two problems at the same time Thanks again mate, and to Joe, too - much appreciated!
-
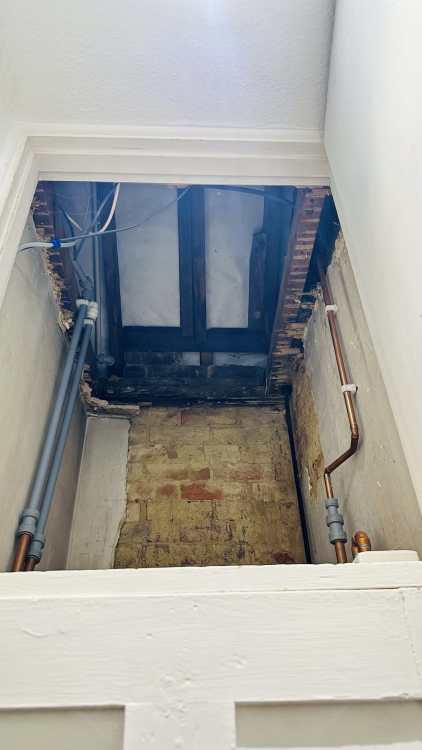
Thanks Joe, that makes sense, appreciate the explanation. In which case, this is a sort of cold roof, because only 80% of it appears to be insulated. Theres a big hole where the water tank used to be, which is accessed via a door in the airing cupboard: That is actually where the two chimney stacks are, by the way - directly in front. Could this be contributing? I wonder if I should close off this hatch at the top there, since the eaves are also accessible via an access panel in our bedroom
-
Ah, thank you, Dave, that's exactly the kind of advice I was hoping to get - so, to confirm, sealing off these old chimneys from the top is OK practice, or are you saying to just fill the top of the old chimney holds with rockwool?
-
What determines if something is a cold loft space? For reference, the eaves are BOILING hot. As in, if you're in there for any more than 30 seconds on a relatively normal day, you will start sweating. The roof of the eaves doesn't have any insulation, but the insulation does begin after the knee wall. In the eaves, the floor is insulated with rockwool, but there are portions that aren't insulated on the floor
-
In the event it's condensation from cold air, which sounds like a pretty solid theory, does anyone know the steps I'd undertake to solve this? My plan is to replace the ceiling at some point when we redo electrics, so I'd like to fix this problem beforehand!
-
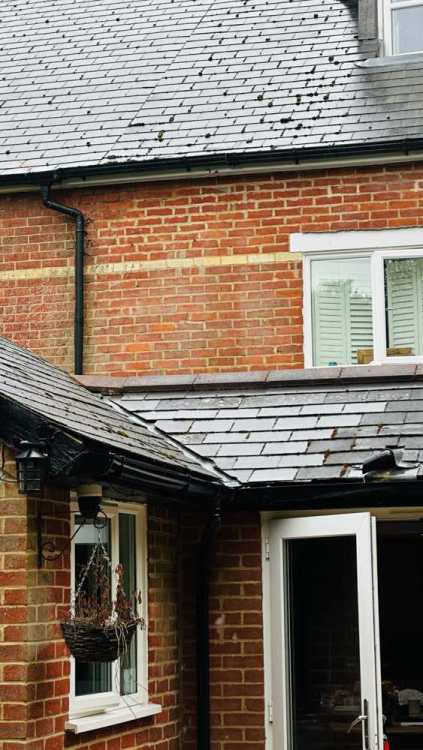
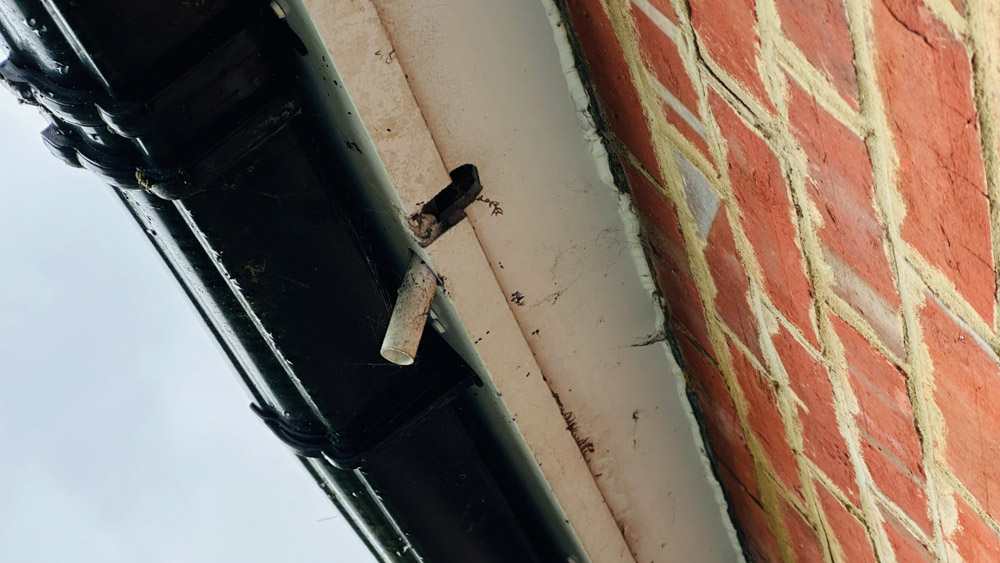
Here ya go: This is outside, and a couple of close ups. I noticed that there's also a small hole in the soffit box, but there doesn't appear to be any other ventilation on the eaves on this side:
-
Hi Dave, thanks for replying. Gimme a sec and I'll take some outdoor pictures for you. One moment! Appreciate the quick response mate
-
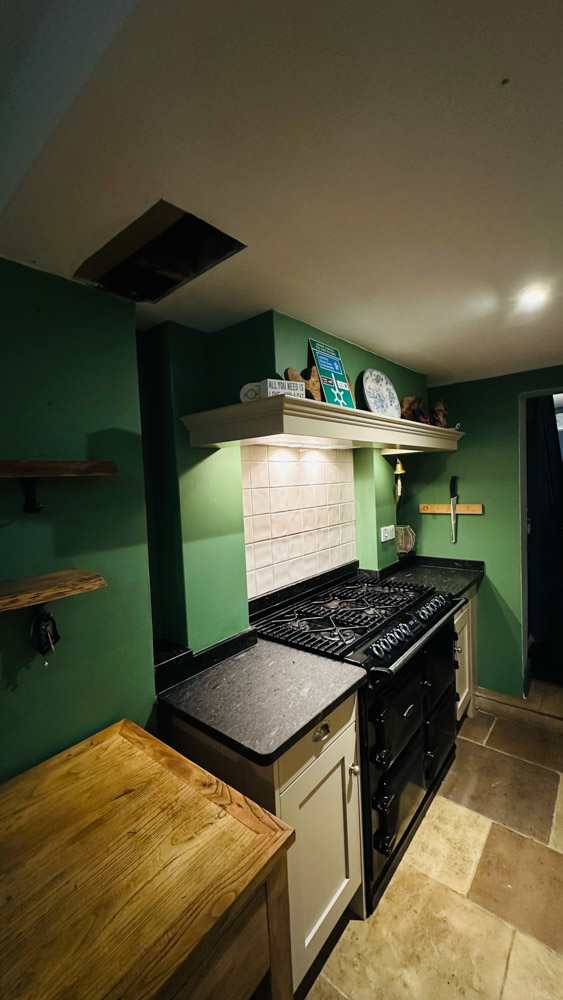
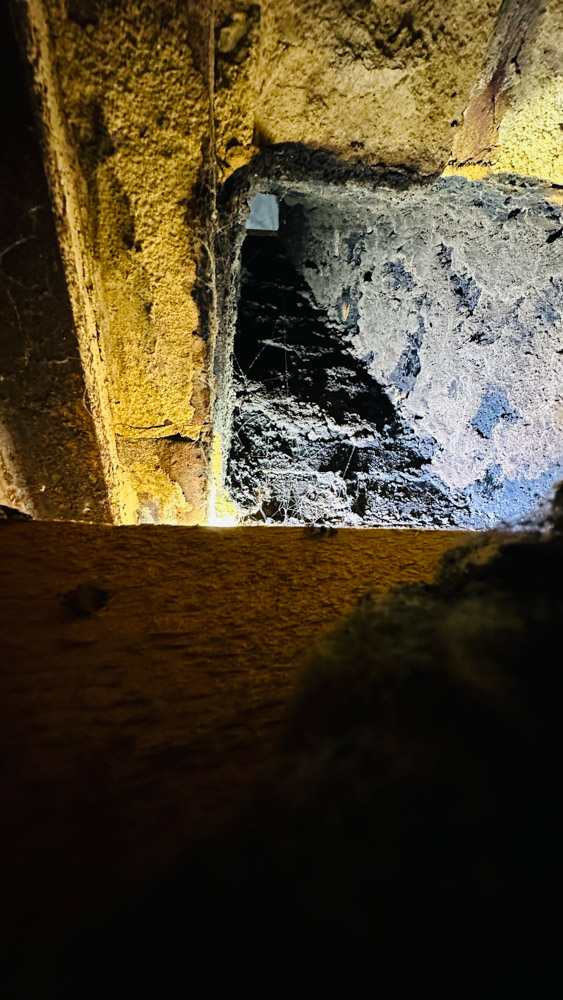
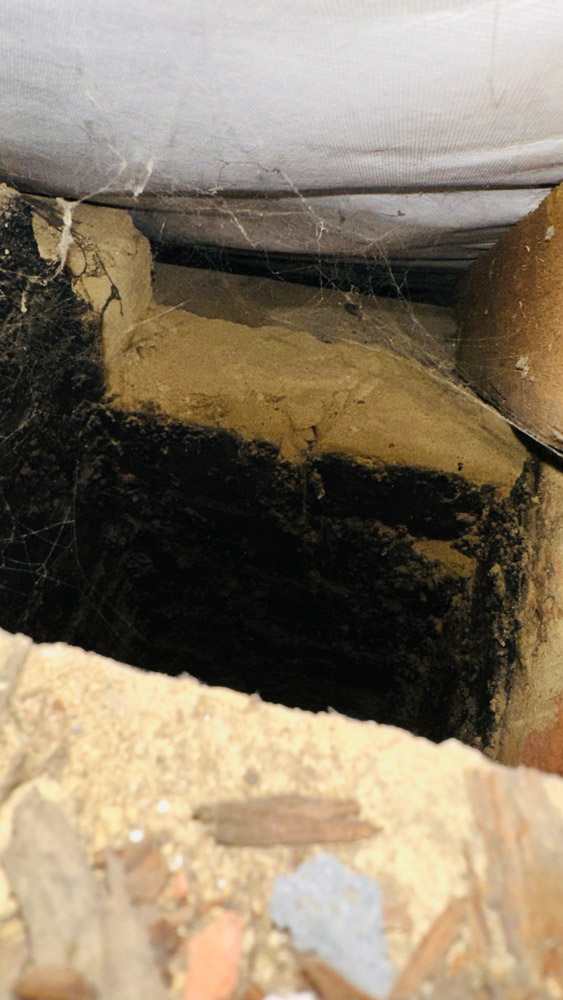
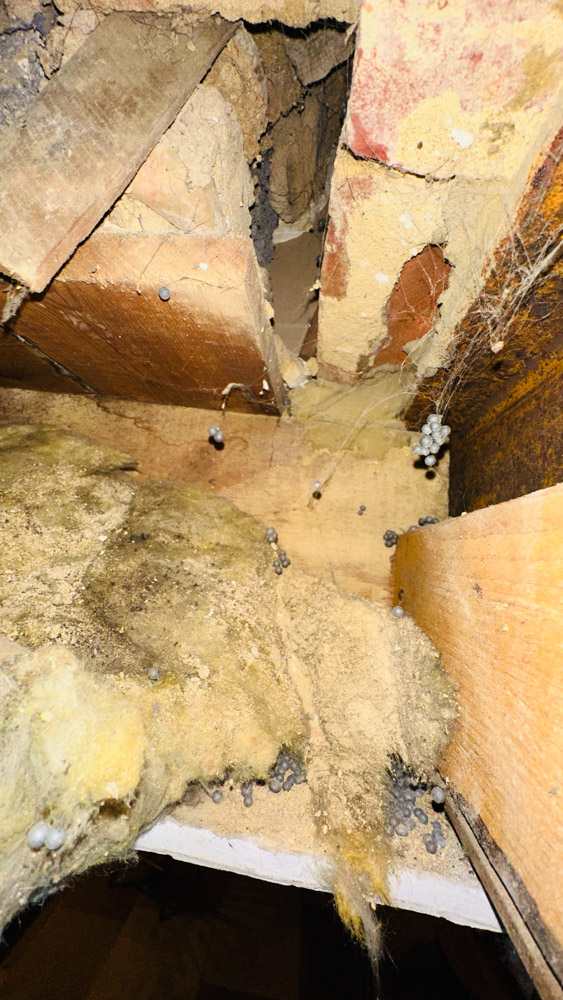
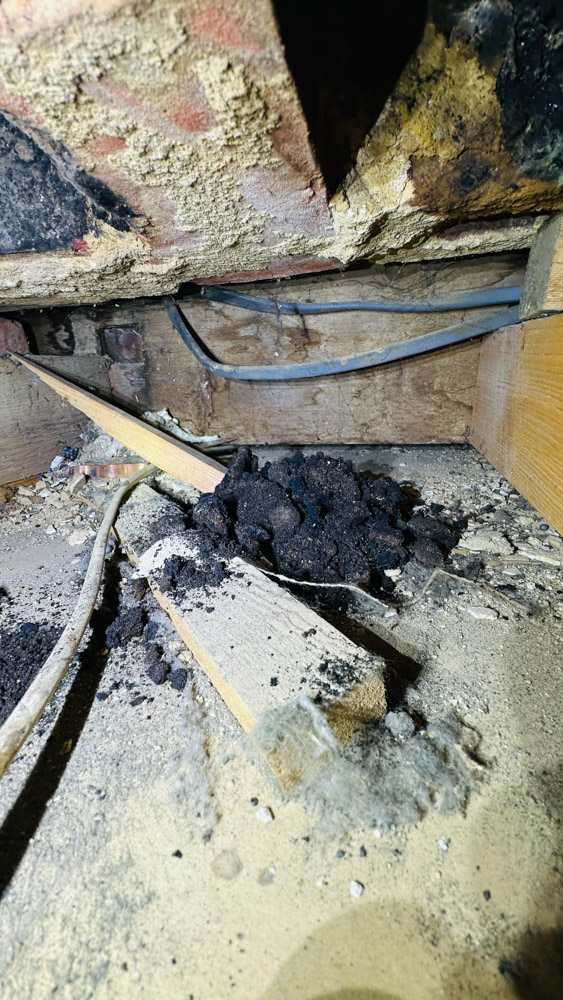
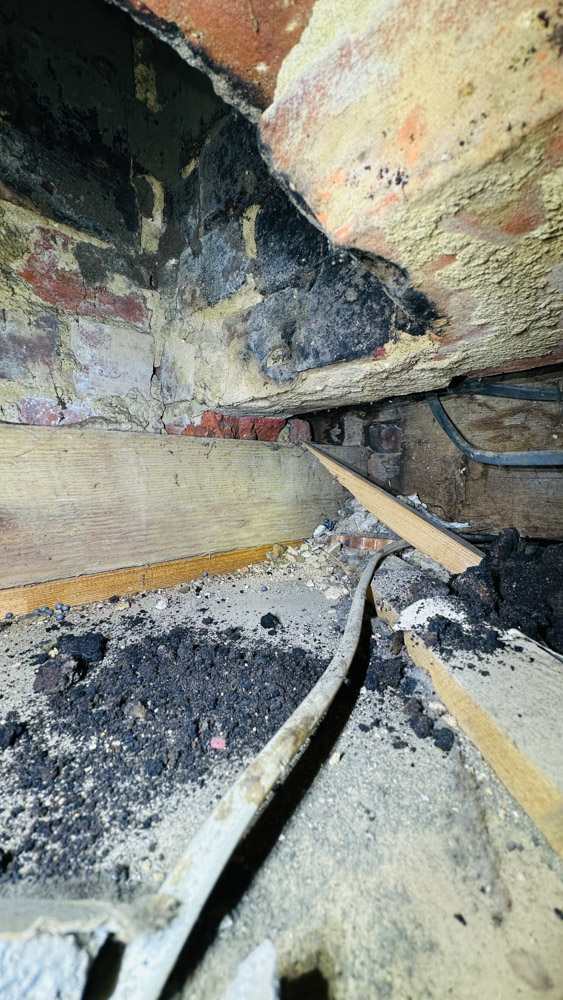
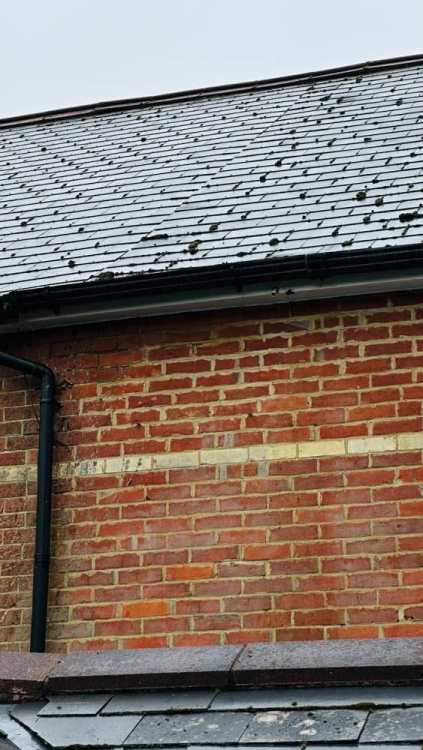
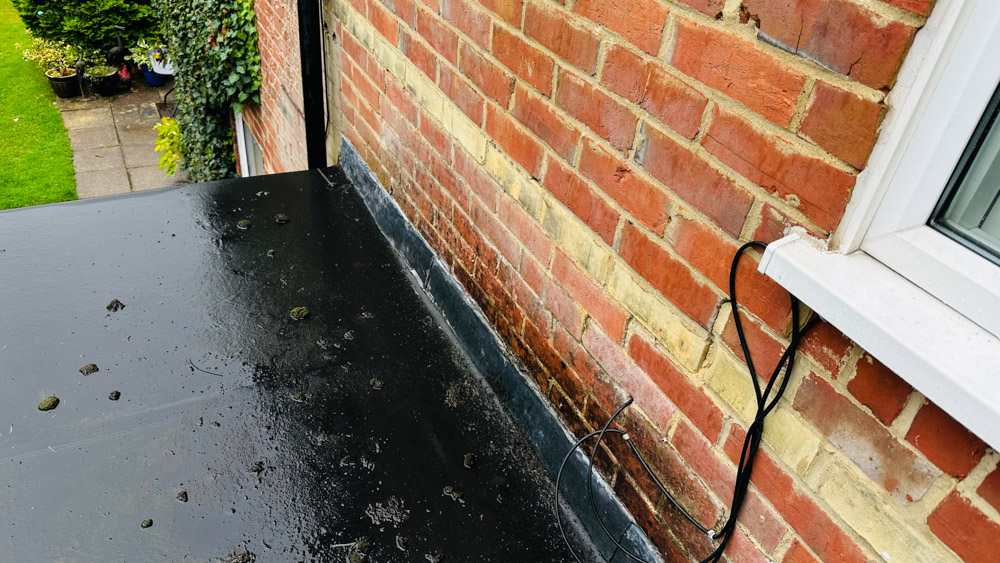
Hi everyone, Hoping someone can help me here, this post will be pic heavy! We bought a house two years ago, a 1904 cottage, which, peculiarly, is a cavity wall home, which is apparently rare for the period. The cavities are filled with the polystyrene beading. During the survey, it was pointed out to us that there was a patch of damp in the kitchen ceiling, just next to the cooker, but the surveyor believed it to be historic, and likely due to water ingress from a broken piece of gutter via the brickwork outside, since the patch is located directly next to where the flat roof kitchen extension meets the original house. The patch always felt damp to the touch, and over the course of the two years we've lived here, the patch has increased in size by about 10%, but has never felt any wetter or dryer. Here is a picture of the cooker, with the damp area cut out: Inside the hole was a load of rock hard black stuff, along with rockwool insulation, and lots and lots of horsehair fibre. What wasn't there was any obvious sign of where the water was coming from. However, there was this enormous vent that ran all the way from the hole to the eaves in the roof - this is a shot looking directly up the hole, there are two of these vents side by side: As far as I can tell, there is absolutely no signs of any actual damp. However, the brickwork is completely black. I'm thinking either black mould, which is terrifying, given that this leads into the eaves, directly next to our loft bedroom, or could it be historic soot from a fireplace vent of some kind? Here is a picture of the vent from the top, inside the eaves, with the roof felt visible. Everything here appears to be dry and solid, with no real signs of any visible damp. Here's looking down the vent back into the kitchen: Here are a few more shots of the hold and surrounding area - this is directly to the right of the hole, facing back into the kitchen. The RSJ is visible, and it has signs of rust. : This shot is directly above the cooker vent - this is the black stuff I was talking about: And finally, here is the hole close up: On this one you can see the rust on the RSJ, so I assume been some long term ingress of water, but what I don't understand is that nothing in the surrounding area is wet. Not even remotely. It's all nice and dry, and it's frankly a bloody mystery how come this patch of ceiling was consistently damp for over two years. If anyone has theories they can share with me, I'd really appreciate it. Thanks for looking G