Pappa
-
Posts
72 -
Joined
-
Last visited
Pappa's Achievements
Member (3/5)
4
Reputation
-
Thanks guys I will put in an extra circuit for oven. Any thoughts about external electrics? In my original plan, I was thinking of appending an external socket onto kitchen ring and an external socket on to ground floor ring. Also a dedicated circuit for external lighting that combines both front and back. Does this sound sensible? I don't want the external sockets to trip my kitchen circuit or my ground floor circuit. Same question regarding lighting... Should front external lights be on the same circuit as rear external lights? Or stick them with the ground floor lighting circuit? I could easily create more circuits... 20a Front external socket radial 20a Rear external socket radial 6a front external lights 6a rear external lights. However is this overkill? Thanks again.
-
Circuit 7 We like to have washer dryer in bathroom. I know sockets and appliances need to be positioned in the right zone. This sounds interesting. Can you tell me more please. How does this work exactly? Thanks again for all the comments.
-
Hi guys I'm rewiring my 177 sqm house. I will carry out first fix. Electrician to make final connections at consumer unit. I would be gratefully if you could give me feedback on my circuit design: 🏠 SOCKET CIRCUITS 1. Ground floor ring (32A) lounge 1 lounge 2 hall WC sockets One external socket at front of house. 2. Kitchen ring (32A) all kitchen sockets including oven. One external socket at rear of house. 3. First floor (32A) Bed 1 Bed 2 Bed 3 Bed 4 (extension) Bathroom first floor landing home office (light load) 4. Loft ring (32A or radial) Bed 5 loft office (light load) Loft bathroom sockets 5. Outhouse radial (20–32A SWA) 36 sqm outhouse One external socket. 6. Basement sockets (20–32A) 2 rooms, currently damp. To be waterproofed within the next 10 years. Most critical infrastructure here. Eg router 🔥 HIGH LOAD / INFRASTRUCTURE CIRCUITS 7. Cooker (32–45A radial) 8. Heat pump (dedicated radial) 9. EV charger (40A dedicated) 10. MVHR (small dedicated supply / FCU) 11. PV inverter AC circuit grid-tied feed into CU protected by dedicated MCB/RCBO 12. Battery storage system feed 13. Fire Alarm (6A Radial) 14. Security PIR (6A radial) 💡 LIGHTING CIRCUITS 15. Basement lighting (6A) 16. Basement Emergency light at consumer unit (6A) 17. Ground floor lighting (6A) 18. First floor lighting (6A) 19. Loft lighting (6A) 20. External lighting front and back (6A) Is any of the above insufficient or overkill? Thanks in advance P
-
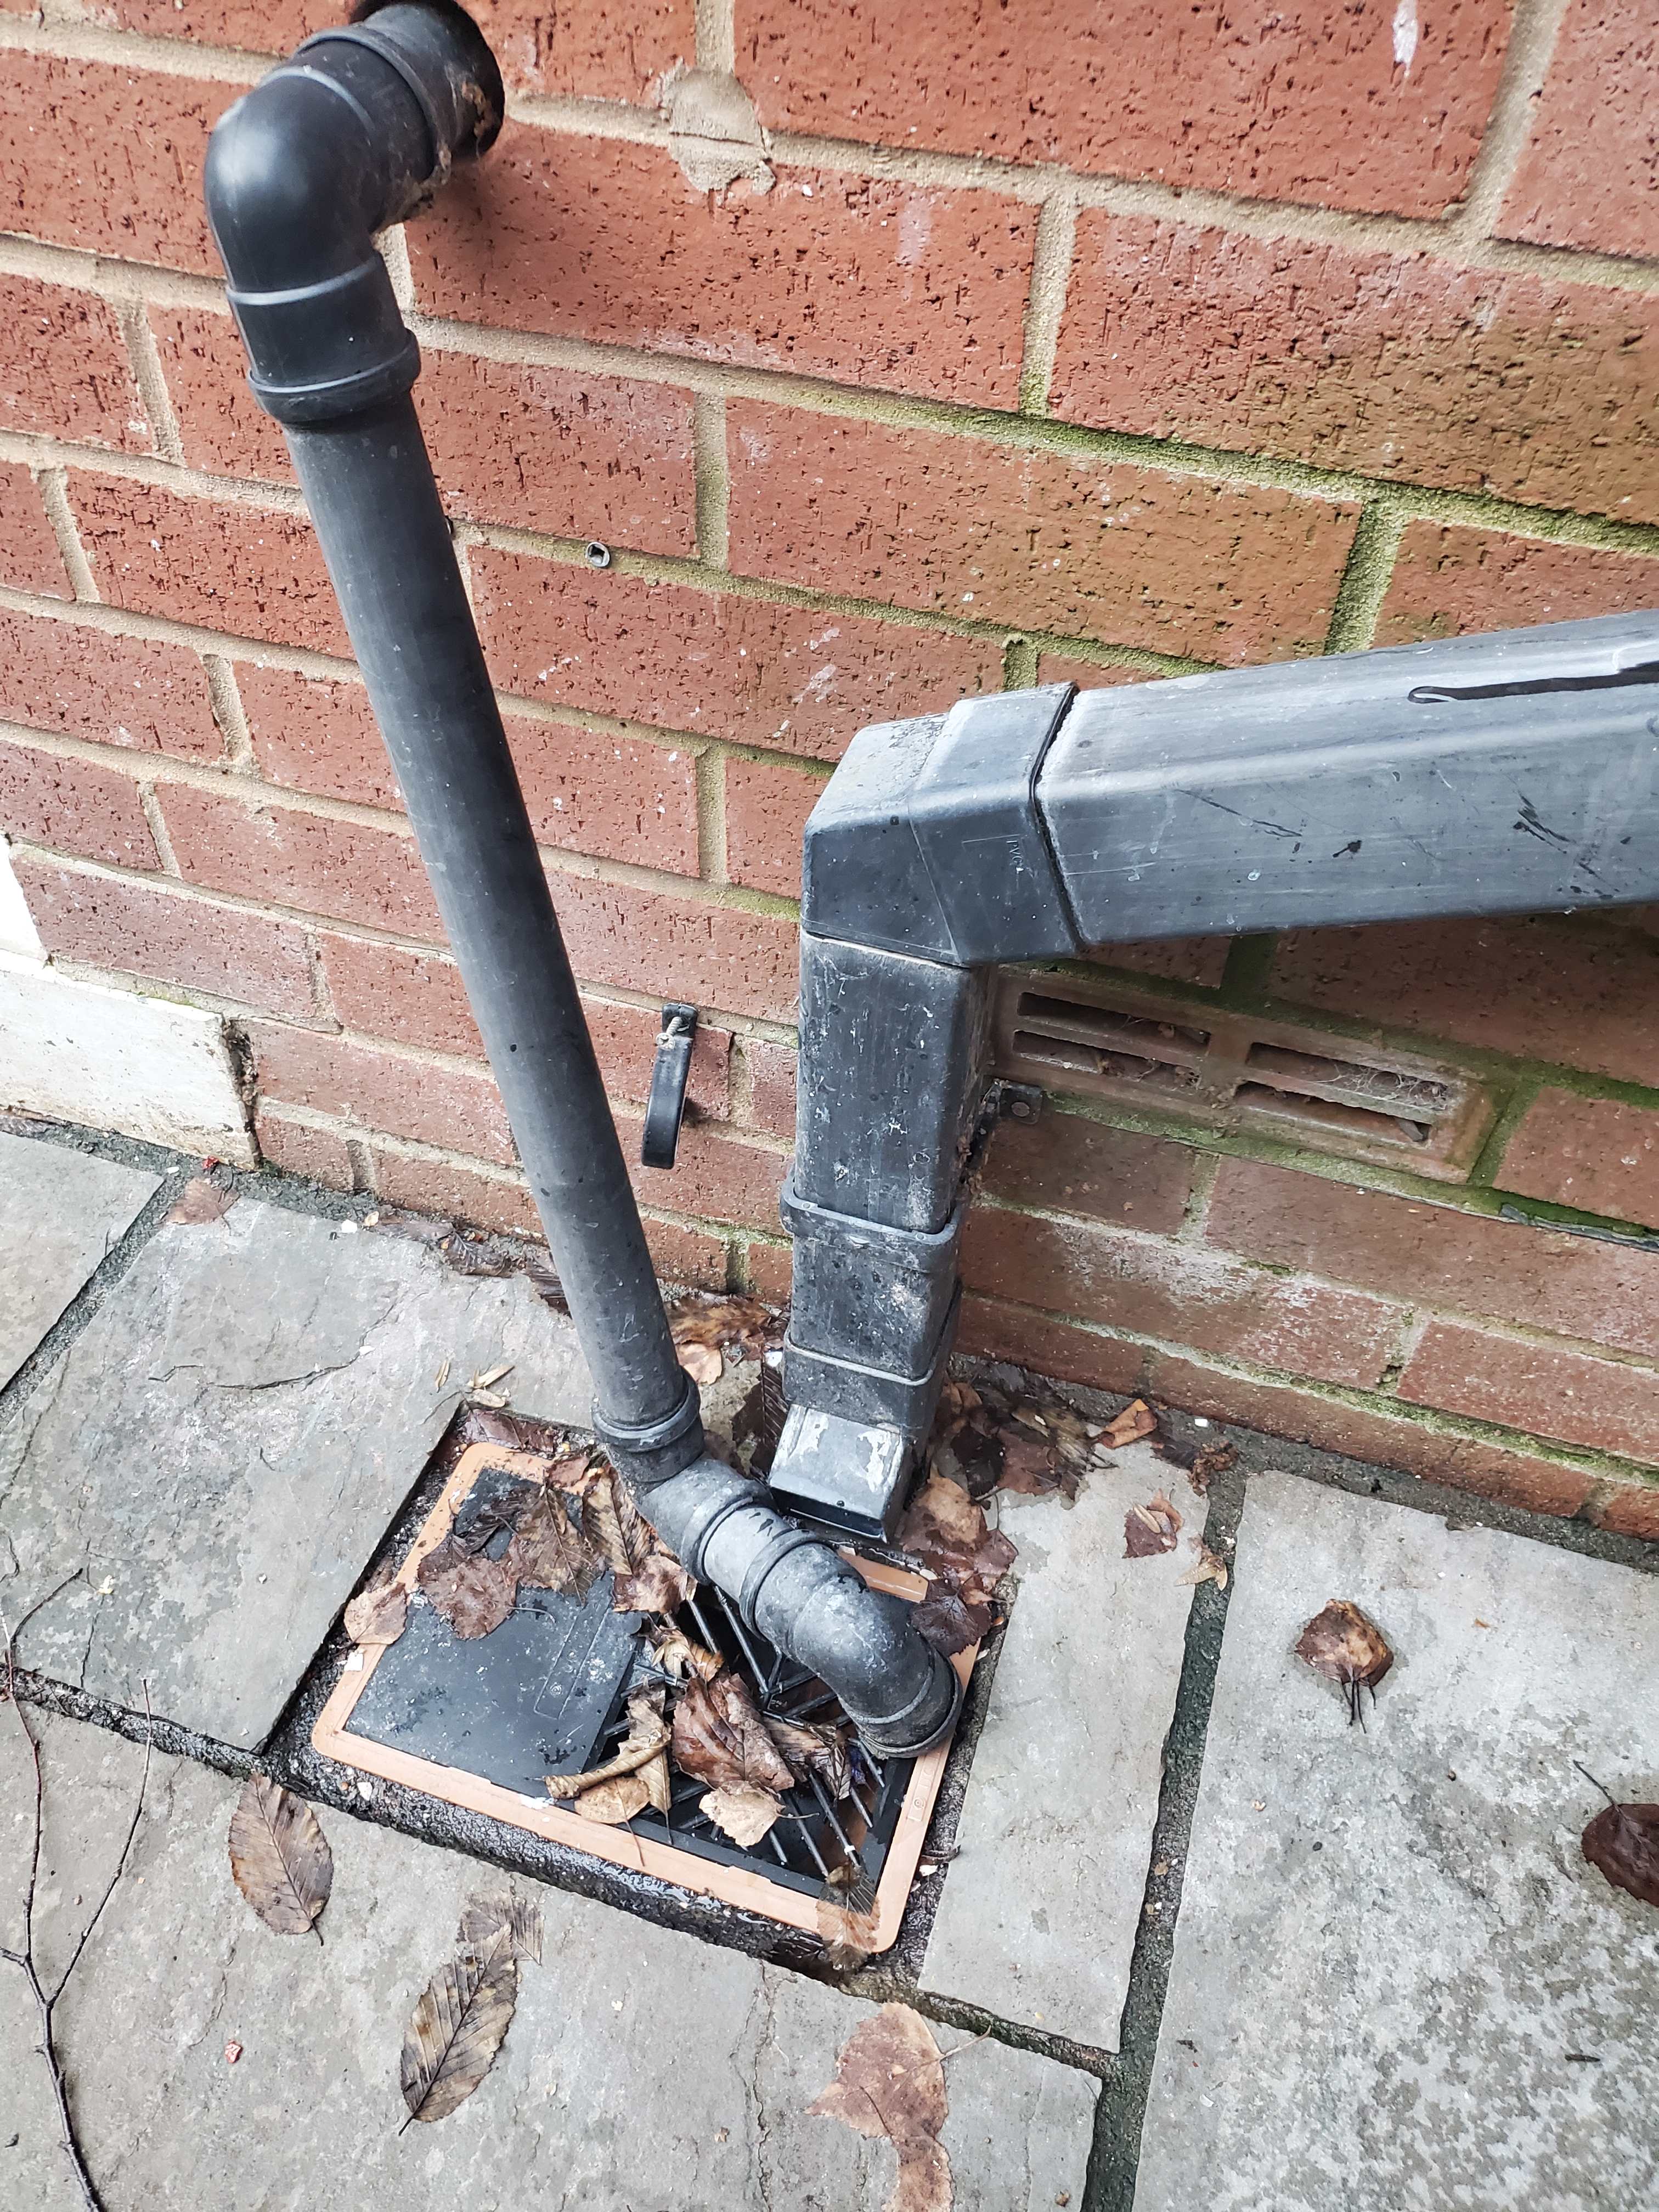
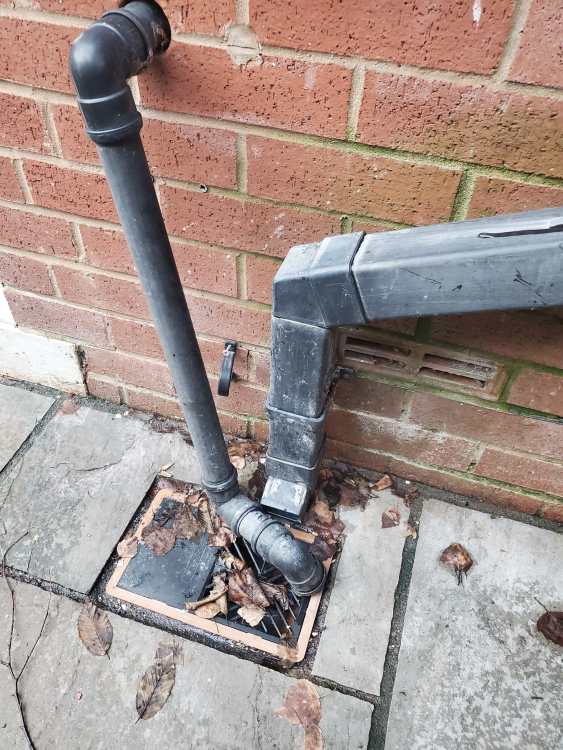
Many thanks. I'll try to do it properly first time round. Should I be cutting into the grill so that the pipes definitively exit into the drain and not onto the slabs?
-
Thanks. The round one doesn't quite bend to fit in the grill as things are. I can chop and change to make it fit, however I'm wondering if I should just drill a circular hole at the top of the square pipe to put the round pipe in to or would that be deemed a cowboy job? I want to do a proper job first time so it's done for good. Cheers.
-
Thanks guys The leaves aren't that problematic. It's the fact that the pipes don't drain fully into the hole. Some of the water is splashing onto the slabs, in turn that is what is washing the trivial number of leaves into the damp external corner. I'm wondering if the round pipe on the left (from kitchen basin) should go directly into the square pipe coming from upstairs bathroom/washing machine. I would then need to manipulate the square pipe so it exits directly into the drain as opposed to some of the waste flowing onto the slabs. Thanks again
-
Thanks guys I will CT1 the botched junction to make a tight seal. Horizontal pipes have the proper angle, so does the floor. The attached photo is what is causing leaves to wash up in to the corner. It's not aimed directly into the drain. How do I remedy this? Thanks
-
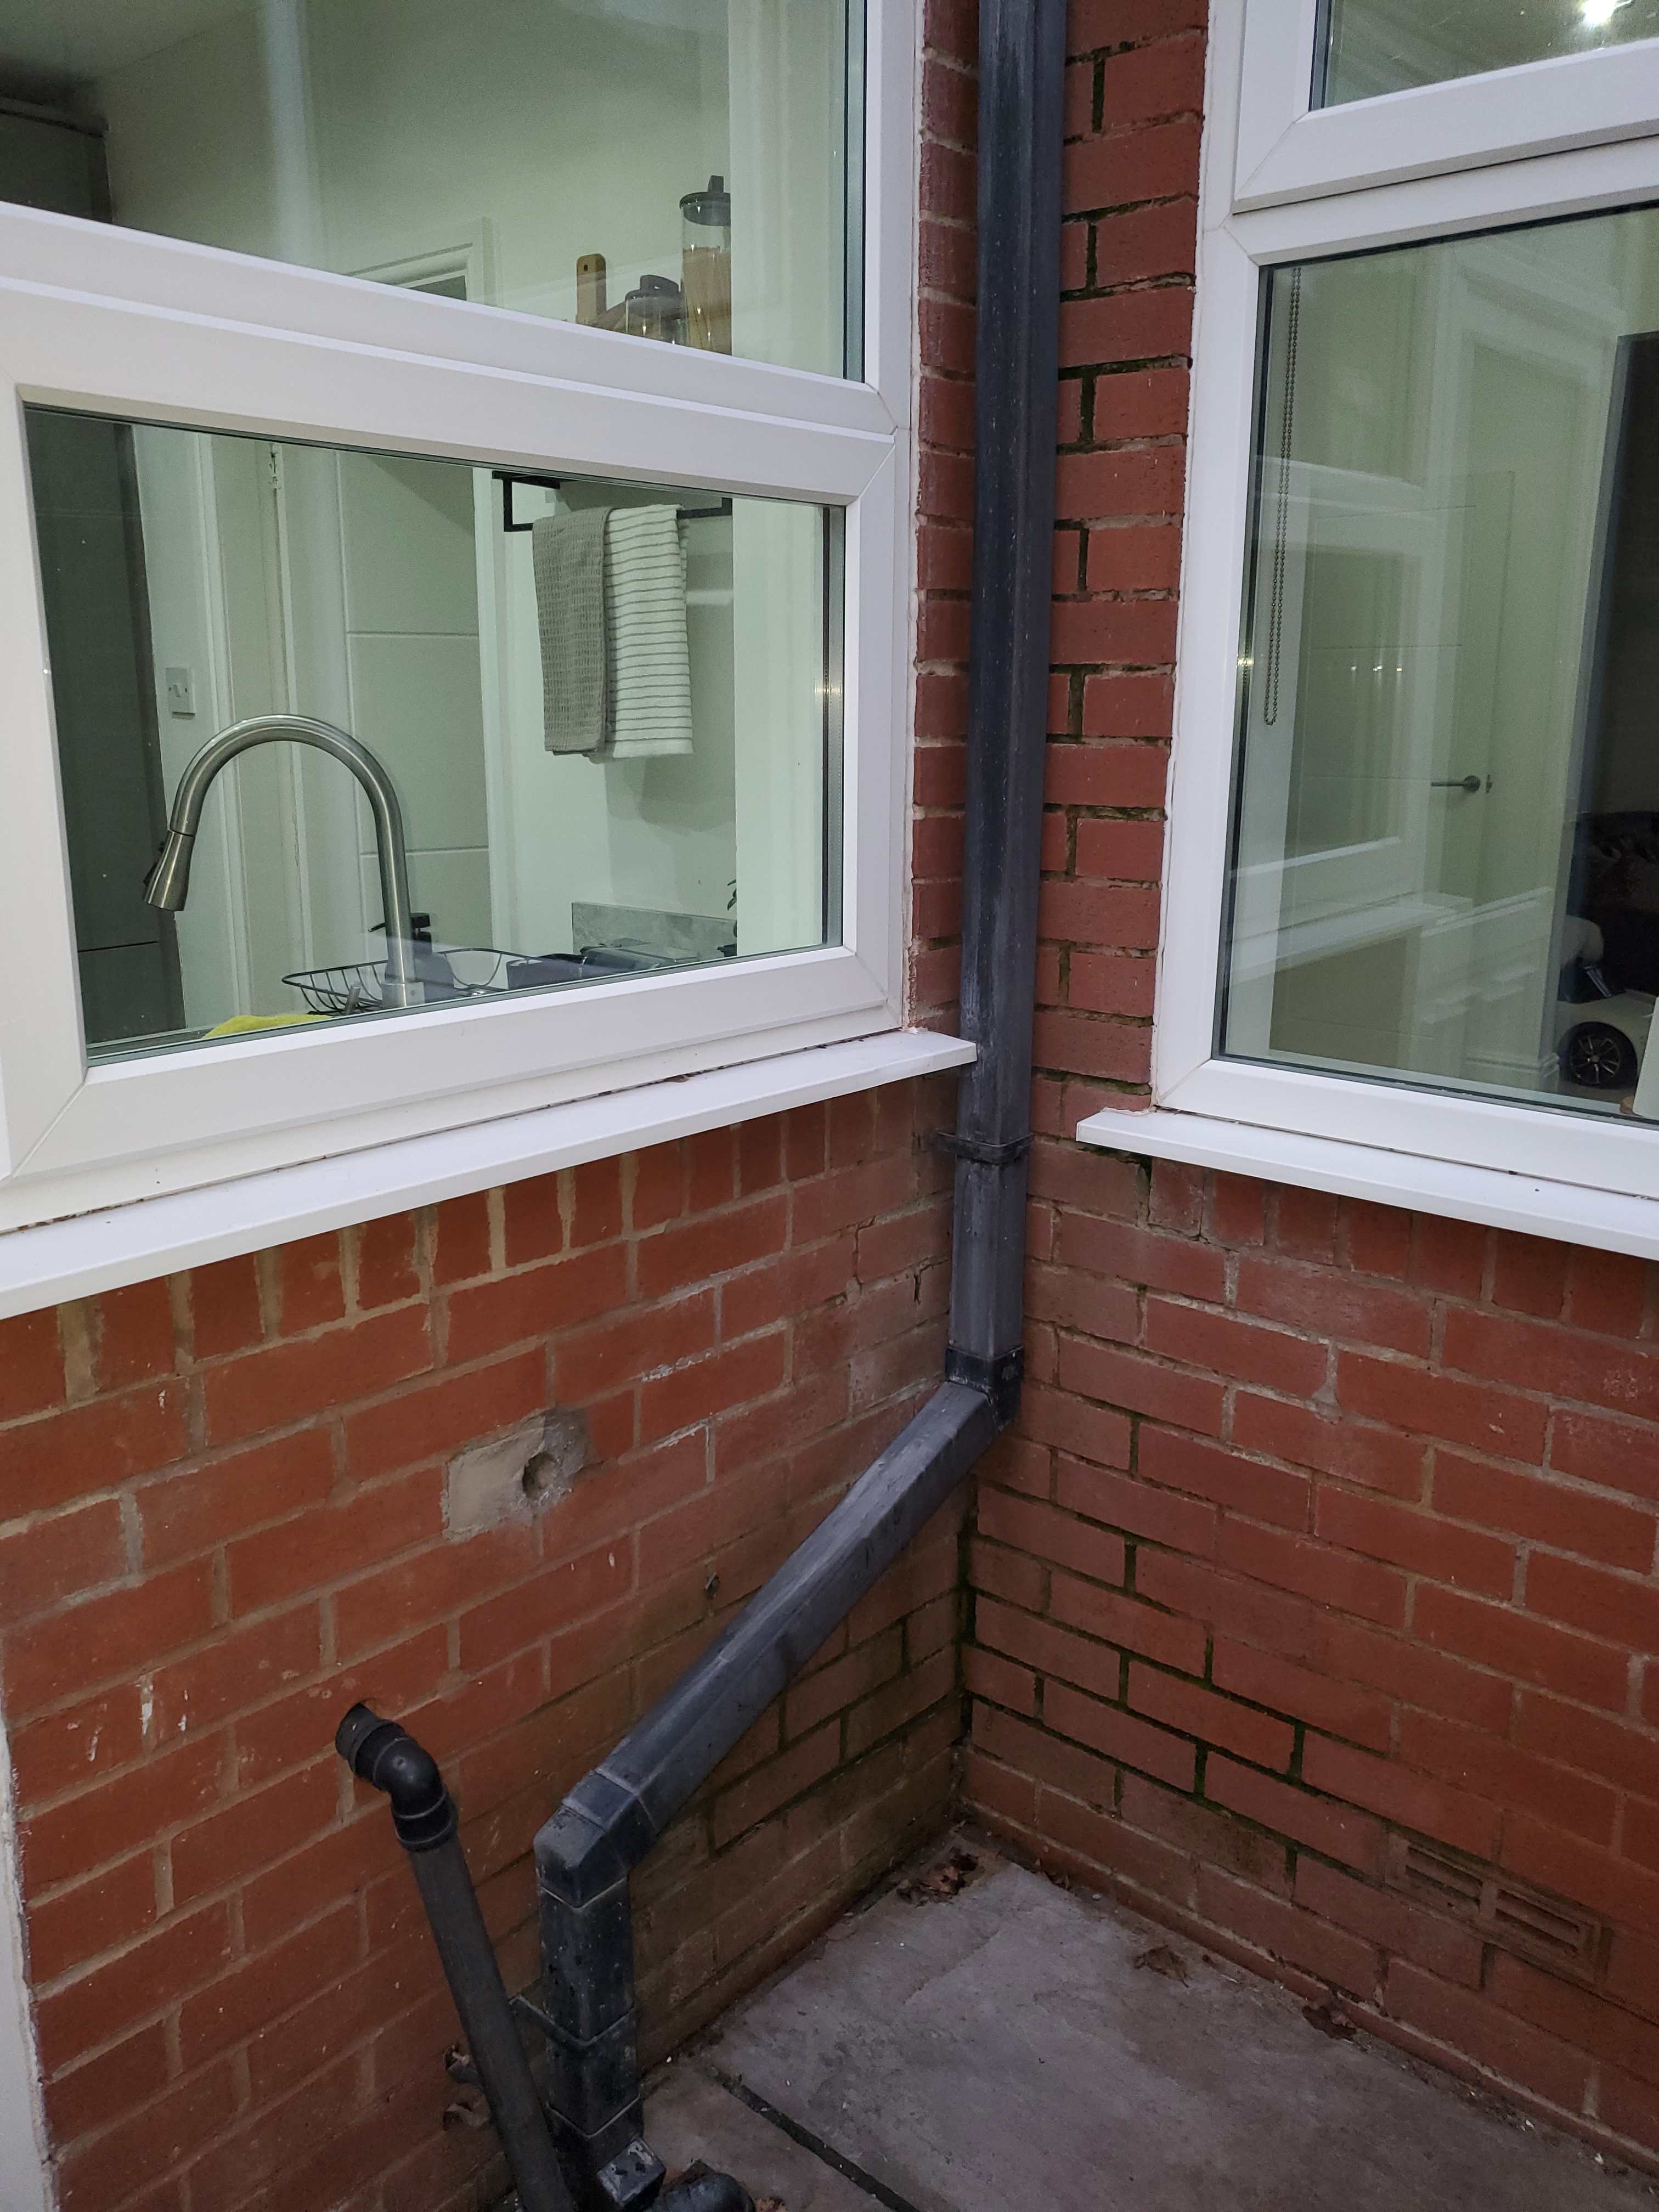
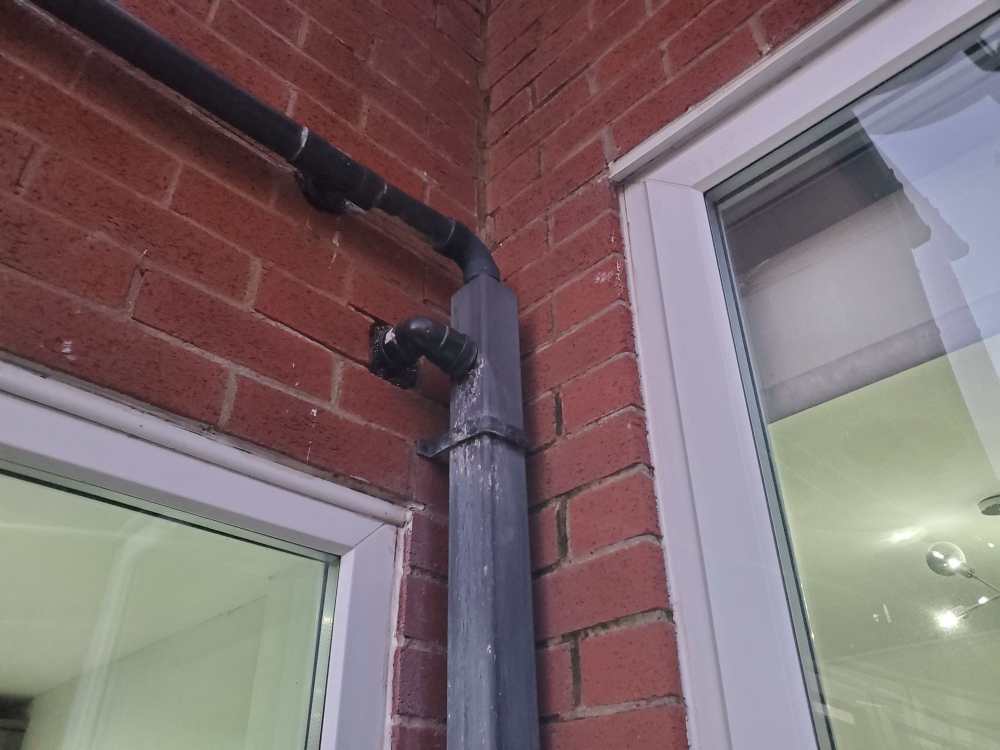
Thanks guys I've had a careful look at this. There is nothing leaking from the top (basin and shower). The bottom pipe coming out of the wall is the washing machine. This is the offending junction. How do I make an airtight seal here? Thanks again
-
Thanks guys. Would you advise doing the pointing before spring if there is X days / hours of dry weather forecasted? How many hours/days would you recommend? How much mortar do I need to rake out and refill? If you could point me in the direction of a useful guide or video that highlights best practice that would be appreciated. Thanks again
-
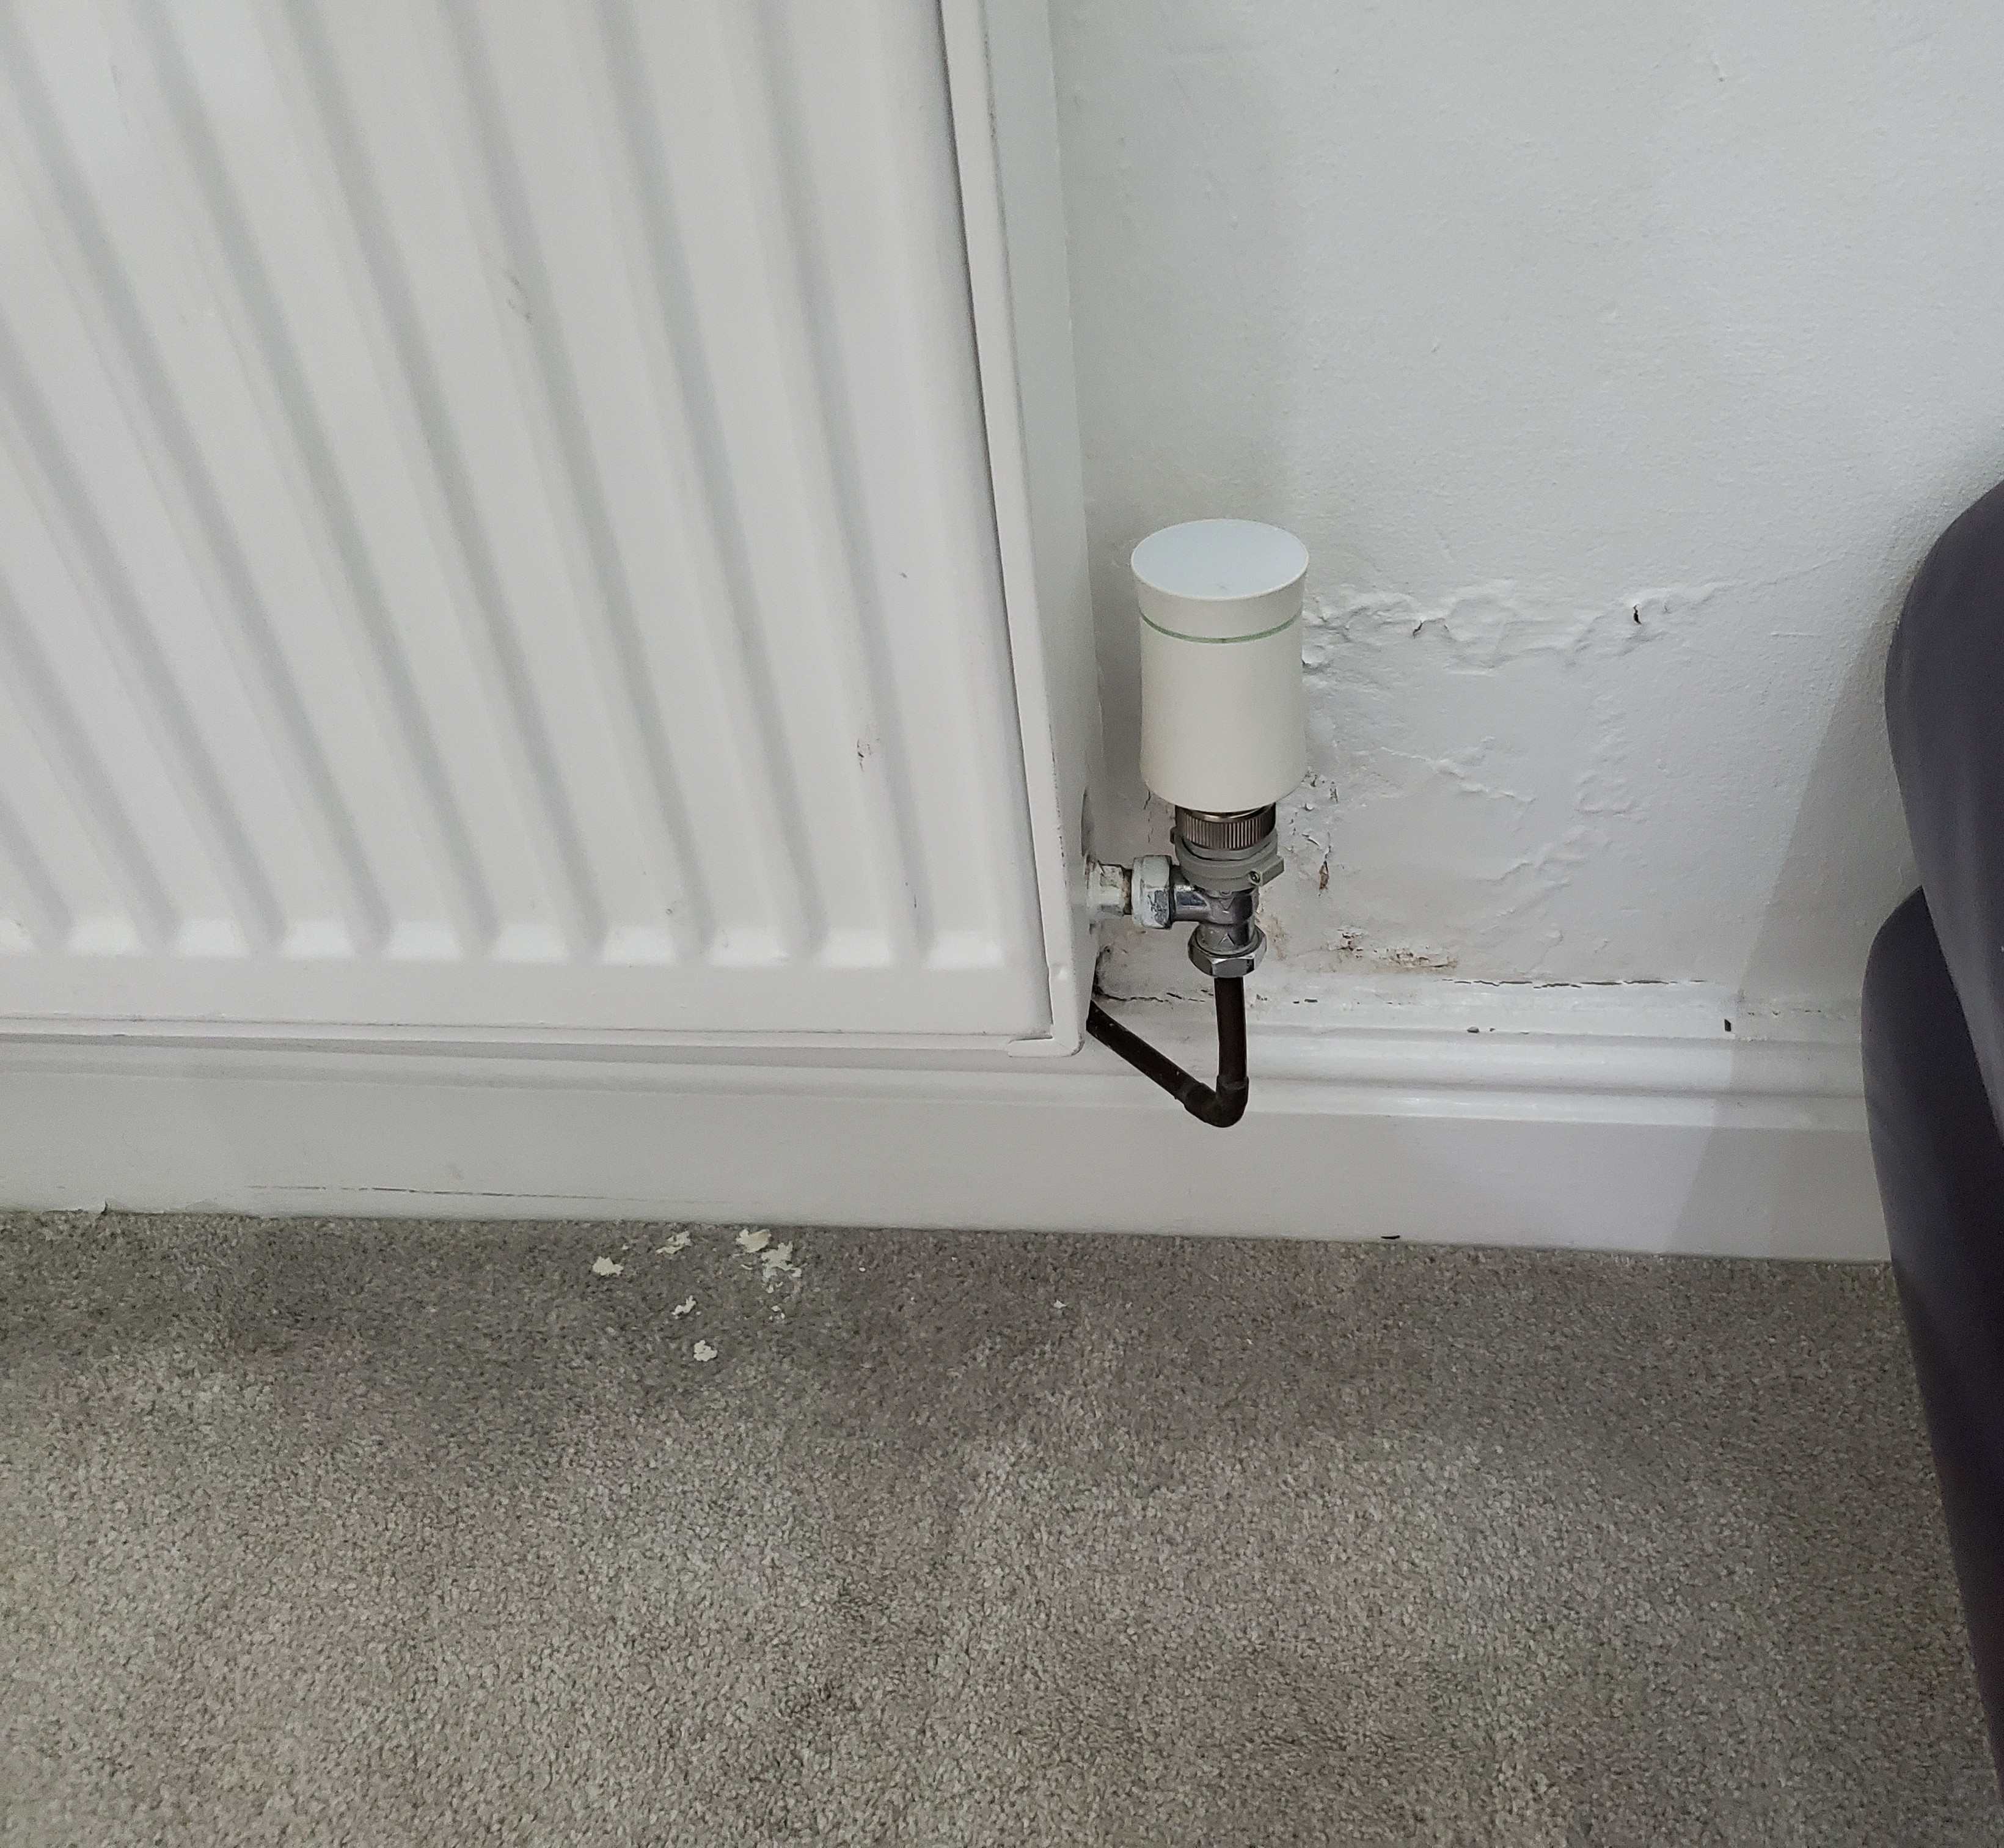
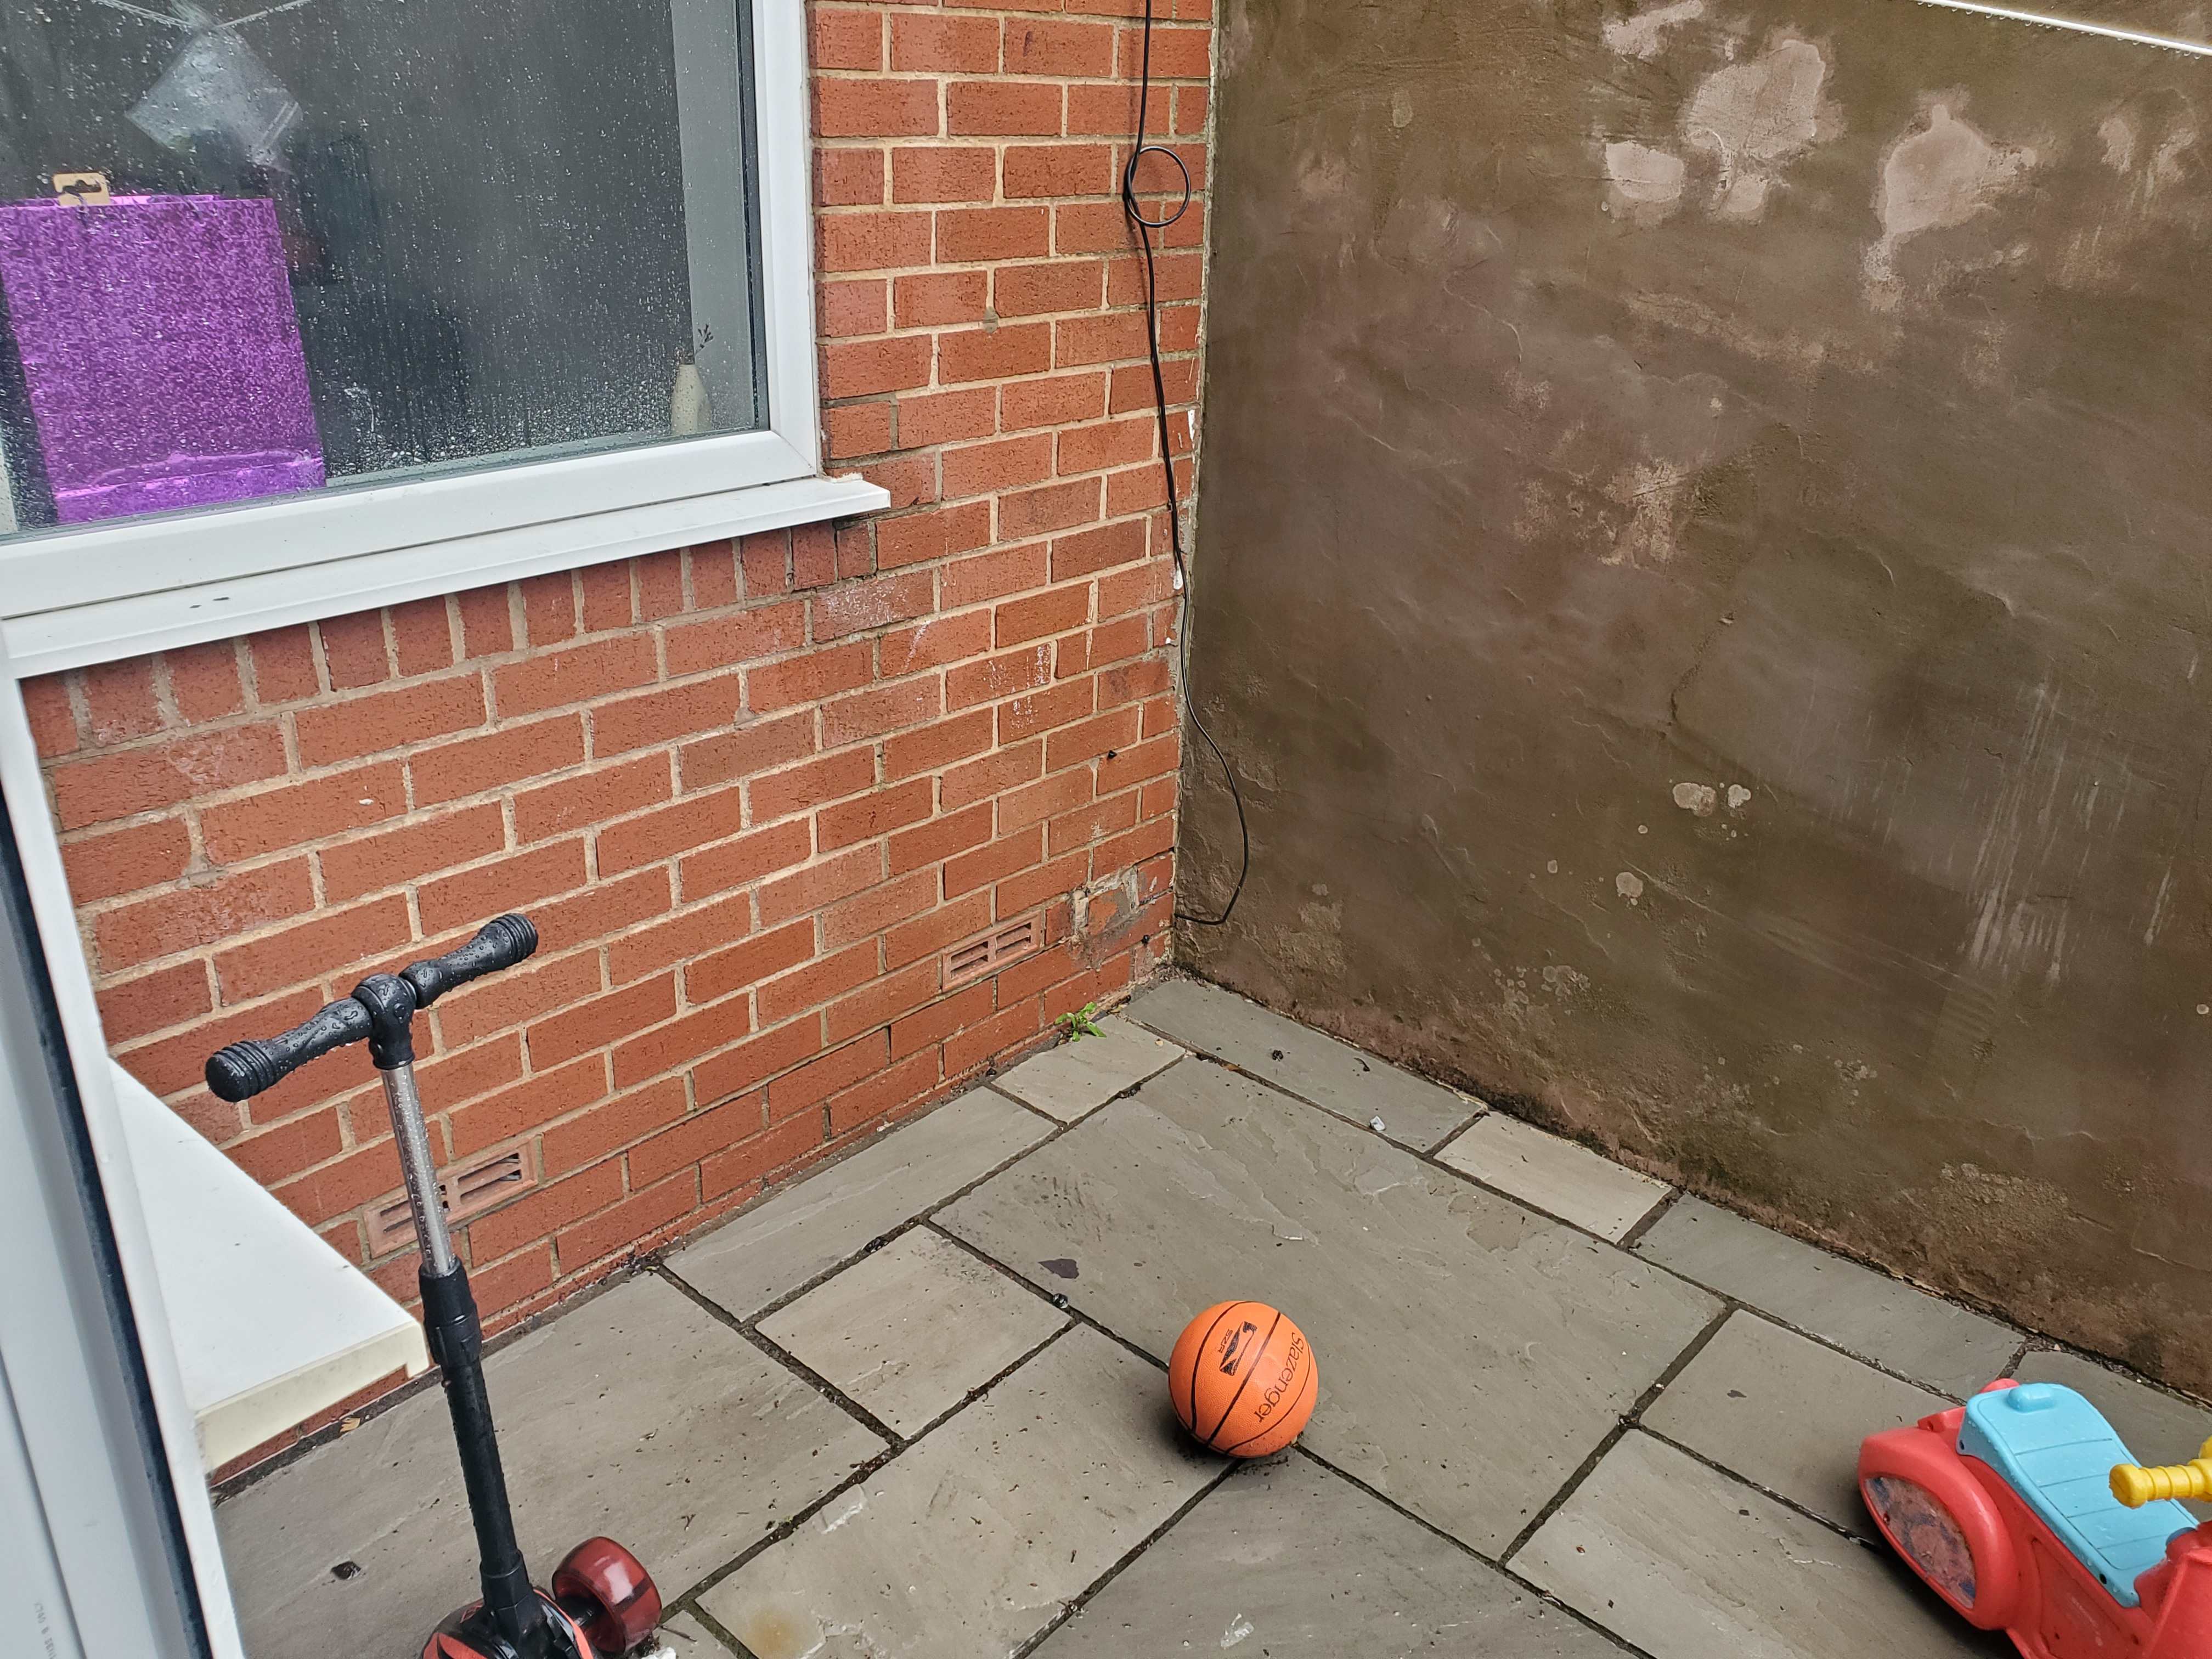
Thanks I thought so too The square patch on the interior is at the external corner or inside the external corner. The paint peels on the floor from behind the radiator correlates to the external picture approximately half way between the vent and the adjacent brick wall
-
Rainwater pipe from roof.

-
-
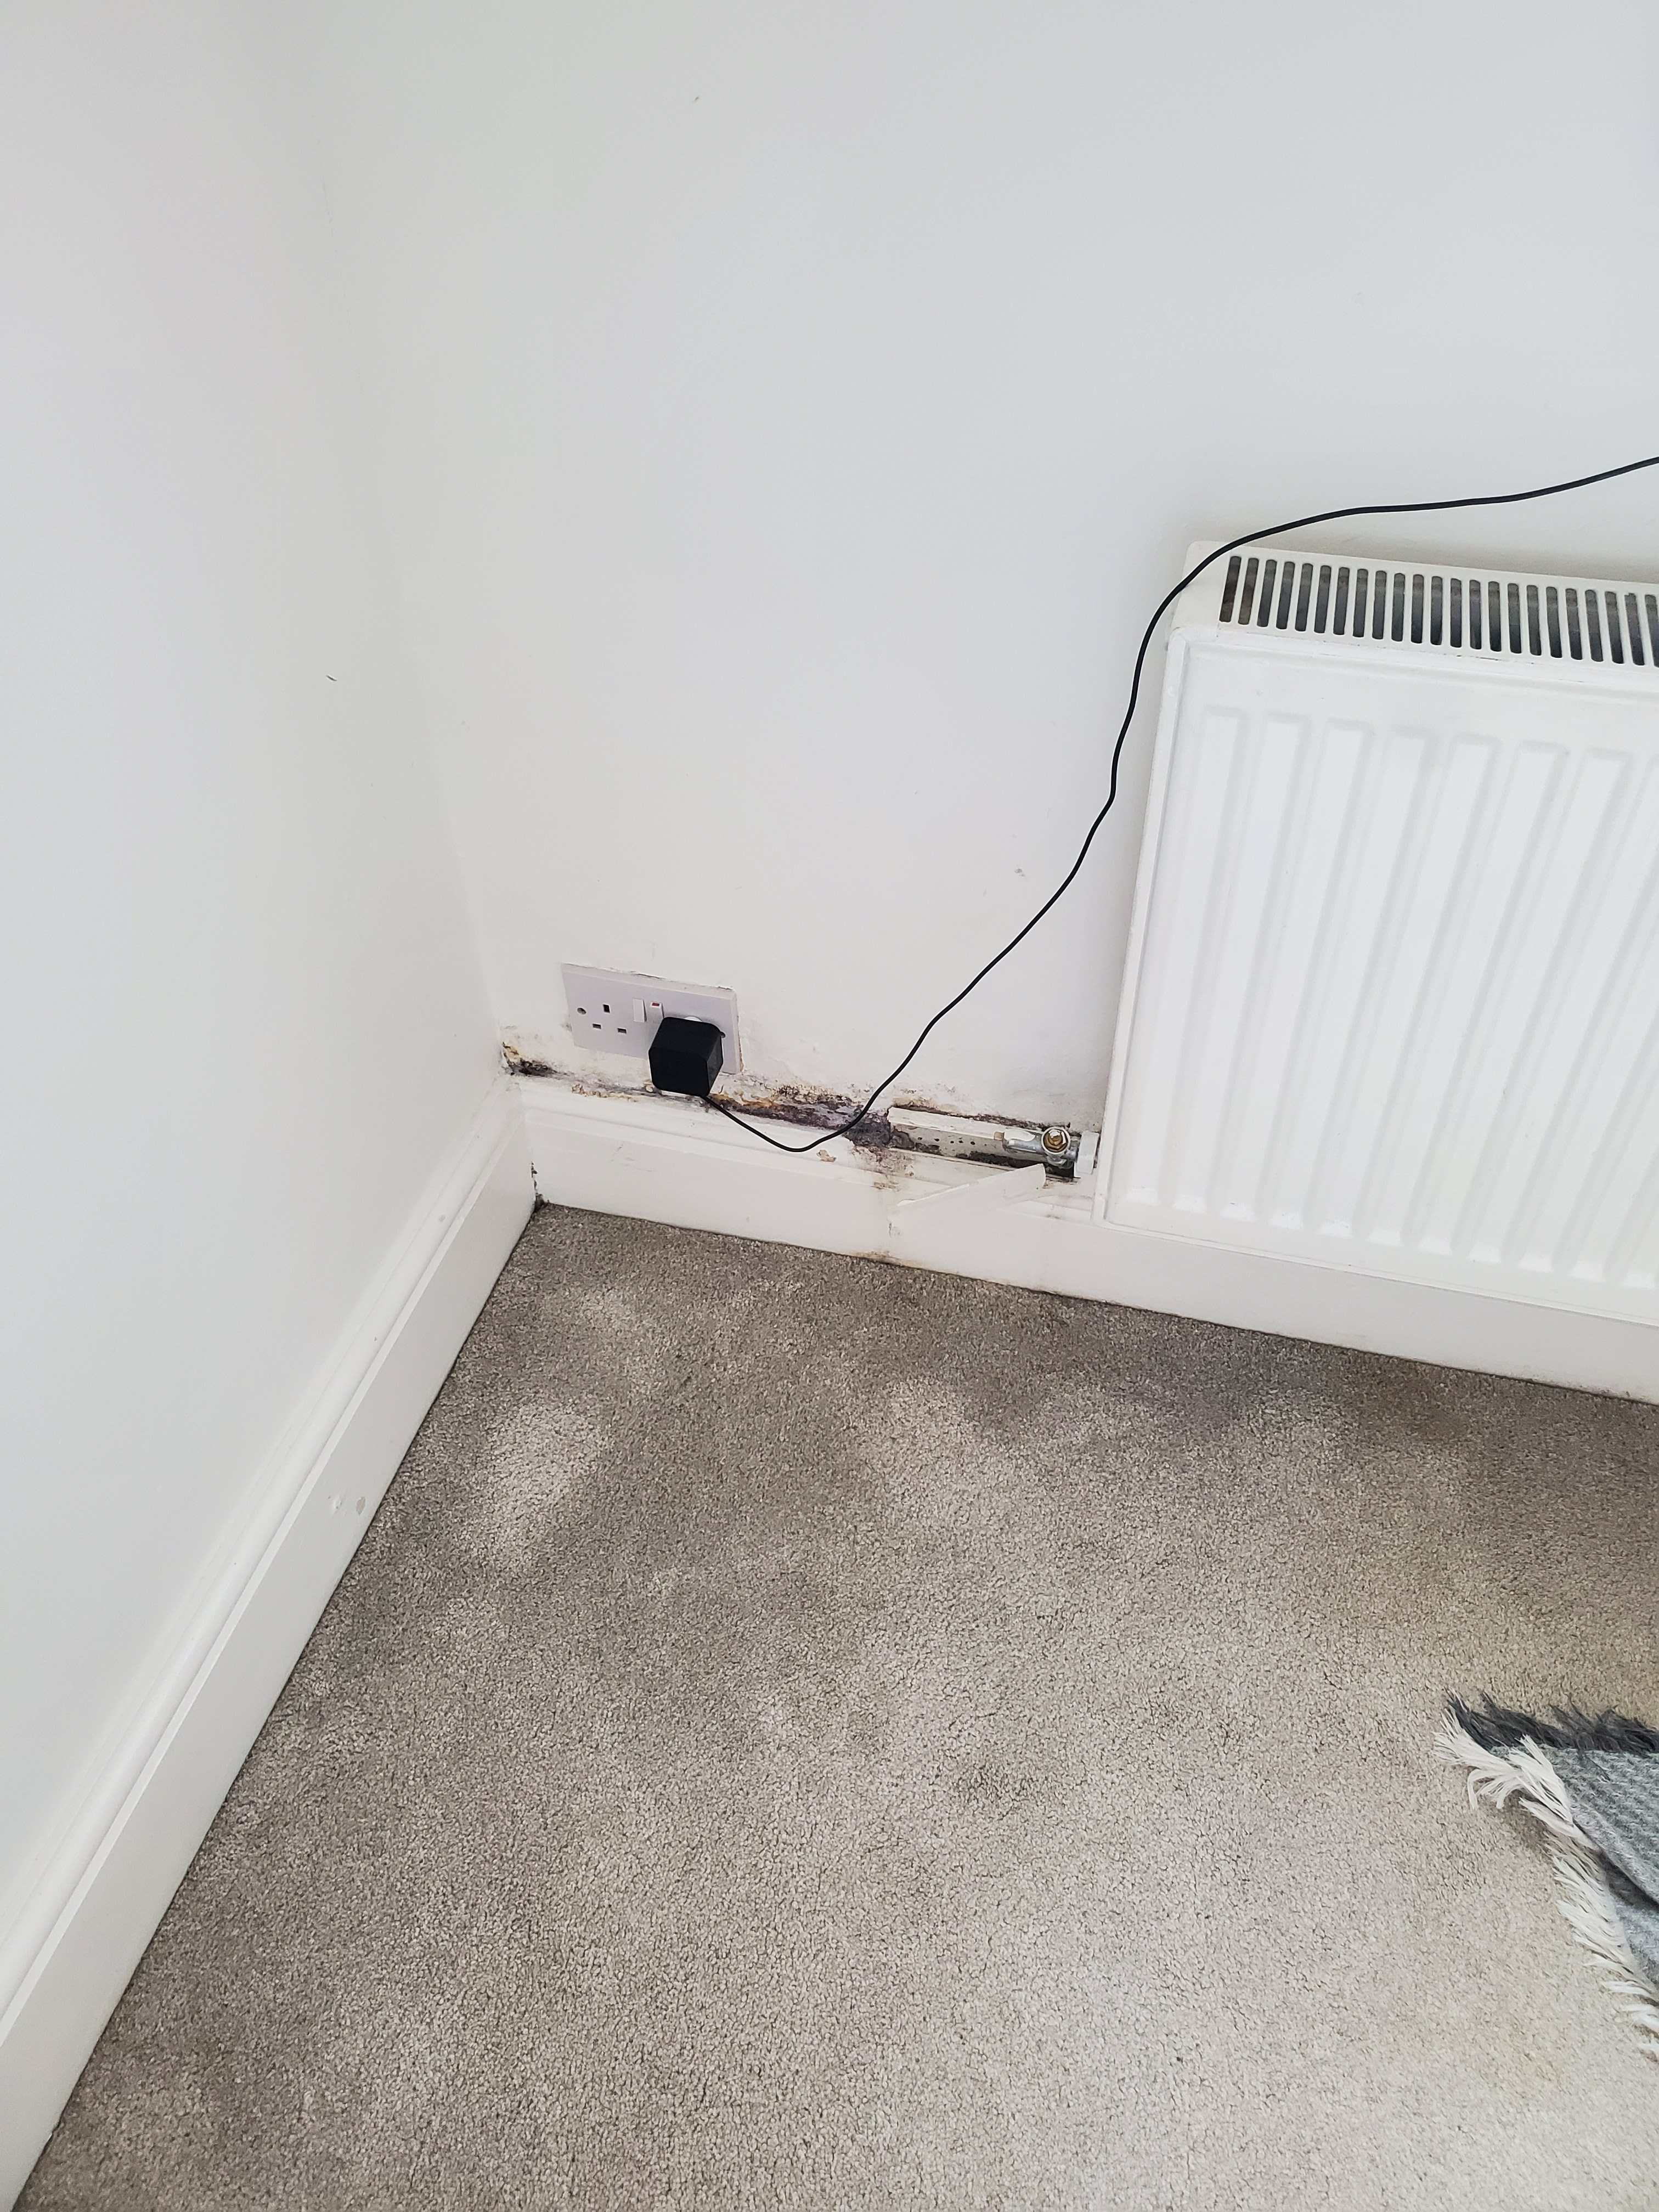
Hi guys. I've got a square patch of damp in my lounge that has just come about in the last month. Directly behind it is a brick wall that runs adjacent or away from this wall. Please note the paint peeling under the radiator. The external photo is directly behind this location. The DPC looks to be in good condition outside, although there is a rusty nail in the mortar line which has always been there. This brick wall was constructed in the last 20 years, before I bought the house. Relative humidity is consistently less than 60 percent in this room so I don't think it's condensation. Thanks in advance

-
Sorry, plain brick wall. I just guessed that it was cellulose, all I know is that it's white and fluffy. Thanks for confirming. The house is Victorian so 100 or more years, however this brickwork is definitely not Victorian. Not sure when it was given a facelift or why. I was thinking the chemical dpc would be easiest? Will that suffice as a patch up repair job or will I have to replace as like for like? Thanks P
-
Hi guys Please see internal/external photos attached. This was done before I bought the house. I'm pretty sure they've ruined the DPC and hence water travelling through the cavity insulation (probably cellulose) to internal wall. What are my options to repair the DPC please? Thanks P