paro
-
Posts
95 -
Joined
-
Last visited
Everything posted by paro
-
Thanks both. I have been round with lasers and a level to check the level across the frames. There is a 5mm delta between them which I am not overly concerned with. My bigger issue now is going to be that my transition from the main house to the extension is slightly off from what was planned based on the frame heights which means I am going to have to try and do something clever, I'll do a separate post for that though.
-
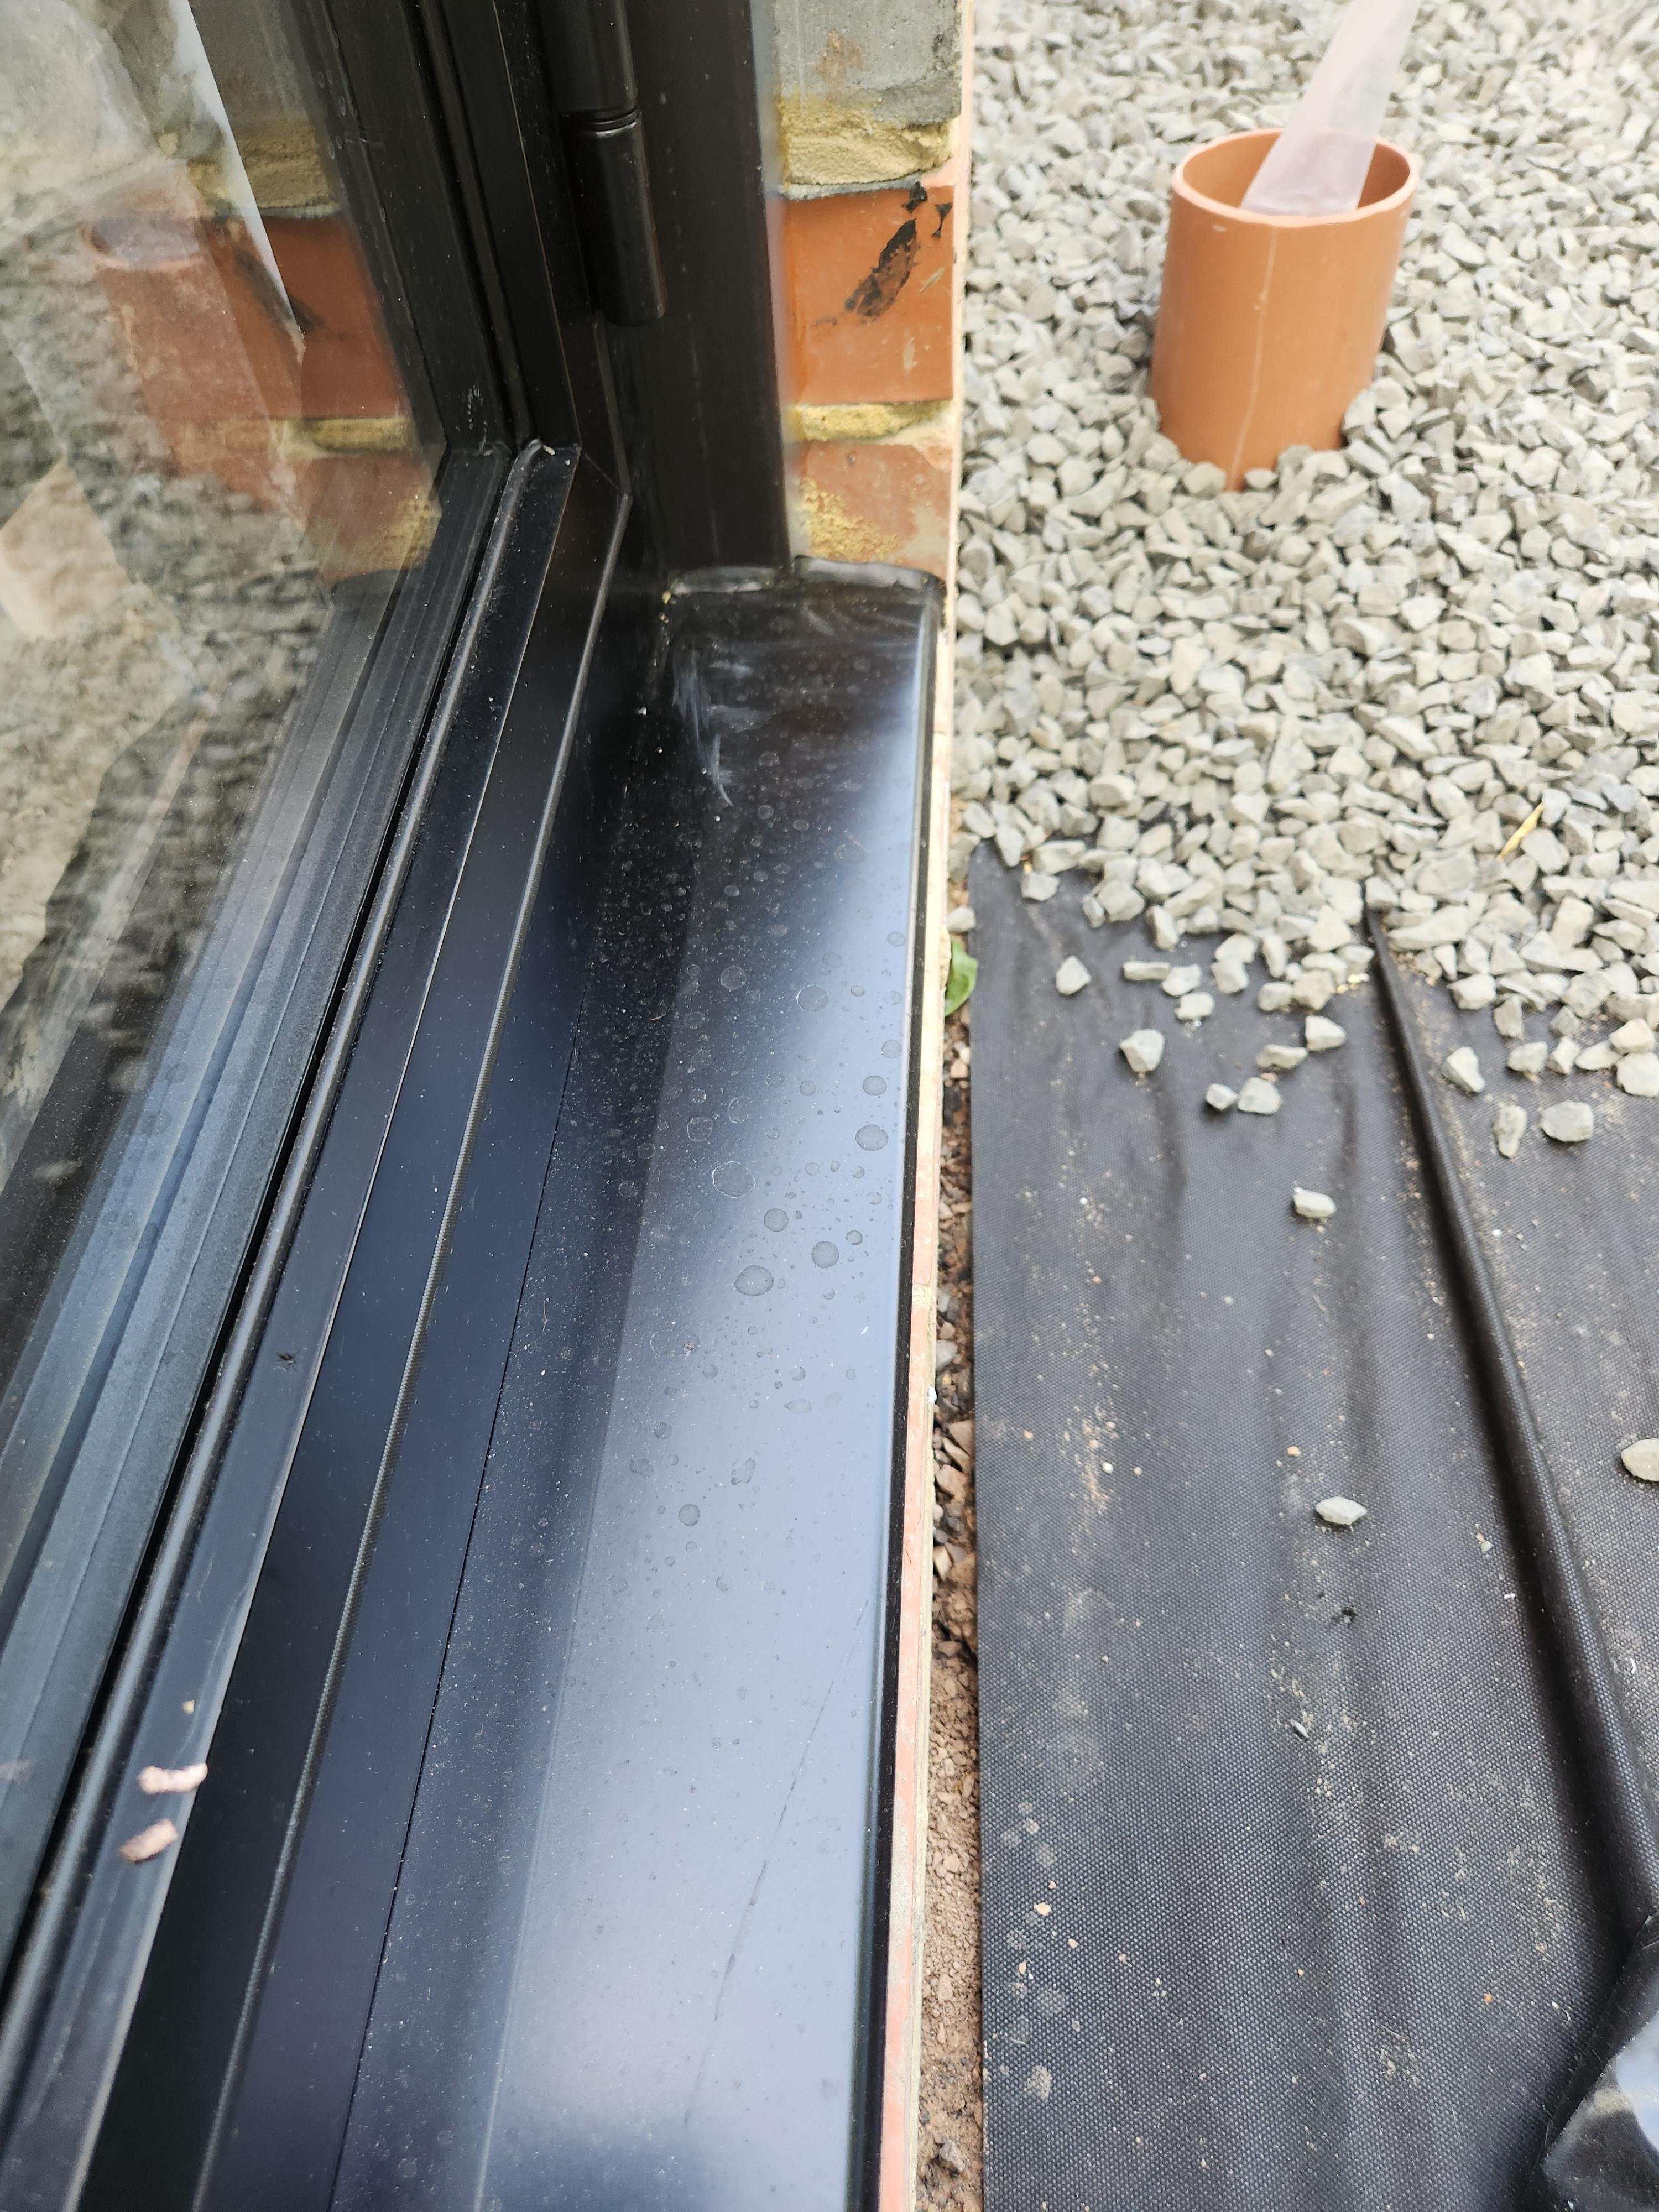
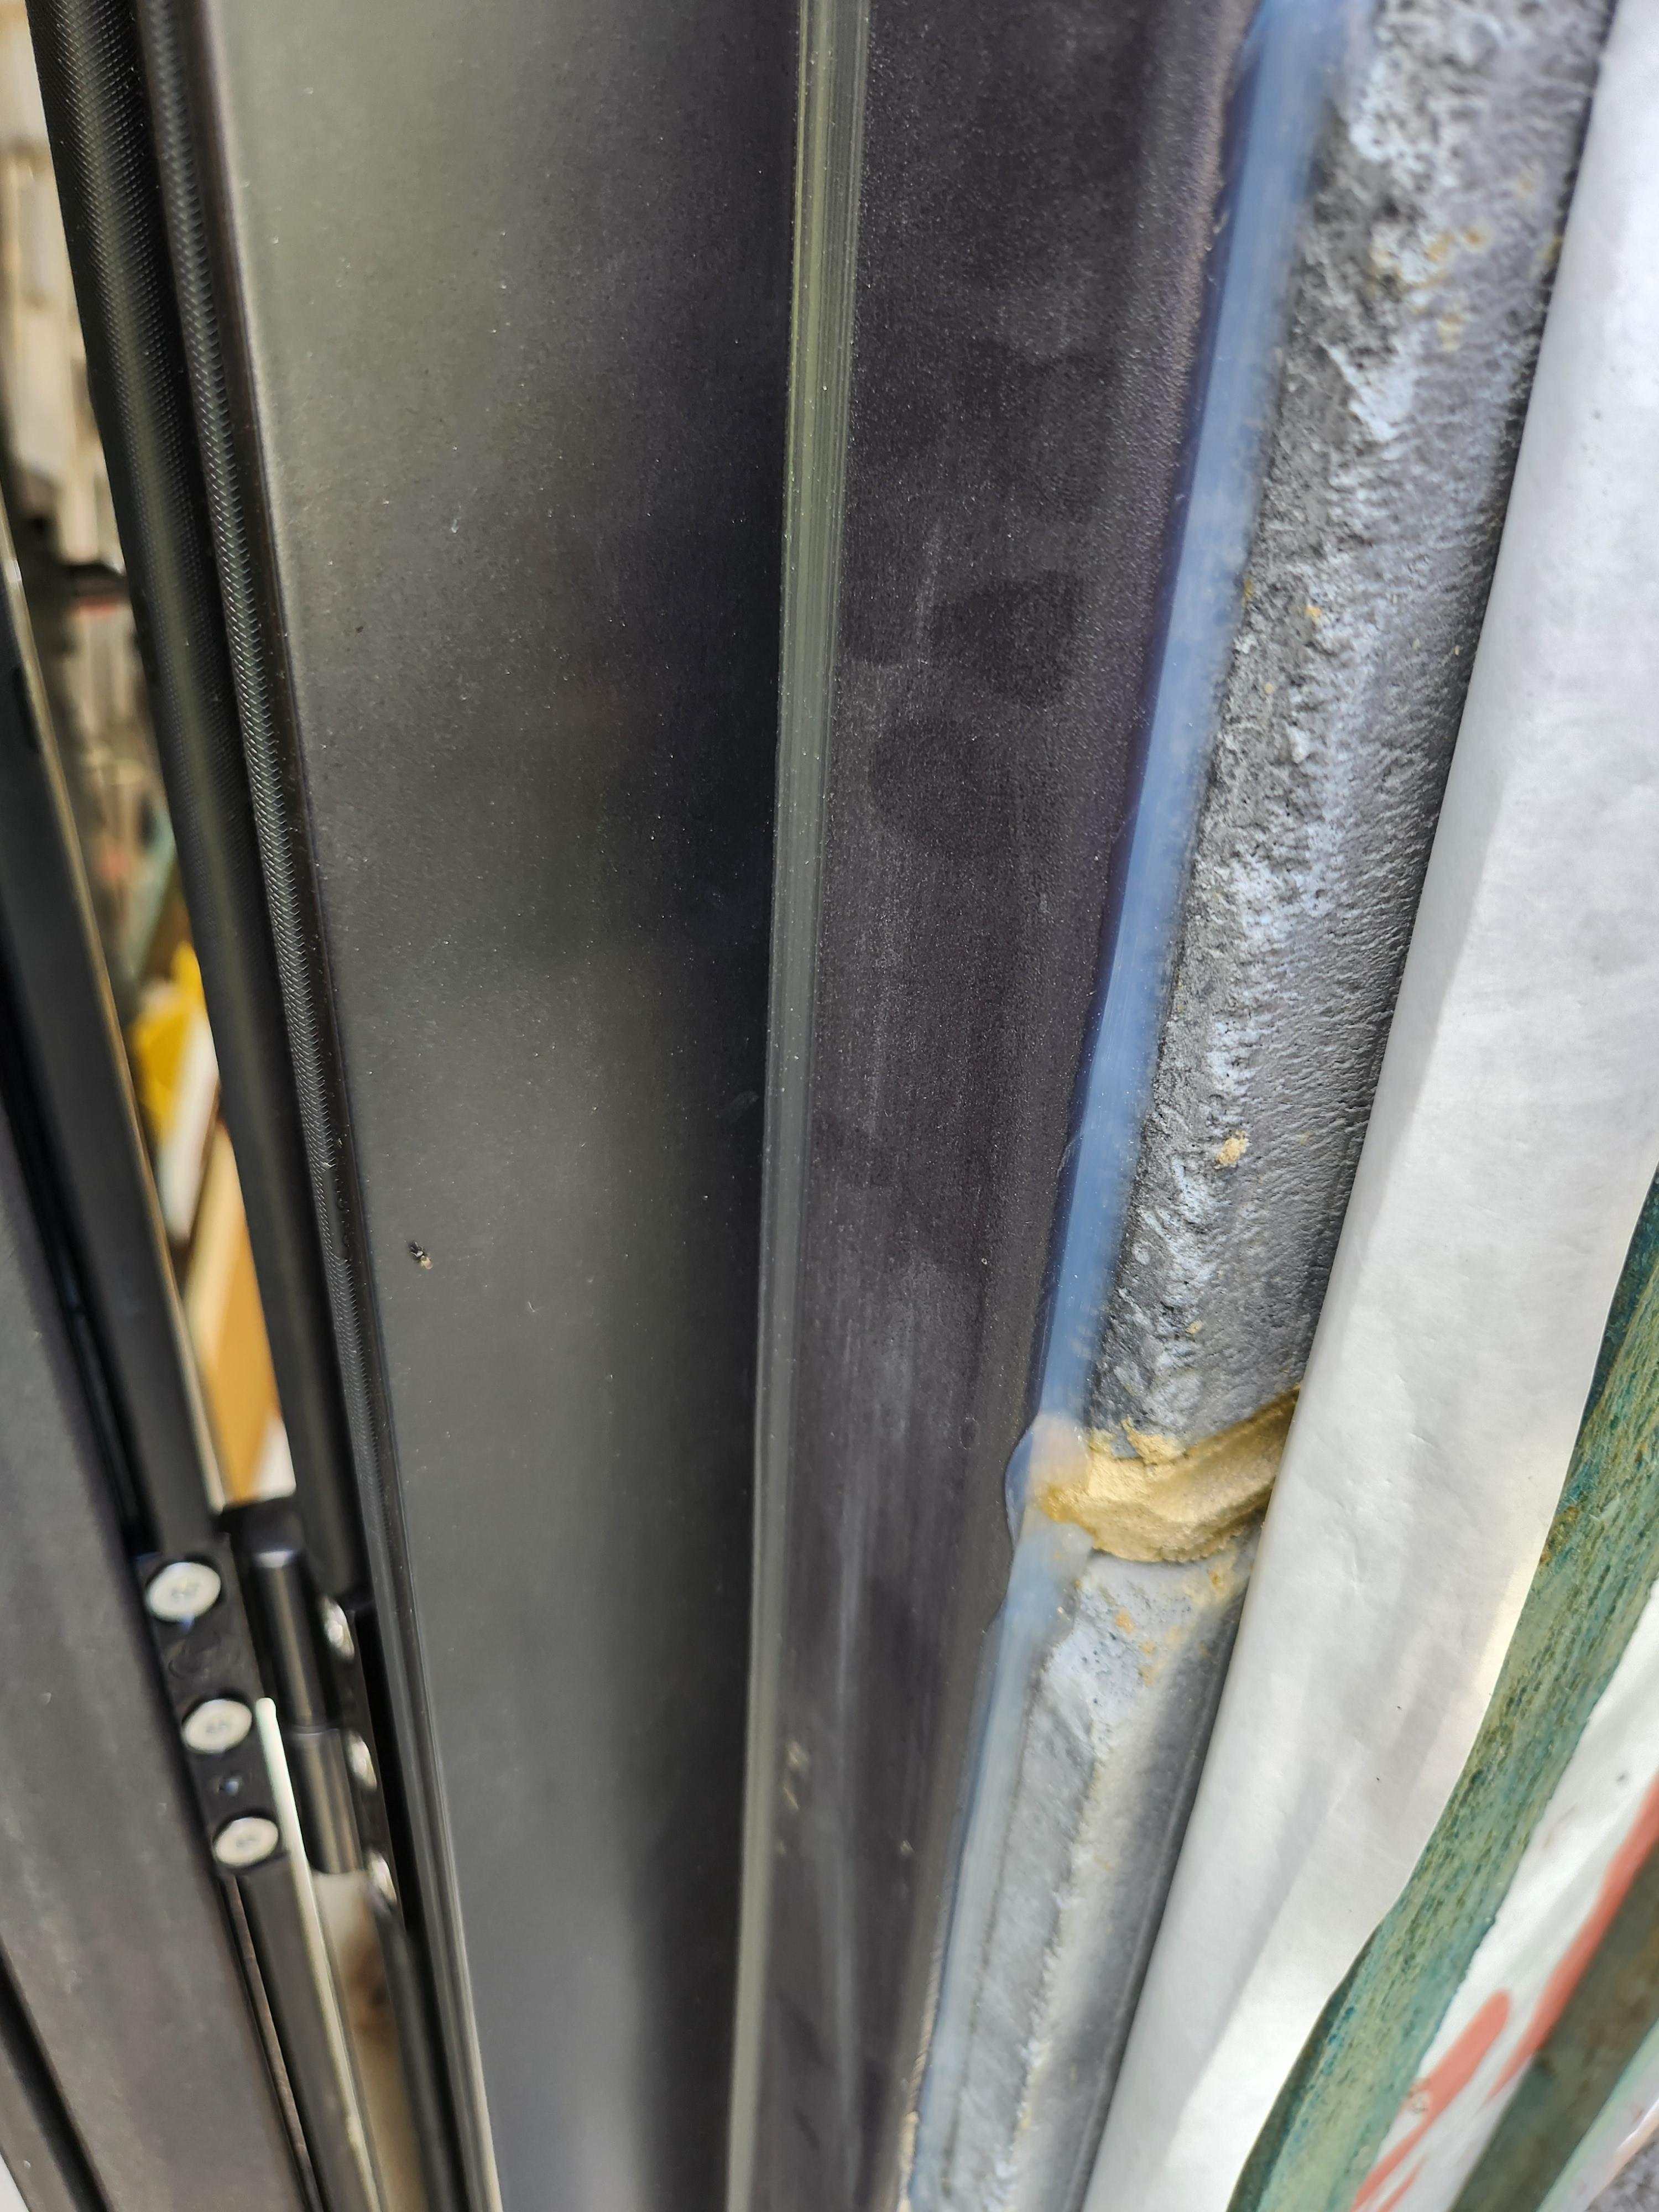
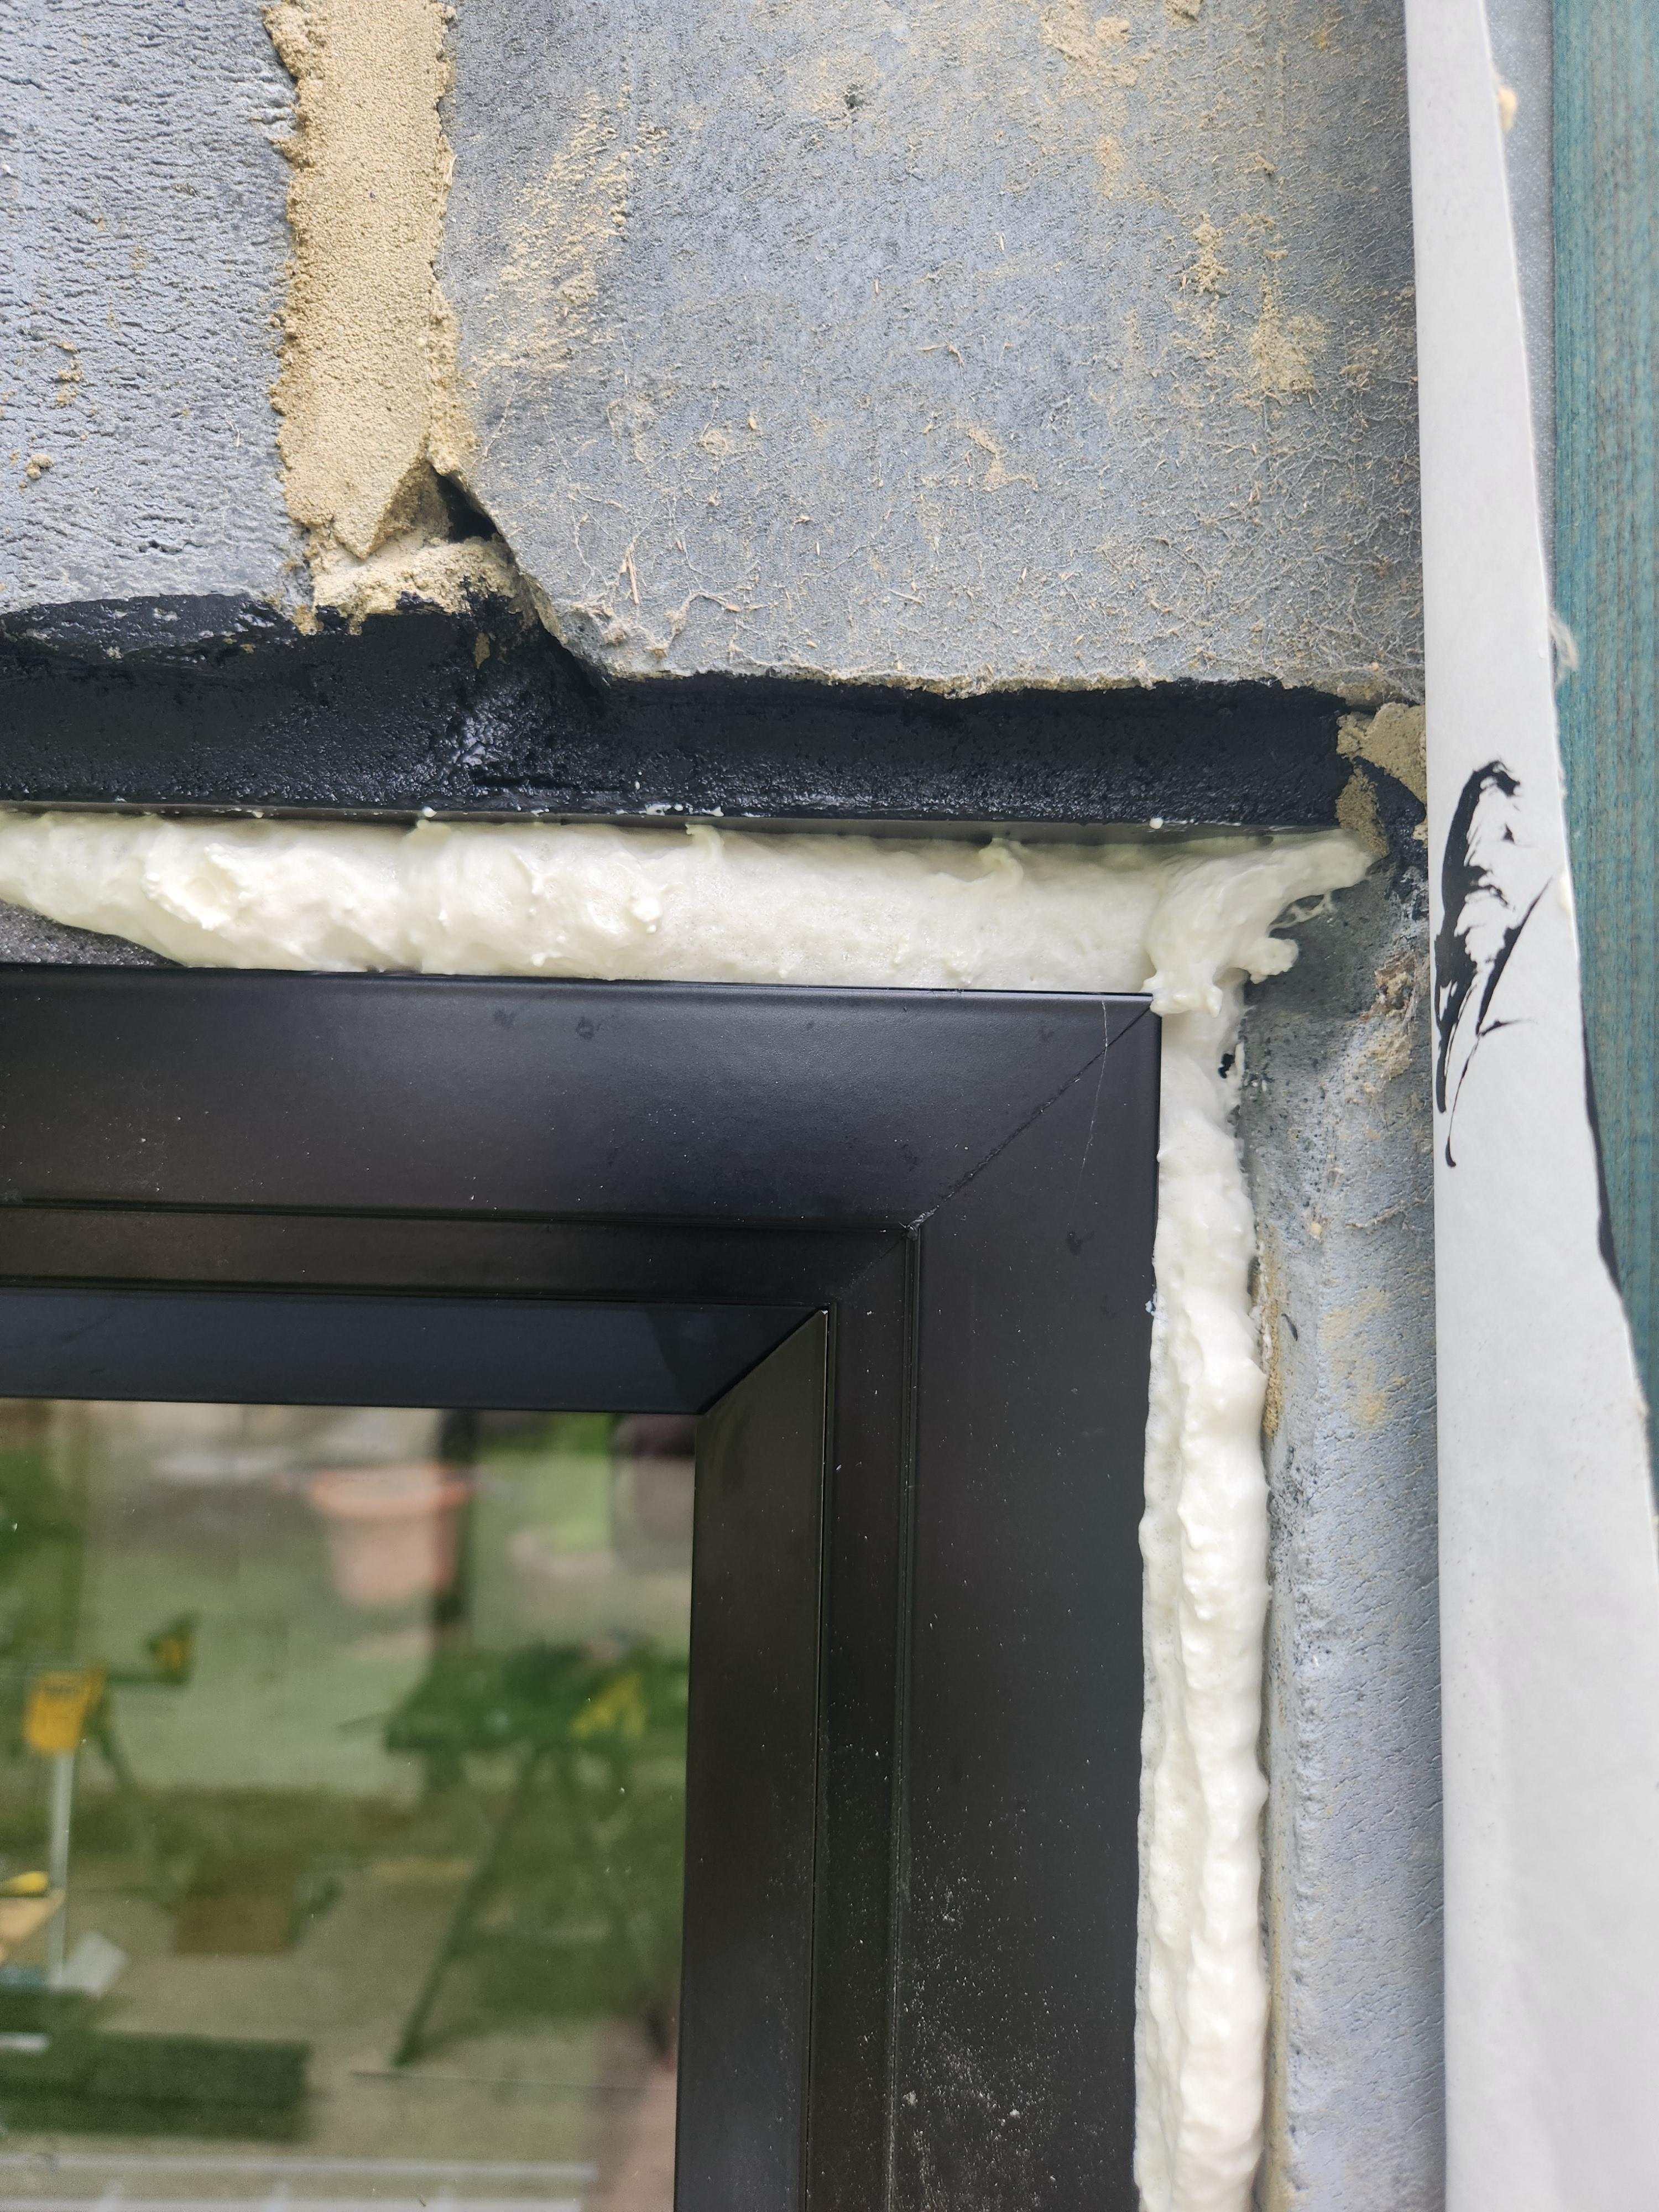
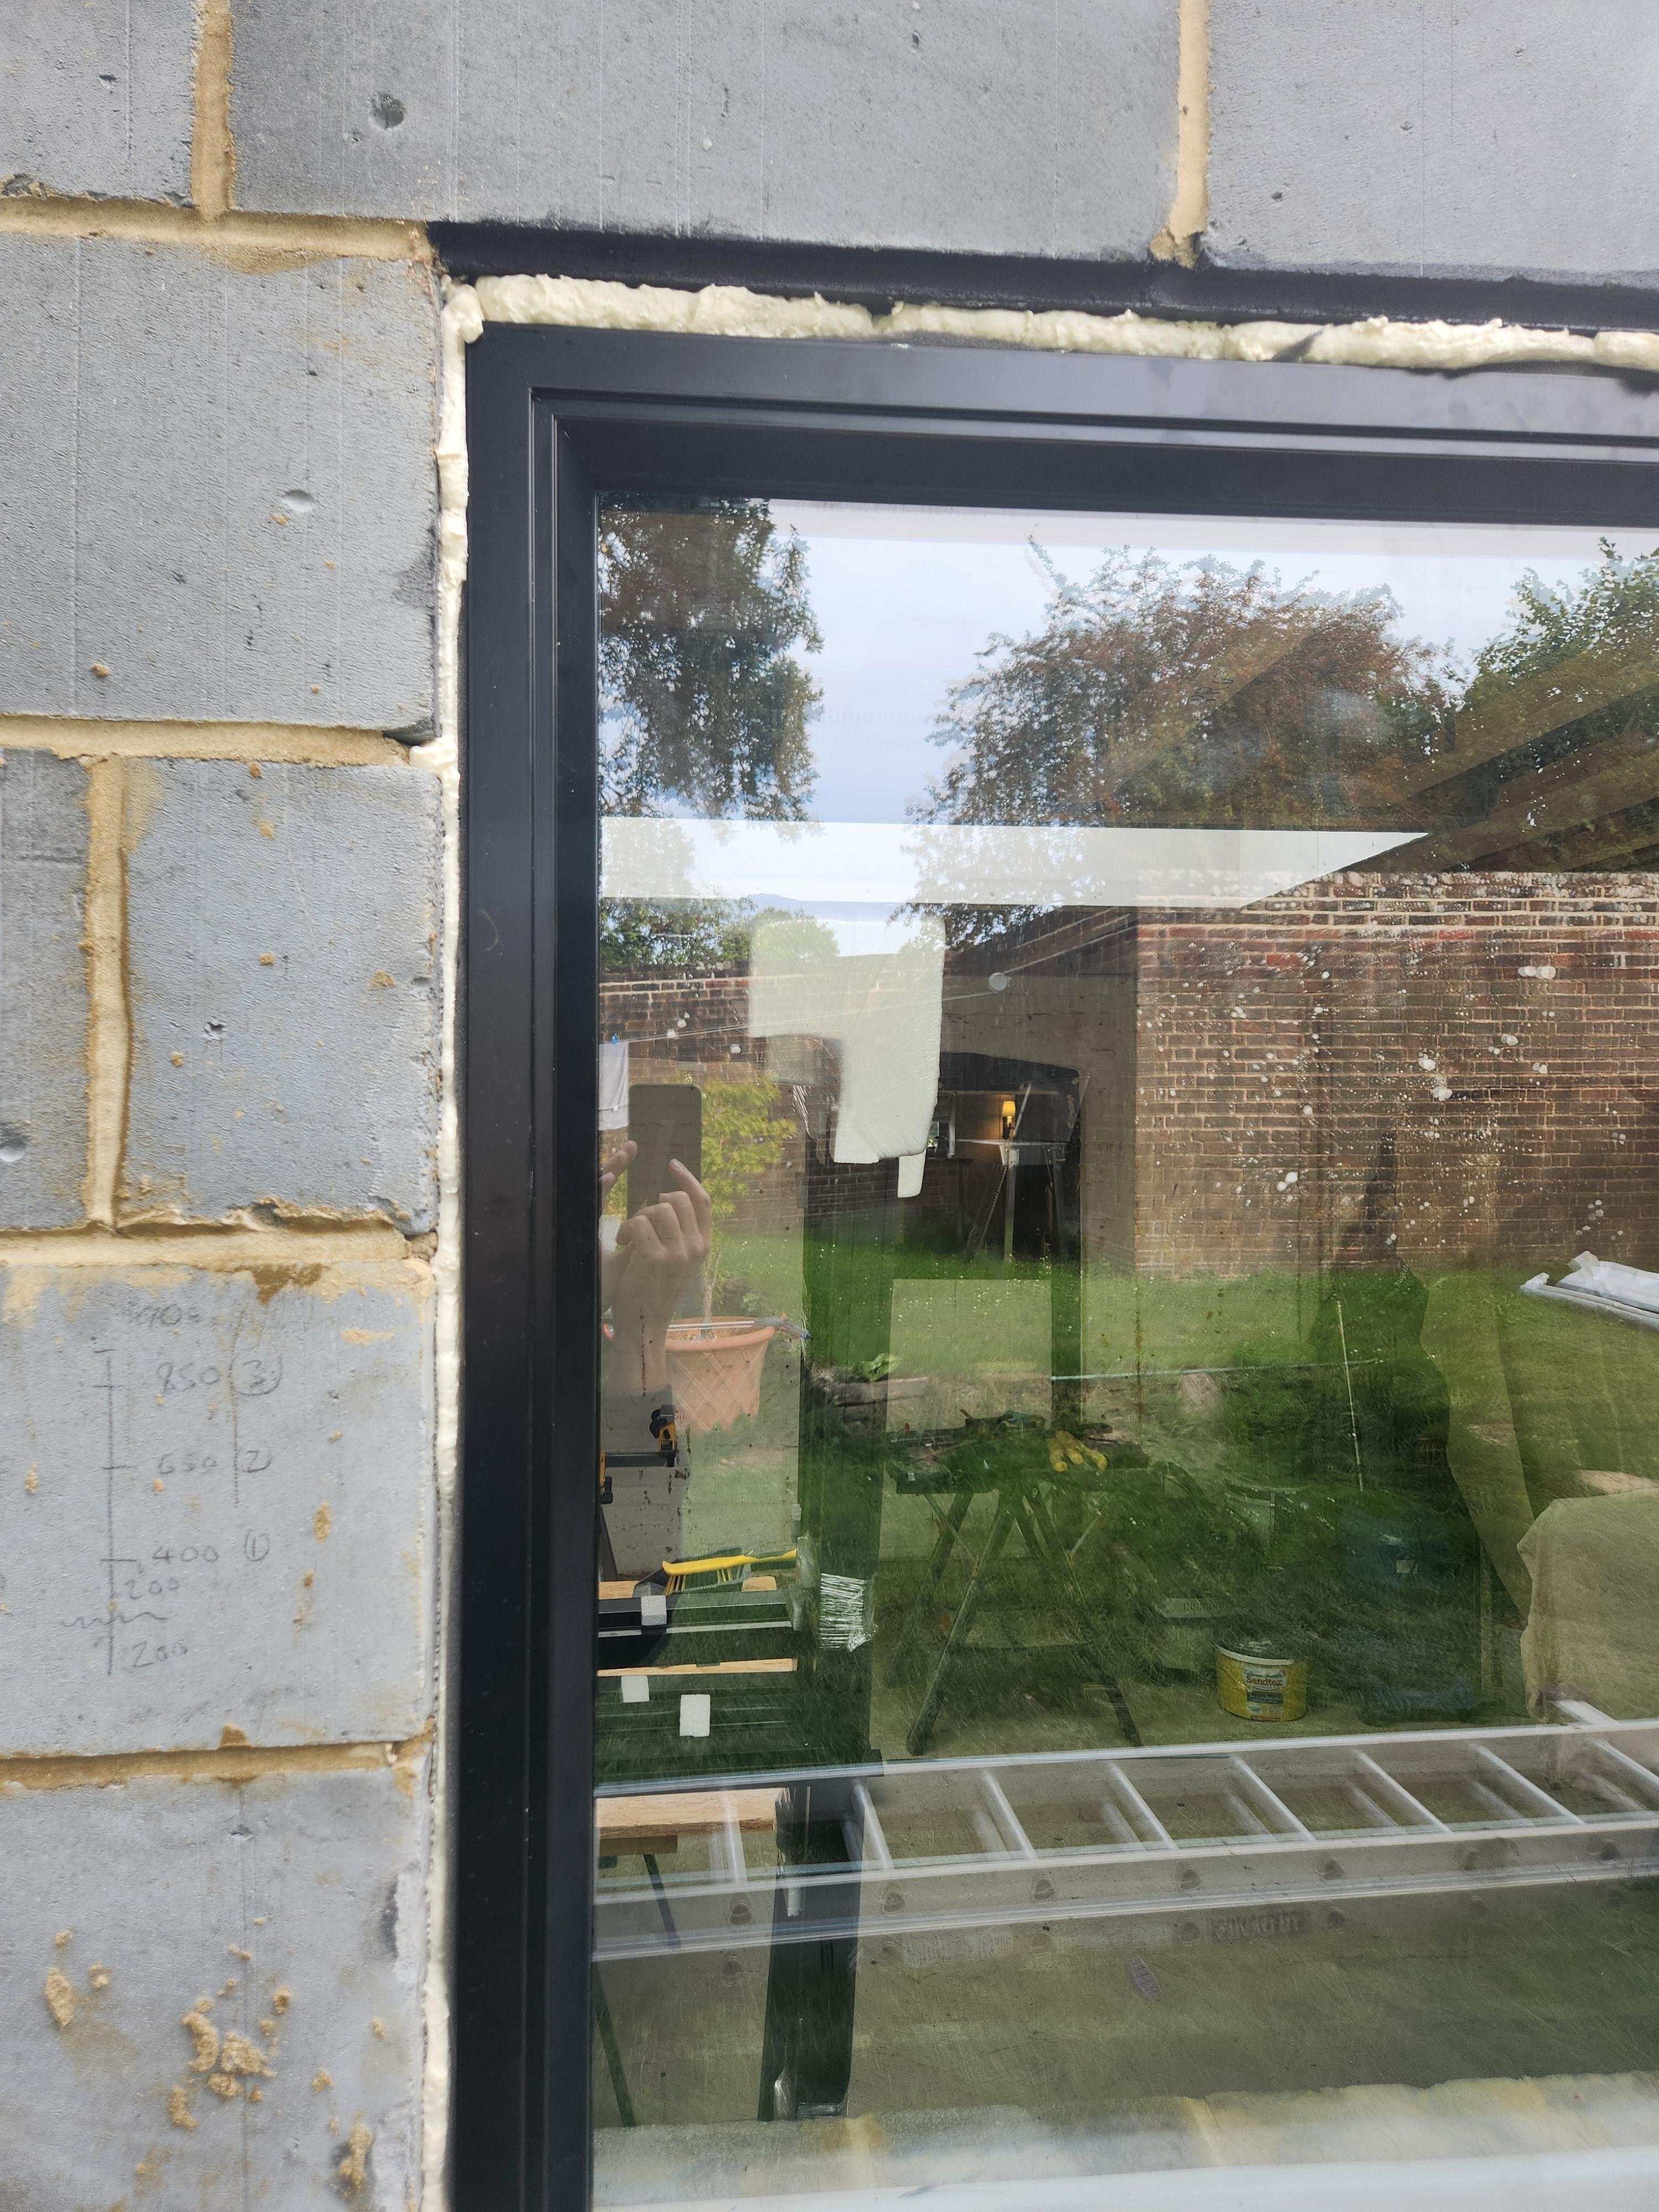
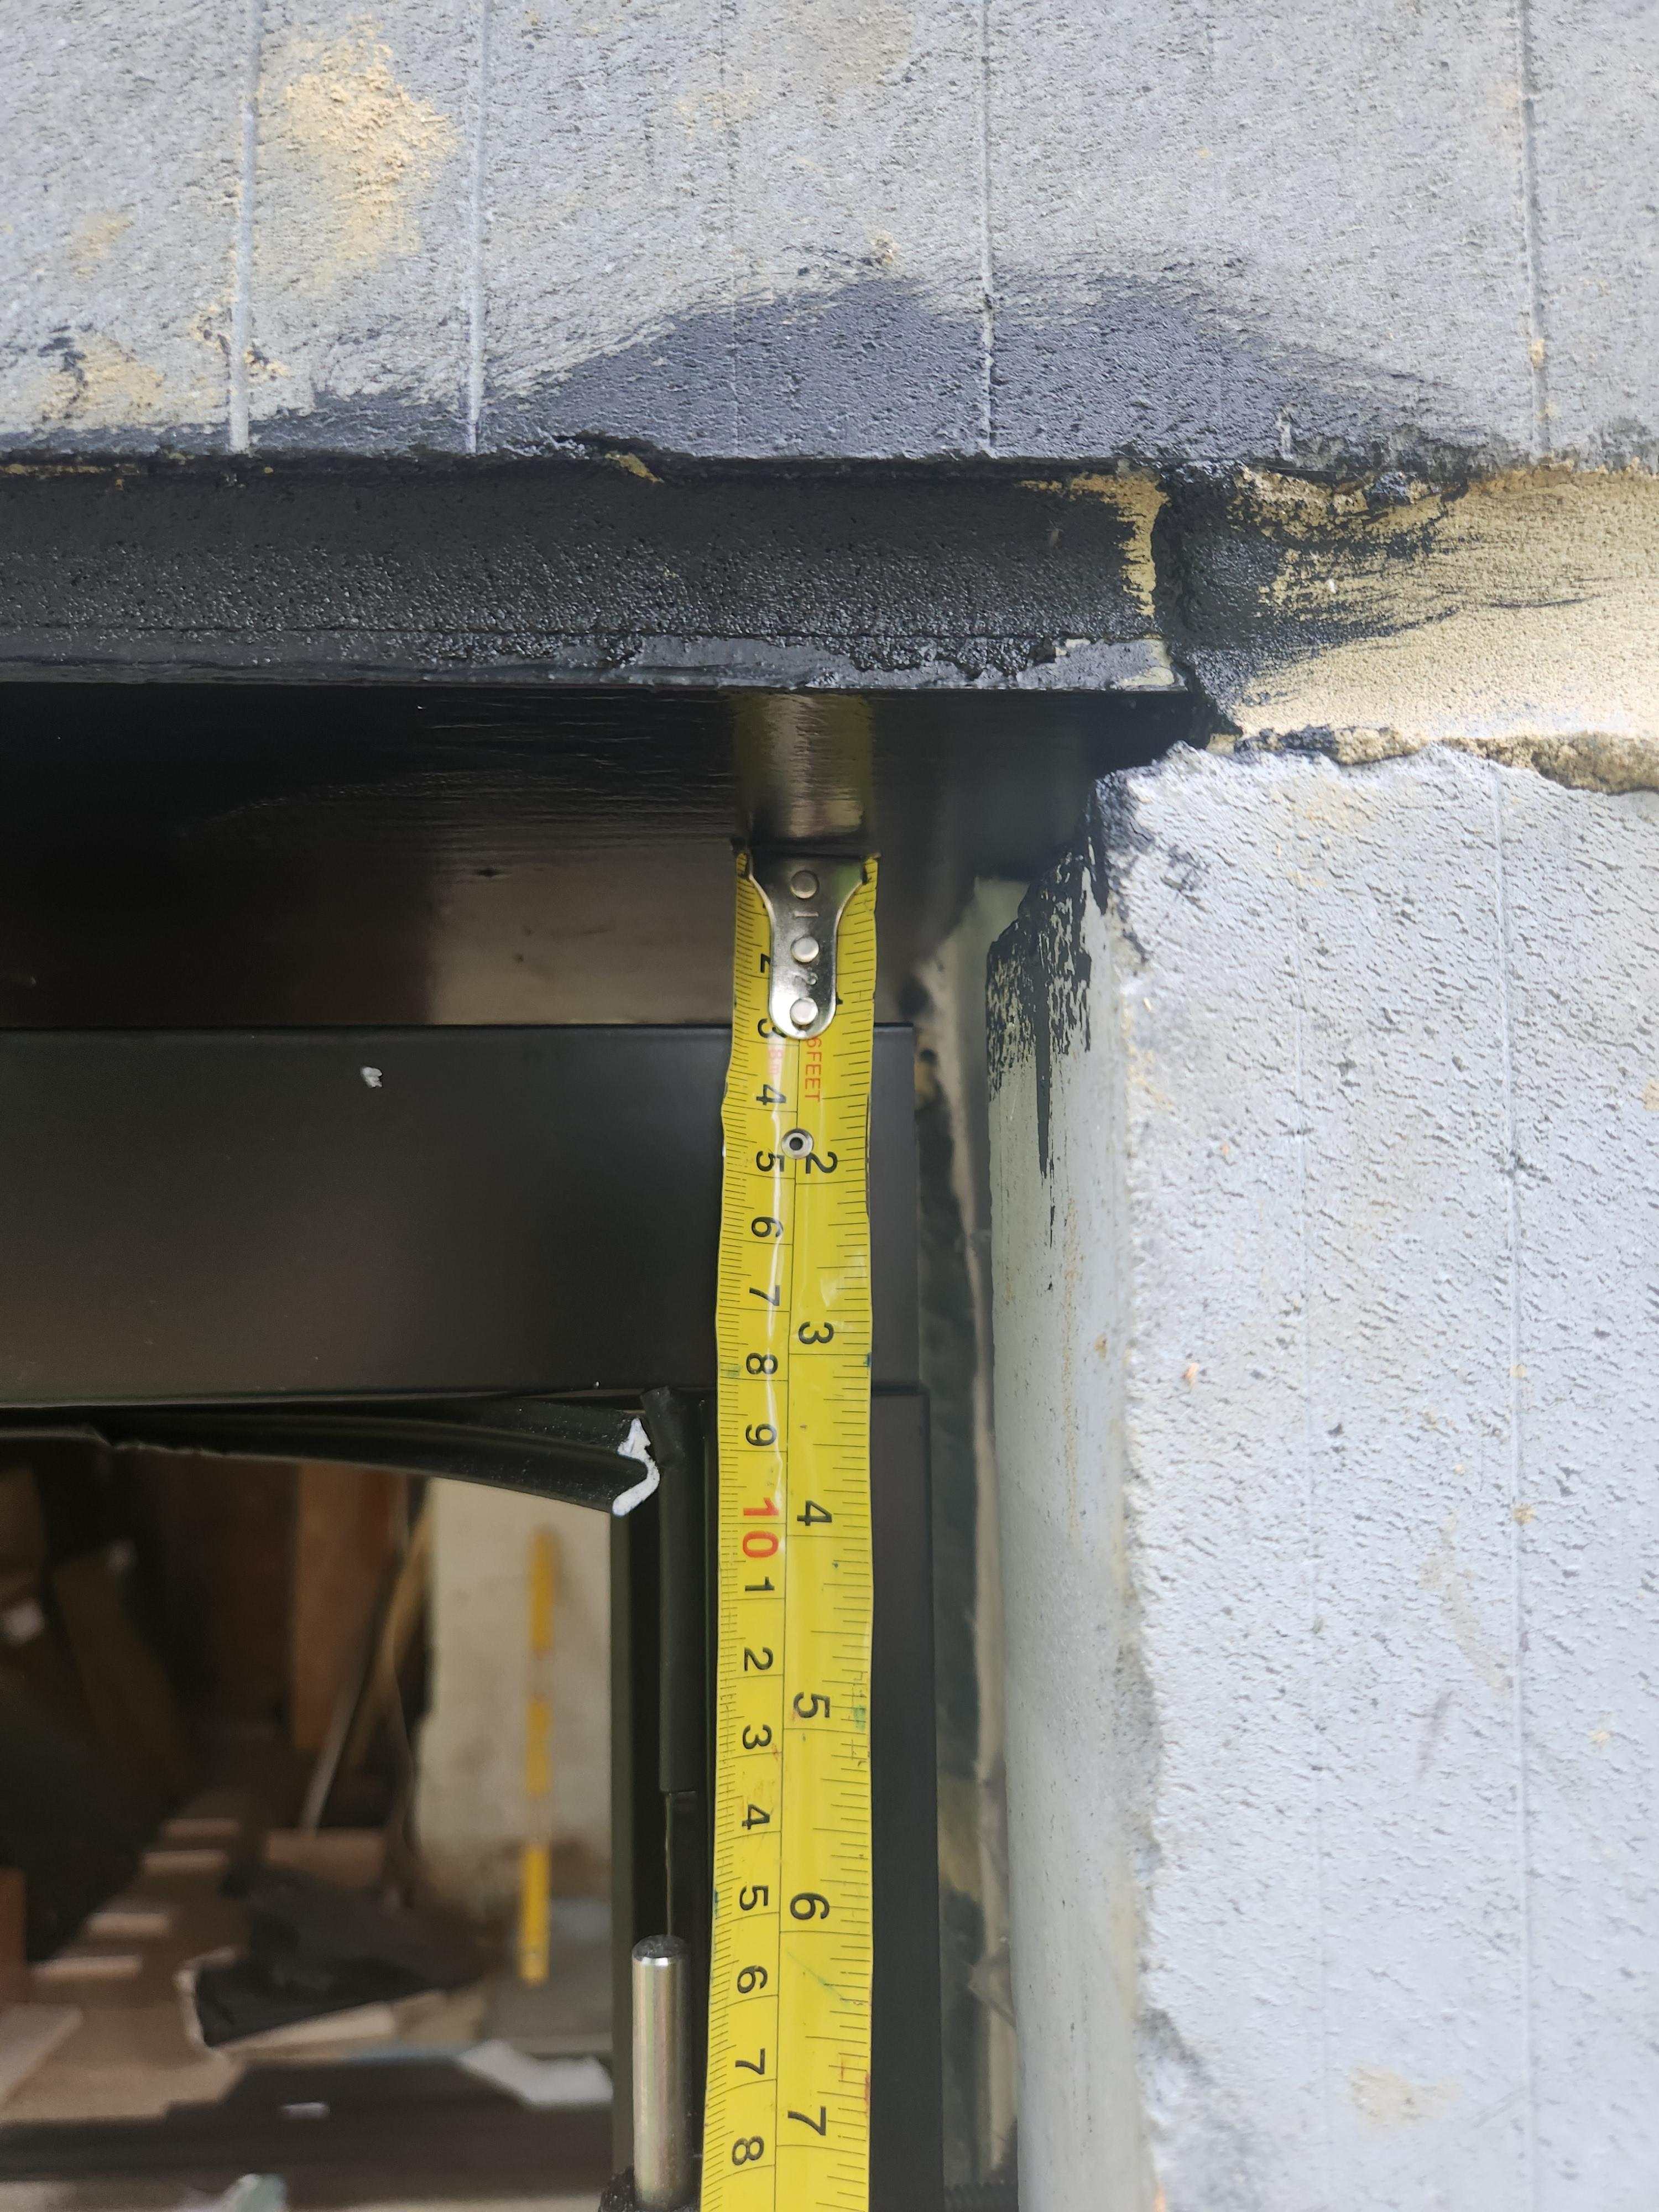
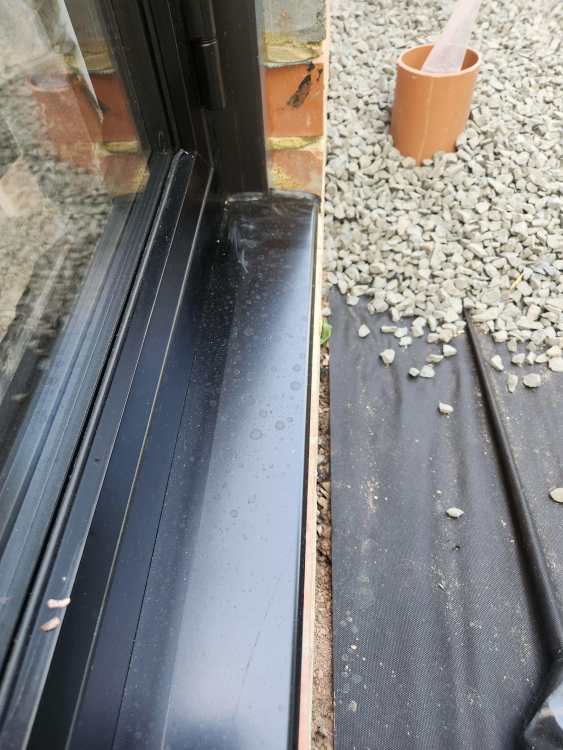
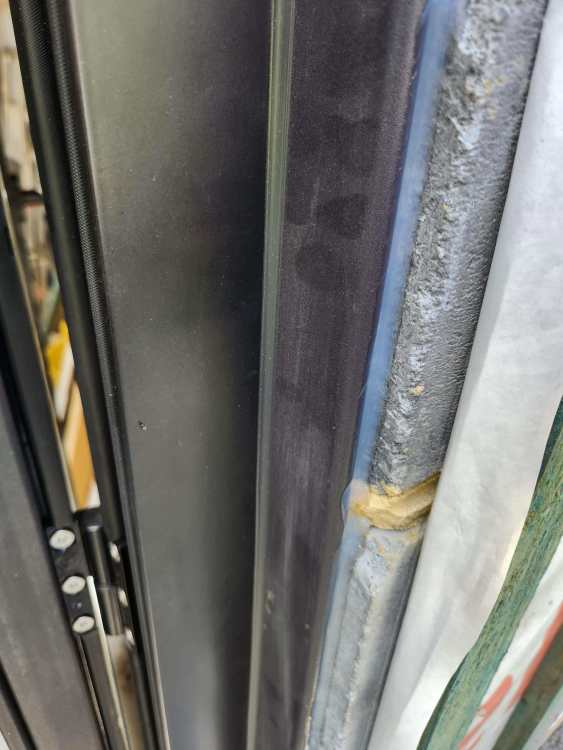
So they agreed to provide a better finish for everything which they have now done (pics below). However, -- and I didn't realise they had changed it until the last day of fitting -- because my retaining wall is in the way of the doors opening at the original position they moved the whole frame and cill further back into the aperture. The result of this is that the cill and drainage slot no longer projects beyond the outer leaf. From what I am told the only water that will exit through this cill drip is what gets inside the frame through the gaskets which should be very little. I am planning a weathered threshold so the entire cill will be completely covered anyway with an aco slot drain. That said I was still expecting the drainage from the cill to have to go beyond the wall. The company have told they really don't think its an issue, that the frame is sealed and there is a dpm on the inside. I am not sure that is really the point, I don't think I want any water getting in at all if it can be helped. It just feels like building in a flaw. The BI had no interest whatsoever and I am struggling to find something to push back at them to say it has to be done or not. They had a surveyor come out to measure so I would argue this is on them and they should have proposed a wider cill or more smaller doors. If anyone has a view on why this is or isn't acceptable I would appreciate it. Thanks, Paul
-
Well I want to take the view that the cladding that I'll be adding is purely an asthetic facade and in no way is intended to replace the weatherproof finish that I am expecting them to leave in place. So basically if I never added the cladding the frames would remain weathertight indefintely against the blockwork. I've been reading through the FENSA guide and found te below. ..."A suitable backing material such as closed cell foam or PU foam should be used in the gap between the window and wall to ensure the external sealant is set to the correct depth and will therefore adhere to the frame and aperture (but not the backing foam) when applied. Suitable external sealant should be applied to cover and form a water resistant joint between the frame and wall"... I hadn't given this much thought, tbh, I'd assumed that by paying for a professional install it would be done right. I should have learnt this lesson by now.
-
Thanks. I'll definitely do the trim thing then.
-
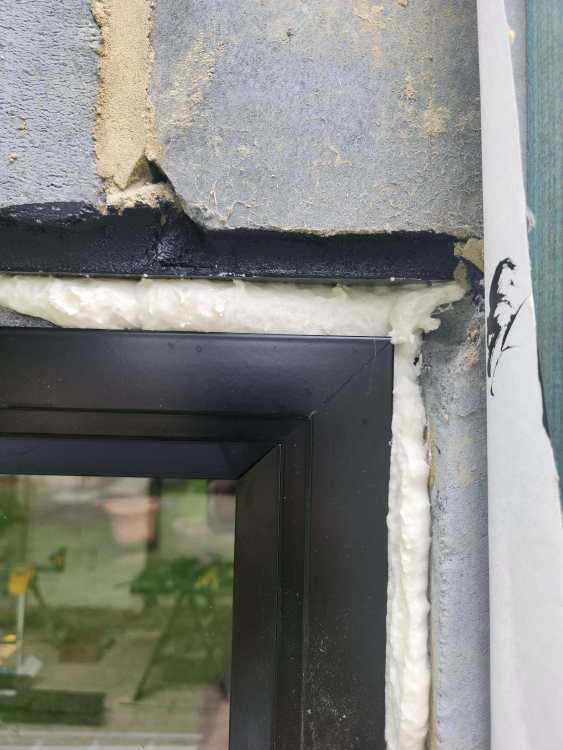
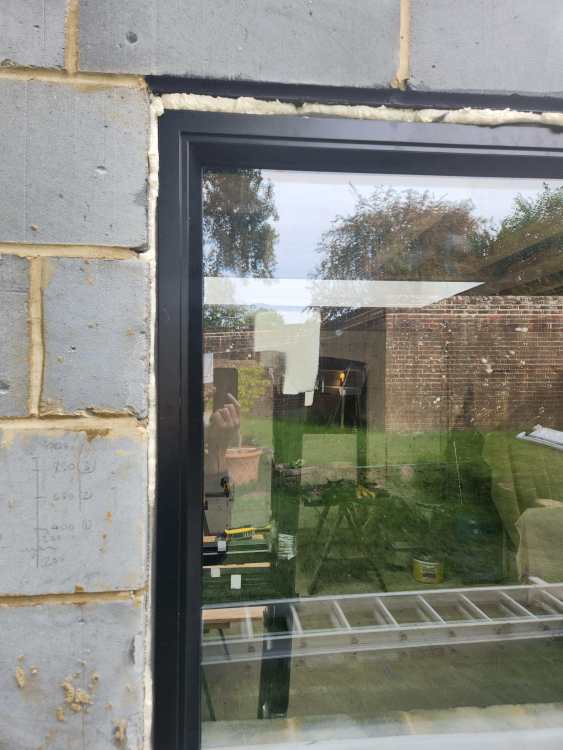
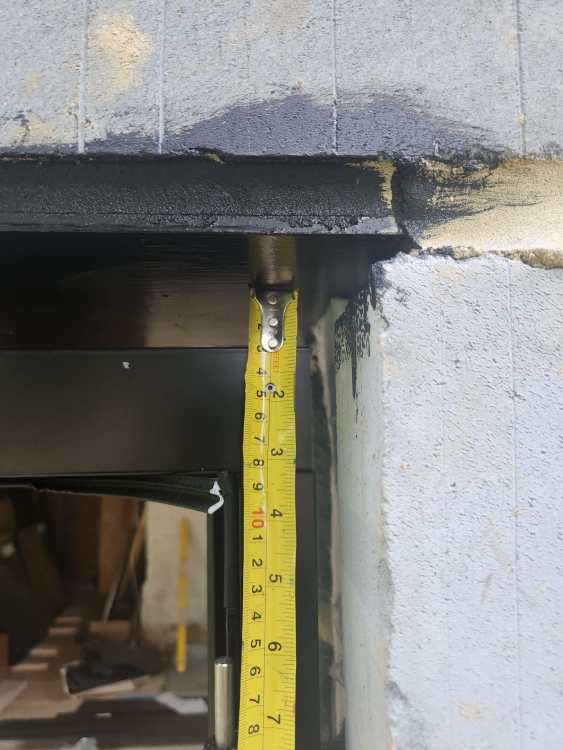
Hi All - I have someone installing the glazing for me at the moment (I was on the fence about doing it myself and thought it better to get some kind of warranty). Is a lot of expanding foam around the whole frame the norm nowadays? There are some pretty heafty gaps of 20-30mm in places which seems a lot. I appreciate that it helps with cold bridging but it seems to be the only thing other than the timber cladding I'll be installing that will be holding back the weather. I had kind of anticipated some kind of trim that was sealed to the block with mastic or just something else. I've used foam for other external bodges around the house until I get to it later but after a while they start to look weathered and like it wouldn't hold up long term. Maybe just a newb worry over nothing. Could anyone point me to a reference guide on what is right / wrong for installing doors and windows? Thanks, Paul
-
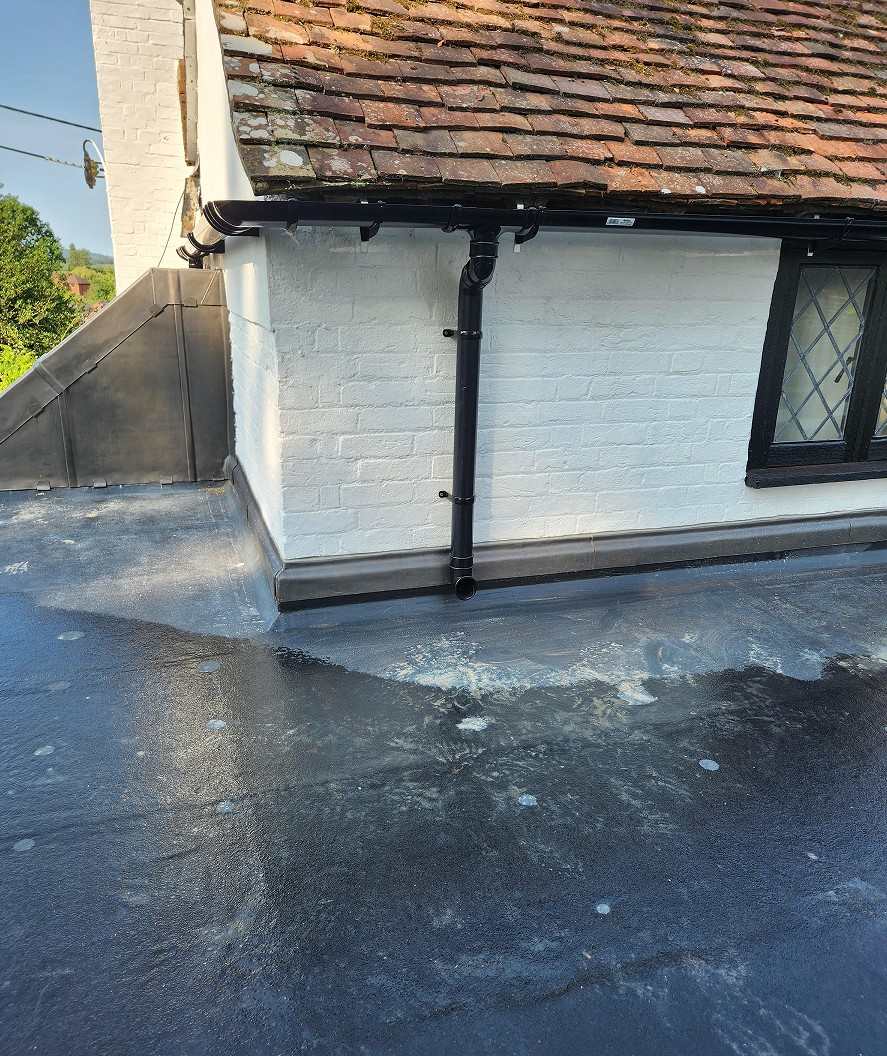
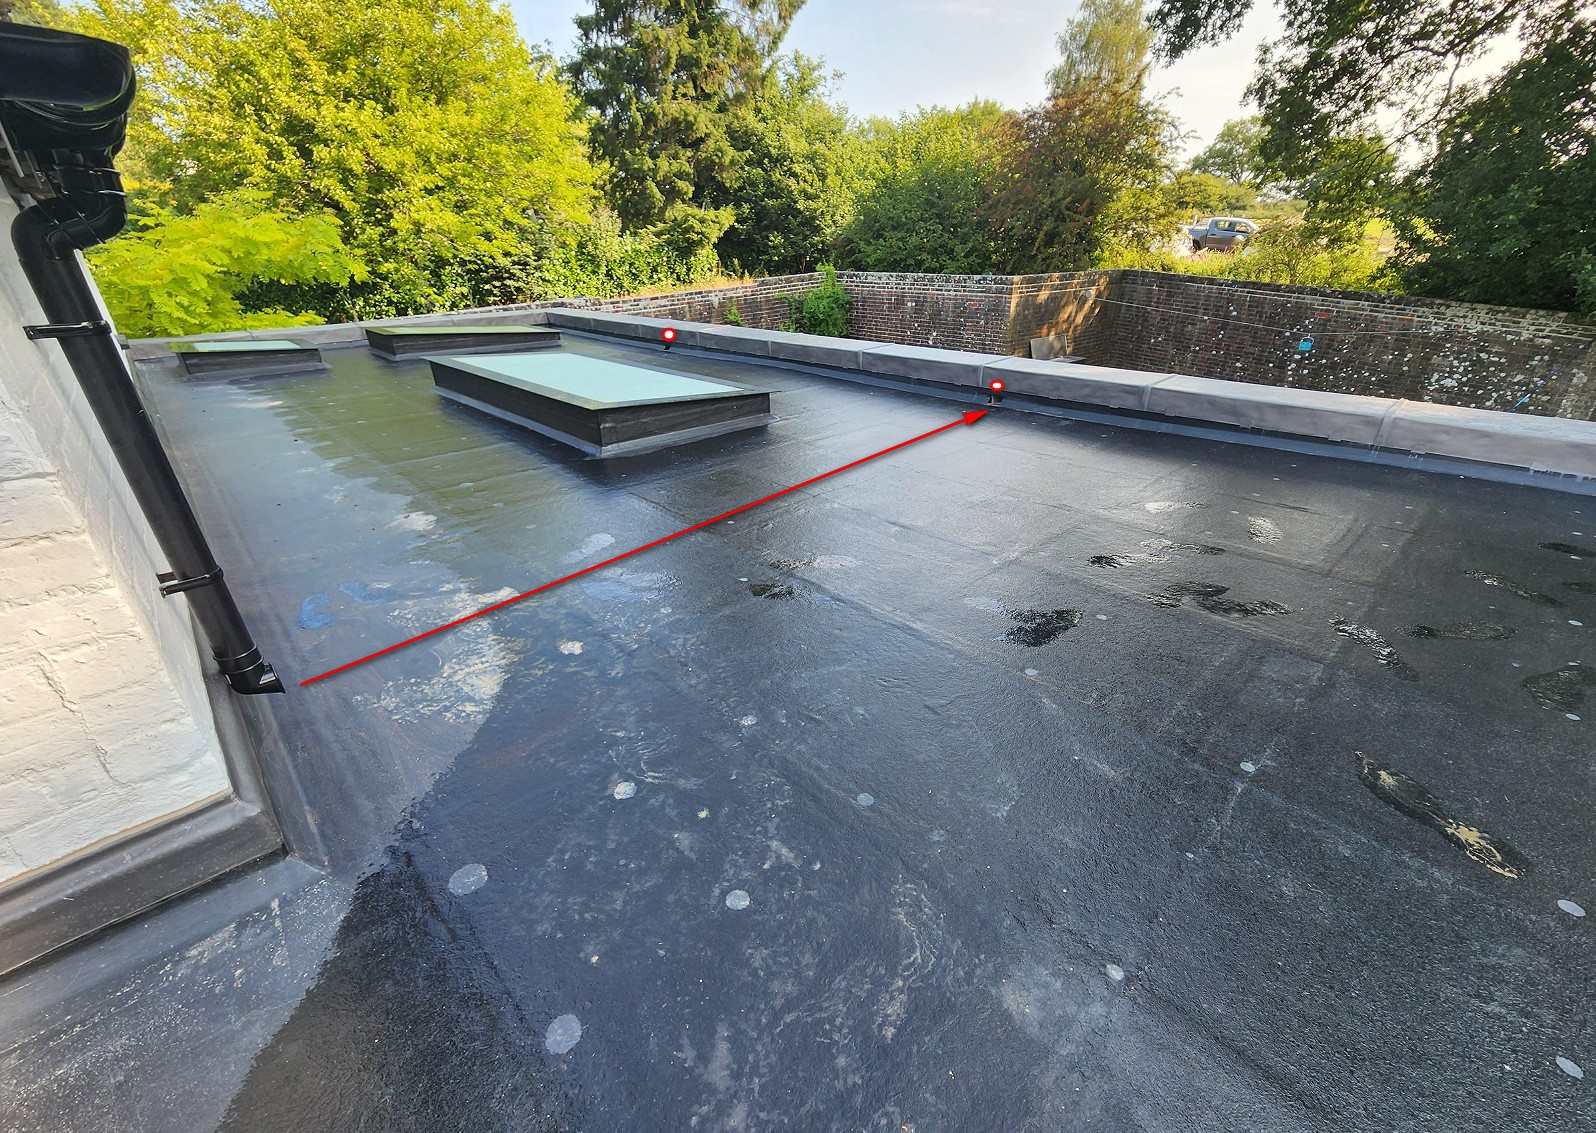
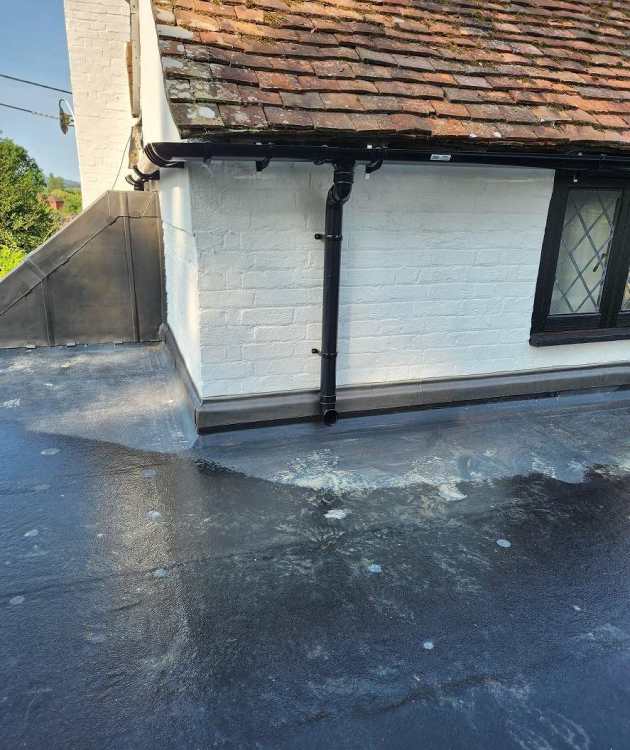
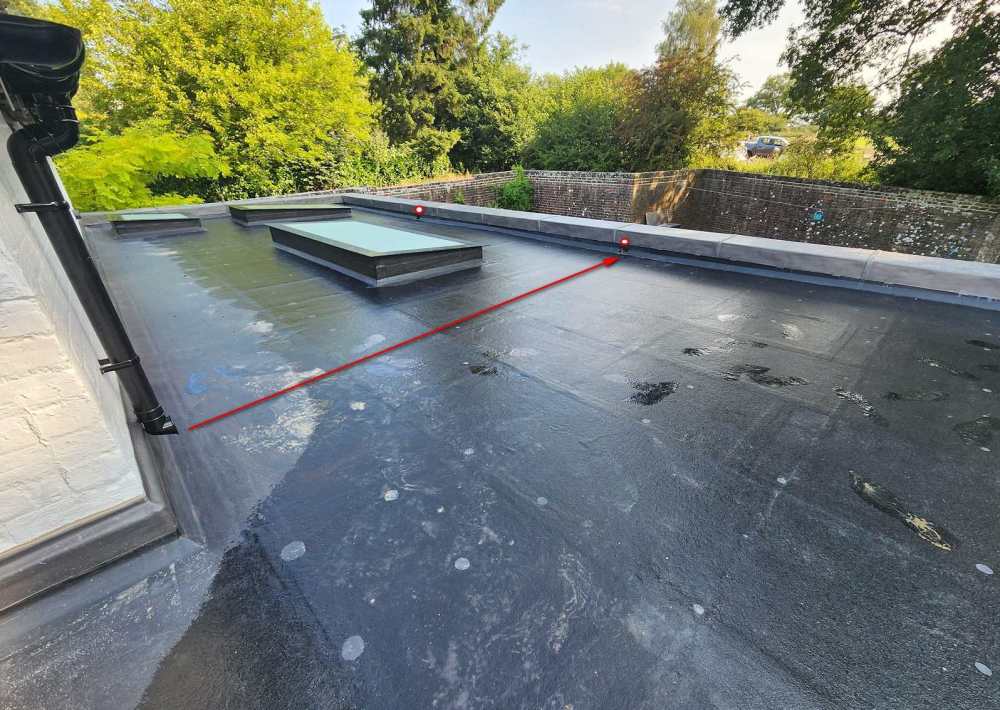
This is what I've done for now. I've left the other drain in place just in case this doesn't work out. I've gone through a couple of calculators and I think the two outlets can handle it but will try and be sure. There have been a couple of mega downpours lately so next time I'll go up and watch how it works.
-
#3. I'm pretty confident that the gutter/drain can take it and the ditch is no issue. I do need to figure out how the calcs however. it is really more the BR/planning side. I found this under Part H. 1.9 Where a rainwater pipe discharges onto a lower roof or paved area, a pipe shoe should be fitted to divert water away from the building. Where rainwater from a roof with an effective area greater than 25m² discharges through a single downpipe onto a lower roof, a distributor pipe should be fitted to the shoe to ensure that the flow width at the receiving gutter is sufficient so that it does not over-top the gutter. This kind would indicate a yes I think.
-
So mostly from a planning/BR perspective. I mean I can do this and no one will ever really know (unless the calcs are off) but equally I am trying to do things the right way. The new build extension I am working on at the moment is circa 55m2. I have two drain outlets (65x100) through the parapet that are going into a new dedicated run of 110mm to a ditch. The area of the roof I would be adding is 2/3 of the main house so roughly another 30m2. I have a straight run with a good fall (1:60) and no obstacles to reach the outlet on the flat roof. I need to find a calculator but wanted to see if it was in principle something I could do without being a thing.
-
Rain water drainage - Max allowable lenght of run without access
paro replied to paro's topic in Waste & Sewerage
I'll take that. Thanks. -
Hi All - Having a bit of a challenge getting the rain water from the main house roof away from the septic tank. At the moment all of the water landing on the main house is diverted into the sewage system, a septic tank with drainage field. It does not leave the property though (this was a whole thing when buying the house). I was hoping to divert this to a new dedicated drainage run that I've dug for the new extension but due to the slope I'm on and a bunch of other drainage pipe in the way I can't get across to it. Short of digging a whole new trench which would have to be way longer (80m which is too much) the easier solution would be to allow the water to drain off of the house onto the new flat roof. I am assuming this is just an automatic no but thought I'd ask anyway. Cheers, Paul
-
Hi All - I've spent the weekend digging a trench and installing 25m of drainage pipe to take the water from the roof out to a ditch that runs along the edge of my property. Is there a max length that I need to factor in for rodding etc? access can be gained from the ingress and egress points but I failed consider installing any rodding points along the way. Is this going to be an issue or can a professional deal with that no issue? Thanks, Paul P.S. Apologies, I've posted this in the wrong place but don't seem to be able to move it.
-
Thanks All. I have gone down to about 150 and will add some gravel to try and releive the splash back. It never occured to me to actually try and paint the bricks though. I'll wait until the cladding is up and the landscaping done and decide how noticable it is really going to be. Just seemed like an easy win if they could take it with no downside.
-
Maybe a stupid question but can I paint my engineering bricks? It will serve no other purpose than disguise the fact that I was to cheap to buy the blue ones and went for the orange only to now regret how much they are going to show up against the black cladding I am planing to install. I wasn't sure if engineering bricks would be an issue for regular masony paints. Thanks, Paul
-
Thanks for that. This is kind of what I was expecting if there was no way to clean it off. I am a little concerend by your fully cured after a day or two comment as I ended up applying in several stages with multiple layers over the course of about a month due to the weather. First coat was just a light resin to coat the boards as trying to keep the flat roof dry was a nightmare. Then separately I bandaged all of the GRP trims, screws and boards. Third was the main matting and then finally the top coat. Each layer was well sanded between coats and acetoned but there was a about a week between each. Re the stains I think I'll take the ignore it approach for now. I can always come back to it once I've got the main build done.
-
I know you're right, but I'm going to wake up every morning and stare at it out the bathroom window whilst brushing my teeth annoying myself for not fixing it.
-
Thanks. I only did this a few weeks ago and have some left over. If so would an acetone wipe and a light coat with the top coat work?' I used regular Cureit.
-
Ah okay, that's good I was concerened I'd have to take off all the top coat around the edges. Thanks.
-
When you say rub down you mean sand it down to the resin? I was hoping to avoid that if I can.
-
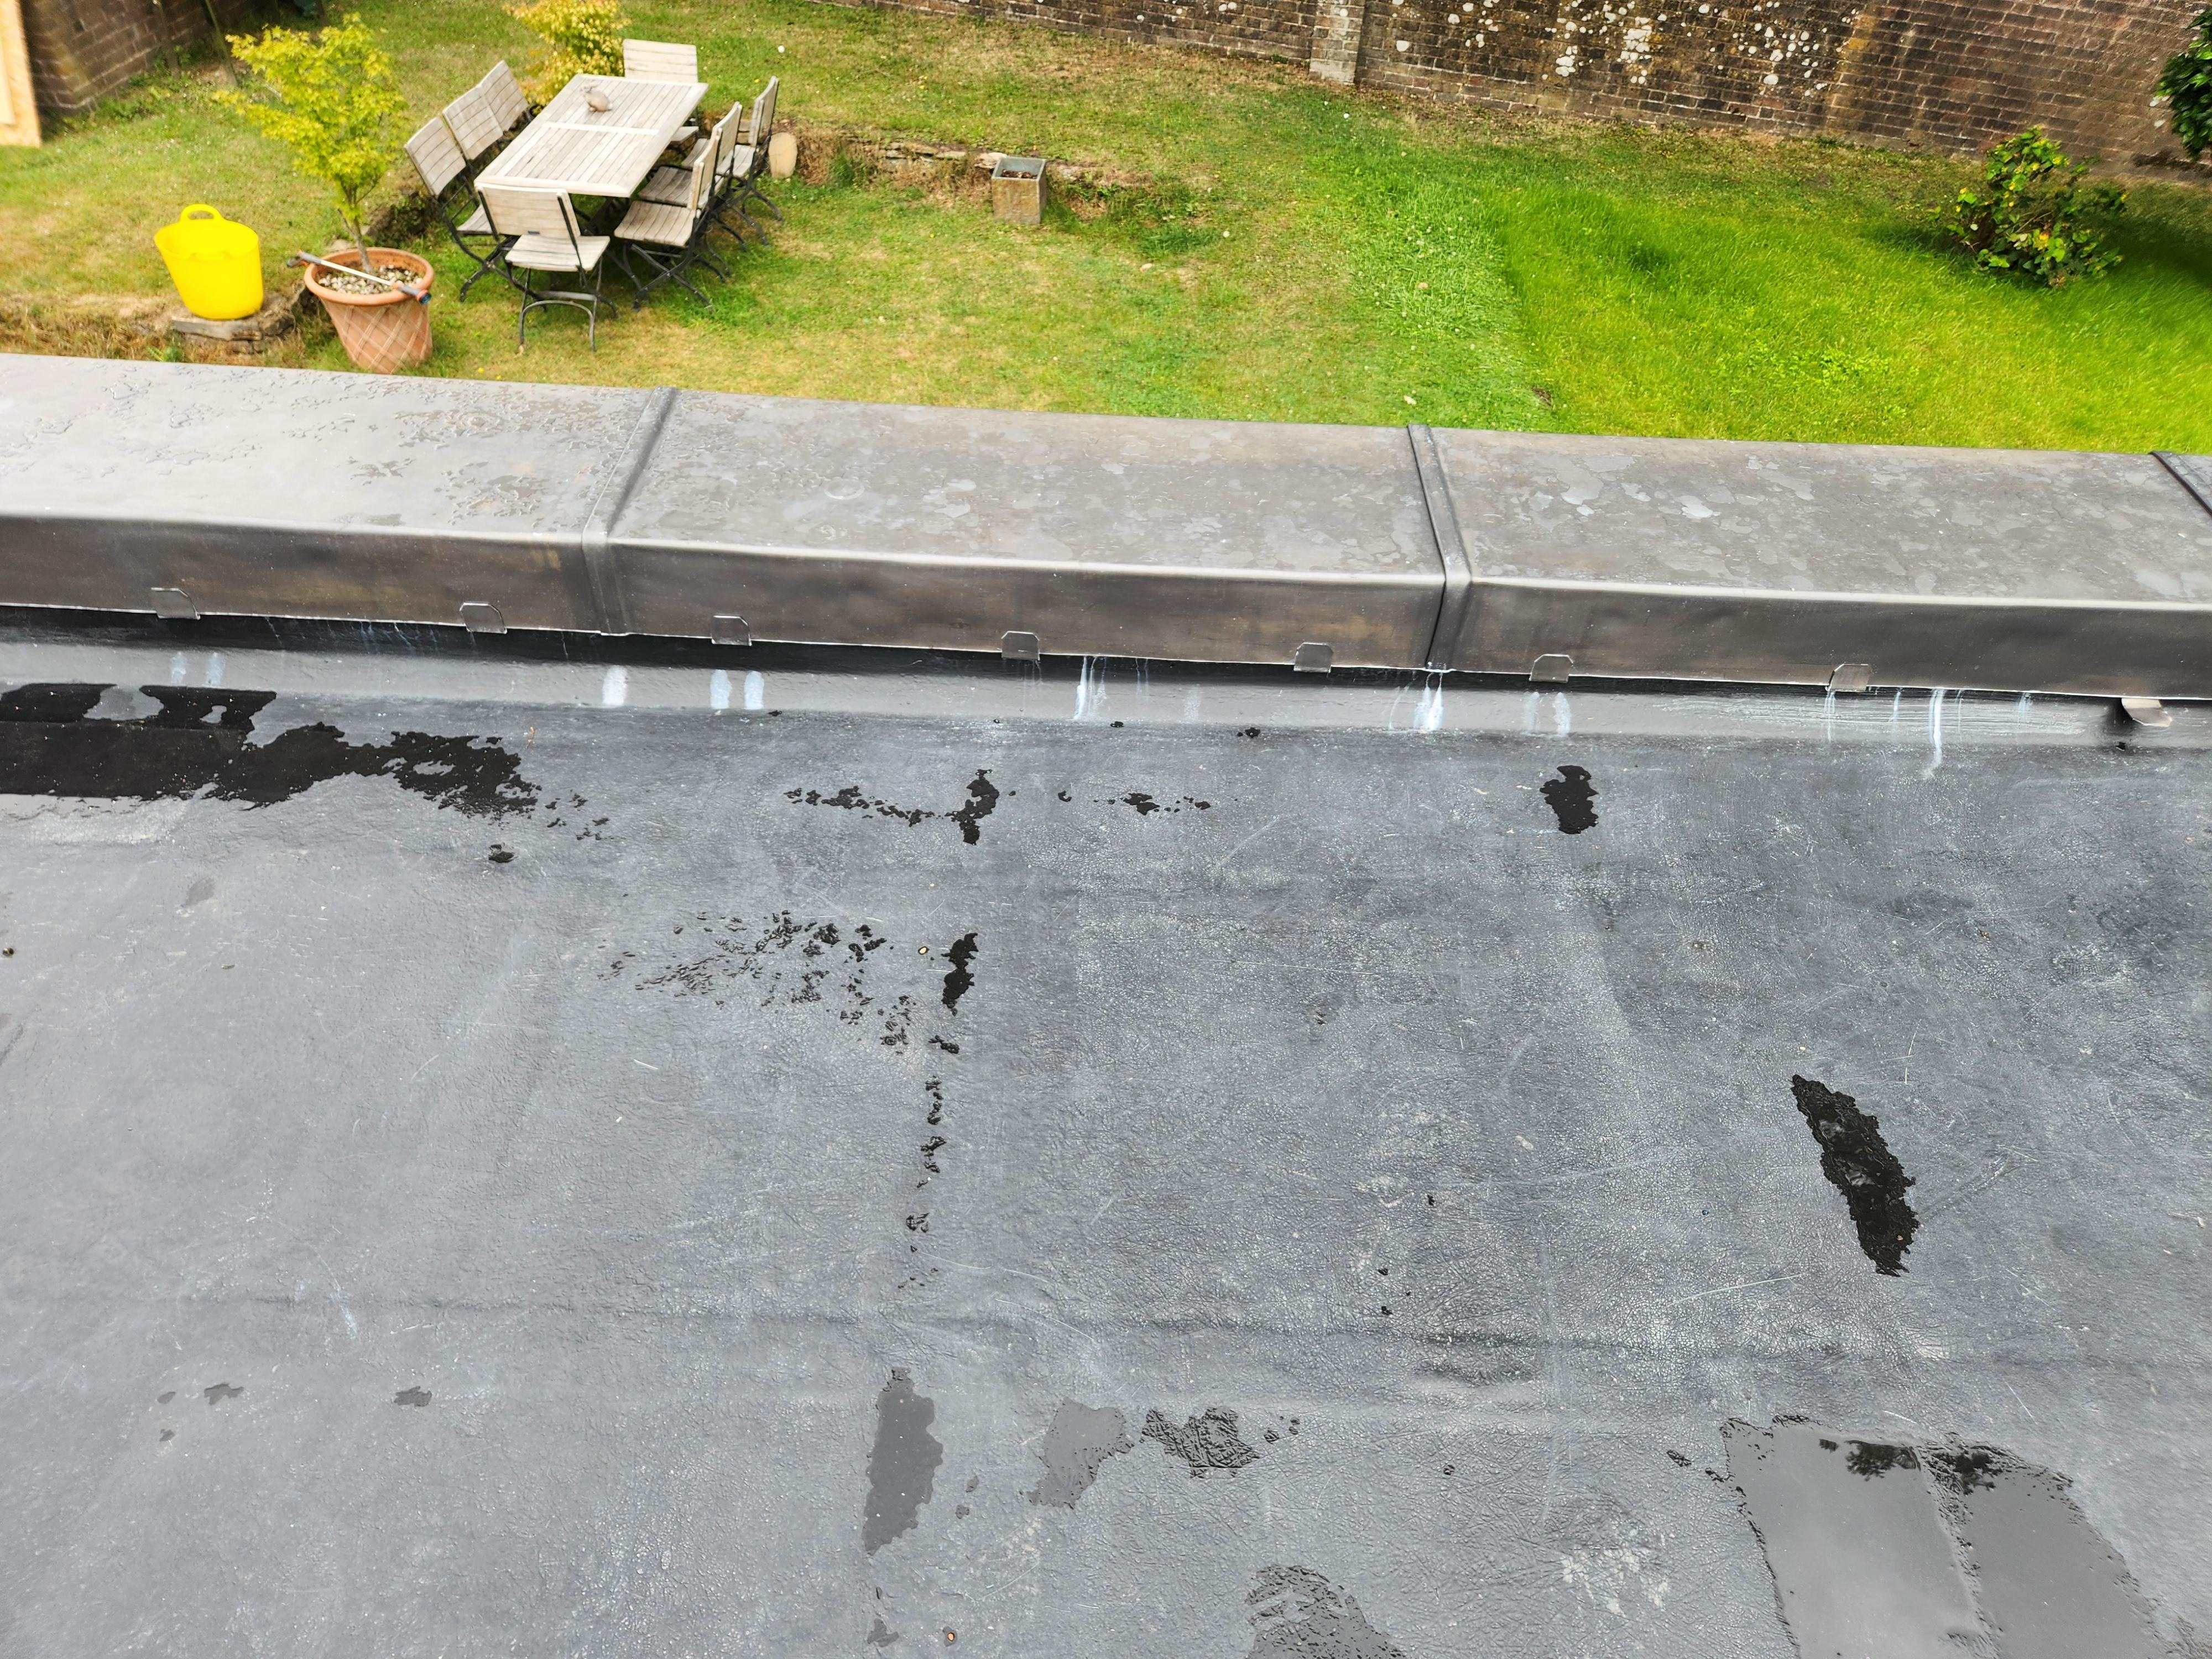
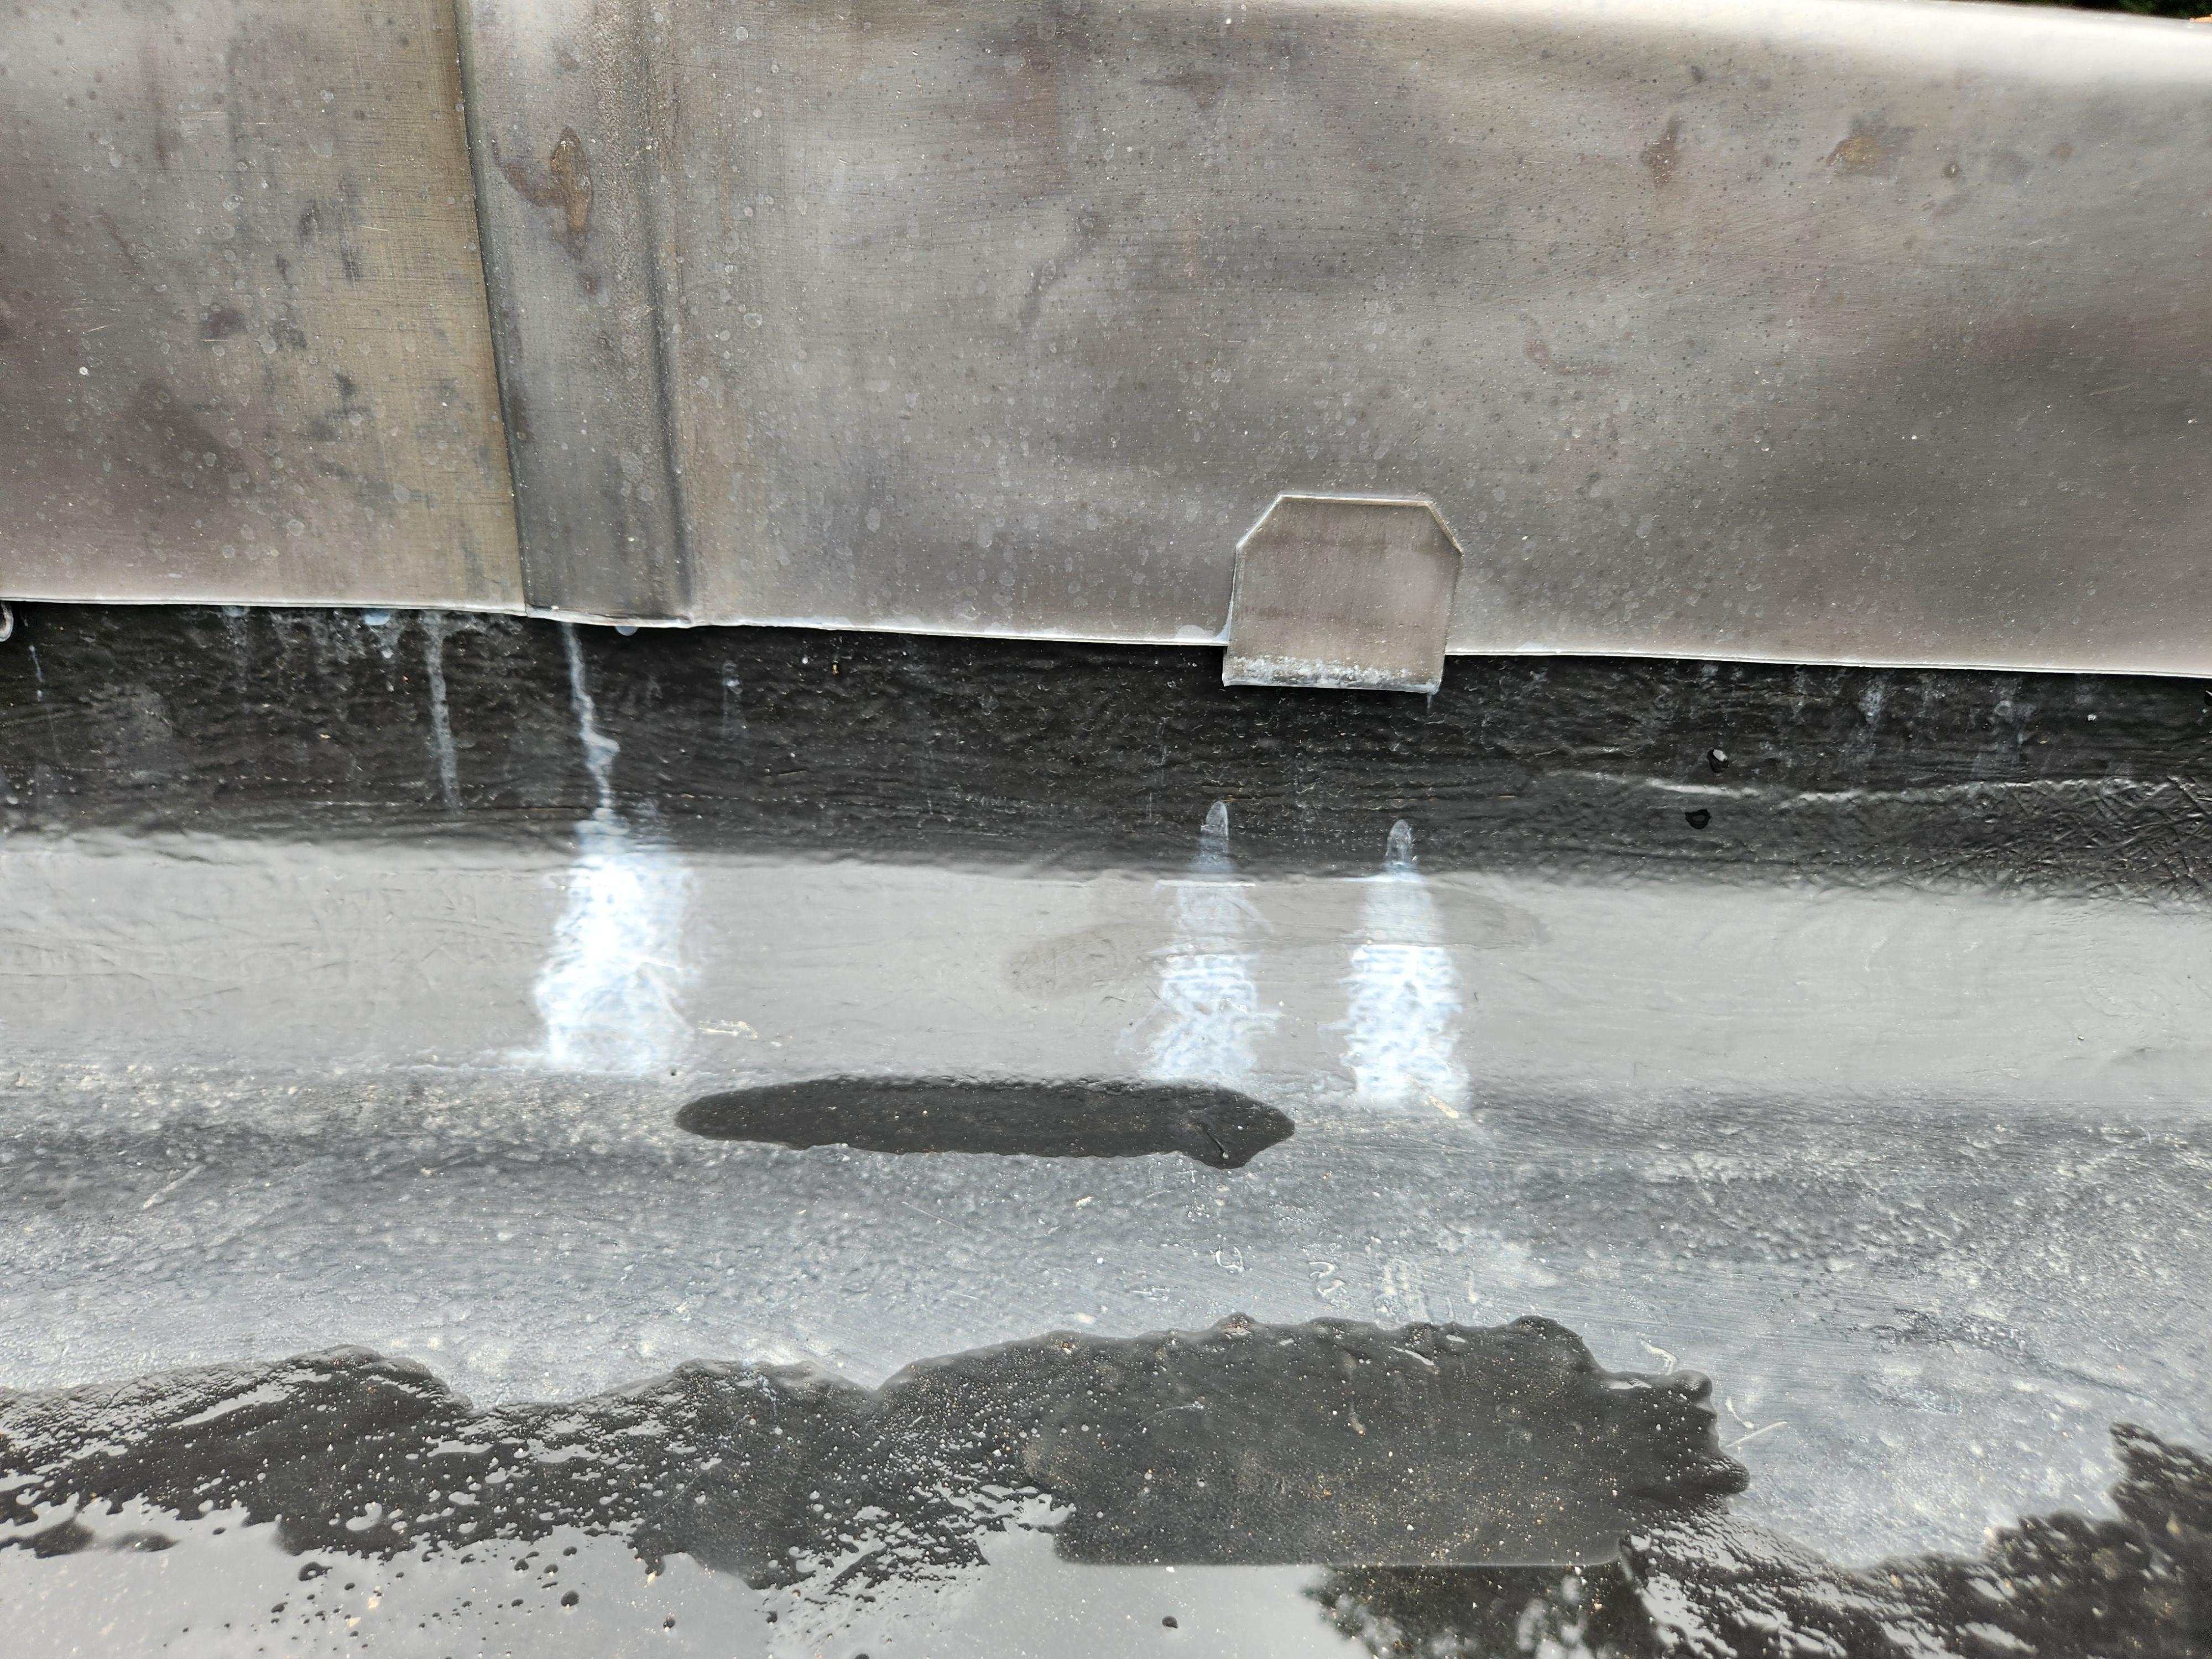
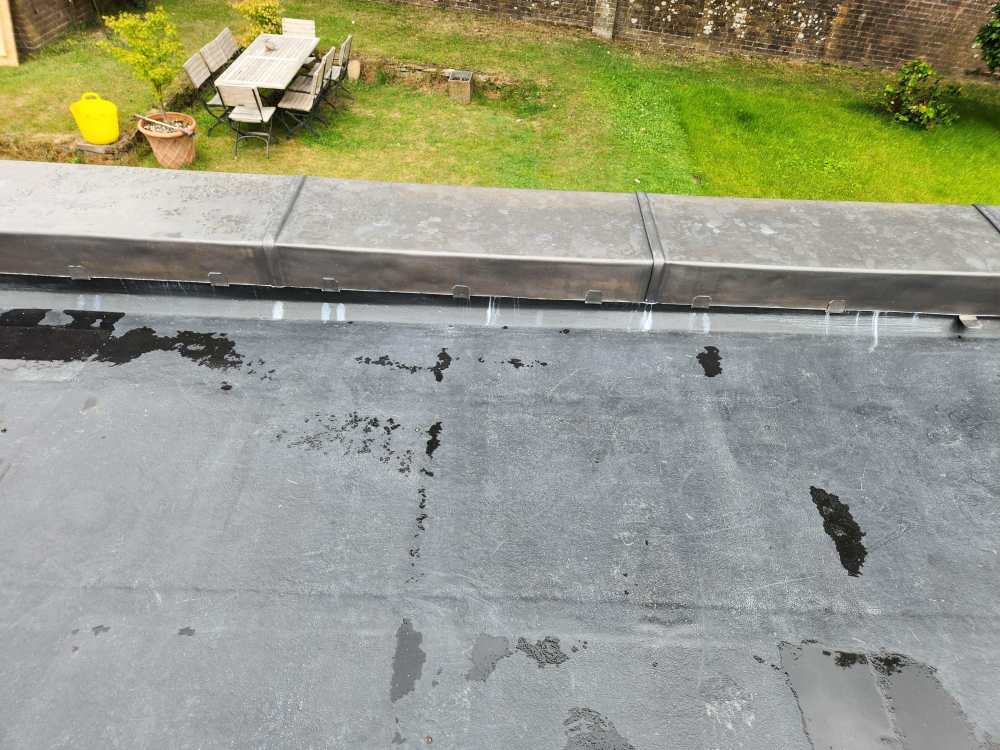
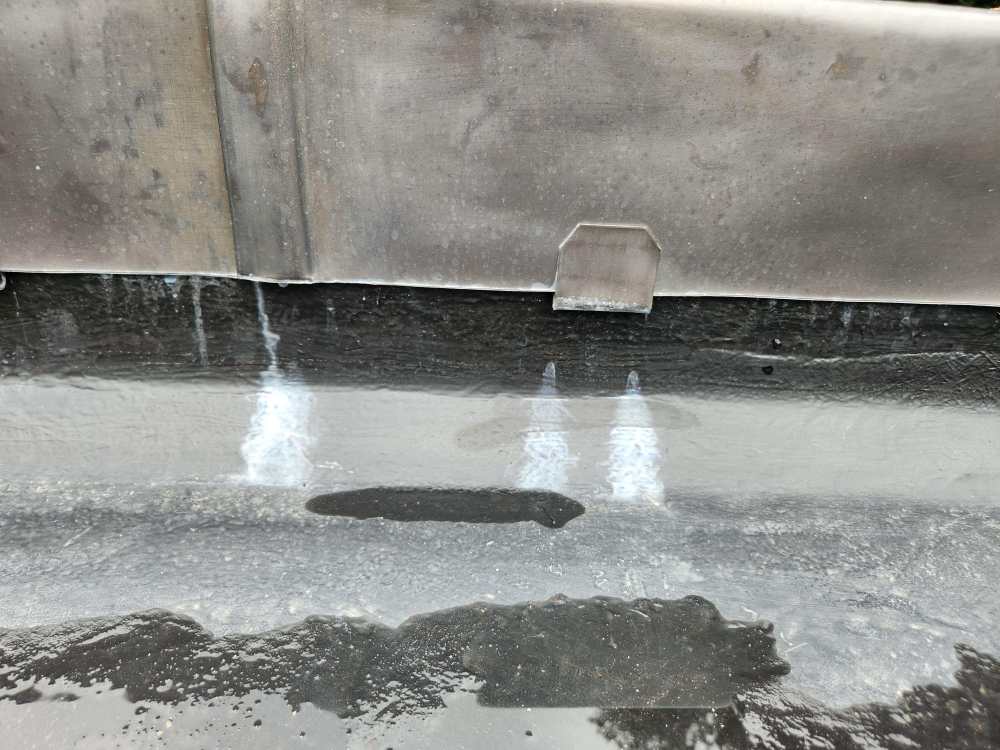
Hi All - My lead capping -- despited being oiled -- have leached onto the resin roof. I've tried some acetone which looked like it might work and does dull it down but the marks are still there. Has anyone any suggestions for what might take it off? Because I've top coated it I'm pretty sure you're not supposed to go over the top like you can the resin as it will just delmainate because of the wax content. Thanks, Paul
-
Thanks all. I'm going to try the joining angles together to make it work.
-
Thanks I needed that with all this build stuff at the moment
-
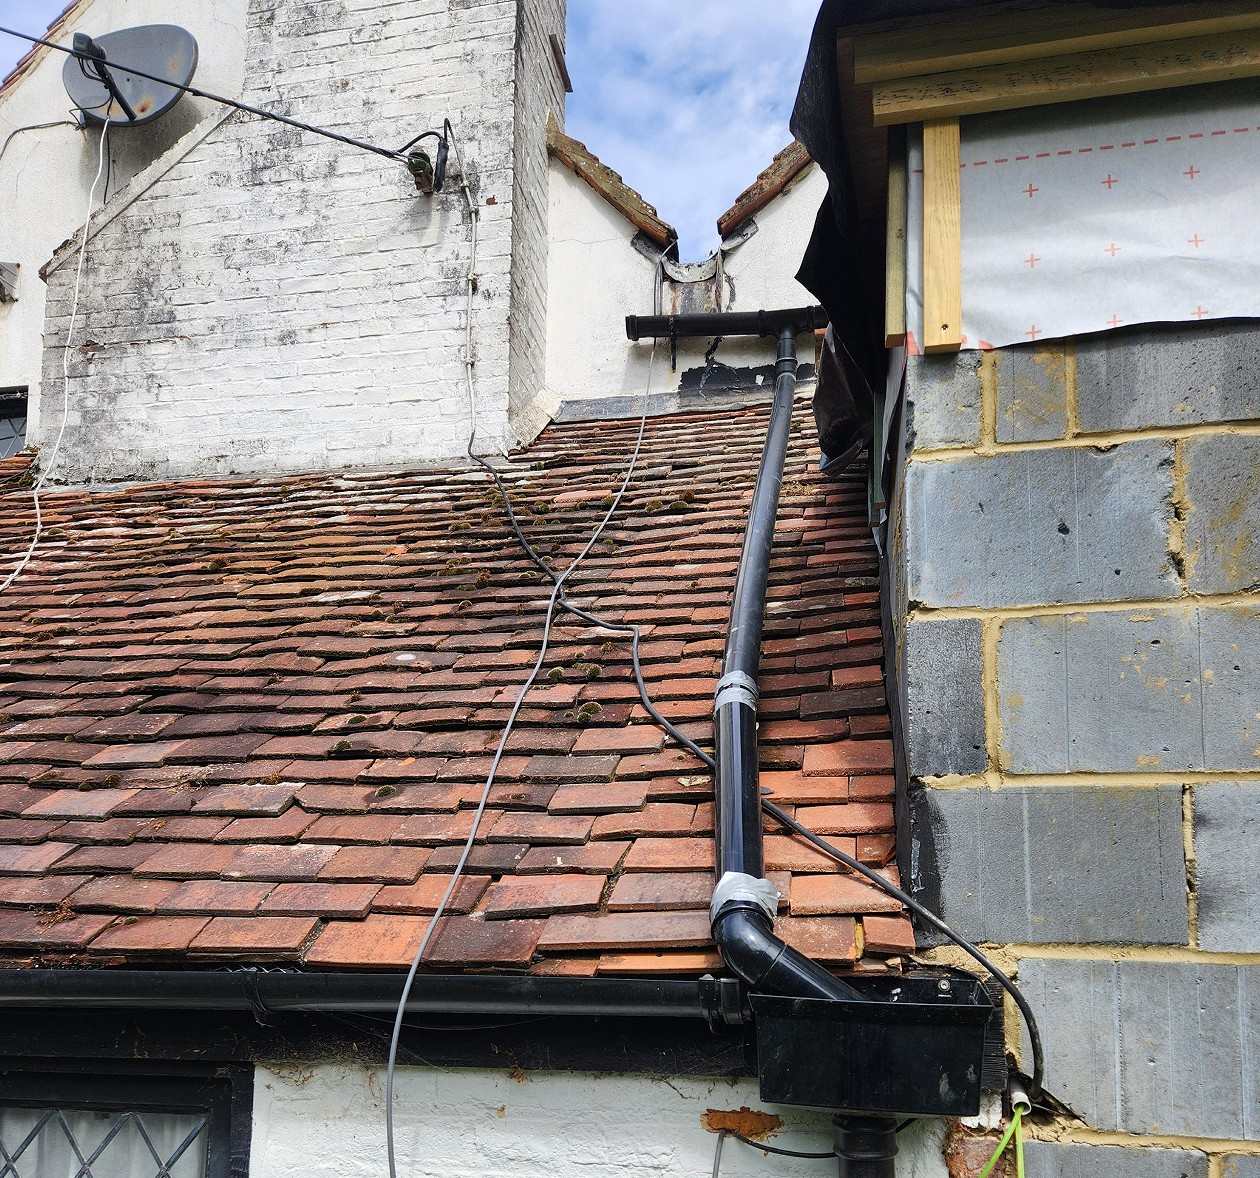
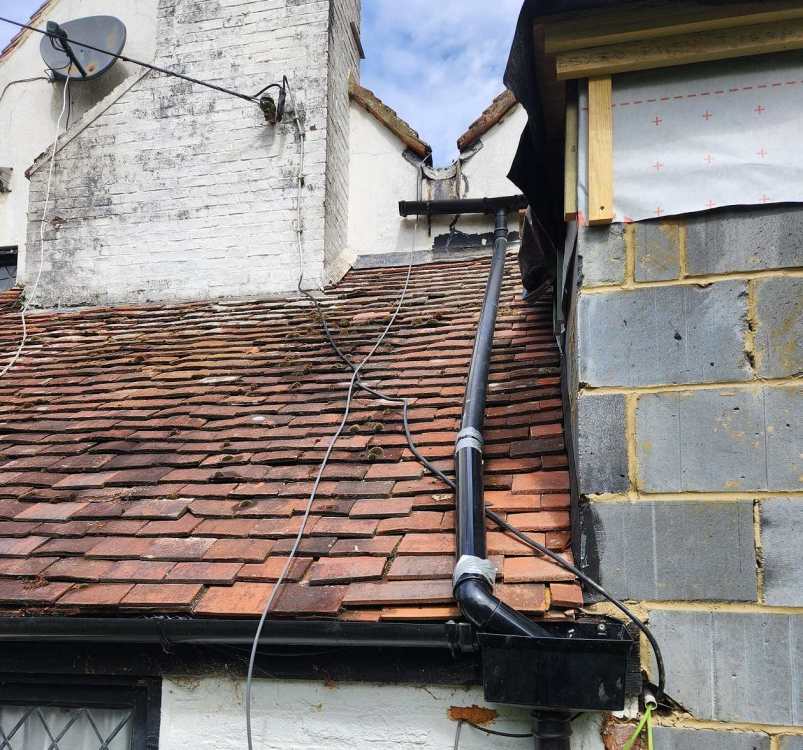
Hi All - As part of my work I was hoping to replace the pvc gutter with some nicer looking galvanised steel. The lean to roof is 38 degrees so a non standard size. I was hoping to find some kind of simple adjustable bend but this doesn't seem to be a thing. My next idea was to step it out slightly and then run it down the wall using a standard angle, however this will not look great as it will be at a different angle to the roof. In all honestly I am probably the only person that will ever see or notice this given that it's kind of hidden away. I thought I should ask if anyone was aware of any options for an adjustable bend. I did speak to someone from a reseller who said there are companies that will make custom ones but this will propbably cost a fortune and I am trying to stop myself doing stuff like that. The final downpipe will be fixed to the return wall on the extension. Thanks, Paul
-
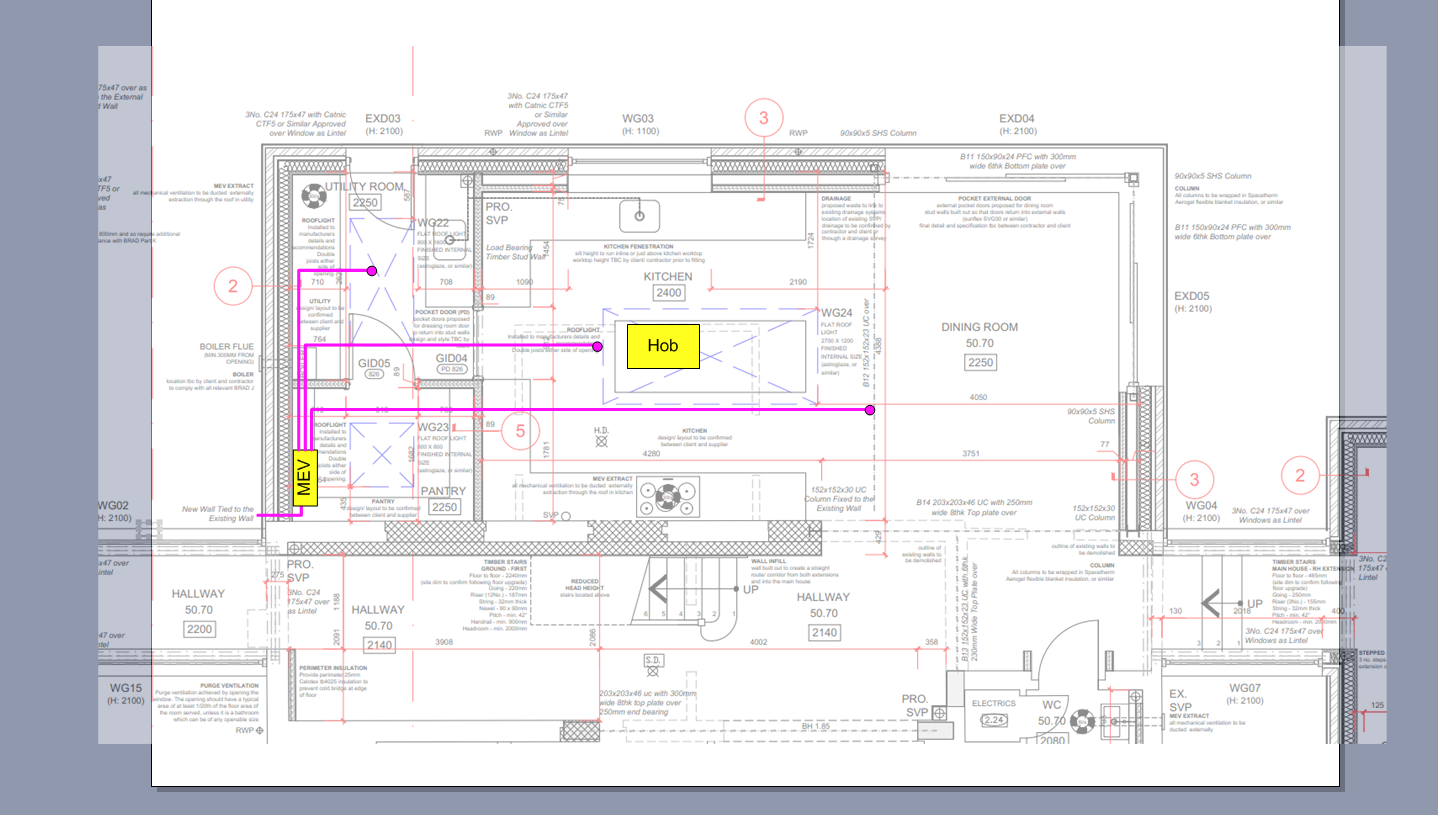
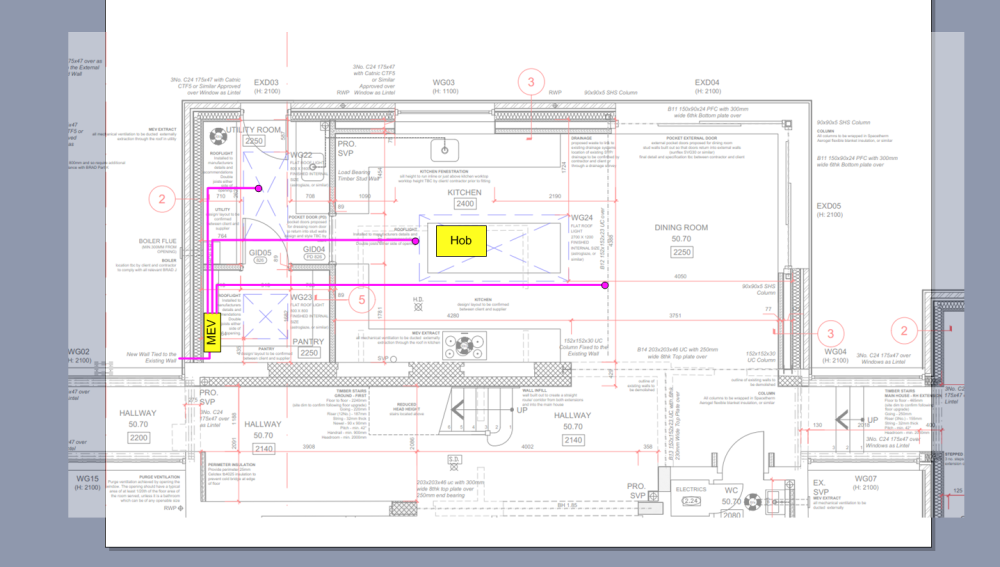
I may just be making more complicated than needed. So just been looking at the environvent 160/300 MEV. The space I'm covering is a kitchen/dinner with a utility and pantry. If I run ducting from MEV to around the hob location as well as the utility room and tie that in with a humidistat voc sensor it should automatically increase the flow when cooking or it smells bad stuff (not sure how accurate and smart these sensors are). I'll call them tomorrow to find out. It's a really old cottage and leaks like a sieve I am not really concerned about being too airtight yet. The extension opens directly into the main cottage as well.
-
I'm okay with vents I think provided I can colour match. I did toy with just cutting out the slots but not sure that would look great.
-
BCO came out and didn't seem concerend either way tbh. He saw it more as a warranty issue than something he needed to worry about. He was failry indifferent to whether I did nothing or added some grills in front of the existing airbricks in the cladding. Re the top side ventilation again no concerns from him. I have decided to try and go for a thinner cladding and drop it down a bit, this should give 6mm gap which equates to 60 cm/3 which from what I've seen is sufficient for some of the manufacturers, The people I was looking to get the cladding from had no view at all. Thanks all for your advice here.