Kai casswell
Members-
Posts
37 -
Joined
-
Days Won
1
Kai casswell last won the day on August 20 2023
Kai casswell had the most liked content!
Recent Profile Visitors
The recent visitors block is disabled and is not being shown to other users.
Kai casswell's Achievements

Member (3/5)
26
Reputation
-
FYI I always fill and flush panels without going on the roof, unless there is already scaffolding up. With the correct solar filling pump you dont need to..All the air gets dragged into the pump well and de gasses there. You can see the air coming out over an hour or so as the fluid turns from milky to clear. I probably get called out to about one or two of these every month.
-
I wonder if they would check that or if it’s actually specified how the 9m is measured. Would save a lot of hassle if I try permitted.
-
Probably for the best sun
-
HI we have space for a ground mounted array in our field. It would be about 150m from the house. Has anyone experience in applying for planning permission for this type of system? It will be bigger than the 9m2 permitted size. Also is it better to run longer DC cables and have inverter near the house, or the other way round. From scanning the forum longer DC seems better? My initial idea is about 10kW array going into a battery system near the house. many thanks!
-
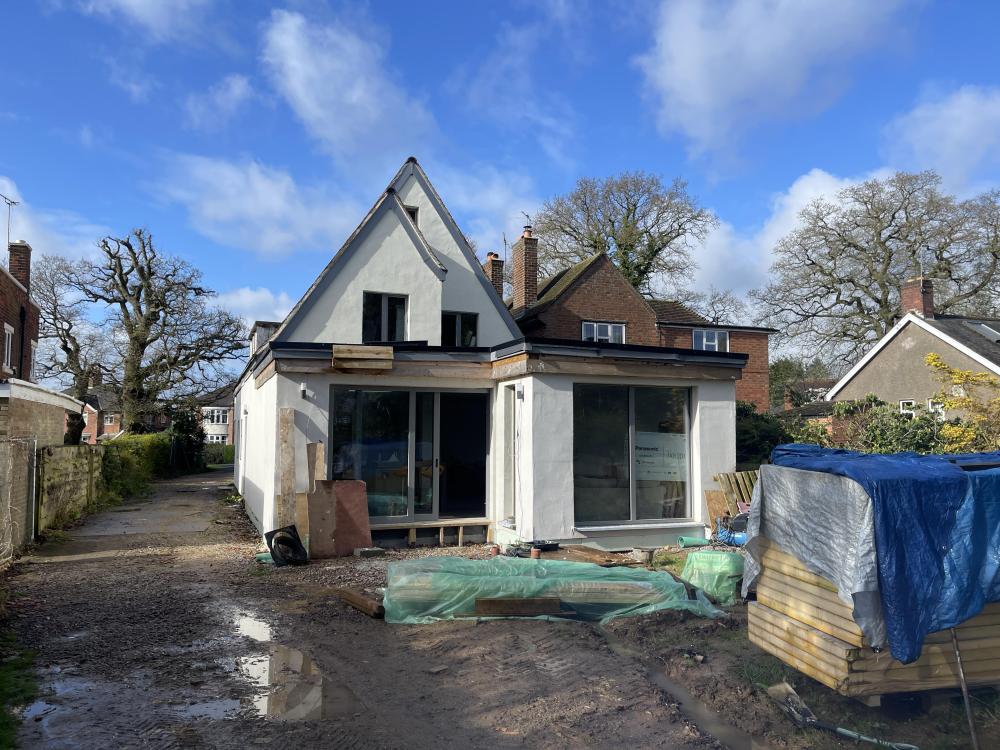
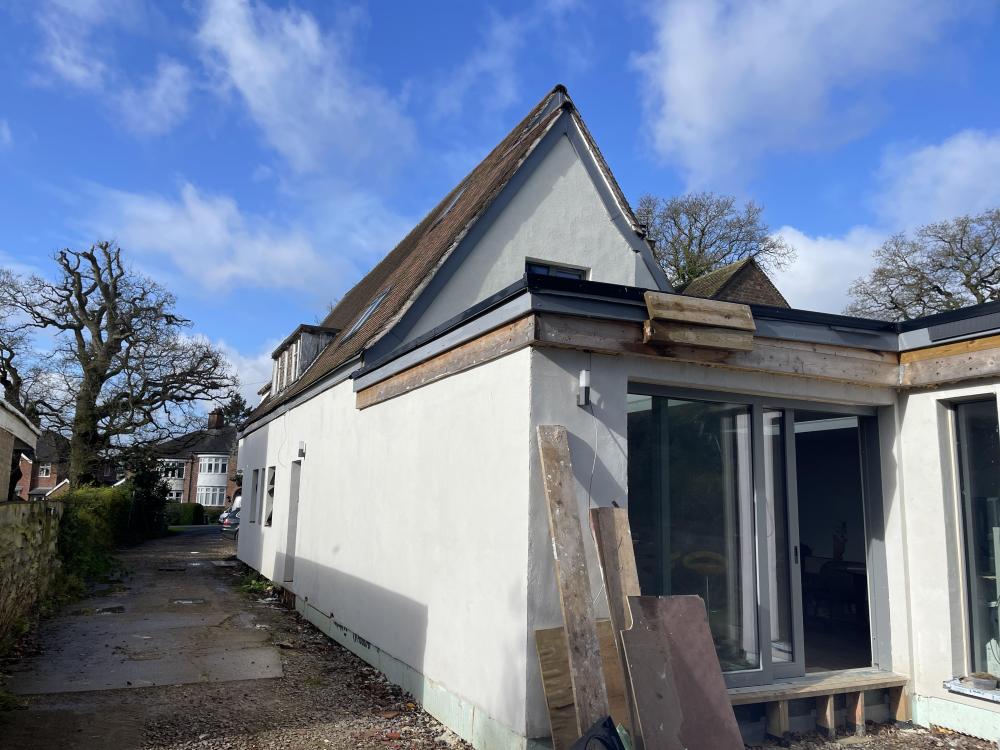
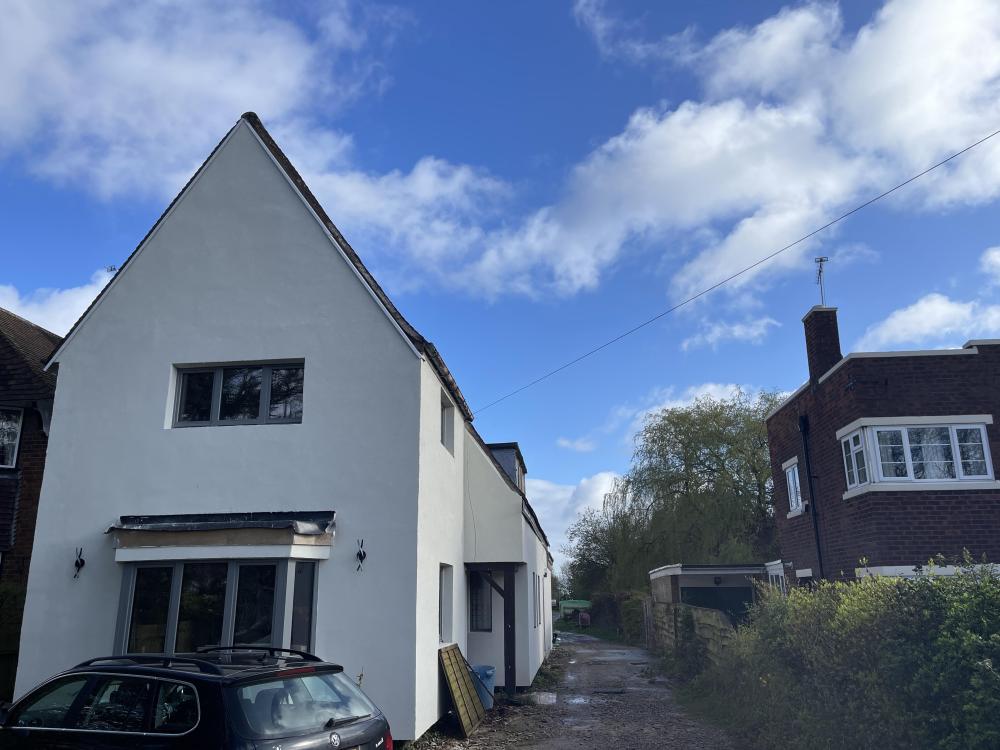
Here’s a quick update we moved in early January. Still got loads to finish off inside but we got all the EWI and render on before winter, fitted our kitchen and a bathroom and for two bedrooms done. Basement is done as well and still not leaking ! I’ll do a more detailed blog later but we are very happy with our self build / eco renovation / it’s just an extension isn’t it?! / (and the only other trade we used was my friend Pete the electrician)
-
Has anyone experience of finishing dormer cheeks side walls in edpm? The existing ones have very old leaky lead and I have edpm left over from my flat roof. I was going to redo the dormer roofs in edpm anyway. Can’t find much about it here or on Google. Thanks
-
So to recap: we bought an old house with a bit of land at the back. We tried to get permission to knock it down and do a new build passiv house in the backland. The council said no no no, we lost an appeal, then put in ridiculous plans for a massive extension with basement on the existing old house, plus a large stable block on the back land where we wanted the new build. Council said yes yes yes, thats fine, please go ahead.... Having never built anything major before, we hired a 9 ton digger and a small tipper truck and set about digging a hole. The basement would start over 4m back from the existing rear wall of the old house and as long as we graded the excavation where possible and used plenty of sheet pilings, it would work out fine. To get rid of the clay soil, we just spread it out on the land at the back saving quite a bit on grab lorries. We originally planned for a four week hire of the plant, but we ended up taking about six weeks. Prior to digging I made a few test trenches to check the soil and water level. We also found an in depth soil survey from a major development next door. Once we had the hole dug in the right place, and sorted some temporary drainage, we set about levelling and pouring the basement slab. This was designed to be 300mm concrete on top of a tanking membrane, with tons of rebar. We just followed the drawings and building control came a few times to check it all. The waterproofing was overseen at each stage so we could get the warranty as well. We poured the slab in winter of 2022 and had a few cancellations due to frost. In the end we made an insulated temporary roof over the basement and used gas heaters the night before the pour just to be safe. The concrete went in very well, i think it was two loads of waterproof concrete, then we could start on the nudura walls. The hardest part of this section was wiring all the rebar together and getting the 20mm OD L bars in place which connected the slab to the nudura walls. These were doubled up all around the perimeter every 8" and a pig to get in amongst all the rebar mesh. Assembling the nudura walls was very straight forward, once i got my head around the idea of a common seam - where due to the plan measurements, the nudura blocks needed cutting and joining together. We had done the nudura course and the rep was very helpful with all my questions. Once built up, building control came out again and we ordered another three loads of water proof concrete for the walls. Where the walls joined the slab, we used an expanding waterbar and kept it dry until we poured the walls. We hired a concrete pump for the pour and because it was a basement we just used the nudura walkways and scaffolding to allow the pump hose to get round the whole perimeter. I was concerned about blow outs- especially on the first load dropping down into the bottom of the wall so I over did the shuttering on the outside of the nudura - including 220mm x 50mm floor joists screwed all around the perimeter outer edge, plus lots of OSB shuttering at all the weak points. It all worked well and it was a major relief to get the walls filled up.
-
We have started fitting our external wall insulation and render. Whoever invented sponge floats need a knighthood. That’s all.
-
- 2
-

-
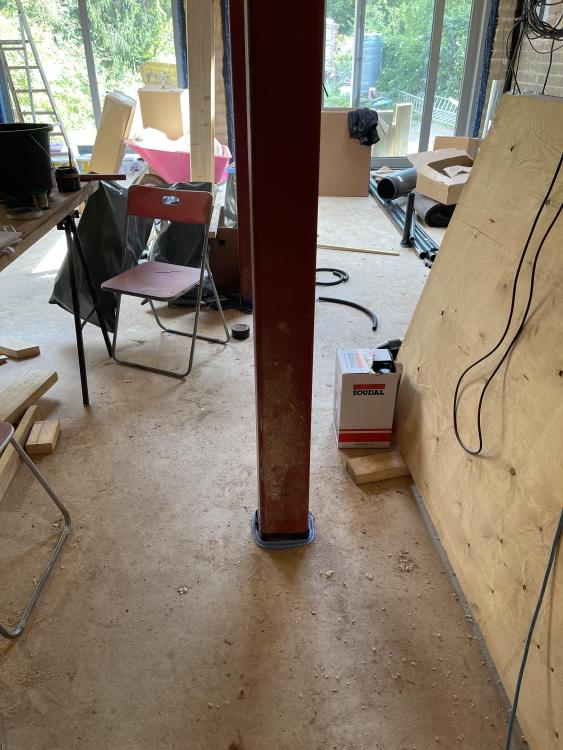
Insulation in steel columns.
Kai casswell replied to Kai casswell's topic in House Extensions & Conservatories
It is connected to 16 other steels. All within thermal envelope. But the foundation it’s on is 2m3 concrete on the ground below but this is within the foundation of the extension -
Insulation in steel columns.
Kai casswell replied to Kai casswell's topic in House Extensions & Conservatories
Thanks. BC suggested injecting them as well as covering. Im trying to Minimise all heat loss. Maybe it’s overkill. Just wondered if an else had done it -
-
whats this part of a roof called?
Kai casswell replied to Kai casswell's topic in Roofing, Tiling & Slating
Ah ha that’s brilliant. I’m using plain tiles double lap so should be able to make something. I Have done a bit of lead works over the years. thank you both for your help. -
whats this part of a roof called?
Kai casswell replied to Kai casswell's topic in Roofing, Tiling & Slating
All diy I’m afraid! -
whats this part of a roof called?
Kai casswell replied to Kai casswell's topic in Roofing, Tiling & Slating
That only shows a duo pitch onto a gable wall. Mines a little different and having searched the internet I still can’t find an example. I’ll try again using the keyword saddle as I expect that’s involved somehow- thanks. -
whats this part of a roof called?
Kai casswell replied to Kai casswell's topic in Roofing, Tiling & Slating
thanks for that. It’s the top lead around the ridge tile and how it joins with the main roof pitch I’m trying to work out. Can’t find any examples to copy.


