centralLondonJOHN
-
Posts
33 -
Joined
-
Last visited
Everything posted by centralLondonJOHN
-
The Palatine paint was simply the best paint that I have ever used for railings. I opened the can made a wooden stirrer and discovered there was no solids in the bottom of the tin - a 1st. I read that this is good for wood as well. I applied paint by small brush and it held in place with little to no slippage but was as still easy to paint rapidly. The other good point, it was easy to build up layers to cover edges. And brilliant for light painting in areas where the cast globes at the ends of the steps were not well formed. Amazing John
-
OK, Rustin's water based red oxide; I allowed this to dry with the lid removed for 36hrs before painting. Now good and thick. Over coated this with 2 partially used old tins of Satin black which are oil based. This evening I bought Palatine Gate & Railings Paint which is oil based for £19.73, 1 L with delivery. I'll tell how it goes shortly. John
-
The sanding is all localised particularly where the arrow heads meet the horizontal wavy top plate. So I think galvanised is out. I will be painting the railings with a gloss black paint similar to Hammerite exterior railing paint, except the last time I used this was 2ys ago, and I thought it very poor. John
-
I have only just finished applying a red oxide primer from Rustins it is absolutely rubbish. It was well stirred and was used on two rails of my exterior street railings here in London. It is so thin and like water the rain overtook me and literally washed all away. There is no stain as evidence of my painting! Total rubbish. It is cellulose based paint and is contrary to what I normally use - oil based. So I am looking for advice to a small pot of oil base paint, <500ml or less to prepare a oil based top coat. So I ought to have advice on both to create the right system. Than you for your thoughts in advance. I will now engage in searching. John
-
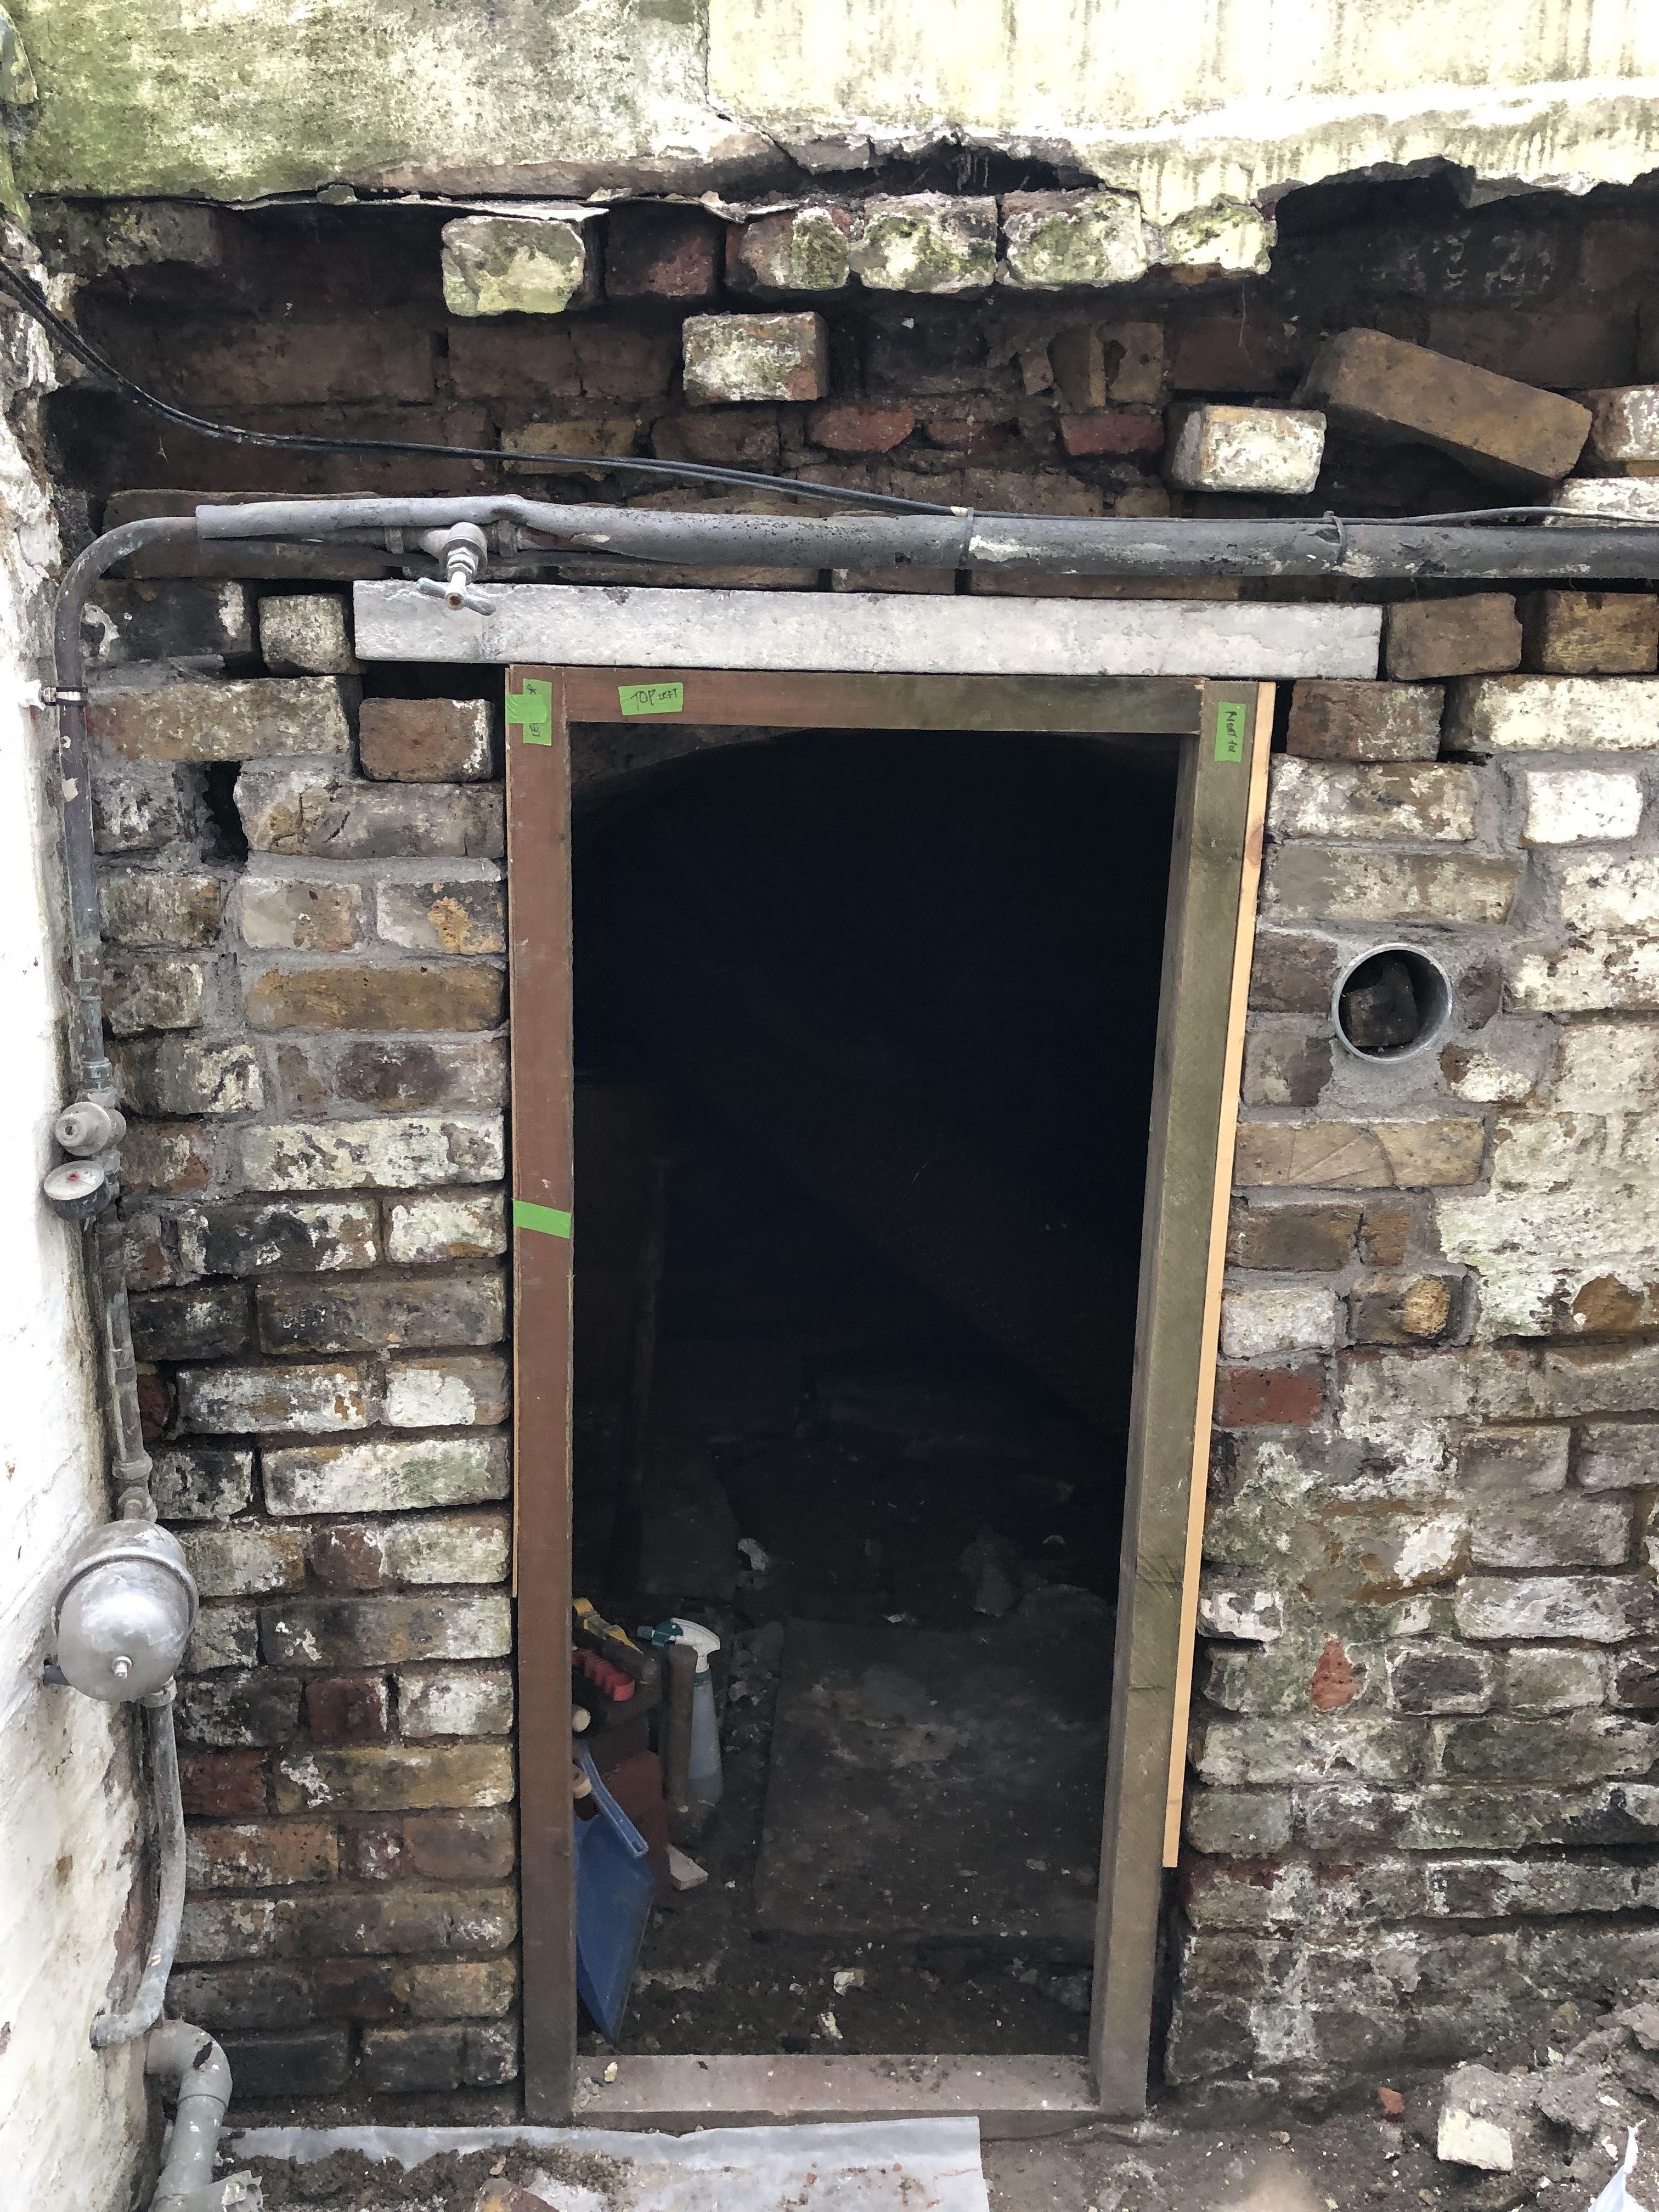
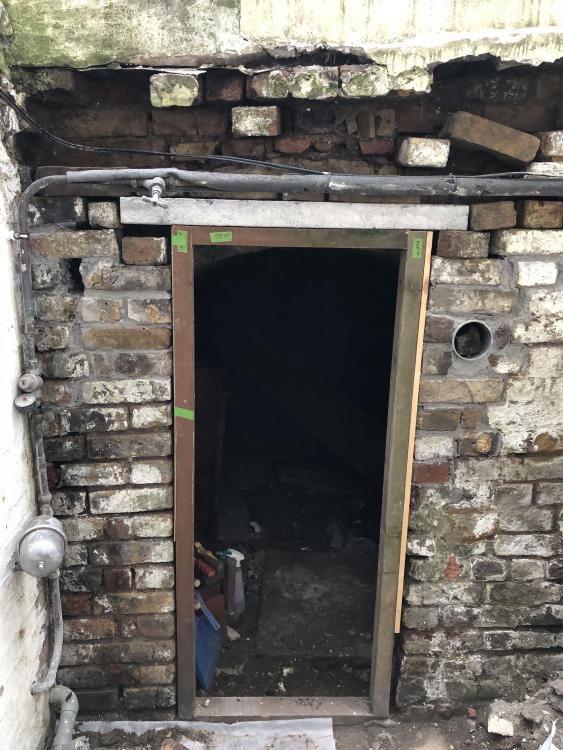
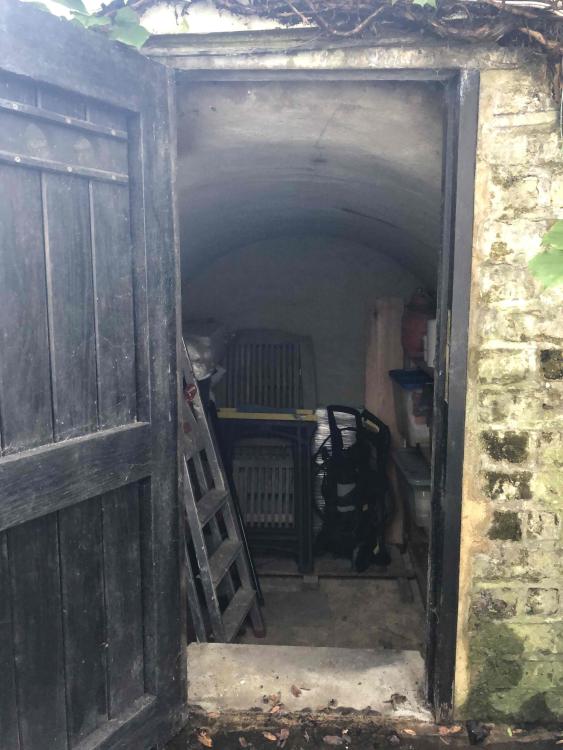
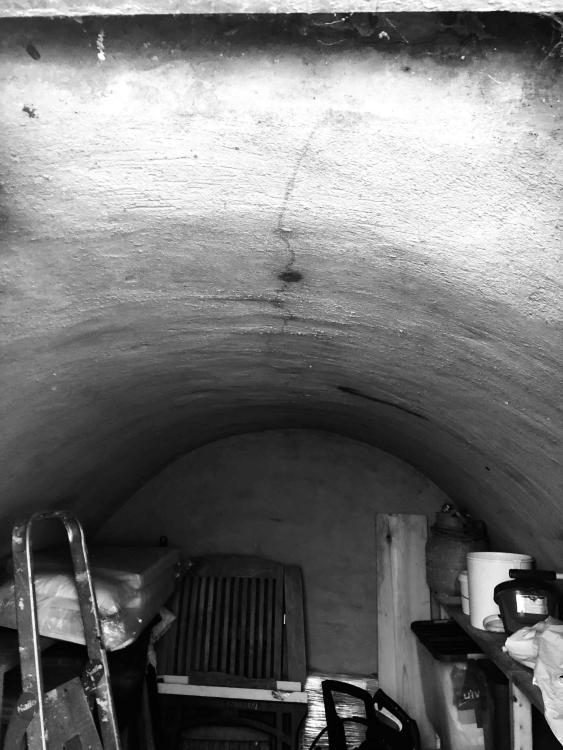
So I have now moved onto our own cc and a photo shows what I am up against. Not enough yellow stocks from the 1820's. But I can get over that with reds and render. I'm cleaning the bricks in two parts they are so friable and breaking into two. CP1 clear as made some hidden repairs. Initial cleaning, then lime bedding the bricks and then a final cleaning in the summer. Final joint work soon. No new painting!, I am asking for advice as to where to place the first horizontal DPC band. Would it be between the 1st course and the pre-stressed lintel, or underneath the lintel where I will be putting the 2 vertical DPC bands for the timber frame and door. The detailing is tight. Behind the frame former the ghosted arch of the vault can be seen in the Left Hand corner. This shows that little or no continuity of the DPC further back to the 2nd course of brickwork. Thanks in anticipation, John
-
This Catnic product certainly adds to the mix. Thank you
-
Bags to go on with RG. Probably what I was after, thank you.
-
Ok, one down ... I am very keen to understand the render?, is it two coat/ one coat, gunned on render. Some guidance here would be very useful.
-
Is it possible to buy thin reinforcement bar? Less than the 12mm?
-
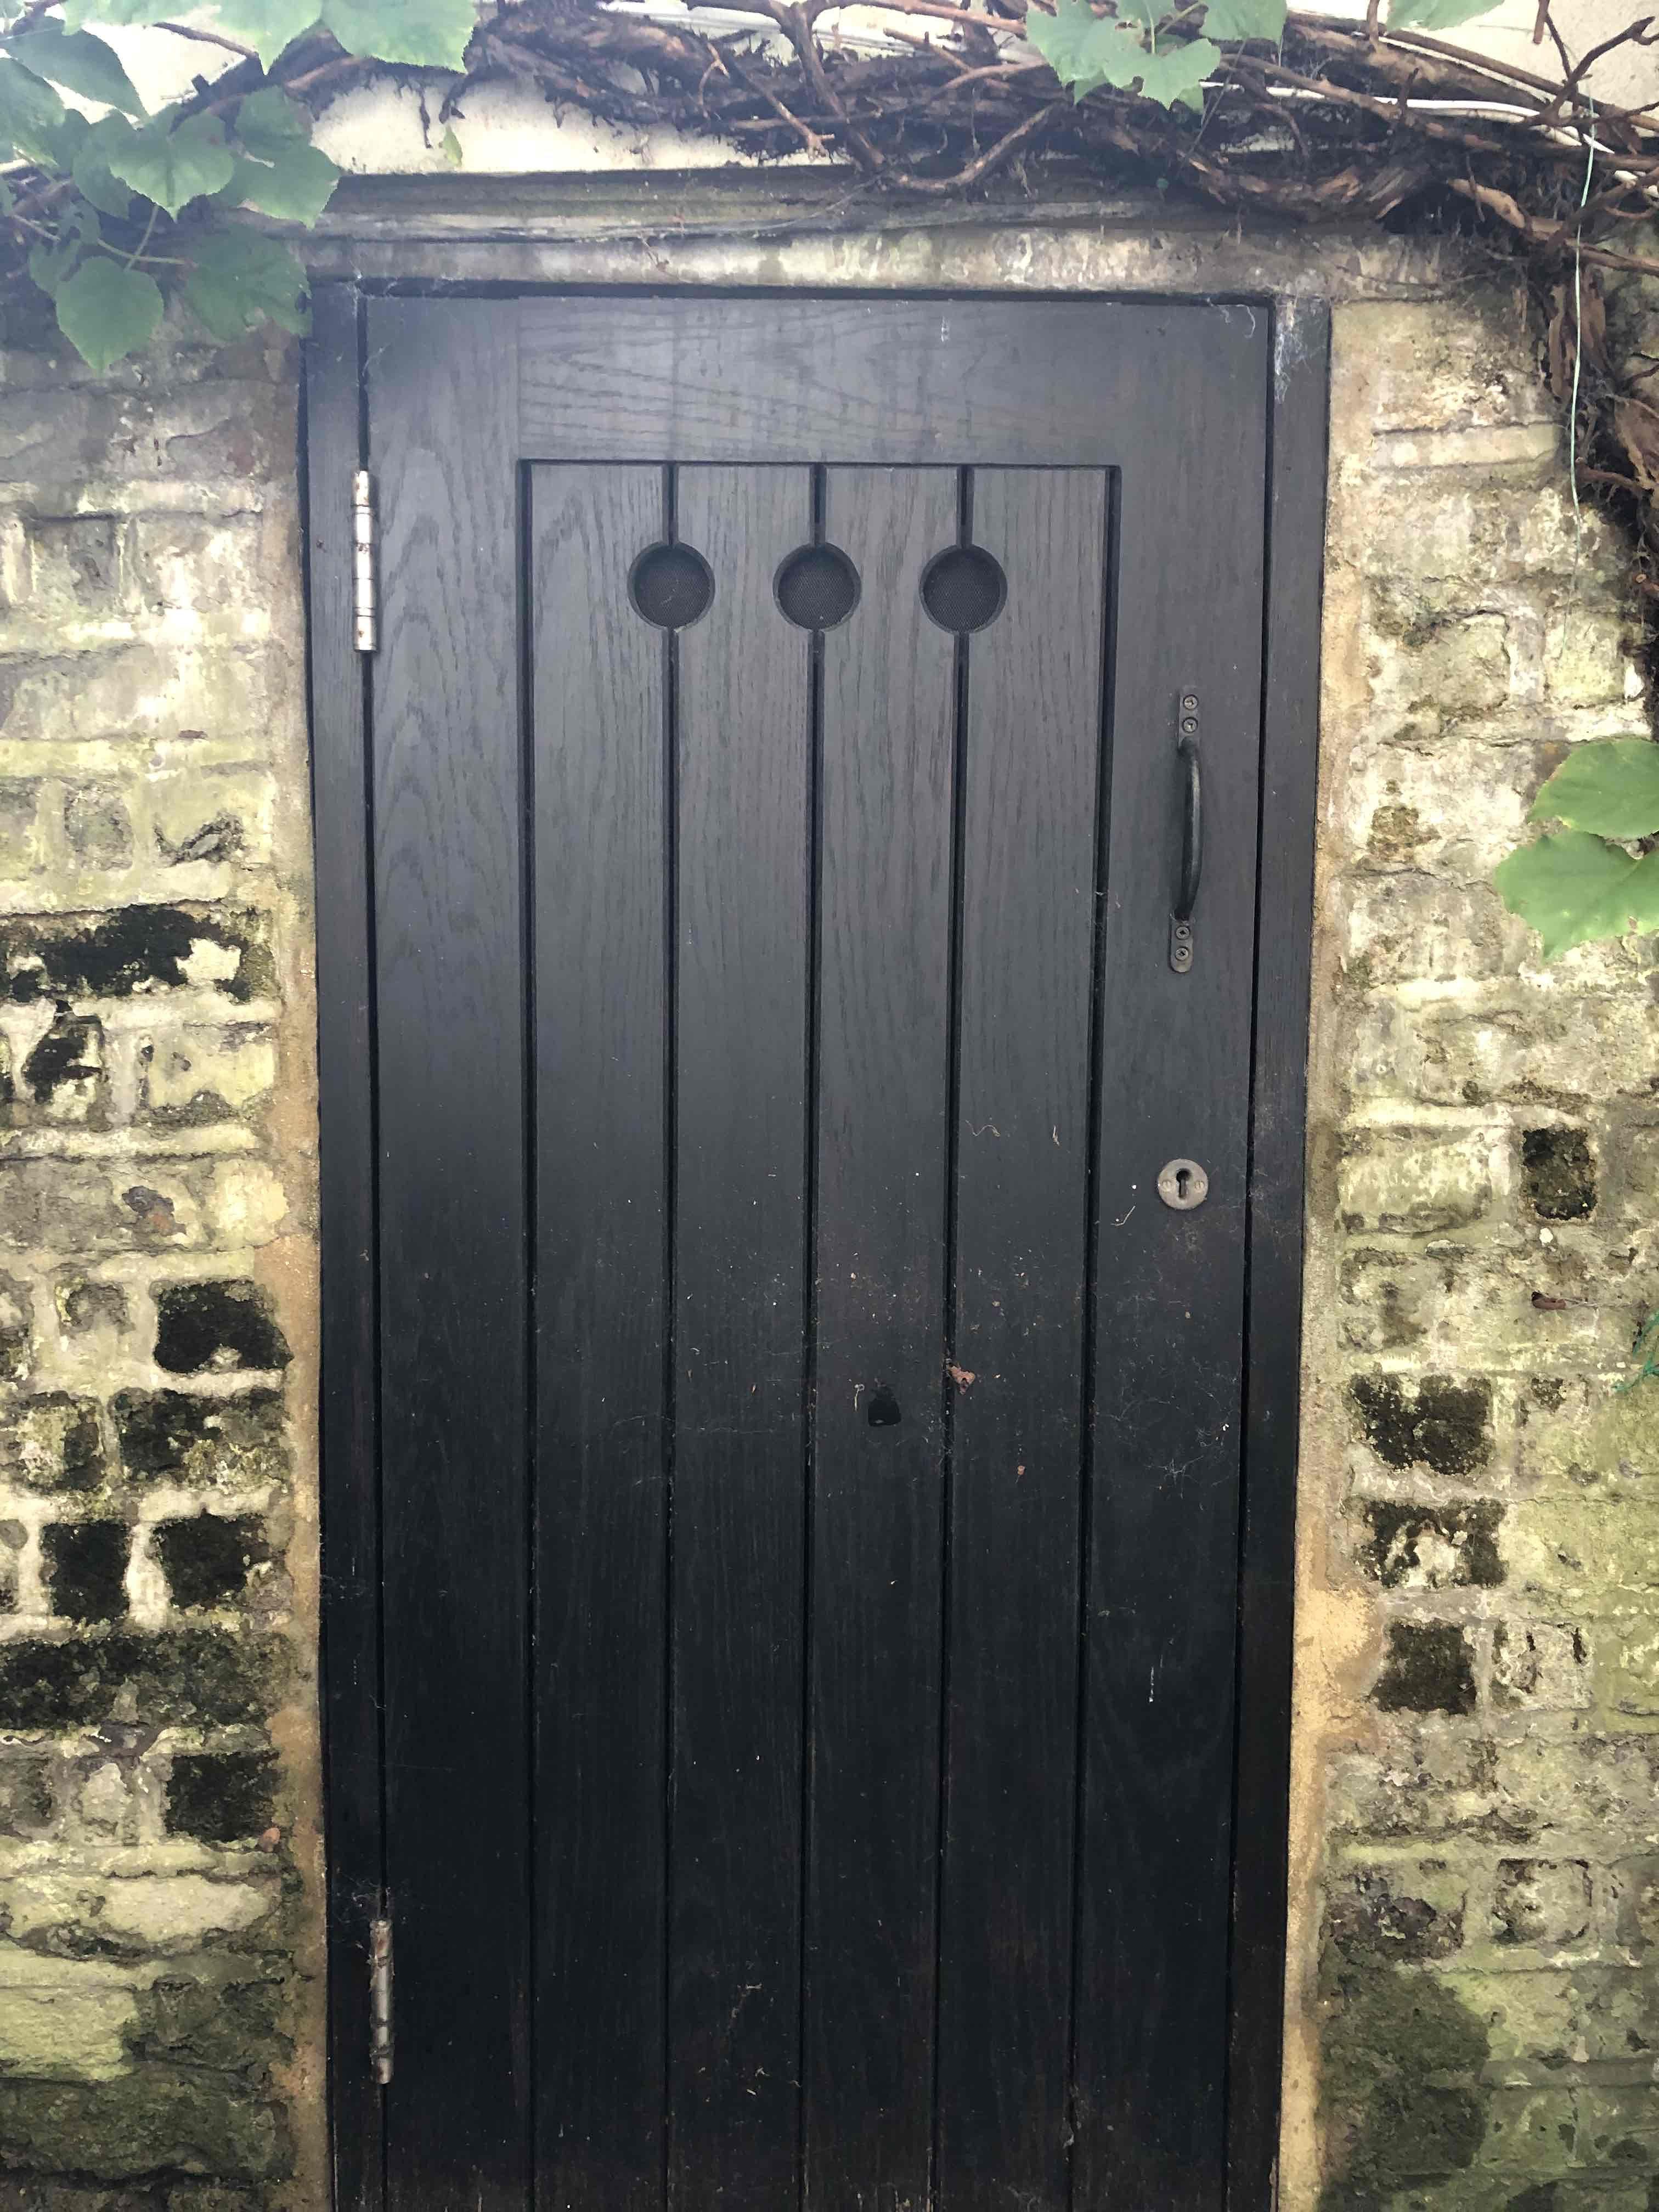
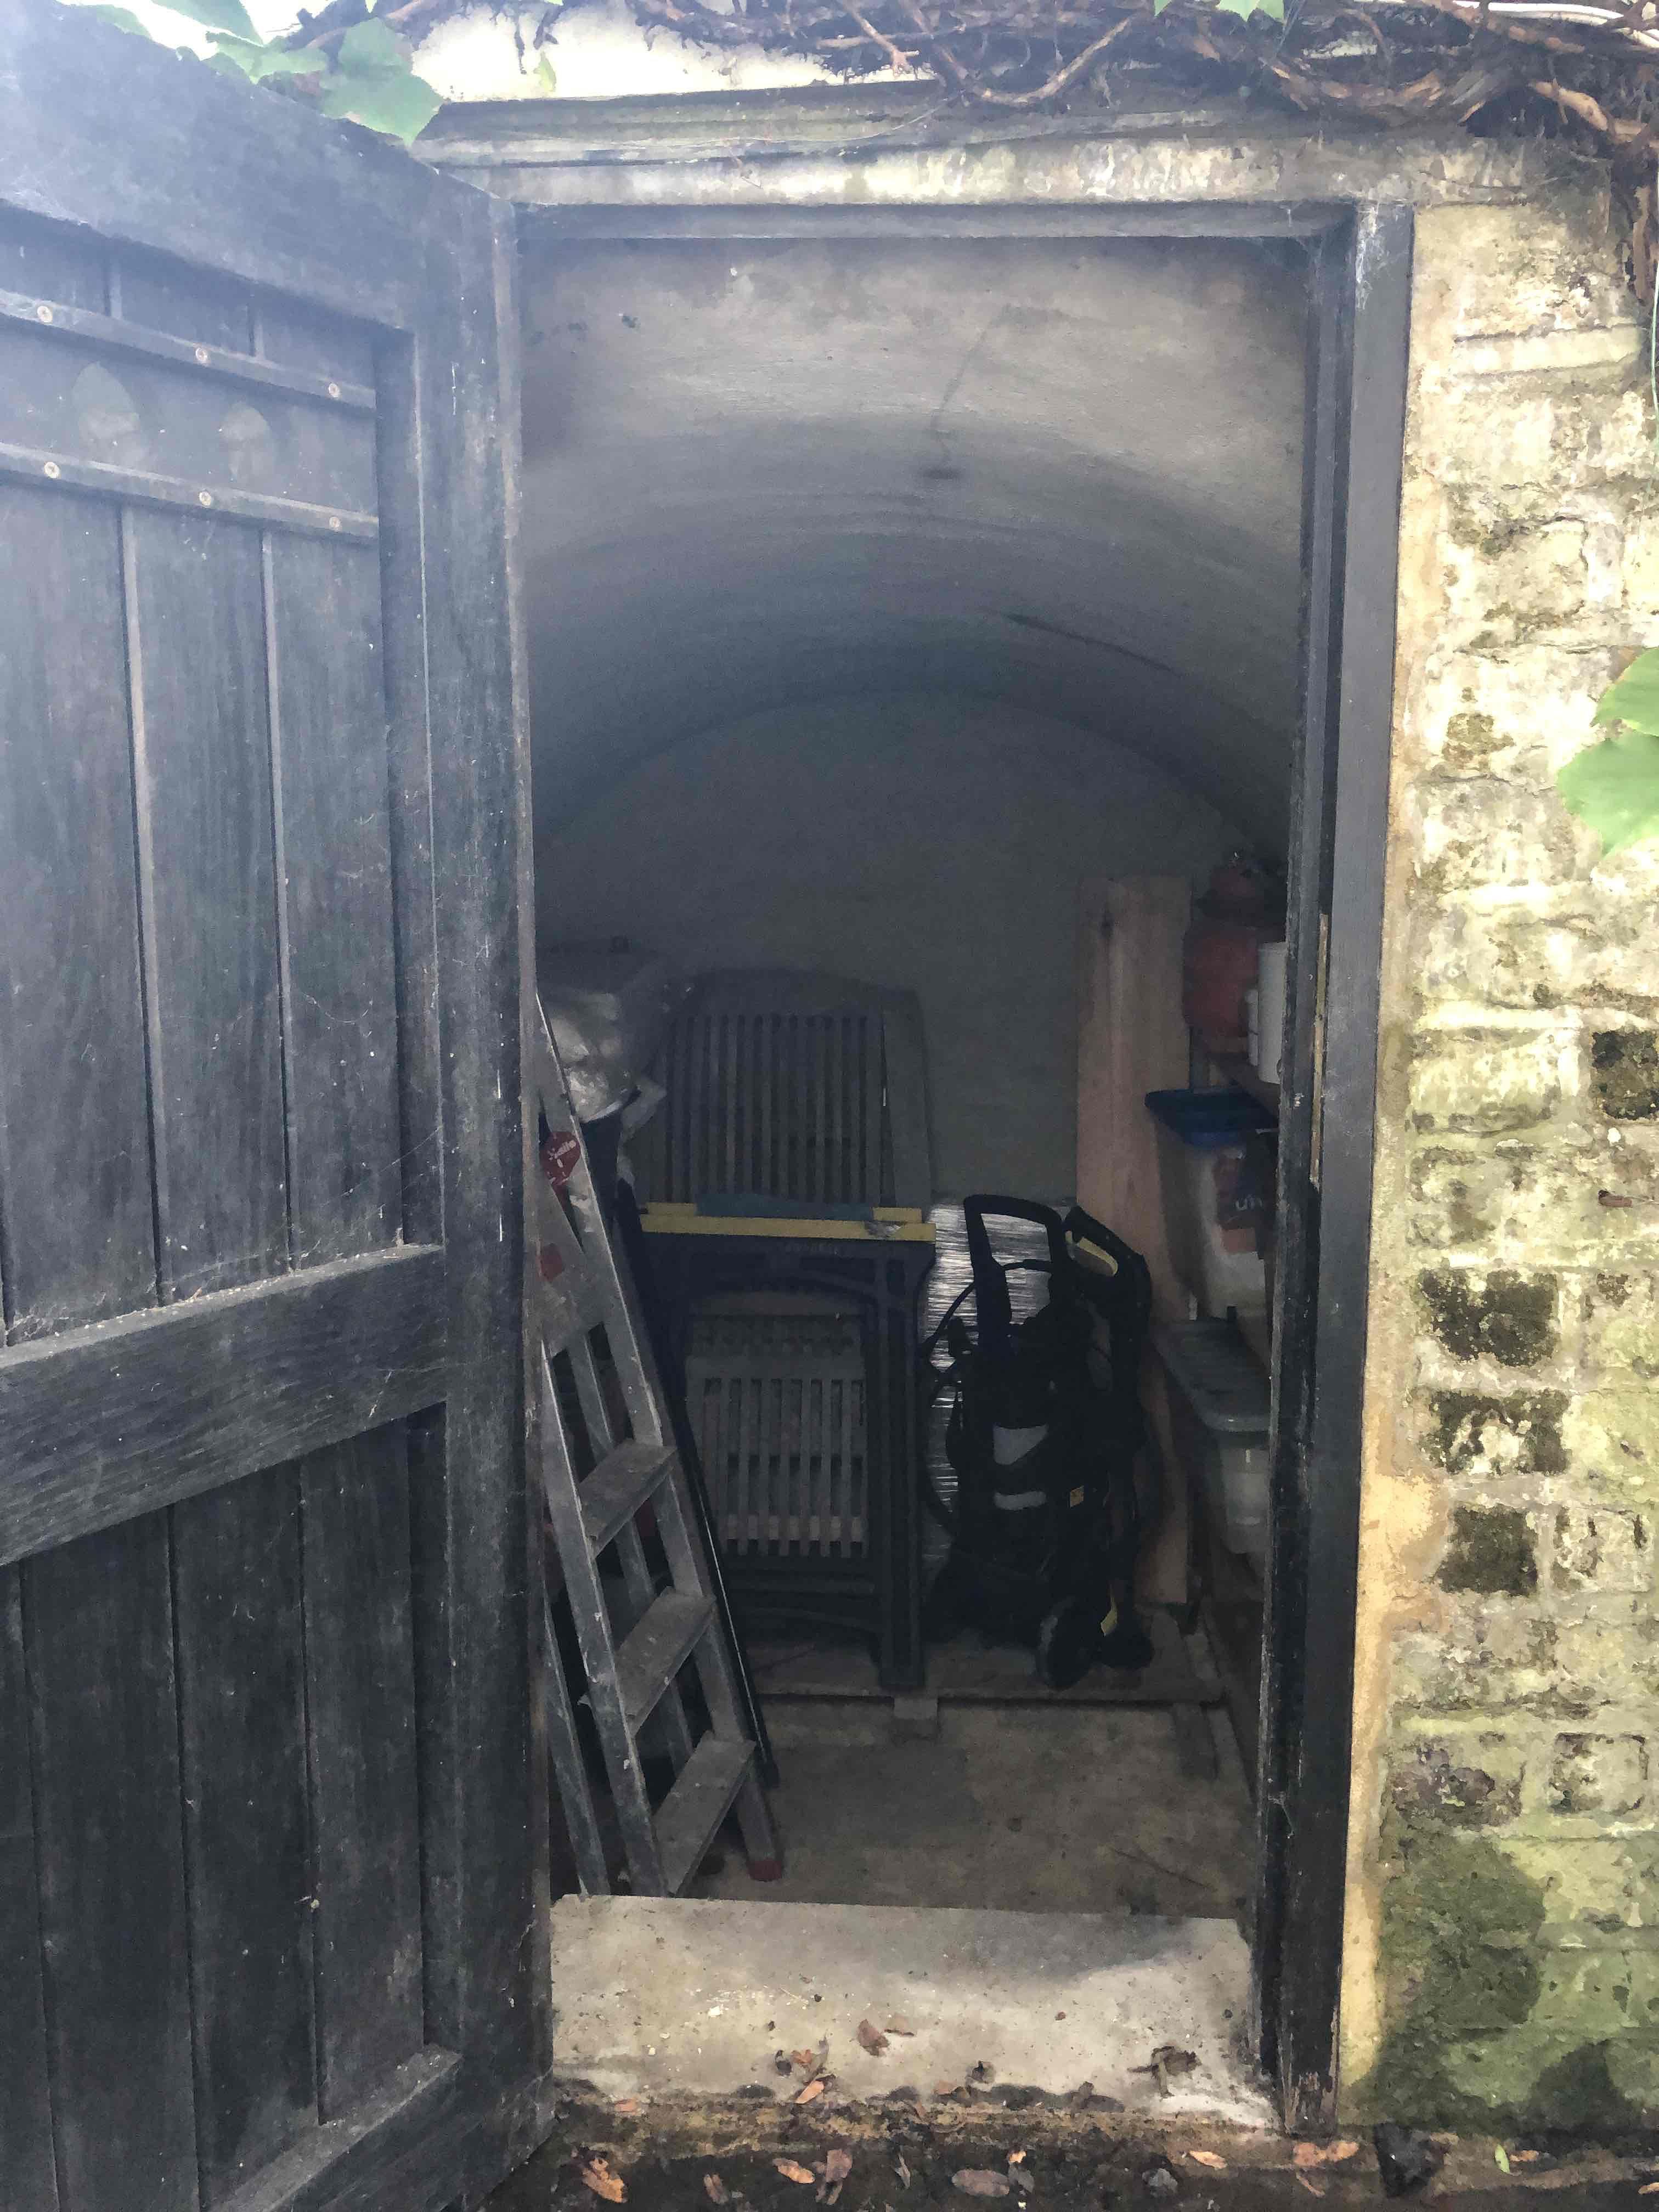
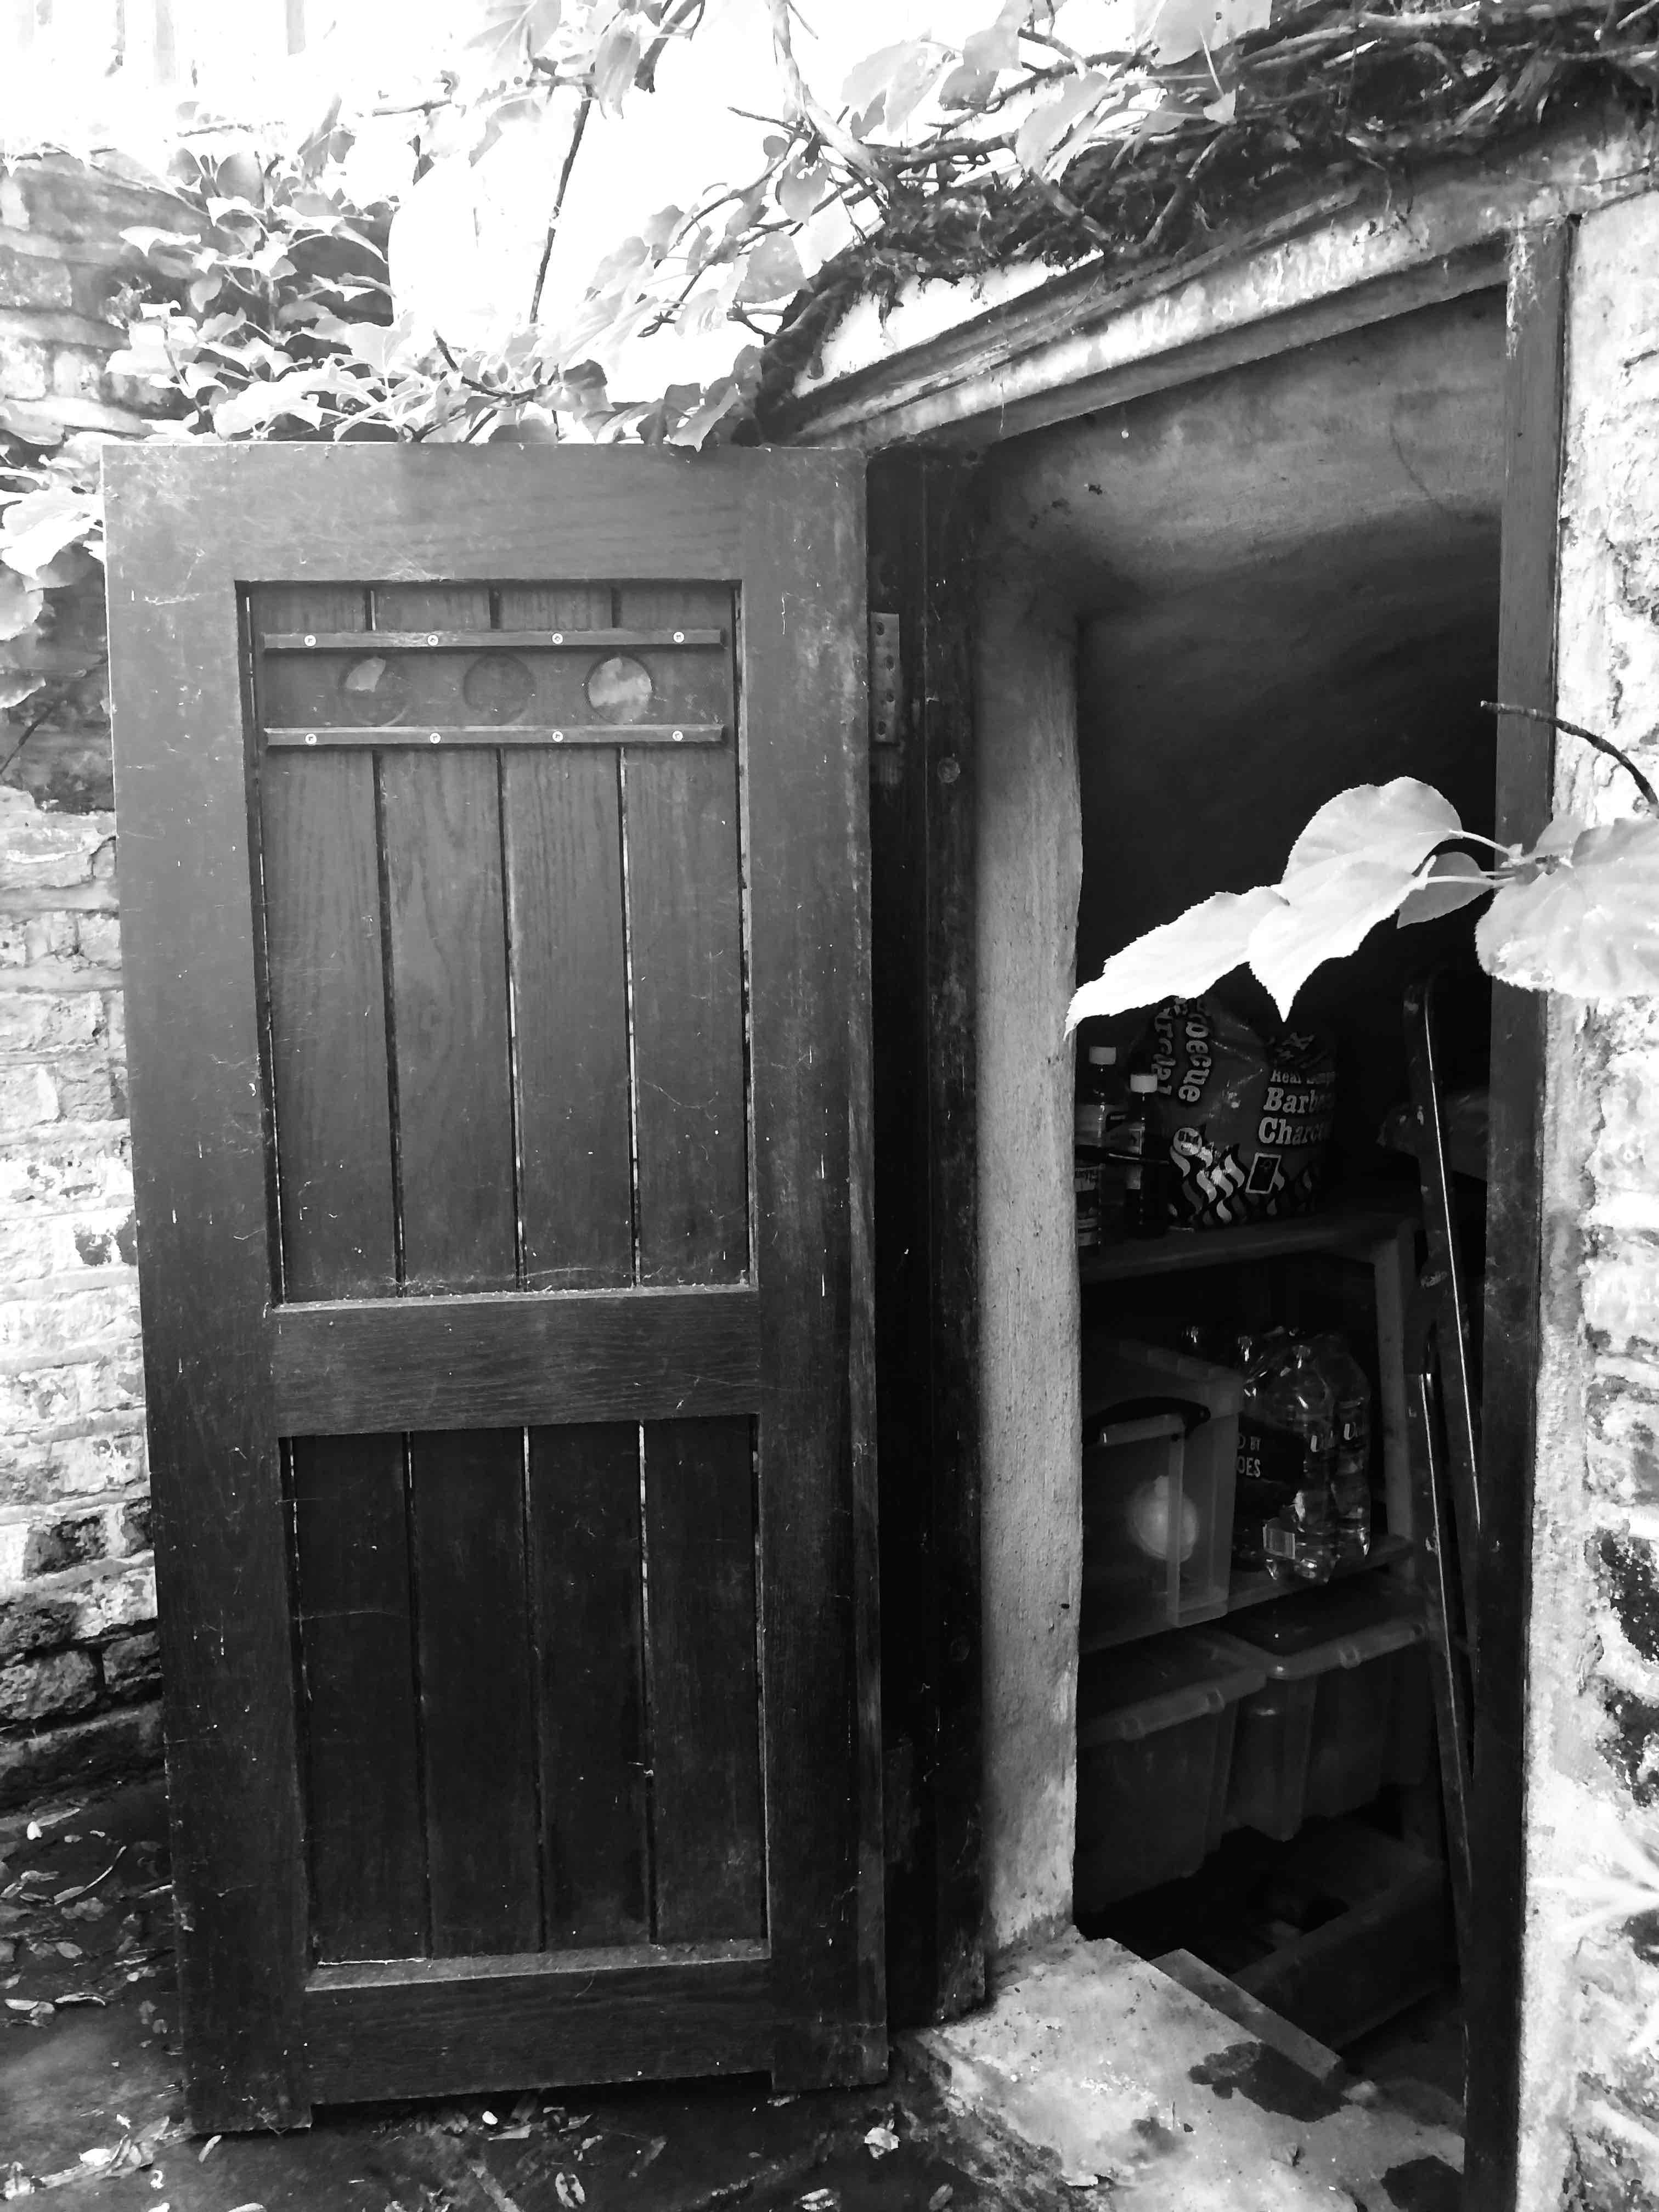
My immediate neighbour has had their coal cellar (those were the days) ‘tanked’. This all done many years ago, the co. now not trading. So I would like the terms by which this can be described; is it tanking w/ a water barrier , rendering with an admixture, gunerable cement that I can see that it is brushed with a coir brush but has no membrane since it is a little bit spoilt with water ingress. So, all my searches have come to nil. Other than Newton CDM which I have used more than 20 years ago. The work, 20 odd bricks to be added to the reveals, a thin 40mm concrete load bearing lintel, say 1000mm x 150mm x 40mm. The waterproofer, render and an oak frame door set or better. Where can I order such a lintel? Thank you in advance, John


-
https://enphase.com/homeowners OFF grid and off limits to the those of you capturing the solar rays. Potential for no battery use! In essence, it can operate as part of a grid-integrated system or part of a microgrid. John
-
Paladin Churchill radiator,
centralLondonJOHN replied to centralLondonJOHN's topic in Central Heating (Radiators)
Marvin Thanks for the advice, indeed the house is on the slope of a hill with a narrow pavement, and the two piece will have to negotiate up a short up-flight of stairs, then inside the house - and then a descent down a flight to the lower ground floor - thru a very narrow doorway - and then onto the ceramic tiled floor. Bloody tricky! The screw fix link helps a lot. A great help to picture it all the way thru. John -
I'm considering purchasing this weighty beast of a cast iron rad. https://www.traderadiators.com/churchill-7-column-cast-iron-radiator-350mm-x-1402mm-22-sections I have seen the youtube video from the sam e co. My purchase is currently around 1402mm and it will be delivered on two pallets. (I'm looking for something close to 9000 btus at Delta 50*C). So it would require a 'Joining Tool for Cast Iron Radiator' outright cost of a £60.00 from the same co. Two things, with a total weight of 158Kg - in the gym I can barely lift a 1/3rd of that I'm 62kg, so I'll need to find a chunky guy to help - does anyone have any experience with this beast? As regards the joining tool, what 'business end' does it have (it looks just like a thick spade end on the vids) and can it be improvised, considering the torque of 200 newtons probably not. From a buyers perspective I have no knowledge about these radiators, am I missing some other issue? I can plumb it in, thats not a problem that I for see. On an US youtube site they showed a strainer to drain out the crud, I expect this to be very useful. Any thoughts. Thanks for your help! John
-
Dave what did you have in mind, I have received both 5 page DCN and a 7 page DPN. The certificate its self is one page with little info. John
-
Absolutely!
-
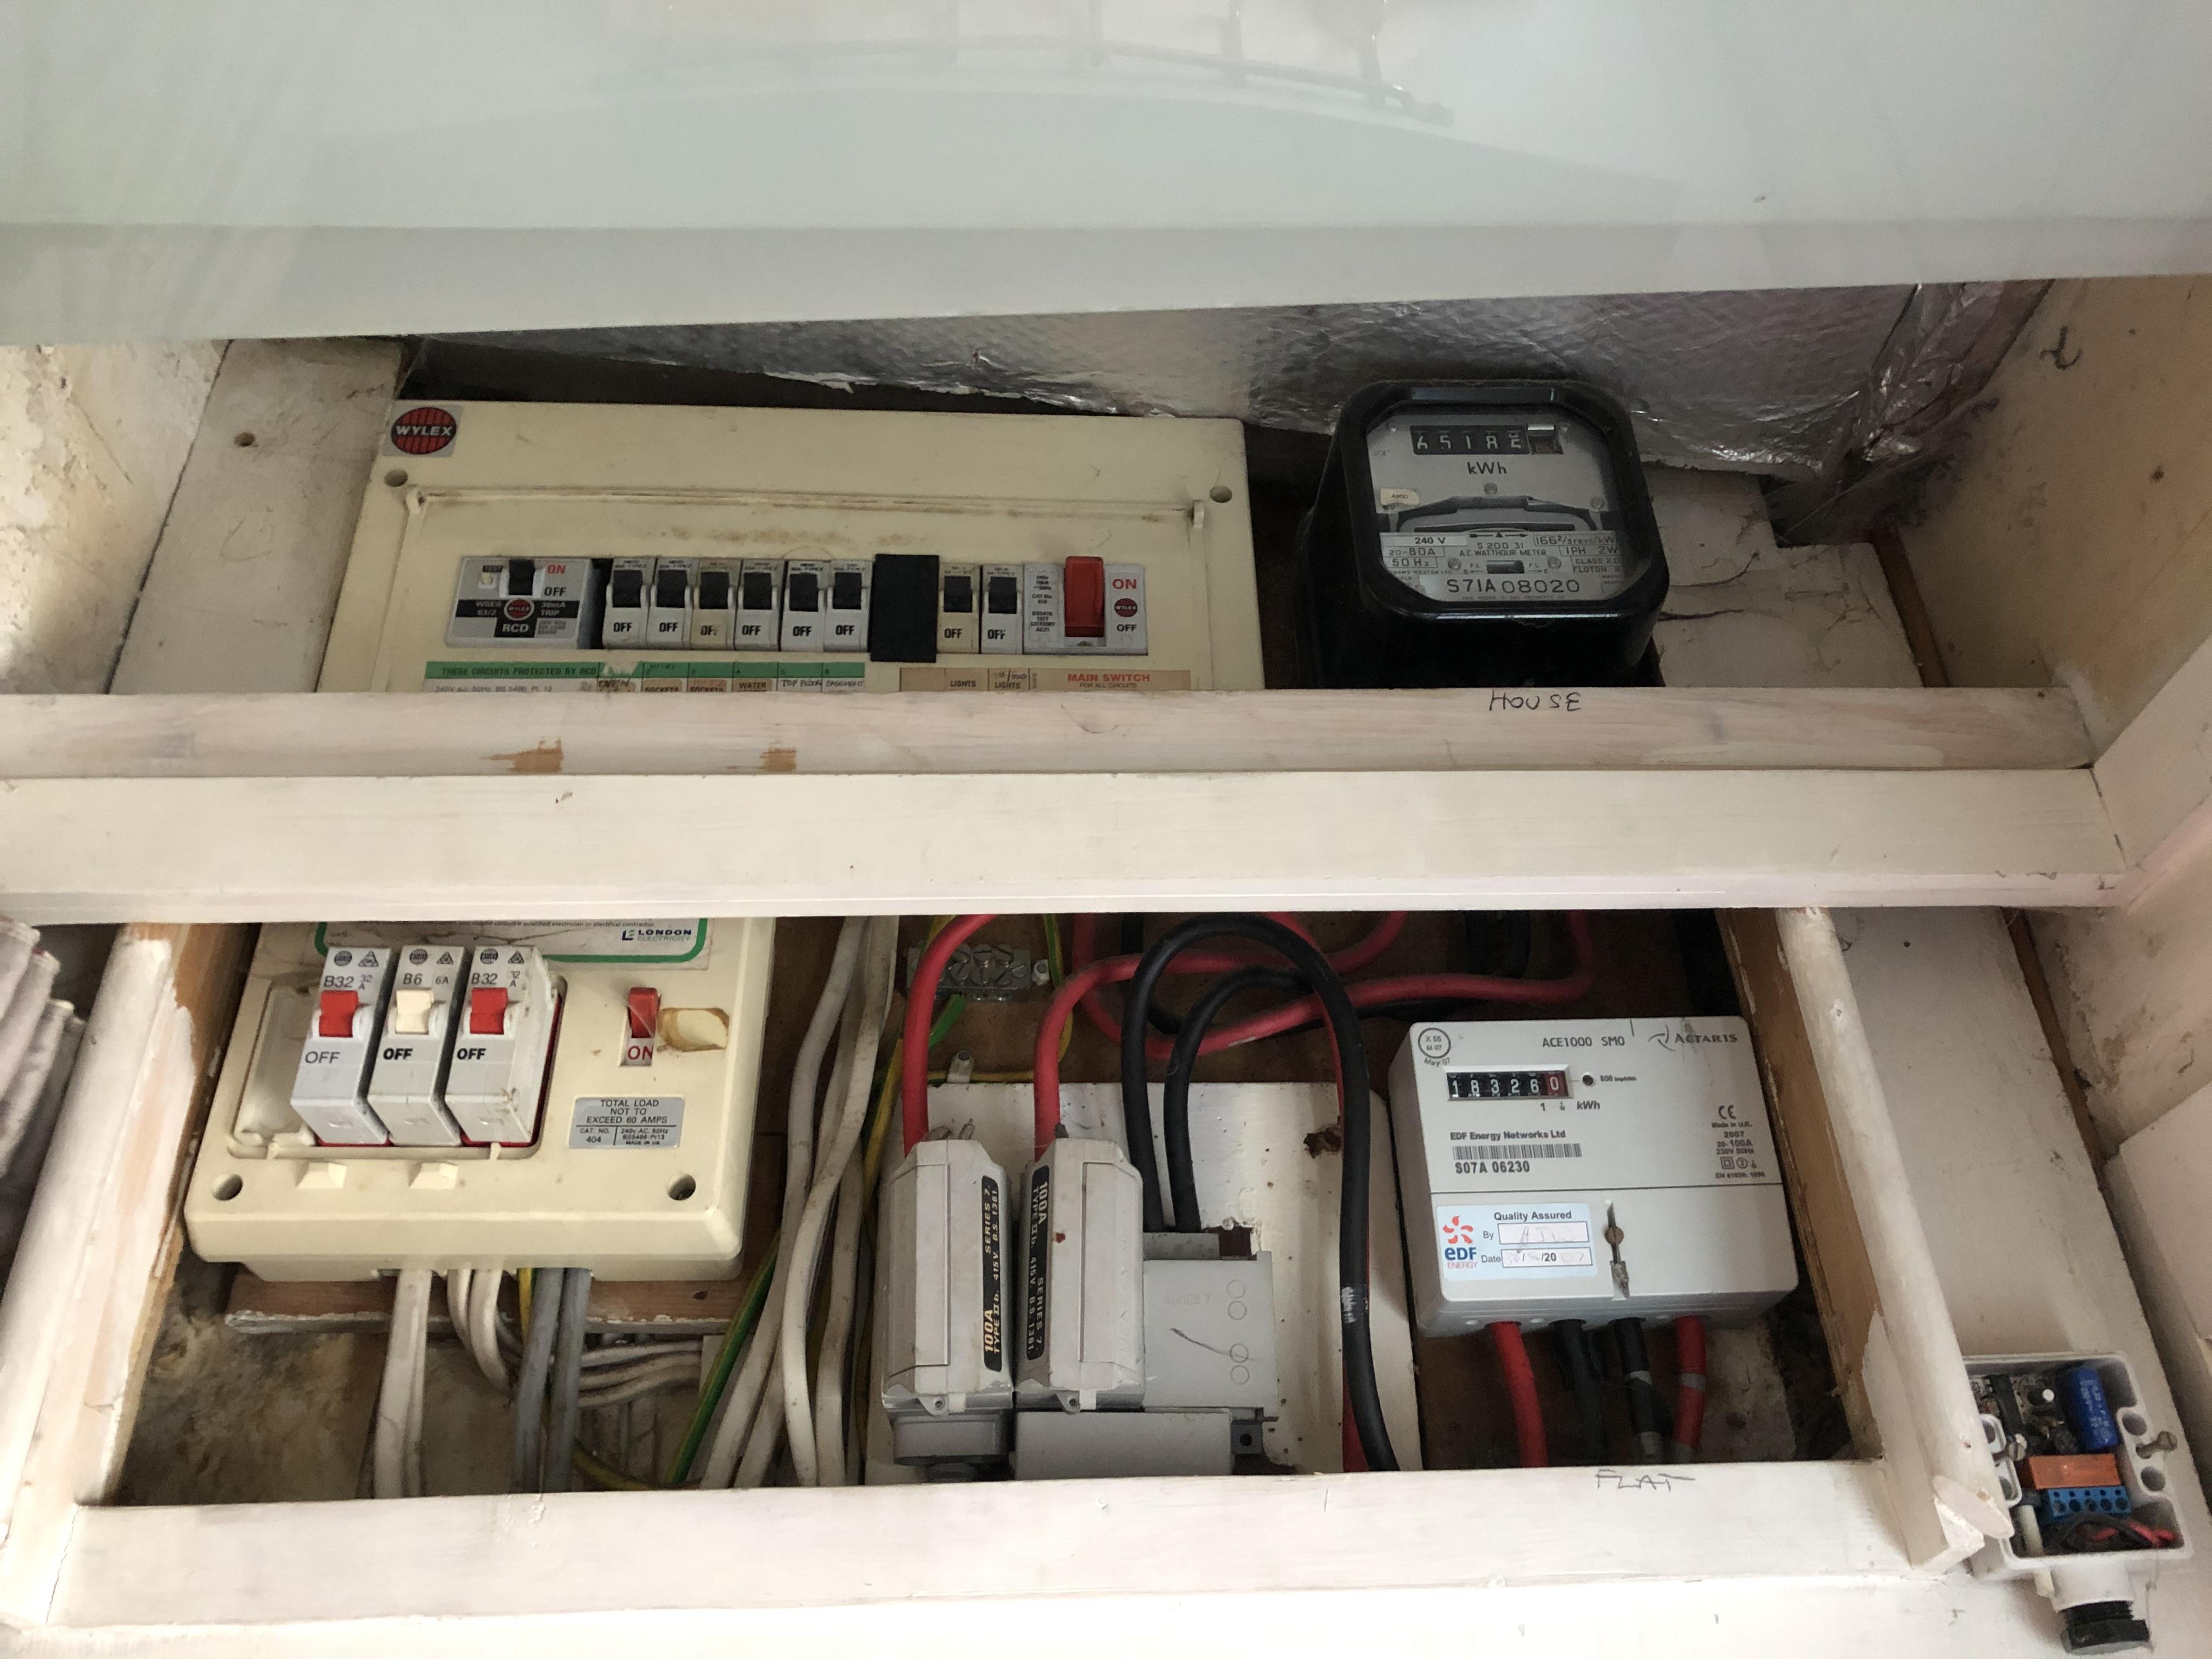
This house was bought by me nearly 40 Years ago now, eventually I took half of the basement and create a studio flat the other half was our kitchen/ diner. The house electrics however were originally from memory in the studio area. So at some time a CU was put in for the house one floor up/ on the ground flr. Some 20 yrs. ago I created the studio and then had to put in a separate CU. I now need to amalgamate the wiring etc to a new metal CU in place of the 2 old CU's. I hope that is clear now, the history is more or less correct. Yes the costs are high because the wiring for the studio is reached from a set of stairs from the outside pavement, so the electrician has to go out side to the door of the studio flat to undertake his EICR work. But it is also possible that I will have broken thru' the plasterboard wall and made the studio flat 'one' with the house. So all in all it will be much simpler to make good the wiring that is hidden in this wall and all the rest of it. Then the basement will under go a floor rebuild with UFH. A good point to comeback with the a new quote if it gets that far and the eventual certificate. John
-
This is a image of the two CU's that are required to be amalgamated. Just inside the main door to the house. I also think my argument with the company is that the list should be categorised into C1 and C2 blocks of work. This exercise has at least given me the chance to think things thru' overnight. Many thanks. John

-
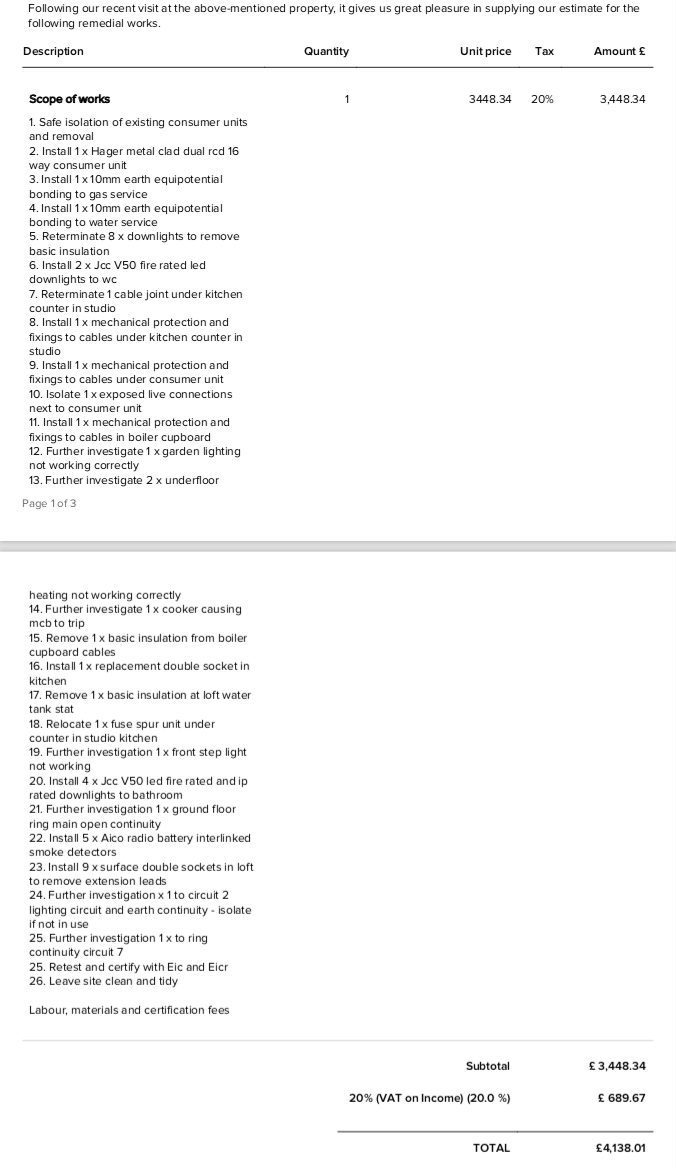
The first thing to say it is our home and we have no intention of selling. Dave these are normal London rates now and have been for some time. It's my opinion that they are charging some 3x / 4x the hourly rate and that is shocking. Is it possible to 'see' only the C1 issues for me that is only needed by the certificate and possibly flag for categories C2 etc. ie chunk it into staged blocks of work. I need a little more 'teeth' to get my confidence up to negotiate this estimate down. Many thanks for your help so far guys. John
-
I am now getting round to having our house EICR tested. I've spent hours looking for a competent electrical firm and not one of those under 100£ jobbing companies. Work is required to get it up to BS7671 standards. The estimate is for quite some work on a 4 bed house last touched 20 years ago from memory. The term 'determinate' confuses me a bit, is it for a wholley band new fitting or something else. Anyway it seems quite steep when their hourly rate is quoted at £85.00 + VAT. I have no idea if it is a 1/man or a 2/man job from the director of the company at the moment, I have asked. They electrician who undertook the test did discover under the plastic CU a brass block that showed obvious signs of a lose connection, a good find. Oh, and I won't be having the 5 Aico smoke detectors, maybe 1. Your comments would help a lot. John

-
I am sure you are right Simon. All the best John
-
Which why I am considering leaving the plasterboard in place and 'fixing' the panel to face of the plasterboard.
-
Russell Hi, your being very patient with me. This board ideally - wood fibre - is for my kitchen ceiling only. I am trying to convey that this ceiling is currently made up of plasterboard + void/ joists with no idea of insulation? and then a flat roof. So the existing values for the roof are unknown, but I do know that I want a vapour open board for the kitchen. The taper is because I do not want the insulation board to cover the 'horizontal' architrave that fits around a door to the garden in any way.
-
Russell hi, this is required for just part of the kitchen, and yet it is isolated from the main ceiling. It is a thin roof extension and so what it to be breathable/ vapour open. The house is also listed so I do not what to disrupt the integrity of the envelope. John Edit: Several hours have gone by all because I got not sign in etc. I hope this occasion I get on.
-
Does anybody know of a IWI tapered board for part of my kitchen. 20mm MIN to 30/40/50mm circa 2.0m2. It all appears to be PIR/ roofing materials. Thanks in advance. John