smart70
-
Posts
27 -
Joined
-
Last visited
smart70's Achievements
Member (3/5)
8
Reputation
-
Cleaning cement mixer for 2nd batch of mortar
smart70 replied to smart70's topic in Bricklaying, Blockwork & Mortar
Thank you for all the reply's. I think it would be a good idea to idea to clean the drum before mixing a second batch. It only takes me about 10 - 15 minutes using a hose, a dish washing brush and a 40 litre bucket. Never heard of a brickies labourer before. Must be a considerable help for the pro brick layers who lay 100's of bricks per day. -
Does anyone know if it is necessary to clean the cement mixer prior to mixing a second batch of mortar ? Creating concrete doesn't require cleaning the concrete mixer except a quick slosh of water. However when making mortar, some of mortar sticks to the inside of the barrel.
-
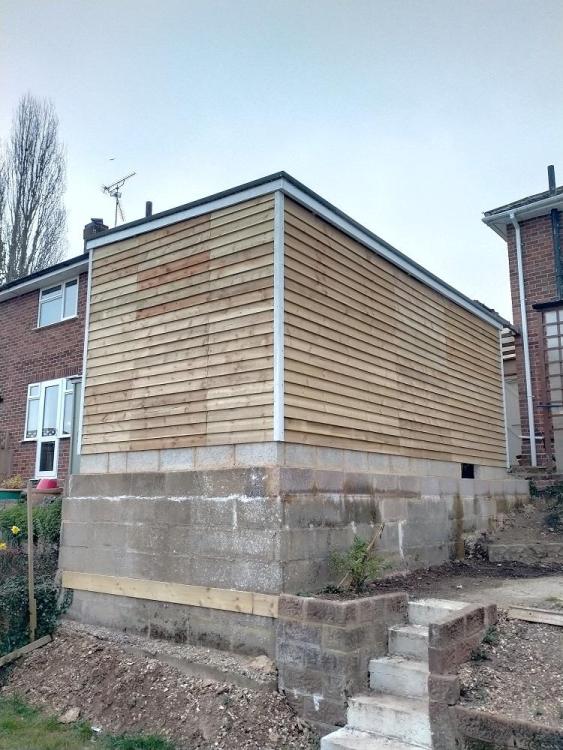
Exterior rendering, my mistake 🤪. Had to wait to carry out the rendering,as temperature was below 5 degrees, and also constant rain.
-
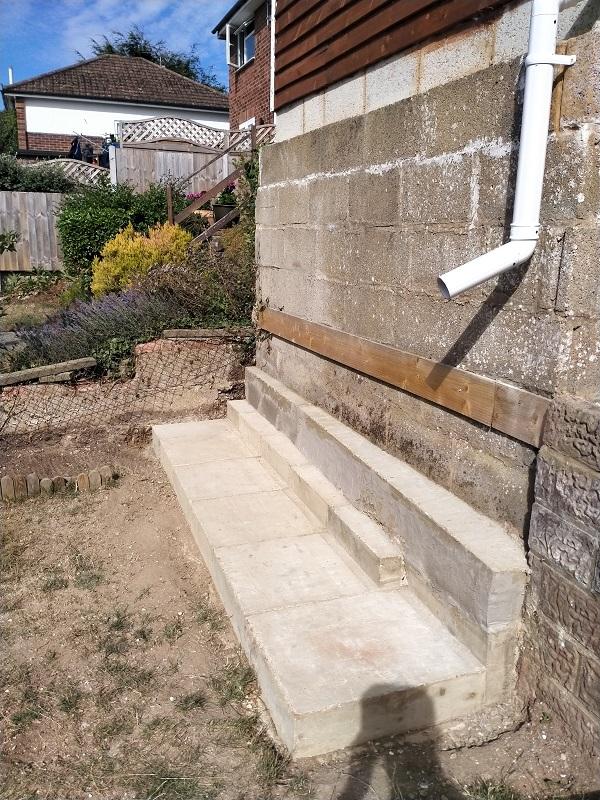
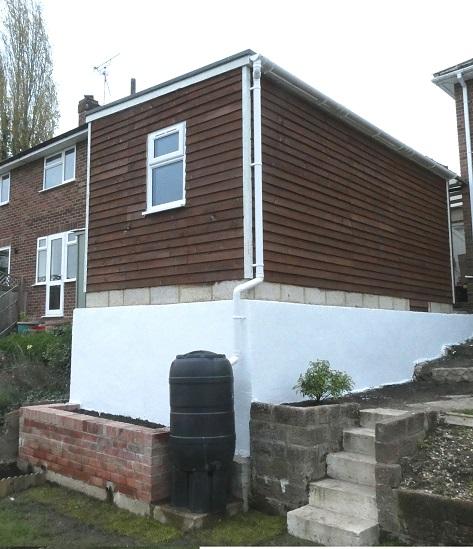
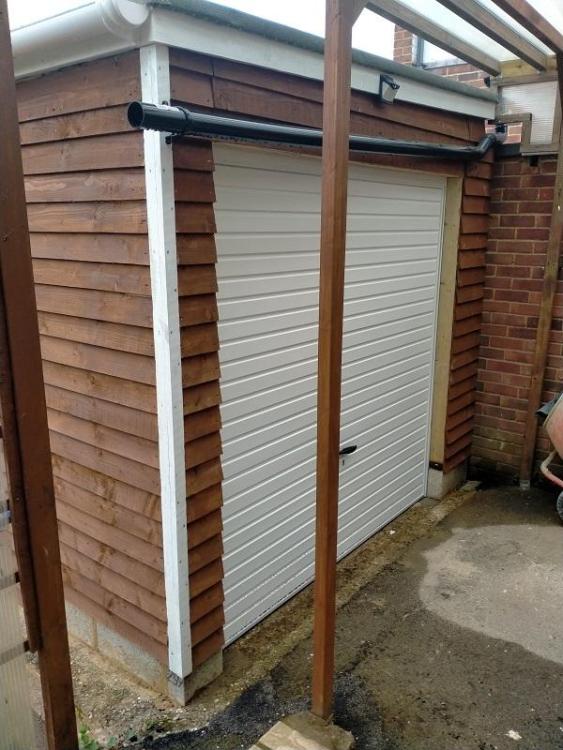
Hi everyone. Just an update on the garage build. I have plastered the exterior of the base for the garage, and then painted it white. Looks much better than before.
-
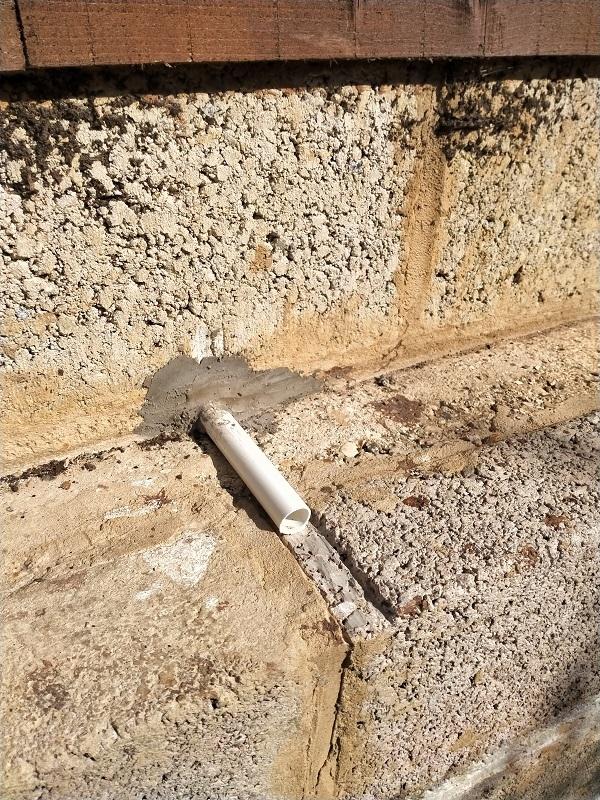
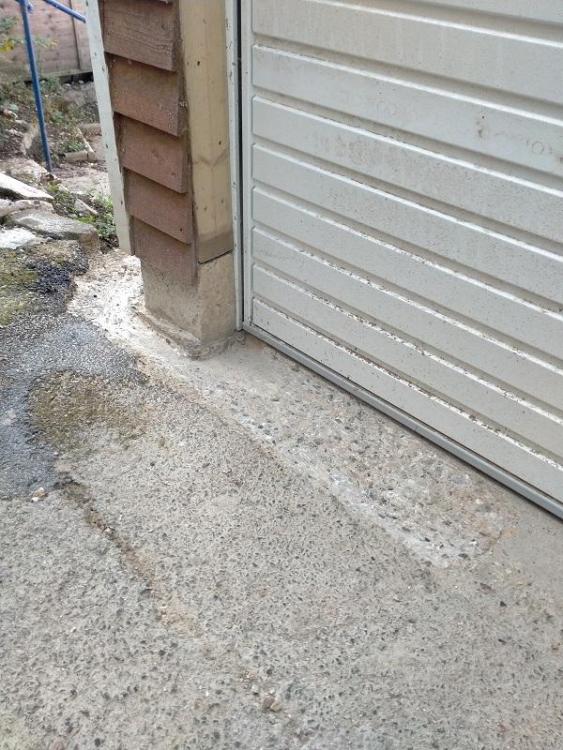
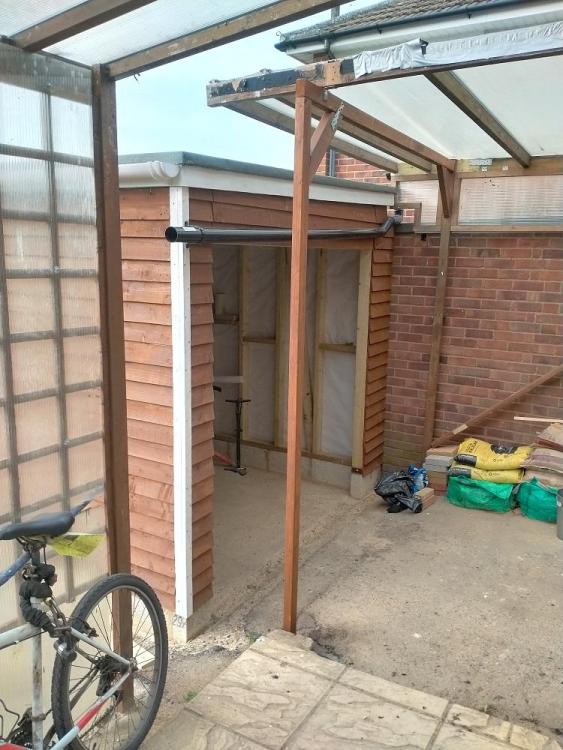
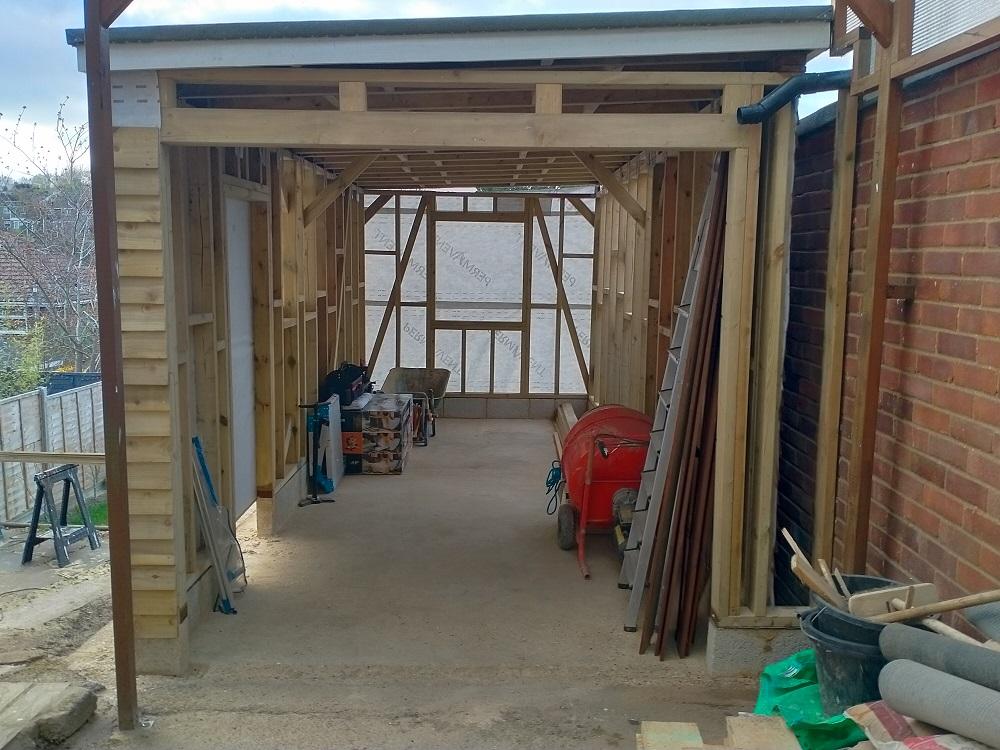
Hi everyone. Have made a few modifications to the garage. 1. As there was little light getting into the garage I have installed a window. I was surprised how easily they are to install given the right equipment and tools. Watching a few 'how to' videos on the internet helped immensely. 2. The recent downpour created a large pool of water inside the garage. To solve this I cut a channel at the entrance to divert any rainwater. One of the tools I used was a 9 inch angle grinder. Don't really like using it because of the risk factor however it does the job a lot quicker. 3. In case there is a rainwater leakage in the future, I have inserted an outlet pipe into the side of the garage.

-
Thank you for the advice. Next time I will pour the concrete every 3 days which will cut the total time considerably.
-
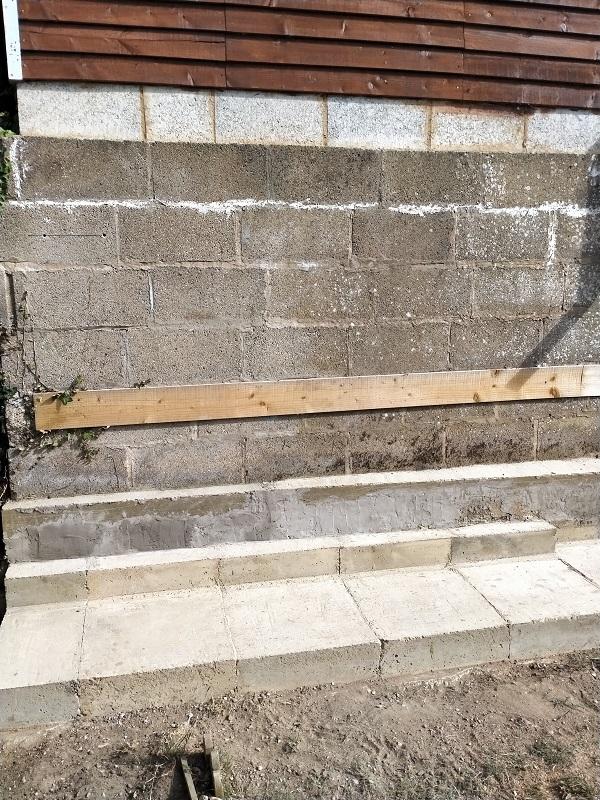
Hello everyone. The underpinning/ concrete base has now been completed. Altogether there were 6 holes/forms to fill with concrete .It takes 7 days for the concrete to fully harden so the whole process took 6 weeks. The next part will be to construct a raised brick garden bed, it will be one brick thick and 5 courses high.

-
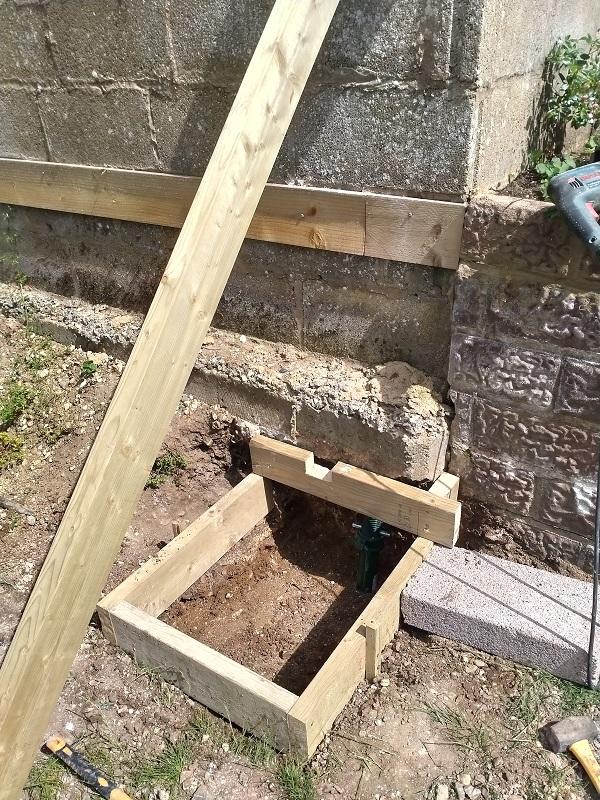
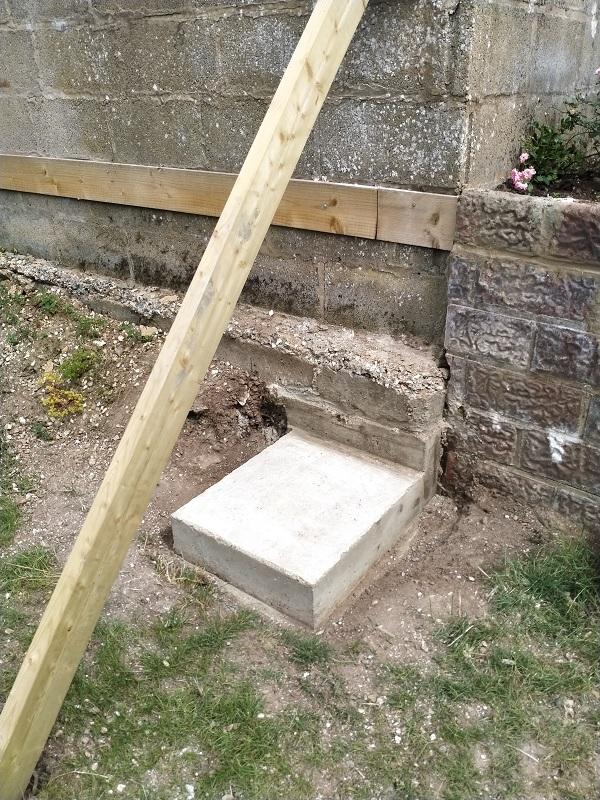
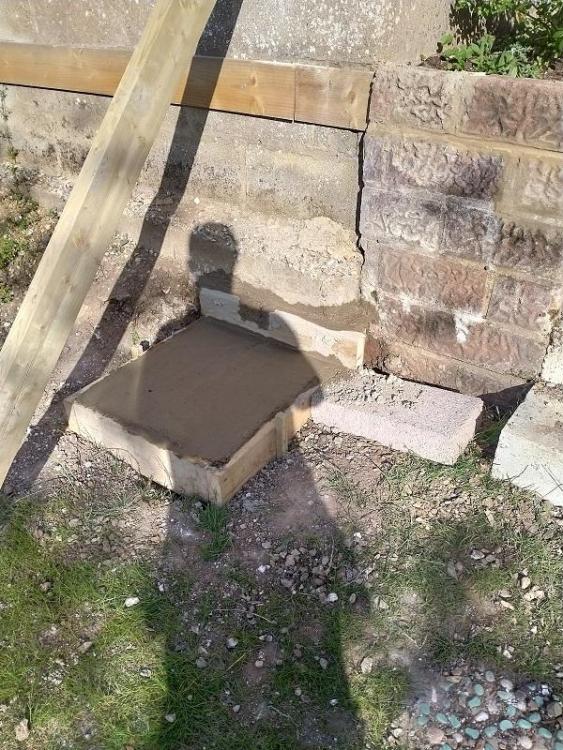
Thank you for the comment. I designed the concrete base/pin myself. The concrete is stepped, the lower step is 320 mm deep and the upper step which helps support the footing is 420 mm deep. The form work used for the first concrete base will be used again as a jig to construct the other concrete base/pins. The upper step form will be modified so that it offset by 100 mm, as it was tricky placing in the concrete for the first base/pin.
-
Thank you for the advice. Well, just completed the first concrete base/pin, just another 4 to go :-)


-
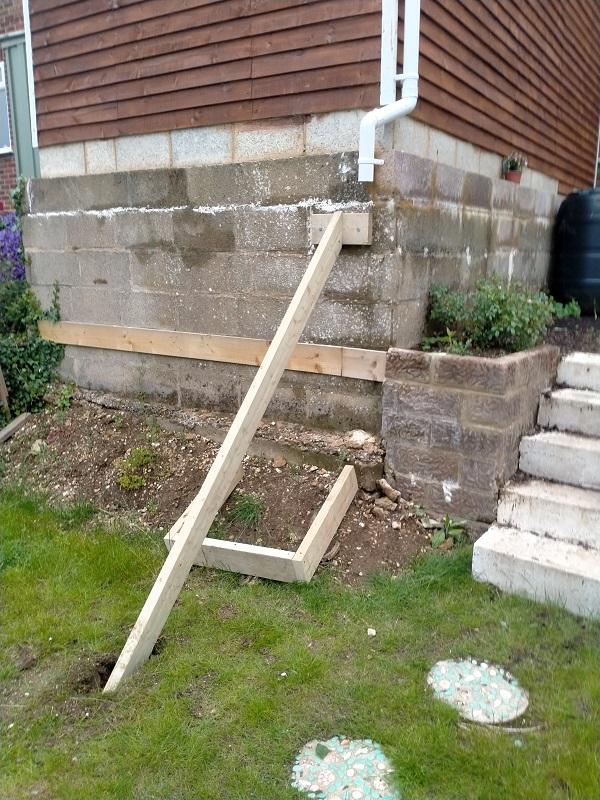
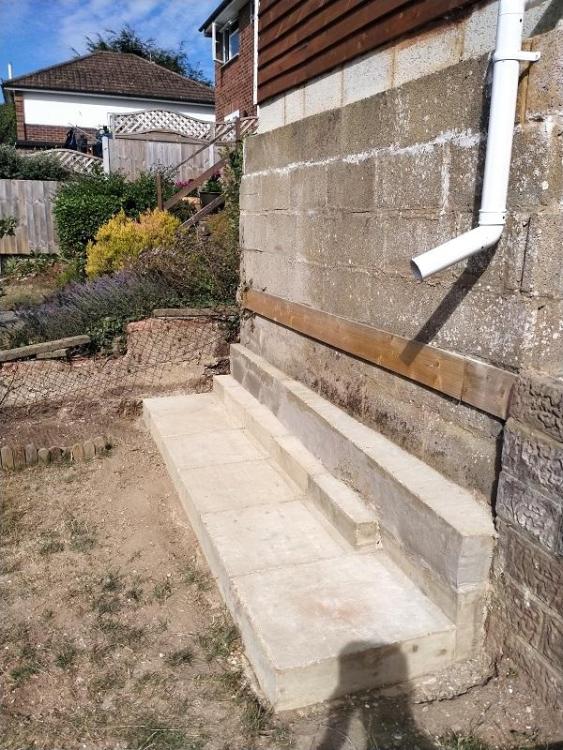
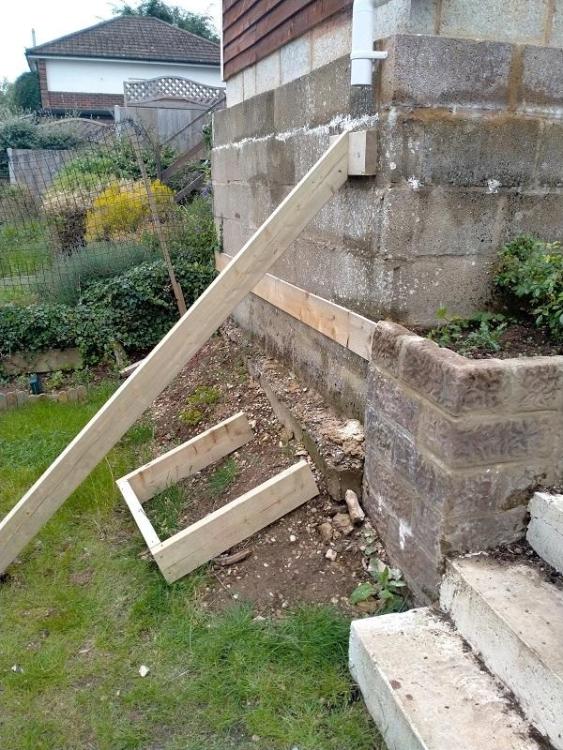
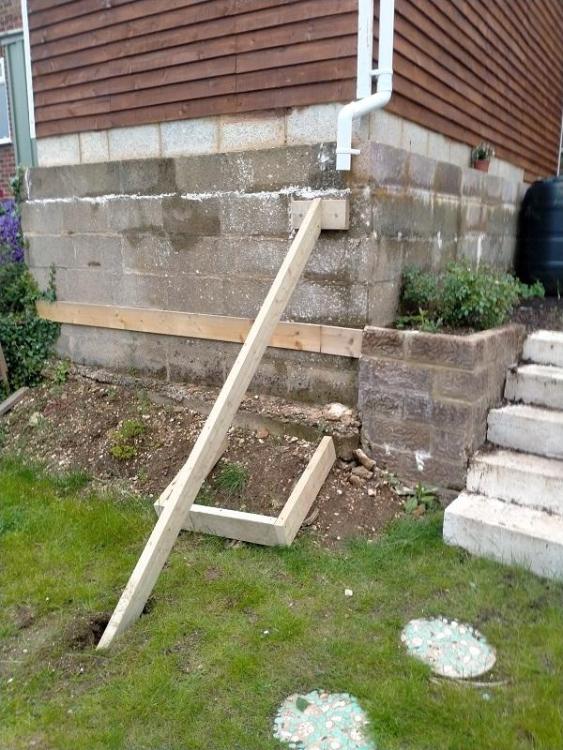
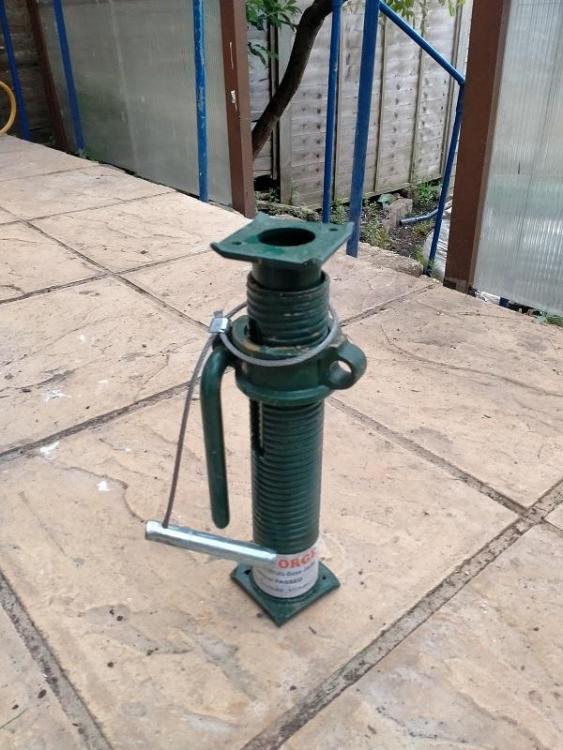
Part underpinning of foundation for new garage I want to part underpin the end of garage foundations and also add concrete foundations to stand a water butt on. From the pics it is evident that the footing for the concrete foundations is exposed, which is why I want solve this problem by underpinning. I have already installed a wooden support and intend to use trench strut(s) to support the wall whilst digging. I won't be doing the whole wall, this would be a bad idea ! Just one section at the end that measures 600 mm. Once the hole has been dug, the form set in place, the concrete can be poured, the trench support will not be removed. So what do you think, is this a good idea ?

-
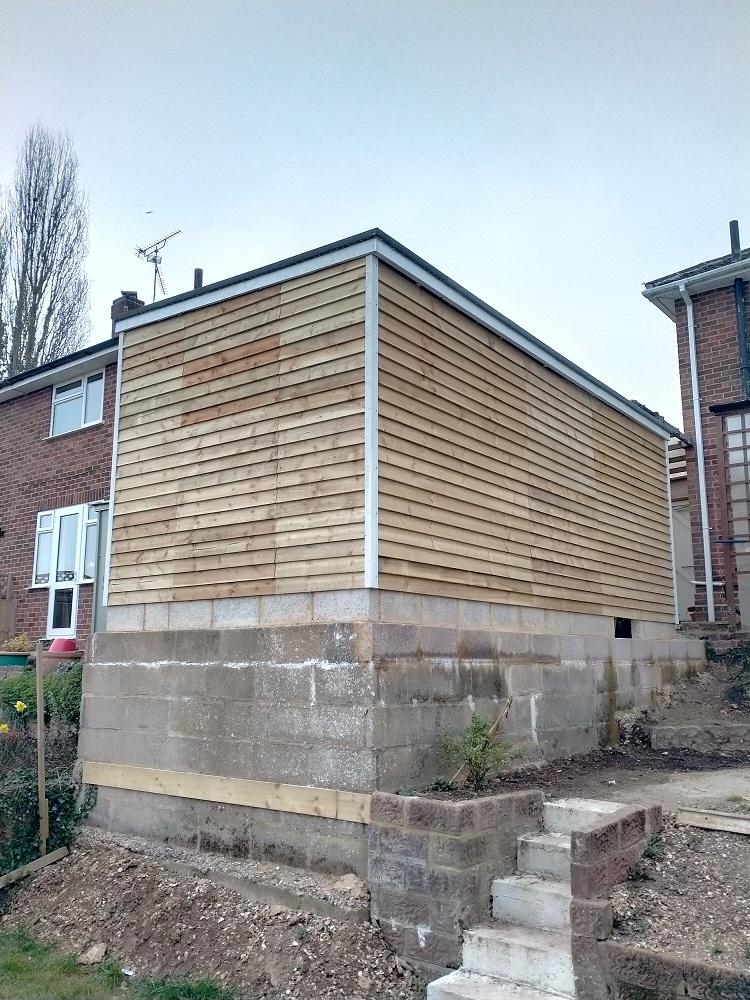
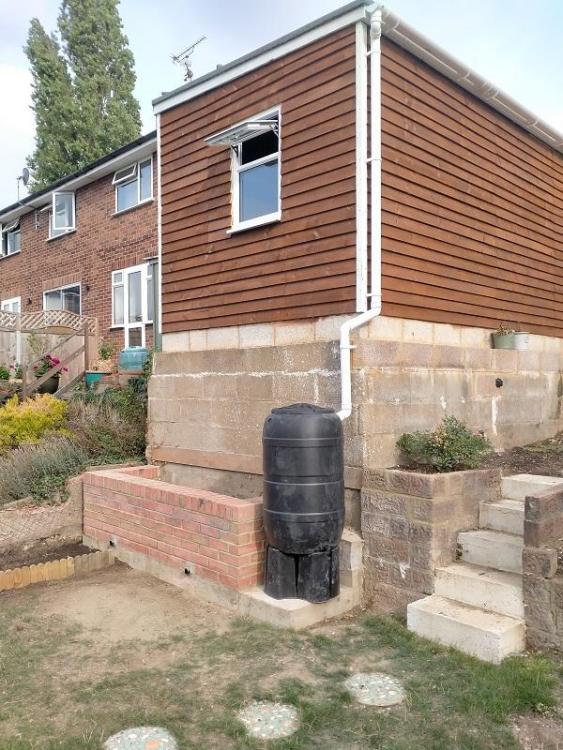
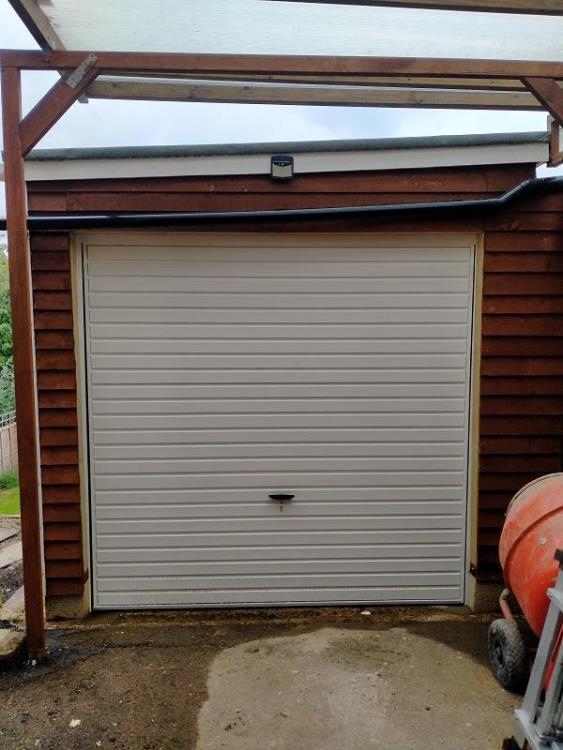
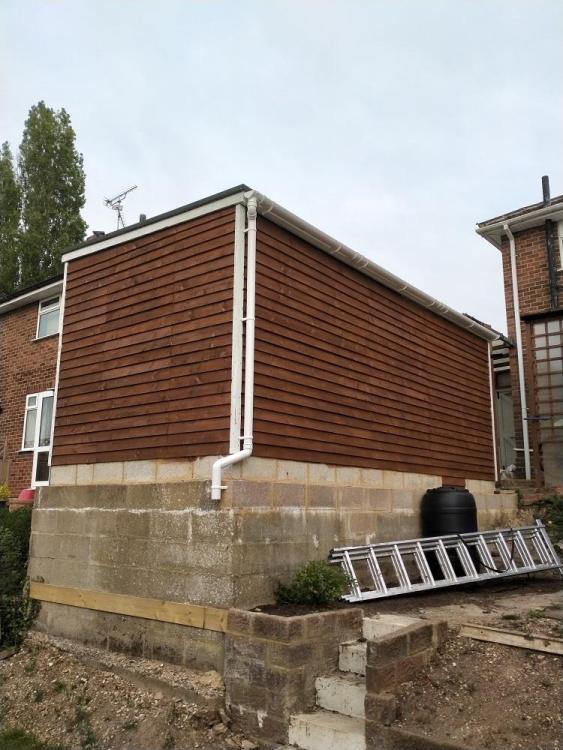
The Garage is now complete, the garage door was installed by professionals for reasons. There will be future modifications made such as adding windows and doors, changing the exterior walls to corrugated steel on the neighbours side and perhaps PVCu cladding on the other sides. Once this has been done sockets and light fixtures can be installed.

-
Hi everyone. Here's an update on the garage build. As you can see from the pictures it's almost complete. I'm having the garage door fitted in by professionals for reasons. As a response to comments by other members, the walls of the garage will be replaced with corrugated steel on the neighbours side and UPVC cladding on some if not all the other sides. This will make the garage more resistant to fire. I have also bought some Thermoguard Timbercoat fire protection paint which I intend to paint the framework with. When this has been done, it should be safe enough to fit any electrics inside.

-
From research carried out, as long as the height of the garage is below 2.5 meters and that it will only be used for storage then I believe it will be legal. Saying that, in the future I would like to replace the wooden cladding on the neighbours side with corrugated steel cladding and also apply fire resistance paint to the garage.
-
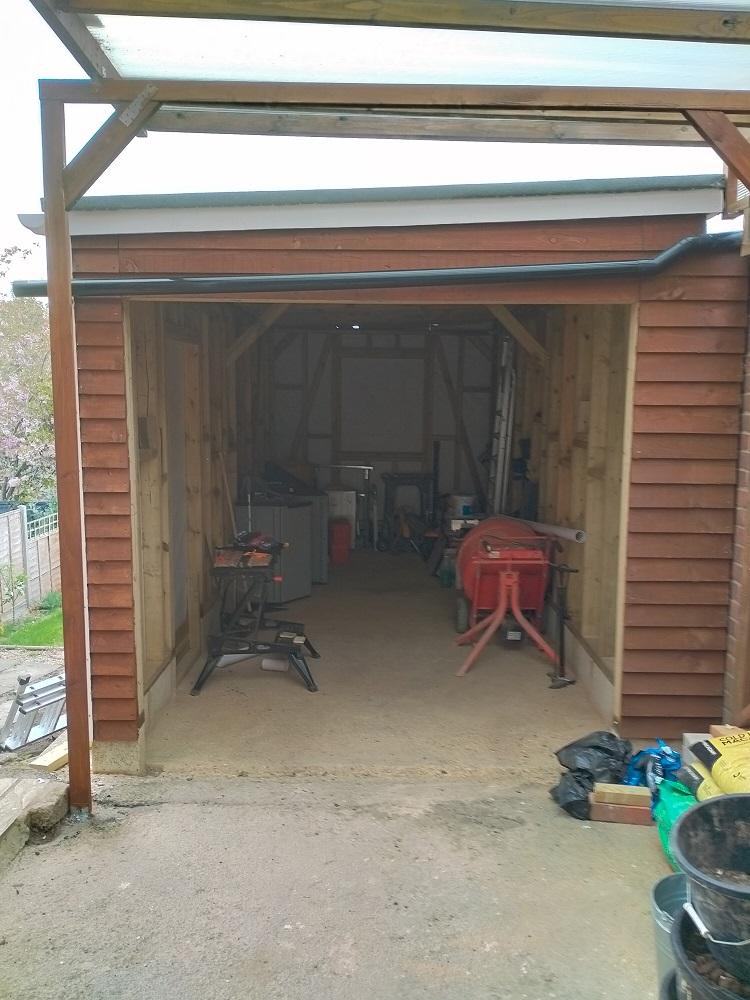
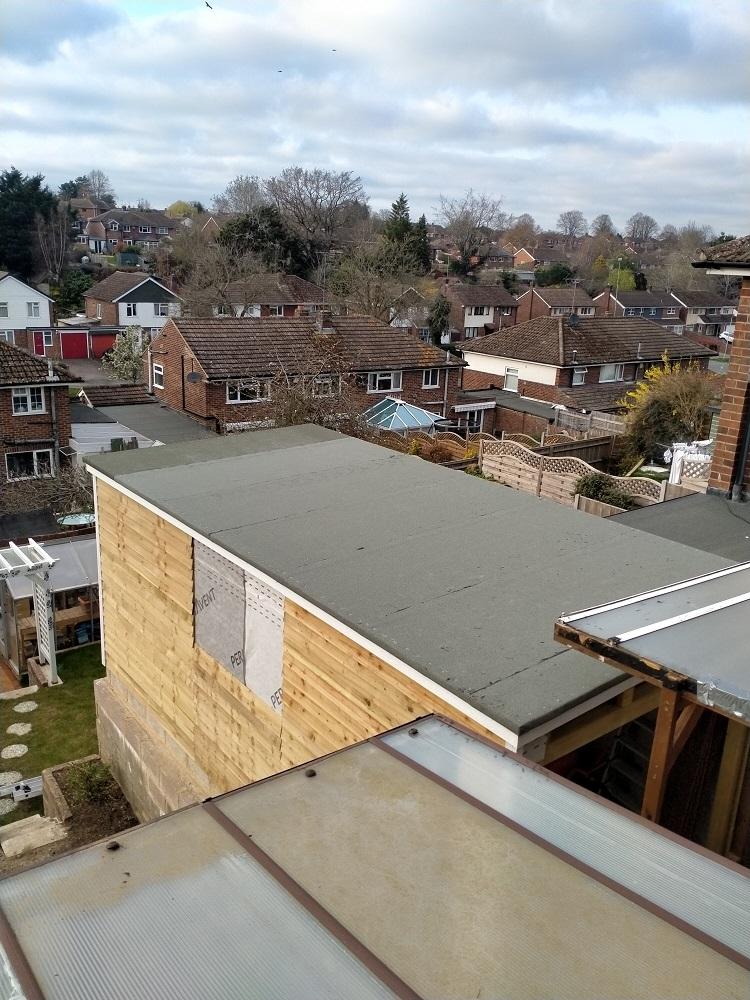
Hi everyone. Just another update. The roof has now been completed. Building a flat roof is a lot easier than a apex roof. Feather edge boards have been used for cladding for the sides of the garage. The window and door will be installed later on. For the guttering I would like the down pipe to end in a green water butt, I think this would be a nice feature.The project has been a huge learning experience, it was only 2 1/2 years ago that I purchased my first cordless drill.

-
The garage will be used for storage. I would like to fit in a couple of sockets and a fluorescent light, however I'm not sure whether that would be legal or not due to the wooden construction. Maybe painting the garage with a fire retardant paint would solve the problem. Thank you, I will look into this if it becomes a problem. The exterior concrete block wall around the base does not support the concrete foundations which are supported at each corner by concrete pillars and filled in with hardcore.