Gus’ Structural Engineering and DIY Part 01
Gus’ Structural Engineering and DIY Part 01
Hello all. I’m giving the blog feature on BH a go.. lots to learn and a special thanks to the FMG / members who run / contribute to this site.
This blog is built around the structural alterations and extension that I embarked on.. off.. on.. at the back of my house. I work in the construction industry, mostly in an office these days so this project has given me a break from the computer and allows me to keep my hand in on the tools.
I have “experimented” at times. Some experiments have worked out ok, some less so.
The blog is not chronological as you’ll soon see. As I go I’ll pick out some common elements that you may find on a self build / DIY project and try and show how I went about their structural design and so on.. Although it’s a relatively small extension many of the design principles can be scaled / adapted up for a new build etc.
I hope this will be of interest. If anyone has any questions / advice then just post and I’ll do my best to respond.
Please remember that if you are undertaking structural design / work or something that could be a safety risk then always get it checked by a competent person unless of course you are the "that person" before starting work.
So here goes!
As a quick overview the project involves taking a chunk out of the back of the house and building a rear extension. One aim was to make this as least disruptive as possible so we could keep living in the house with some normality. Other reasons were to save some money and get something bespoke to us.
In the next posts I’ll cover some of the different aspects of how I went about the detailed structural design.
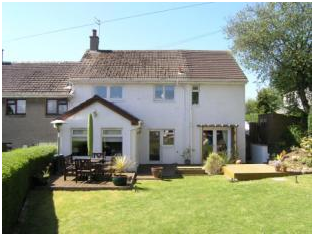
Photo 01: Sun room sticking out – freezing cold – to be demolished but kept as a secure store room for tools for a while.
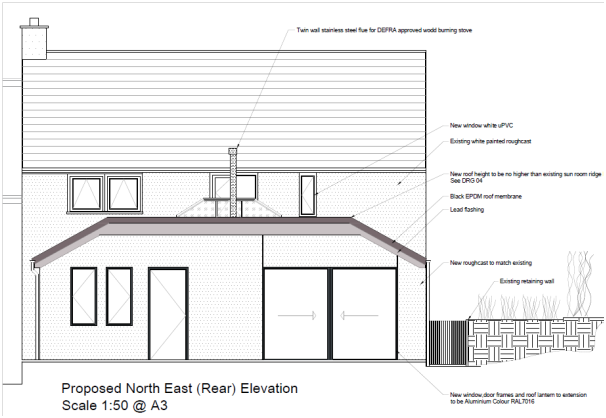
Fig A 01. Eventually..
What’s going on here?
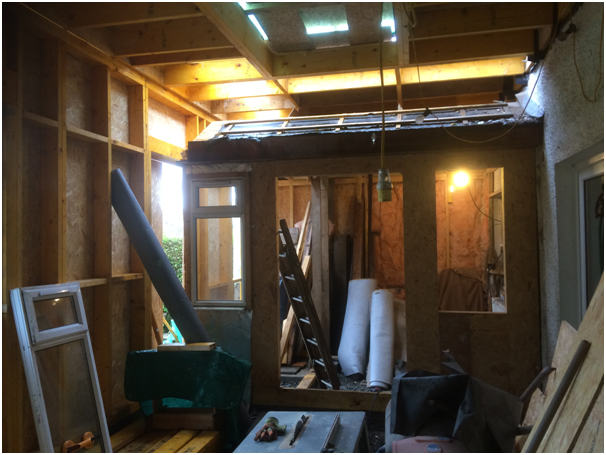
Photo 02 The extension is getting roughed out over the sun room, the sun room was retained for a while to stop dust getting into the house, security and so on. For the eagle eyed.. table saw, yes I know the table saw is missing the guard but it is “under maintenance”
The ladder (ex BT which some may recognise) was gifted to me by an old sparkie, who got it from someone, who got it from..
Photo 03: Old sun room down and preparing trench (under radiator and old back door) for temporary strip found to support props. Really soft ground just outside the original wall hence the temporary strip found. The old doors windows are fitted into the new structure to give a bit of daylight. The radiator still works.. as I’m a bit soft.
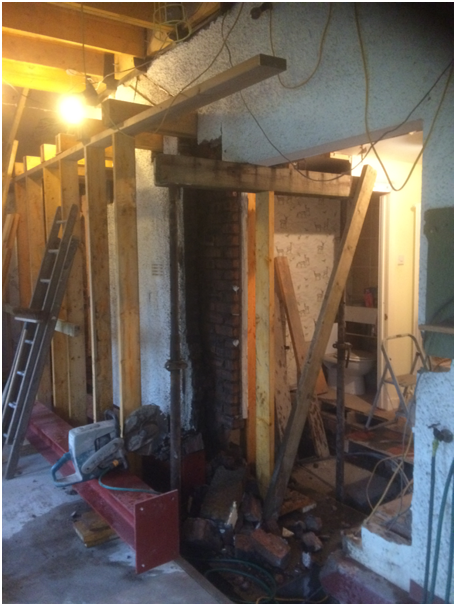
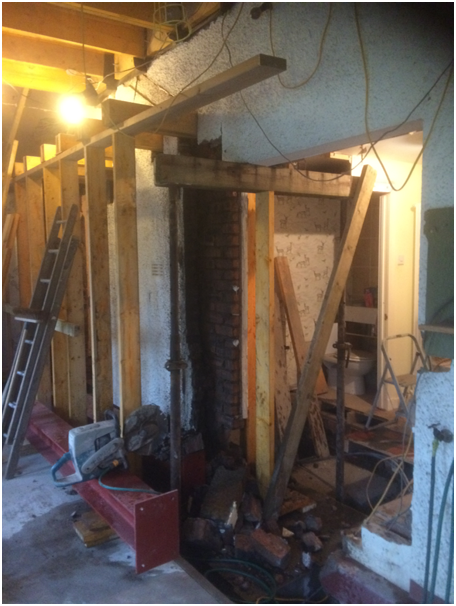
Photo 04: Timber props and needles going in.
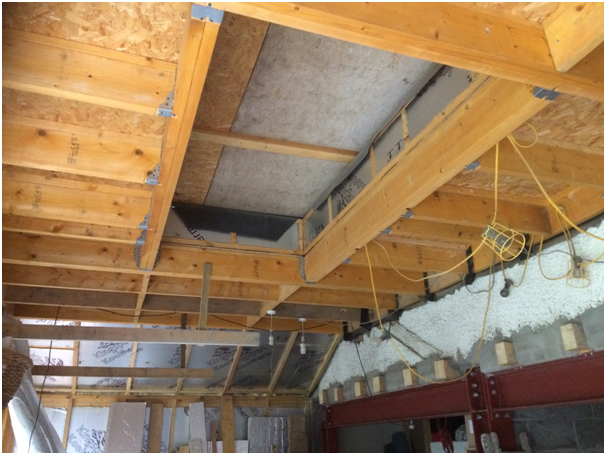
Photo: 05 The upper side of the steel with the needles cut back. “Sadly” the old sun room is gone. The timbers I could reclaim have been.. the rest has gone on the wood burner.
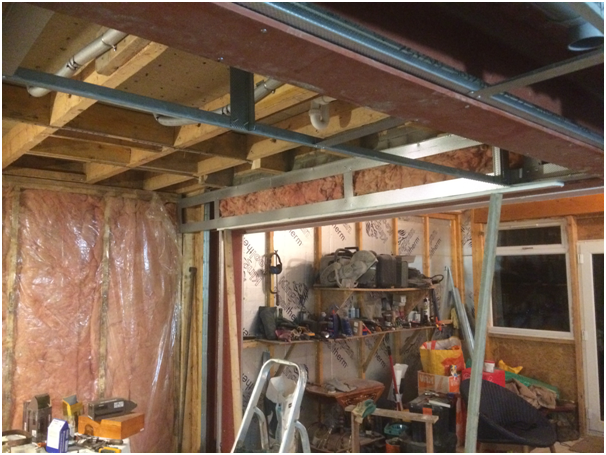
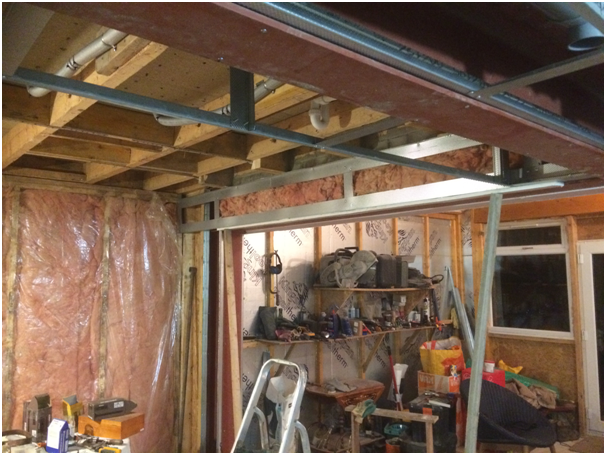
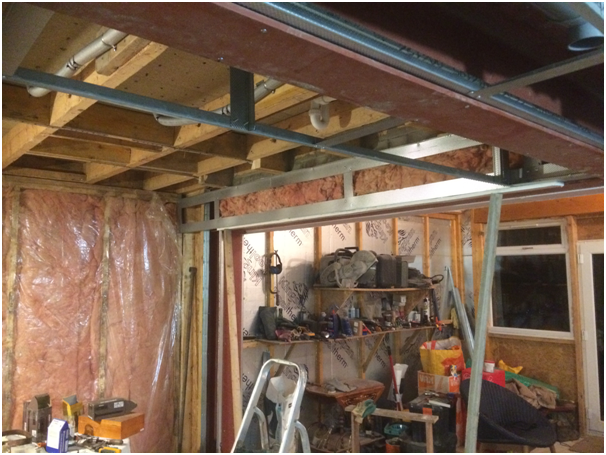
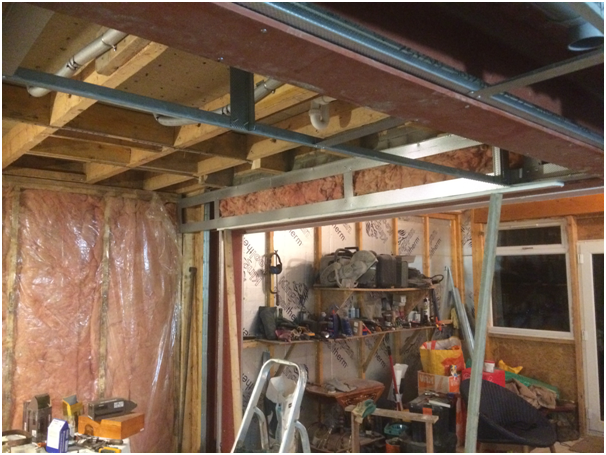
Photo 06: Needles cut back on the inside with restraint straps at ceiling level.. to be explained in following posts.
That's it for now until I work out what to do next!
-
 3
3


0 Comments
Recommended Comments
There are no comments to display.
Create an account or sign in to comment
You need to be a member in order to leave a comment
Create an account
Sign up for a new account in our community. It's easy!
Register a new accountSign in
Already have an account? Sign in here.
Sign In Now