
Week 13 - Floor insulation, electricity, battens, and… scaffold down!

Entry posted by Benpointer in General
2759 views
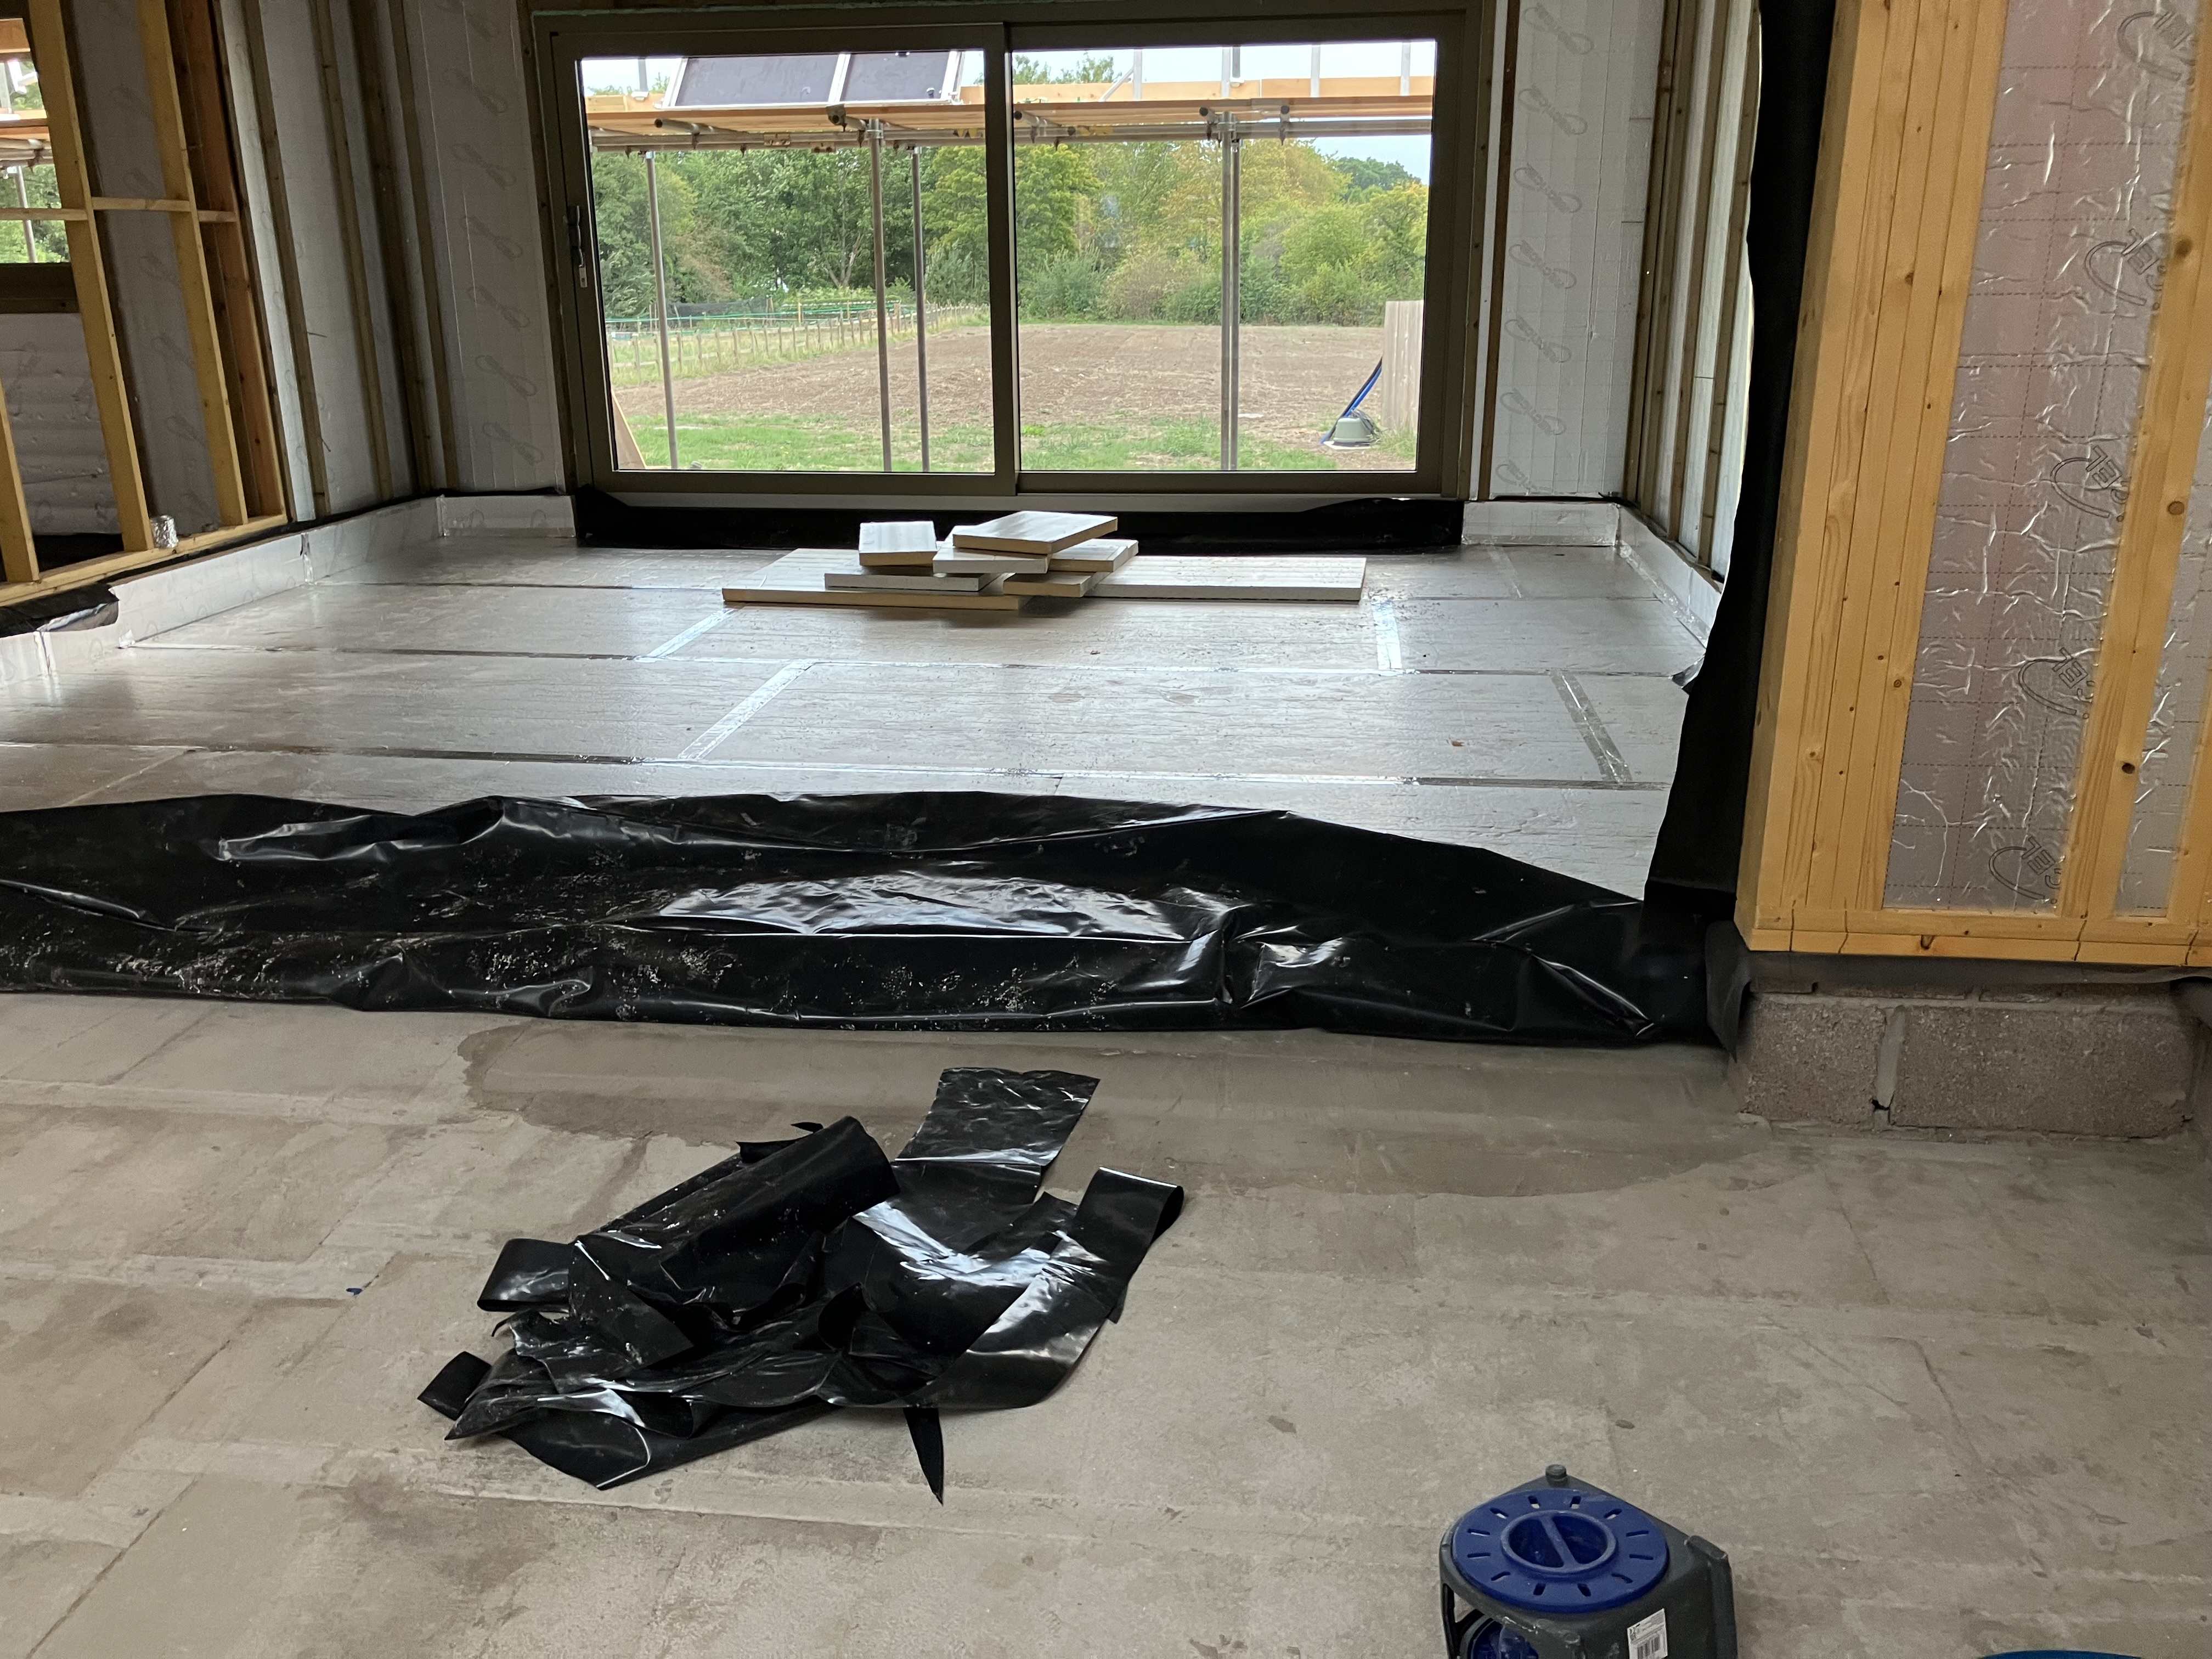
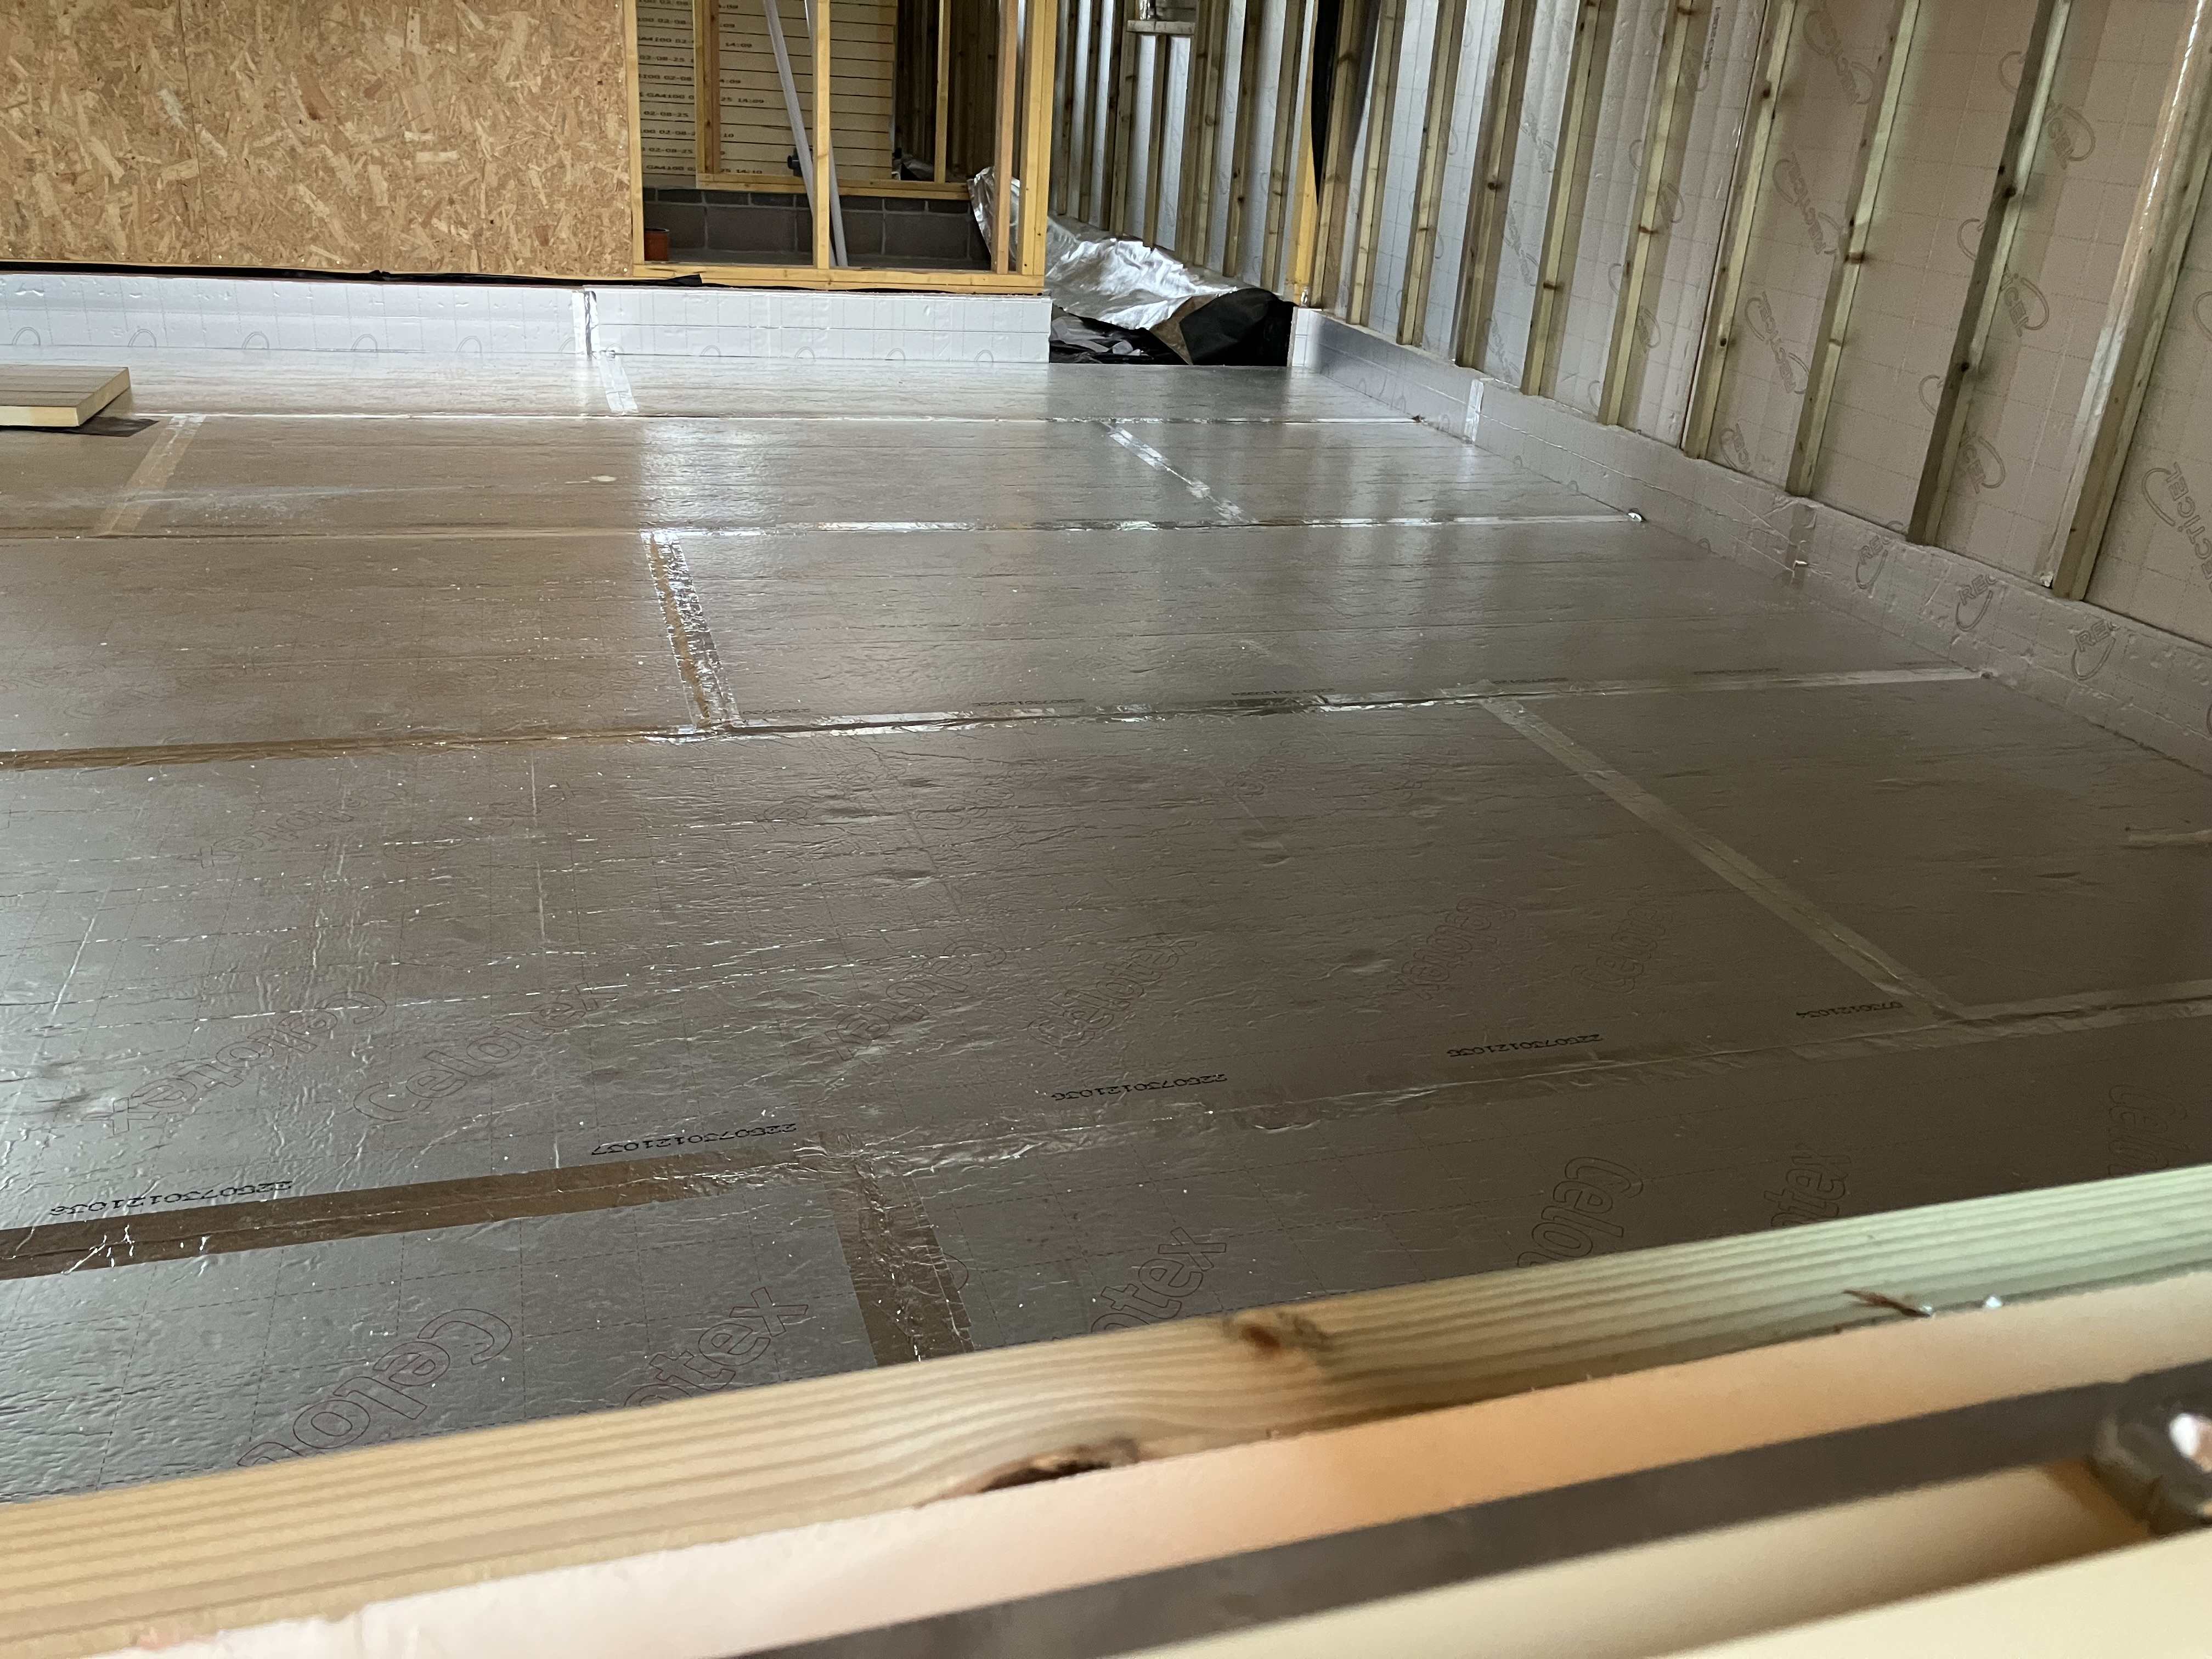
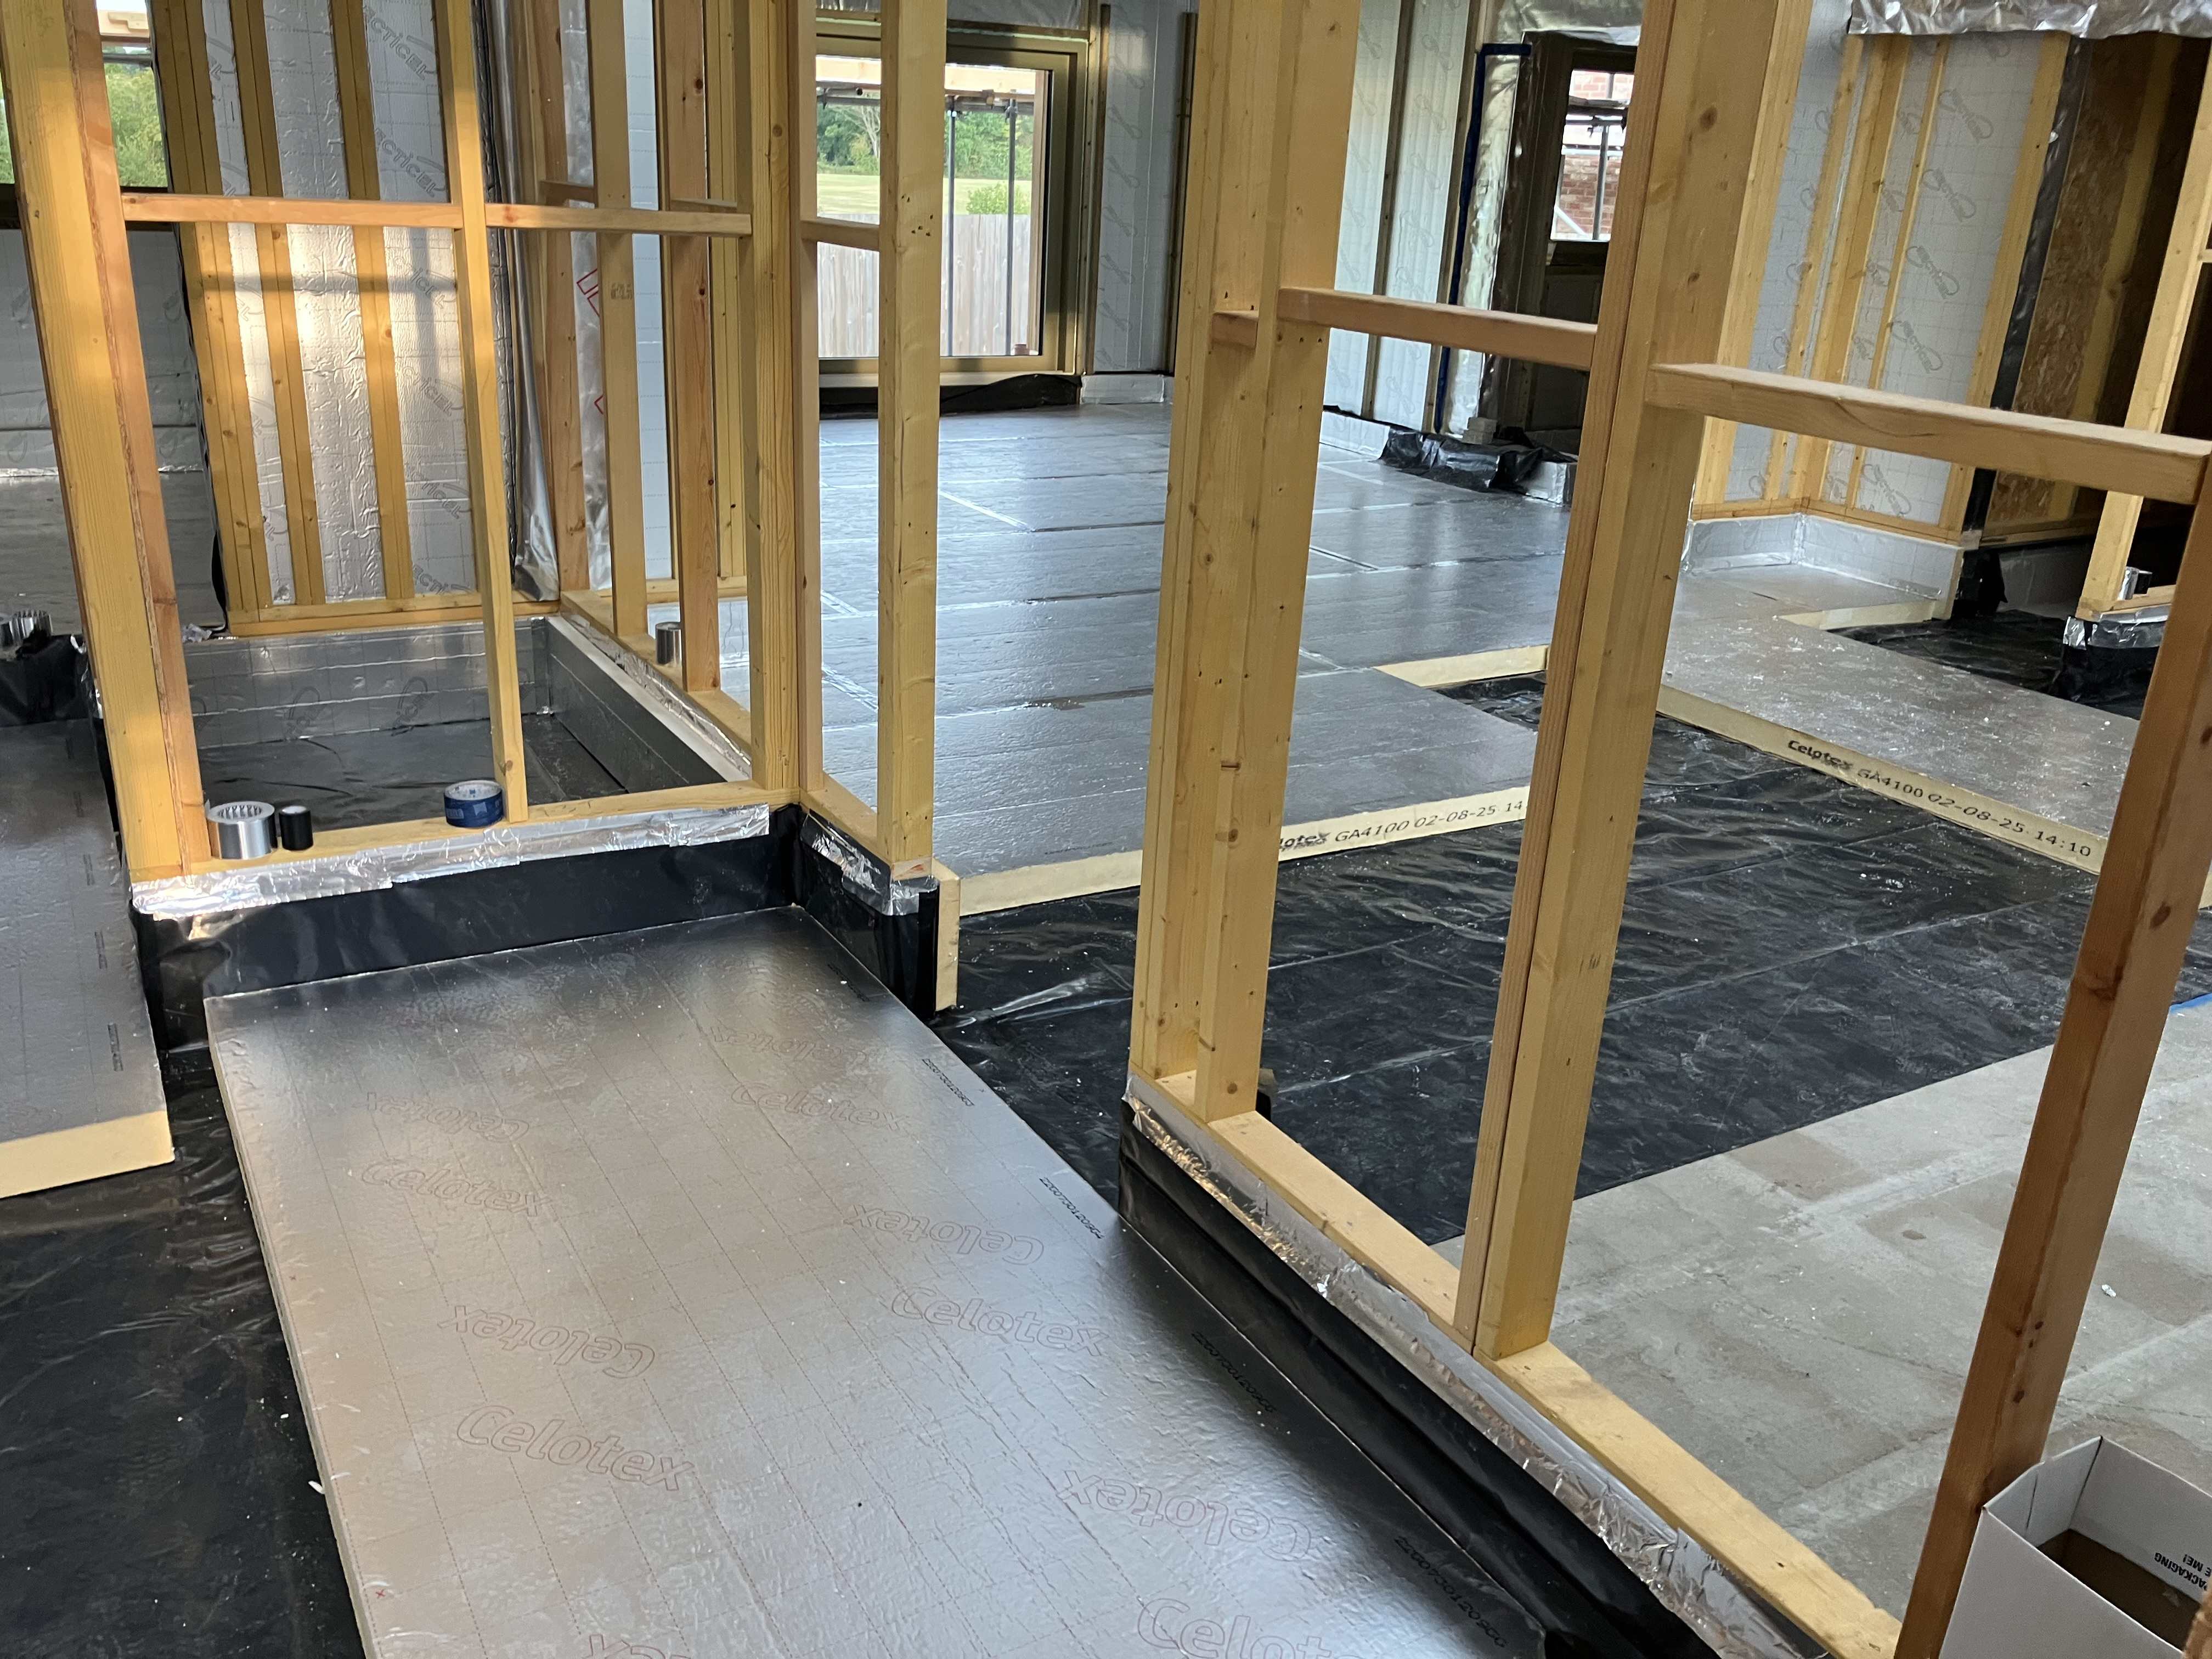
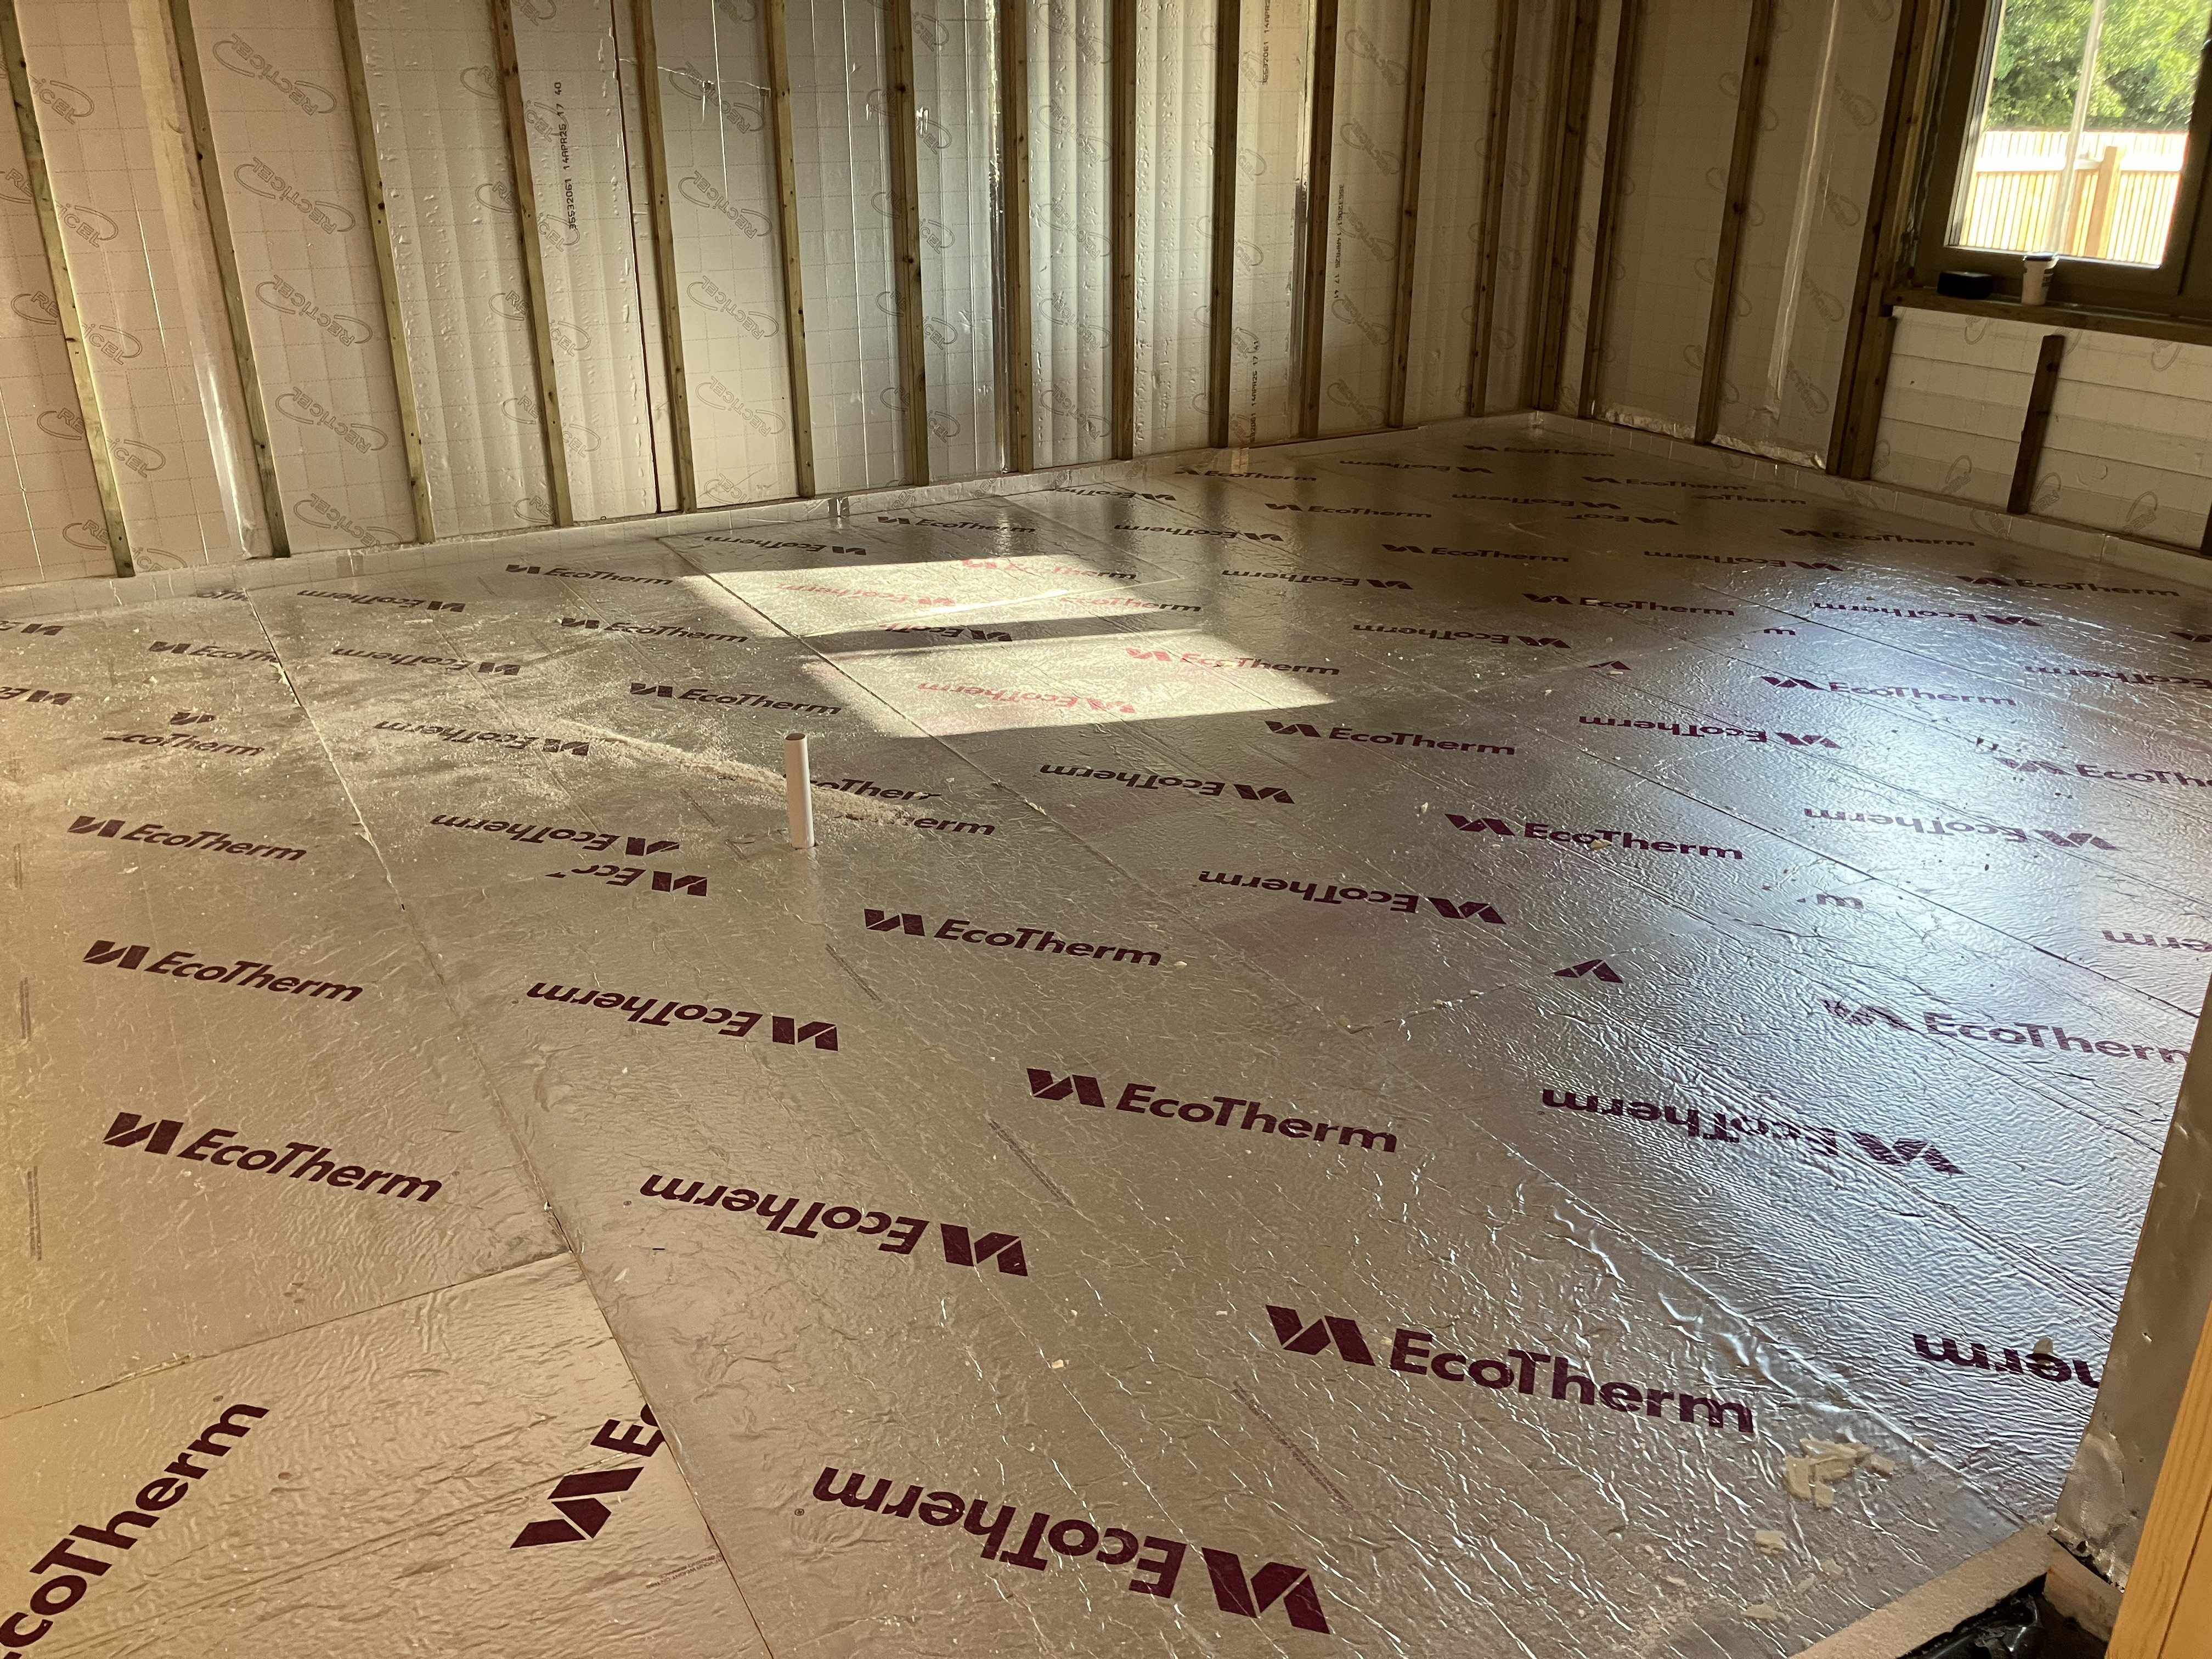
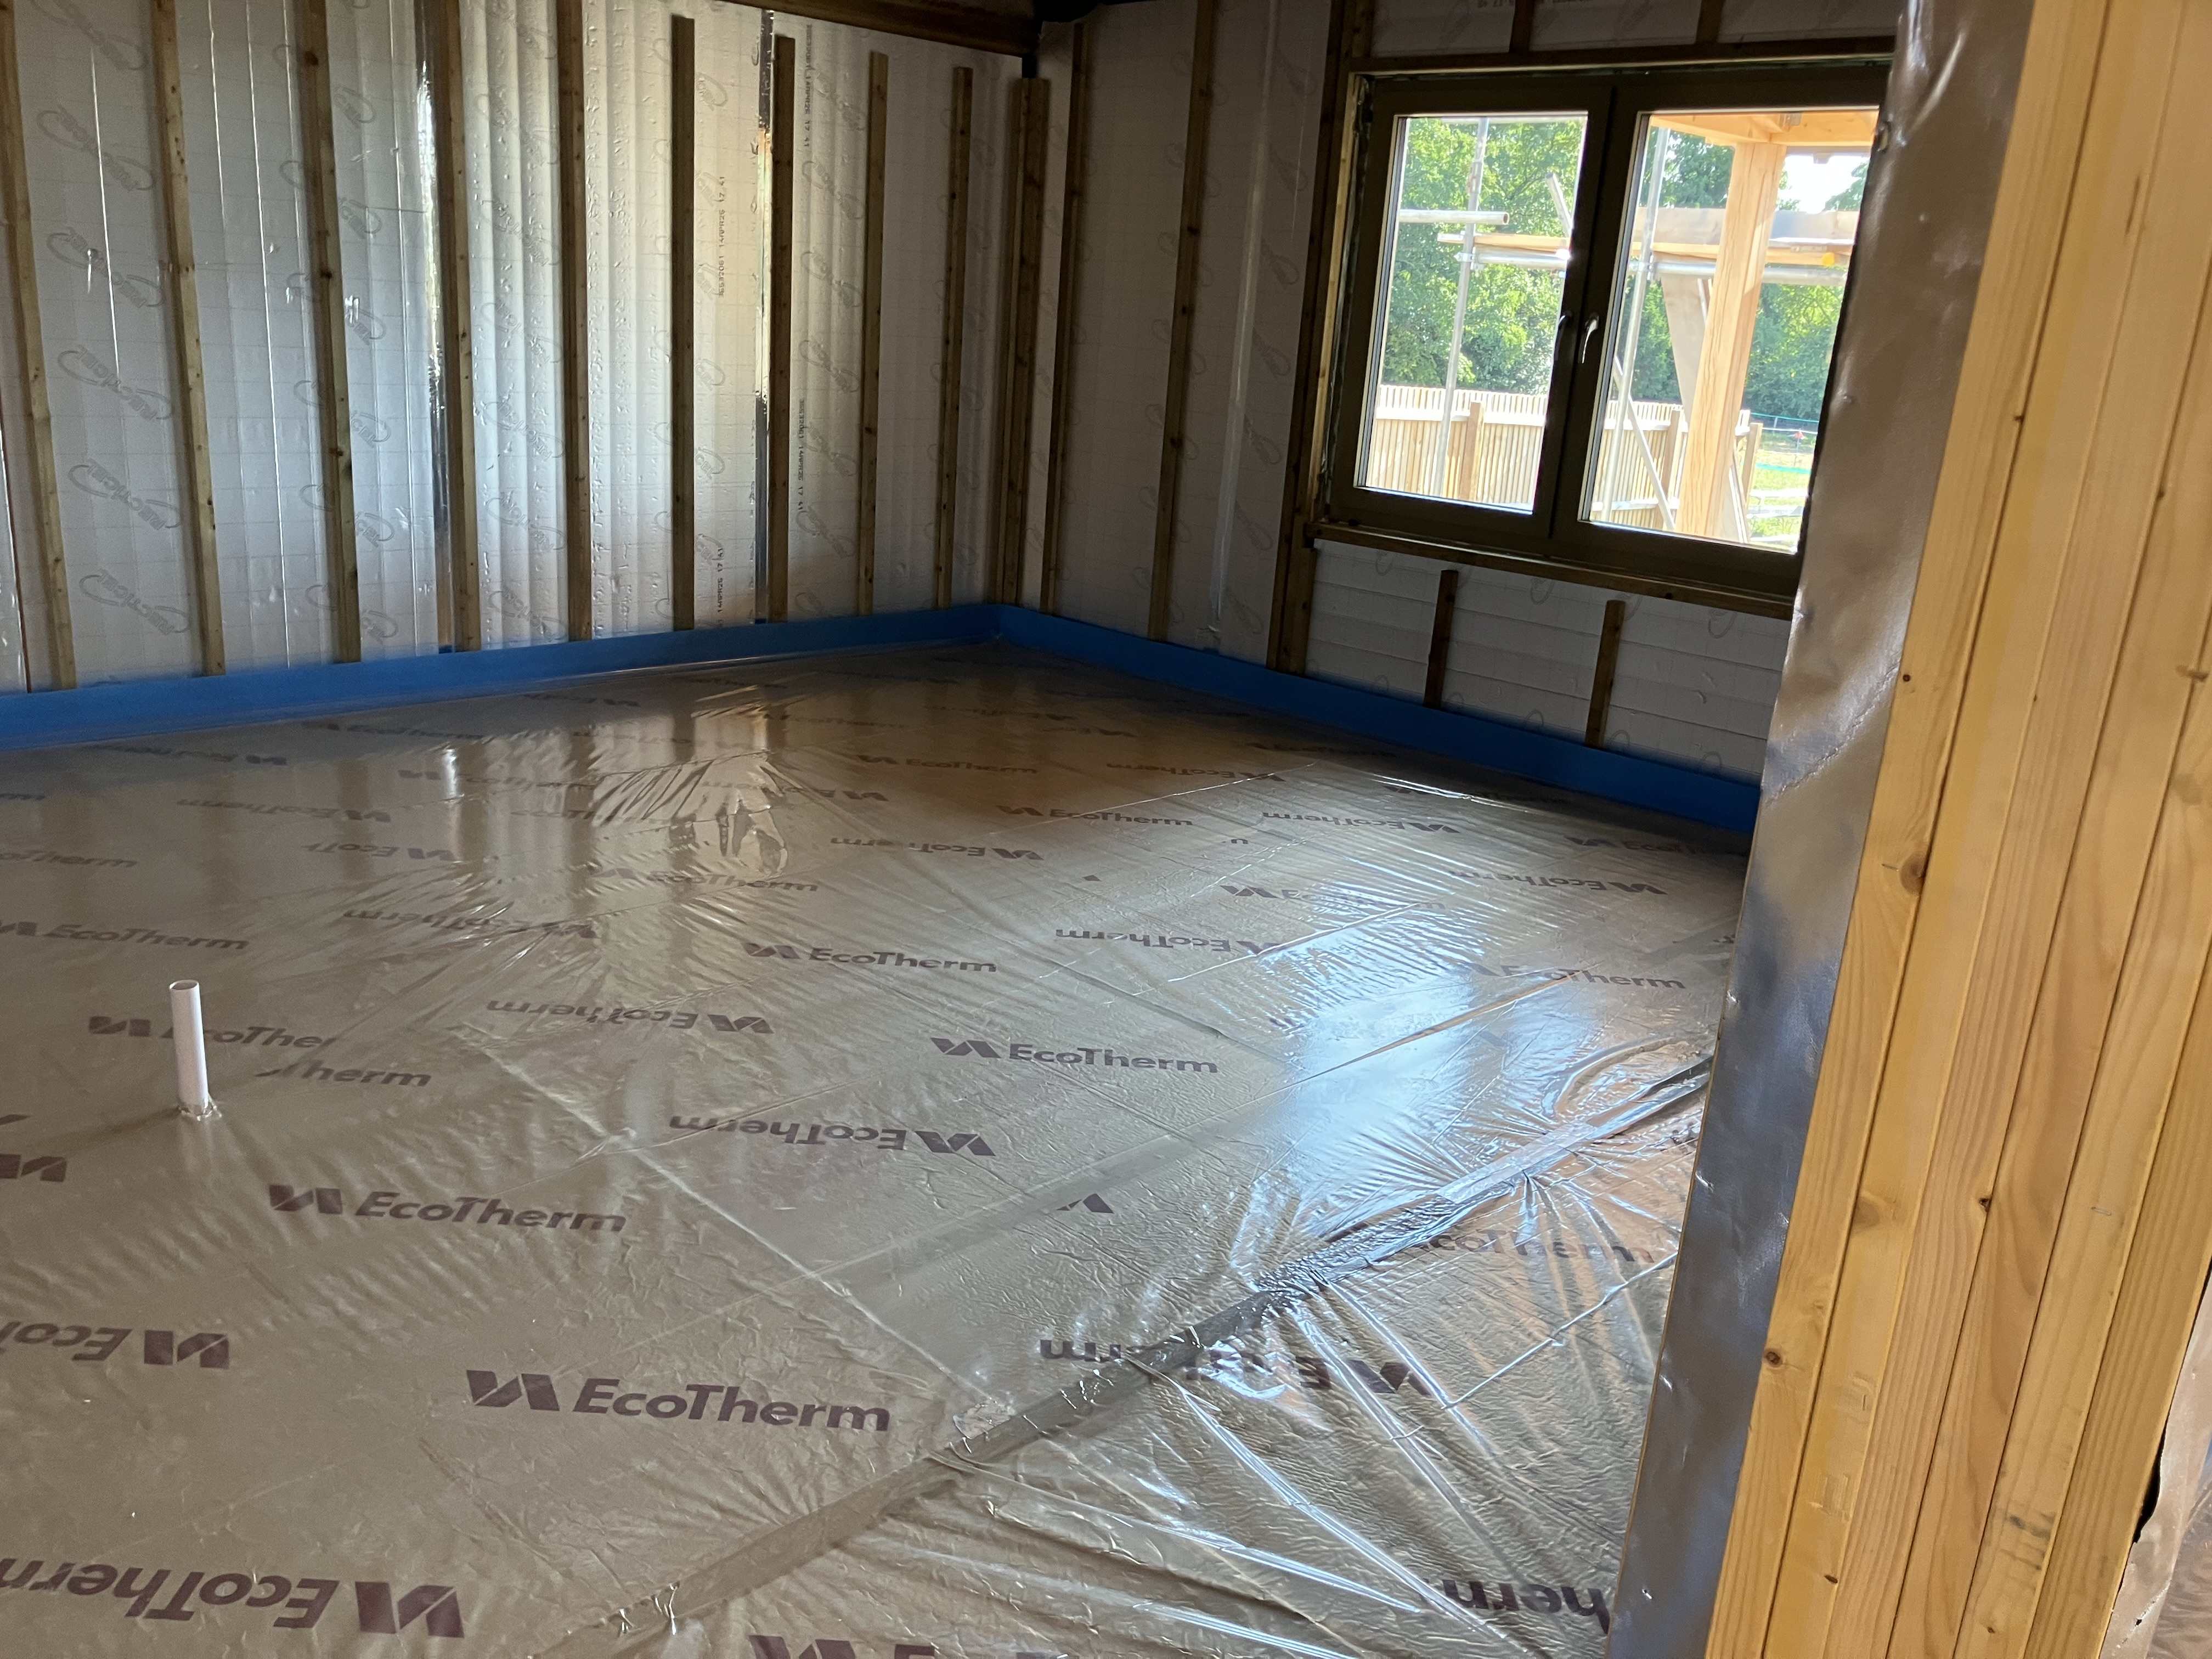
Floor
The main focus this week has been laying the DPM + 220mm PIR floor insulation + 50mm upstand insulation round all the walls, then the UFH perimeter expansion strips and the vapour separation layer ready for the UFH pipes.
It’s proved intricate work. Ken our first fix plumber assisted by local builders Barry and Jordan together have been working hard to complete the task by the end of August so that the liquid screed can go down during the first week in September.
Early this week it looked like there was too much to do in the time available which added to everyone’s stress levels but by the end of the week the guys have made good progress and appear to be over half way through. We have a little bit of contingency with the screed team who are happy at this stage to leave the pour date a bit flexible during w/c 1st September, so we are hoping we will be alright.
One thing that is particularly pleasing is the meticulous attention to detail being applied by Ken, Barry and Jordan. The PIR boards are being cut and fitted really tightly and the taping of joins and of the DPM is being done with real care.

If we were doing this again (Mrs P: “We’re not”), I’d consider building the non load-bearing internal walls later, on top of the screed, which would have saved a lot of effort intricately cutting, fitting and taping DMP and insulation to those internal walls. But no doubt a different series of problems would have ensued.
Electricity supply
Also this week, SSE came in and moved our electric supply from a meter box which used to cling to the side of a now-demolished wooden garage, inside to the plant room. Two SSE engineers for two hours = 3p change from £700(!) Hey-ho, it’s done now.
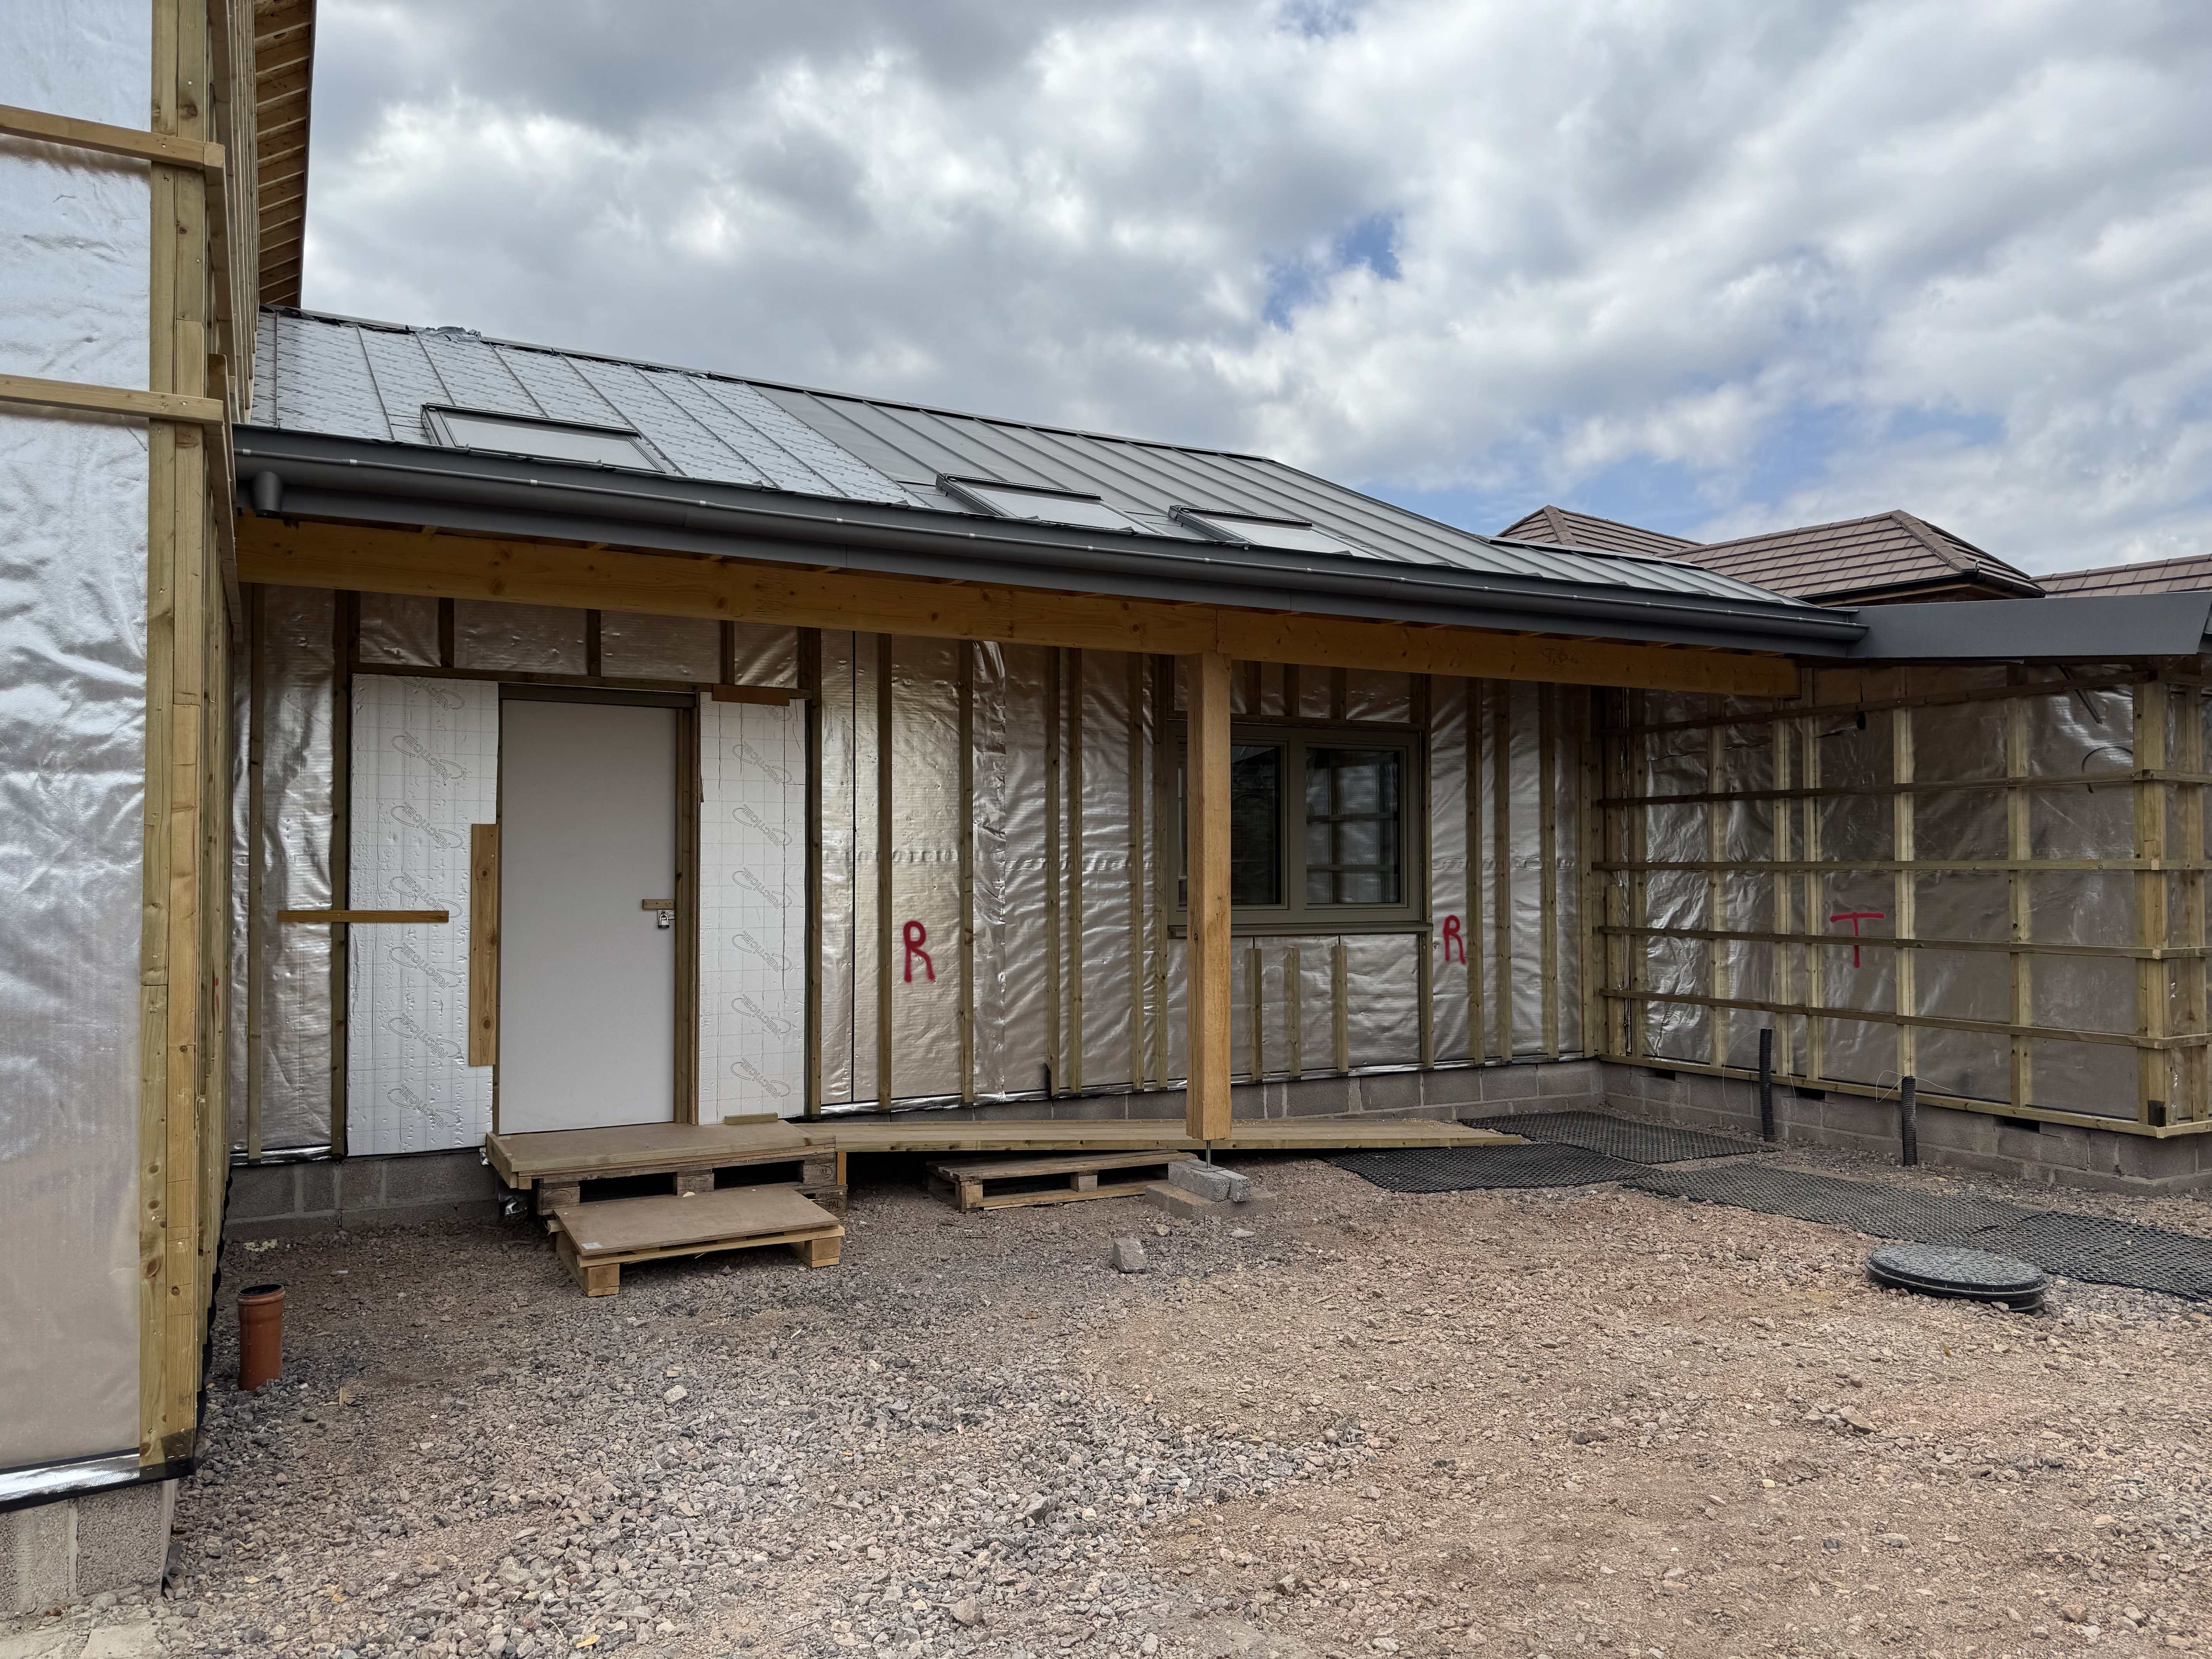
External battens
I reported that these were all done last week but I forgot about the cross-battening required for the vertical timber cladding. Anyway, that was duly completed by Alan and Chris this week and the walls are ready to receive STS construction boards plus Ecorend thin coat render (for the rendered sections), and Brimstone Ash vertical timber cladding on the other areas. I need to arrange delivery of the latter when we have sufficient space (the cladding is bought and being held by Vastern Timber pending delivery).
But work on the backing boards for the render starts on Monday - yes I know it’s a bank holiday but the render people are keen, so who am I to stop them?
Carpenter Chris also sorted out the ply protection for the front door and here's our lovely temporary door - the real one is safely wrapped up in the workshop.
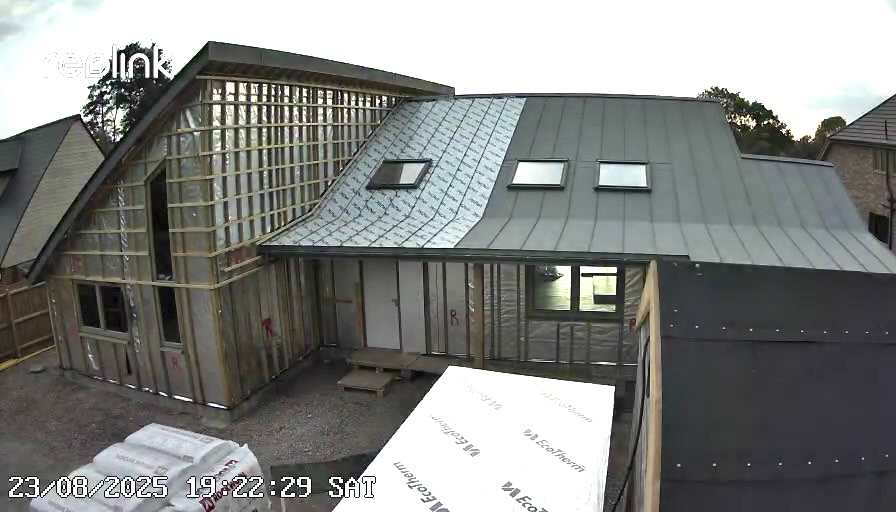
Scaffold
Also keen to work the bank holiday weekend (well, ok, after a bit of encouragement) were the scaffolders, who arrived on Saturday morning to remove the scaffold, which they did in a few hours with no dramas.
So we can now see the house! although it’s still looking very shiny-silver.
The plastic protection is remaining on part of the zinc pending the completion of the vertical cladding of the wall on the left
And finally…
Remember this rogue beam from last week’s blog? Too close to the window reveal to allow us to fit an external blind…
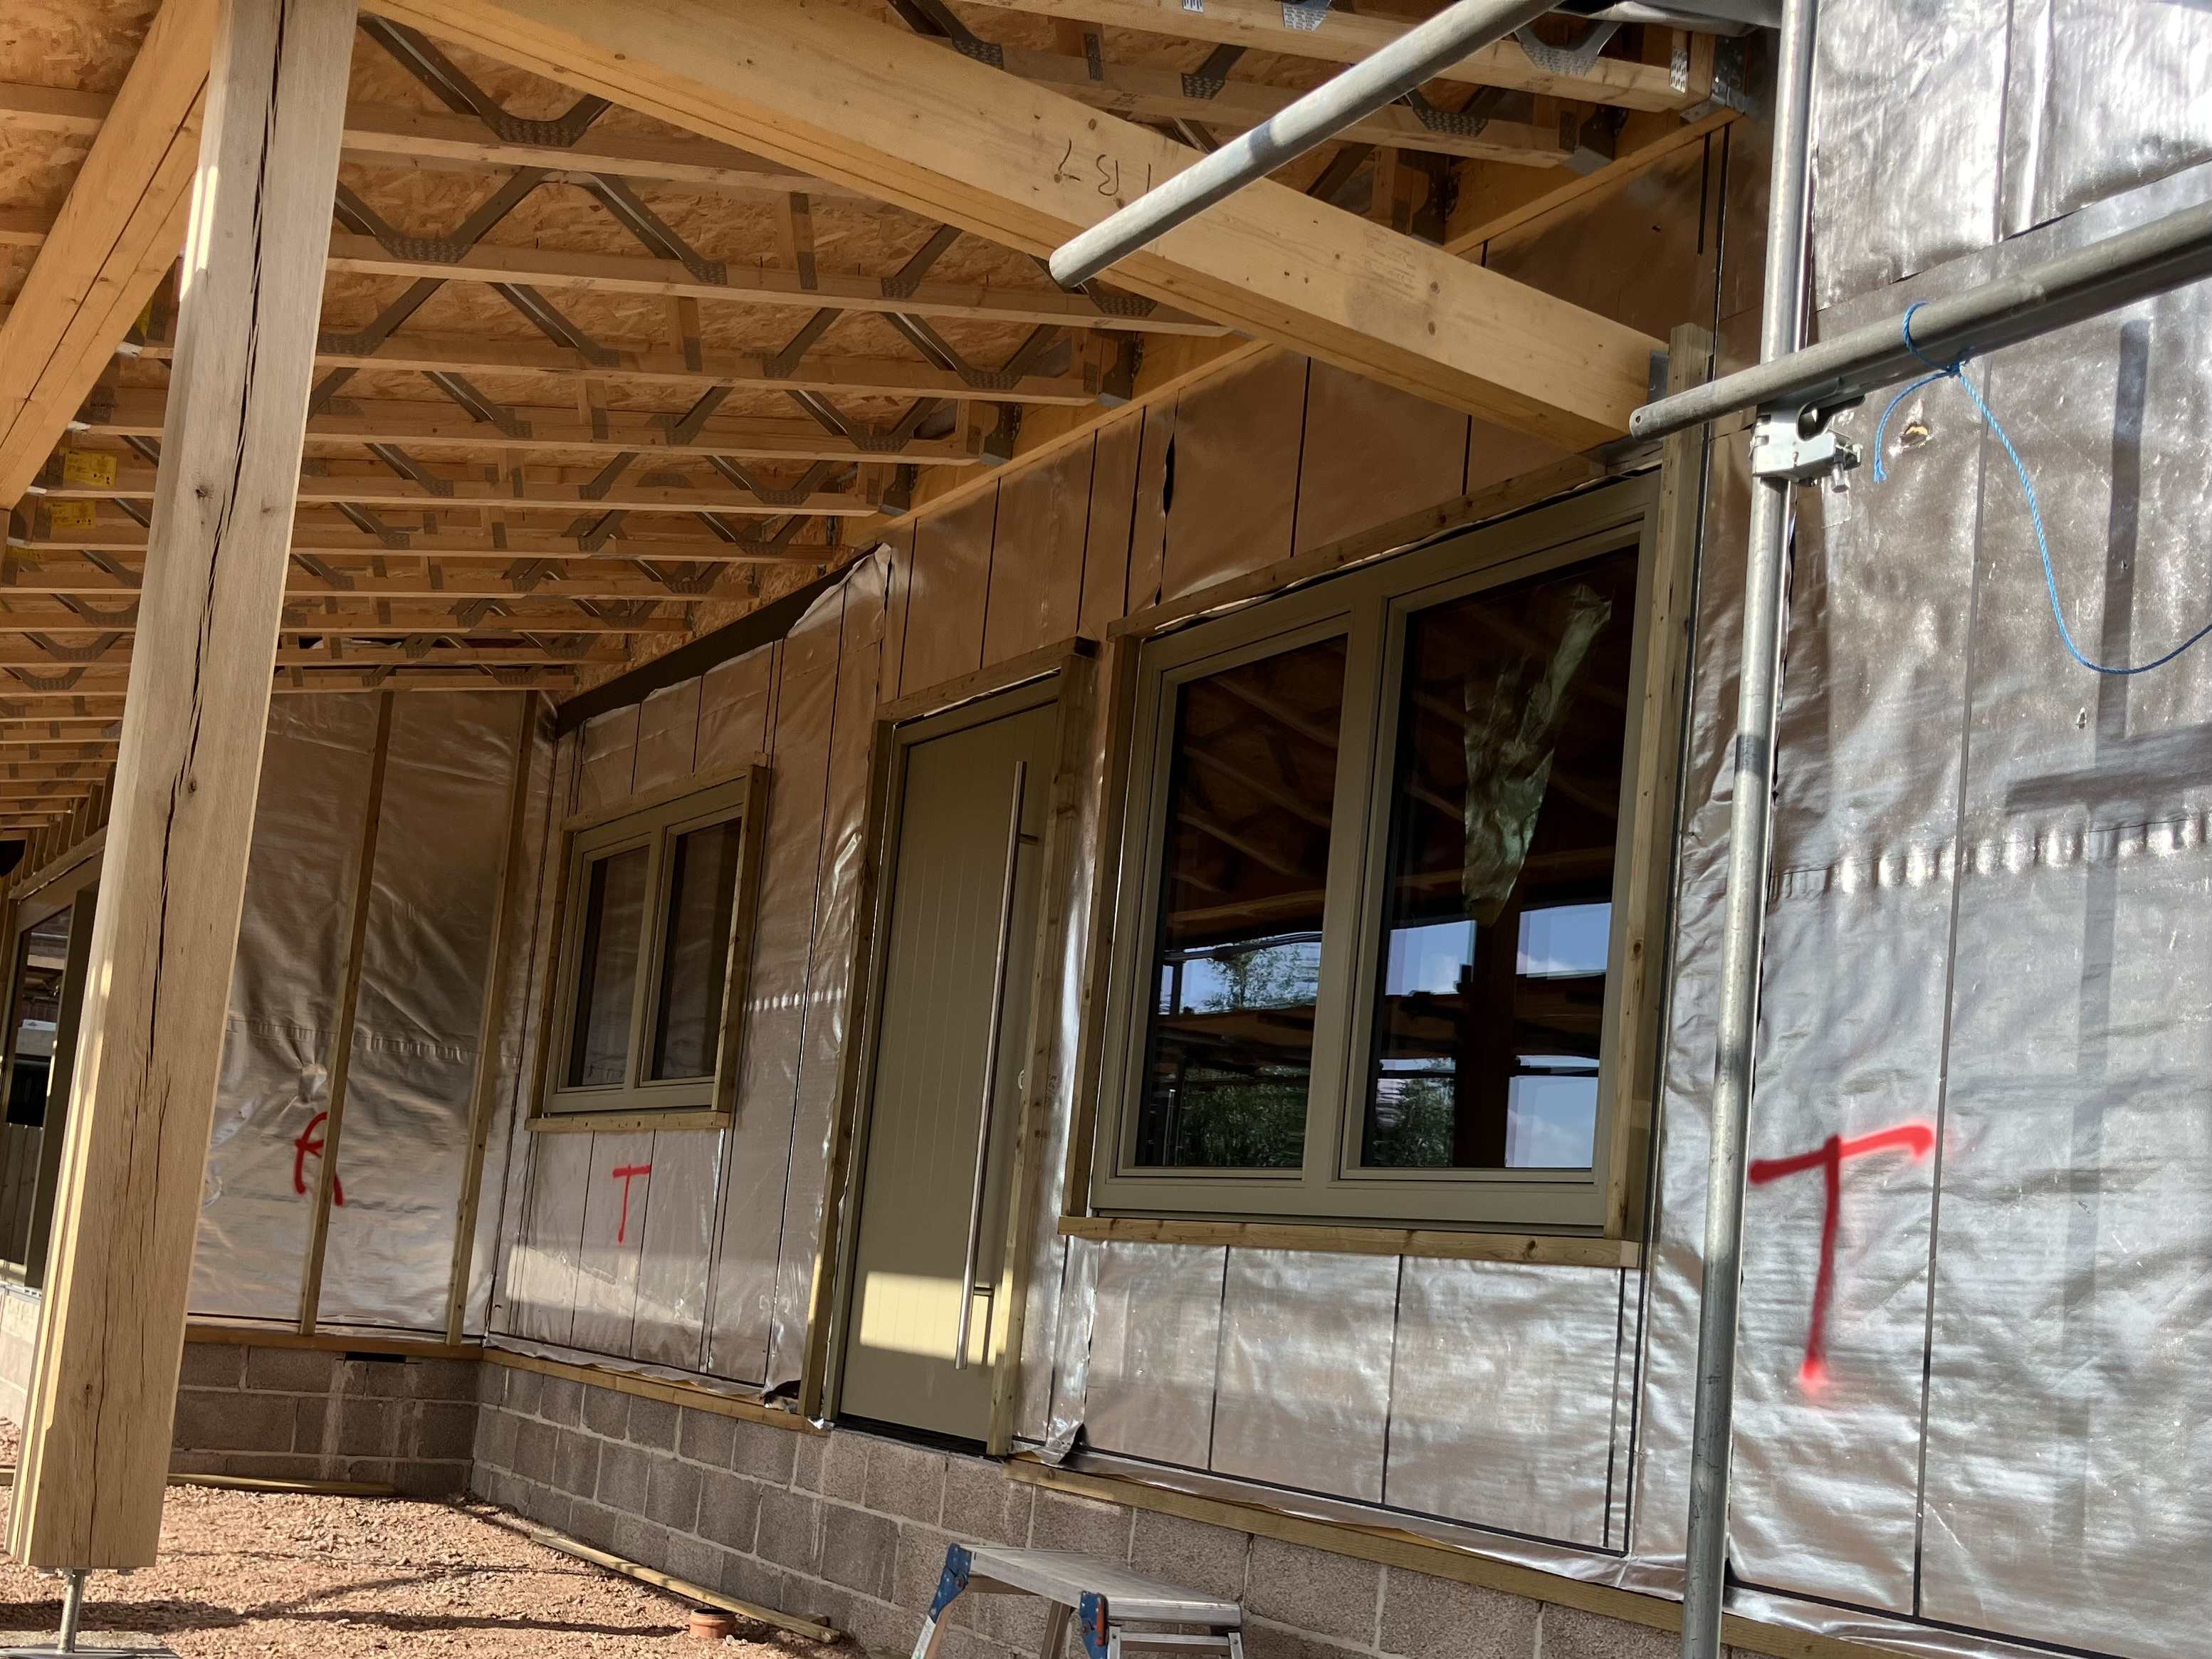
Well, I asked Matt at Turner Timber Frames to check with the engineers whether it and the one at the other end of that roof canopy are structural and it turns out they are not, they are purely 'cosmetic' and can be removed if we wish.
However, in the meantime we are wondering if we really need and external blind anyway(!) Also, we need to talk to Alan the carpenter about how we are going to finish the roof in that area, and he’s away until next Wednesday. The soffit will be clad with some of the Brimstone Ash but should the soffits be horizontal or follow the slope of the rafters? Do we need some kind of clad gable at the end? Also, how easy will it be to take that beam out? It’s on joist hangers at the wall end but how is it fixed to the top of the oak posts?
At least we have options to consider now though.
Dashboard:
Contractor days on site this week: 19
Contractor days on site since build start: 211
Budget: No change, running slightly over.
Plan: On track to move in by Easter 2026.
New measure - Number of bacon baps bought: 8 this week; 41 to date.
These are ‘keeping people happy’ baps. Unfortunately there is no entry in the budget for them so I have explained to Mrs P. that they’ll have to come out of the kitchen budget. Kitchen -> food, it’s obvious! (Although as Mrs P. points out: "No kitchen; no food" which is a concern.)
At any rate bacon baps from time to time feel like a worthwhile investment to keep everyone happy.
Issues and worries closed this week:
- Scaffold is now down; the renderers can get at the walls!
Current top issues and worries:
- Insulation - the additional ceiling insulation is still a worry - going to need to schedule it in after the screed now.
PS We’re at a wedding next weekend so the weekly blog may be delayed or skipped. I imagine you’ll all survive the blow.
-
 8
8
4 Comments
Recommended Comments
Create an account or sign in to comment
You need to be a member in order to leave a comment
Create an account
Sign up for a new account in our community. It's easy!
Register a new accountSign in
Already have an account? Sign in here.
Sign In Now