
Search the Community
Showing results for tags 'bay window'.
Found 1 result
-
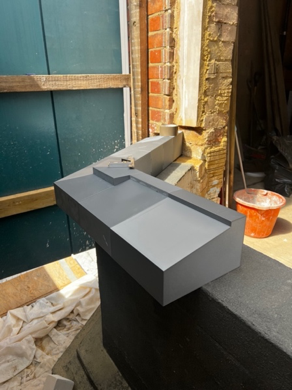
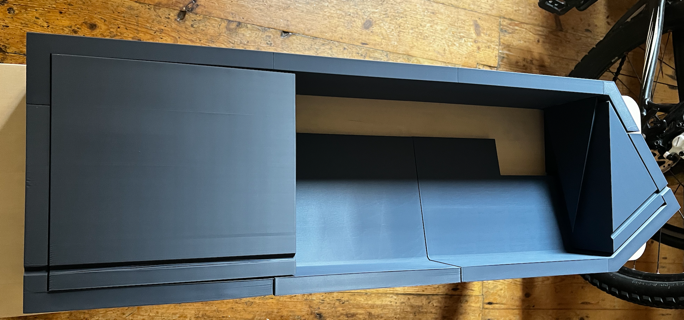
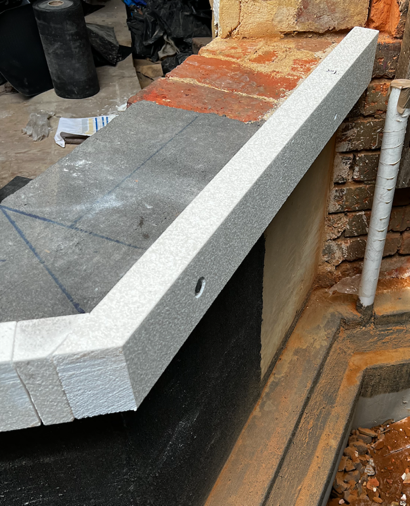
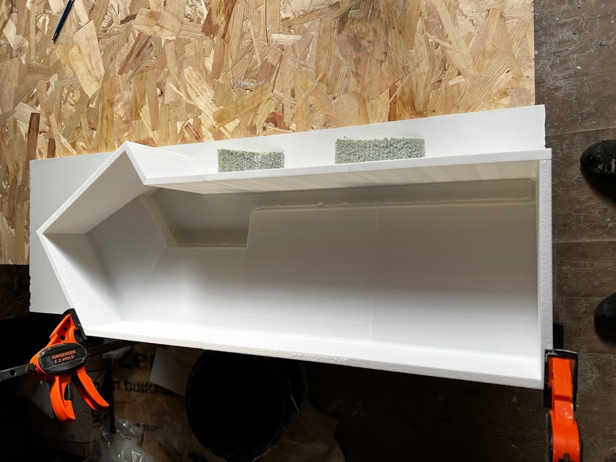
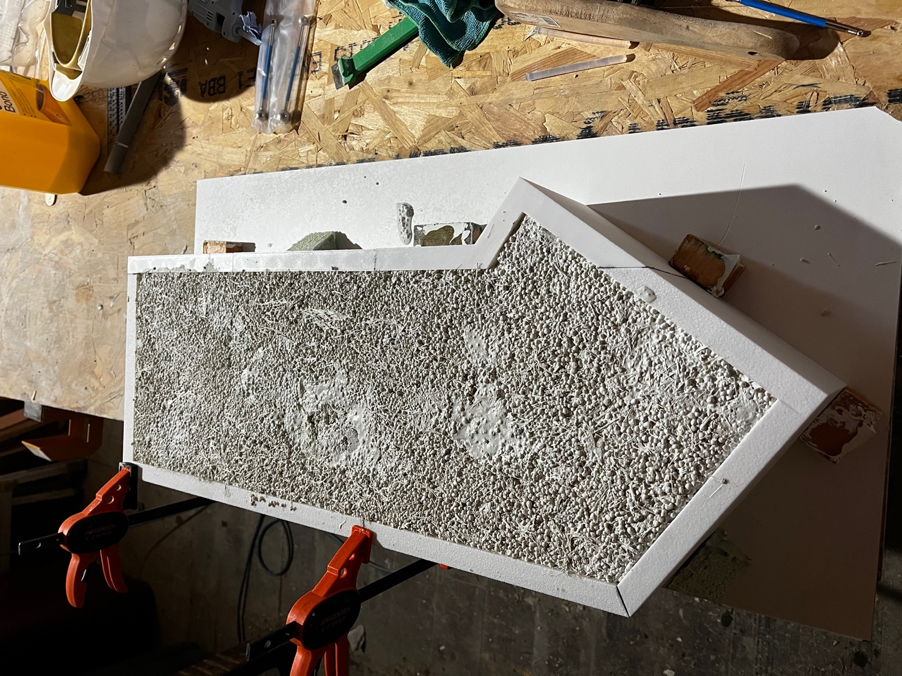
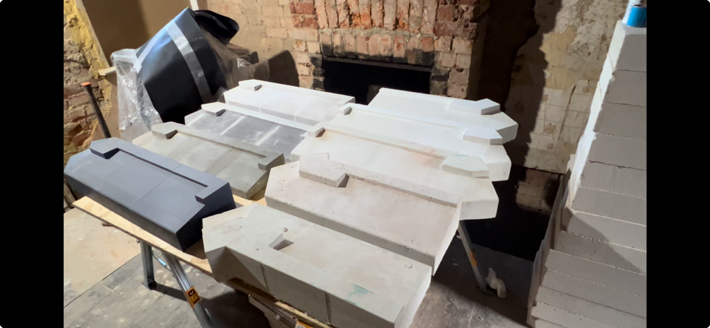
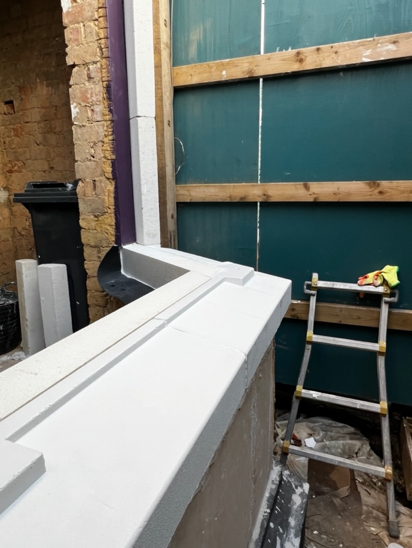
 We’re rebuilding a Victorian bay window with a focus on thermal efficiency and restoring some period detail. To achieve this, we designed and cast our own bespoke window cills using GFRC, 3D printing, and innovative materials like glass bubbles to reduce weight and improve insulation. This post shares our design process, casting experiments, lessons learned, and the final results. Design I used SketchUp to produce the design for the side and centre cills. The bay has external wall insulation so the cill was designed deep to accommodate 10mm aerogel, 50mm PIR, render and the offset from wall. The 10mm aerogel was something I wanted to try out, and doesn’t add much compared to just using 60mm PIR. For some reason the grey versions of aerogel with a 0.015 thermal conductivity are not easy to find, so settled with the 0.019 grey blankets. We are targeting below 0.15 U value. The EWI gets us to 0.16 with additional internal insulation needed to be below target. The cills themselves are a thermal bridge 210mm deep then 100mm of structural insulation for a 0.34 U value, I haven’t yet decided on the further internal insulation to get below 0.15. I am trying new things out with this and will try VIPs. I have a budget for trying out new insulation. 3D printing The first concept of the design was printed out in a 3D model, including a wall return, stools for the jambs and mullion and underside drip. And later its mold to test the casting process. Structural insulation The plan was to install the cills on the exterior half of the wall, then given the deep cills a section of structural insulation was fixed into the wall to provide some support for the cill in case they were used as a step. Here this is fixed to the top of the wall and replaces the 50mm of PIR which otherwise would have been used. Casting Once the cill designs were done, I made a mold of the cills for casting with concrete and sand. The mold was 3d printed and via some experimentation manage to find a way to get a stone effect for the face coat. The idea of casting my own cills started while looking at GRFC concrete countertops, so my mix included glass fibres. The hope is that they prevent cracking, but the cills are already substantial so they probably don’t need them, but I kept with my original mix design. I don’t think the glass fibres added much to the process, except additional complication. If its reduces cracking then that’s helpful. Glass Bubbles I later tried an experiment using glass bubbles. Half the sand was substituted for glass bubbles to improve the thermal efficiency of the cills, (only a little) but its main advantage was in reducing the weight so it was possible to move the cills around with some ease. It also helped reduce deliveries of the sand. I was using a white sand which was an annoying bulky delivery. The glass bubbles tended to rise to the top of the mix, here the top is the bottom of the cill which was problematic for creating a flat surface. I later experimented with covering this to produce a flat surface but I manage to instead amend the mold design to be fill from its back. The advantage of this was that the slightly uneven surface was in an area where it didn’t matter and also the glass bubbles would be situated more evenly towards the back of the cills thus helping with the thermal efficiency of the cills on their internal side. Test casts I had about eight different cills cast before being totally happy with the design and the casting process. I experimented with using cast stone dust, but with a bad result (probably from my poor face coat application) so I moved away from a “bath stone” look to a white to be further finished. Completed Cills Once the cills were done, I was able to see how to progress upwards for the rest of the bay window. At the start we were happy to accept the bay would be a thermal bridge requiring lots of internal insulation. The benefit with this design is that much of the insulation is now external saving on the floor space. It took some time, which I have and I am happy with the result. Since I installed the jambs and mullions and making the header/lintels copying the original design in the area. Plus the cost is much reduced. The original plan was to spend 30k on the bay window build, as a standard build, that cost without windows relying upon insulation being done separately afterwards. Instead we have managed to spend 5k on tools and materials, including £500 for a 3d printer but lots of my time.
- 9 replies
-
- 7
-

-
- window cills
- bay window
- (and 4 more)