Hi all,
I just wanted to update this post with what we decided. In the end we decided to go down the route of dropping joists at the high ends. Depending on the joist run per room, it involved bringing down the level on internal block walls and the external cavity.
It has been very successful for my house and the upstairs rooms we have completed have been transformed. In the end we more or less levelled (Within 15/20mm) four rooms upstairs. The largest drop we made was around 100mm on an end of one room
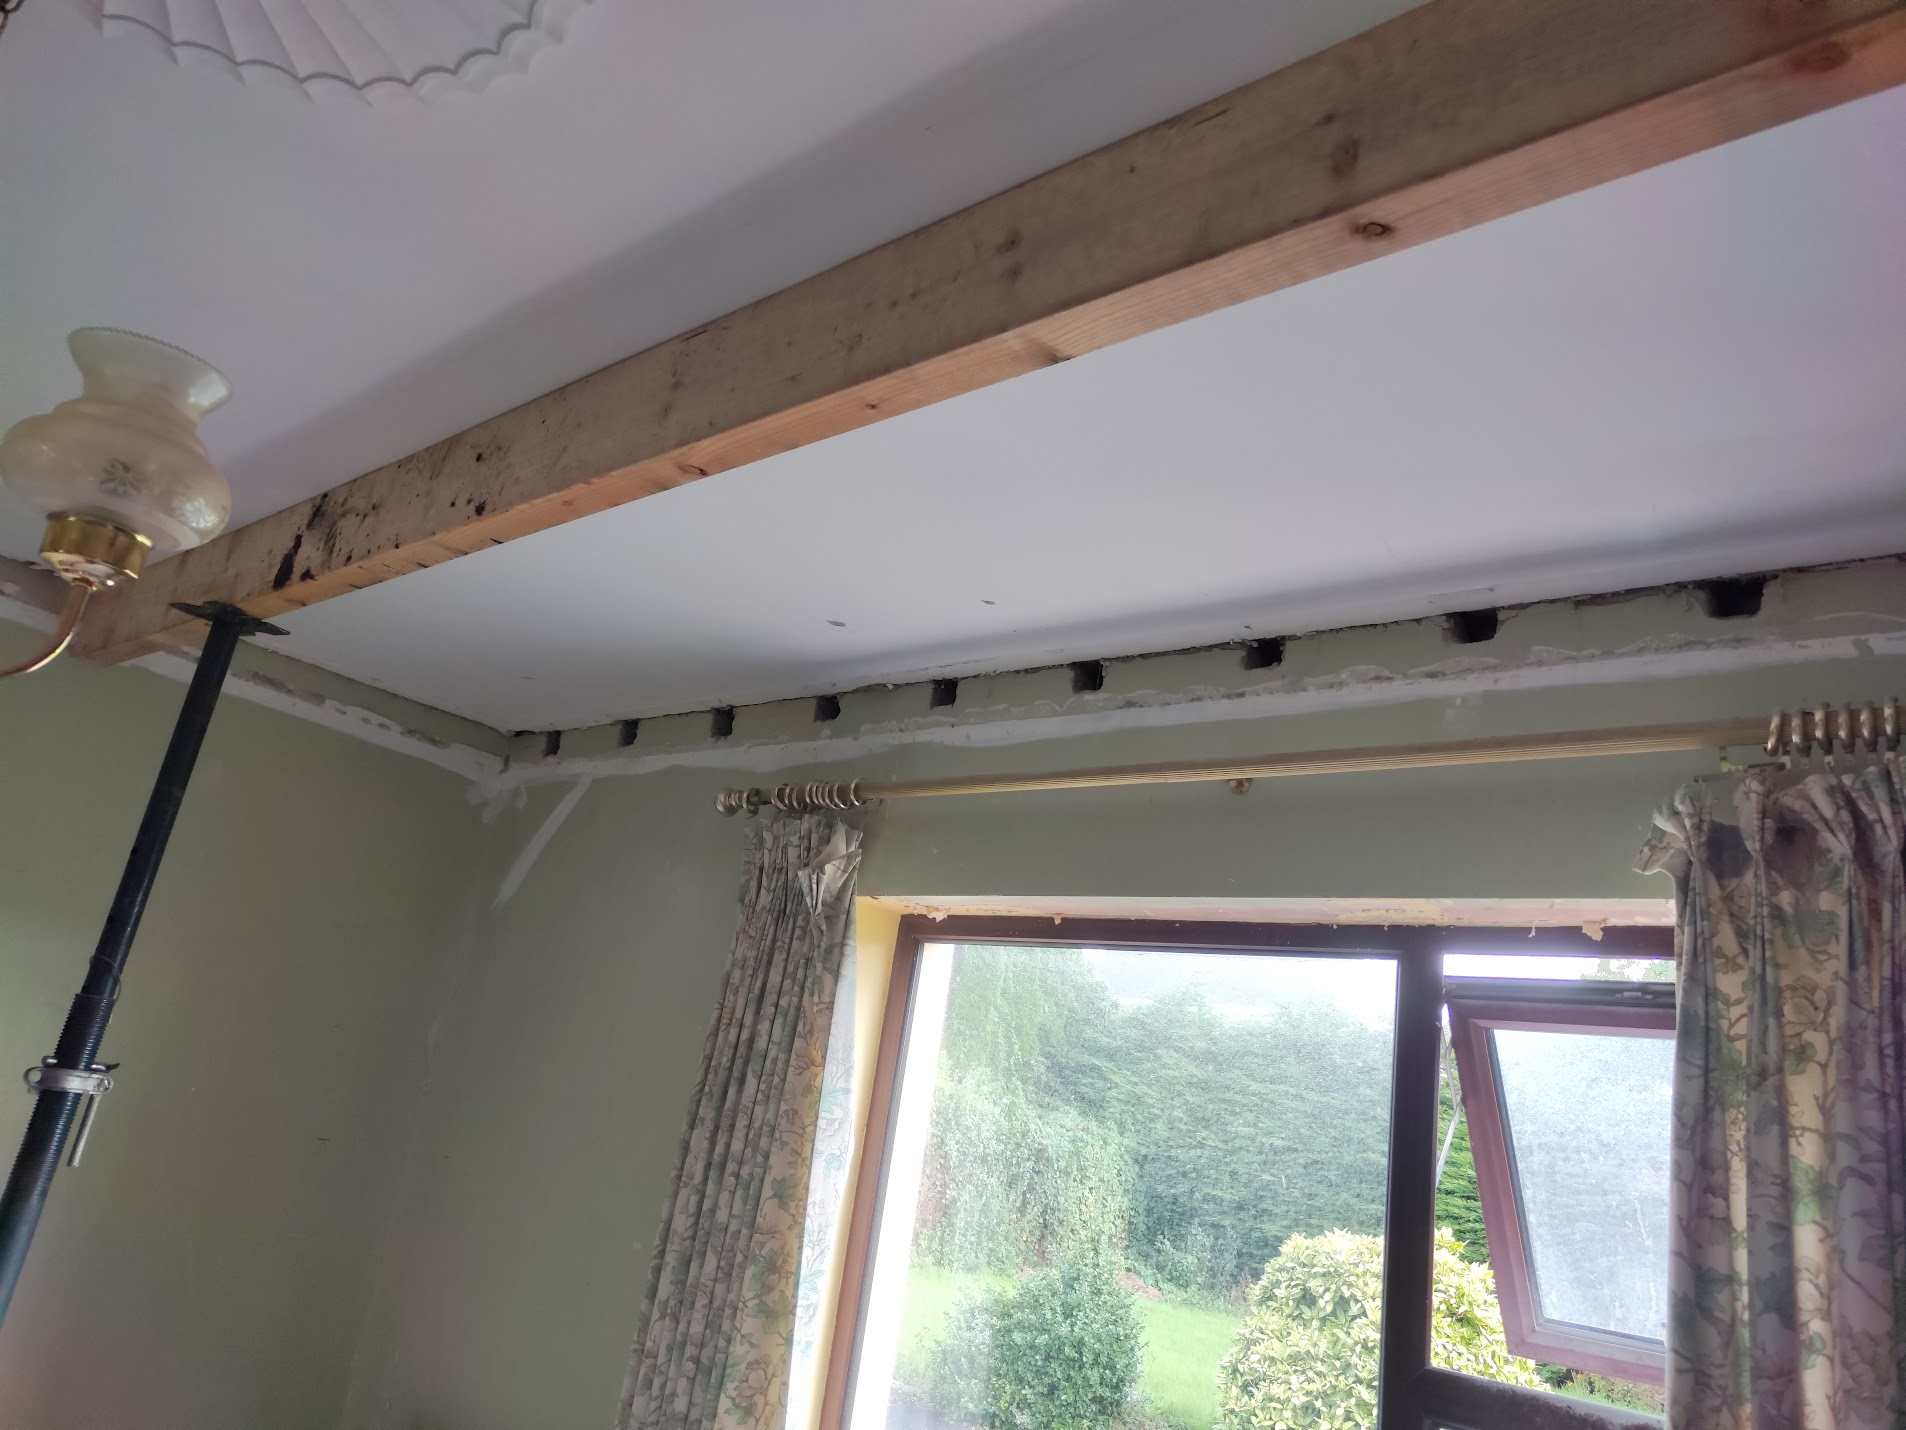
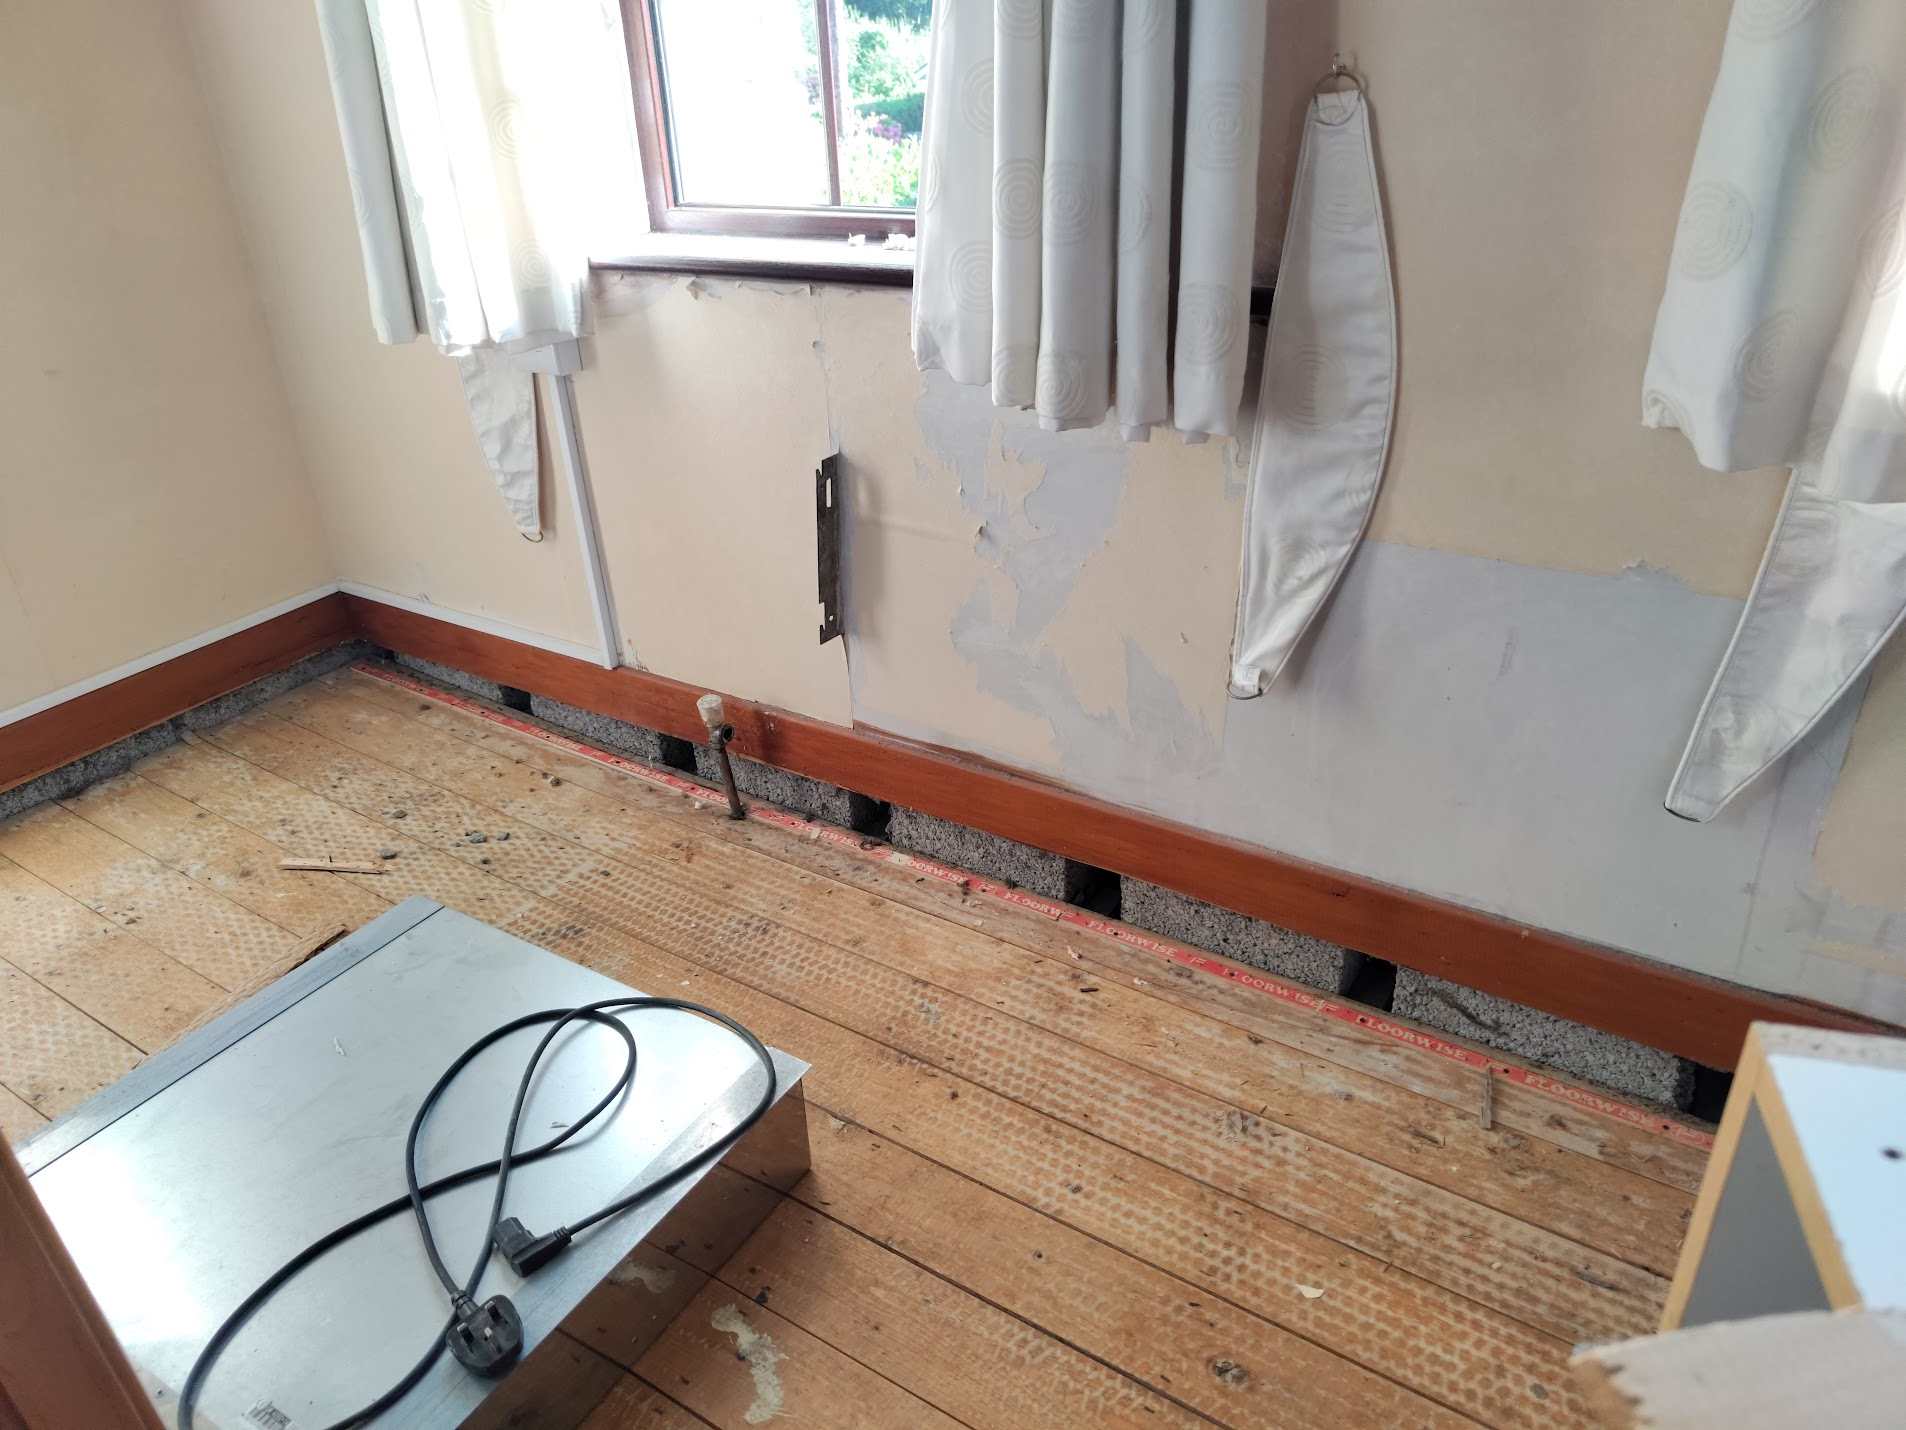
This method is really only possible if you are completing a full renovation on a house. This is also heavy, dusty (To say the least) work that takes time and patience. There is a lot of making good required. I have attached pictures of some of the rooms!
If anyone wants to go down this route, here are the very rough steps that were followed:
Pre-requisite steps:
a) Its obviosuly imperative to set up acrows and headers along the end of each joist run you are bringing down.
b) All radiators in each upstairs room you are lowering upstairs MUST be removed/disconnected. The plumbing will drop as the floor drops.
c) Toilets will be difficult. Its likely the toilet waste will be directly through the external wall and this would have to be disconnected etc. In my case, I ignored the toilets.
d) Be VERY CAREFUL where you are working on joists above sockets, light switches etc. There will be a conduit just to the left/right so you must be accurate.
General steps:
a) Decide exactly what your new "level" is. This will most likely be the lowest point of the floor.
b) Map out all of the joist runs per room.
c) Use a laser to exactly calculate the drop required. This will be at the other end of the room, again depending on the joist run.
d) Mark datums on your walls on the ground floor. Using these confirm the drop previously calculated off the floorboards, now off the ceiling.
e) Once confirmed, mark your drop required below the ceiling downstairs.
f) Run a chalk line from the end of the room/end of the joist run to where you plan to drop to. This may not be the end of the room downstairs.
g) Using a tool (Oscillating multitool was cleanest for me) cut the ceiling at the intersetion tot he wall.
h) Find and mark all joists along each wall that you want to drop. Easiest method is to use the dull edge of a saw to hit against each. You want to mark the outline of where you want the joist now to be below.
I) Using a LIGHT sds drill and a 12/14mm bit you can stitch drill around this line. Its very important to come about 15mm lower/wider than needed.
J) Using a chisel bit you can now get through the plaster/block. Its very important to try to keep the drill level as otherwise you may not take out enough material. The above 15mm rule was from experience.
K) As you go along from hole to hole, each hole will get progressivelly smaller. Its imporatant when the drop required is small (Say 10mm), the hoel should be at least double. Otherwise its impossible to drill and pack later.
L) If you are working on the inner leaf of an external wall, its important to be more accurate and try to not allow too much block to fall into the cavity.
M) Once you are finished with each hole on one wall, make sure there is no debris left.
N) We are now ready to drop t he floor. Once again the edges of ceiling must be detatched from the wall/plaster as the lowering will simply take chunks out of the ceiling.
Lowering:
A) Slacken off the acrow at the edge of the room above where the most amount of drop is requied. This needs to be done very slowly.
B) Go to said room upstairs, walk around and you should hear creaking, popping etc.
C) The floor will slowly drop down.
D) At external walls its possible the floorboard edges will catch against mortar under from when the house was being built up. If so, use an oscillating tool to remove some of the floor boards along that wall. Really this might only be 10-20mm.
E) The stud walls for us were nailed to the floor boards and just had to be levered with a nailbar. In our case they stayed attached tot he ceiling/roof joists.
Once one wall is lowered and you are happy, you can move to the wall adjacent in the room. Once you have the room where you want it upstairs, you can tighten the acrows. Now we will go back, clean out all of the holes again as some debris might have fallen.
Resupporing joists:
A) A good 3:1 strong sand/cement mortar is the bed I chose for these joists.
B) Its important to use SBR in this sand/cement also.
C) First prepare each hole you are working on with a watered down sbr to improve adhesion.
D) Pack below the joist with your semi-dry sand/cement.
E) Its very important to go slowly and use small tools to make sure you are getting the full 100mm block bed for the joists. Internal walls are easy as you have access both sides.
F) This sand/cement should be rock hard after a day.
Now the acrows are removed and you are finished. Now the holes above the joists must be made good. That is my next step. Also any gaps around the side of the joists at the external wall also need to be filled if even just to reduce drafts. We also have large gaps below stud walls between rooms that we are making good with 3x2/3x3 treated timber etc.
Still cannot believe I went this route, but at least it worked! 😅
Pictures below are of a pre-dropped room downstairs and a post-levelled room upstairs.