paro
-
Posts
82 -
Joined
-
Last visited
paro's Achievements
Member (3/5)
16
Reputation
-
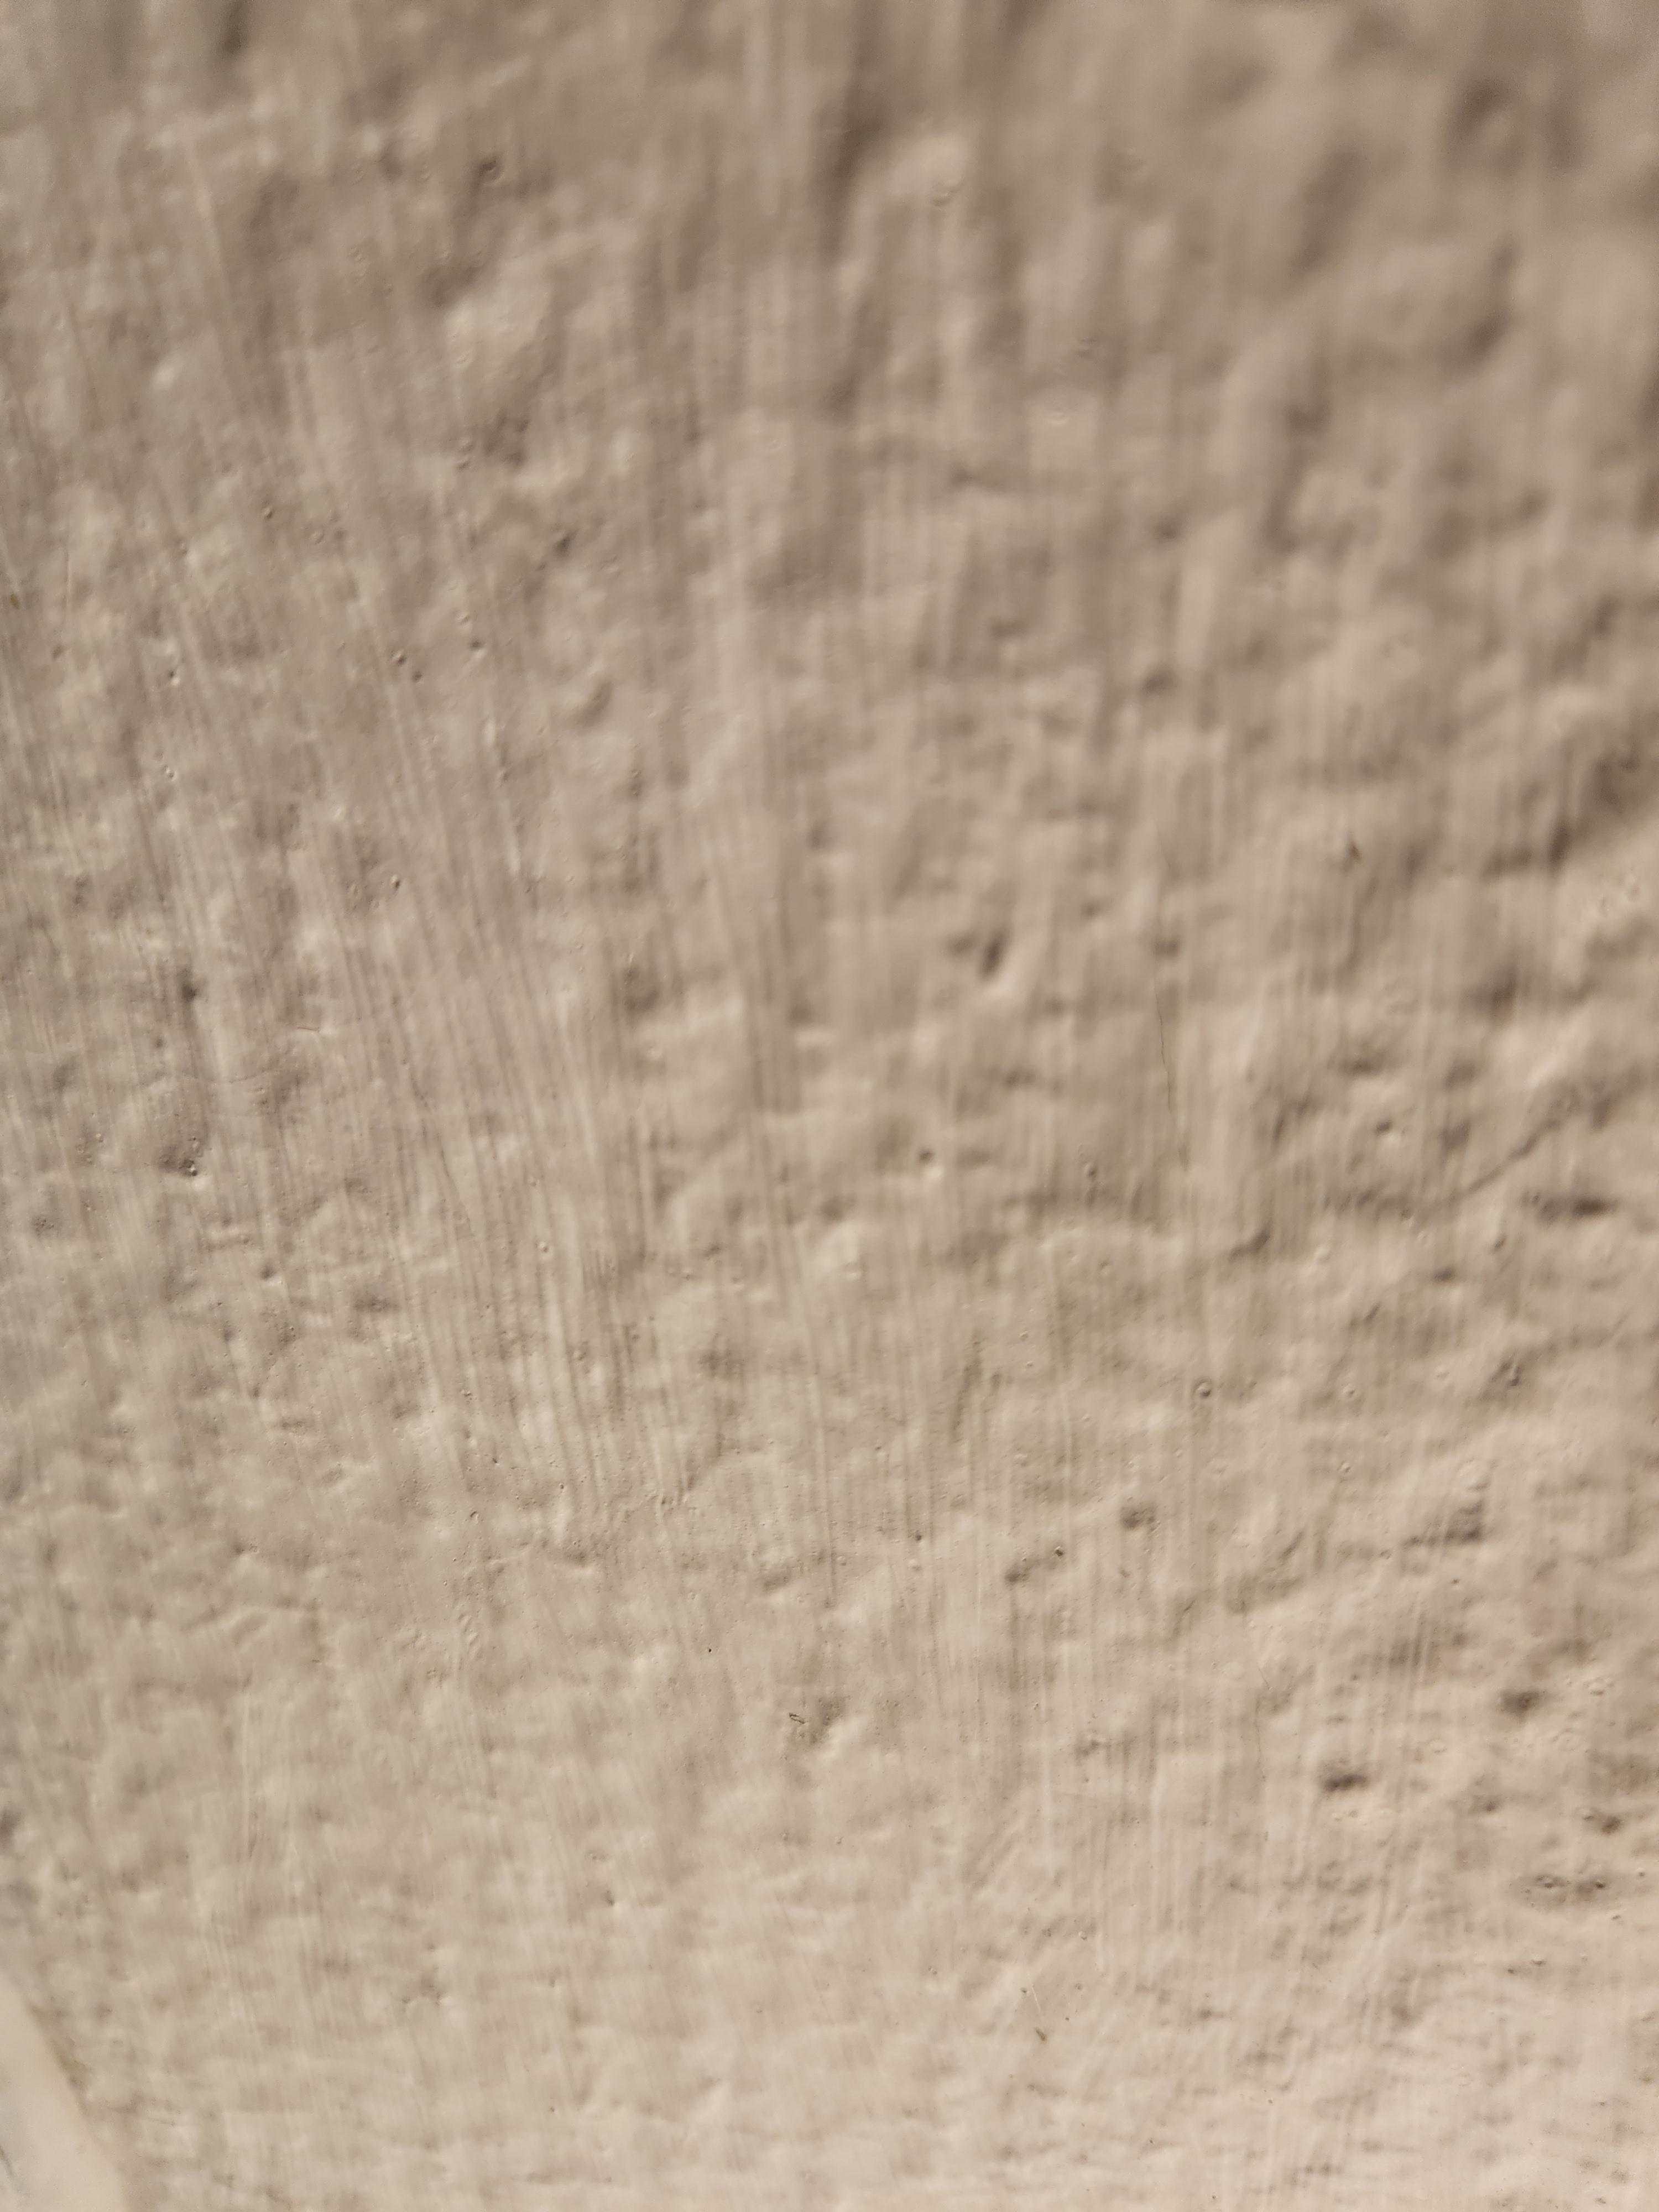
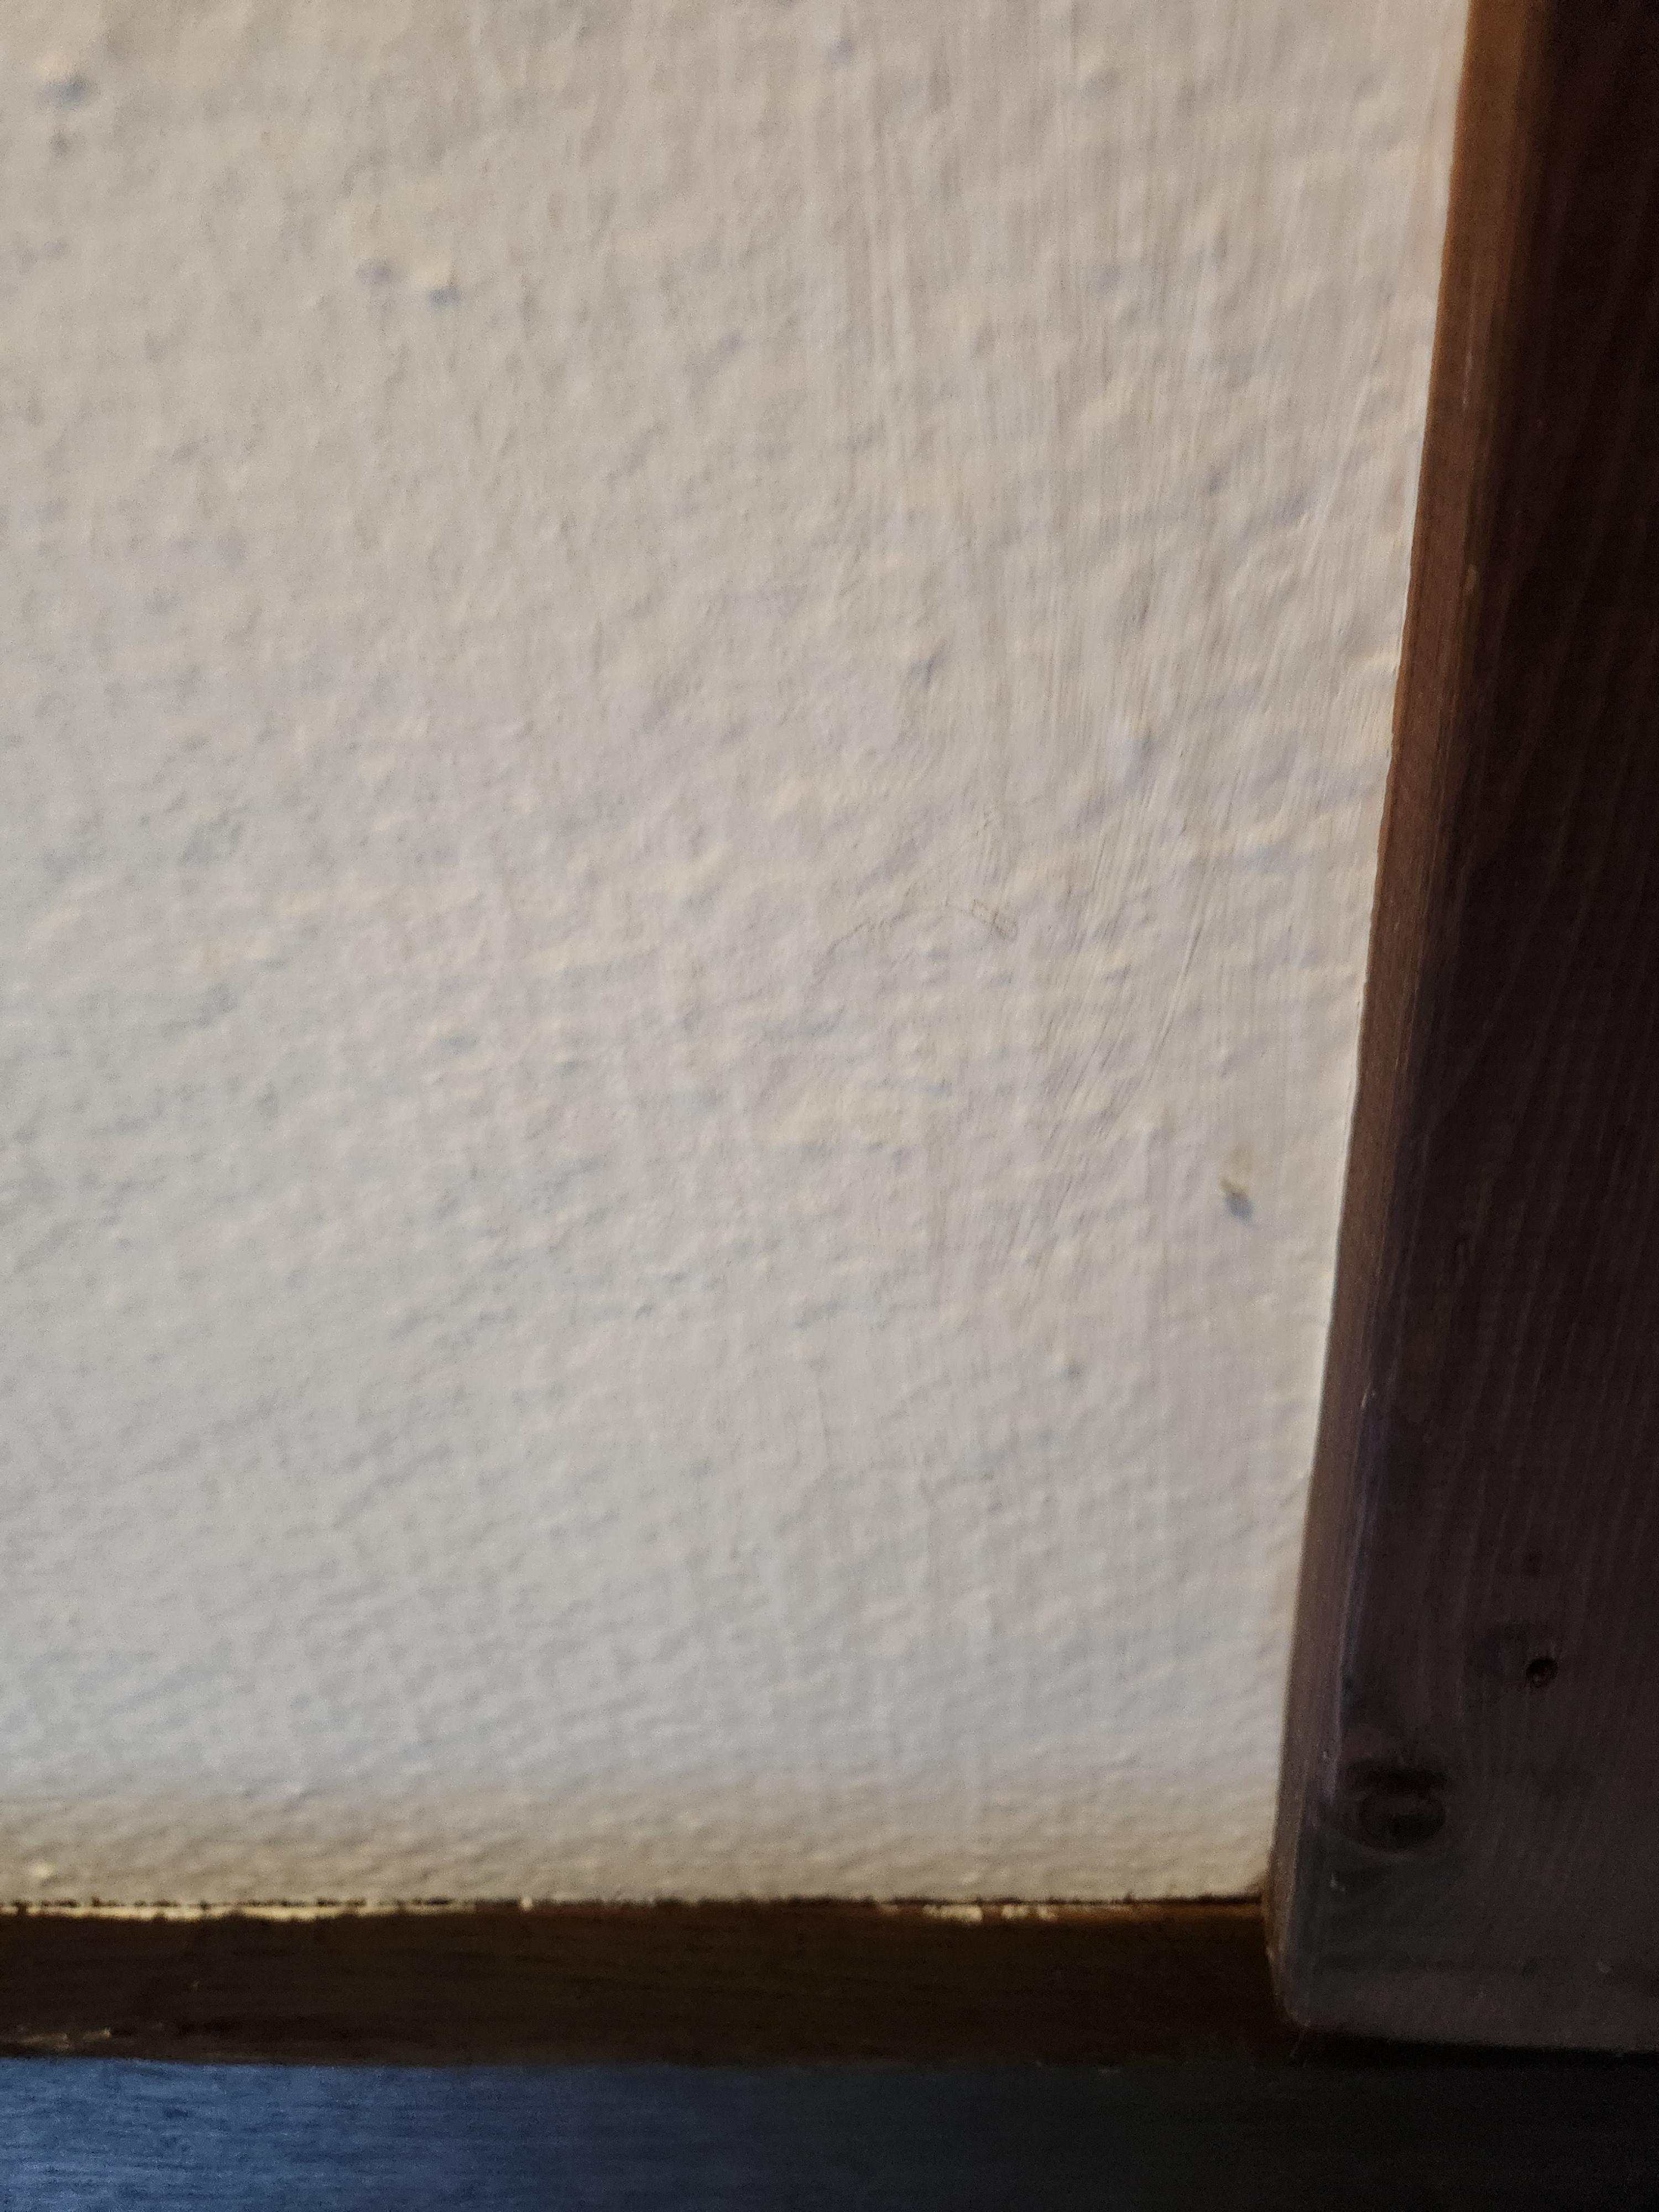
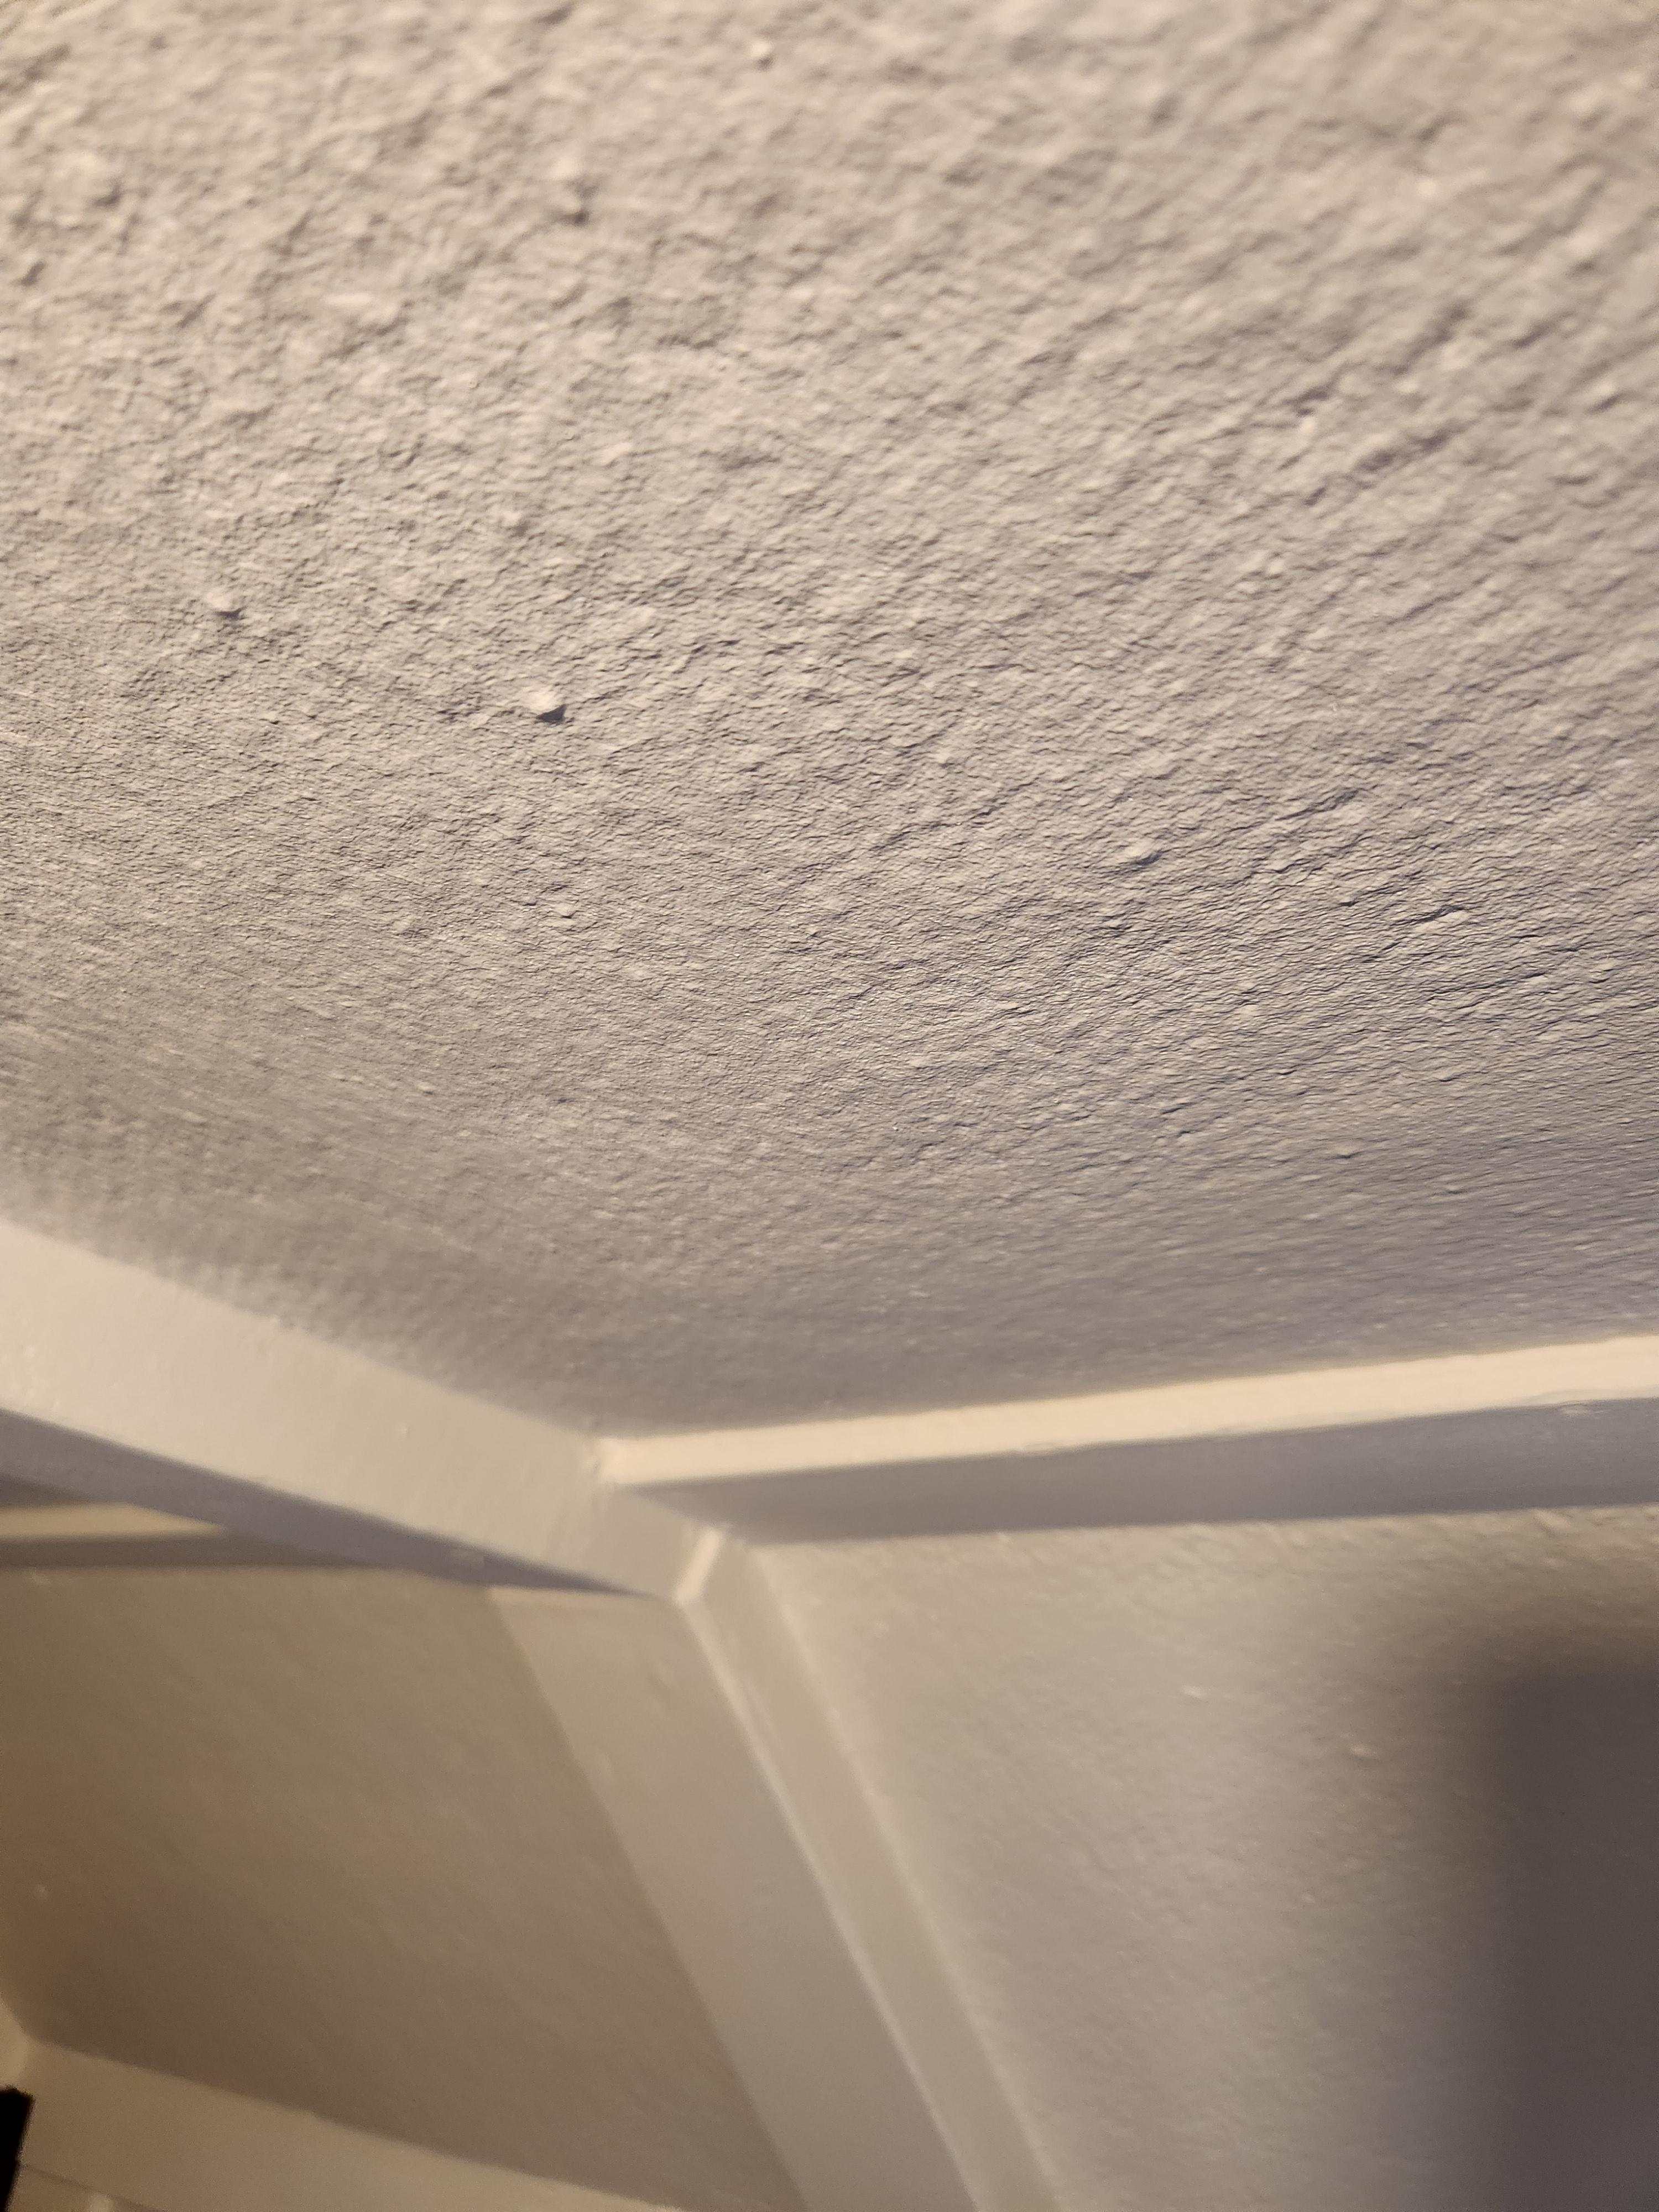
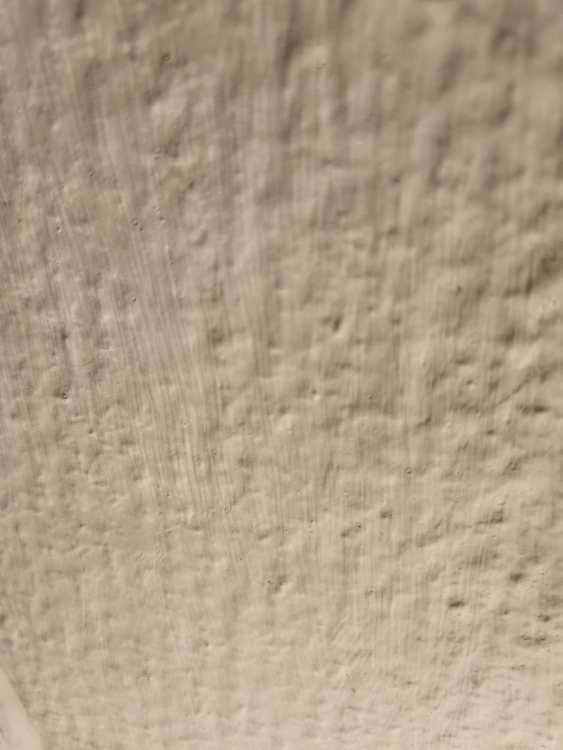
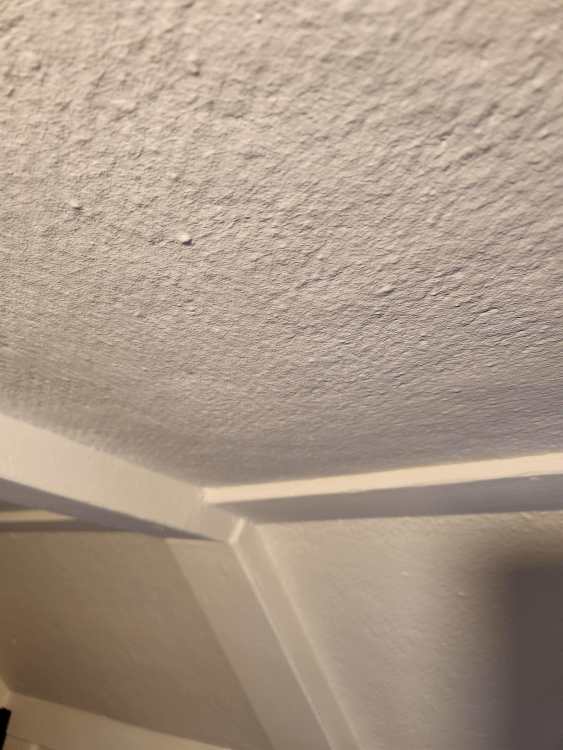
What is this made of? Ceiling wood fibre board type stuff
paro replied to paro's topic in Building Materials
Thanks. It really was a nightmare to start with. I am most impressed that I didn't managed to put my size 13's through any of it. I would say they are relatively soft. There is a lot of sag in them now, to the point now where some are beginning to give way. Artex actually makes sense as the pattern is not consistent throughout. If that's the case I can potentially just replace with equivalent thickness of ply and try to replicate the pattern. -
What is this made of? Ceiling wood fibre board type stuff
paro replied to paro's topic in Building Materials
I did for a change I reckon I pulled out at least a couple of hundred dead mice. -
What is this made of? Ceiling wood fibre board type stuff
paro replied to paro's topic in Building Materials
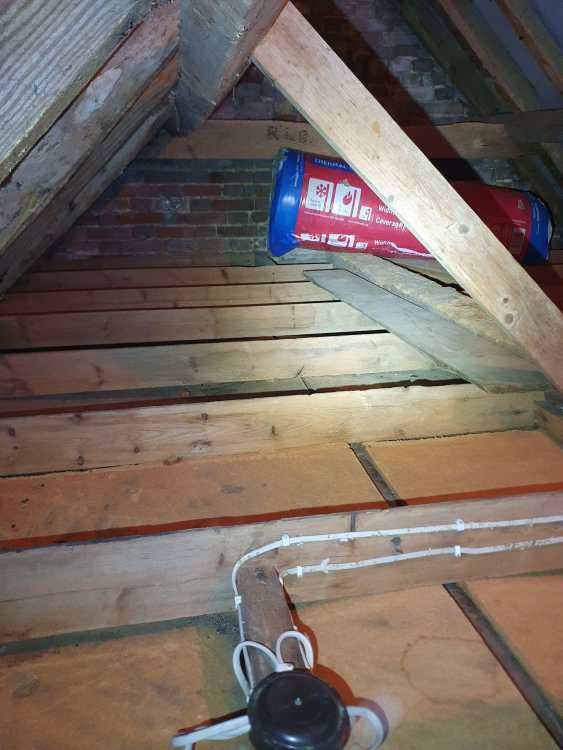
Some pics from when I cleaned things out.

-
What is this made of? Ceiling wood fibre board type stuff
paro replied to paro's topic in Building Materials
You've got me at it now. I've found somewhere I can send samples to for not very much. Doing that today -
What is this made of? Ceiling wood fibre board type stuff
paro replied to paro's topic in Building Materials
It never occured to me that it could contain asbestos. That's not a great thought given I spent a a few weekends up in the roof removing all the old glass fibre and mice. -
Hi All - I am trying to find our what the 1st floor ceiling is made of so I can look to replcace some of the boards that have broken down. Can anyone give me a steer on what this is? It's definetely some kind of wood fibre and is probaly 15ish mm thick. The entire 1st floor ceiling is made of it. I need to try and replace like for like because of the texture. I did put some plywood in as a quick fix but it looks terrible. Thanks, Paul

-
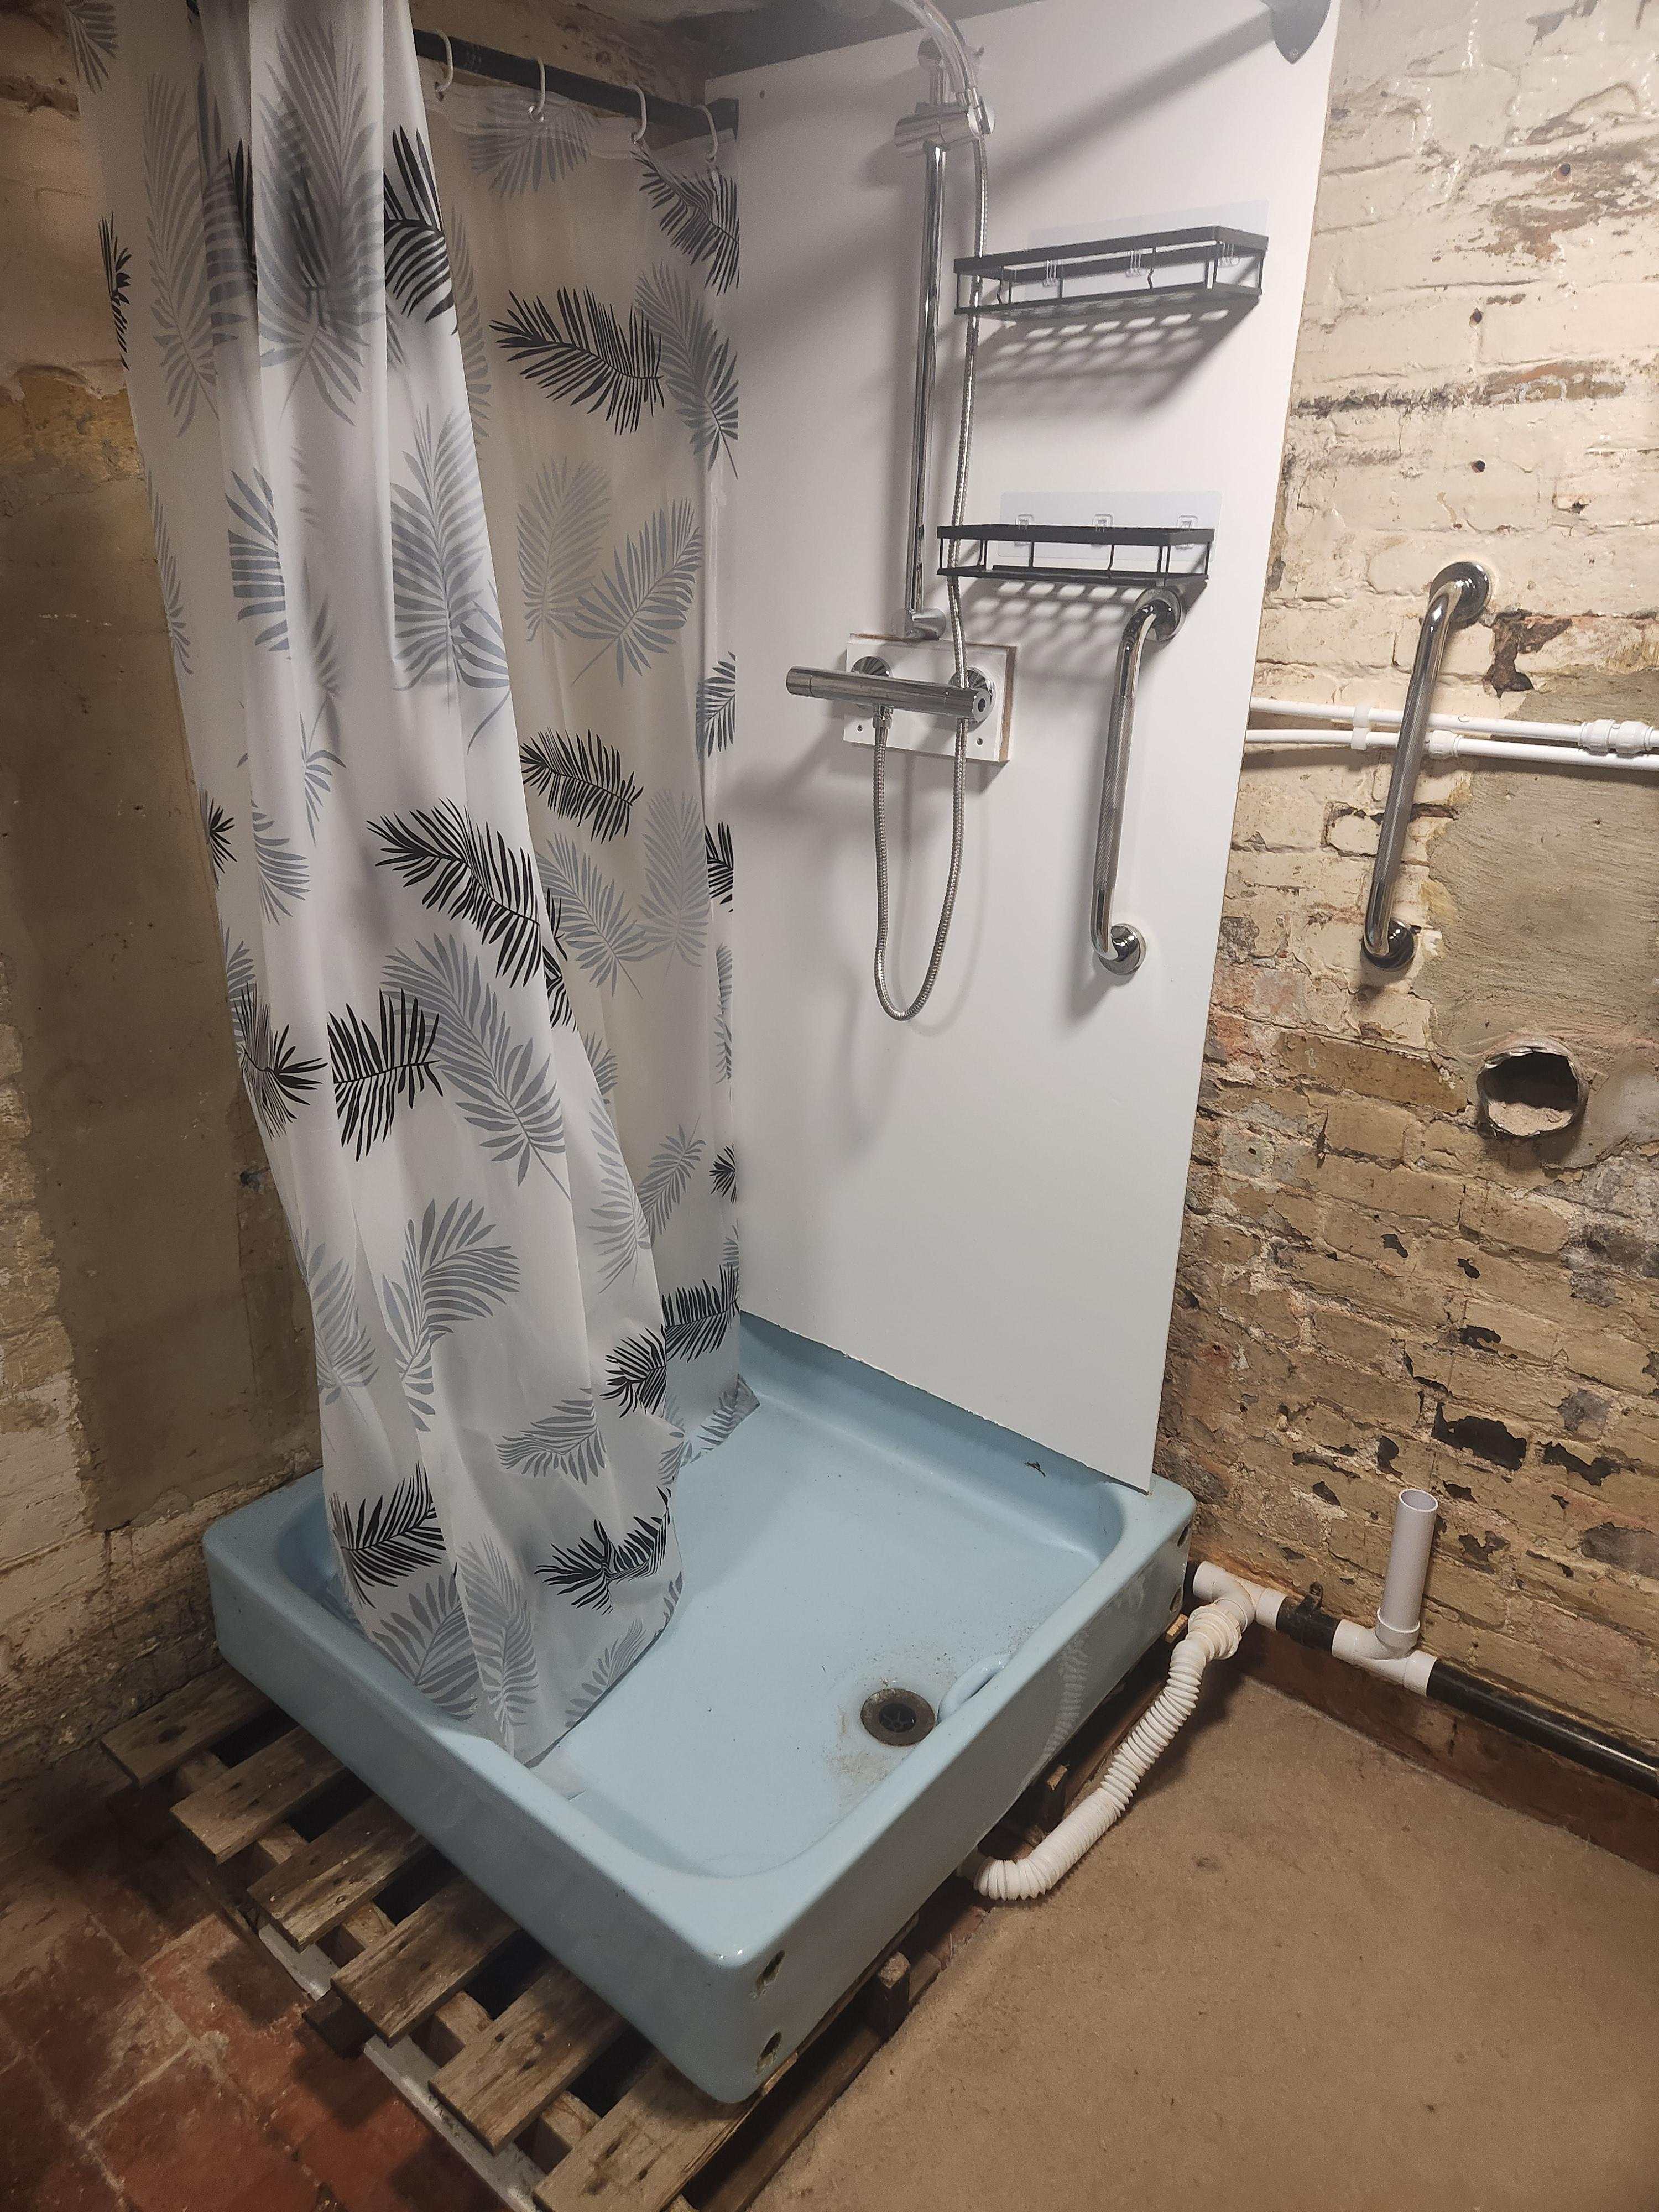
Takes me back to my childhood when curtains were the norm and a standalone shower was a luxury. The secret is to push the curtain out and glue it to the sides of the tray with water before you start and hope you haven't picked up too much static on route. I've been using it for the last couple of days to make sure it actually works and have found a nice side benefit in that the water pressure is much better. I tried this on with the fam but they are still insisting on going to the in-laws. Technically the top of the drain hole and the bottom of the waste pipe are the same height so whilst the flex remains full all the time it is still draining. It just needs to survive for a couple of months without anyone stepping on the flex. This is a big improvement over version 1 with a camping shower base which left 2" of water in the bottom. I just wished I'd checked what it was made of before going to collect. Stupidly assumed some kind of fibre glass but not it was about 120kg of porcelain.
-
Repairing or replacing old floorboards to remove bounce
paro replied to paro's topic in General Flooring
I've got 18mm birch ply and some marine the same thickness. This is stronger than structural ply no? I've also got some left over T&G OSB but not sure that is as good as the ply. I've got ring shank nails left over as well but was going to screw down so it can come up again in the future given the electrics running through. -
Repairing or replacing old floorboards to remove bounce
paro replied to paro's topic in General Flooring
Thanks. I do appreciate that it's very old and am trying to do an honest job in restoring things as best as is reasonable. I'll try the ply approach first. I have a some sheets left over from an over order last year, failing that I'll search out some new boards. I don't think this is an issue, with the exception of the one beam they all seem to be doing pretty well. When I bought the property I did pay a bunch of money for a 'proper' inspection just because I knew it was a lot to take on. None of this was flagged. That said the whole report was a bunch of non-committal mealy mouth weasel words that gave me nothing substantive at all. -
Repairing or replacing old floorboards to remove bounce
paro replied to paro's topic in General Flooring
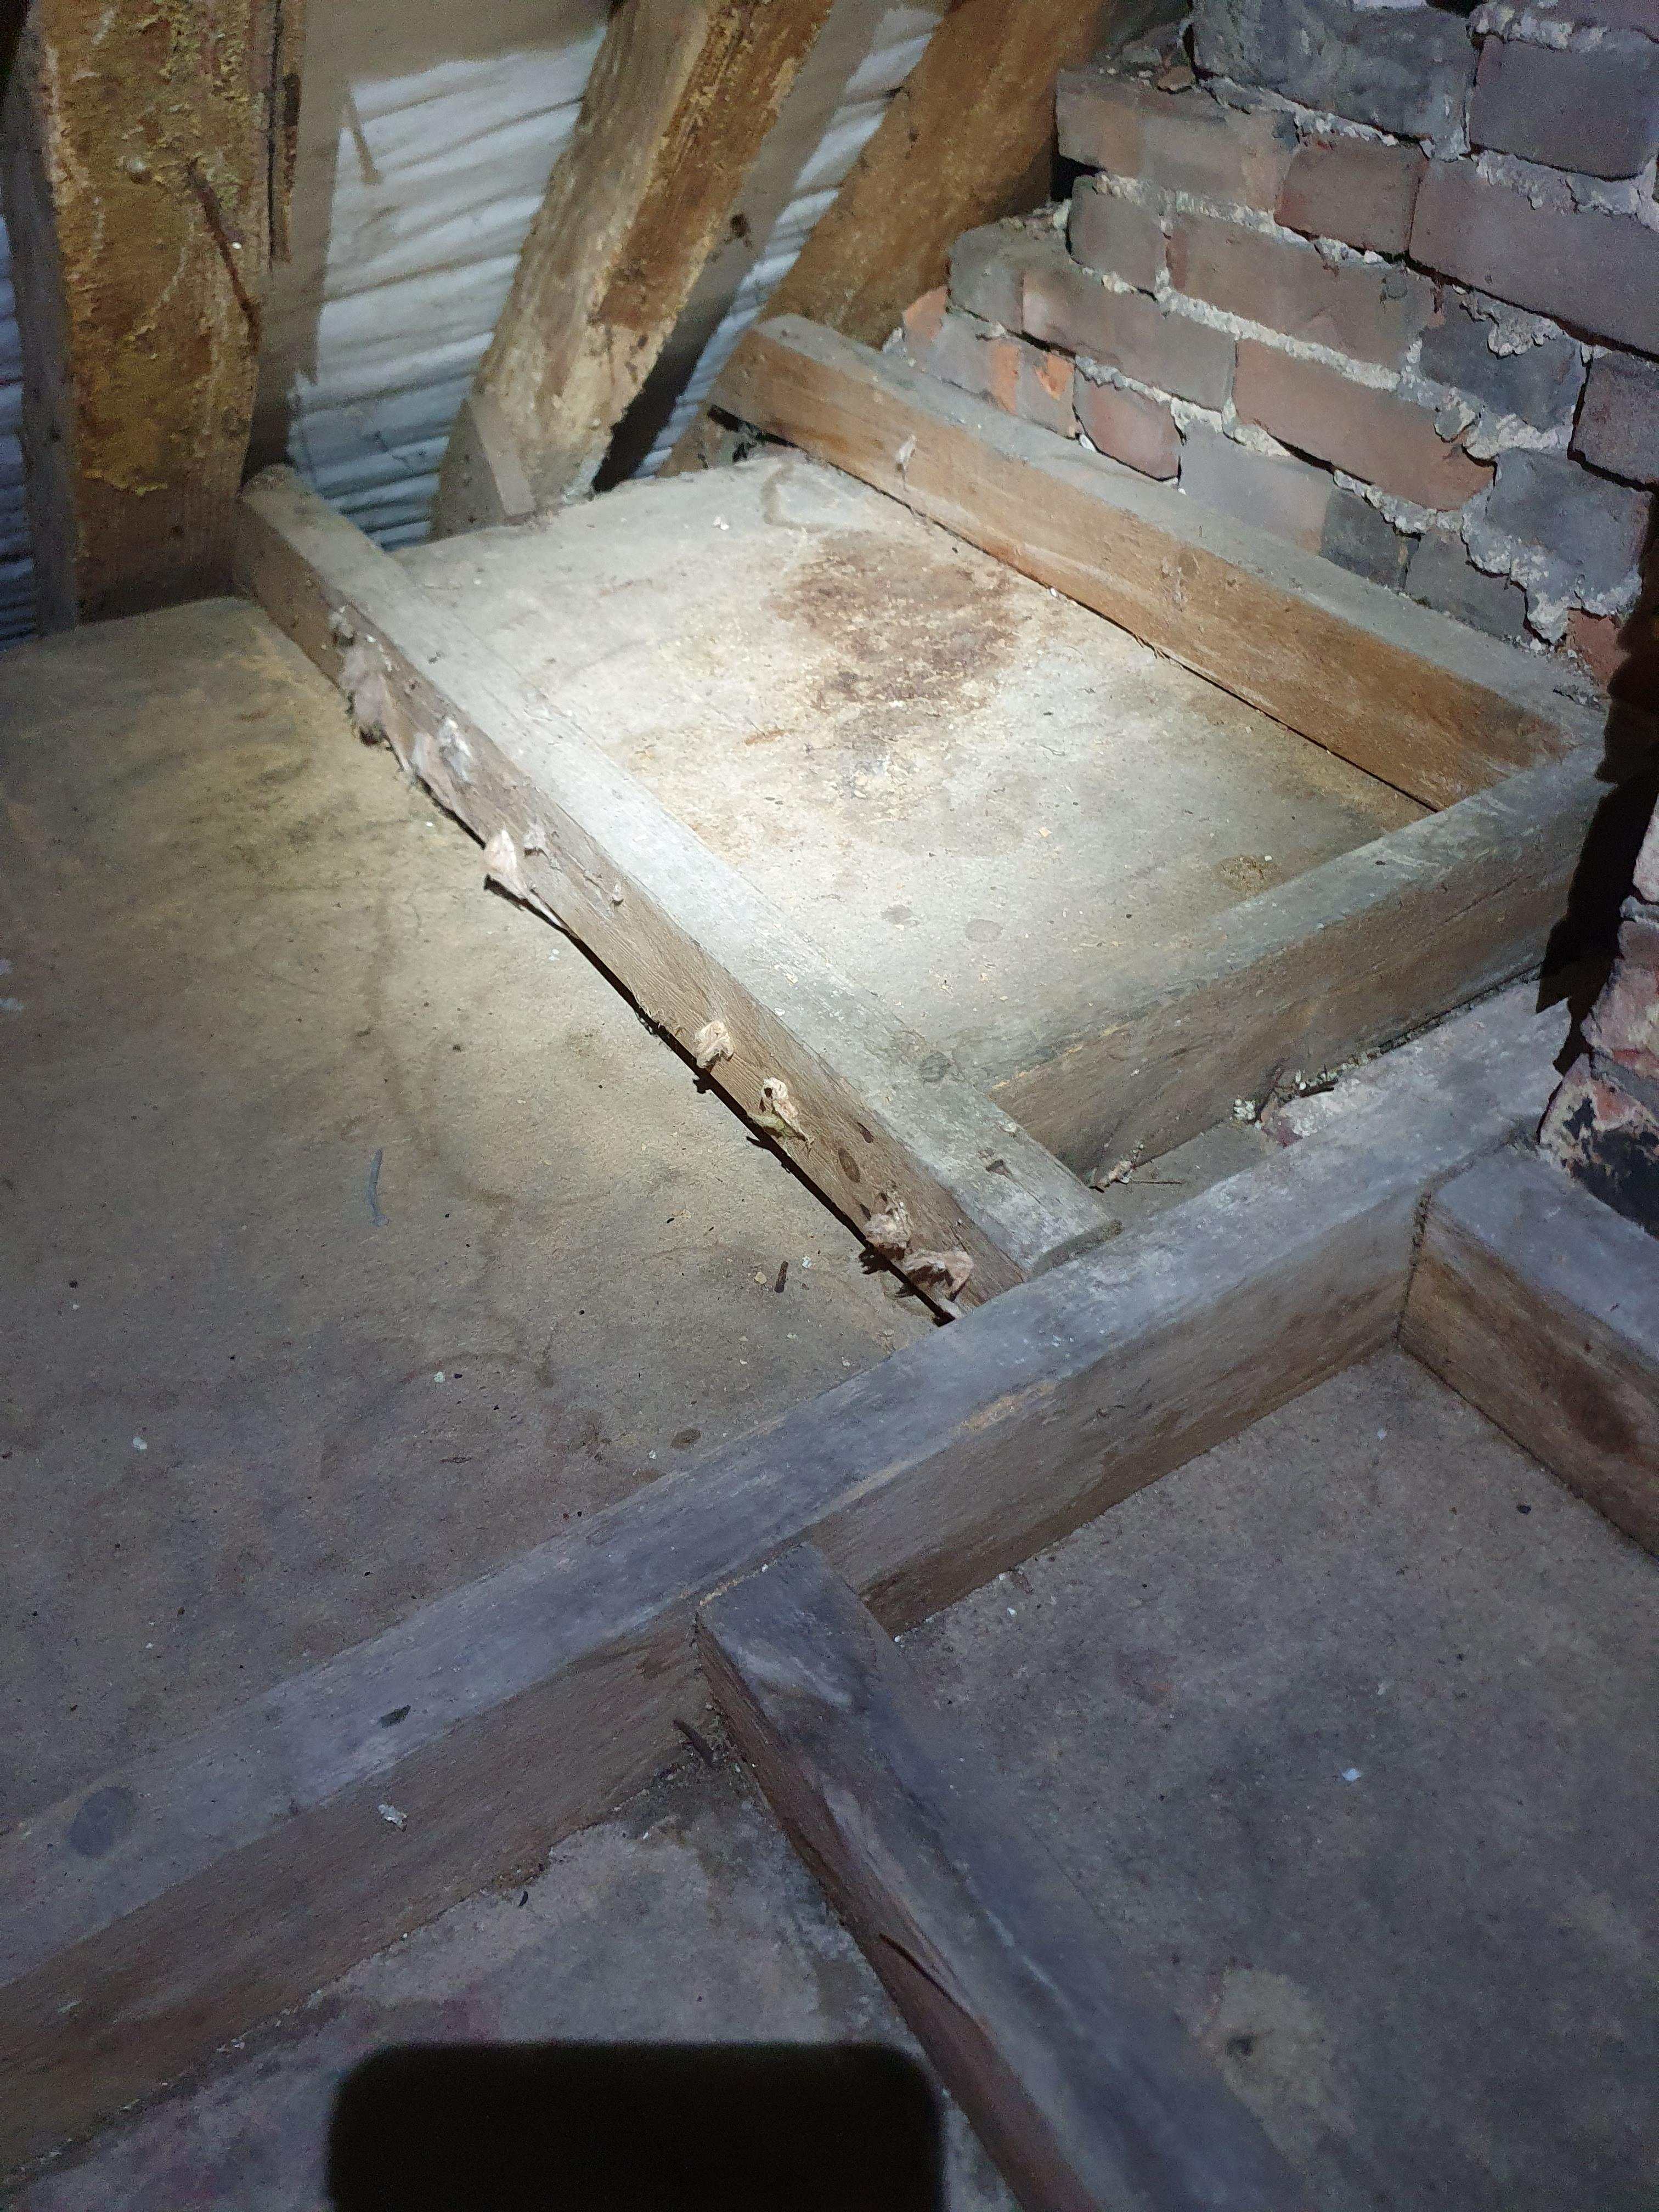
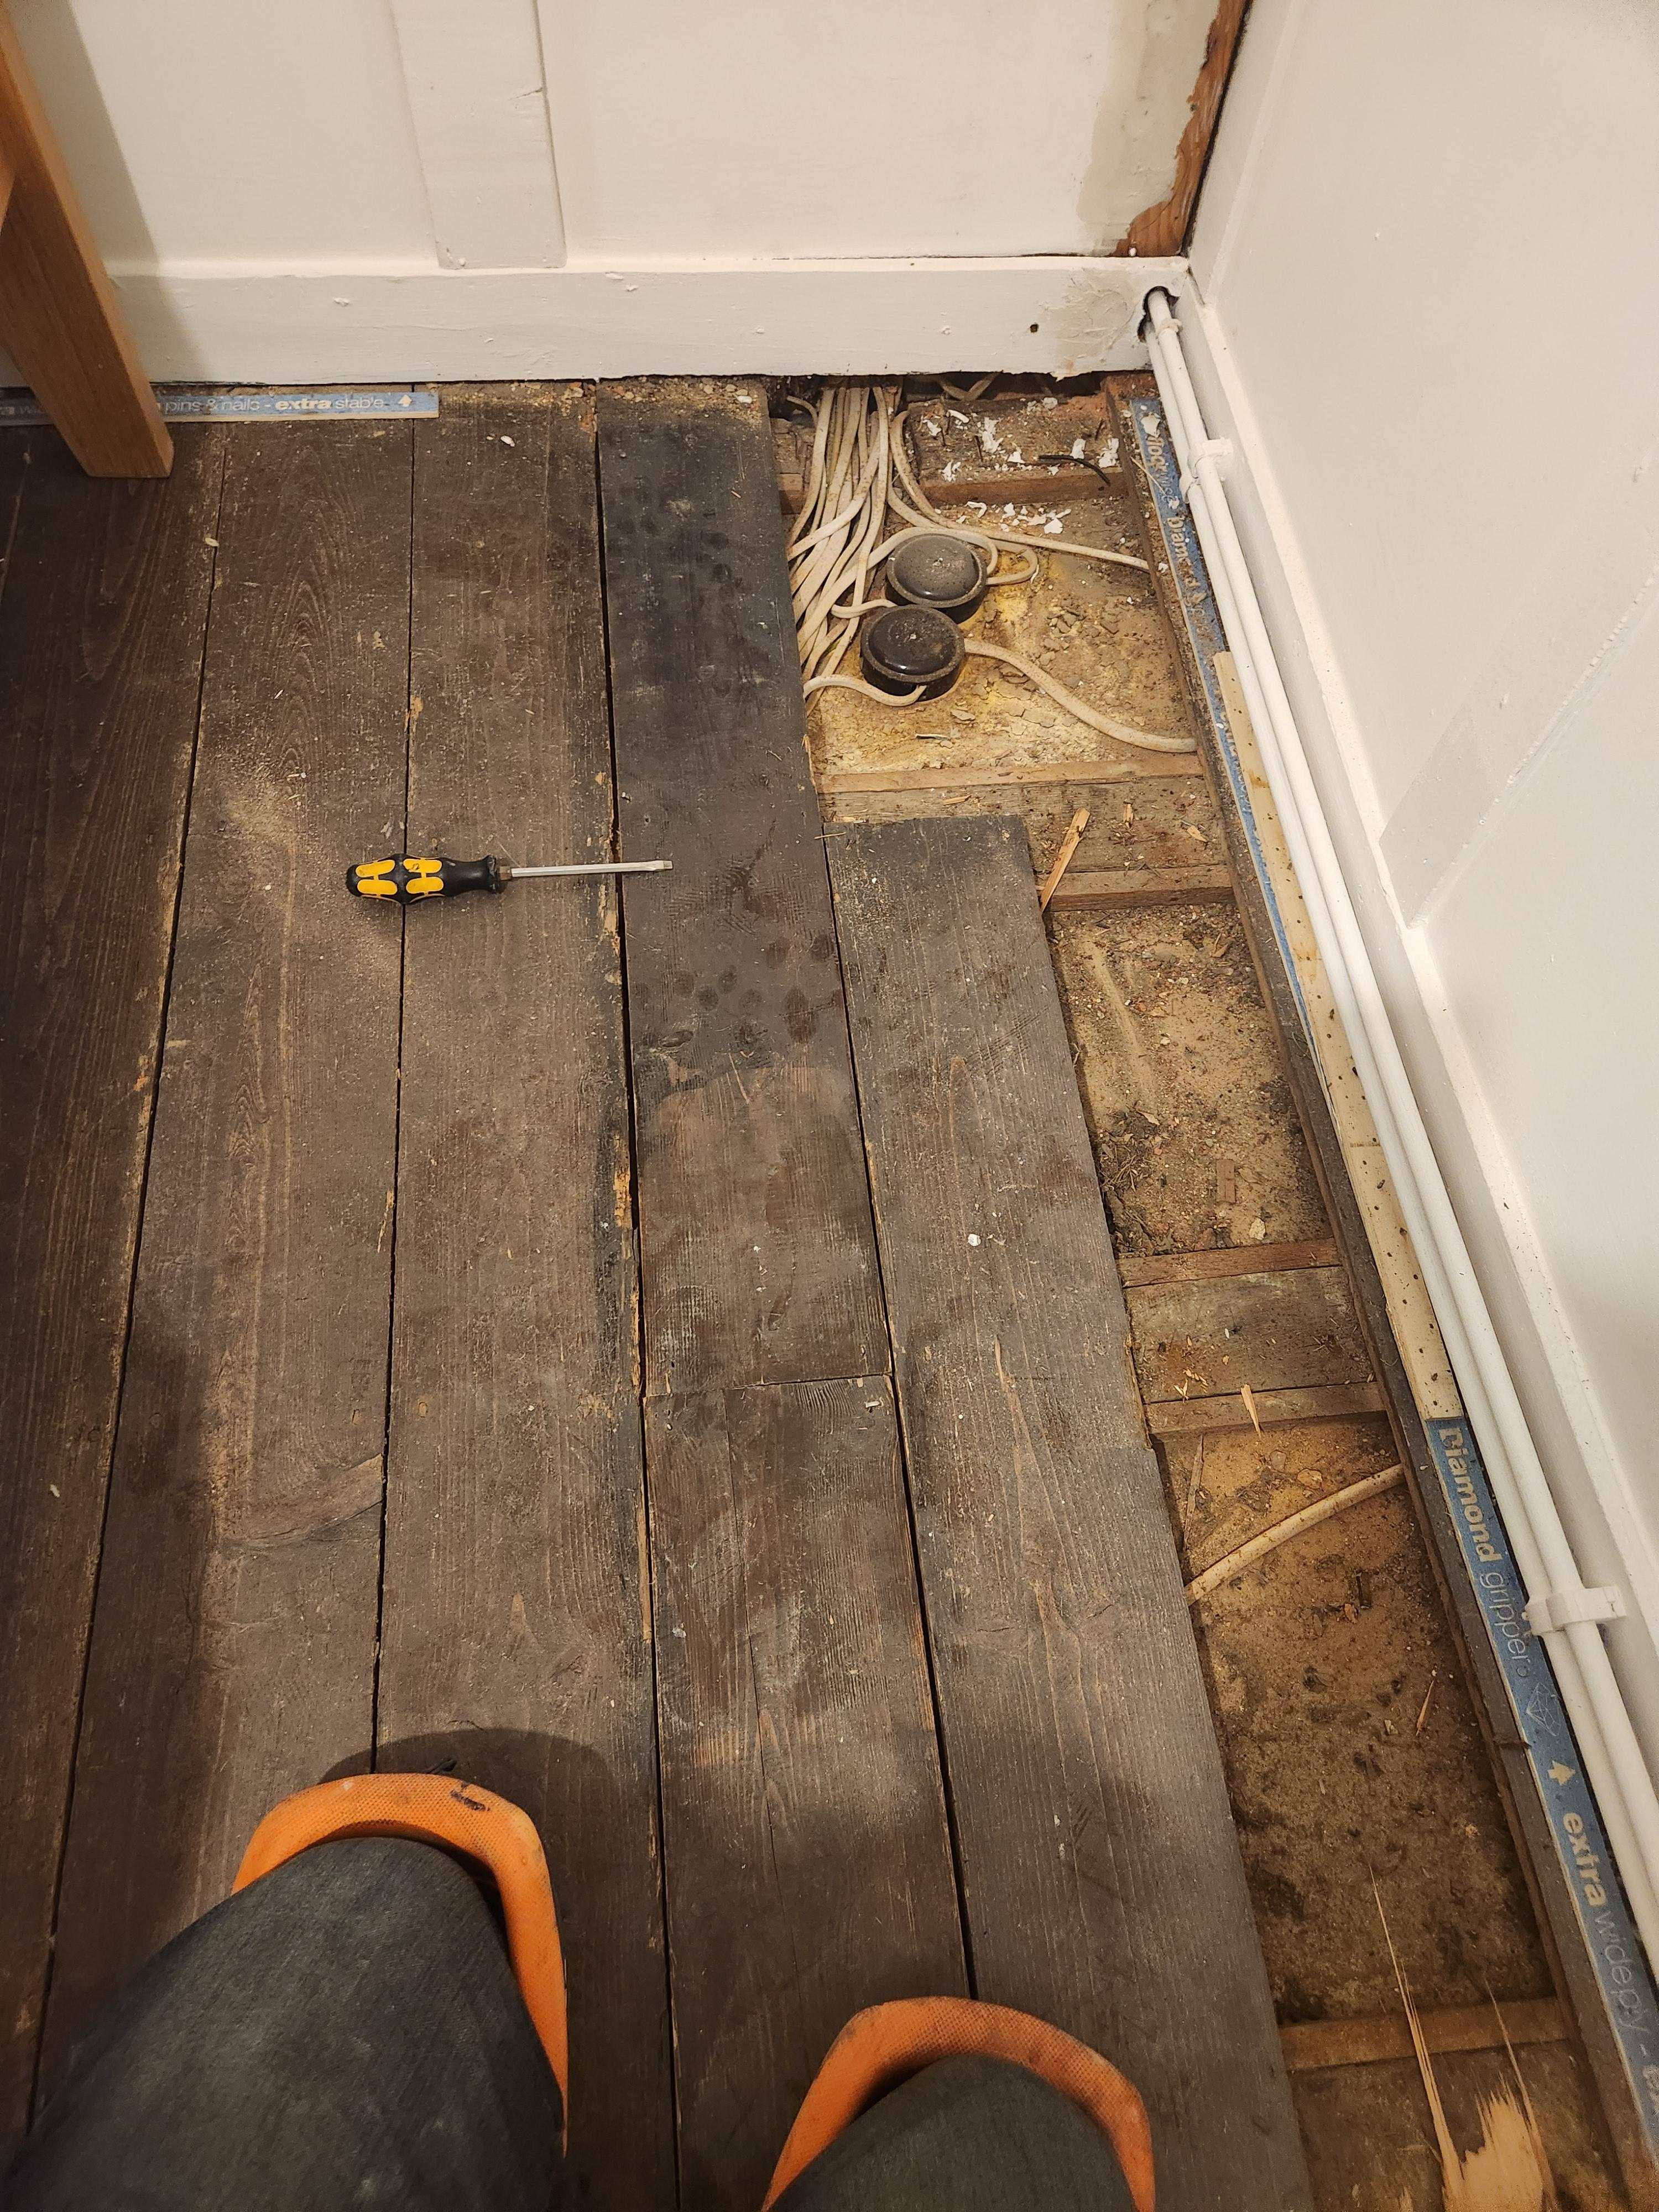
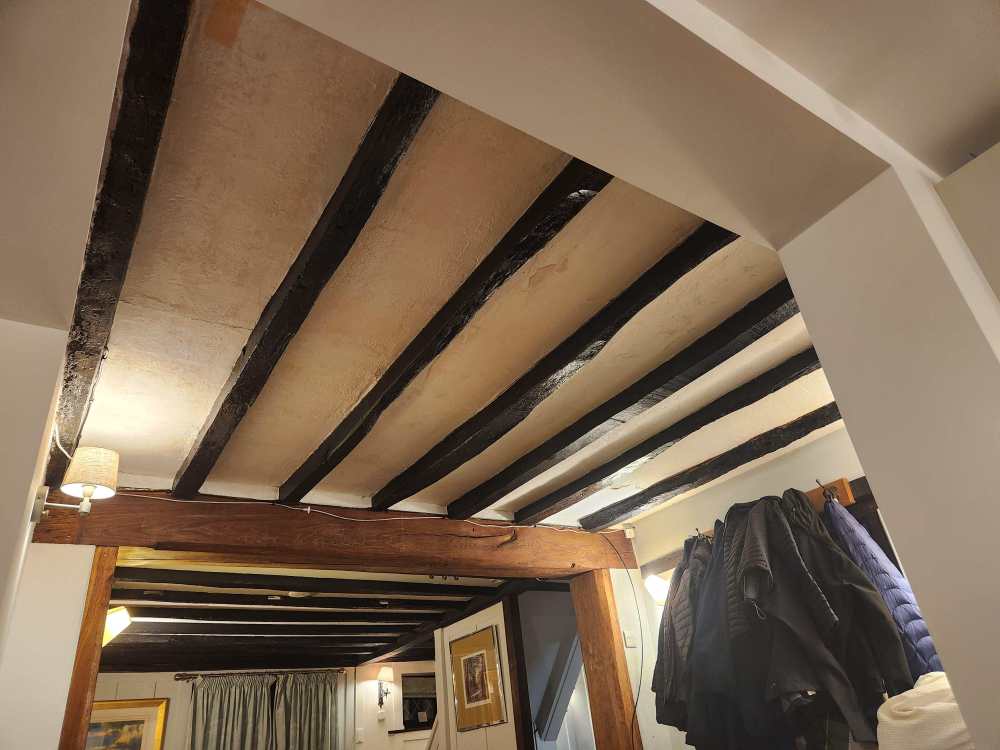
I've been treating everything for woodworm and rot as I've been going round. One of the joists in the far corner is not in great shape and I don't think I'd want to jump up and down on it. Replacing the joists is a non starter though I think. If I try to touch them I will need to get BC involved and pretty sure I won't be able to replace like for like which means I'm either raising the floor or lowering the ceiling. Neither of which I want to go near. Worse case I can just go round and refasten the existing boards. I just wanted to see if replacing with ply would make a better job in terms of the flex / movement. How about some extra dense heavy duty underlay as a half way. There must be something out there with a lot of mass designed to help absorb and spread the impact. -- Mass loaded vinly was what I am thinking of. -
Repairing or replacing old floorboards to remove bounce
paro replied to paro's topic in General Flooring
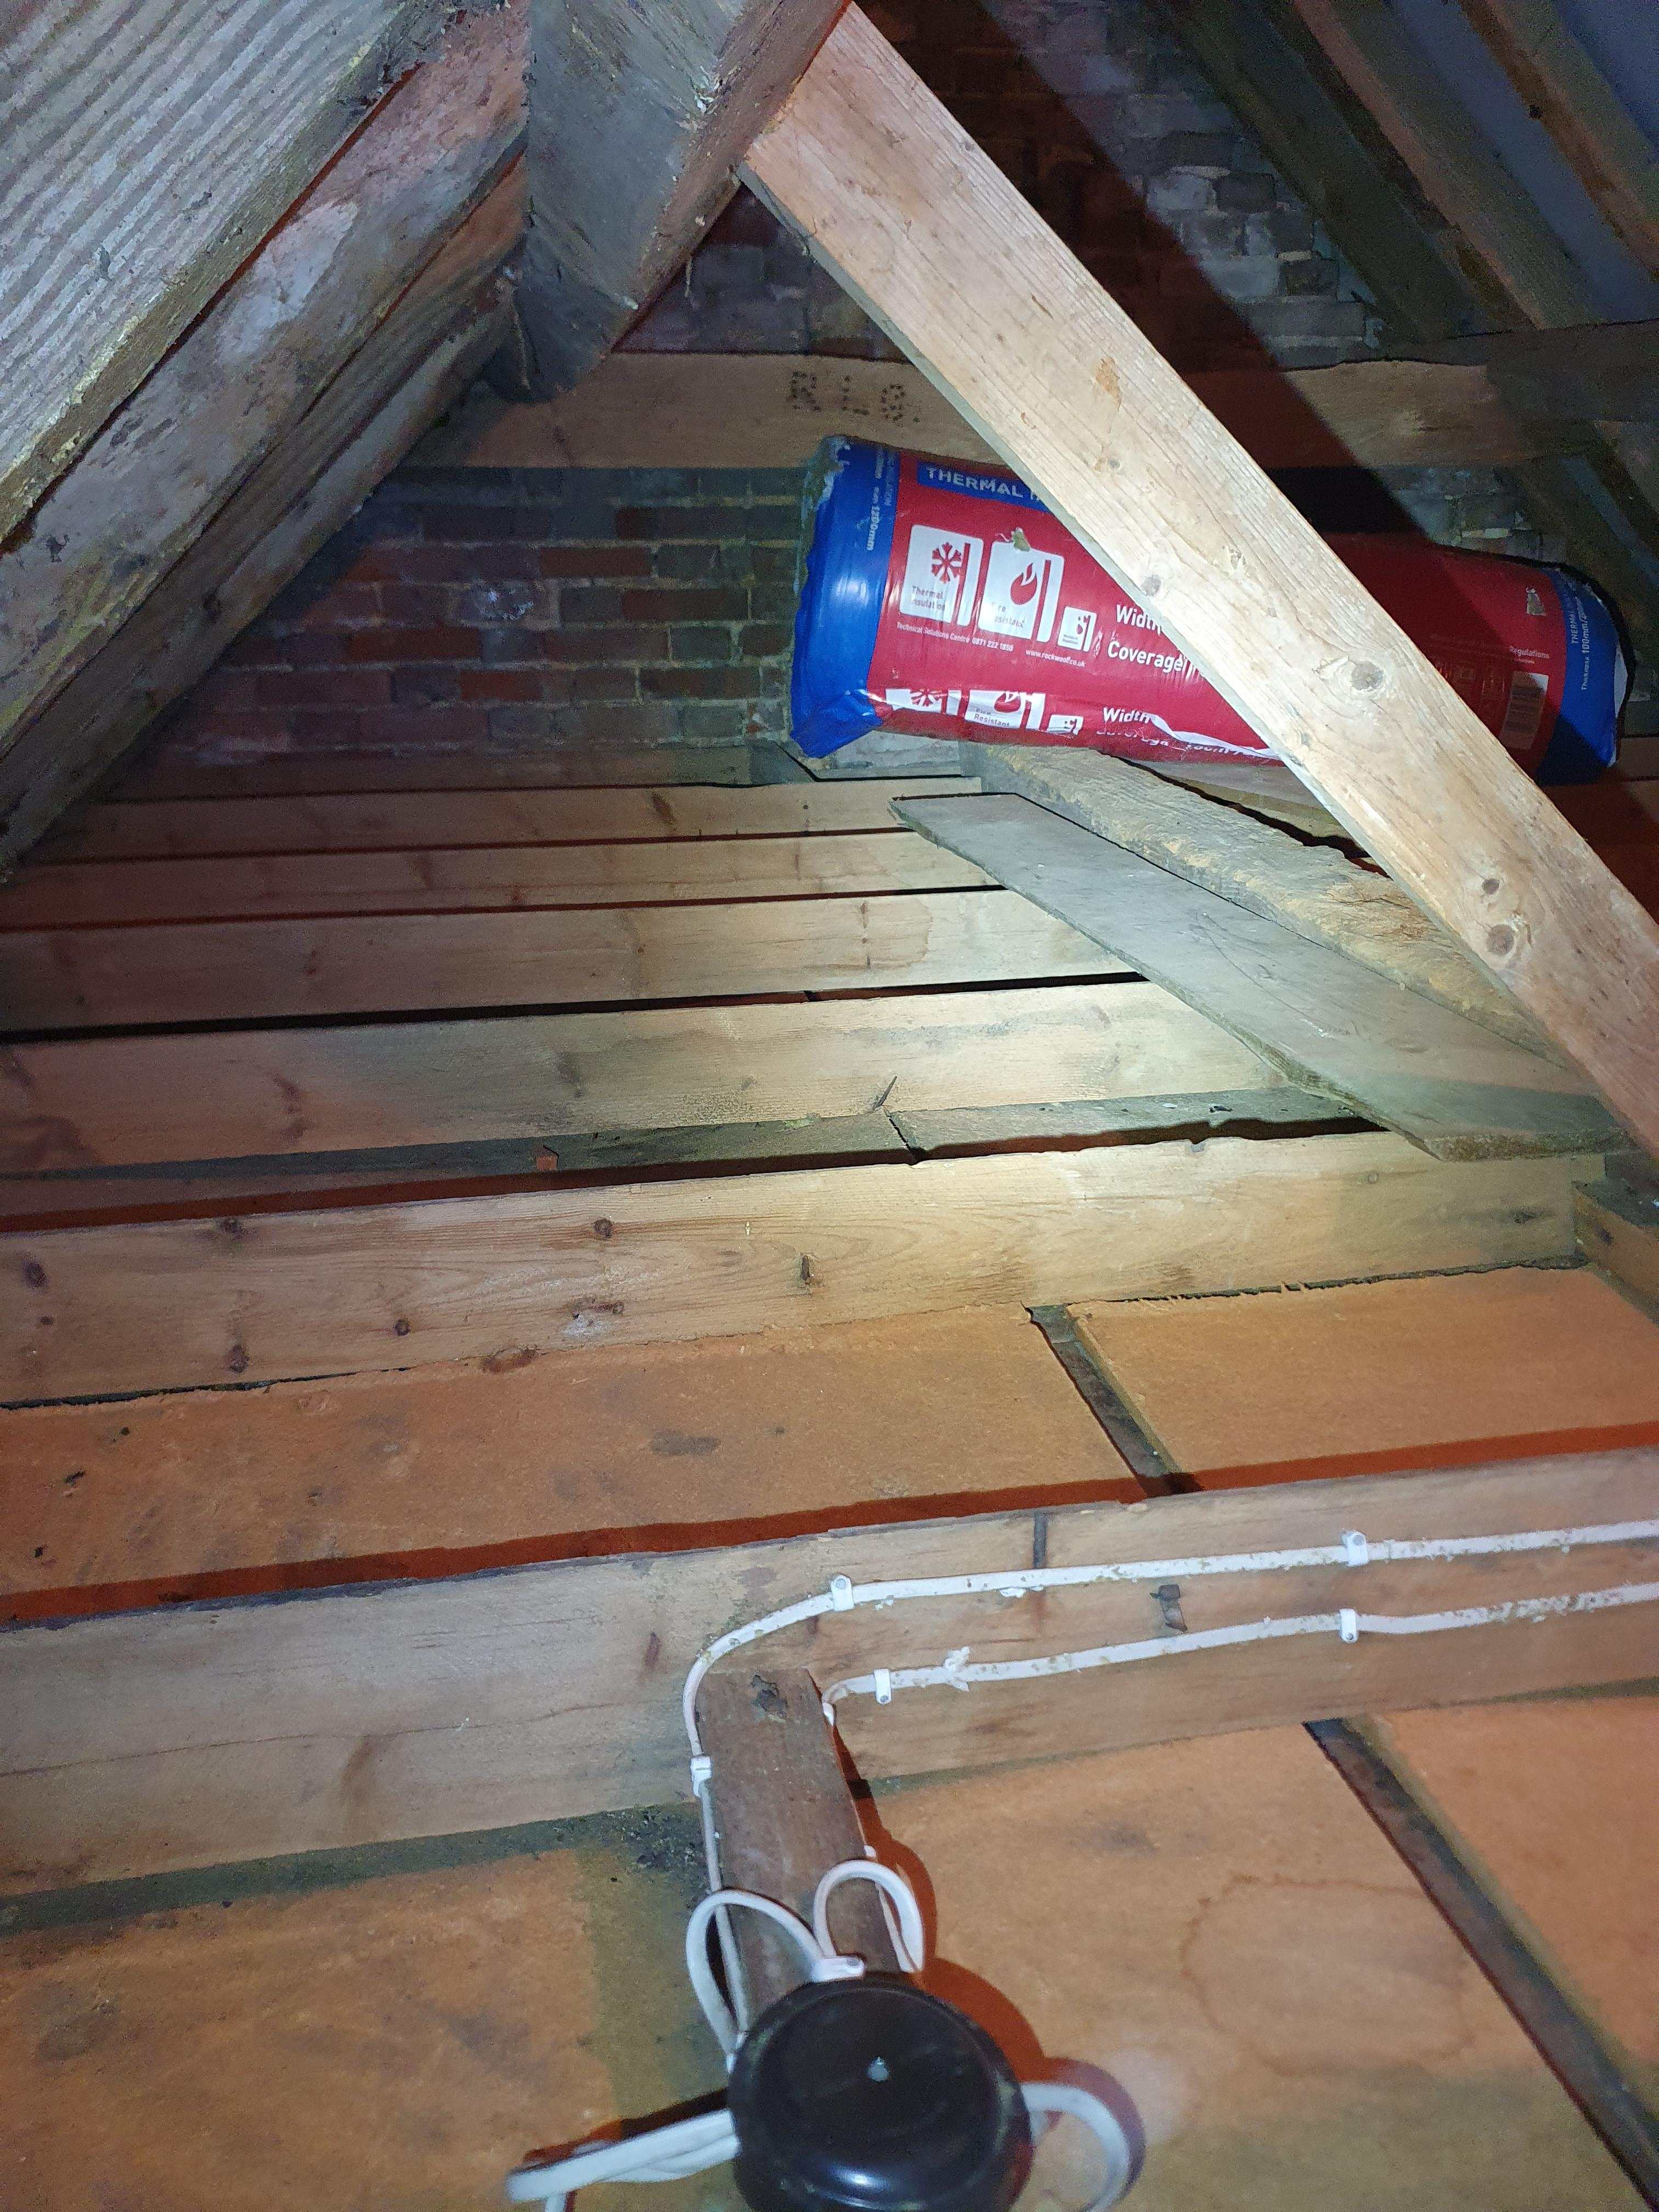
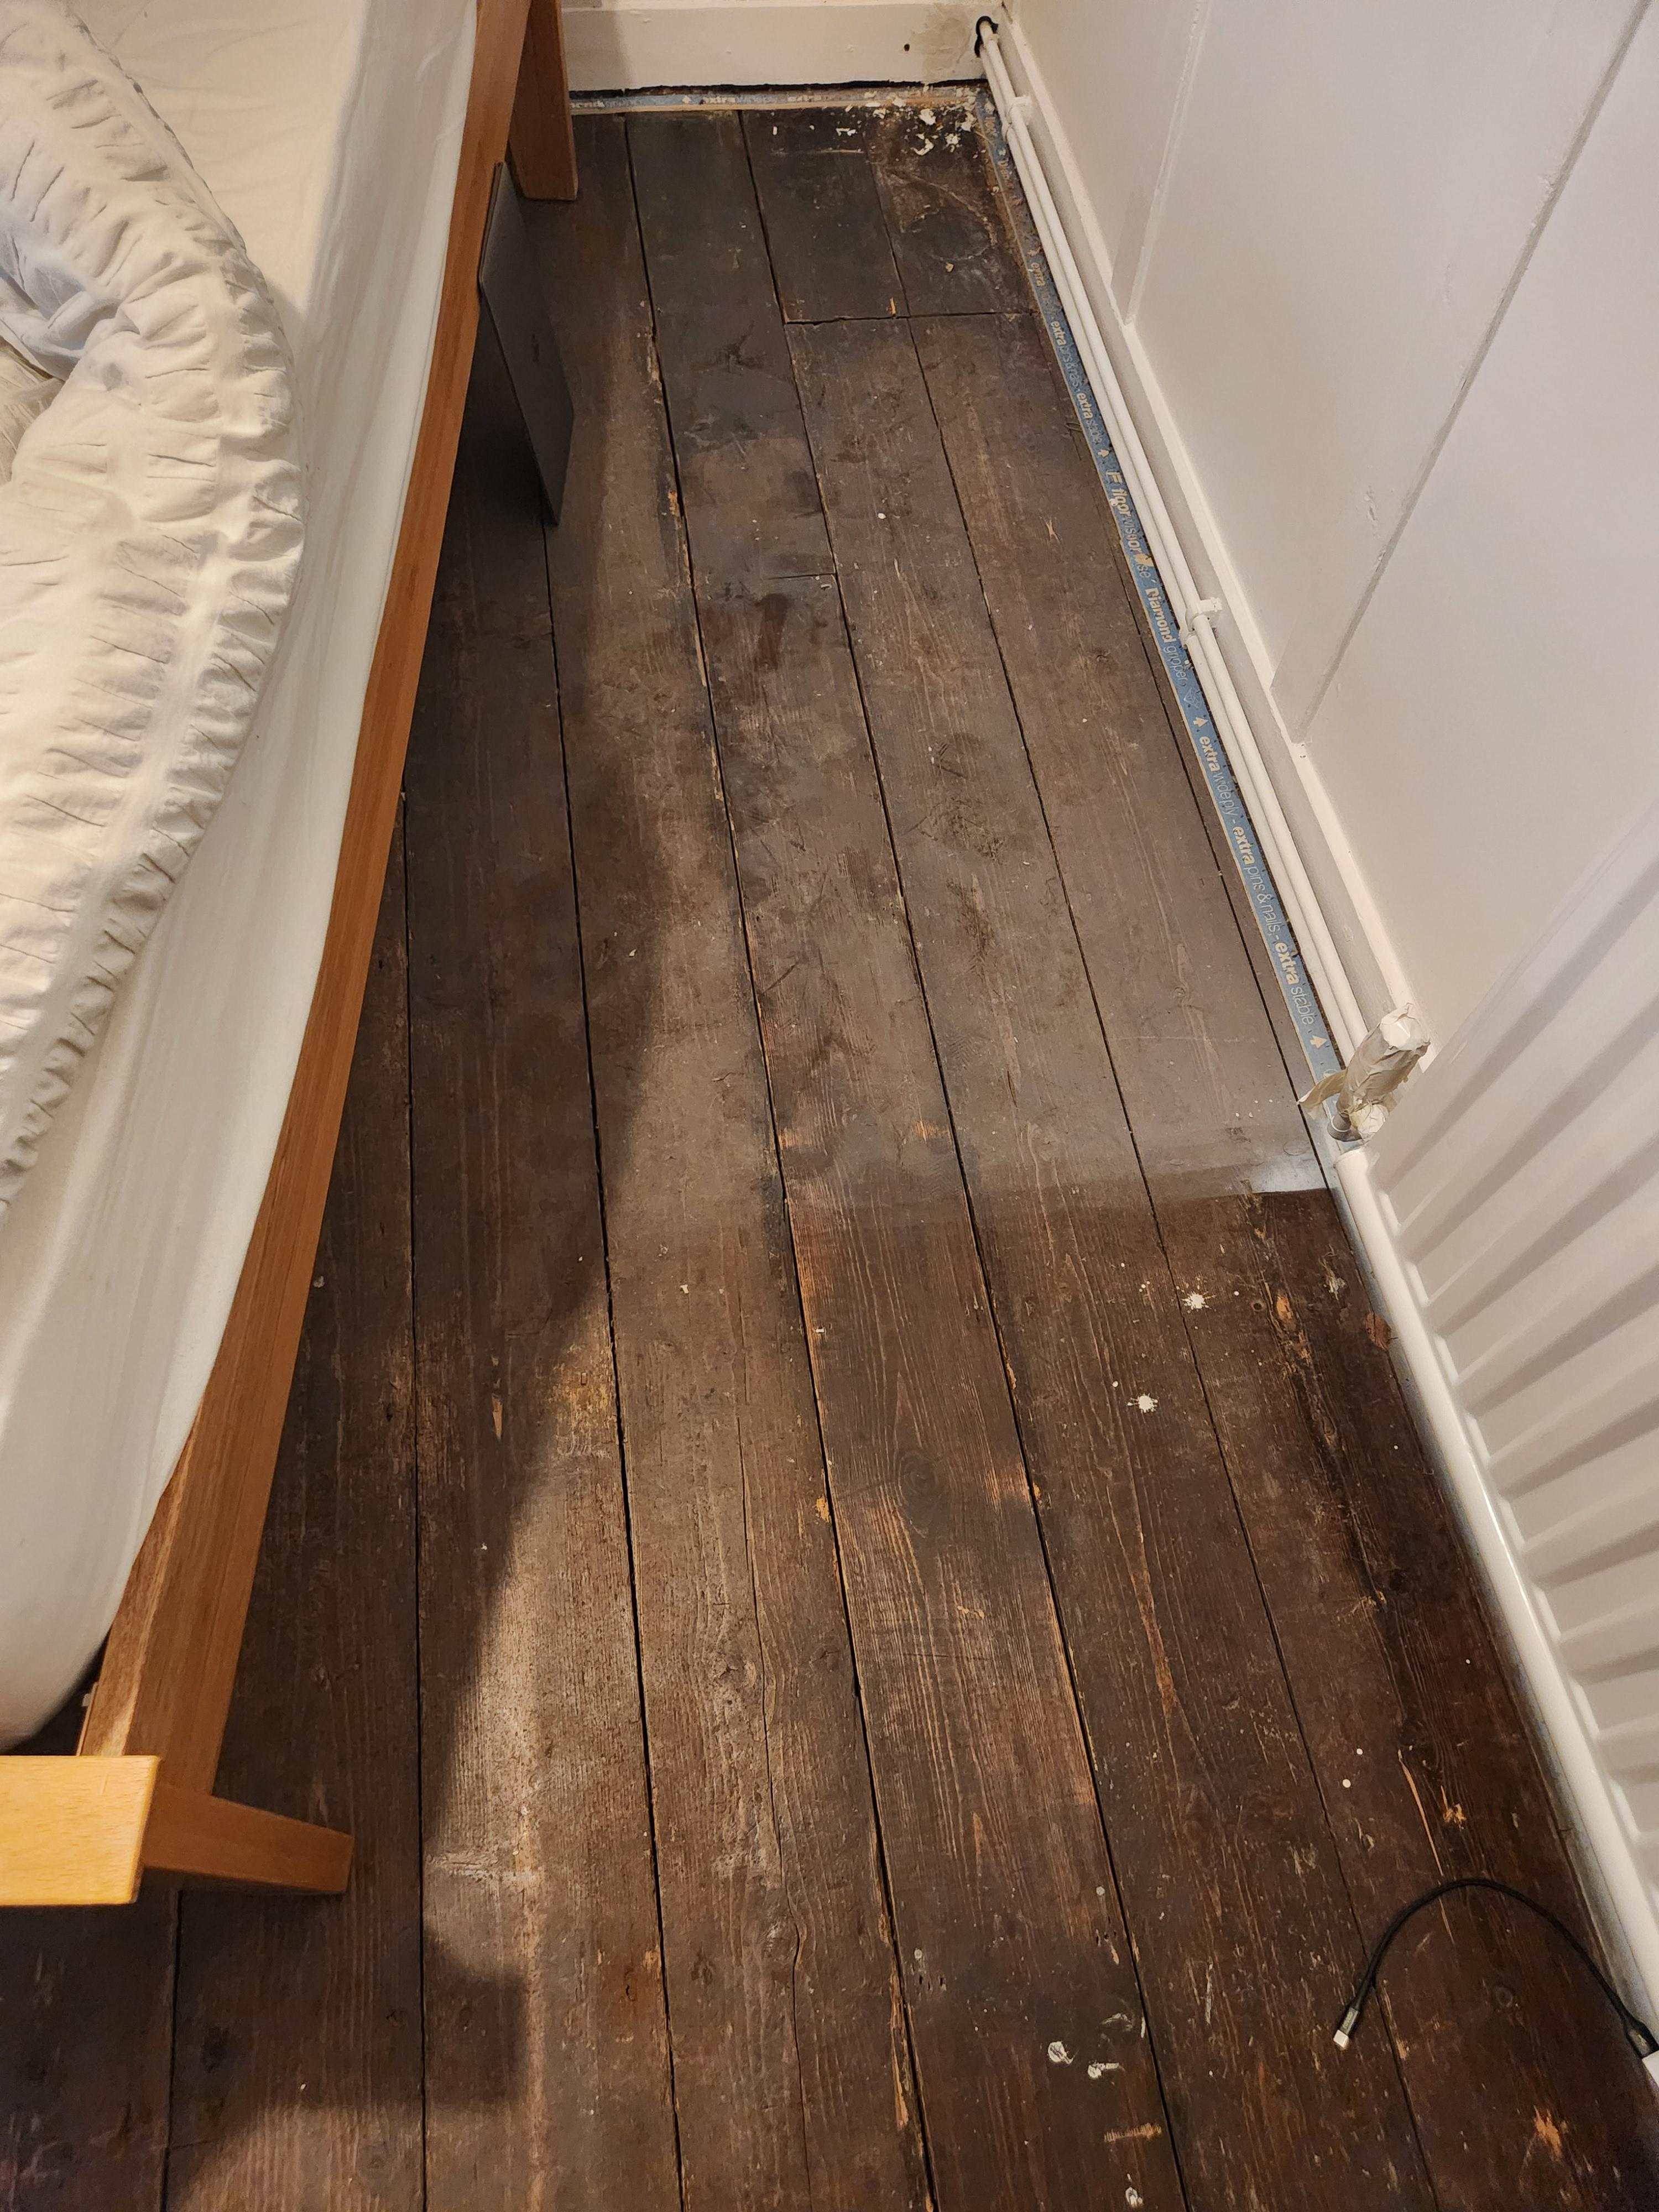
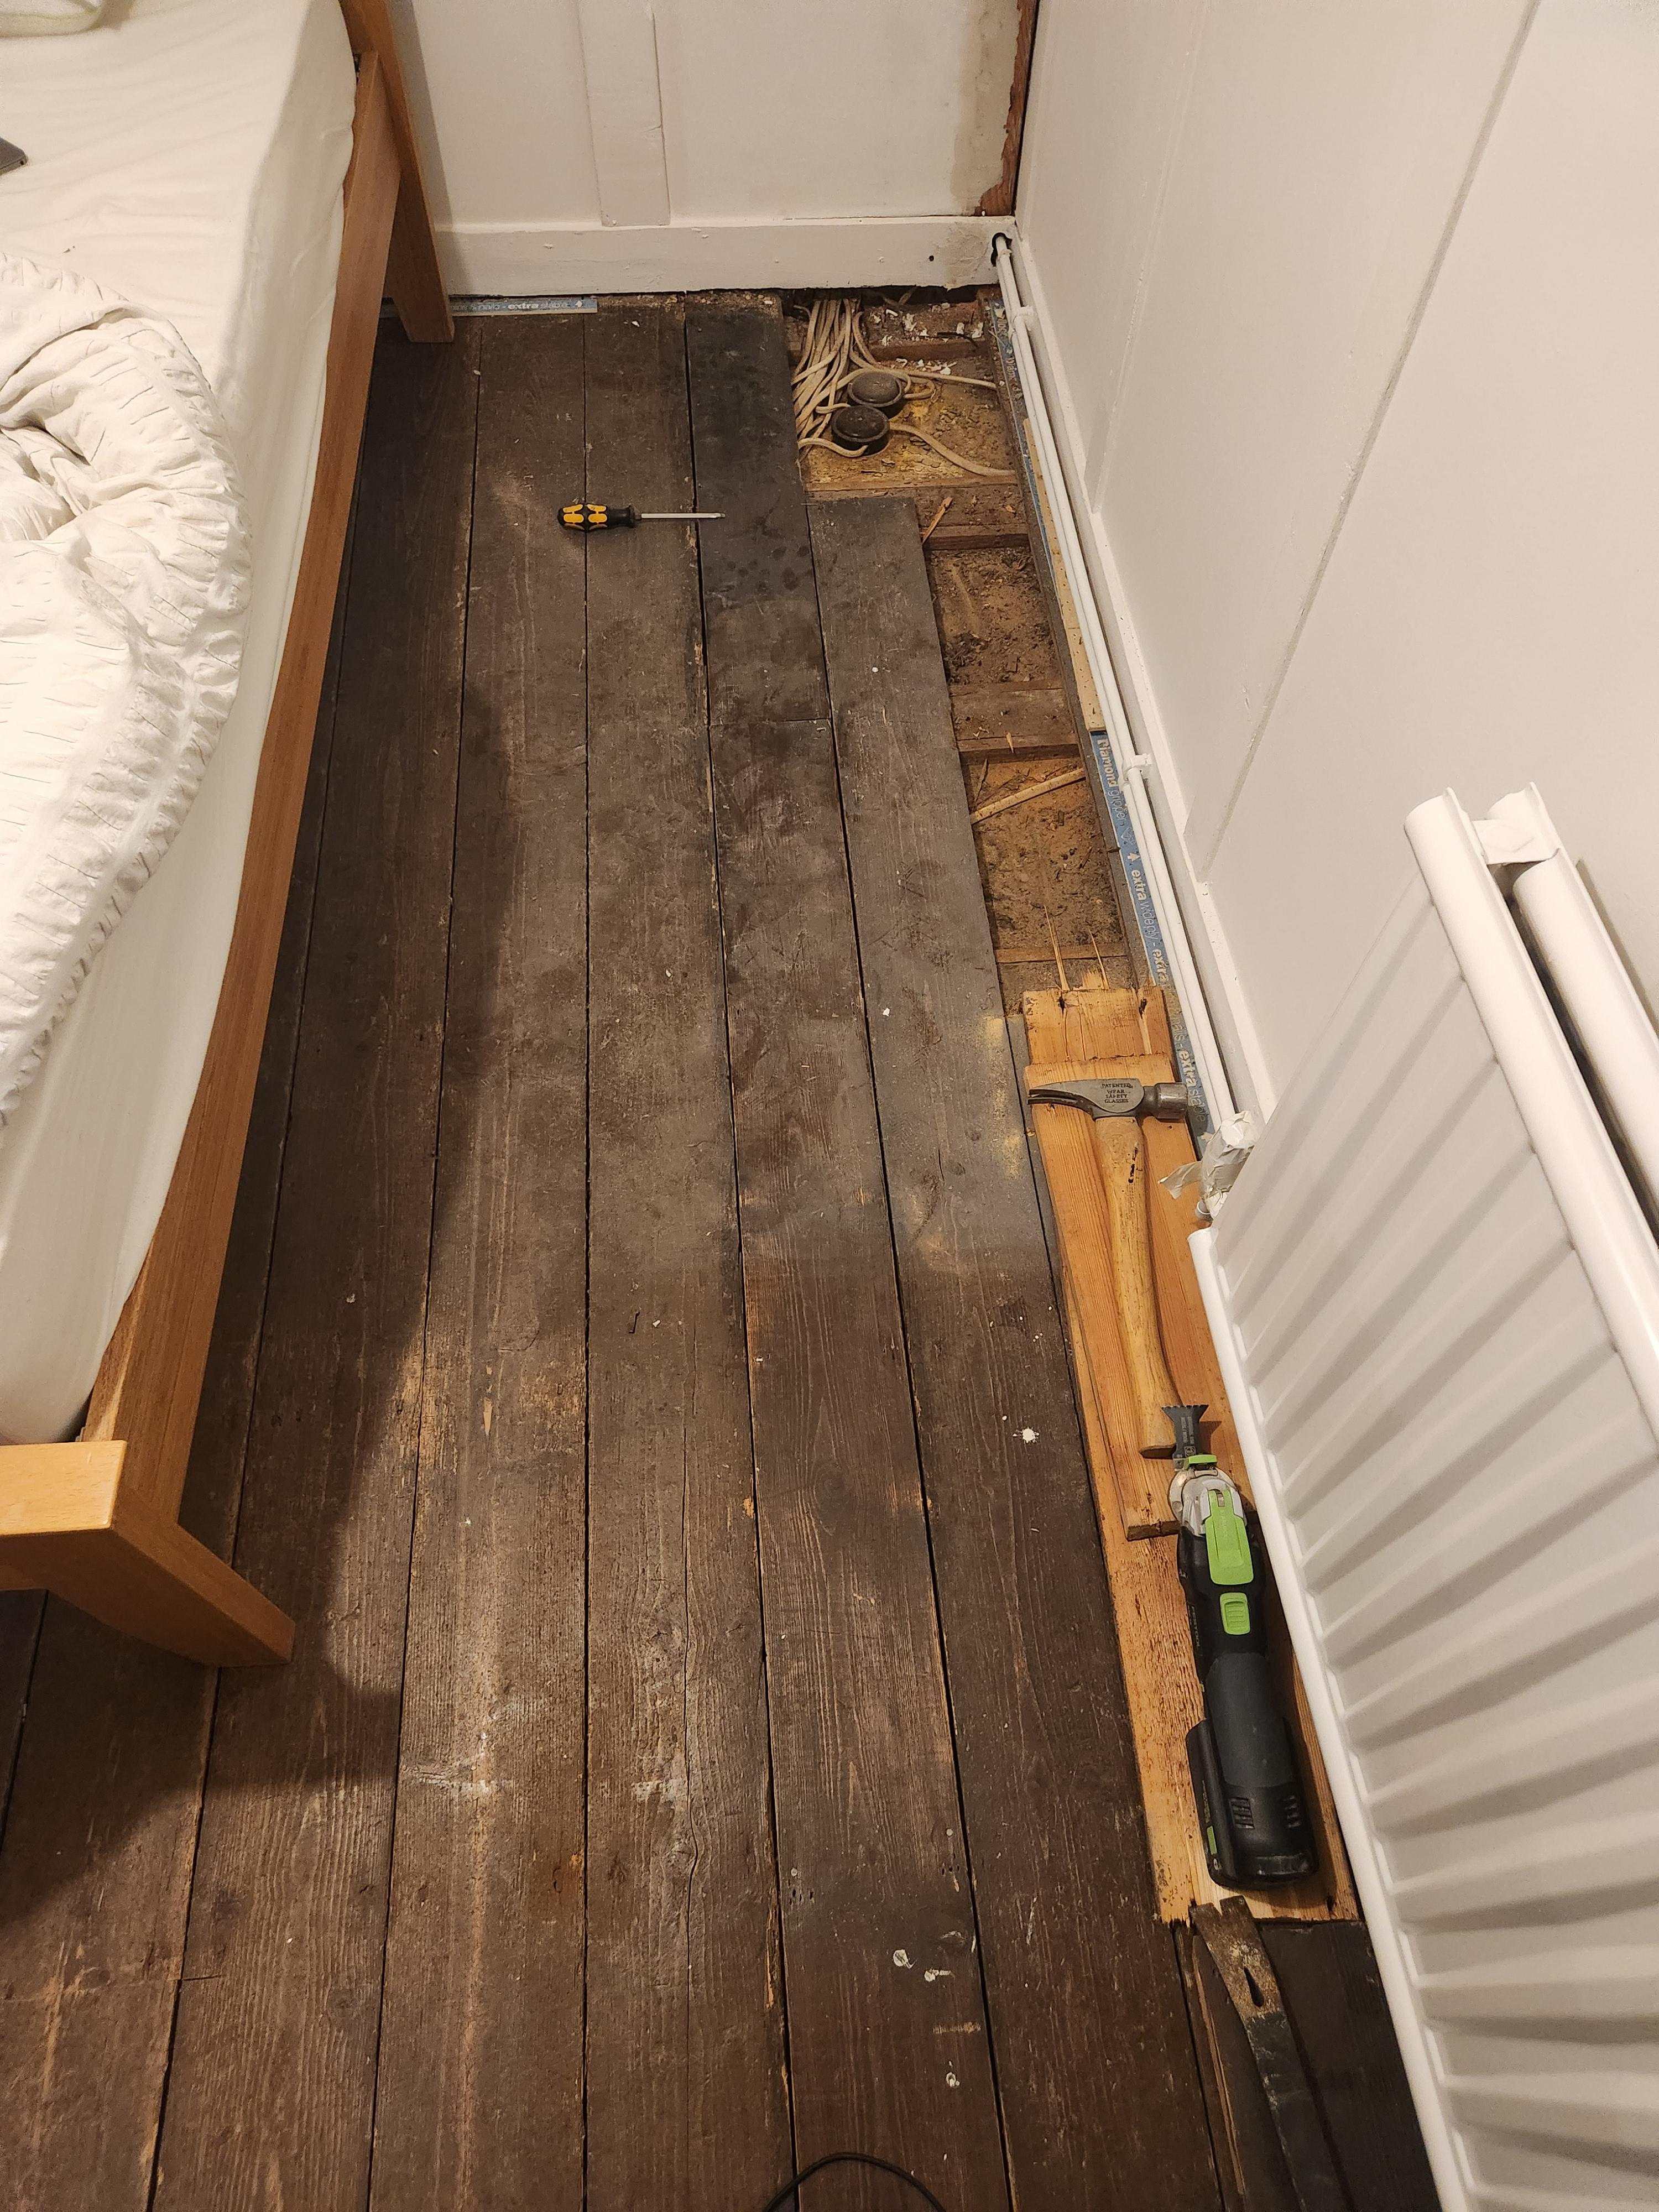
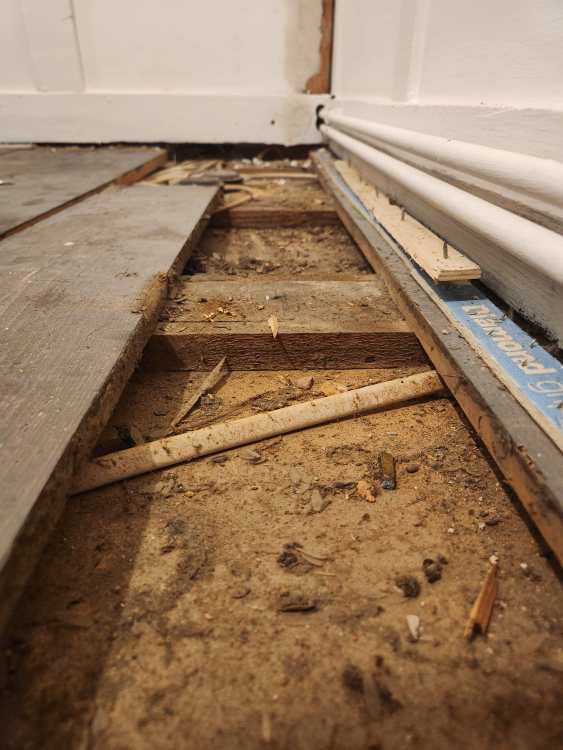
I should have given more info. So supporting joists (oak) are circa 18" apart. Looks like unlike the other room that I decorated a couple of years ago this floor has a differnt construction. Room is approx 3m x 2.5m. The floorboards are laying directly onto the beams shown. The floor has always had a lot of flex/movement. Not in a concenred its not safe way, just more comfort and noise. I think it's a combination of the deflection in the boards and them moving around because they are not as secured to the joists as they once would have been. There are a few damaged ones as well which I am guessing is due to them being lifted over the years for plumbing and eletrcial works which are running through the room. There is no noticeable extra deflection in the middle. I suspect its always been a bit bouncy since that part of the building is going to be a couple of hundred years old at least.


-
Hi All - I am starting to fix up the inside of the old cottage now, nothing too heavy really just sanding painting and carpets really. That said the floors upstairs are in poor shape and was looking at ways to take out some of the flex in them. The first floor sits on top of a mix of flooring (all timber) with the weight bearing on some very old oak beams (probably original given the state of them). The top layer of this hodgepodge of timbers are some newer looking regular looking floor boards. The issue I have is these either have to be replaced or repaired and I'm not sure repair is an option. My current thinking is to rip them out and replace with some 18 or 25mm ply in the hopes that load would be spread out and reduce the flex but having never done this I am not sure what the best way to go is. Thanks, Paul
-
To close this off thought I'd share the frankensteins monster that is my new shower for the next couple of months. Just hoping my custom non standard waste has enough silicone rammed in to stop it leaking.

-
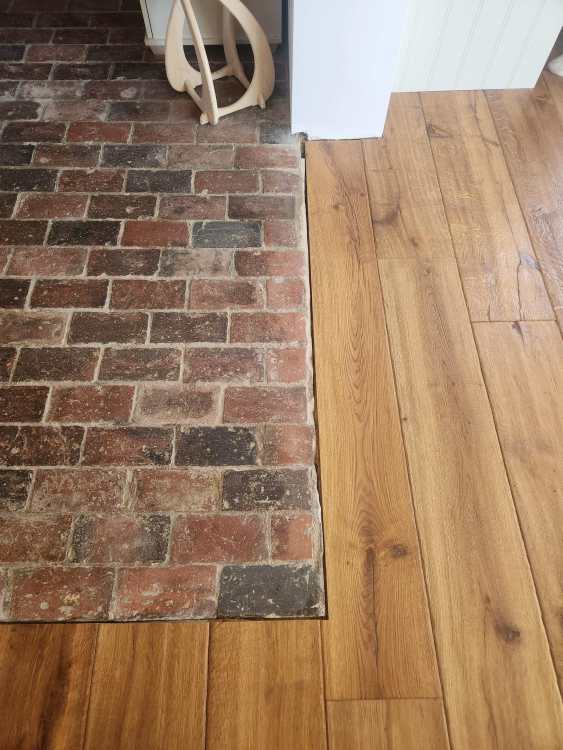
Expansion gap cover between old brick and engineered wood
paro replied to paro's topic in Wood & Laminate Flooring
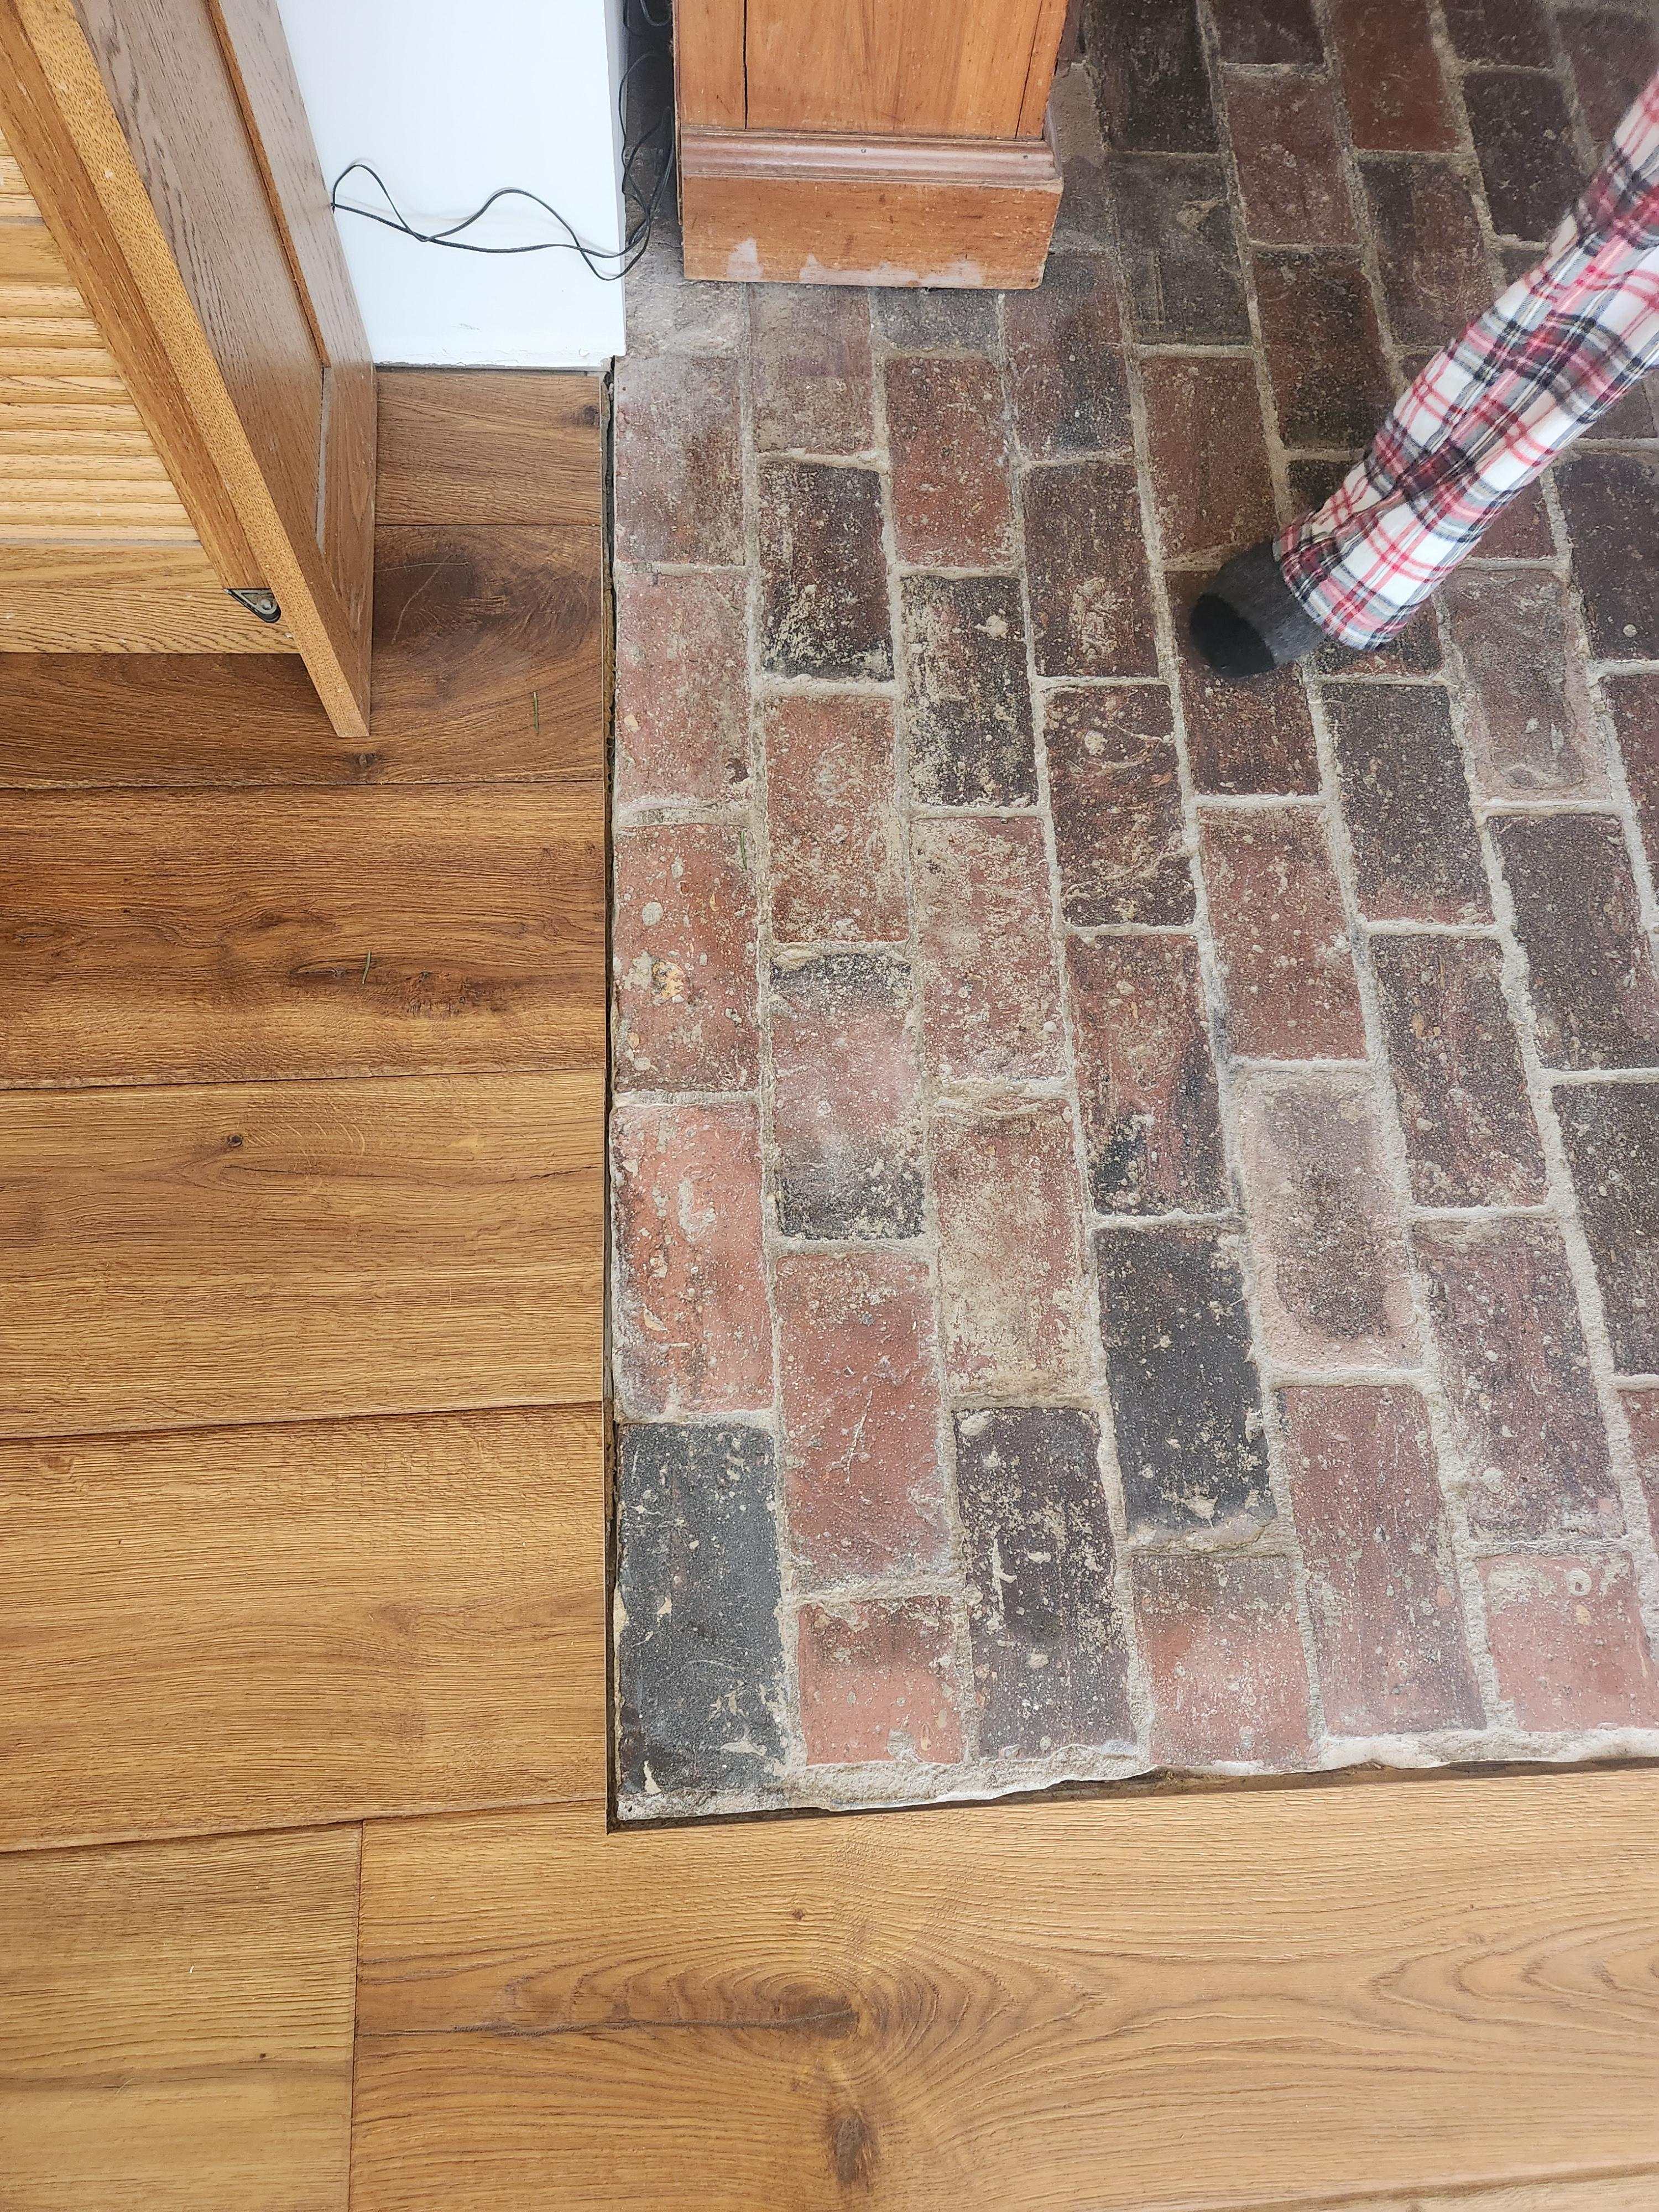
Thanks. I'll try out some caulking. This would likely work best if I can colour match it to the off white lime. I'll have a look for anyone that can do colour matched or a wider variety of colours than just grey. ? -
Hi All - Wondering if anyone has any suggestions for an expansion gap between an engineered wooden floor and old brick floor. I've finished laying the boards now and managed to get the levels I was after. I want to use something as inconspicious as possible for the transtion to the old cottage, so no wooden strips or similar if it can be helped. The best I've been able to come up with as possibly being suitable is burnt sand mastic but not am guessing it's probably not got sufficient stretch. The rest of the floor has a huge 40mm gap but would like to minimise what goes here if possible. Someone suggested leaving it as a shadow gap but I am not sure that will work from a cleanliness perspective as it will just pick up all the muck over time. Thanks, Paul