Beardo
-
Posts
11 -
Joined
-
Last visited
Beardo's Achievements
Member (3/5)
1
Reputation
-
Thanks for the input all, these are all good options that I will do some further research into.
-
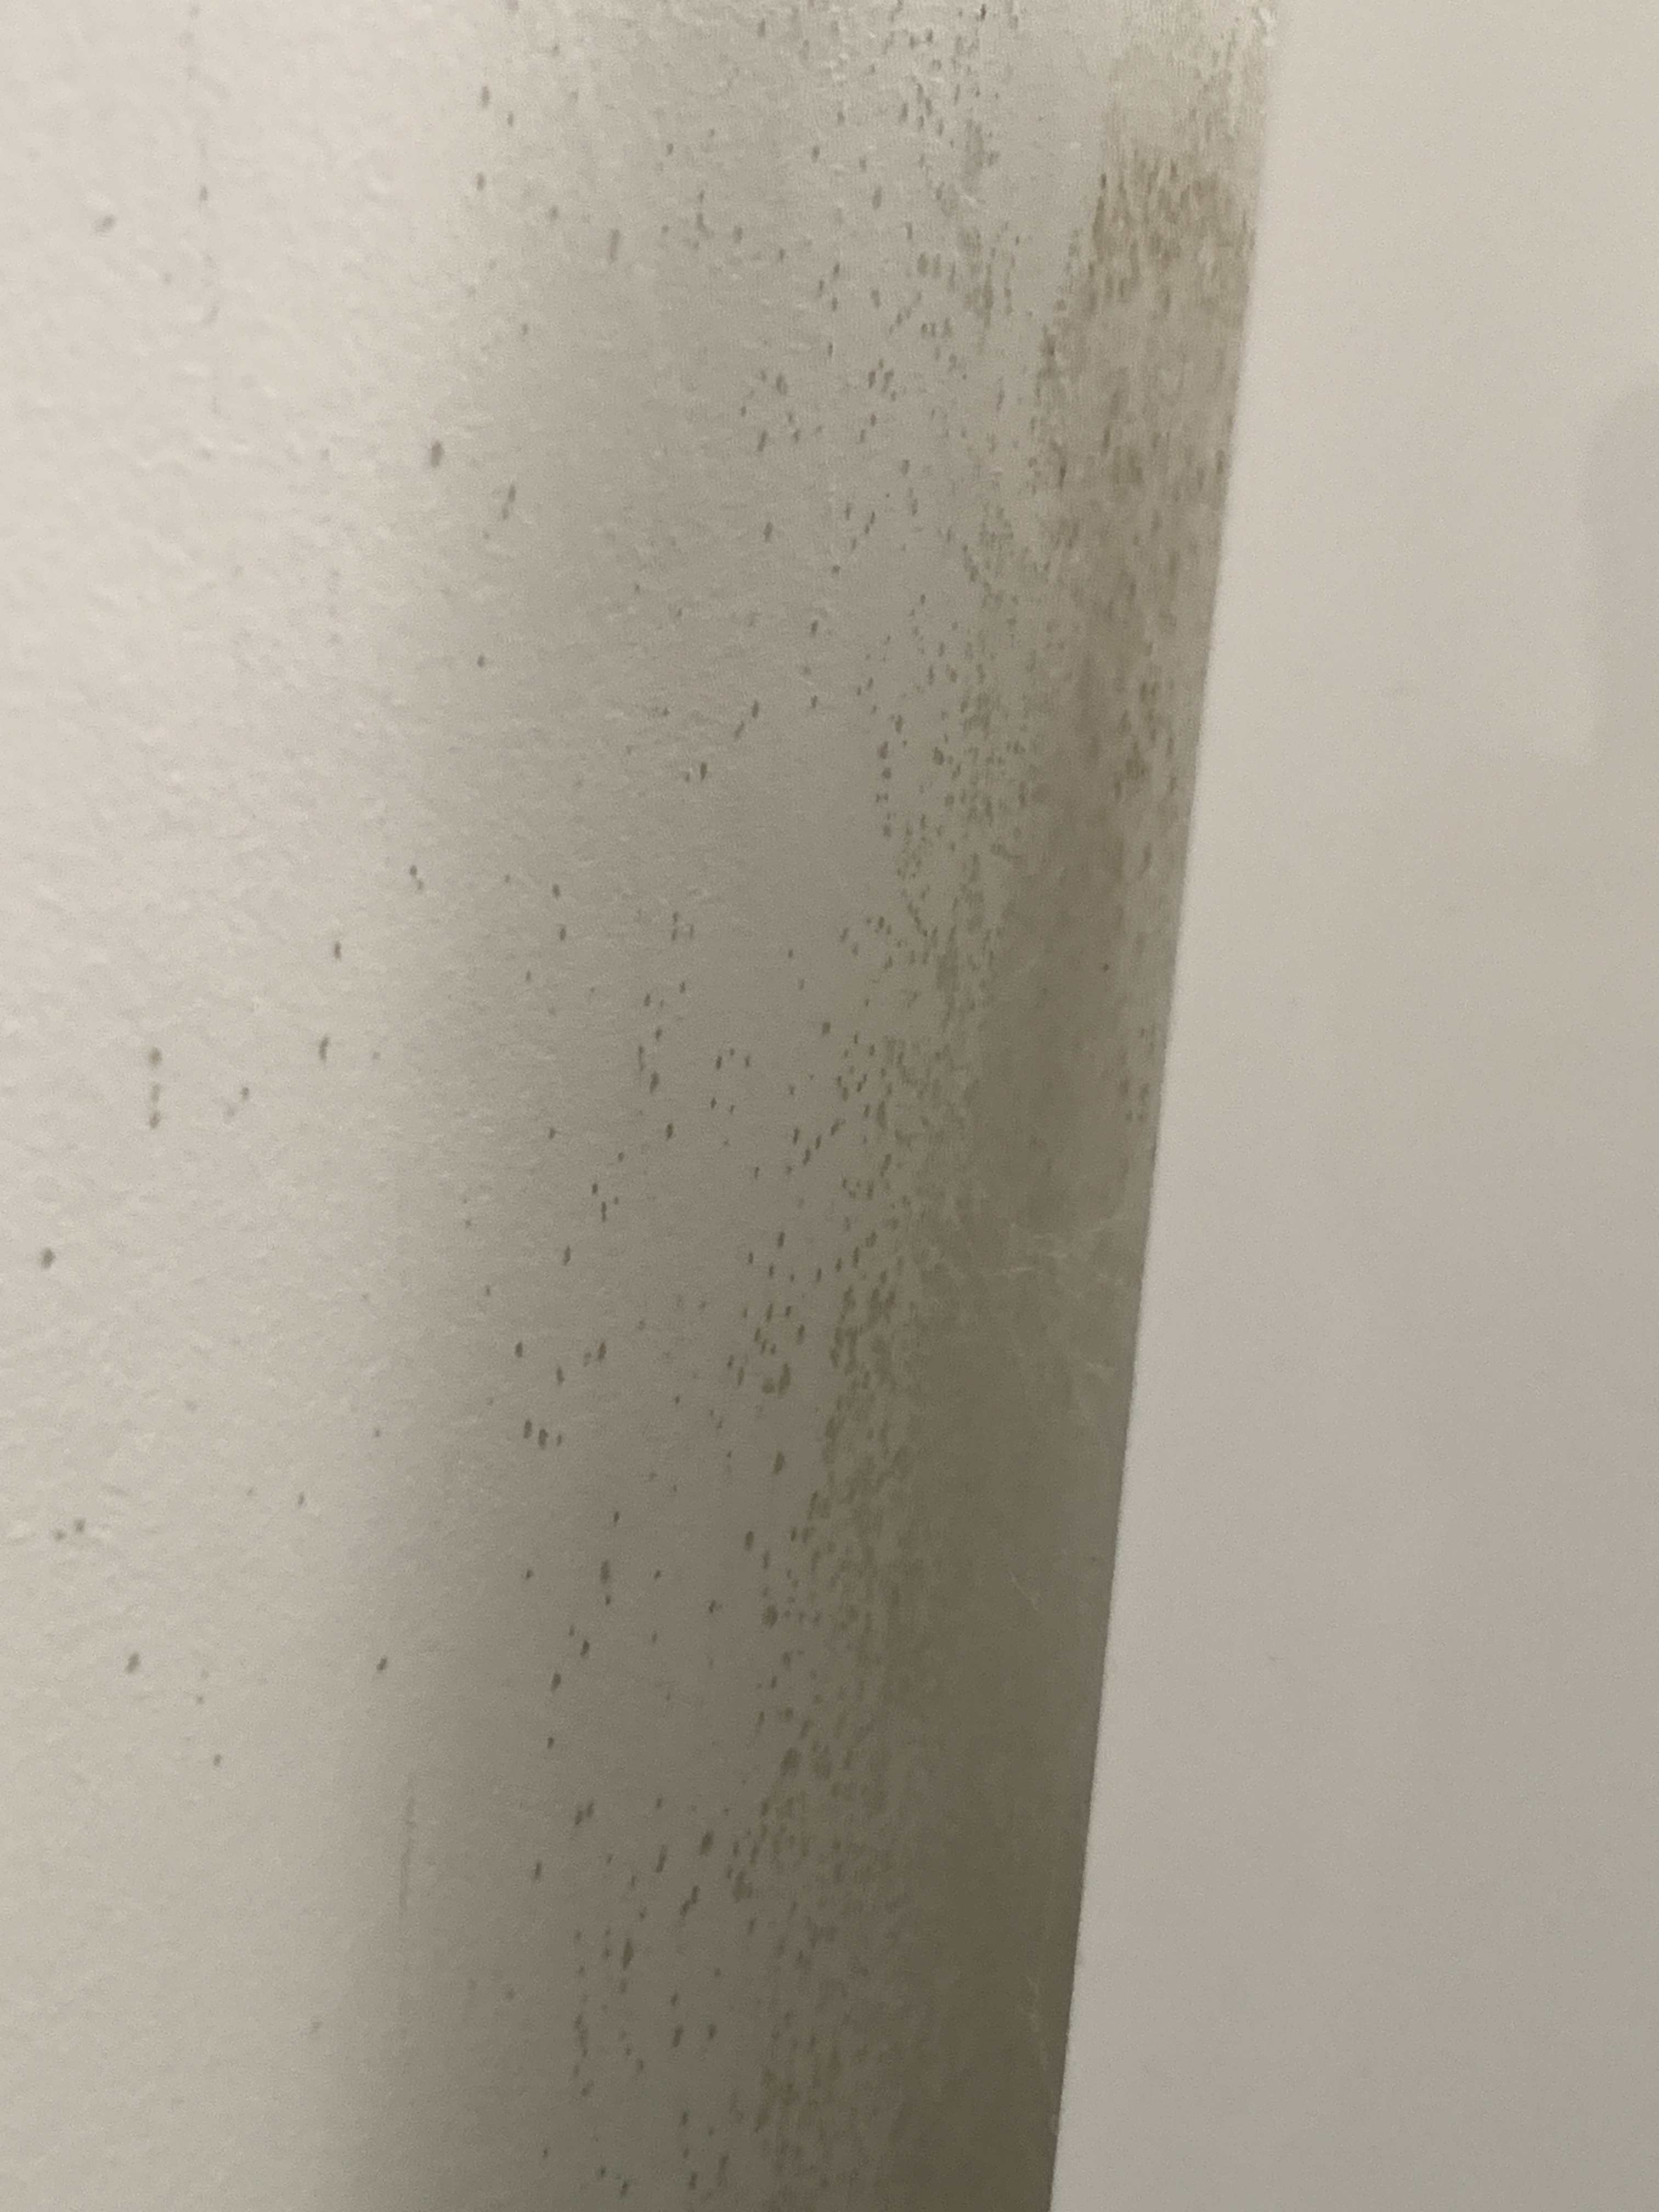
I believe there is a damp proof course. No landscaping done and I have lived in the property approx. 7 years. Renovated the whole house before I moved in. Ventilation measures is simply opening windows during the day in the rooms where it is worse. But difficult to do so during winter as the house is not easy to keep warm. Did not have the trickle vents installed when having new windows fitted. Its progressively got worse over time.
-
Would adding trickle vents to the windows help? A little lost as to what do here, defo got a moisture issue as I've been using a monitor to track moisture levels within the rooms.
-

-
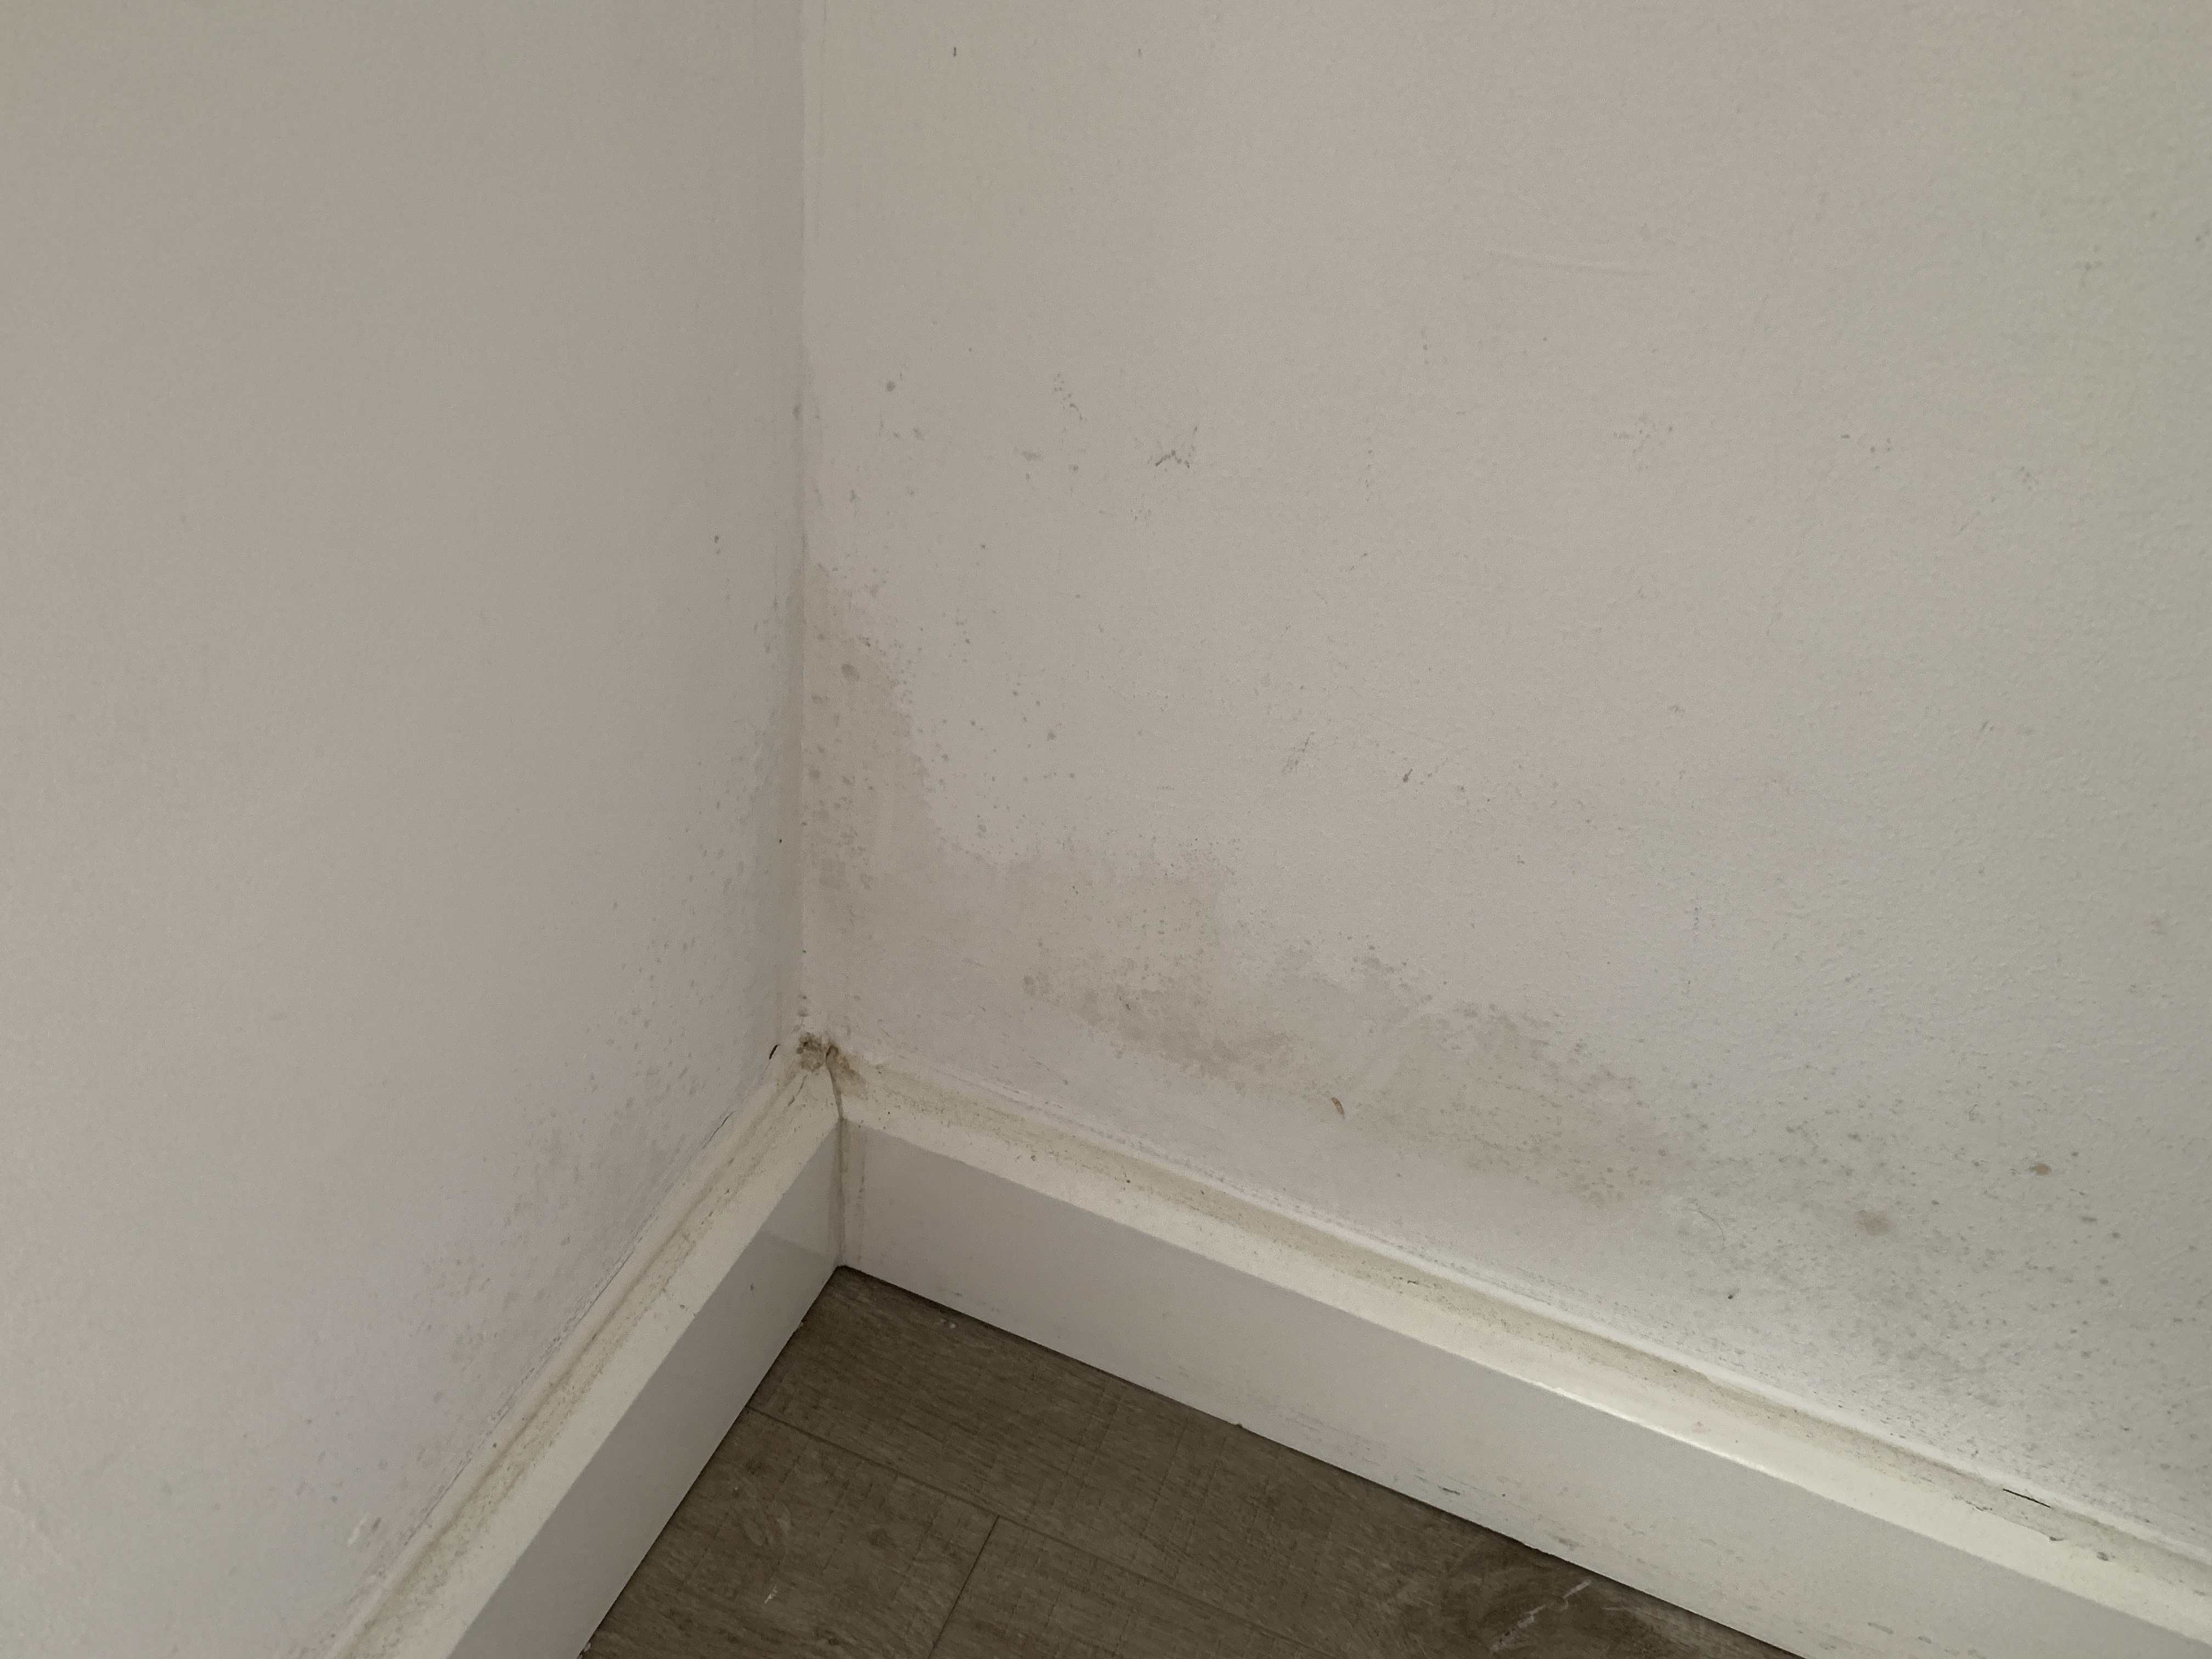
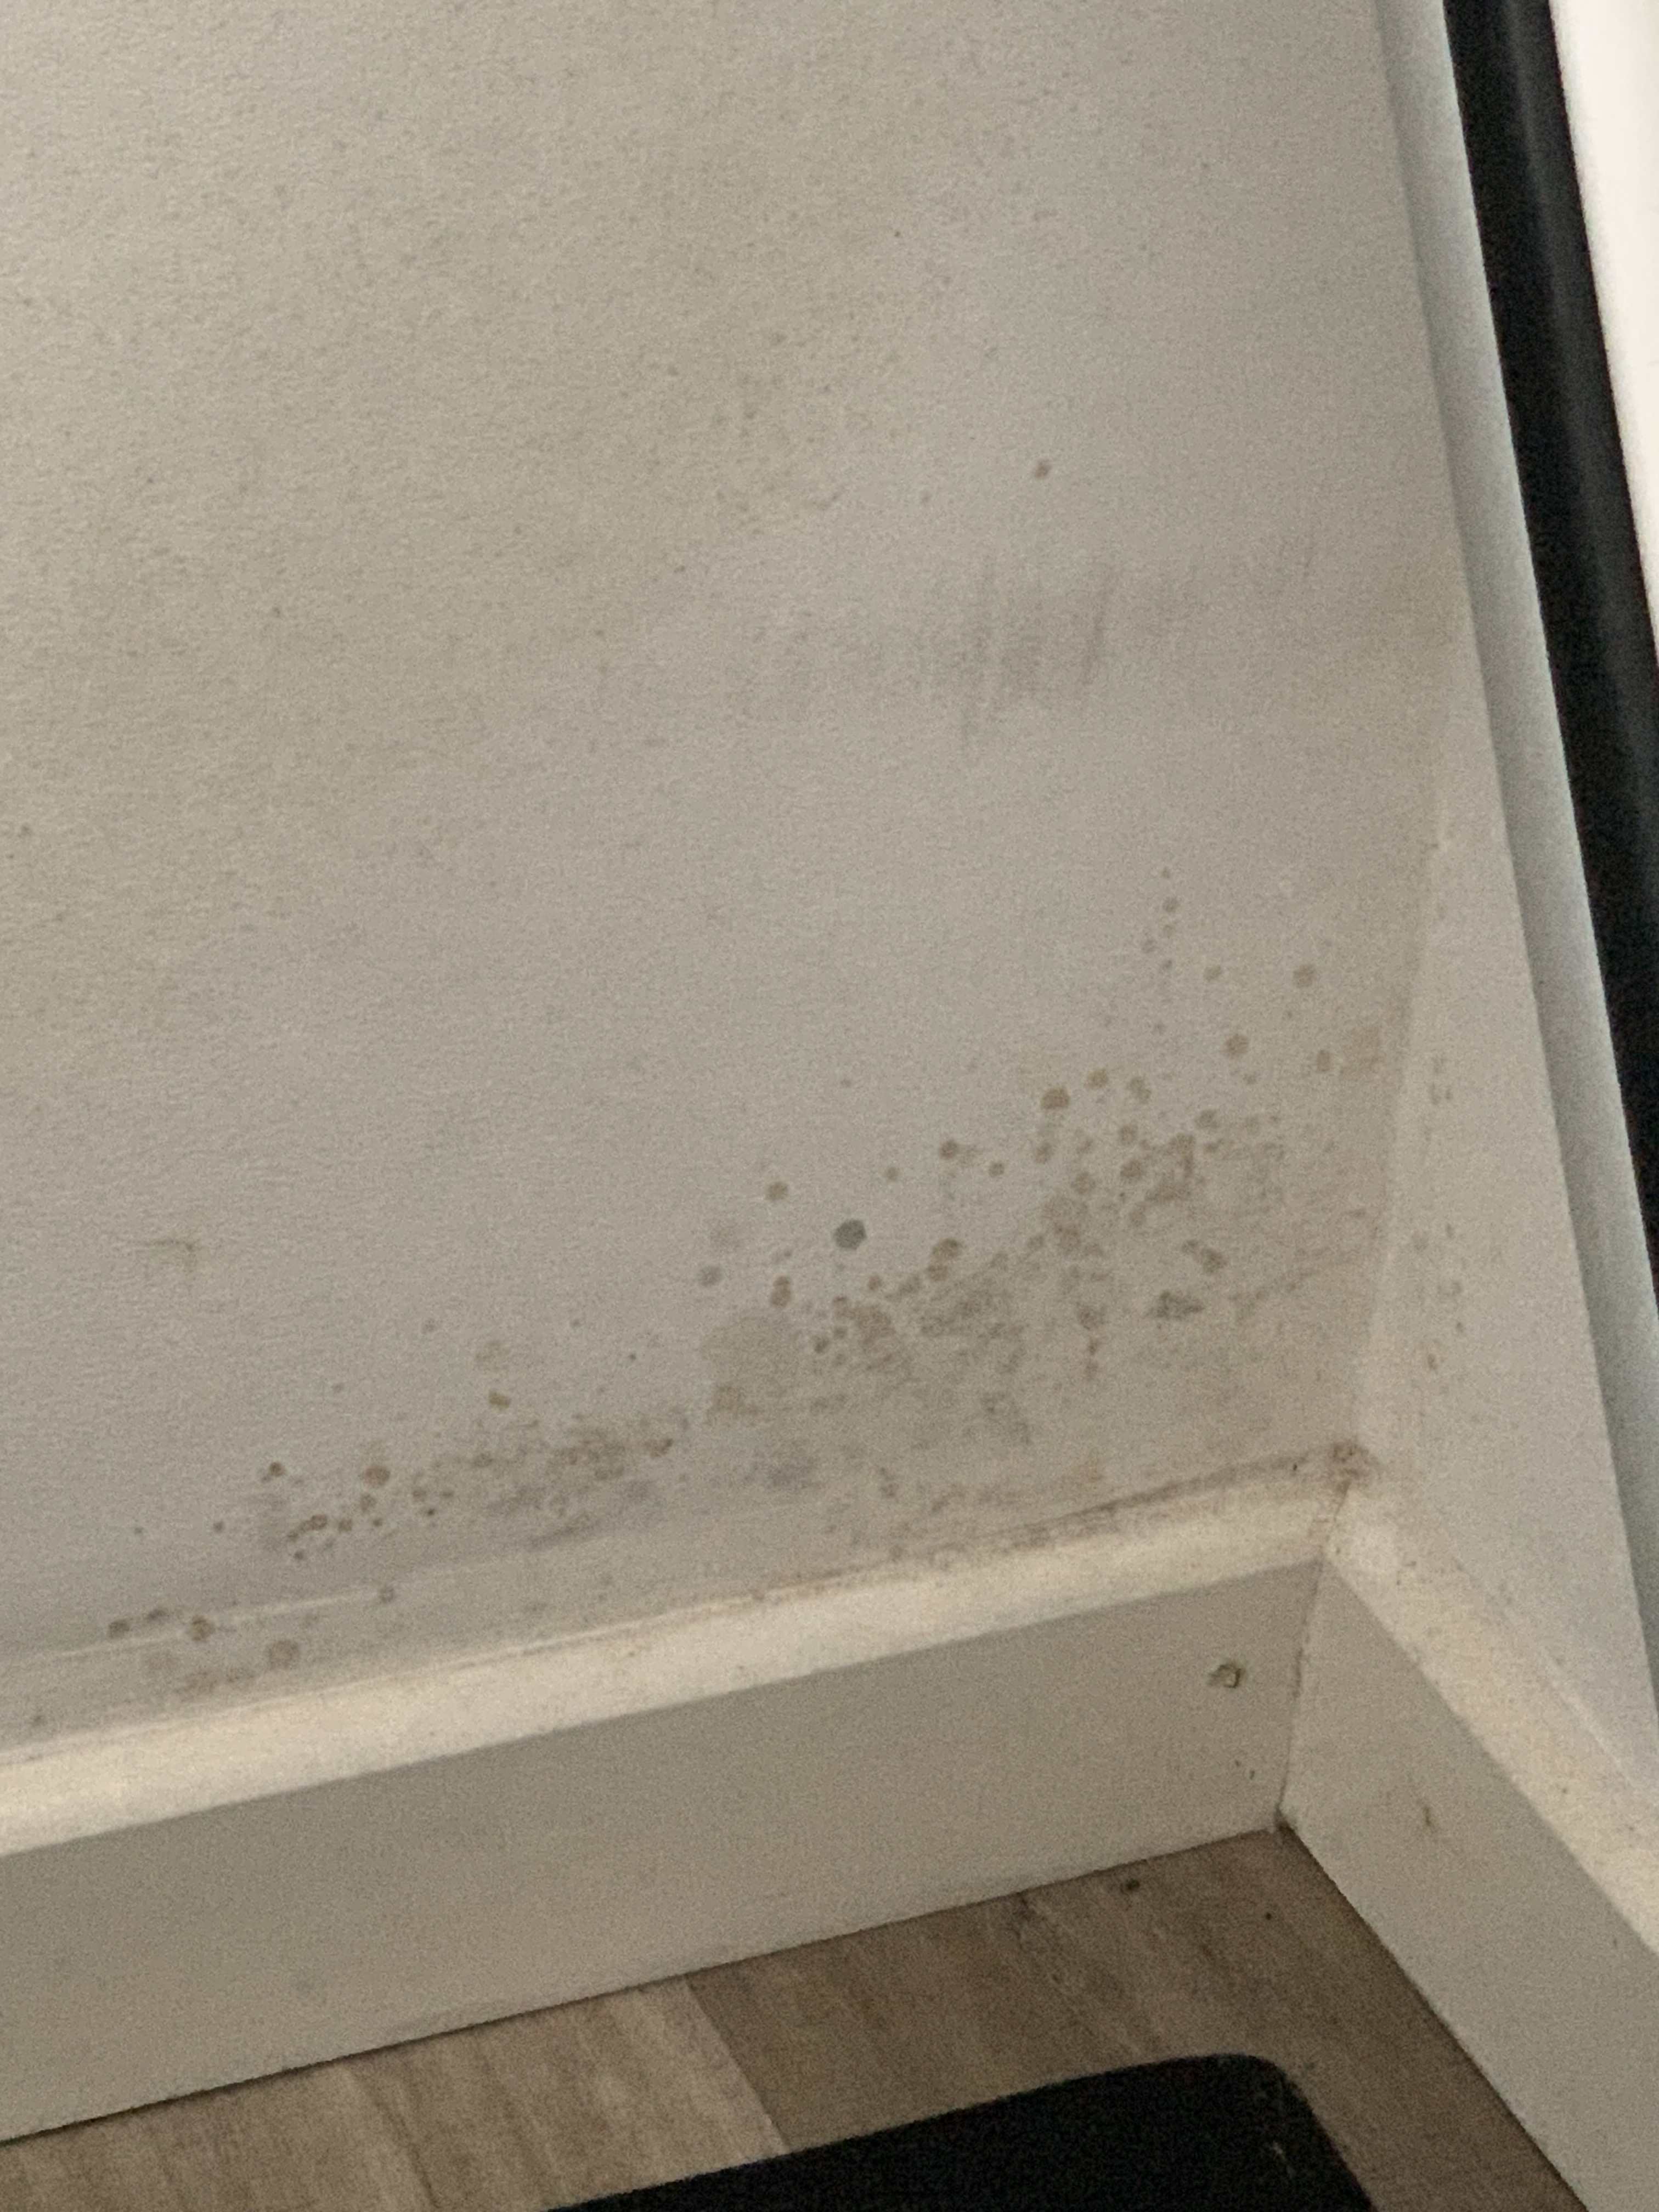
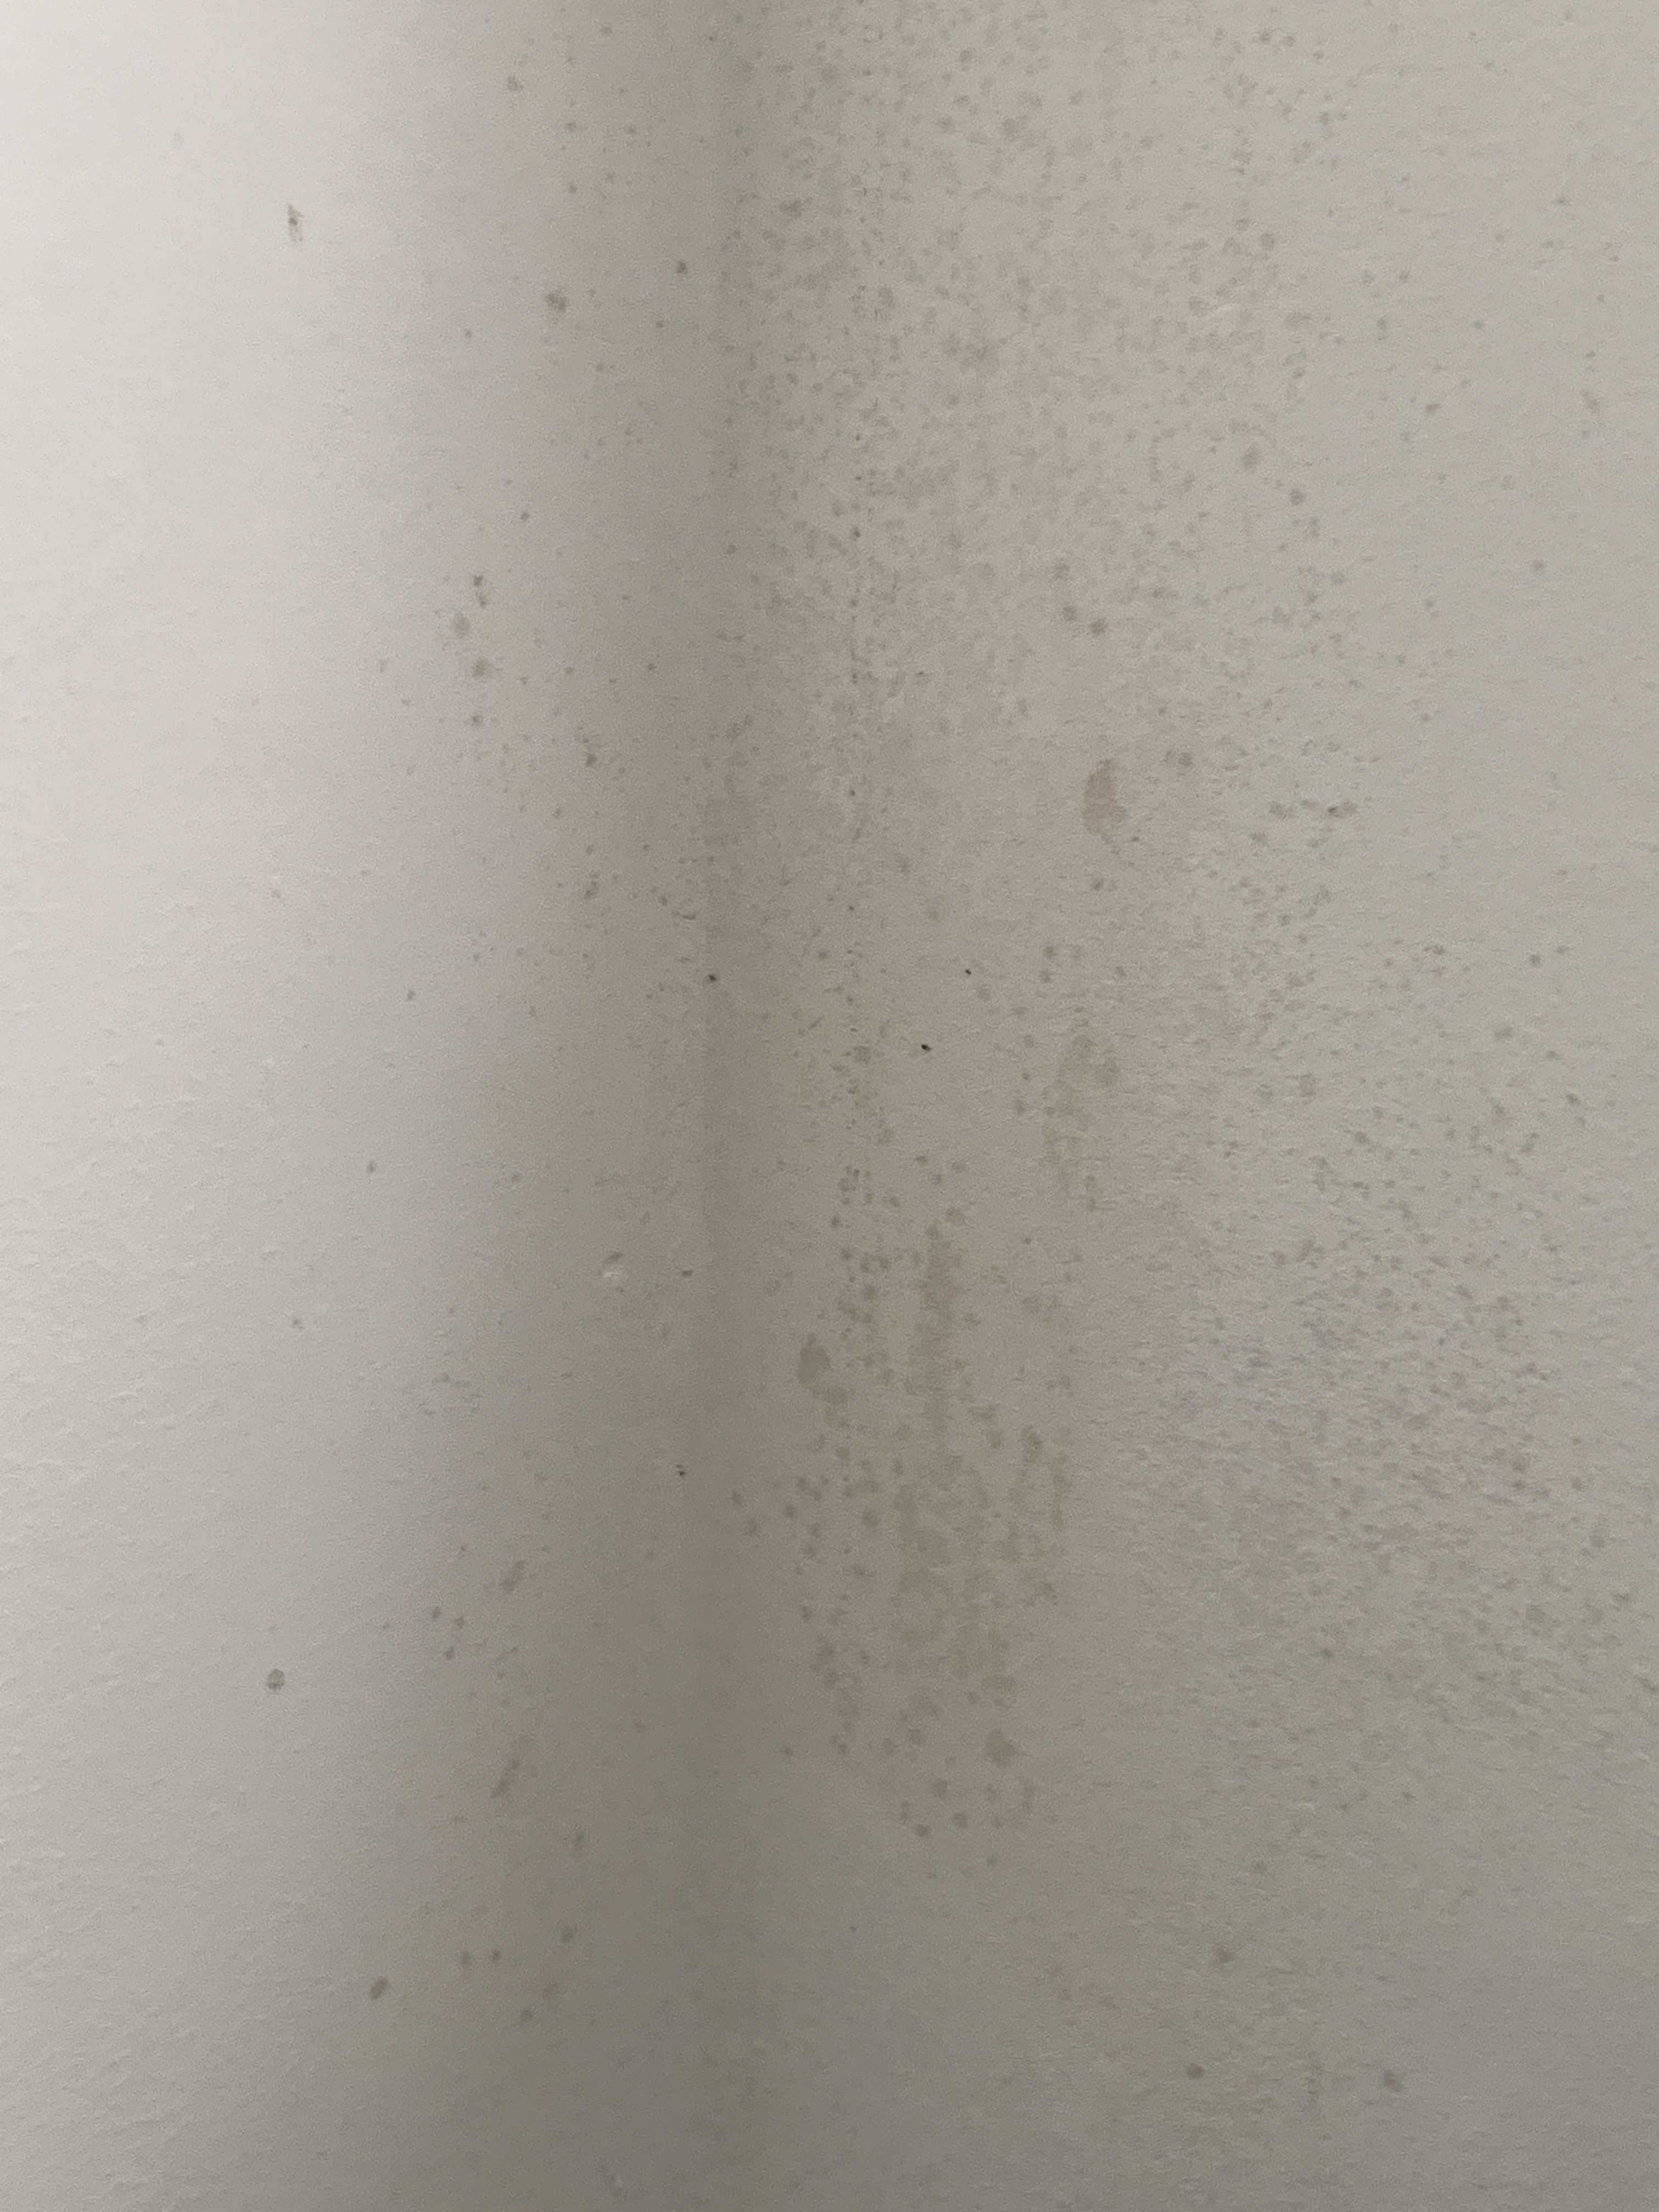
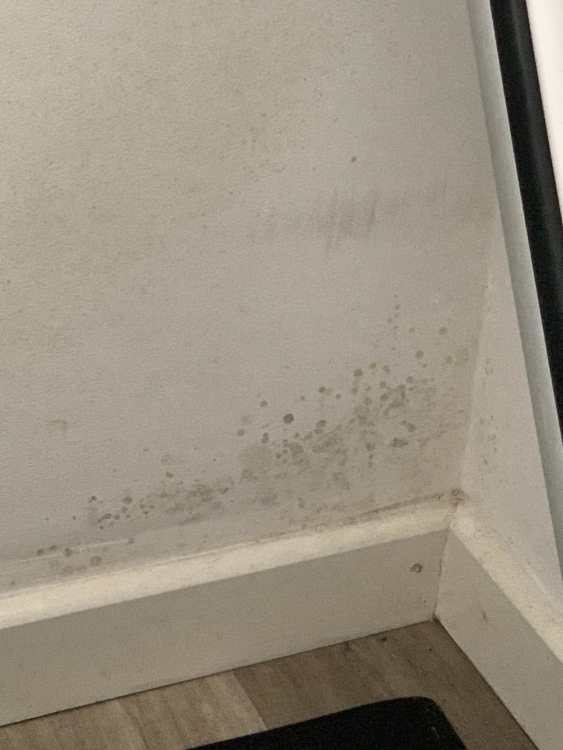
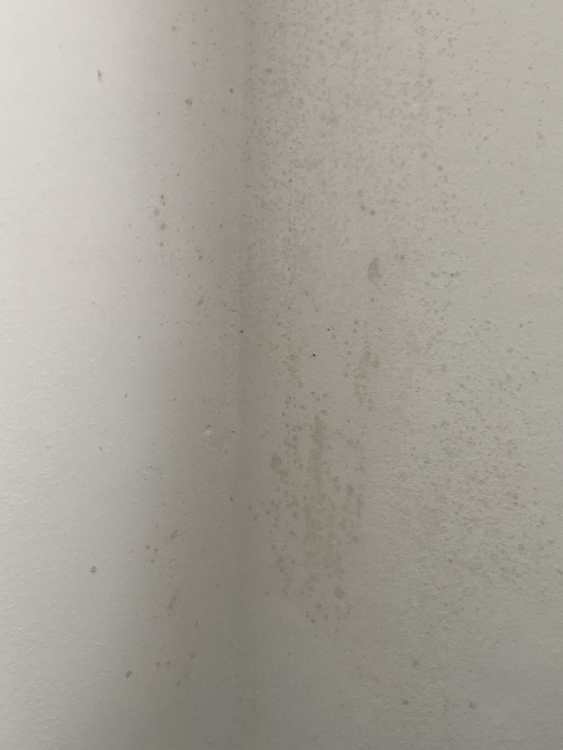
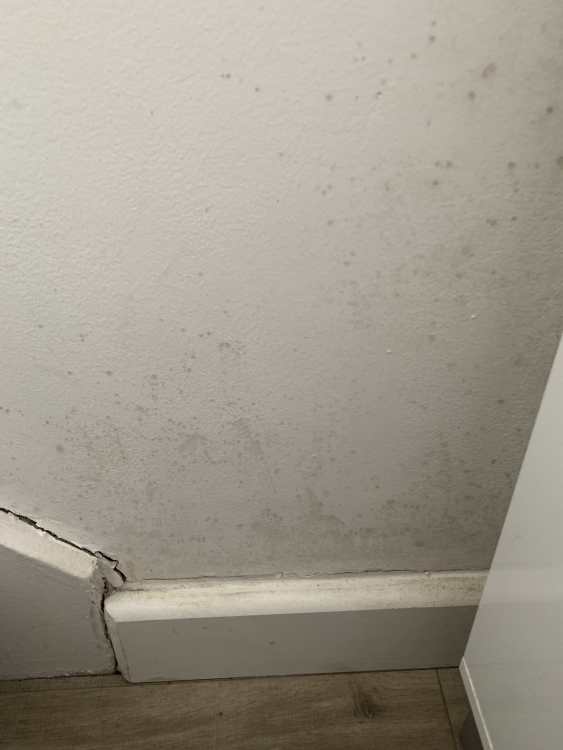
Hi all, Looking for a bit of advice from some of the more knowledgeable members on the forum. We've been seeing this problem for a while now and I believe its getting progressively worse. Not sure if this is rising damp, condensation or something else but before I call in any specialist to be told I need a really expensive damp proof course, is there anything I can do as a DIY measure to stop it? House is on a hill and we do have a cavity under the ground floor - not sure if there is water being built up but could be a possibility. Additionally, the outside could do with some of the brick work/mortar being re-layed and re-pointed. I've included a few pics taken from the hallway, this is the worse patch. Its an external facing wall with a shoe cabinet in front. The others are from around the house including the living room, a dining room on both the external facing and internal walls. Would appreciate any advice really as I'd like it sorting asap.

-
Neither were done but they have changed the tiles which include a cover so I guess that kinda eliminates the need for mortar? I'd still expect it to be screwed down for added security.
-
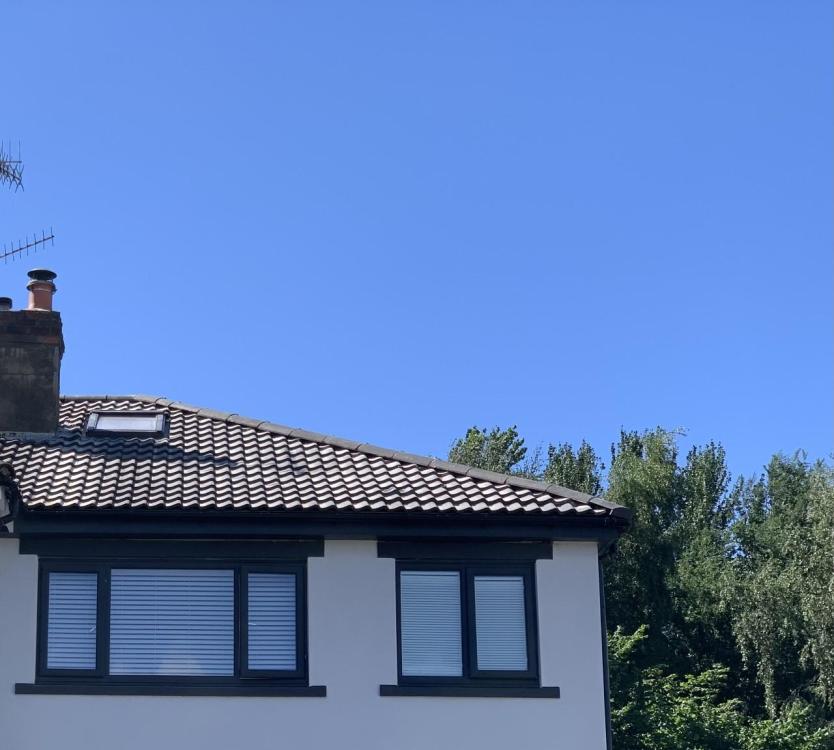
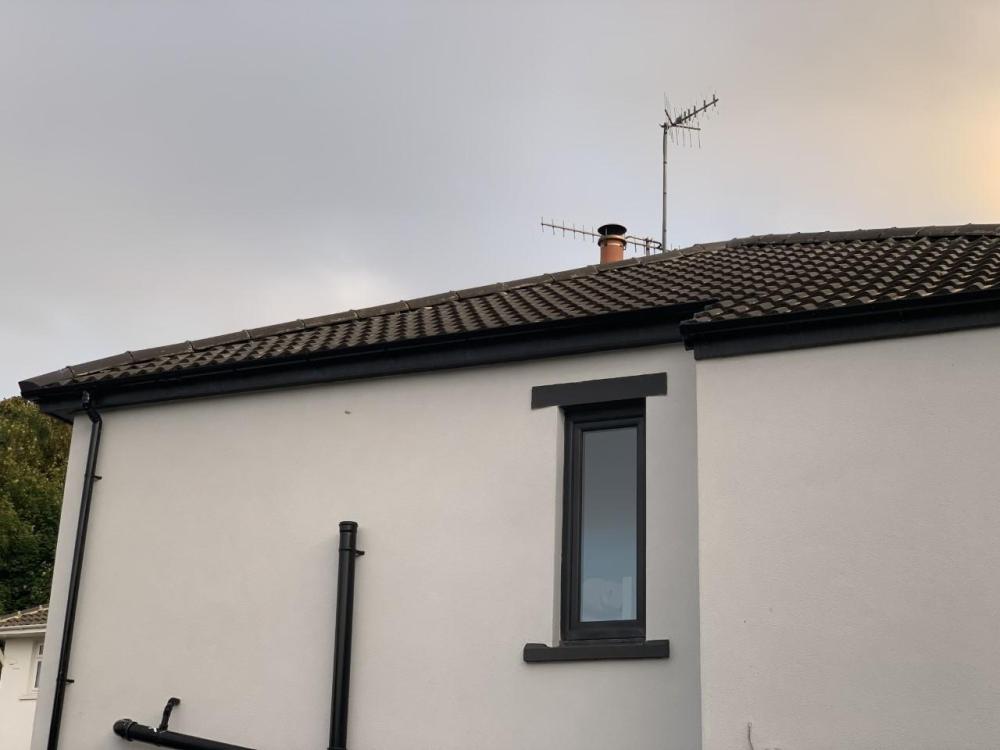
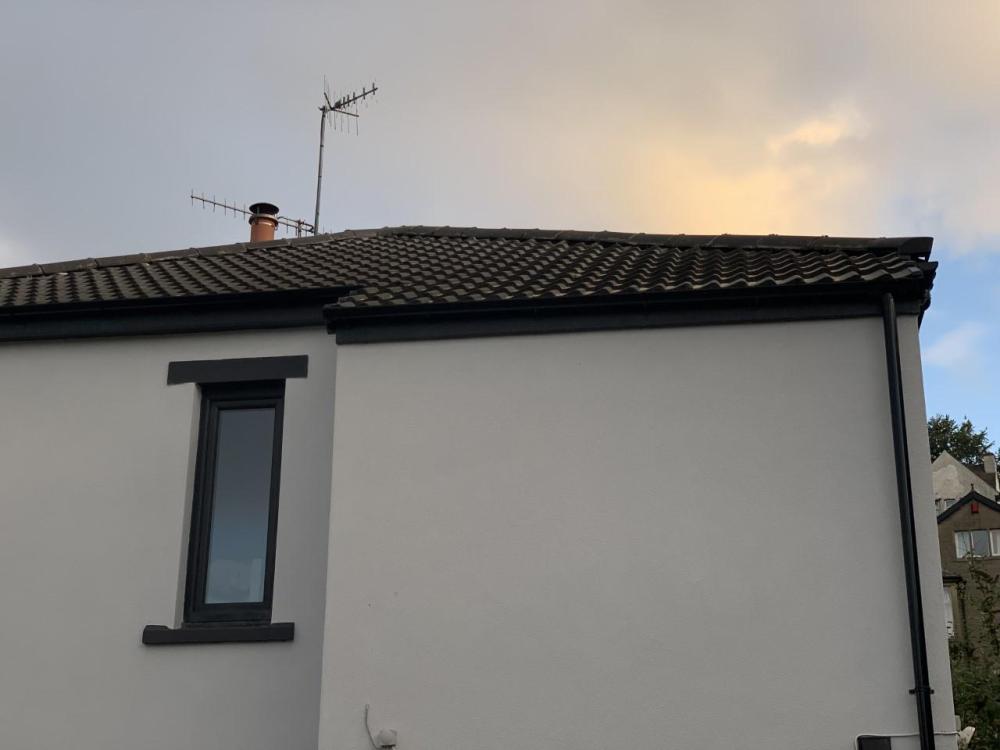
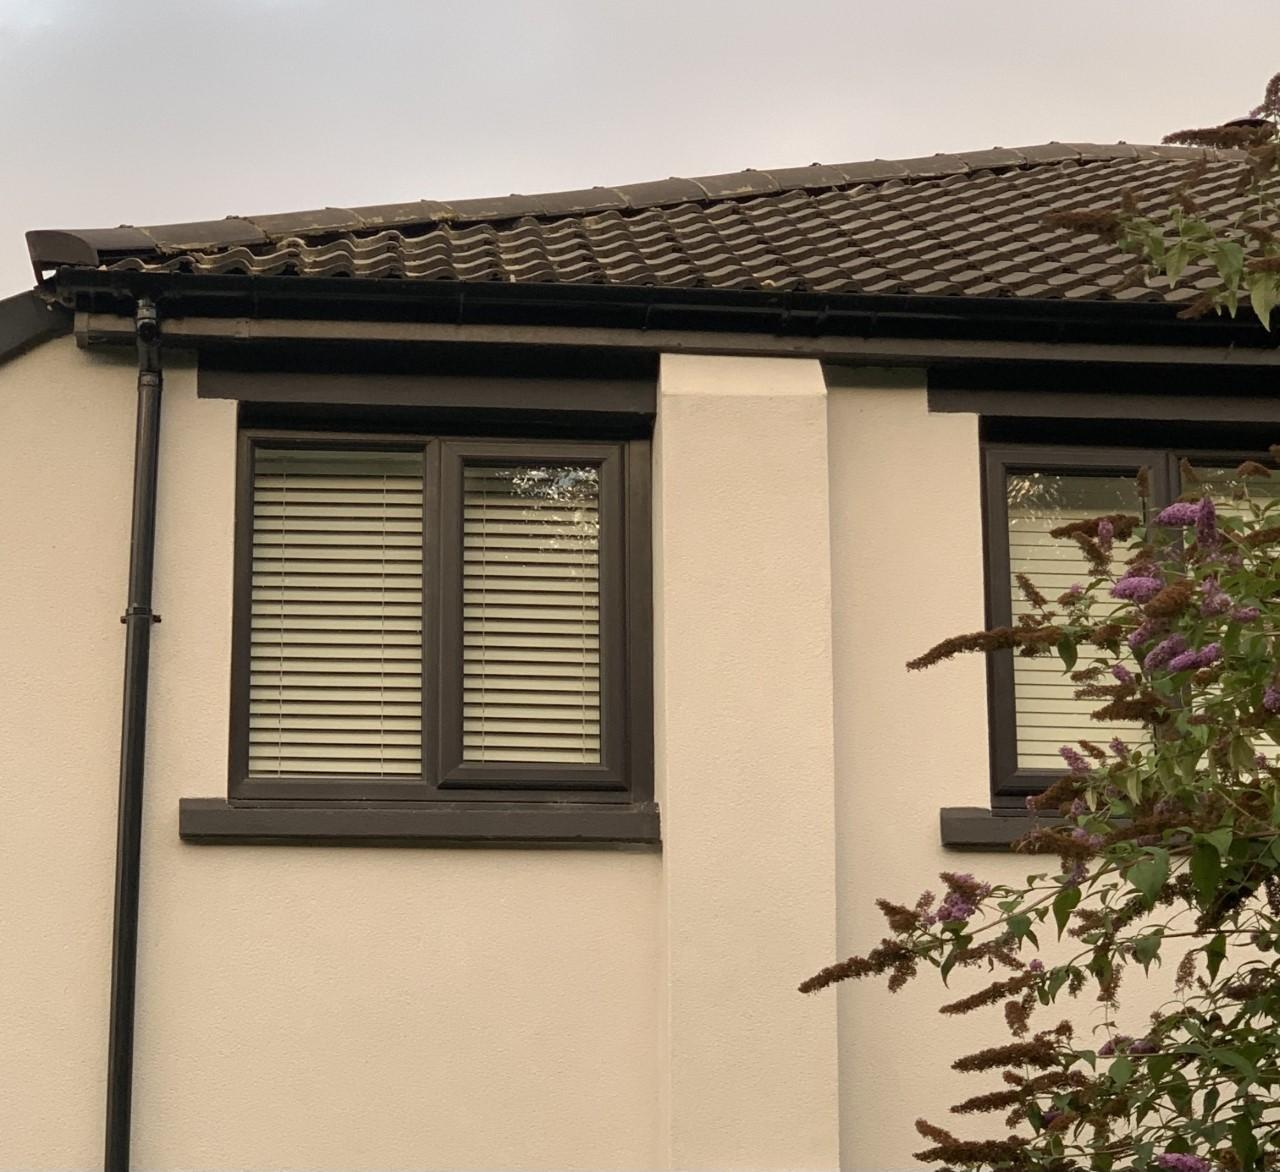
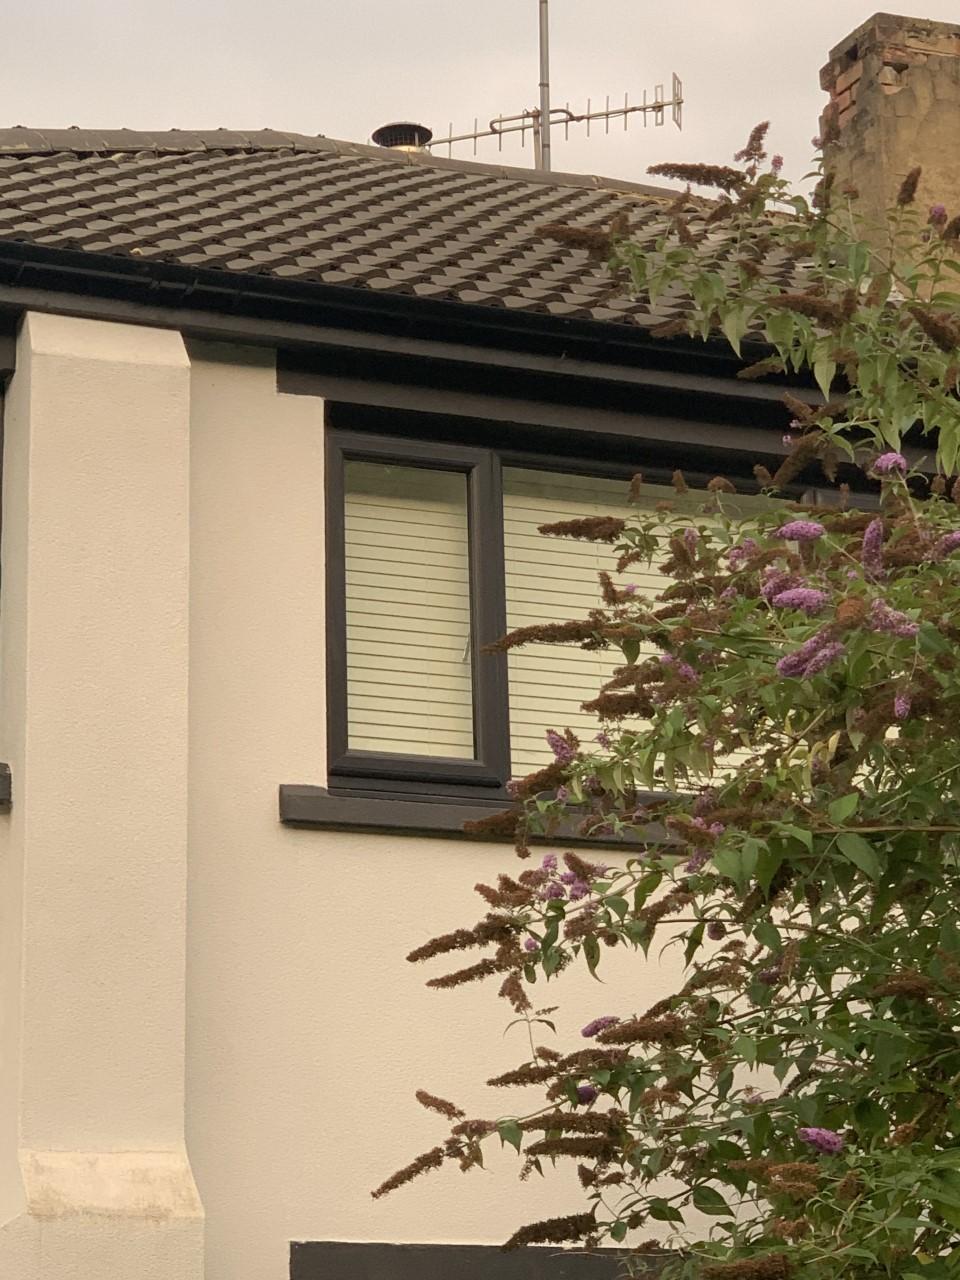
Yeah totally get that.. Question I now have is how secure is the system they have used. I've noticed the ridge starter tiles that they have installed do not have a screw in the middle for holding the tile in place other than the clip and screw that comes as part of the dry ridge kit - if that makes sense. Additionally, where they have done the mitre cuts at the top, how should these be secured into place? From what the roofer told me, they had simply used some sort of sealant to hold the tiles in place and thats it along with the above mentioned clips/screws. My worry is that come some bad weather and wind, these ridges will be flying off!
-
I've also noticed they haven't inserted a mechanical fixing point (screw in the centre) on either of the ridge starter tiles.. How secure will they against any type of wind/bad weather?
-
What do you mean 'bedded the bottom two up'? And yes, these are the original ridges that have been re-used.
-
Oh forgot to mention that the roofer suggested on installing a new ridge starter tile which a little different to what I've currently got on there but seems to think these are the right tiles for it??
-
Evening all, New to the forum and kinda stumbled upon the site when searching for information on dry ridge installations. Anyhow, I've recently had a dry ridge installed and was wondering if the job has been done right? The ridges do not look completely uniform when comparing to how they sat with a bed of mortar however I'm no roofer or have a scooby about what a good ridge installation should look like so hoping someone on here could help clarify? These are the best pics I could take as no scaffolding or ladder big enough to get close ups. Thoughts peeps...