
Leaderboard


Popular Content
Showing content with the highest reputation on 12/15/21 in all areas
-
Absolutely thrilled to say our S73 PP was granted this morning, bang on time, with no new conditions. What a fantastic Xmas pressie ☺️☺️☺️12 points
-
Ask for a break down on cost and get another quote. A mate of mine in London pays about £5000 for a tin hat on his loft projects and says they are worth every penny.3 points
-
You can buy standard blocks and certified airtight blocks which look exactly the same. Here in Ireland the budgets for schools is very small and they want buildings very durable so you'll often find fairfaced blocks are used in schools. The other problem is new buildings, due to regulations, have to achieve a certain level of airtightness. We recently completed a school using airtight blocks that were fairfaced and passed the airtightness requirements. The only thing to consider is you do have to tape the windows to the blocks so a painted window board was used to hide and protect this tape for the full perimeter of the window not just the bottom of the window where you usually see it.2 points
-
Well, I think you should read pages 62 63 and 68 of this report. It will give you some understanding. https://forum.buildhub.org.uk/applications/core/interface/file/attachment.php?id=50188 Good luck Marvin2 points
-
We left you with a poured slab and we were chomping at the bit to get the ground floor Nudura walls up before the end of the year. Well, I am glad to report we got there - almost ? After getting the slab done, I figured I'd get ahead a bit and it would be a good idea to talk to someone about the waterproofing we would have to put on the outside the walls before we started backfilling. To cut a long story short using waterproof concrete in walls such as these is a complete non-starter, so Type-B waterproofing cannot be used. Visqueen's R400 Radon barrier is not an effective waterproofing method and so we now face having to use a Type A and a Type C waterproofing method - basically this will mean for us a waterproof screed being added to the floor with channel ducting where the walls meet the floor and the "egg-crate" plastic material across the screed and up the inside of the walls. That should eat into our contingency ? ? ? But also it meant a dash to get some waterproof slurry to paint round where the Nudura blocks would be laid the following morning and mixing and painting it on under floodlights (it's the dark grey stuff in the picture to the right). Oh what fun!! But, the following day we were up early to welcome out walls, the bracing and two fine chaps (Louie and Harry) from The Fell Partnership who would be helping us Day 1 to get the first row in place. We then scurried around unloading things off trailers and flat beds, and installing the waterbar between those pieces of upright rebar. By 10am we were ready to go. By about 2pm we had most of the first row in and part of the second row (see below). If it hadn't been for some non-standard corners in the design, we would probably have been at Row 3, but that's what you get for following a design religiously ✝️ (FYI - the T-corner is all to do with the design - don't ask yet) On the second day we were left to our own devices, I had to make a dash to collect some extra Nudura parts and some waterproofing equipment (due to the direction our waterproofing system now had to take) so we made a later start but still we were very pleased to get up to 4 rows installed. Day 3 we were ready to begin installing all the bracing system, and after hitting her head SWMBO was made to wear the Christmas present from her children. and on Day 4 it inevitably rained in Cornwall ? , but before our help arrived again we had managed to just squeeze a block on to Row 6 (the final row before the first pour of concrete) After the help on Day 4, we continued to finish things off on Day 5 by constructing part of an internal load bearing wall, and a wall with the only window opening at this level which will be for the family bathroom. FYI - the rest of that side of the house will consist mainly of windows into bedrooms plus some extra small sections of walling (to be determined) Where we were not able to complete things before the pour happened (time didn't allow) was where the internal wall meets the external wall and there are two doorways to construct (this is why I said we almost made it). I will have to do these in the New Year, mixing and pouring the concrete by hand (just under 1 cubic m) so that'll burn off the Christmas pudding ? A week later (during which we had some more high winds) I came back down to finalise a few bits (like lack of scaffold planks and bracing in some places) to be greeted by a snaky ? wall. so that was all straightened up, the rest of the bracing fitted, and the Nudura joist hangers inserted. (Between straightening and the pour we had Storm Barra, but my remedial work held up nicely) I won't bore you with pictures of hunky men doing manly stuff with concrete pumps etc. but suffice to say it all went very well, with no leaks or blow outs so "he who shall not be named from Channel 4" would have been very disappointed if he was allowed onsite. And so, last weekend (after a midweek pour in the remnants of Storm Barra) I was able to deconstruct the bracing and we are now the proud owners of some freestanding, high-wind-proof walls. Really happy at the attention to detail that Louie and Harry paid to ensuring the walls were straight and true before the pour began - right up my street. So now we have a tidyish site again (for a short while) ready for steels installation in the New Year. We have to finish off the internal wall, then waterproof and backfill outside, and install joists and flooring before we can continue with building the upper floor walls. We're hoping that by middle of next year we can start on those upper floor walls. So until 2022, and the inevitable next lockdown, I wish you all a very Merry Christmas ? and a Happy New Year ?1 point
-
In our neighbourhood, for some reason, our PV seems to be producing power even in the night.... 20211214_225256.mp41 point
-
From memory I think the grading referred to the amount of piro in the slate1 point
-
5% is based on a standard 'basket' and does not include construction. It is 7% according to a superseded 'basket'. I think it is for 'things' that people buy all the time, like groceries, and fuel. On construction costs I established that , for example, there was more value in site control than in getting discounts. eg concrete where the digger goes too wide and deep and then it is filled with concrete, 5% discount and 20% waste. Ask them all where the risk is . They know some of the answers if asked about their own field. And then how to limit it If not shy, the same question can be asked of each of the designers and each of the trades. After all the roundings up and allowance for risk, the contractor puts 30% on top of the waste you are already paying for. You really can make huge savings (or the other way round, avoid excess cost) but it takes hard work, supervision and some skill. Someone has to allow for risk along the way, but the cost comes back to the client.1 point
-
1 point
-
I think it's Building Control you need to convince. Warranty providers will just want to be assured that the job's been done in accordance with the Building Regs application I suspect.1 point
-
Got to the age where you dabble in all sorts, realised there are folk that have forgotton more than you know, hence enjoy being on build hub, every day is a school day here for me. Keep up with the research Zak.1 point
-
It is what it is mate - a lot of money is spent in construction to get a piece of paper. Compiling my certification at the moment and it is all pointless tbh. You just have to view it as a passport to claimimg CIL releift / VAT reclaim / release of finance funds etc.1 point
-
Yes the raft with a void is an option not least as it provides a service space under the floor. Have done some jobs this way. On the technical side if you find a ground bearing raft is loading up the ground just a little too much then the weight of muck you dig out to create a void reduces the loading on the soil and bingo! it all works out.1 point
-
Hi Onoff. Will this work as a concept in terms of space and fit up. You have a purlin, binder below with a couple of soldier studs. Introduce a couple of diagonal braces from the purlin ends down to the middle soldier at binder level. Plate up the joints each side with marine ply screwed and glued with say Cascamite structural glue. Now you have created a girder truss. Put in a ridge beam to prevent the ridge from dropping and causing potential roof spread. Now you can remove the internal diagonals. You can beef up the floor with steel box section underslung from the binder if need be. Where the girder meets the stack you can support the ends of the girders by fabricating an upside down triangle. At the top weld on ledger pieces that recess into the brick at the sides of the chimney. For good measure fix the ends of the girder and steel triangle so it can't move away from the brick or sideways. Deploy similar tactics at the other end by creating a shoe with a ledger turned into the blockwork.1 point
-
As @epsilonGreedy says have you consulted with someone who knows a little about the ground? Hope the following gives you some food for thought. By all accounts the existing bungalow is sitting on competant ground. The good news is that for many domestic houses clay can be a good medium to build off. One early thing to do is to identify the type of clay you have. Starting with the basics. Have a look at where you live and look at how far the last ice age extended. Ice is heavy and has often pre compressed the clay we encounter today. We call this an over consolidated clay and this can carry a good bit of load without excessive settlement. You may have this under your bungalow. Dig a hole down to foundation level and have a look at the clay. Is it like pottery clay that you can easily mould and press your thumb into with little effort? or is it a mixture of different sized particles and harder to indent and mould? Grab a copy of the "Structural Engineers Hand Book" F. Cobb and you find info on how to relate this to the soil bearing capacity. You'll find same info else where also. Spend some time on learning about clays and you are on your way to saving money! The next step is to ask.. ok we want to put a heavier structure on roughly the same foot print. Can we just add more strip foundations similar to what we have and put something under the ground floor that will spread the higher loads over more strips? You can back calculate (on the back of a fag packet) the loads the bungalow is imposing on the ground and compare this with the weight of the extra storeys. There comes a point where you need to many strips of founds. Practically they become so difficult to set out on site, dig with a machine, clear away the excavated soil and pour that you abondon the idea. Technically the bulbs of pressure under the strips start to interact and you are faced with the law of diminishing return anyway. The next stage is to say.. what if we just join the strips together.. and make a raft? Rafts are a different animal but they work a bit like concrete beams with steel to carry the tension loads, the concrete takes the compression. If you have plenty depth to play with, often occurs with rafts compared with say a concrete beam holding up a floor where depth is a factor, then you explore different thickness' of slab. This is partly driven by the soil and if you have insulated under the slab. The secret here is to find a slab thickness that uses the least steel and just as importantly to make the steel common sizes, easy to source, easily read drawings and quick to fix. This widens the field when finding a contractor.. go for the simple stupid! It's easier to pour an extra 50 - 75mm of concrete into a found than make / use more steel with complex bends and laps say. Putting insulation under a slab is not difficult provided you keep it simple. I would try if you can to get to grips with this. Then if you can't make it work start to look at other options. What you do learn will serve you well even if you find the strips and rafts are not suitable.1 point
-
Paintwork seriously faded here, various age related issues. Almost impossible to start at any time of the day, underside has seen better days etc. Tried different lubricants but a lost cause I think. ECU very erratic of late.1 point
-
I really can’t fathom how they reach a figure of 5% Perhaps Boris has done the maths1 point
-
F*** that I've got a local to frequent now. For a couple of hours I can forget all about the long list of unfinished jobs. Btw, I owe you, if she's talking to you it means she's not talking to me!1 point
-
The difference being that in a normal loft conversion you are protecting the existing, finished house. No new-build houses have a complete enclosure to work within. Is yours effectively a new-build, or do you have to protect any sensitive internal finishes?1 point
-
Hi @Zak S this an exciting time and also one of the most important to get right ,over commit now and face the agony of trying to raise extra funds or compromise on the final finishes, play it too safe and you may always regret not building what you really wanted.1 point
-
Old houses built using lime mortar don't need movement joints. While movement joints are something of a sledgehammer to crack a nut, there isn't a very good alternative, especially for cavity walls (lots of bed joint reinforcement or altering the layout to avoid the need). The differing expansion/contraction is dealt with by wall ties inherent flexibility. The different direction of the movement and characteristics of brick and block means the spacing and type of movement joints are different. It is something that requires an element of engineering judgement and builders aren't always the best at putting them in. But, better to put in MJs than be dealing with an unpredictable cracked wall in future.1 point
-
Is the whole bed "fed" by a trap door above?1 point
-
Does it have a coin operated vibrating mechanism too?1 point
-
Being in the middle of enduring 6 months of a bungalow with the roof removed *without* a roof covering, I'd have happily spent another £10k just to have the place covered as the works have taken 3 times as long as planned, and the impact of not even having a dry area in the house has been very demoralising. If everything is going to run to time, and you don't mind the inside being literally ruined and soaked through, then maybe go with out it - it's not *needed* in the sense of all the external works can happen with or with out it. But if it's going to be months exposed, I would not want to go through what we're dealing with currently - it is the most depressing thing ever. Every time I drive past the two other houses in town getting work done with a roof cover, I am filled with envy. It also obviously depends on how big the overall project/spend is. If it's £17k out of £50k, that's very different to £17k out of £100k! Not sure I've helped here...1 point
-
Firstly a declaration. I think gutters are a good thing, recognising that rain happens and is best got rid of efficiently. Also I don't like sedum roofs other than for appearance (from above?). Not 'green' not 'sustainable'. Practically though in your case. If water runs off an eaves onto a flat roof it makes a noise and wears out the surface, even steel. After the rainstorm, the roof drips for many hours. You will have sedum, so it will kill the plants and wash out the growing medium, then probably cause a blockage in the drainage channel and rwp. You are going to have to do maintenance every few months, especially of the concealed gutters. A matter of opinion perhaps but I also don't rate having downpipes running through the living room. The sound of running water may provide a 'connection to the outside world', but it is a worry for keeping clean and intact. It rains everywhere in the UK. In the areas that have more extreme downpours (west coast and SE England) the water will power off at an incredible rate and cause damage. I am interpolating from the drawing that there are also some valleys, which will concentrate the rain even more into spouts towards the middle of the roof. Gutters and external downpipes would be a great idea. You won't feature in Architects' Journal but your house will last longer and you can relax when it is raining.1 point
-
We have just heard from planners today They have finally accepted that we are in flood zone 1 and don’t require a sequential report and are ready to pass for full planning Just a couple of small things ? Some route protection and a site overlay on the flood map Which is already supplied But the want the flood expert to confirm that it is correct Talk about dragging things out Big relief1 point
-
I think it could look quite crisp to have the wall and roof meeting seamlessly. I can't see a reason it would be an issue. The are some uni halls near me that have this and I think they are finished in clay tiles.
 1 point
 -
Nothing. For now, enjoy the buzz. Remember it, film it, bottle it, keep it safe. Guy like you with a sensible name.... nay borra Jimmie! Ian1 point
-
A DIY blower door can be rigged for £30. Then get a length of rigid electricians conduit and ram a candle in the end (avoids having to being a step ladder to check all the high up junctions) The flame is incredibly sensetive to any tiny leaks. The back of your hand is also very sensitive. We got to 0.31ach using this method.1 point
-
But light doesn’t go round corners - air does … blocks are inherently leaky - stick a hoover nozzle on one and see what I mean. Blower paint on perps is like sticking a padlock on a paper bag .. by the time you’ve done the perps with a paint brush you could have done the whole wall with a broom and a parge coat.1 point
-
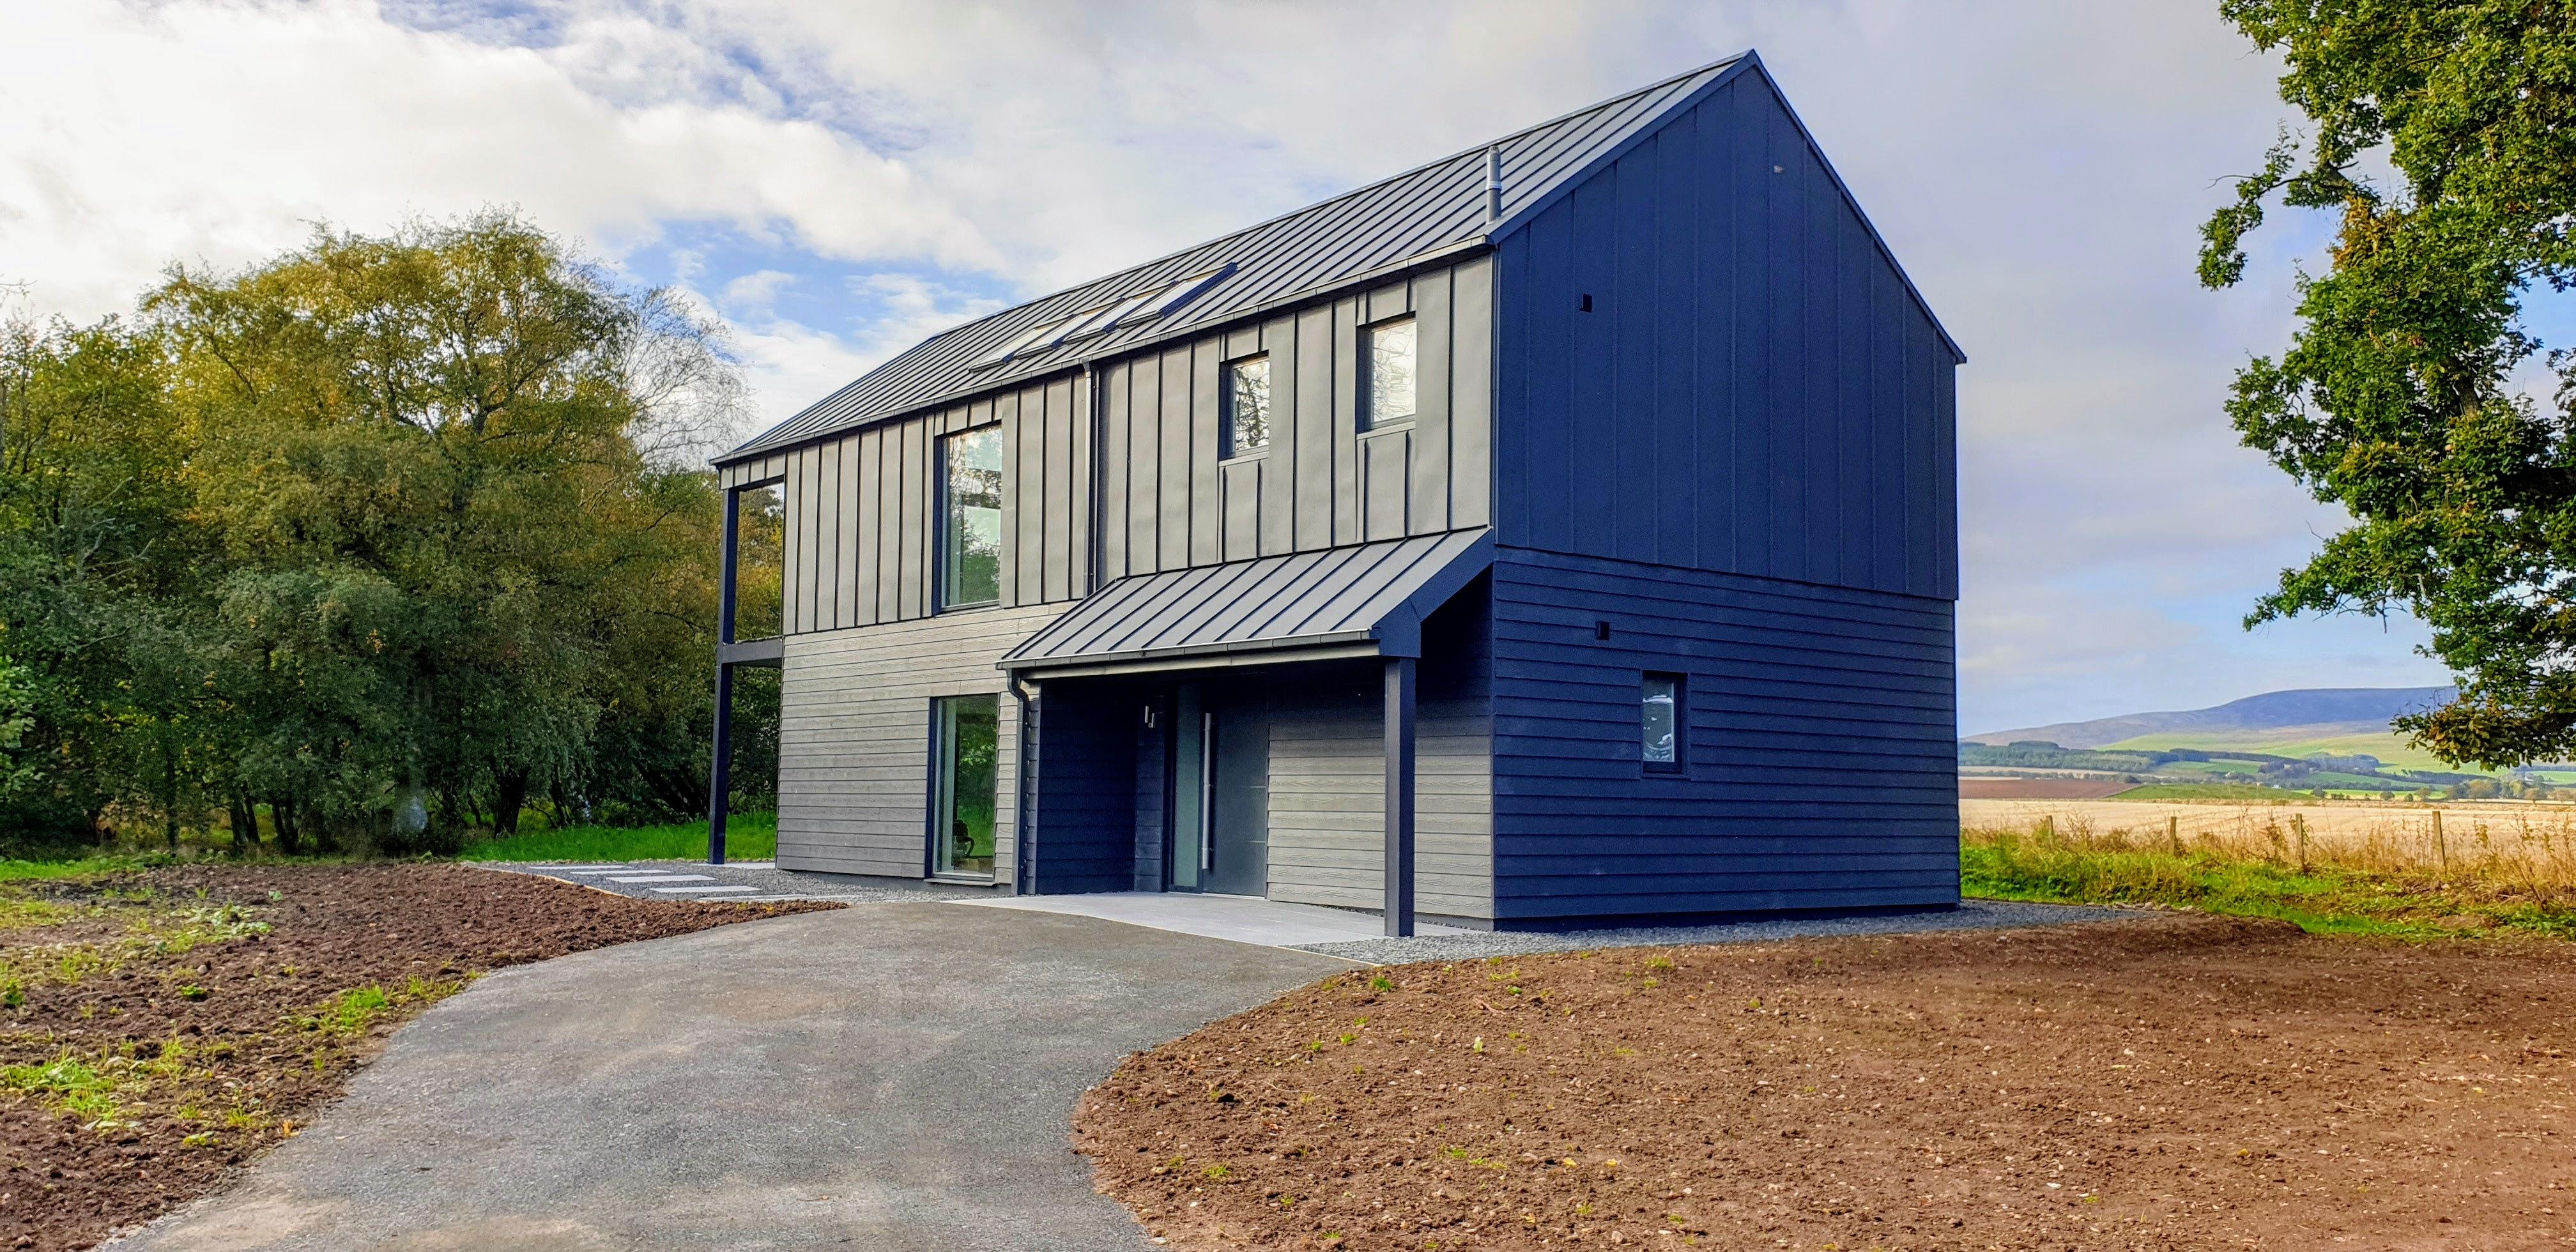
No expert but I would be a bit wary of not having gutters (especially here in Scotland) and I'm not sure how you would finish the edge of the roof. We used standing seam steel and kept the gutters quite tight under the roof. I don't think they stand out too much.
 1 point
 -
I think the regs are soon to be updated because of low temperature heating system that use UFH. But the regs are a basic minimum and should be exceeded at all times. The marginal cost is very small. Too many people get hung up on windows because 'they want natural light', then have to buy blinds, screens, shutters and films to reduce the overheating.1 point
-
Abbey Pynfold do piles with a reinenforced slat connected to the piles, with a void underneath. There is no insulation in the slab, and that has to be put on top of the slab before screed. I have looked at it as they are close to me. Not cheap though. I did also look at another company who use screw piles. These are all linked with a steel frame. Is insulated between the steel frame, and has steel sheets on the top surface. Cheaper, but i'm not sure how a warrenty provider would view it. Have you considered a basement ?1 point
-
Still trying in by to figure out the VAT status. ??♂️1 point
-
I beg to differ. Assuming UFH running at a mean temperature of 32°C, that will have a ΔT of ~23°C during the heating times, walls, which are generally of a smaller area (this does depend on design, number of windows and doors) will probably have a ΔT of ~15°C for the heating season (does depend on where you live and how hot you like your house).1 point
-
He is talking about the high-end of Passiv House trendy foundations. Still a bit niche but growing in popularity. Your average local builder will look confused if you suggest this type of super insulated raft foundation. 150mm of rigid PIR floor insulation is pretty good but a bit more pays off if fitting underfloor heating. 200mm is way better than most new builds, 300mm is phenomenal but only makes sense if you apply the passiv house ethos to the rest of the house structure. What is you budget for this build? I think it is relevant before you decide to knock down the existing large bungalow. Has an expert told you the existing foundations won't satisfy a building inspector.1 point
-
Under the heating system. There are a number of slab/flooring systems that reduce the thermal bridging. Some will depend on your wall construction.1 point
-
Anything you can do to improve the situation is good, however unless you've a comprehensive strategy to stop all the air leaks you're likely to be disappointed, a bit like stopping some of the water leaks in a roof. Putting a lot of effort into a halfway house remedy seems like a missed opportunity. Spend a couple of hundred on parging everything, then tape or airtight paint on all the junctions would be time and money well spent. Spending ages just pointing the joints is likely to be poor payback for effort Vs outcome.1 point
-
Yay! Congratulations!1 point
-
Make sure you have around 300mm of floor insulation (check numbers against R-Value and concrete thickness). You can't realistically improve that once the house is built.1 point
-
In my case the buffer tank is under the hot water cylinder (as a single integrated unit). In makes the cylinder very tall (and heavy) but doesn't waste usable space and means the buffer is within the heated part of the building.1 point
-
Give TRADA a call. Technical helpline 01494 569601 Ask if Dr. Vic Kearley is still there, he used to contribute over at the 'other place'.1 point
-
The report that keeps giving.1 point
-
It will be better as it is more like an aero bar, full of bubbles and bit brittle. But the edge surfaces are too smooth offering to little key to mortar.1 point
-
How airtight are the blocks themselves? Out of curiosity I just went out to a medium density concrete block and poured an entire litre of water through it with none spilling over the edges. A wall of these would be plenty drafty. How much better do you expect celcon to be?1 point
-
The planners will overlook a minor difference, and this was once defined to me as 'a brick'. in other words practical tolerances. Doubling the size of this element is not minor. While it is rue that few buildings have to be reduced, it does happen. More likely would be that, having deliberately ignored the permission granted, they will be upset at the contempt, and it may take a long time, and cost, to get it through this way. The conversation is recorded here too, and you have already asked for the planners' advice, which will not help. I think I would either. 1. get formal advice from a Planning Agent, who may know a way out of this. or 2. Build as permitted but with a steel frame and stud based wall that can be removed/ moved. 3. Don't build this extension until you are occupying the ret of it and can do it the habitation way, as you explained (but I have not checked on). But it has to be your shout.1 point
-
Heat pumps don't perform at their best when you make them work hard. They like producing a low level of heat for hours. If yours is undersized it will either fail to get the house warm enough on cold days or will get less efficient as you try and get it to produce hotter water. It will end up being disappointing or very expensive (or both). Good system design will avoid most of the things you're worried about (short cycling, modulation etc). As for noise, a 14 kW Ecodan will be a little louder than an 11.2kW one but mainly because they don't make the ultra quiet version in that size. But they aren't very noisy so I wouldn't worry about it. Obviously your house will be insulated differently to ours but for comparison, we have a 1990s 4 bed detached with 12 radiators being fed from an 11.2kW heat pump. The only additional insulation we have, over what was fitted when it was built, is an extra 100mm of lift insulation.1 point
-
Well Done and pleased you have got them sorted. I actually think Jealousy is what drives peoples cynicism, defensive behaviour and down right stupidness. Rarely is it personal although I know very unpleasant. I hope the planning goes through relatively swiftly for you.1 point
-
I’d probably reconsider your kitchen fitters They are either stupid or just don’t care1 point
-
Warranty providers are the highway robbers of modern development imo! On our last big scheme Premier Guarantee were the provider and their A rated contractor cocked the whole thing up and went bust half way through. We sorted out the mess made of the 'completed' flats (50 or so) and built the rest to a decent standard - they decided to charge a premium increase os £190,000 - total joke. We have used Build Zone since and, while they are a bit tardy getting the certification out at completion time, they have generally been ok. Interestingly, their self build warranty for mine cost less that the commercial policies for the other plots albeit that is with my company (which has a rating I suppose) doing the works. I don't know if anyone has ever tried claiming against any of these people but I did have a claim for a client in the 1990's against the NHBC and it was a total nightmare - took years to sort. A bunch of chancers tbh (like the entire financial services industry!).1 point


This leaderboard is set to London/GMT+01:00