
Leaderboard


Popular Content
Showing content with the highest reputation on 08/21/21 in all areas
-
Why not put the pipes in and leave them empty? I didn't pressurise mine for the concrete pour. Dont see the point. The pipes are pressurised. So when you lay them and snip the end you will hear the air woosh out so you know there are no issues while you laid them. During the concrete pour, a pipe loses pressure for whatever reason, what are you going to do. Nothing. You'll finish the slab and have to sort it out later. Some may say pipe need pressurising to expand so that they aren't restricted by the concrete when in use. Really. Just how much will a 16mm plastic pipe expand across its diameter in use at 30 degrees tops. I'd say feck all. Lay them dry and leave them be?♂️ N.B. I laid mine dry and have the UFH running at 30 degrees, no splits, dents, cracks, corrosion as they say - and no noticeable rise in pressure due to the pipes being strangled by the concrete!2 points
-
TOP TIP: Leave a small gap in your service battens at 450mm and 1200mm above floor level. Your electrician will thank you as it allows him to run socket and light cables horizontally in a safe zone without drilling the battens (and risking damaging the VCL) In a kitchen for kitchen sockets 1100mm is about right. Your electrician will thank you.2 points
-
Hello saveasteading. That's interesting what you're doing so would like to hear more! I was wondering if that stone you have is Chert. Not sure though, but the way the face splits looks a bit conchoidal. If so it will be pretty hard as you know. Also, the surface is smoother so the lime mortar gets less of a grip thus although a hard stone each piece can come loose easily once you start say coring with the associated vibration. I've read a few of your posts (and responded after a fashion) and appreciate your knowledge. I wonder. If you have seven holes to do then it's sods law that some will locate under parts of the wall where you are changing the loading a bit and thus introducing more concentrated loads.. say by widening doors, near piers between windows and so on. "We will be protecting and filling that eroded edge." Have you worked out how you are going to protect the exposed edge of the wall? This could well be your starting point so if you nut that out a solution for the service penetrations may just offer it's self up. In an ideal world you want to leave the origonal stone in place.. maybe just because it's a good moral thing to do and keeps the ethos of saving a steading? Here is a few thoughts for all. Often on BH you hear much about clay soils which shrink and swell, they can be prone to long term settlement and so on. Trees for example can remove moisture from the ground causing the clay to shrink. When you cut down a big tree the moisture content of the soil can rise.. the clay swells up, often with great force which can lift things in an "undesirable" way. Sands and gravels are a different animal. Being simplistic (big subject) they are not generally prone to swelling and shrinkage. I'll leave frost action out as this is also an expansive subject but important if you have a BC officer who insists on a certain foundation depth to prevent frost heave.. So sand and gravels..can be good news but there is often no free lunch, well there can be but.. Sands and gravels derive much of their ability to bear load, say from a house foundation by the "friction" action between the particles. Each particle has a mass and this rests on the one below and presses / interlocks against the one each side so friction / interlock is generated. In the ground the stresses act in three dimensions, up.. down, left and right. If you fill a glass with sand and push down from the top it will bear weight. Take the glass away and the sand column will collapse. This is often called "confining" . In other words for a foundation the ability of the sand / gravel to bear load is partly determined by not just what is below but also to the sides and above. Importantly if you lower ground level you loose the dead weight of what is above (surcharge) and this can have a significant impact on how much load you can put on the soil. Now to generate friction between the particles we need mass and this comes from the density of each particle. But we know boats float..hopefully.. Archimedes. Now if you have a house and the water table is well down then you get the full mass of each partical of sand acting on it's neighbour. Raise the water table and now the relative density of each particle is roughly halved.. thus half the bearing capacity. SE's use this as a rule of thumb and it's one of the first questions asked.. where is the water table (and where could it be in the future) if building on sands and gravels. That's a bit of theory but applicable to say an old steading and also virgin ground. You also can get a bit of a "cementing effect". Here for example minerals will weave their way between the particles of sands and gravels and create more of a bonding effect so you get friction and bonding. It's very hard to test for this as testing is often intrusive and breaks the bonds and by the time it reaches the lab say it's lost it's mojo! We know these old buildings have stood for years but it's harder to prove why from basic tests. But we know they stand up. On a positive note.. a building will use every alternative load path to stay up before it falls down..but don't erode this factor of safety.. it's last resort stuff. Turning back to the practical side and in particular a typical Scottish steading construction. These were buildings to house animals / sometimes folk too and thus you can imagine that when they were build no one could forsee that they would have the value they now do. You have a "water proof" outer skin, random rubble interior and an inner leaf of stone that is less dressed and often less well bonded. The walls vary in thickness depending on their height and amount of buttressing from the interior walls. For these walls to work in simplistic terms they have to function in a number of dimensions. When you load the wall from above the load spreads out sideways. Often the vertical load is not central on the wall head so this causes a shearing effect between the layers as they work to share the load. When the wind blows the walls bend and this also causes a shearing effect between the layers in both a vertical and horizontal direction. For the keen this is sometimes called "complimentary shear". Remove material from one side of the wall and you loose the surcharge.. you invite movement between say the inside and outside of the wall. Vertical shear effects are introduced and the wall may protest. To quantify the above.. fairly recently a Black House fell down on one of the Islands. It was built on sand / gravel and lets face it although they sound great they were built with the few resources available at the time. They have an different way of dealing with driving rain permeating the walls but it's a good example of what you need to watch out for when doing up old steadings. Here apparently the builder had excavated out the inside down some 400mm, just to the level of the stone found. But removal of that small amount of surchage caused the sand to weaken on the inside, vertical shears built up in the wall, the layers delaminated and the thing fell down. Maybe the builder had a machine in, maybe there were some big boulders that were "eased" out when no one was looking" Who knows the whole storey. Luckily no one was hurt. If you've read this far then thanks and if you are thinking about doing up a steading in Scotland then I hope this helps. If you can grasp the basics it's a great journey and can give you confidence. Saveasteading.. sounds like you have a fairly robust structure so you may be fine. Would be interested to see how you are going to protect the exposed part of the wall and so on. Maybe as I said earlier it's a case of starting at the end, edge protection for frost / support and working back from there? Oh and do you know what stone it is and where it came from?2 points
-
And much safer in regard of interstitial condensation with the higher vapour resistance layer inside the lower. 175mm of 0.035 mineral wool between timbers and 75mm of PIR below will get 0.13W/m.K1 point
-
Fair point , but should the architect not be supporting the idea by saying , but only if you use this type of insulation.1 point
-
Oh yes currently. Hopefully things will be better later ?1 point
-
Are they not working to a quote?. I had a main contractor for brick, block, roof, plastering and it was a fixed price, it’s called a quote (not an estimate.)1 point
-
Very typical of an standard English detail. Sit it further inside. A good early starting point at this detailed stage, is work out where the dew point is. Then you know where the window needs to sit.1 point
-
+1 to using screws. Most 120-130mm screws will have a part blind / unthreaded shank so that stops 'jacking' where the screw tightens before the wood is fully in contact / under compression. Just need someone who won't overtighten them with the impact. No.10 ( 5.0 ) screws will suffice, and when you see the heads disappearing just under the surface of the battens get your finger off the trigger! Nails can be hit and miss as you need to be holding the batten VERY tight to the wall to get the whole thing to fasten back robustly. Also a complete bastard to get a batten off / tweaked with nails vs screws with guaranteed damage to the membrane to boot associated with such a removal.1 point
-
We have chosen to go with brick and block with a 150mm full filled cavity , using the "32" insulation the SAP report gives the wall section a u-value of 0.17.1 point
-
As Saveasteading, has said, it will show all of the imperfections - It might be worth using a SLC first - when I did my old garage I ground it as flat as I could (mega dusty job), I then used car body filler to fill any deep holes. I then did two coats of epoxy floor paint in battleship grey (need a drill paddle to mix the two components) from a local specialist - lasted for years - the only thing I noticed was the small area of the slab that was outside of the garage door and exposed to the sun faded quite a bit. It will chip if you drop something heavy / sharp on it and it can scratch with something sharp, sand grit etc. I watched some professionals do the floors at work a few times and then basically copied them - we have had areas patched / repaired at work (ground off and repainted) in exactly the same colour but it sticks out like a sore thumb, the colour never matches.1 point
-
Going to have to stop saying this Plus one with Joe We did exactly that with ours Block and Block Full fill Roocwool Worked a treat Looking at the speck for our next it’s Recticell batts and a 20 mil air gap But that may change Its one of those things that well worth over specking1 point
-
I sat my 3g windows in the cavity they were actually slightly larger than the openings and fixed to the outer skin it is nice to have the windows in line with the insulation barrier.1 point
-
Massive one in the Seven Sisters area of North London.
 1 point
 -
1 point
-
It will show up the dimples and swirls, unless you get a matt finish. I might worry that it will look like a garage floor, but with plenty of rugs and furniture perhaps no problem. There are all sorts of options, from single coat to 2-part epoxy, that can be microns or mm thick. Prices accordingly. I have found the cheapest 2 part works fine, and clients happy to have the huge saving and a spare pot for touch ups where wheels wear it out......ooops still thinking garages.1 point
-
No reason at all There are some nice anti slip floor paints and as Joe says You can always tile or wood at a later date1 point
-
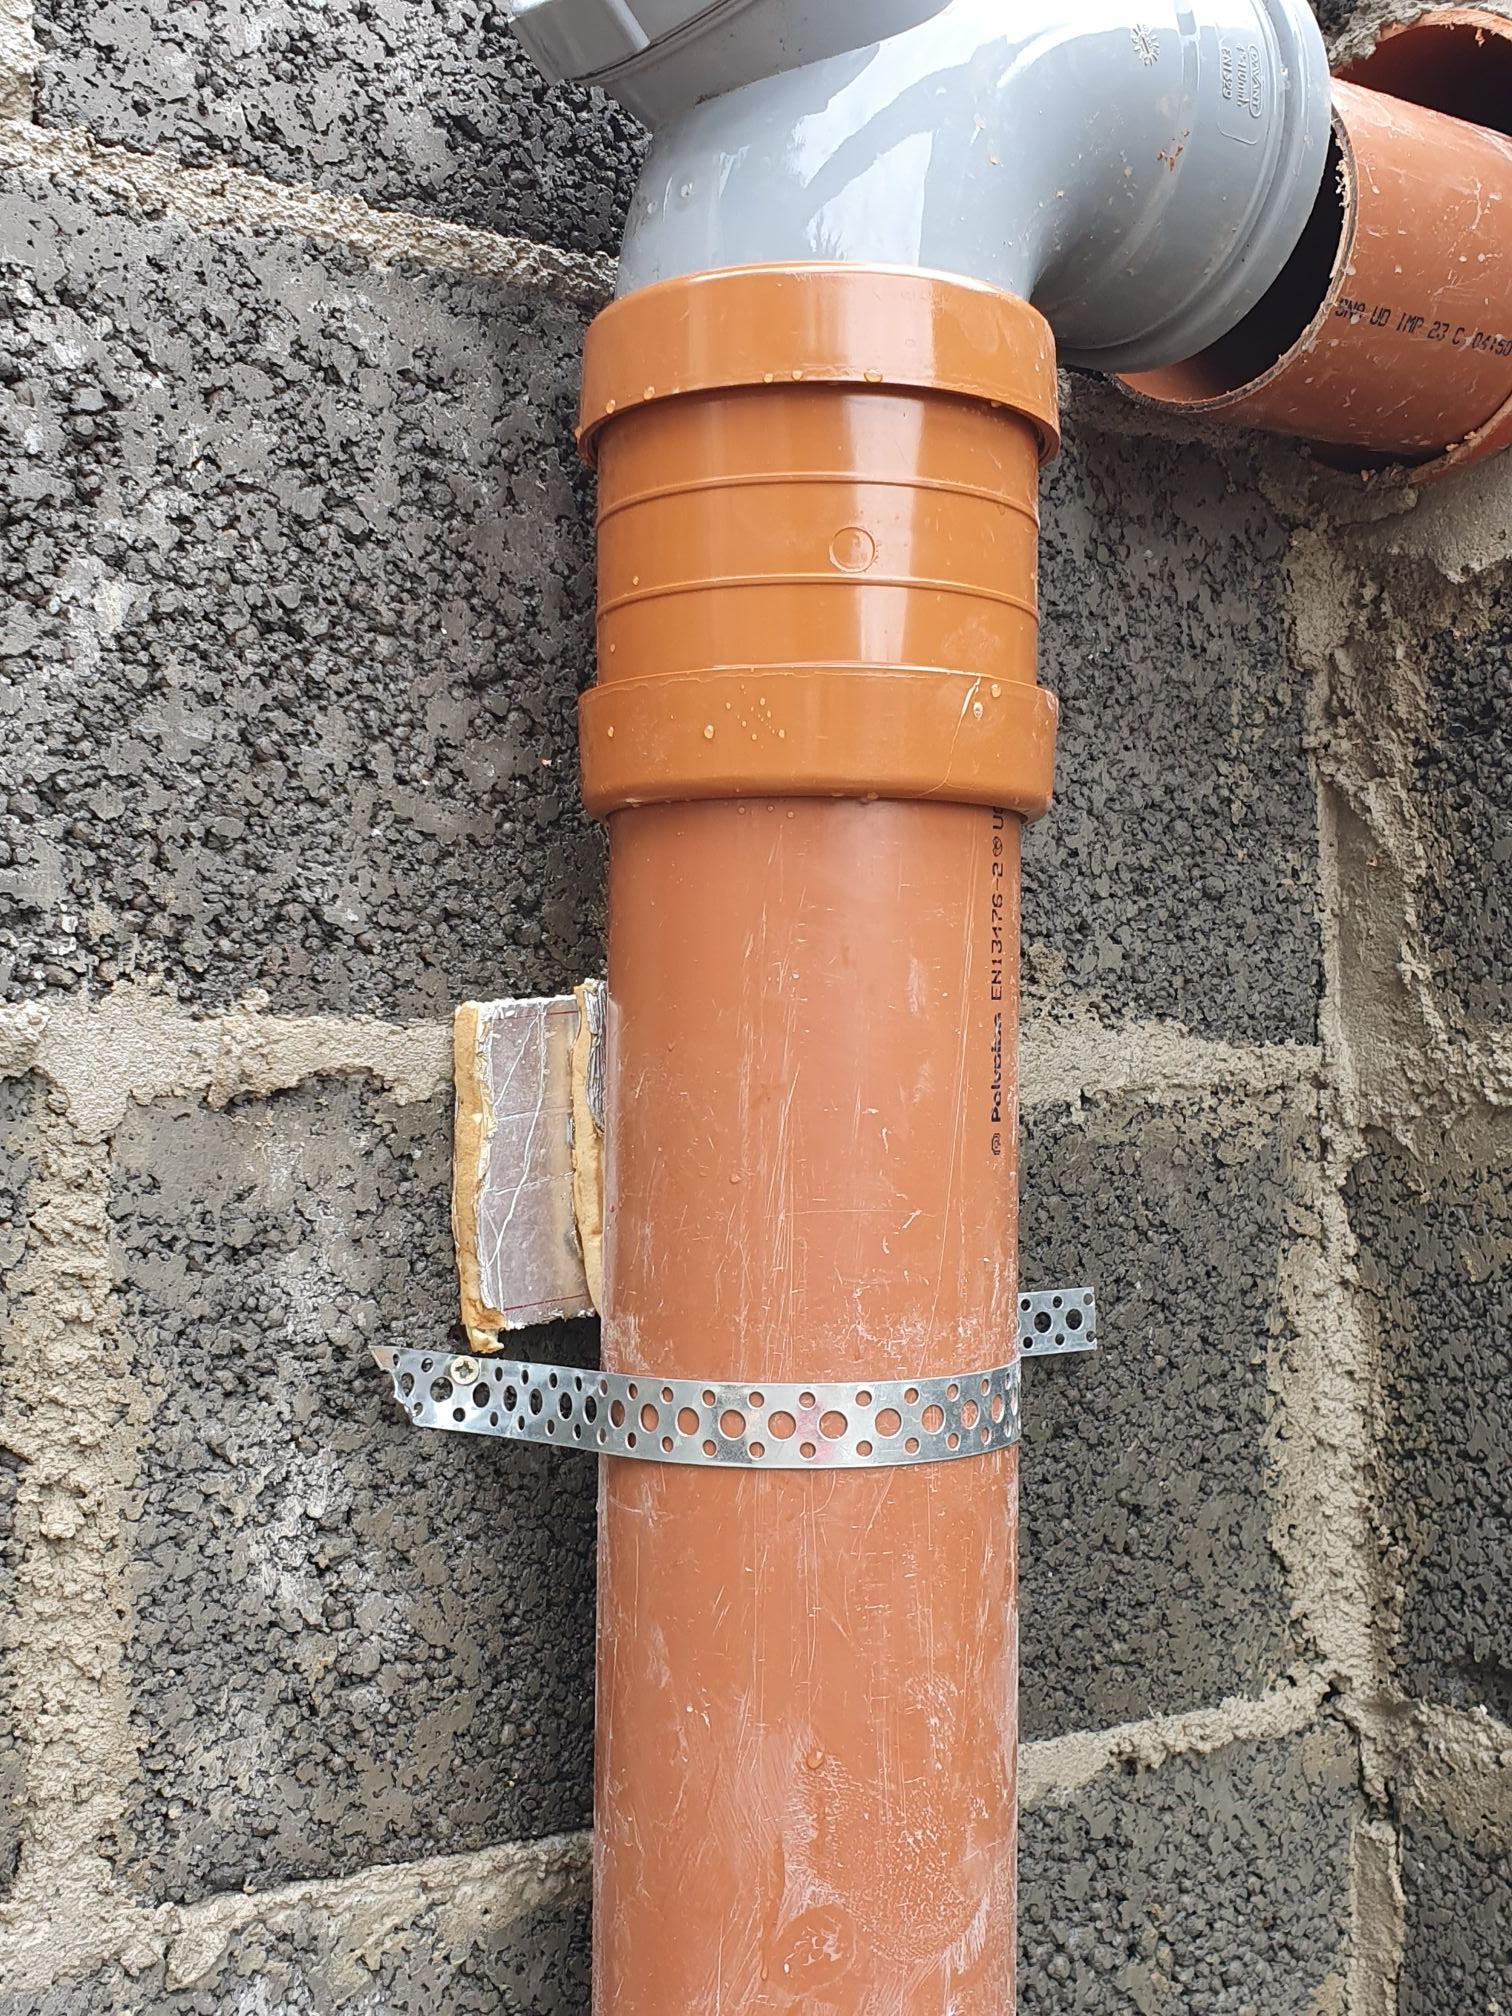
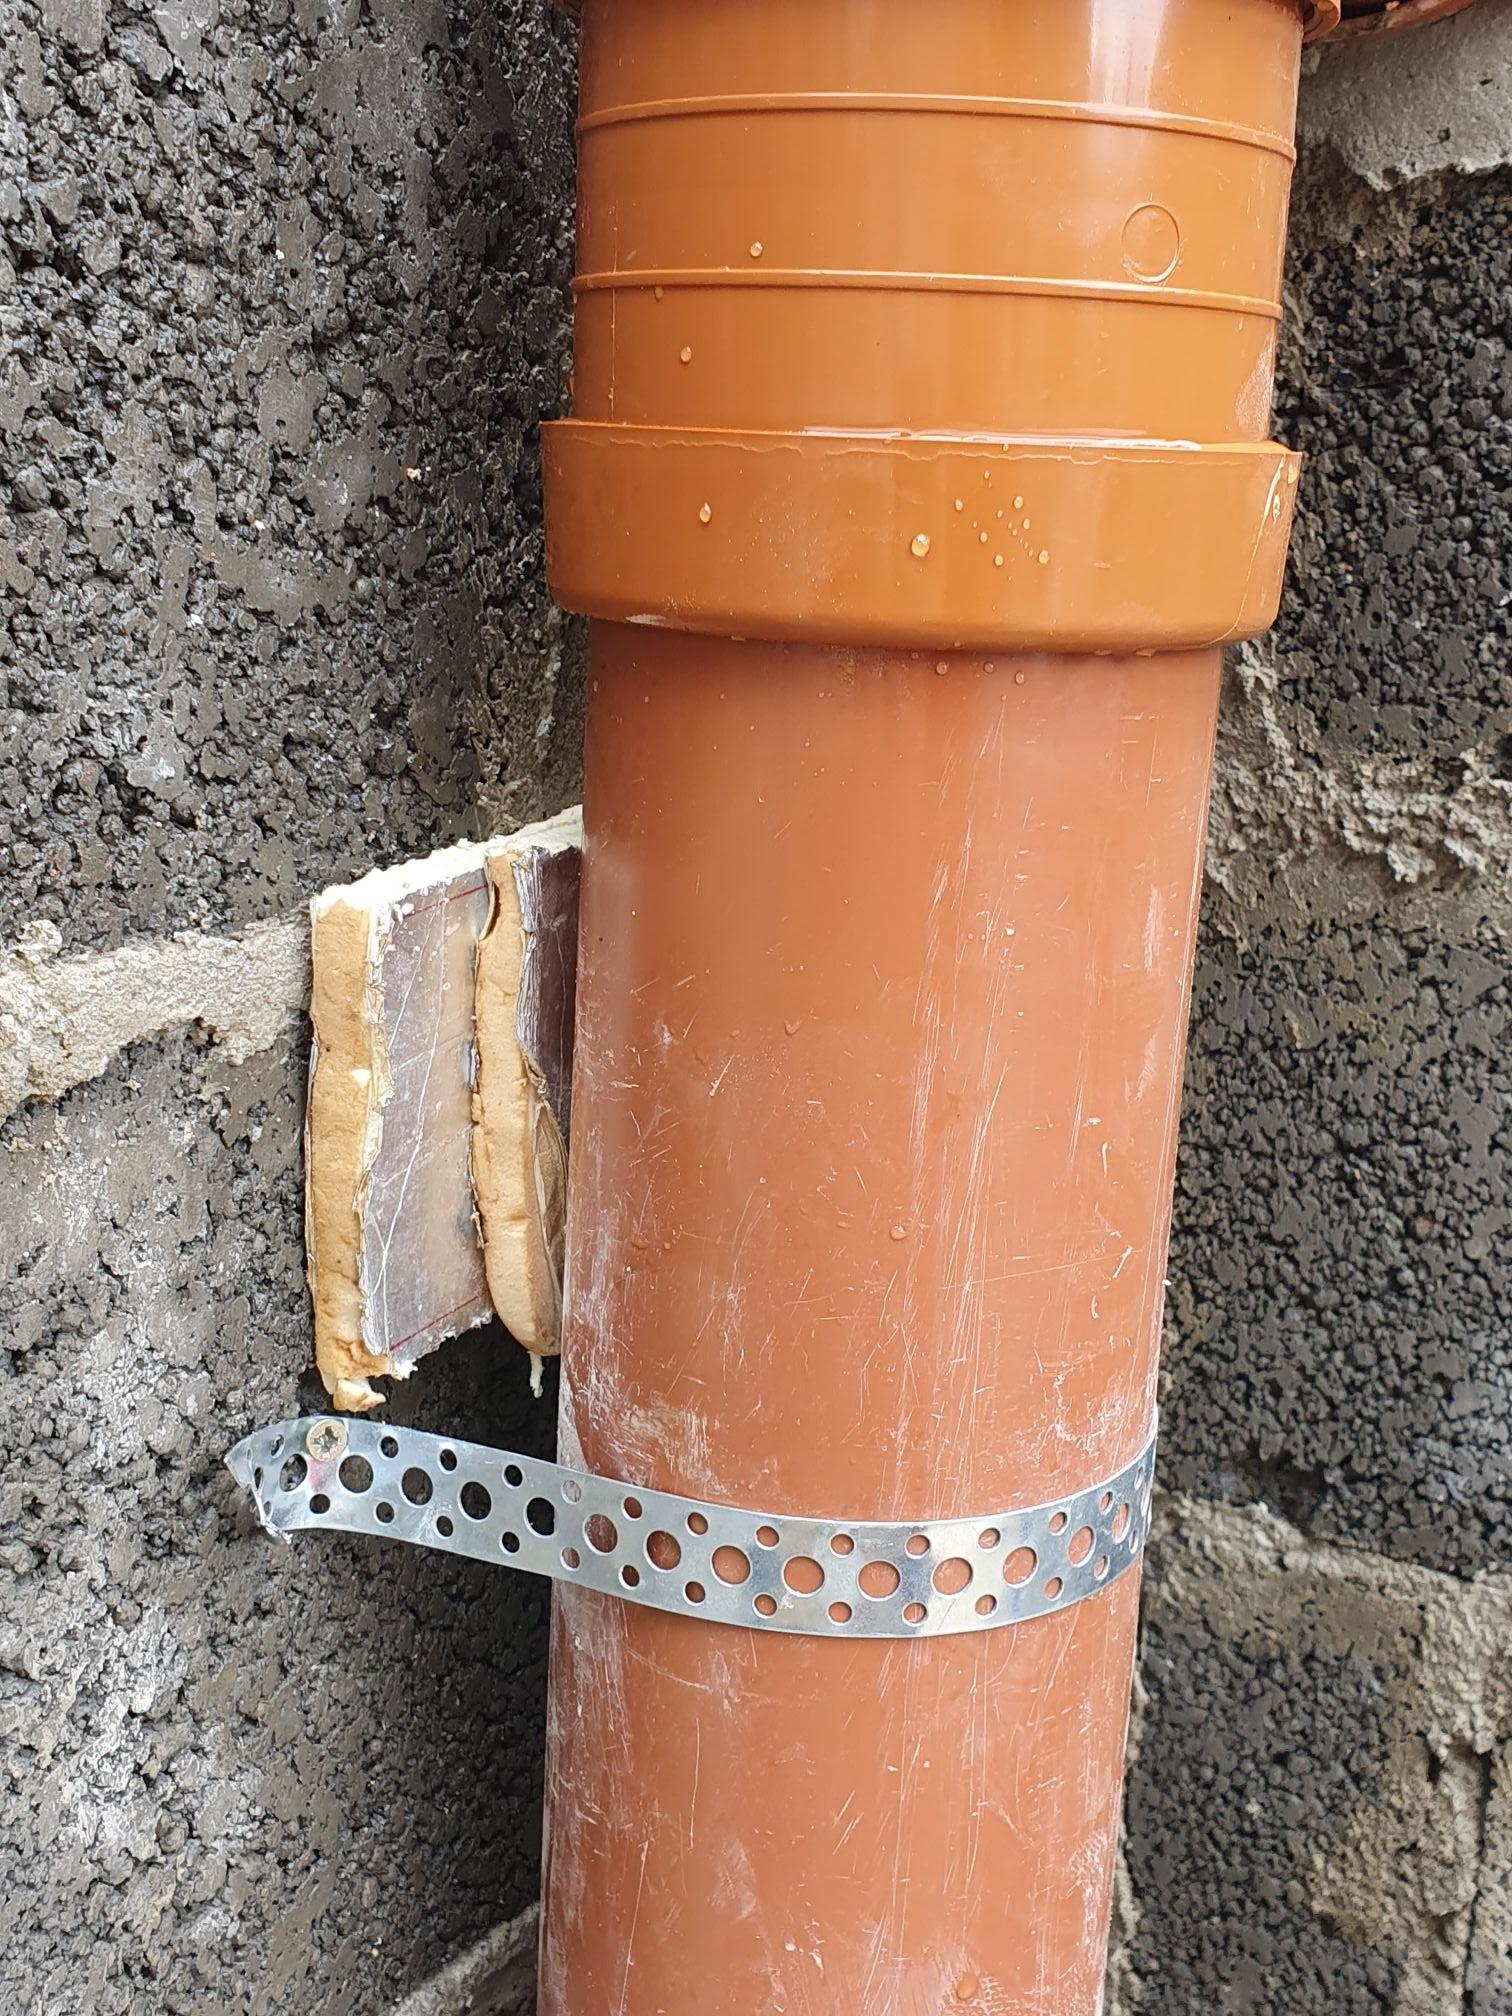
I went for this with the strapping it seems pretty fixed, though i do think it needs some soft material between the strap and the pipe

 1 point
 -
I don’t see why not if it’s what you like, you can always change it in the future for tiles, wood or a different colour ?1 point
-
Ah yes, I usually do but an oversight on that occasion. I've edited it but funnily enough it doesn't seem to work in edit mode.1 point
-
The worktops look fine but the wall are not right. Just paint the walls an off-white shade. Try a few out. Even your architrave colour is a better match.1 point
-
^^what @SuperJohnG said. Screws for SIP.1 point
-
We originally had Blanco Norte for our worktops but then changed it as when we saw it, it was darker than we expected. I wasn't brave enough to go non Silestone as it was just a lot easier to see Silestone in place and know what it would look like. I do think you have the issue that this would look a lot lighter under a window than in the corner. I wish our kitchen had an extra window in it as it is one of the darker areas in the house, we end up with the lights on almost all the time someone is doing something in the kitchen. You probably will too. I showed the pic to my wife and asked her thoughts. Her suggestion is waiting the walls a darker colour for some contrast. You do have a lot of similar colours there. Interestingly, looking at the pictures, the door frame doesn't look white either, it looks almost the same colour as the worktop. The trouble is a slightly darker wall I don't think would work, you would have to go a totally different colour. The other thing at the moment is there is just too much blank wall. We are quite accustomed to kitchens having wall cabinets and splash backs and this may be making you feel something is off. Do you plan to put more stuff on the walls? Shelves, pictures, splash back behind the hob etc? I think this would help immensely.1 point
-
This Sean’s very sensible Joe As I’ve said before Those on here that are on a fixed build price will have to be flexible1 point
-
Correct. 5% sweetcorn and 95% modelling clay mix.1 point
-
Well it took long enough but looking a lot better now, just some edges to tidy up.
 1 point
 -
I'm guessing you're referring to 14m lift height not reach. Here's an example of the kind of size telehandler you'd need https://www.ardenthire.com/plant-hire/telehandlers-and-forklift-hire/jcb-535-140/ Beware, they are big machines so when you say rear extension, what is access and turning space like to lift your trusses? Ardent hire have a depot up north but I'm not sure if it's up north east enough for you? They do operator and unit or unit only but you would need a credit account with them first, this can take some time with lots of checks. I think they even did a credit check on me when I set up an account. Some hire places can add on insurance but it's quite expensive usually at something like 12% of hire cost, other wise you can buy short term hire insurance from the likes of https://www.jcbinsurance.com/ Looking at it differently, you might be better off simply hiring a crane for half a day or a full day, that would come with an operator and wouldn't need the manouvering around site of a telehandler. I wonder whether you'd benefit from posting some pictures of your site and posting a question here along the lines of how best to lift the trusses and see what suggestions come along? Loads of experience here with these sorts of problems. HTH1 point
-
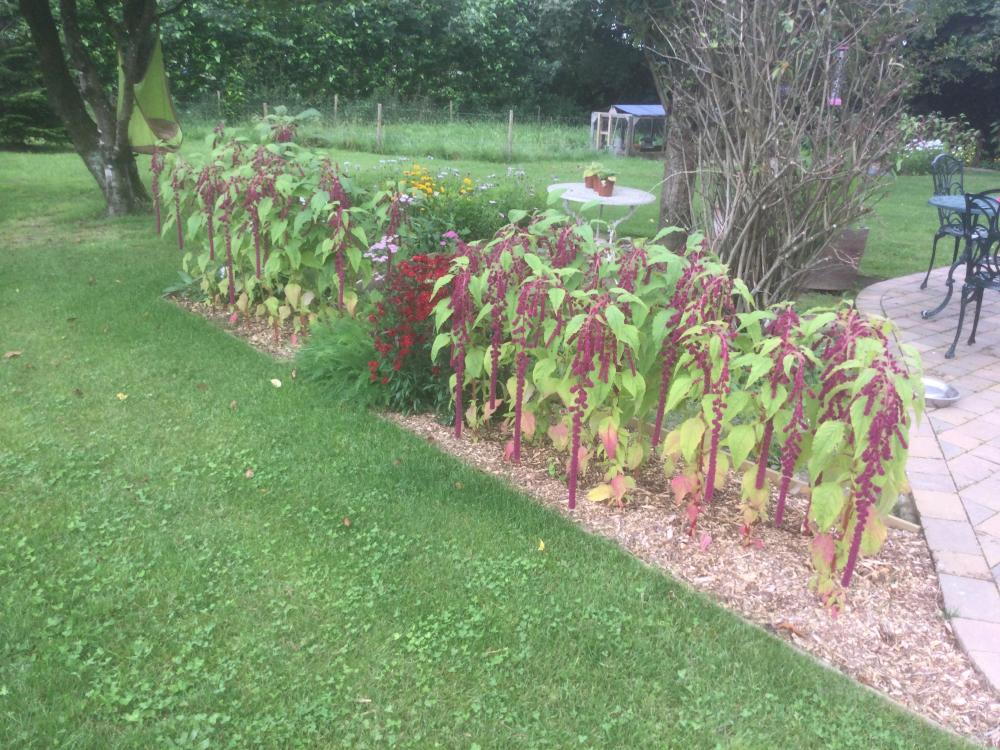
13 months on, my echiums are now quite tall.

 1 point
 -
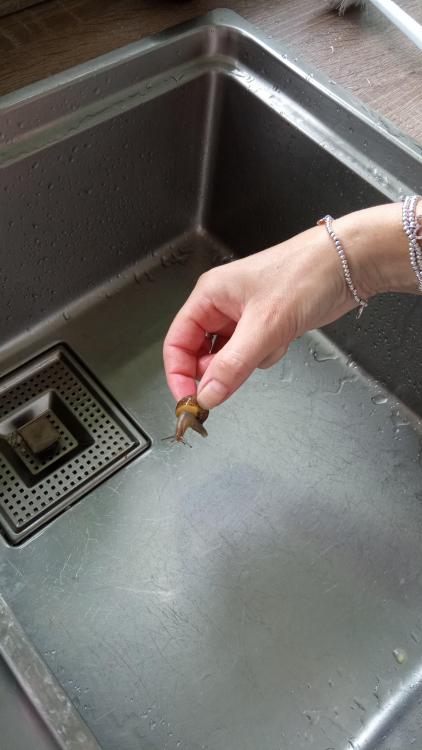
We get the proper large, (edible) Roman snails here from nearby Lullingstone Roman villa.1 point
-
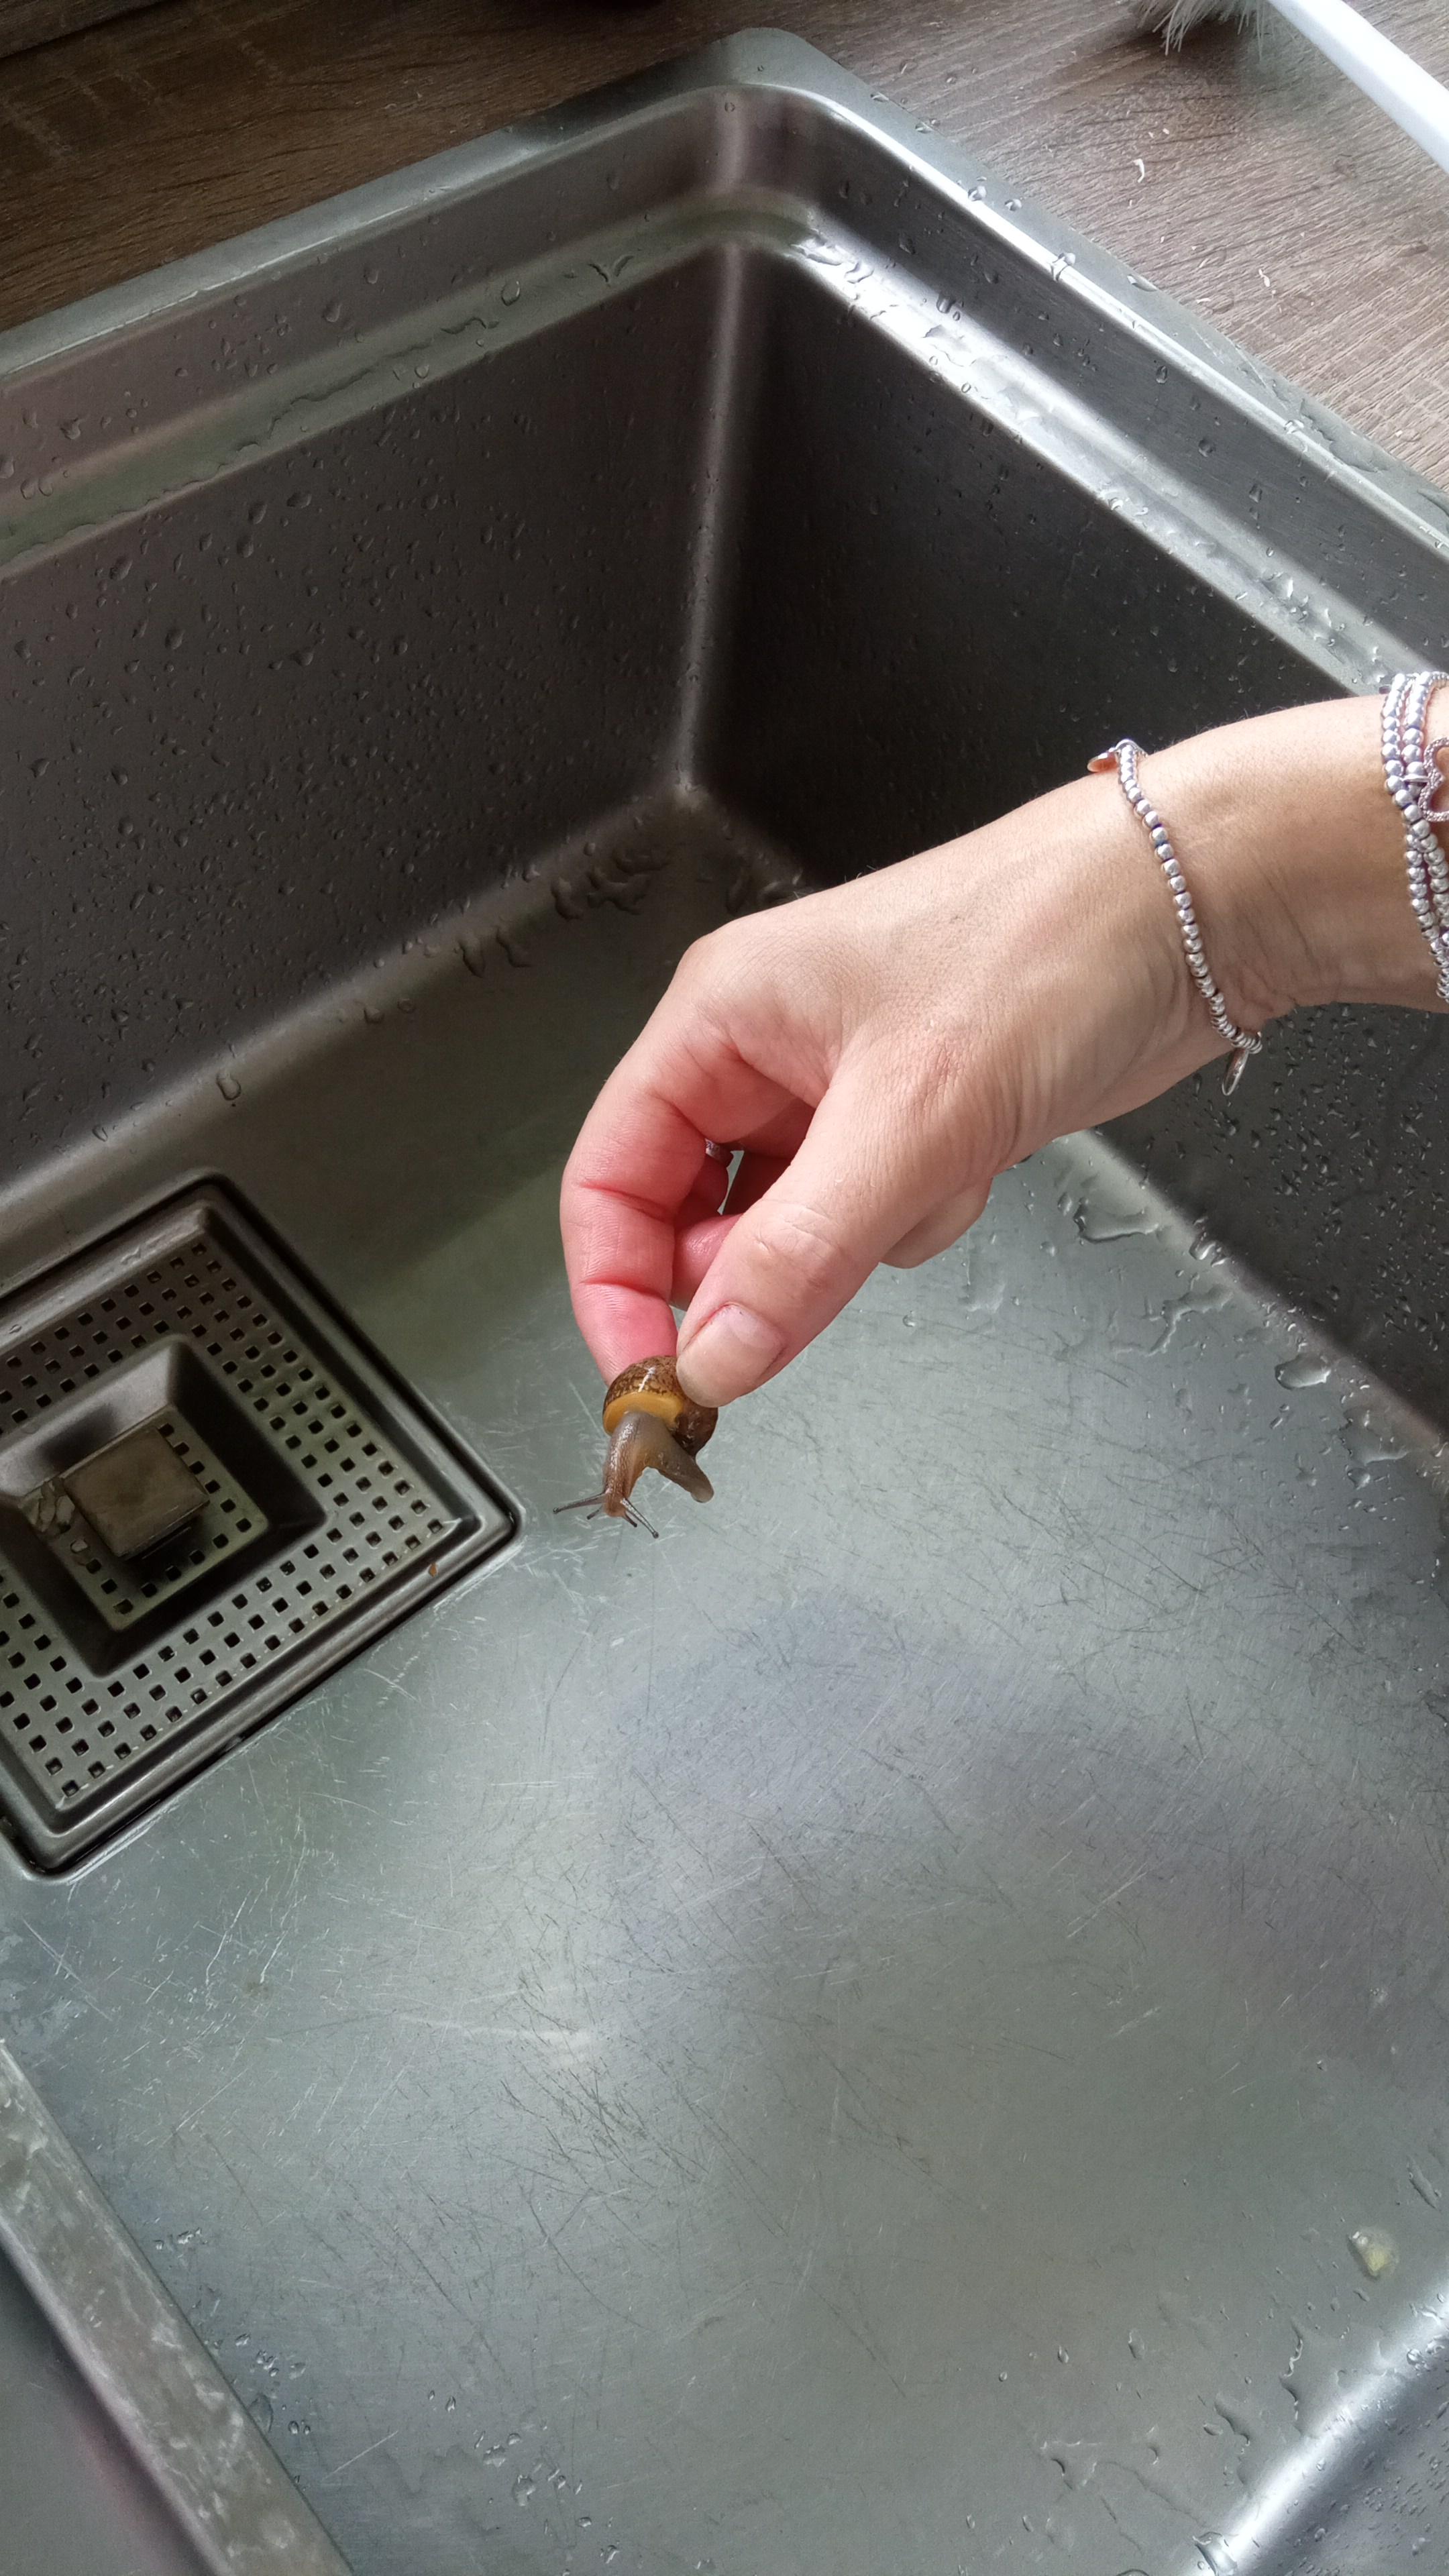
I planted some bulbs earlier this year called Tigridia and the first one has flowered. There is a old man that fishes on the canal that kindly keeps bringing me plants and the small dahlias he gave me months ago have also flowered. Lettuces are doing well but I'm off lettuce for life after picking some and rinsing it to find this. If anyone is close by and wants lots of lettuce feel free to come and get it.


 1 point
 -
I'm finding all modern toilets have a bowl too small from front to back resulting in the "witch's kiss" i.e. penis touches the bowl. Needless to say this results in sitting awkwardly to avoid it. Does anyone know of a manufacturer that accommodates a bigger bowl in the front to back dimension?0 points
-
@moldy The blood is all on your hands for this. May be a long night, especially if @Onoff and @pocster have started drinking already......0 points
-
Until you strap it back on.0 points
-
Handy for seeing round the U bend!0 points
-
What this needs is a less well-hung OP @moldy You can have longer protruding pans, I've seen and fitted Duravit ones. They come with Wundagliss coating so if your bellend strikes 12 it'll still be in prestine condition and not catch bog covid.0 points
-
Finally, Dave's out of the closet0 points
-
Don't mind it touching off the toilet but when it's dangeling in the water that's what annoys me ..????0 points
-
Narrator: no moldy doesn't have that problem0 points
-
another word. hoover. third word, instructions0 points
-
Nobody will notice as they will be looking at the view. Just make sure the concrete is dry before sealing it.0 points
-
So that's where I went wrong. Thanks for explaining, I'll know for next time. If I haven't died from Legionella that is Cheers0 points
-
That is to stop us all from correcting and clarifying what we have typed more than 30 minutes earlier. So @Nickfromwales, typing this instead of Simple answer is switch it on and leave it for 3-4 hours0 points
-
Reminds me of my youth.0 points
-
Cannabis. He smuggles them across the boarder most night to corrupt the Cornish youths. Last I heard he got 2 pasties and a cream tea for an eight. Purple Bude is the street name.0 points
-
Tell me about it , they closed the road for 3 days whilst they connected the plot next door ,my pipe, ready to go and paid for was just 10 meters away ?0 points
-
Bump ?0 points
-
0 points


This leaderboard is set to London/GMT+01:00