
Leaderboard


Popular Content
Showing content with the highest reputation on 07/15/21 in all areas
-
The thread is the thing. Length can be cut and ground to whatever you need. Buy yourself one of these and put it on a hook in the workshop / garage/ shed / drawer. And put it back after use and hide it from your male children. I think I must have bought four over the years. Funny how they just vapourise.2 points
-
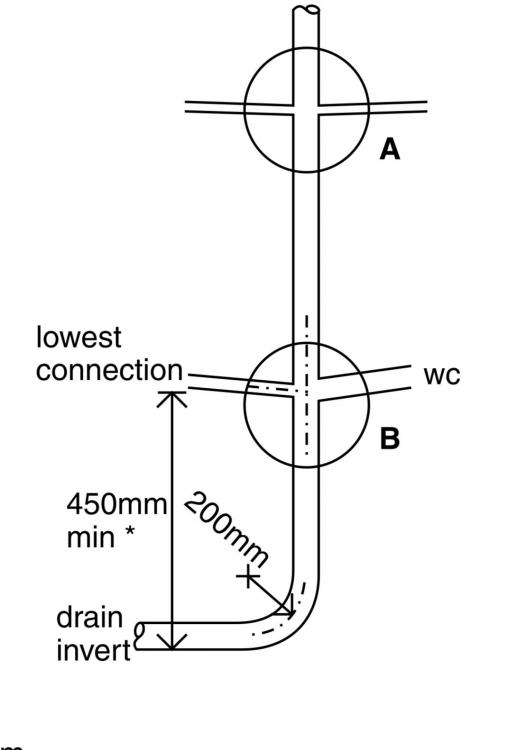
That’s a direct connection distance you’re referring to. This is the min which is 450mm
 2 points
 -
But I think the OP wants line, not level.1 point
-
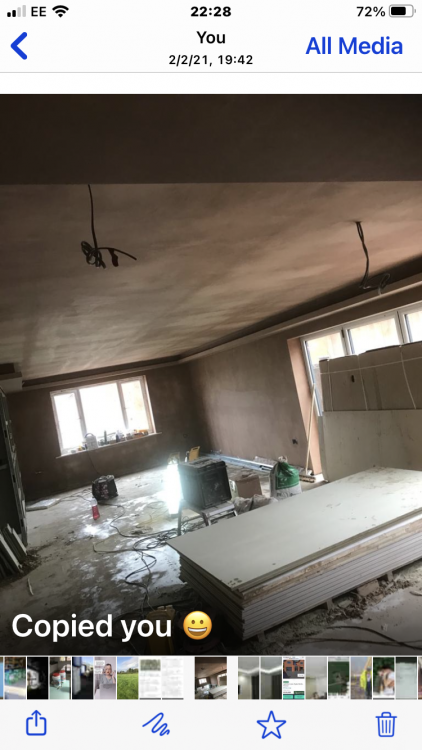
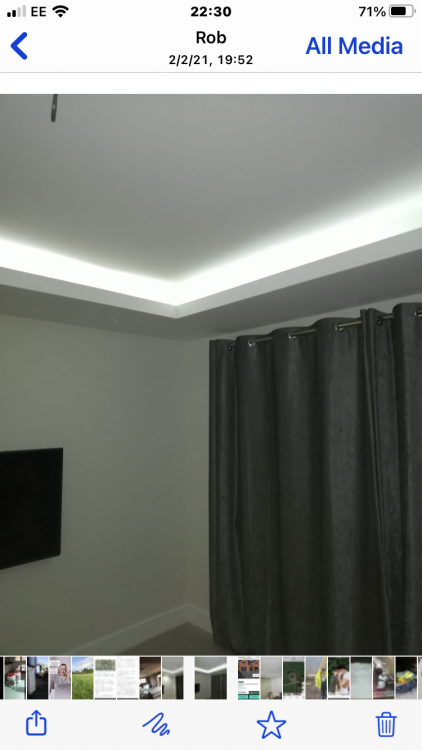
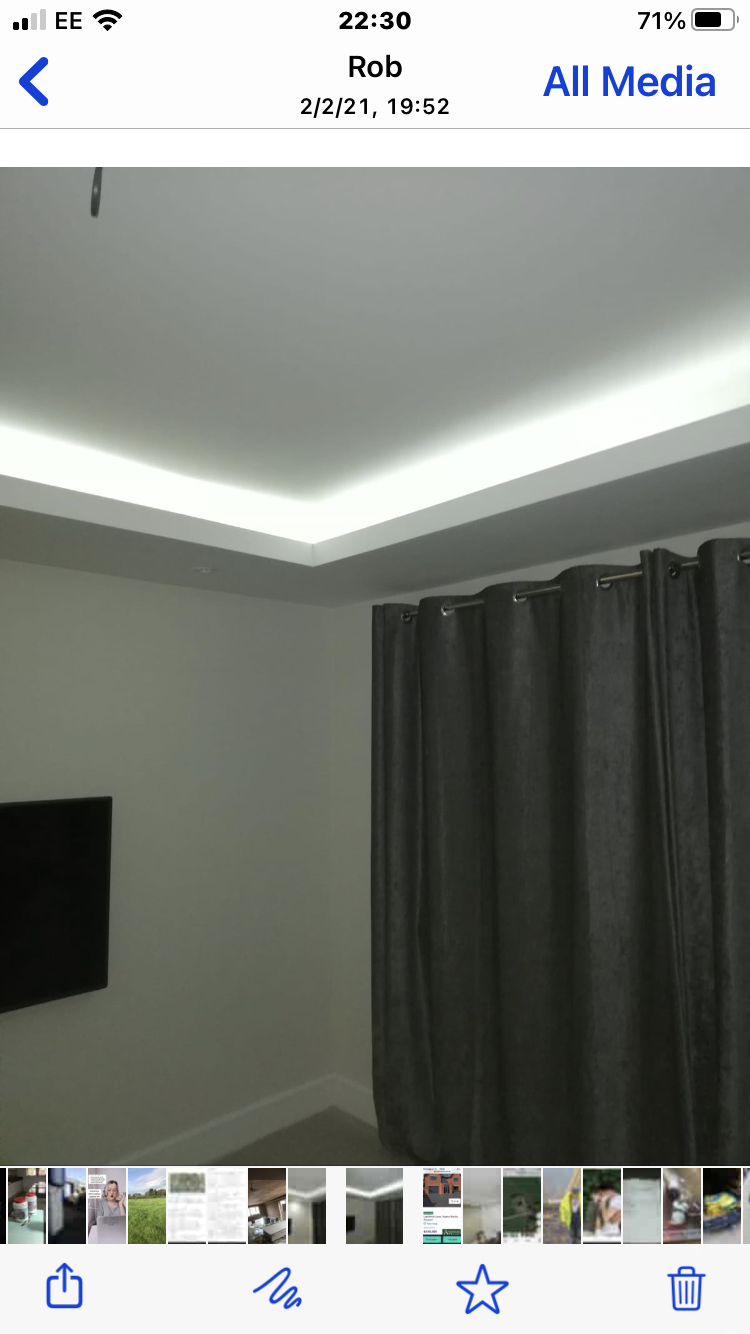
While I don’t do the wiring I’ve built lots bulkheads and coffers for lighting I did this one as a freeby for a friend a couple of weeks ago
 1 point
 -
Piece of cake with a rotary laser level and receiver1 point
-
Glad to have found here, i have read through a lot of threads and have bookmarked lots of advice already, So we are knocking down 2 semidetached 1950's cottages (structural faults etc) and building 2 separate homes, one with a granny flat - all for family. Put in for planning permission (Northern Ireland) a few weeks ago - it's not up on the planning website yet, serious delays with staff working from home/covid. Architect asked us block or wood frame? Going with former mainly because I detest creaky floor boards so that includes not having a wood staircase. Haven't got construction plans yet, guessing architect is holding off for planning approval? Would love to be starting asap. Living in rented accomodation with 3 generations isn't ideal. This isn't a grand design, money in bank from sale of old house. Hearing horror stories re costs and supply of materials, hope things improve. Serious scandal in Donegal re mica in blocks (houses are crumbling/need tumbled), so between that and grenfell - want to be careful re sourcing things. Would like to put in external shutters (european style) and have a sink in our porch for hand washing. No experience worth in building, was hoping my father would have been here for it - he had plenty. Anyway, not to be. Hoping builder can act as project manager. Good to meet you all. Chris1 point
-
I wouldn't worry. You can never seal a roof totally. Hand made tiles have loads of gaps.. http://www.sahtas.co.uk/product-tile-traditional-roof.html
 1 point
 -
No worries thanks a lot. At least I know what I need to order now anyway.1 point
-
LPA's are all tossers......Full Stop. Whole system needs a re-vamp. Whole system need putting in the bin and starting again from scratch. Burn down the council offices i say. that will get some attention. A hooker and coke normally gets the planning officer on side. (you have to take photos)1 point
-
1 point
-
Chipping away at that clay pipe will likely just see it disintegrate, so you’ll probably need to dig it out, cut it clean with a grinder, and reconnect with a rubber clay > PVC union. You then take new PVC pipe into the chamber and connect with an offset 15 or 30 degree bend going into a long radius bend if you have room for it.1 point
-
Ya wot? Have you got written evidence of that? Because if you have I have a strong feeling that such approval could well be considered unprofessional. I think it highly likely that the EA would disapprove. I really hope I'm wrong.1 point
-
I only ever see water bar in a basement. I often see SEs wasting client's money on pointless items or impractical details that end up being adjusted or omitted on site.1 point
-
Yes, several, I installed them on top of 11mm moisture resistant MDF which I've found to be very stable even in damp conditions. see:1 point
-
Sorry meant the socket box screw into the rail not vice versa1 point
-
No need to panic at all. None. "Please Mr Builder, could you show me the invoice for the Koster Quellbend Waterbar, please? " " Ermmmm, it's in the post...." "Oh, no invoice? Hmmm, well since it was in the spec, and there's no invoice, and no other evidence, how are you going to remediate the problem?" Do not pay without evidence. Yes, it looks like you don't trust the builder. My response (now) to that kind of challenge is - how do you expect trust to be built without evidence? It really isn't your problem - yet. I used to trust builders: laughable I know. But just scan some of the stories I tell here on BH .. it isn't pretty. Arm yourself first, pay later.1 point
-
Yes but needs planning - you ideally want to go into the side and with the flow, not tee it into the top. Has this not all been done for your building regs drawings by the architect or AT..??1 point
-
/ if it's long enough to get through the faceplate and down to the box...1 point
-
To check if it’s M3.5 or M3 just remove a face plate screw from a light switch and try it carefully in the hole. They are M3.5.1 point
-
Yes the redesign is minor, it’s the wasted time and stress that’s the problem. There is also the matter of extra costs due to the timing. Luckily we can cover them, for some people it would probably be a deal breaker.1 point
-
We went through a similar process a few months back. It was calculated that we required a 8.5 or 9kw ASHP for a 160 sq m property with no PV. That's for underfloor heating and a 200 litre hot water cylinder. We are leaning towards an Mitsubishi Ecodan.1 point
-
600 in my book and if no one looking 500 too1 point
-
Are you looking to max out the SAP, (100+) or manage the SAP alongside other things? By which I mean, for instance, if you want any cooling from the ASHP then specifying one that is reversible can damage your SAP but will allow cooling, most are reversible after purchase, so no cooling for max SAP but after you move in you may feel you want it!1 point
-
Welcome to THE forum for people like us - look forward to following the build and you will find plenty of help and support here - enjoy.1 point
-
More info required. I would find out or decide how the doors are going to be hung. Eg choose doors and running track etc. Read the installation manual for them. It might be easier to put the structural lintel (concrete or steel) slightly high with a non-structural wood beam below it to fix the track to.1 point
-
M3.5 is readily available https://www.accu.co.uk/en/countersunk-socket-head-screws/5608-SSK-M3-5-8-A41 point
-
Your stack rest bends will dictate the initial depth as will Part H as there is a minimum depth between WC outlet and the bottom of the bend.1 point
-
Two lintels, 100mm of concrete seems a bit thin to me, 50mm sand has been discussed before but I have seen it percolate into the hardcore leaving a void so never use it , drain in or below the hardcore is best1 point
-
Looks like M3.. https://www.ebay.co.uk/itm/M3-x-8-mm-CSK-C-S-A2-STAINLESS-STEEL-COUNTERSUNK-HEAD-SCREWS-HEXAGON-HEX-SOCKET/291820450318?hash=item43f1dab20e:g:Yd0AAMXQTghRNiUK&pageci=310f8fb6-95c5-4e0b-9d4a-d597c6e5d6ff&redirect=mobile If the screw feels very loose then don't over tighten. Try M4. M3.5 isn't a standard size but might be some available.1 point
-
I will be back in our workshop either tomorrow afternoon or Friday morning. I will have a look what we have and assuming we do have some I can pop a few in the post to you.1 point
-
As above, I reckon it’s M31 point
-
get hold of your local counciller, MP and portfolio holder for planning. Sooner the whole planning process is privatised the better.1 point
-
A little smaller than I thought. It may be an M3 x 8mm Counter sunk Socket (Internal Hex) (but it could be an M3.5 or M4) https://www.westfieldfasteners.co.uk/Bolts-Screws-Metric/Socket-Head-Countersunk-Screw-M3x8-A2-Stainless.html You have to buy 60 from the link above, you'll likely find smaller amounts on eBay. Can you measure the thread diameter, is it 3mm, 3.5mm or 4mm?1 point
-
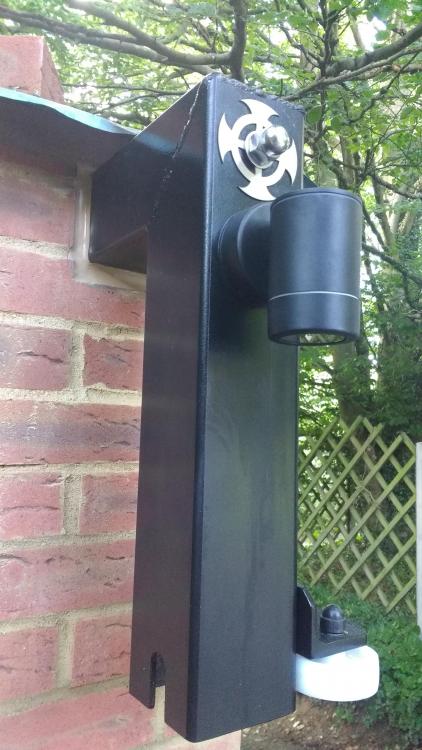
Nope cross laminated bolted timber ring beam chassis (jacked up and then steel slid under and craned up) capable of being moved as proved by a rather expensive engineer but I would never want to pay the crane costs!!!1 point
-
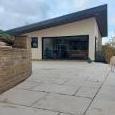
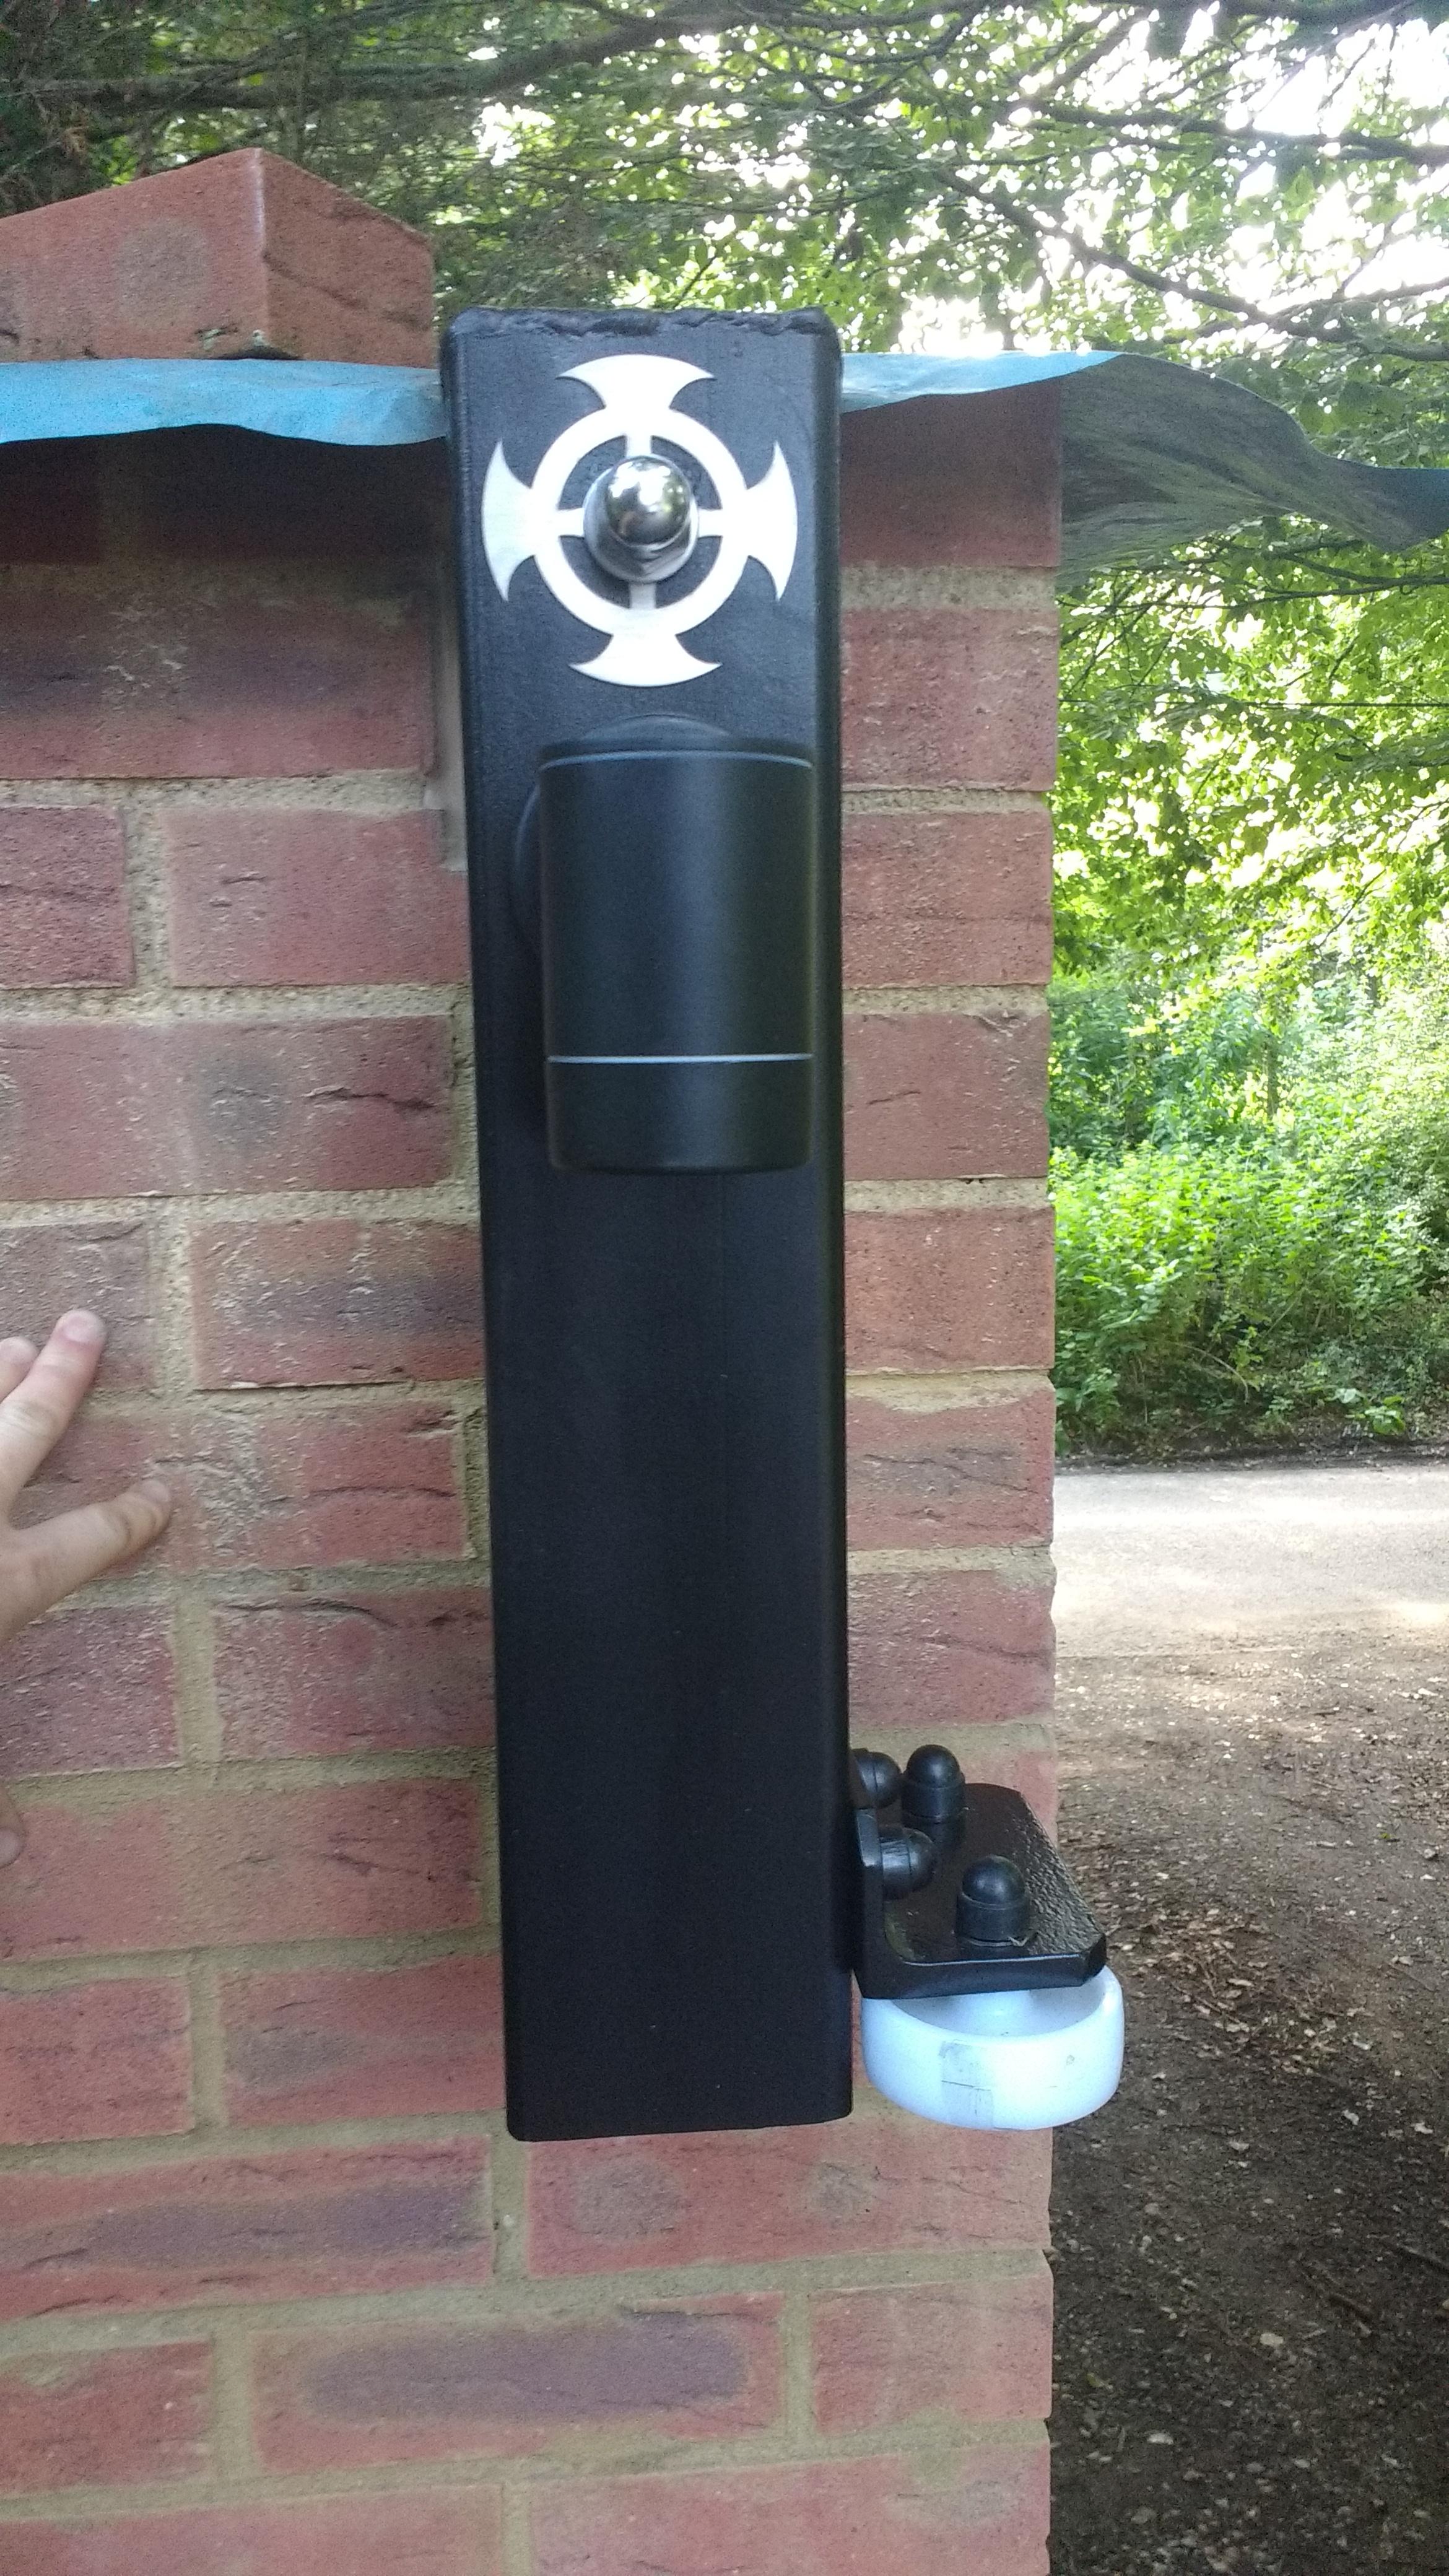
Yes I know, little things etc! Thanks to @JFDIY for the dome nuts and a member on another forum for the laser cutting!

 1 point
 -
I'm guessing, but looks something like an M4 Screw Coutersunk, internal hex x 10mm long https://www.westfieldfasteners.co.uk/Bolts-Screws-Metric/Socket-Head-Countersunk-Screw-M4x10-A4-Stainless.html?google_shopping=qty_A4_ScrewBolt_SHCsk_M4_10=30&gclid=CjwKCAjwlrqHBhByEiwAnLmYUFcUif7f9vD_qtgrotIT9EjY8CuRJkTyWD4r2rRmuWhi9assNXDGzxoCIfoQAvD_BwE Can you check diameter and length dimensions to be sure?1 point
-
Another one not to be overlooked. https://www.recosurfaces.com/ they do a huge range and allow you to provide your own images, which surprisingly reduces the cost.1 point
-
I'd approach this very carefully. EWI takes a lot of care to detail properly and I'd be surprised if a general builder knew the detailing requirements - it's bad enoug finding an ewi company that really knows what they're doing. I think the prices you've been quoted might be on the cheap side. Last time I got a complete figure it worked out to about £75/m2 plus VAT by an EWI company. This was 4 - 5 years ago. Recent figures I've heard from other it's been up to £100 labour and materials. Some of the things the consider: Old substrates where old render has been removed may need a levelling coat before installing the EWI to avoid excessive voids behind that can lead to unwanted convection. Windows and other openings are a bit of a pain as you need to ensure no joins are in line with the corners, so it's a bit like a game of tetris. Then you have the detailing around the reveals that need to be done with care to prevent cracking and water ingress. If your reveals are to be 40mm as per your insulation thickness, you're going to struggle to include both a corner bead and apu rail - the rail that seals the render and ewi against the window frame - so you will have to look at some alternative detail as just using silicon is not best practise). Are you having plinth insulation installed below dpc? If so, what is the cost of the usually specced xps, rendering and ground detail? How is the builder suggesting you deal with service openings and runs - e.g. soil pipe, guttering, waste pipes, gas/electricity meter box, and any phone lines/electricity cables. And that's just the beginning. Also keep in mind that Kooltherm is not vapour permeable so you'll need a careful look at moisture and condensation management to the interior of your walls. EPS would be better as it's considered to be semi-permeable, so better than none. Rockwool ewi possibly even better on this front. Anyone looked at your condensation risk for your proposed ewi? Overall, I think you'd be better off finding a dedicated EWI installer to do the whole job including the final render. That way you'll be more likely to also qualifiy for the manufacturers system guarantee too - whatever that may be worth ? At present you run the risk of multiple parties blaming each other if there's a problem down the line - not unheard of with poorly installed thin coat EWI. Sorry if I've put the cat amongst the proverbial...1 point
-
It's more that just water table - you need a geotechnical survey to the satisfaction of your SE who will be designing the basement structure. This will be a mix of desk survey (historical investigation) and onsite ground survey (this element should be zero rated for VAT as it it involves 'tools' and is materially related to the construction, per HMRC guidelines) to determine: - Ground composition : required for both structural design and also construction design, i.e. do you need retaining structures during build etc. Also required to calculate muckaway as different materials bulk up differently when out of the ground and you pay by m3 vs weight - Load bearing capability : fundamentally required to structurally design the basement, will a slab suffice, how thick etc, piles? - Soil contamination : may be requested by your LA if there is any historic likely hood. Also required to know how to dispose of the soil - needs WACS testing & classification - Water levels : required for your waterproofing design (and maybe also build strategy if water level is higher than your excavation). - Gas levels : required for your gas permeability design (membranes) The other factors for basement design will be - intended use (sleeping, living, storage, plant etc) which will drive BC requirements most obvious of which is alternative means of escape or fire suppression. - full or partial footprint : is the basement the foundation also (like ours) or do you have a hybrid approach? Is the house above designed so the SE can take the loads imposed into consideration? - insulation : our basement sits on 300mm EPS and has 200mm EPS to sides (all EPS grades calculated by the SE) so it needs no heating and is always @ 20o ambient temp by virtue of the other heat sources in it (appliances, plant, people). - light : natural light is great for basements but needs lightwells to be designed (can be structural or bolted on GRP etc). - services: will you want wet services (toilets etc) in the basement, if you you will need a sump and pump or macerator to surface level foul drainage. - ventilation: if you're having MVHR, it will need to serve basement. If not, how will you get fresh air to circulate? Note that adding a basement to a 2 story house makes it a 3 storey house and so the fire regs step up, minimum FD 30 doors to all rooms off the central stairways, possibly hire grade fireproofing. Now, that all sounds a bit intimidating but it's just more detail to contend with and the only expense you need to commit to is the survey to understand if you can build a basement within your budget. We had a full technical survey that comprised 10m probes and a few 6m cores. For one of the cores, they sleeved it, put in a gas and water monitor and capped it. Returned after 3 weeks to take measurements - no water found (and this was in October). Given basement excavation was 3.5m that gave confidence that WPC and a good drainage strategy (to a soak away 4.5m deep) would do the job. No piles required but chalk substrate meant the slab needed to be a bit heftier than ususal.1 point
-
In at last! Building controls came out and checked the site and have issued a “temporary habitation certificate”. Big sigh of relief especially for a self build where you’ve been the main contractor. Lots of bits and pieces jobs, as you would expect at this stage of the project. Adding stairs to second floor, making lights work, finishing off bathrooms, the last bits of flooring etc… it’s a long list but getting shorter by the day helped by being on site. The stairs are a feature of the build and getting them right was a tricky path between the minimalist look we wanted and compliance with building controls. The main problem we faced was that the kit stairs we used from Fontanot did not have a stock solution for stairs installed in a void rather than from a solid floor. A modified mounting was ordered. When it arrived it was the wrong colour! And of course the colour was not RAL. Getting it re-manufactured was an option but it would have taken a couple of weeks. Fortunately we have a local powder coating firm K and N we have used in the past. They were incredibly helpful, managed to get a powder coating that matched for the manufactures copper-black. Two days later we had our newly powder coated bracket and we could start the installation. Working from a staircase is a little more tricky than working from a solid floor, a case of don’t look down. Again we started from the top of the flight and worked down. On the first flight we supported the assembly with props from the floor. This time we needed to support the second flight from the first flight. The lower stairs are rock solid, all the same we added supports to it to transfer all load to the concrete floor. This being our second installation it went fairly quickly. It proved more difficult to keep the structure square with no walls to gauge from. With the last tread in place and all bolts torqued up we removed the props. The stairs promptly sagged a good 20mm, some of this was due to the temporary supports being to long, but not all of it. After a bit of head scratching it appeared that it was down to flex in the modified bracket. Walking up the stairs showed another problem, the lateral stability was not brilliant. On the lower stair this was taken care of by stabilising brackets attached to the walls, not an option on a staircase with no walls. The stair kit comes with a very heavy duty mid-flight support bracket made to either attach to the floor or the wall behind the stairs. In our case, the wall is a window. The window is however flanked with 150mm of concrete inside the ICF. Plenty of structural strength to stabilise the stairs. More calcs and a design for a suitable structure was drawn up. Luckily for us one of our daughters is an artist blacksmith with more than adequate welding skills, steel was ordered, bracket constructed. We did a test fit before getting it powder coated. All looked good so it was off to the powder coaters. Installing the bracket was a three man job due to it’s weight and the need to get the position spot on. High tensile studs resin fixed into the concrete and left to cure. The stairs had been supported during this process and I must confess I held my breath as the supports were removed. I need not have been worried though, it didn’t move a bit or drop and lateral stability concerns resolved. Result! In addition to the internal staircase we also have an external spiral staircase. We had poured a footing for the stairs when the concrete pumps were being purged after the ICF pours, so the prep was done. Assembling the stairs was very straight forward, a central boss fixed to the concrete, onto which an armature is bolted. The steps then get added. Once all the stairs are on the armature the top platform is added and bolted to the wall. So that the bolts didn’t form a thermal bridge we anchored glass fibre rods into the concrete. The rods were tapped to take 8mm threaded rod. With the platform bolted in place the steps get rotated to form the staircase and are held in place by rods through the stairs. The whole armature is then put under compression by a large nut. All very neat and simple unlike the internal stairs. With the stairs done, it was back to work on the bathrooms. Before the covid outbreak we had stayed at Centre Parcs and rather liked the woodland pictures they use in their showers. After some research Pat found a company Reco Surfaces who manufacture them. We contacted them and decided they were a good option for providing an alternative to the run of the mill shower finishes. Interestingly it reduces the cost if you supply your own image. In hind sight we would have gone for this option, the only reason we didn’t was image size. The resolution needs to be a minimum of 300dpi to avoid pixalation. In our case a three panel screen would require a 48 megapixels image. Sounds a big image, but it’s not exceptional and even available from some phones. In any event we went with stock images. We decided on the images we would use to brighten up the showers and also one for the kitchen splash back. The panels were ordered and arrived in three days, really good support from the guys at Reco. The panels are easy to instal on a flat surface. We put ours on 11mm water resistant MDF. The track saw paid for itself again making accurate cutting of the panels possible. All in all the panels are a great way to add interest to an area, at around the £120 mark for a 2400 by 1200 panel much more affordable than glass. The pictures really don't do them justice they are very eye catching and with the option of using your own images very versatile, a real find. Next on our list was lighting. We’ve installed some lights during the build but not implemented switching or dimming. Lights get pretty complex, not in technical terms, but just what you want ,where and from where do you want to switch it. Lots and lots of decisions very early in the build when you have more important things like walls and roof to do. Our lighting very simple. All our lights originate from a single point allowing the switching to be changed at some later date should we need to or want to go to an automated solution. All lights are wired with a combination of remote controlled dimmers and battery powered touch sensitive wall switches. It’s a simple system that means the lights can get turned on from the wall switches or the remote. The dimmers retain there last level setting so come on at last setting when the wall switches are used.1 point
-
"Easy don’t buy the upvc. If your filling the cavity with eps beads you must be trying to build a quality house, I don’t see how 65mm upvc frames even come into the equation. Put them out of your mind buy the better windows and solve all the problems like you had before." Yes if it was just my choice I would, but my other half is insistent on pvc.... So how about a strip of aerogel in conjunction with either frames raised up or further in?0 points
-
Discharging sewage onto a slate base with minimal topsoil cover? I suppose your garden will grow well!0 points
-
Local BCO has approved a Septic Tank, so do not intend to go down the STP route.0 points
-
Inky newspaper to polish wet, washed glass is superb. Almost a reason to buy a paper...0 points


.jpg.c21f3ac78c9b7efd90cbdcb312744dc5.thumb.jpg.7adcad4c0e384f5ecd7d56b0618df6e5.jpg)

This leaderboard is set to London/GMT+01:00