
Leaderboard


Popular Content
Showing content with the highest reputation on 05/27/20 in all areas
-
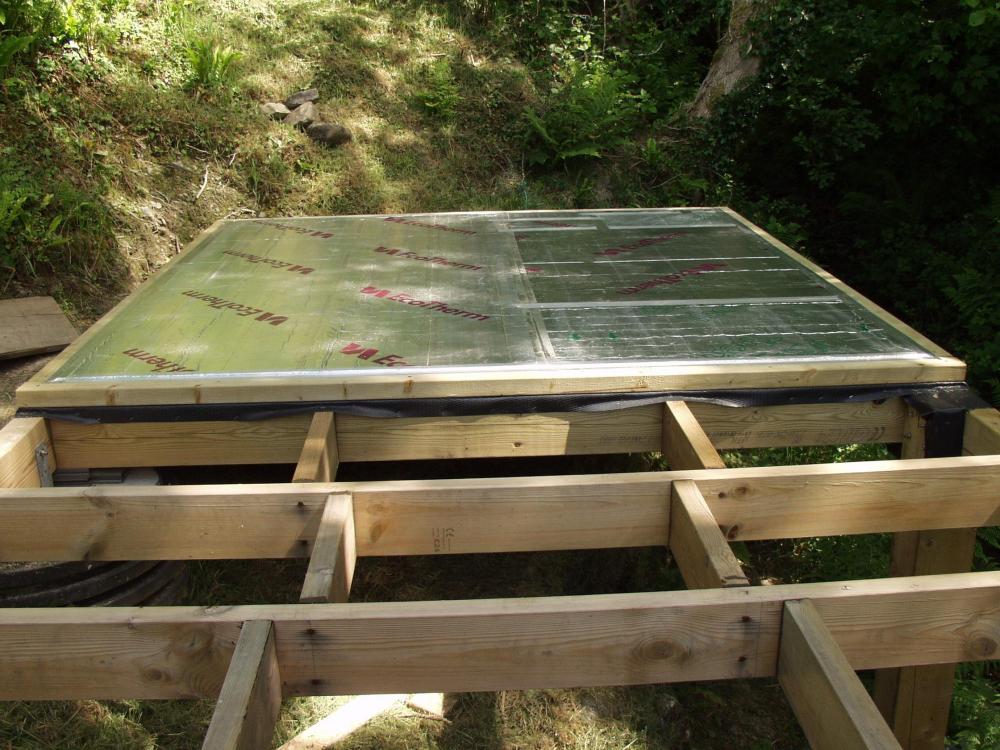
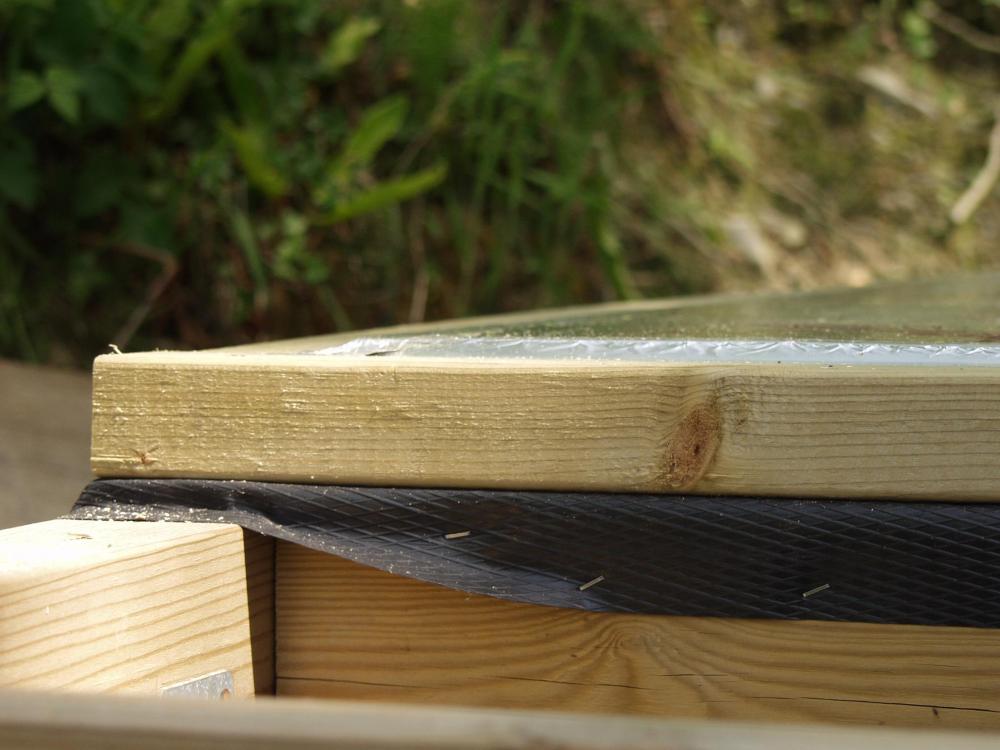
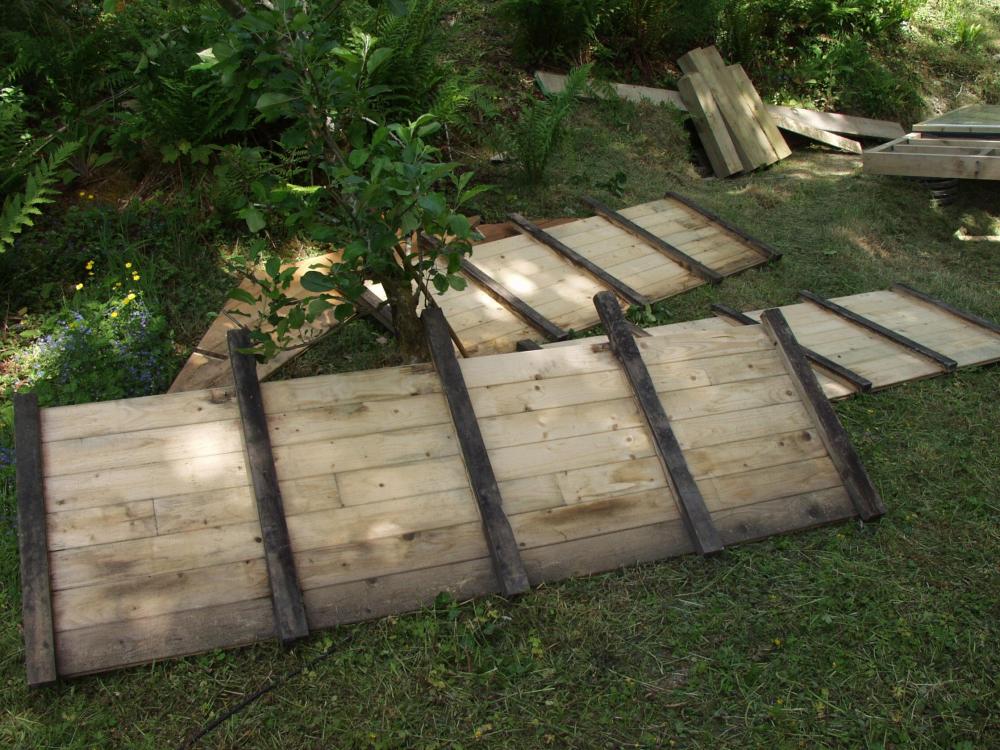
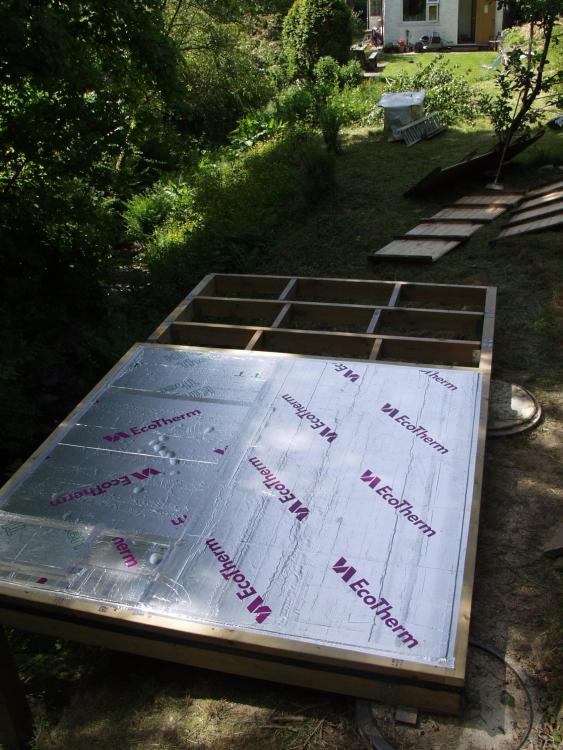
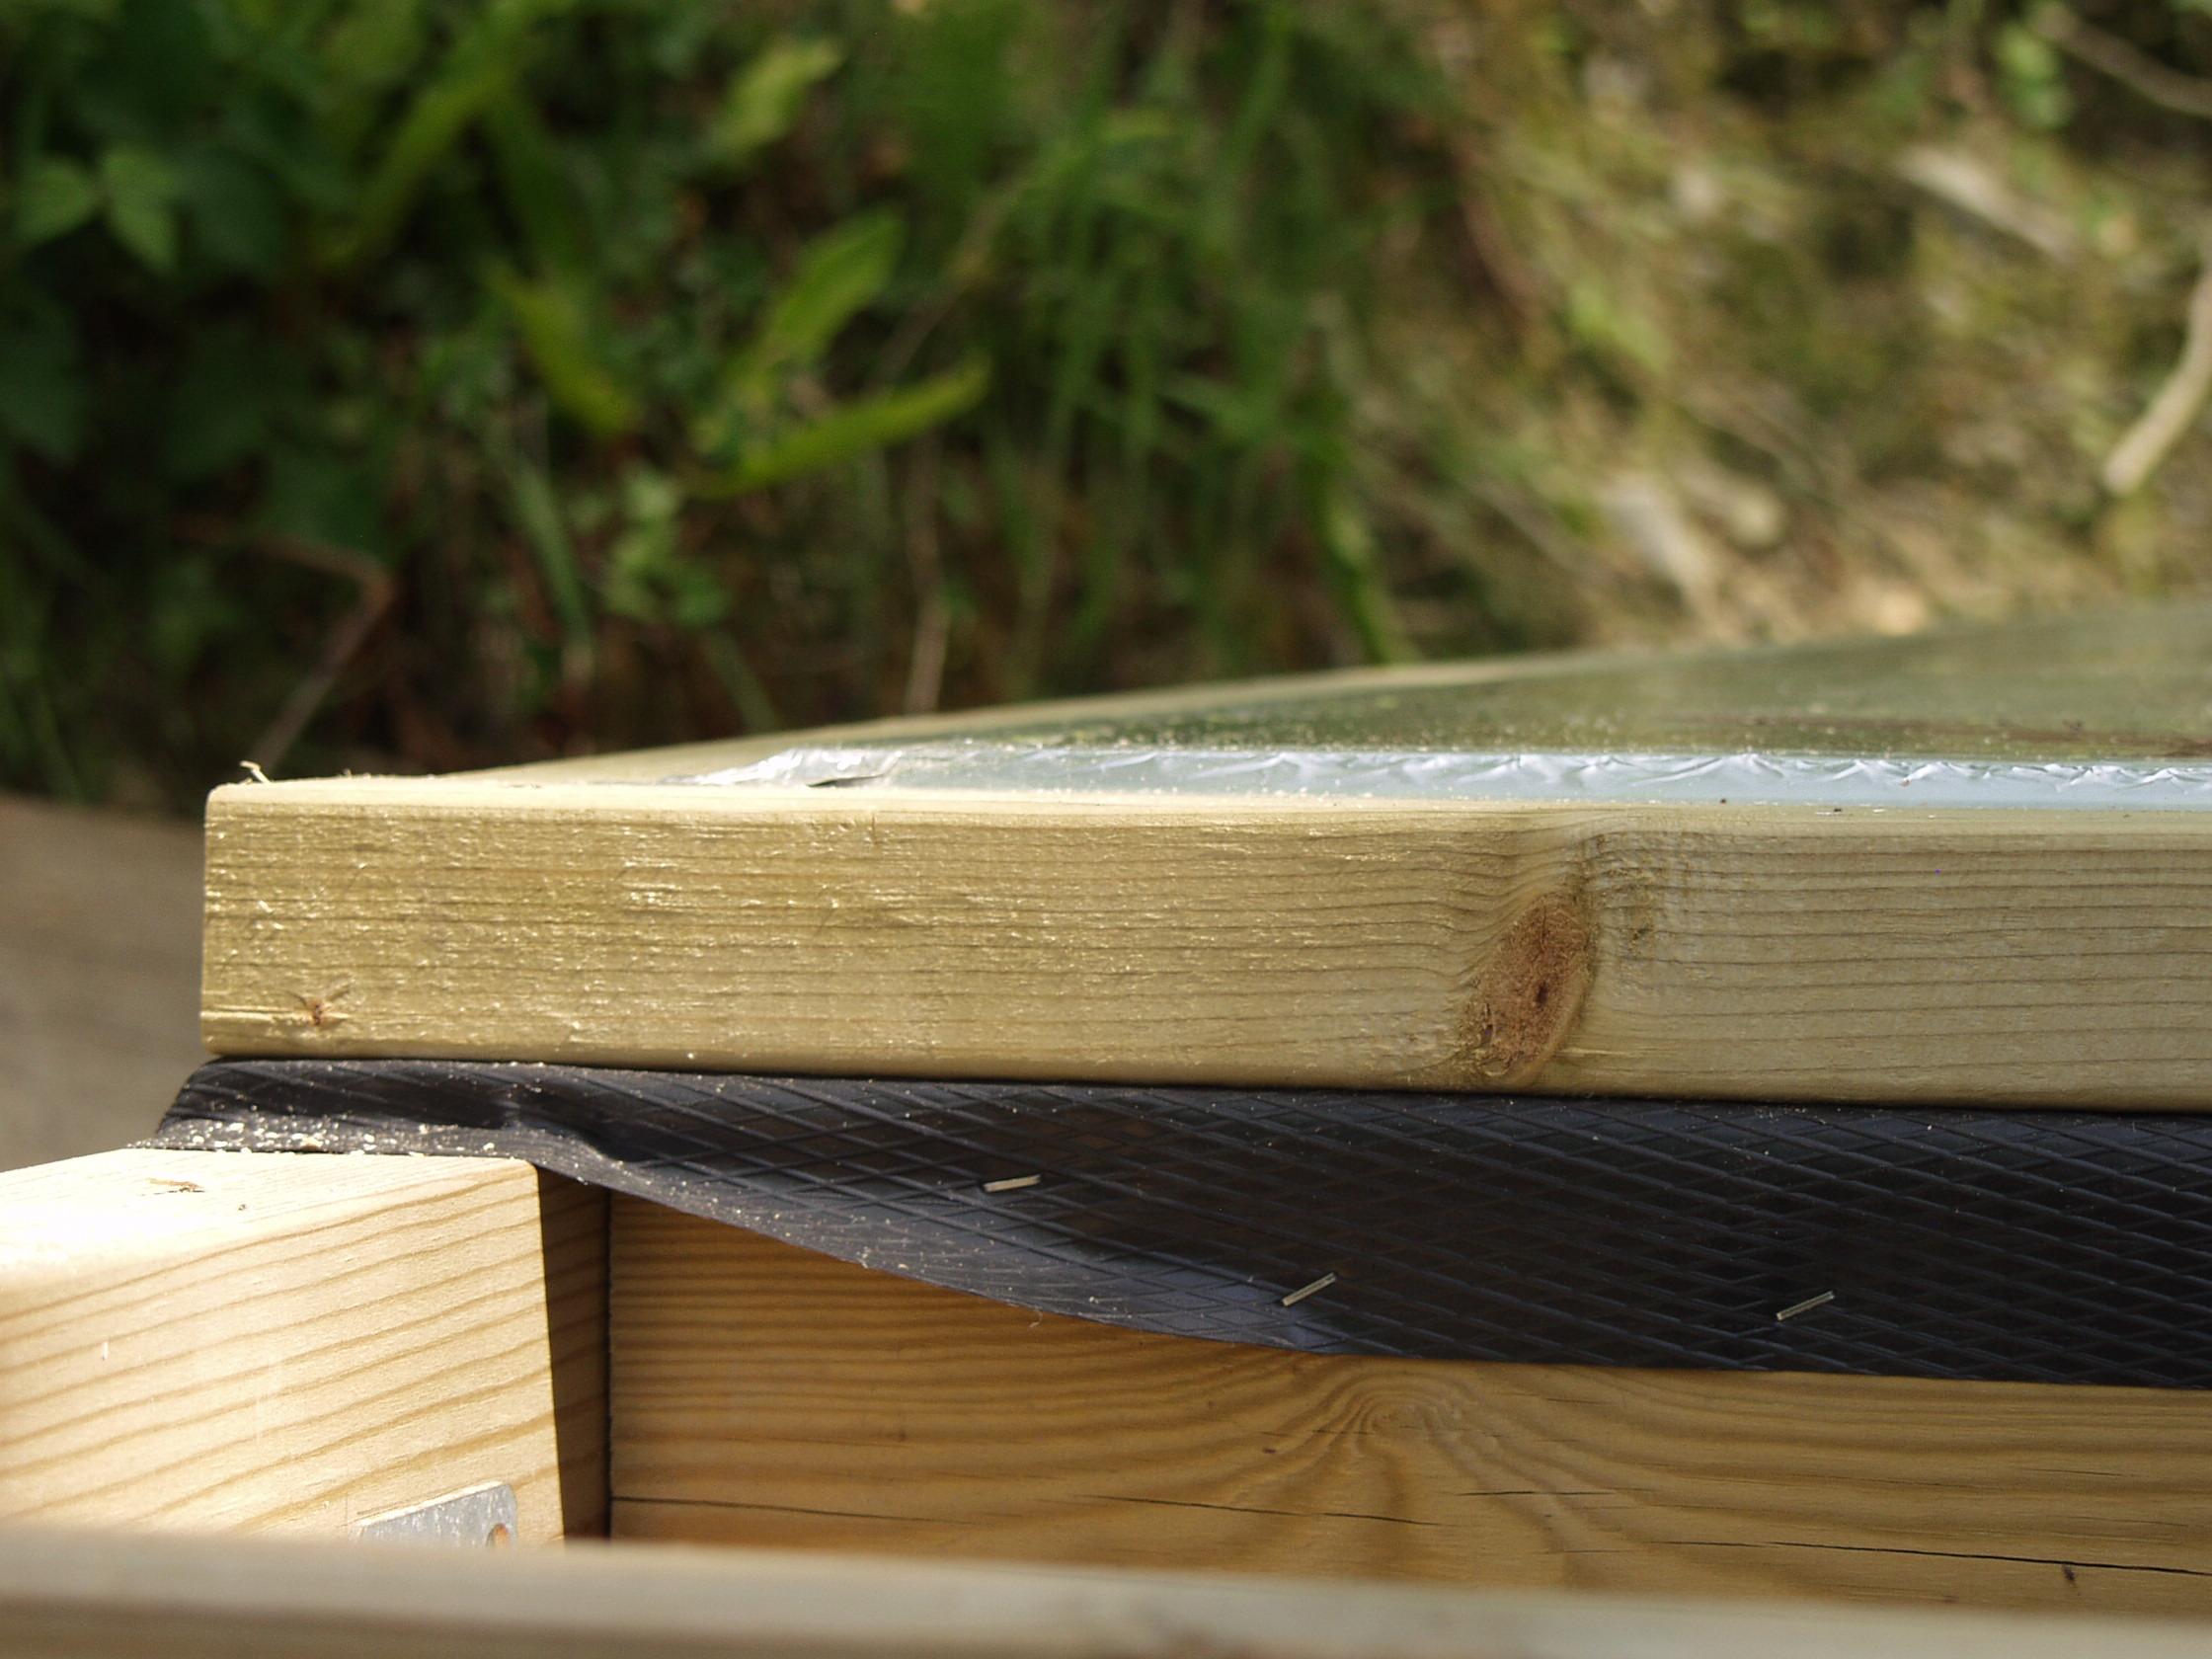
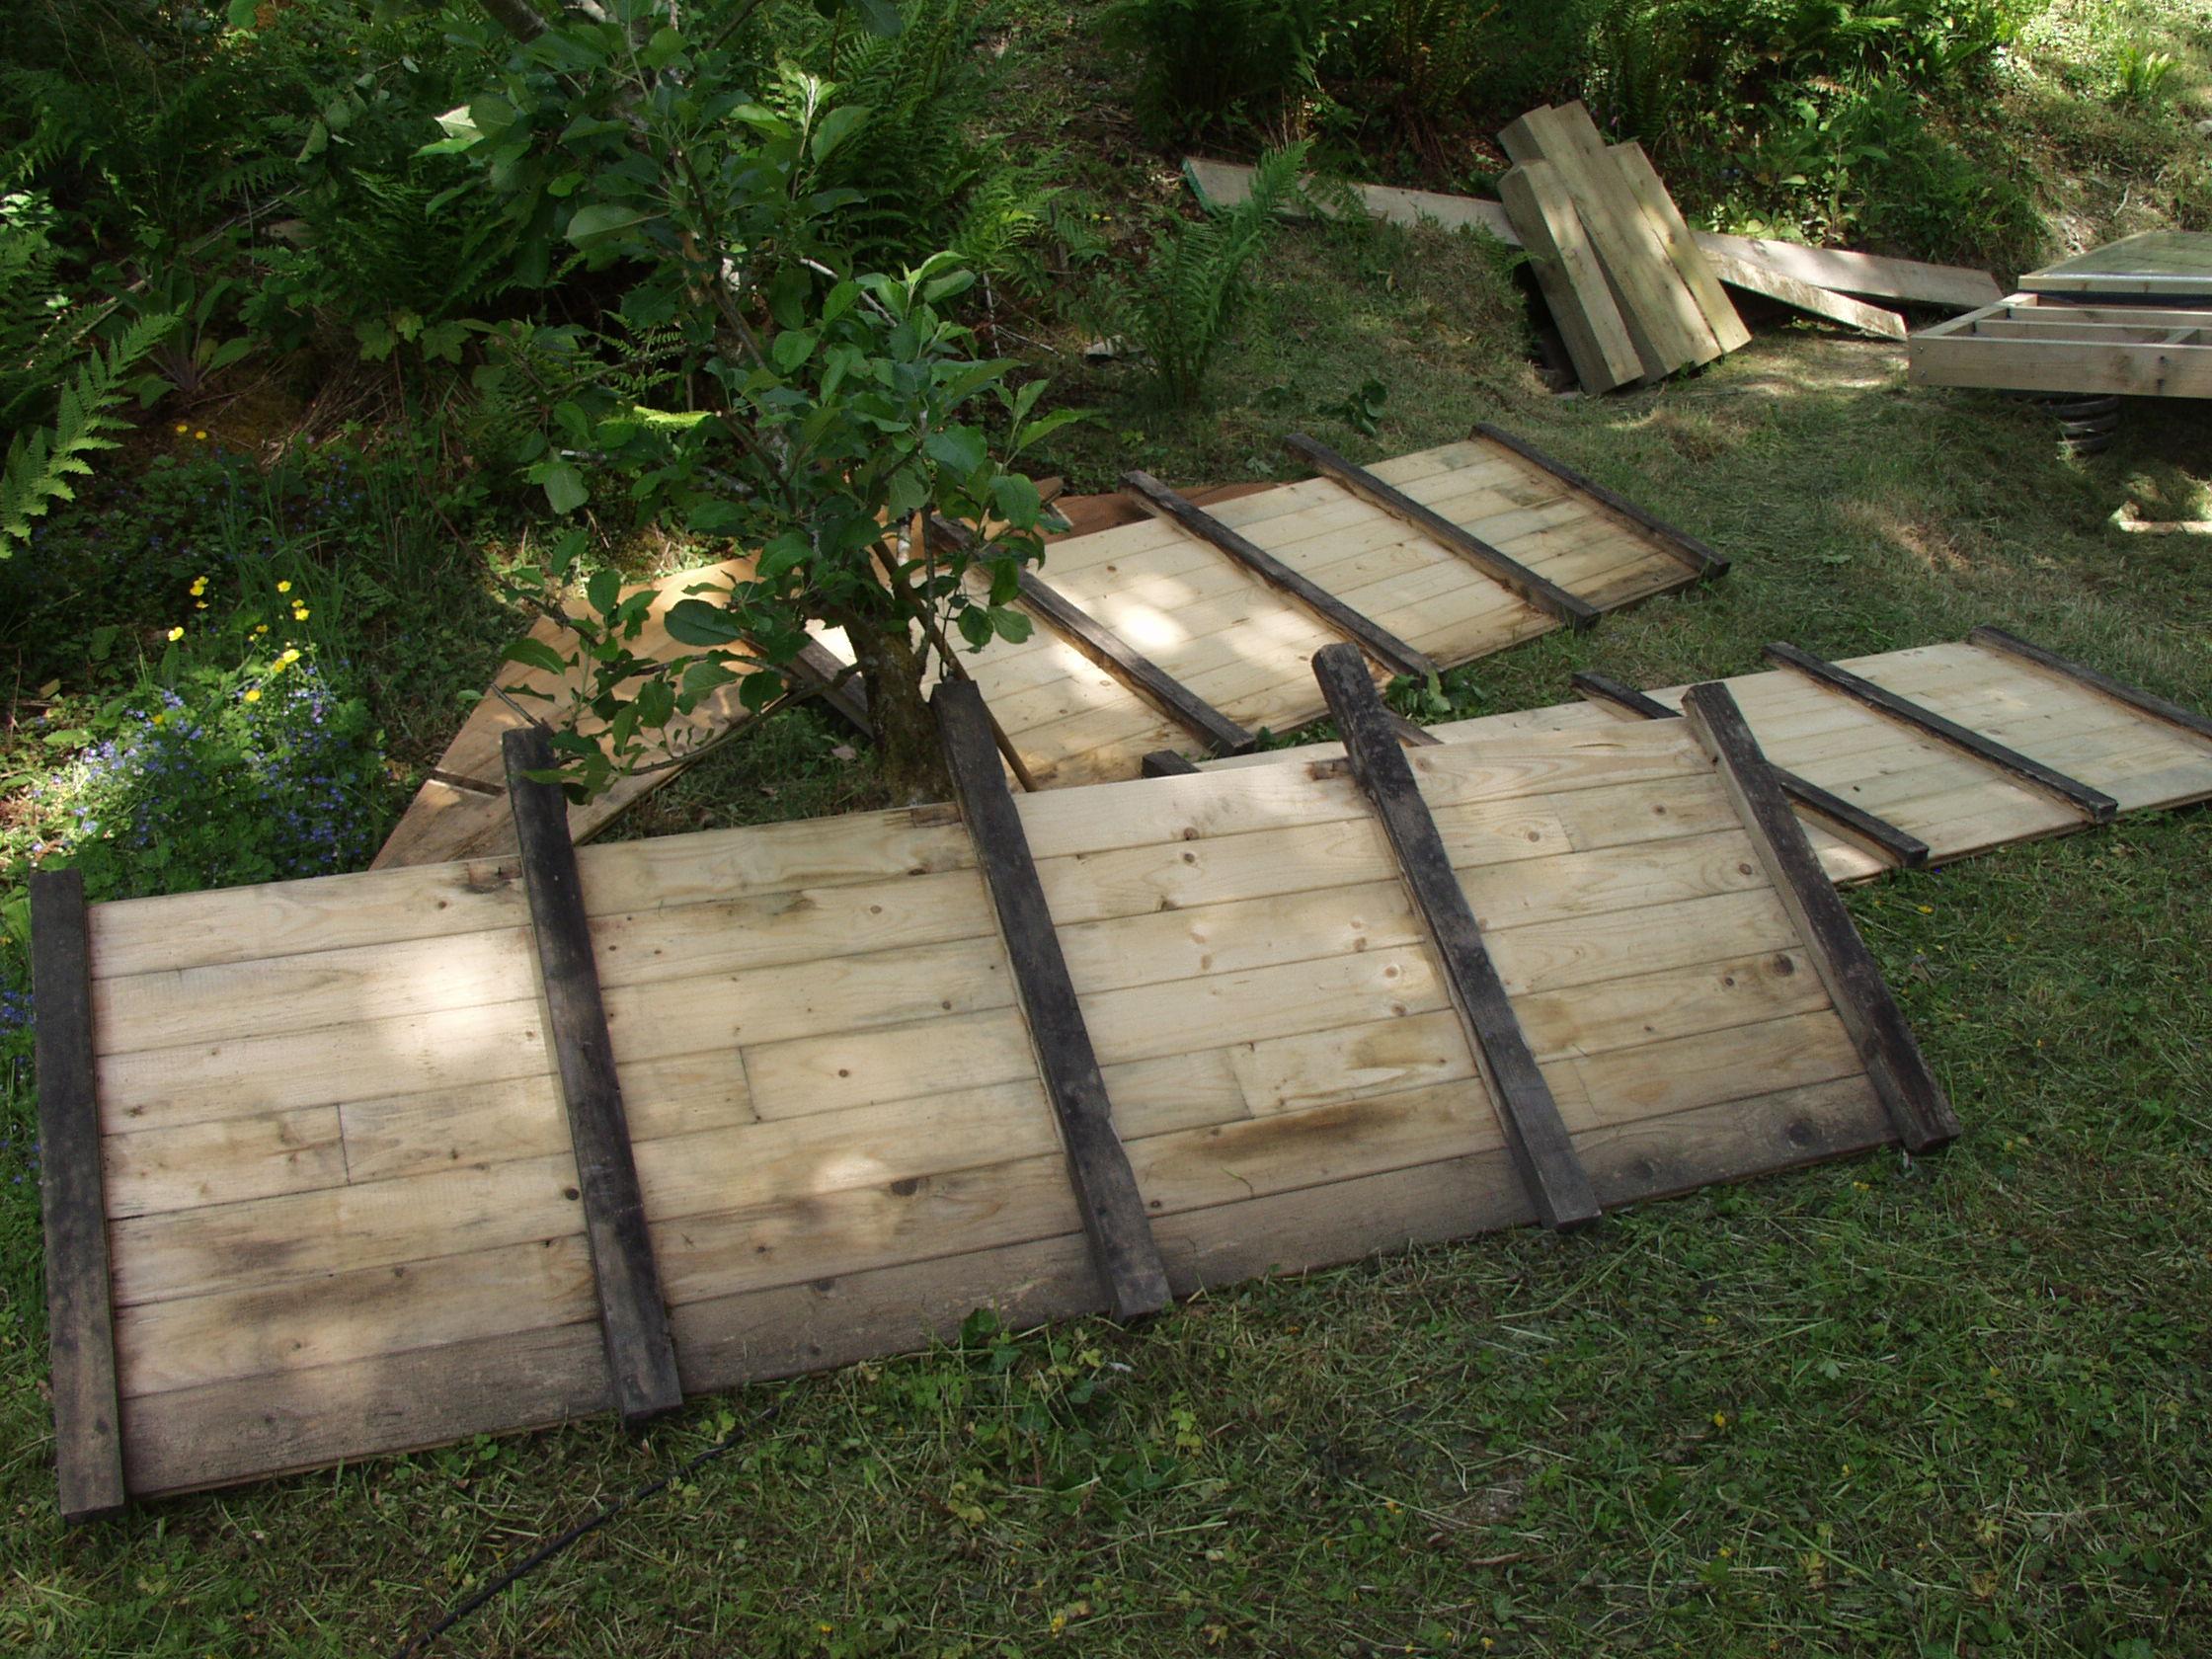
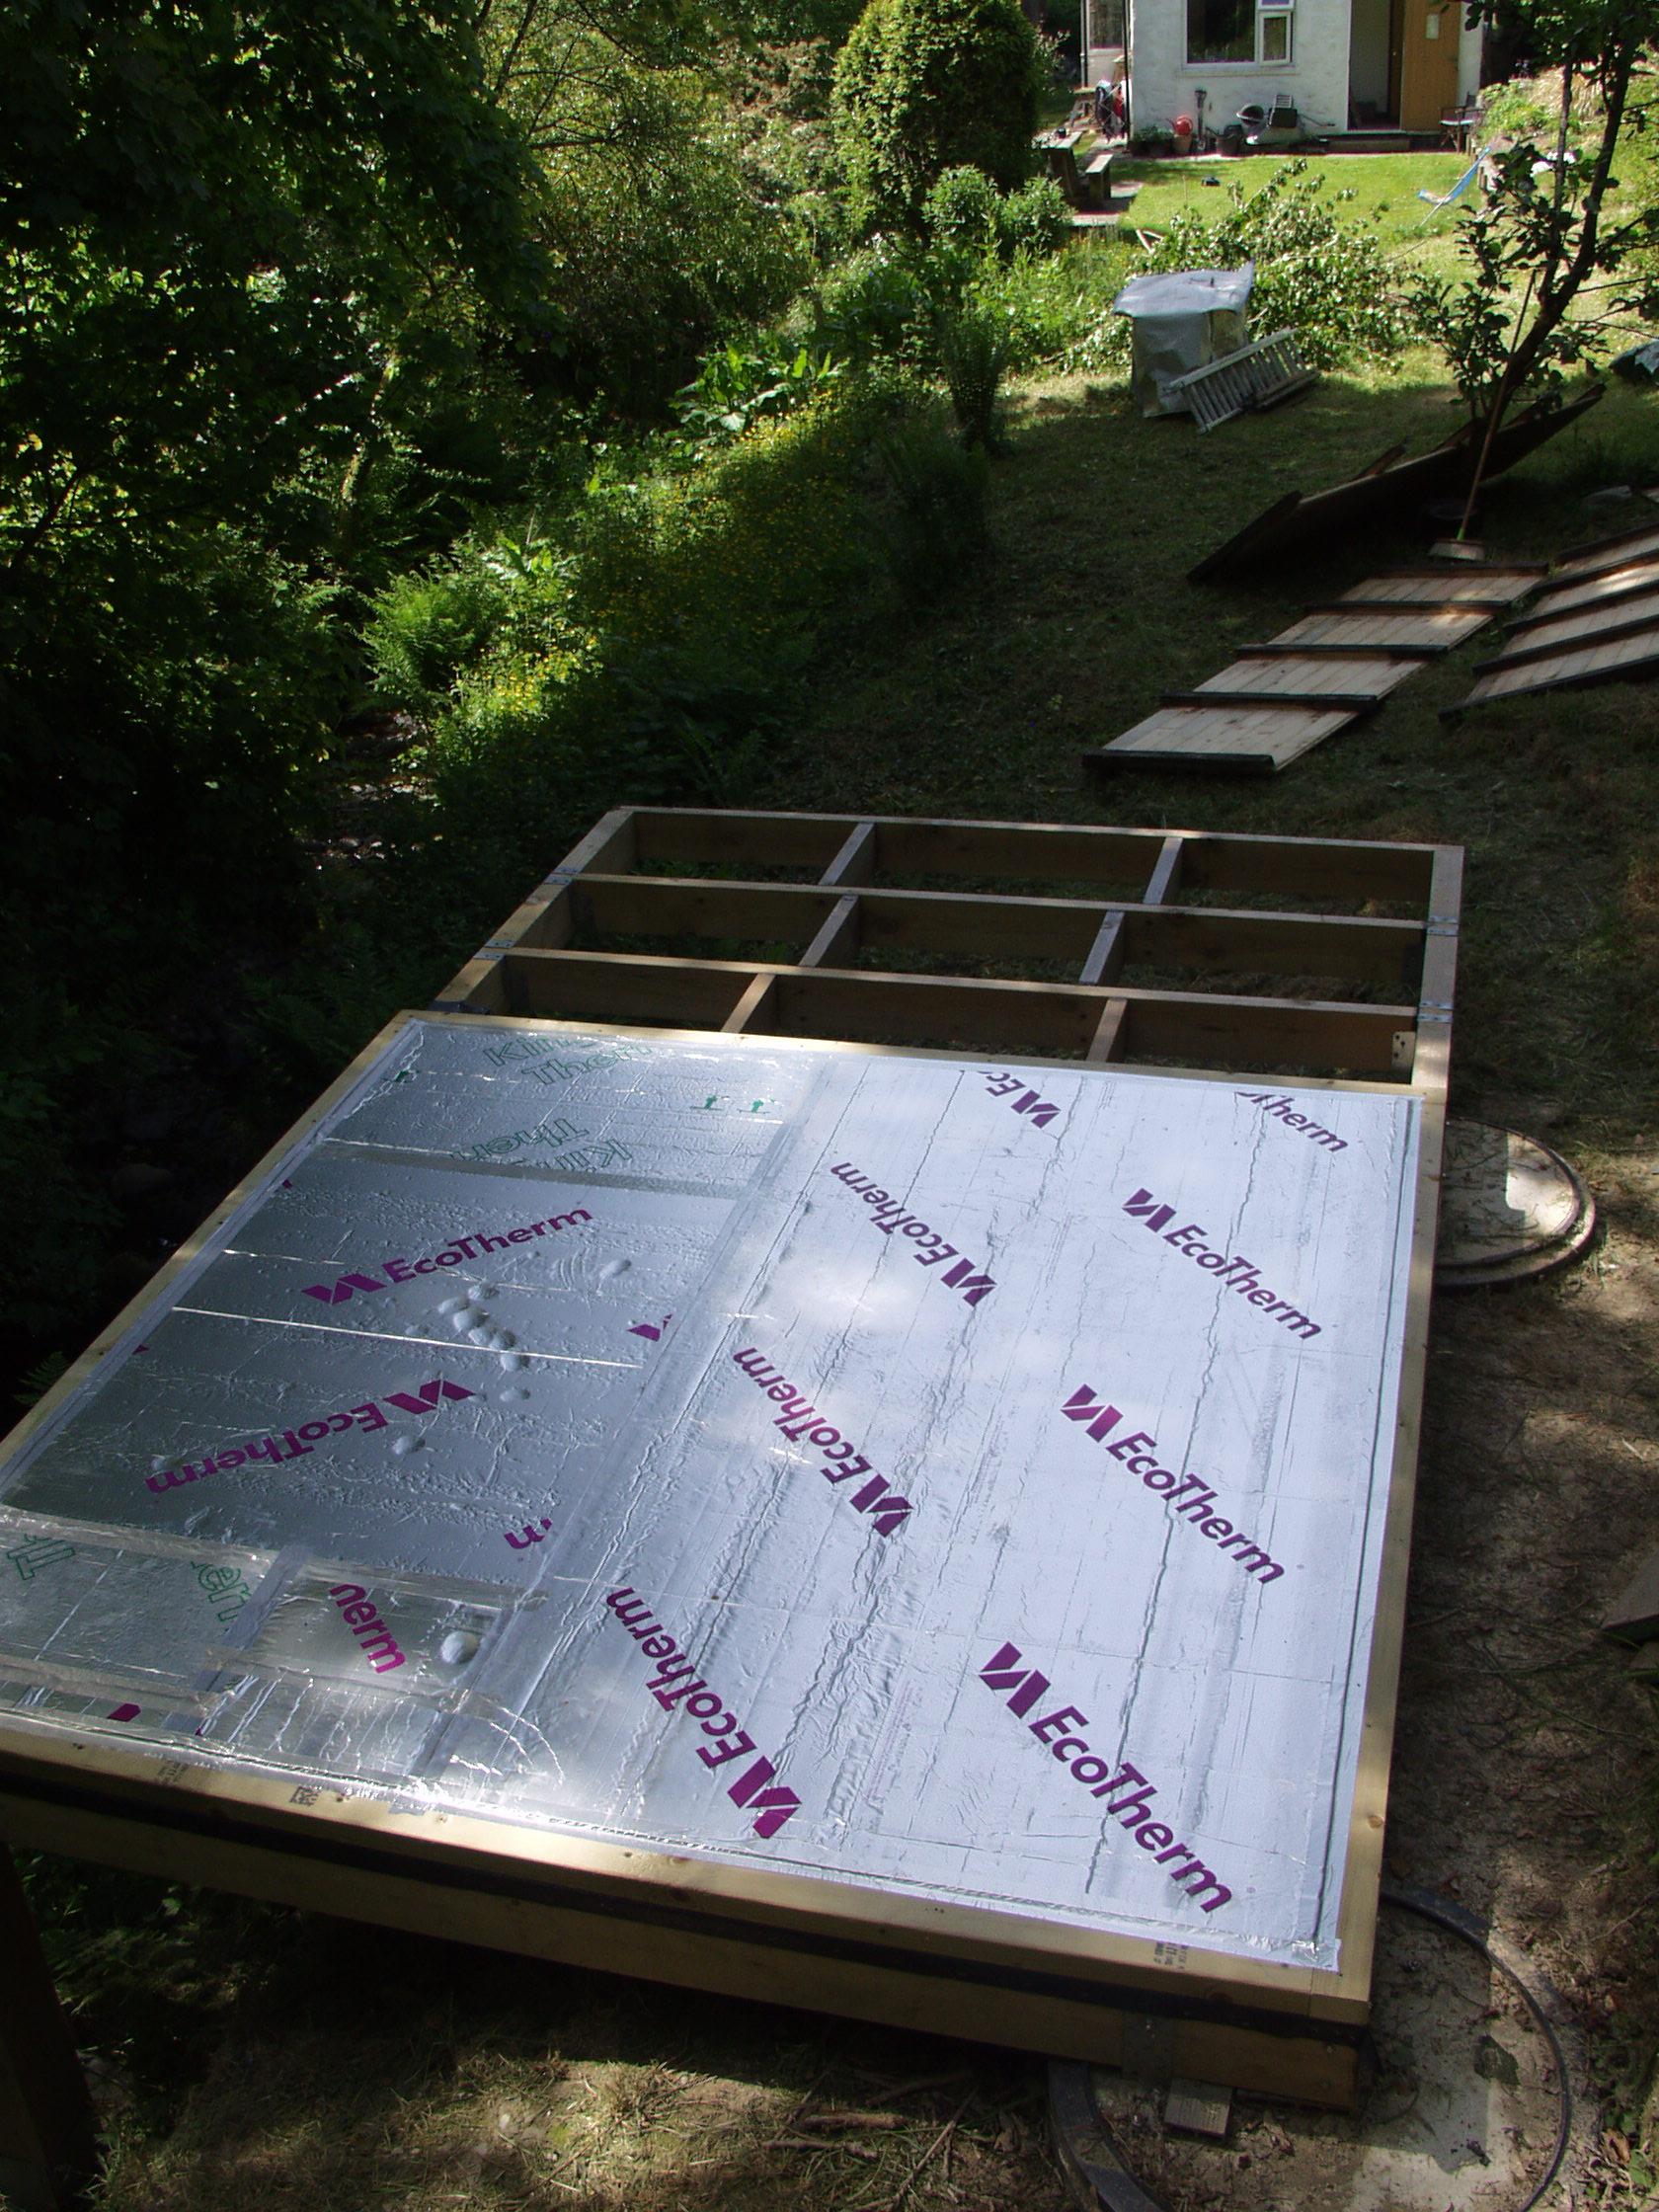
It has been 3 weeks since the last Blog post and in some ways it feel an eternity and in others it seems only yesterday since Plot 1 TF was done - which is where we left the story. So lots and lots has happened since then so this entry will cover 'lots of stuff' in one go. Our main aim is to get both shell buildings up and then get them wind and watertight as soon as possible. The heavy rain we had just after Plot 1 was finished showed that the MBC OSB roof is not in any way watertight as water poured in through the roof and down the stairs - so we tarpaulined this one and then it hasn't rained since - typical. Anyway a huge push to get to a point where we can (hopefully) draw breath in two watertight houses - hence LOTS OF STUFF (good, bad and ugly!) PLOT 2 Timber Frame So MBC finished Plot 1 and moved over to Plot 2 - another big crane day and the lower floor went up in one day and the joist went on the next and then the boys left us for a long weekend back to Ireland as we fitted the UFH pipes. Having done it once already the UFH pipes went in just fine and this time we didn't have to cut all the metal plates so it was a bit easier. Then the MBC team came back and fitted the floor deck and the sole plate for the top floor and then the crane came back for the top floor walls and roof. The wind came up and so we had to have the crane back the next day to finish off as wind is not your friend when you have to lift big panels up and over a three story building! The boys cracked on and decided to work the Bank Holiday weekend and try to finish by the Sunday. We had already had some comments on the noise and weekend working and had talked to our BCO so we posted a polite notice to say because of CV19 guidance we were trying to reduce travel of our contractors so they would be working through. A couple of neighbours were supportive and sympathetic and one of them even invited the boys for a socially distanced beer after work. We had them stop work for 2 minutes at 11:00 on VE day so exactly at that point one of the neighbours switched on his pressure washer - you cant make this stuff up!. Everything pretty much went to plan and after a heroic effort the MBC crew finished on the Sunday evening as promised and both houses finished to shell level in under 5 weeks - and they look amazing. We did our best to look after the MBC crew as they were in local B&B without the Breakfast (or any food component) - its never ceases to amaze us how well simply treating contractors like human beings goes down. We guess that some of their clients must treat them badly - but why on earth would you want to? After MBC left we had a call from Environmental Health and it seems that some noise complaints had been received - it seems that the latest Government edict on allowing longer working hours on construction to get the economy moving only apply to Planning and not Environmental Health so we were suitably humble and promised to be good in the face of some very vague guidance. Given that we have been working on site since August and these are the first noise complaints its obviously not a serious problem, and as we are self building under loads of pressure we will continue to do DIY at weekends - though as quietly as possible. Yet again we find we really do have one or two vile neighbours. Roofing As we have a flat roof to keep the roof height at the same level as the original bungalow it has an EPDM (plastic / rubber single ply) membrane roof. This sits on a 24mm plywood deck on top of the MBC flat 12mm OSB roof and the MBC firring strips - which slope the roof slightly to get the water to run off. Sounds pretty simple but as with all these things its not so simple. First you need airflow in the gap between the two deck layers so there is no condensation to rot the timber - for this you need plastic soffit vents around the edge to stop the bugs and birds getting in so Joe and Chris fitted all these. Then you need to think how you get over 4 tonnes of plywood 9m up and onto the roof (plus all the rolls of membrane etc) and our roofers said they would do the roofing but not the lifting. Simple solution here was a tele-handler which is a huge forklift that makes short work of this kind of thing - just hire one - simple. But then you need a driver - again simple: one of Joe's colleagues Andy drives one all the time on musical festival sites and is qualified and was happy to come over to help out. So Andy and the roofers turned up and after a bit of delay the first pallet of ply was lifted onto the roof and they were away. Again a good crew who worked really hard and seem to be doing a great job. They have spent a week and plyed and membraned the main part of both roofs so we almost have a dry roof. It was really hot on the roof with no shade so ice-cream went down really well (and for us as we were up there working as well). They still need to do all the fiddly bits like rooflights and soil stack, plus all of the top of the oversail roof but the bulk is done. One wrinkle here is that the rear bay on Plot 2 has the same oversail detail and MBC couldn't fit this because the scaffolding is in the way, but we couldn't take down the scaffolding because we needed it for roofing the main roof on the floor above. So when the main roof is done we will have the scaffolders back to take down the back corner and then MBC will fit the roof and then the roofers will come back and fit that section of membrane roof. Oh how it all gets really convoluted and complex really quickly. Finally to add to the simple / complex plan we had the roofers and the window fitters start on the same day - what could possibly go wrong! Windows The EcoHaus Internorm surveyor came out and lasered around and said that the rear bay window on Plot 1 was 30mm too low and the three windows wouldn't fit. Some checking and it was an MBC error that they happily agreed to fix and Brendan popped over and spent a morning cutting 30mm off the underside of the 3 sided glulam frame in situ and in mid air with a skill saw. We were apprehensive about the sort of job he would do but skill saw is an understatement when it comes to Brendan: two saw cuts one from each side that met perfectly in the middle - truly fantastic work. So one week after MBC had finished EcoHaus Internorm arrived to fit the windows (same day as the roofers - but the windows arrived first!). Their plan was to fit all of Plot 1 windows and then move to Plot 2 - but they were all over the place fitting windows at what seemed like random. We had some of the scaffold moved to make space for them and they seemed happy - and we said if they needed anything at all just to ask. So we were working around the back of the house when we heard an almighty crash and ran to see what had happened. They had asked Andy to lift a huge pallet of windows up above the garage level (about 2m) so they could load them through the window opening. During the unload one of the fitters stepped off the scaffold onto the pallet. The load slipped and the windows fell. Included in this fall was the fitter who had stepped onto the pallet. Ongoing discussions with EcoHaus preclude us from saying much more about this except to say that mercifully the fitter was only bruised and a load of windows were damaged (no glass broken though) and will need replacing - it could have been much much worse. They carried on and then discovered than one of the huge panes of glass for Plot 1's rear slider was cracked in transit from Austria, and also that there were no bolts to fit Plot 2's Juliet balcony. Finally, and this is my fault; the front door for Plot 2 is handed wrong and will need a new frame. So they finished fitting what they could but we have three gaping holes awaiting replacements and a bunch of other stuff that needs rectifying. We have to say that the quality of the actual windows is fantastic, but the experience has not been good so far. Just to contrast this with another MBC issue: we discovered that the kitchen window on Plot 1 didn't fit and there was a 300mm gap above the head of the window (window surveyor didn't spot this one). Well after MBC had left site we discovered a 300mm panel that didn't seem to have a home! Quick call to MBC and yes this was the missing piece, they apologised and Mike came over the next day, apologised some more, fitted the panel and problem solved. If only all the people we deal with had the same attitude then it might all be simple! Rooflights, gutter, soffits and facia Since we have been on a cost cutting mission we have taken on much more of the 'doing' ourselves and keep trying to cut costs where we can. One of these is the guttering etc. the original plan was powder coated aluminium. However this would have been about 3x the cost of plastic, and given the really complex oversail roof detail this would have been really expensive to have fitted. So, and with some real reluctance, we have gone for plastic gutter and soffits and facia. We would be the first to admit it doesn't look as good and will not last as well as aluminium but it is 9m in the air and nobody will examine it in detail. Its likely we will compromise and fit metal gutter to the rear bay (when its finished) as this will be almost at eye height and will look much better. So a mad rush as the three of us have been busy fitting all this and trying to keep half a step in front of the roofers who need the gutter fitted before they can membrane the oversail roof. The reality is that the plastic looks really OK - though we are somewhat mystified by the physics of fitting a flat gutter all the way round the roof - anyone done this? We had to call a stop on Saturday as the wind was really strong and the plastic panels wanted to take off and it really wasn't safe. Also as part of the roofworks we have 4 rooflights on the roof :- 3 fixed pyramid lanterns, 1 on Plot 1 over the stairs and 2 over stairs and landing on Plot 2, plus one flat sliding opening rooflight over the en-suite on Plot 2. The fixed lanterns were flat pack so we have just brought all the parts up onto the roof and built them in-situ ready for the roofers to flash the membrane roof around them. The sliding light was ready built and is really heavy and a 4-man lift so MBC helped unload it and store it and the roofers moved it to the tele-handler and we hoisted it up to the roof and they moved it to a point where its a really simple install. We have had to build the upstand / kerbs for all of these so they fit exactly into place - and we were able to test this with the empty frames. We have just placed the completed unit above the landing and it really looks great - the one above the stairs will look great but at the moment the hole is covered with ply as there is a 9m drop below it and we dont want to leave that open for obvious reasons! MVHR Joe decided he was going to fit his own MVHR system as its not too big and complex and he is desperate to save every penny as he doesn't imagine he will be back on live music lighting until next year so has no income and a lot of time. We have all worked on this install and its not too hard, but the sheer volume of ventilation pipework is mind boggling and routing it is a real challenge. Plot 2 is more complex and since we no longer have an M&E person will get CVC in to install and commission - though having done one we could probably do this one as well! As you can see a lot of stuff in the last few weeks - and a real mix of good, bad and ugly! And still not wind and watertight as planned, but certainly a lot drier! Next steps will be to sort the insulation (Plot 2 is really complex) and screed - which needs doing before MBC can test for air tightness and we can start first fix, and also to get the render done so we can get the scaffold down and finally see the houses for the scaffold. On the insulation and screed front we has planned on 150mm of PIR insulation and 100mm of screed, the thick screed to get some thermal mass and delay into the heating/cooling system. In the interests of cost reduction it looks like 100mm EPS + 90mm PIR + 60mm pumped screed will be much cheaper and have similar U value but lower thermal mass - any thoughts on this plan? Or even 200mm EPS + 50mm screed - which has slightly worse performance but lower cost? One nice moment last week was when we were up on the scaffold and a couple walked past, stopped, looked at the build and said 'wow that looks amazing!' . So nice to hear that others agree with us; it really is starting to look amazing!!!!5 points
-
@scottishjohn I didn’t swap out anything I fixed it all in and then poured the concrete. However I didn’t use solid timber, I hate it, it’s rubbish. I used kerto beams which are a glue lam but for structural work not for show, so they have a rough unfinished surface not ready to varnish. Very good in long lengths with no twist or warping, I think I had some 8m long.1 point
-
PVC ducts are most likely not antistatic and possibly antibacterial The radial ducts I think are made from a different material. @PeterStarck is on the right track, the ducts have silver ion coating applied that make them antibaterial apparently. I have 2 types of radial ducting in my house, both say the are anti-bacterial. You can't see any kind of coating on them. Your first link is for a 90mm diameter duct and the second is for 75mm diameter, that is one difference. One is antibacterial and antistatic and the other isn't. I have used 75mm green blauberg semi rigid duct which is antistatic and antibacterial. The thing that made me decide between the antibacterial and the standard one was that you put it in once and it can't easily be replaced. If I could, I would have gone for metal over plastic, but it wasn't possible in my retrofit project. When it comes to the bends, it's always best to use 2x 45 degrees instead of 1x 90 degree. But looking at your comparison, I don't think it will be much differente. Depending on how much space you have for those flat channel bends, use the 2x 45s and if you don't have enough space use one 90 degree. Flat channel ducts have more resistence compared with round ducts.1 point
-
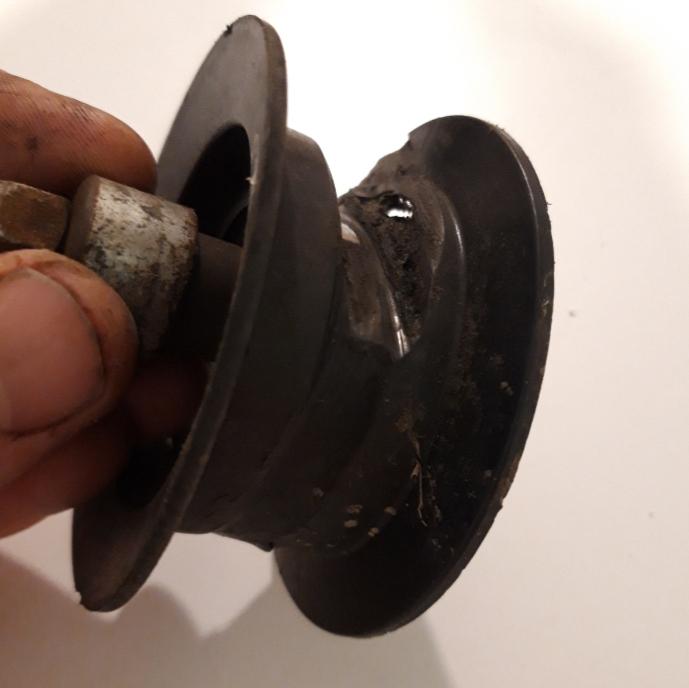
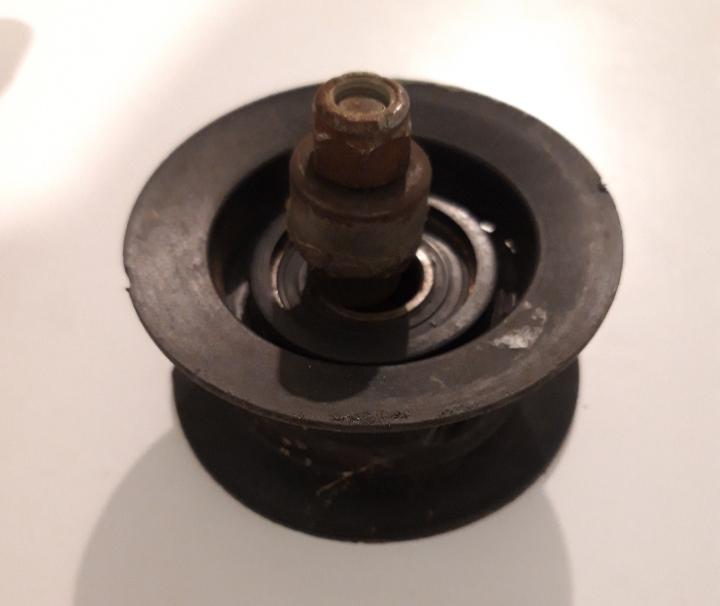
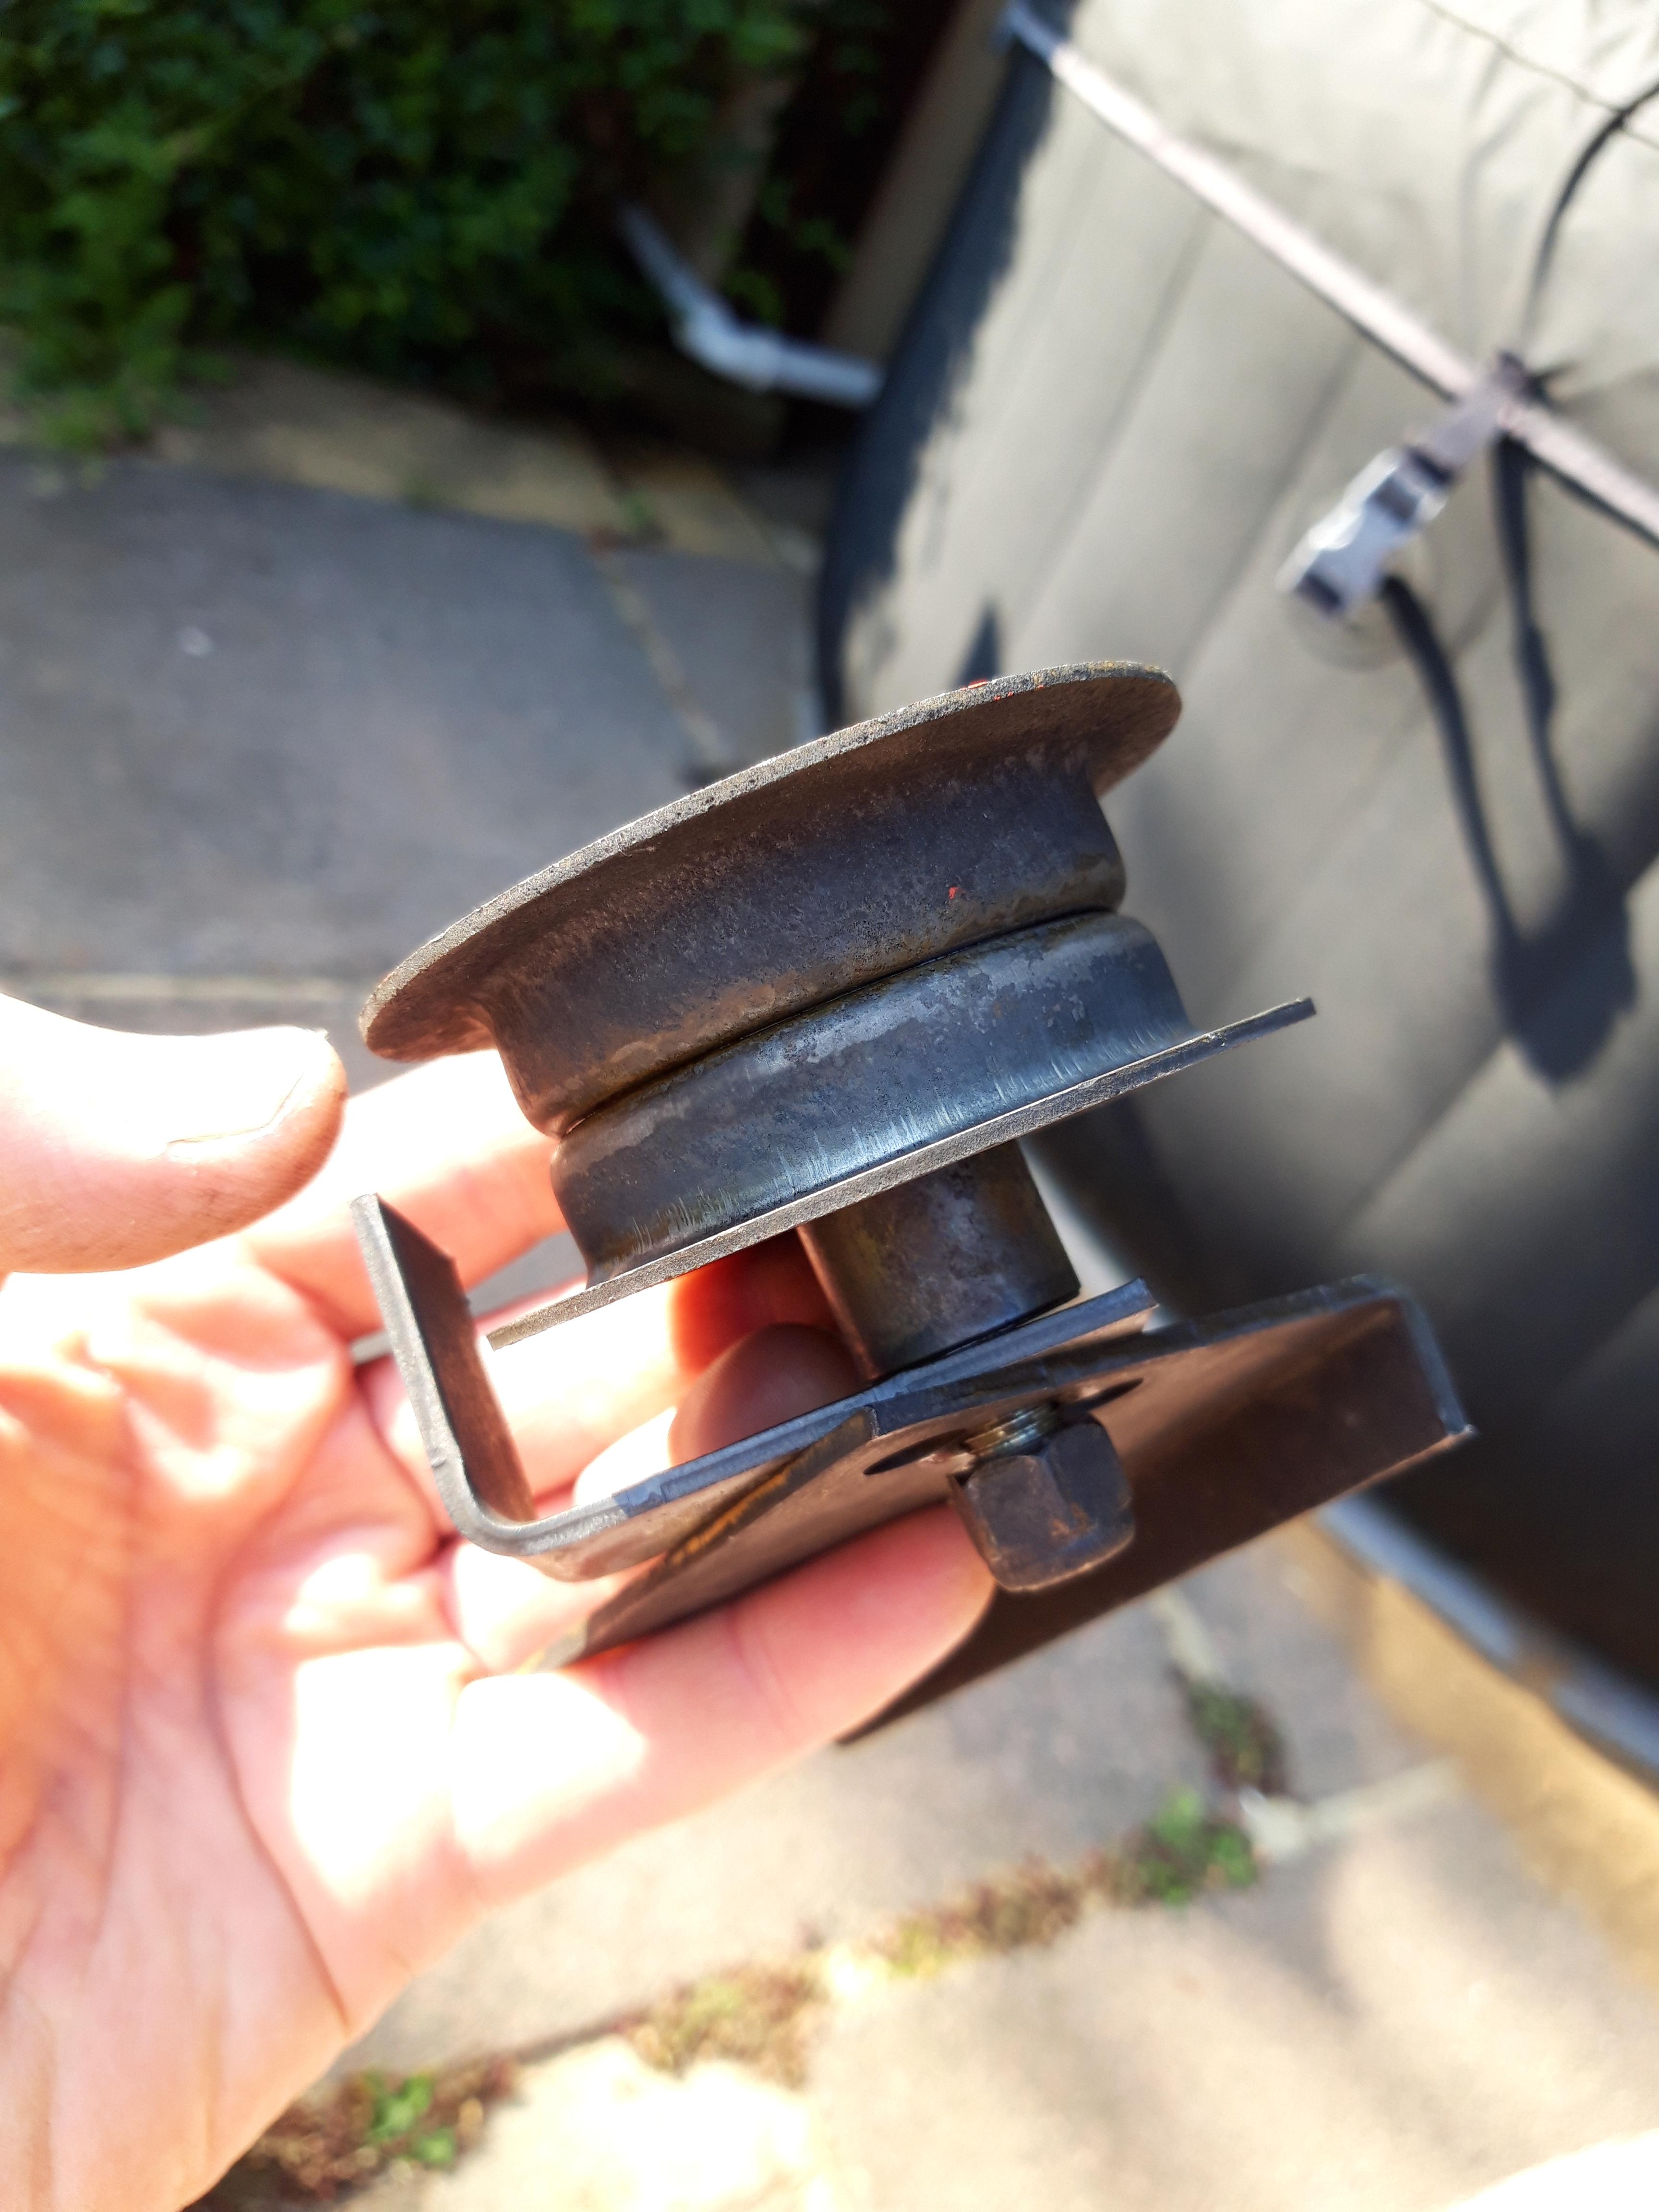
Got the donor gearbox on the mower. She runs. All gears working though took a while to adjust the selector rods/linkage. It even cuts grass. Only to find one of the pto pullies had seized and the belt worn a groove in it. Thus the flails won't turn for the grass collection end. £24+VAT plus postage for a new one. Buy new, I think not! Went back to the scrap mowers and salvaged the same tensioner pulley albeit of all metal construction. Guessing an older variant. Rusted solid and then some. Some chipping off of the large lumps of rust then into the citric acid barrel for two days. Managed to get it all apart just now, some more chipping and scraping and back in the barrel for a final 24hr dip. It's salvageable. Bushed rather than a bearing. A bit of zinc spray and packing with grease and it'll be good to go. You should have seen it before it went in the acid!


 1 point
 -
That's the biggest stumbling block with ICF is lack of reasonable priced/experienced builders. Shame because it's a good simple concept.1 point
-
drill holes and fit threaded bar and resin fix??1 point
-
If you can persuade the zone valve to actually turn, with a spanner on the flat of the actuator and once turning give it plenty of exercise until free, then just change the actuator head if it really is burned out. What makes you think it is burned out? You can't always test the Honeywell heads off the valve base as they have a habit of the gears disengaging and them going twang, which may make you think it is faulty when it is not. So get that valve body turning and try the actuator head on. If the only issue with the "bypass" valve is it is leaking, put a bucket under it.1 point
-
Been using Makita for 20+ years and it’s my go to make for sure. It takes abuse with ease. I have not actually got a broken makita tool and I have a lot, ive just upgraded as the years go on and the old stuff gets buried deeper and deeper in the shed.....1 point
-
@Onoff @PeterW
 1 point
 -
The majority of my gear is LXT. Can't beat it imo. However I wanted a 36V chainsaw for occasional use but didn't want to pay Makita prices. I bought an Einhell chainsaw for half the price and 3D printed adapters to use Makita batteries. Works like a dream. A couple of videos. If I were you I'd abandon Erbauer if you're going to do lots of stuff over many years and go with a make. If for nothing else the ability to get spares. Use the Erbauer as your second drill. Tbh there might even be a Makita battery to Erbauer tool adapter out there already. I'll have a look in a bit.1 point
-
I stick with Makita LXT as it has the widest range of tools tbh and the technology is pretty well proven. You can also buy other tools (a few of us have the heavy duty impact driver - £25 search Fakita) and they are ok. Not gone down the clone batteries yet but will do soon FFX have good offers on Makita and you can also pick up on eBay if you shop about. The other good thing is they don’t change the fittings / batteries frequently and you’re unlikely to get obsolete tools. I did look at Milwaukee but couldn’t justify the difference in price for a standard set (£700 vs £1100) of tools so I’ve stayed blue. Mate has Dewalt Flex and is saying they are heavy for all day use and he’s not been as impressed with the life on the units - he’s a joiner and uses them every day and has found the jigsaws not to be that robust.1 point
-
I think there still is We never buy anything other than Hilti Due to no other brand will stand up to the contrast abuse Two year warranty Fix and back to you in two days or a replacement is sent out Put them on eBay after two years and recouped half your outlay1 point
-
DW110 --that brings back memories of the 70,s I used to make and sell custom speaker cabinets in exchange +mart using one, no internet or ebay then it was that and making kitchen units that funded my first garage .that and selling 8 track car units on there -my bedroom at home was full of them -had to but 200 at at time to get price right - using conti board which was really chipboard wrapped in fablon like material --or real wood veneer it was so accurate i could do a 45 angle cut from both sides,not cutting the wood grain plastic facing , then fold the conti board to make a cabinet. cut rebates inboth ends for the speaker carrier board and back lid and send as a kit for the DIY hi-fi nerds to build thier own biggest ones i did -a special order -were 6ft tall and 3ft wide and 2ft deep -with another cabinet2"smaller to fit inside -which he was going to fill the gap with sand never heard the outcome of it1 point
-
I've used both the red Airflow Airflex Pro and green Blauberg semi-rigid ducting and whilst they were nominally the same in terms of size and interchangeability the former was more flexible and felt like a better quality product.1 point
-
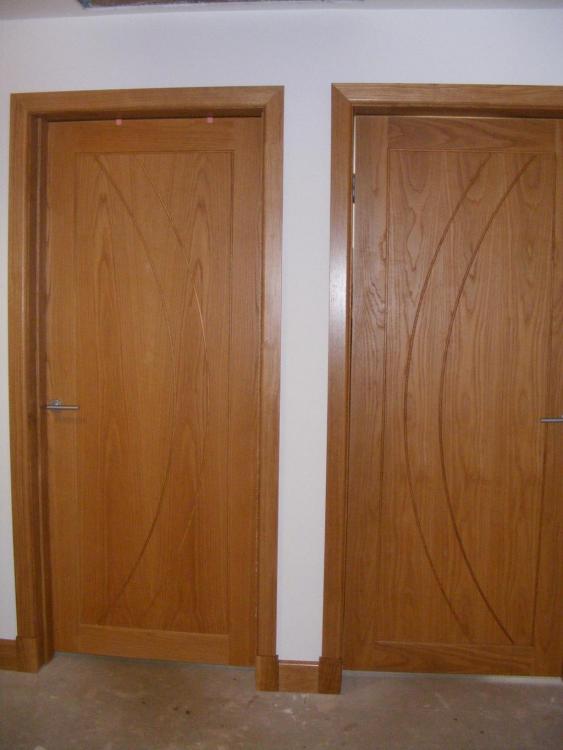
My door to the garage is as above. I have several internal doors on wide load bearing structural walls and I had to make my own door liners, doubly difficult because they are Oak.
 1 point
 -
Some discussion here on this old thread about cable size needed. How about using a hose reel? https://forums.ybw.com/index.php?threads/100m-mains-extension-lead.284474/ If you decide to ignore the voltsge drop becareful what you plug in. Something like a pressure washer can behave a bit like a constant power device drawing more current if the voltage drops. Can actually burn out.1 point
-
1 point
-
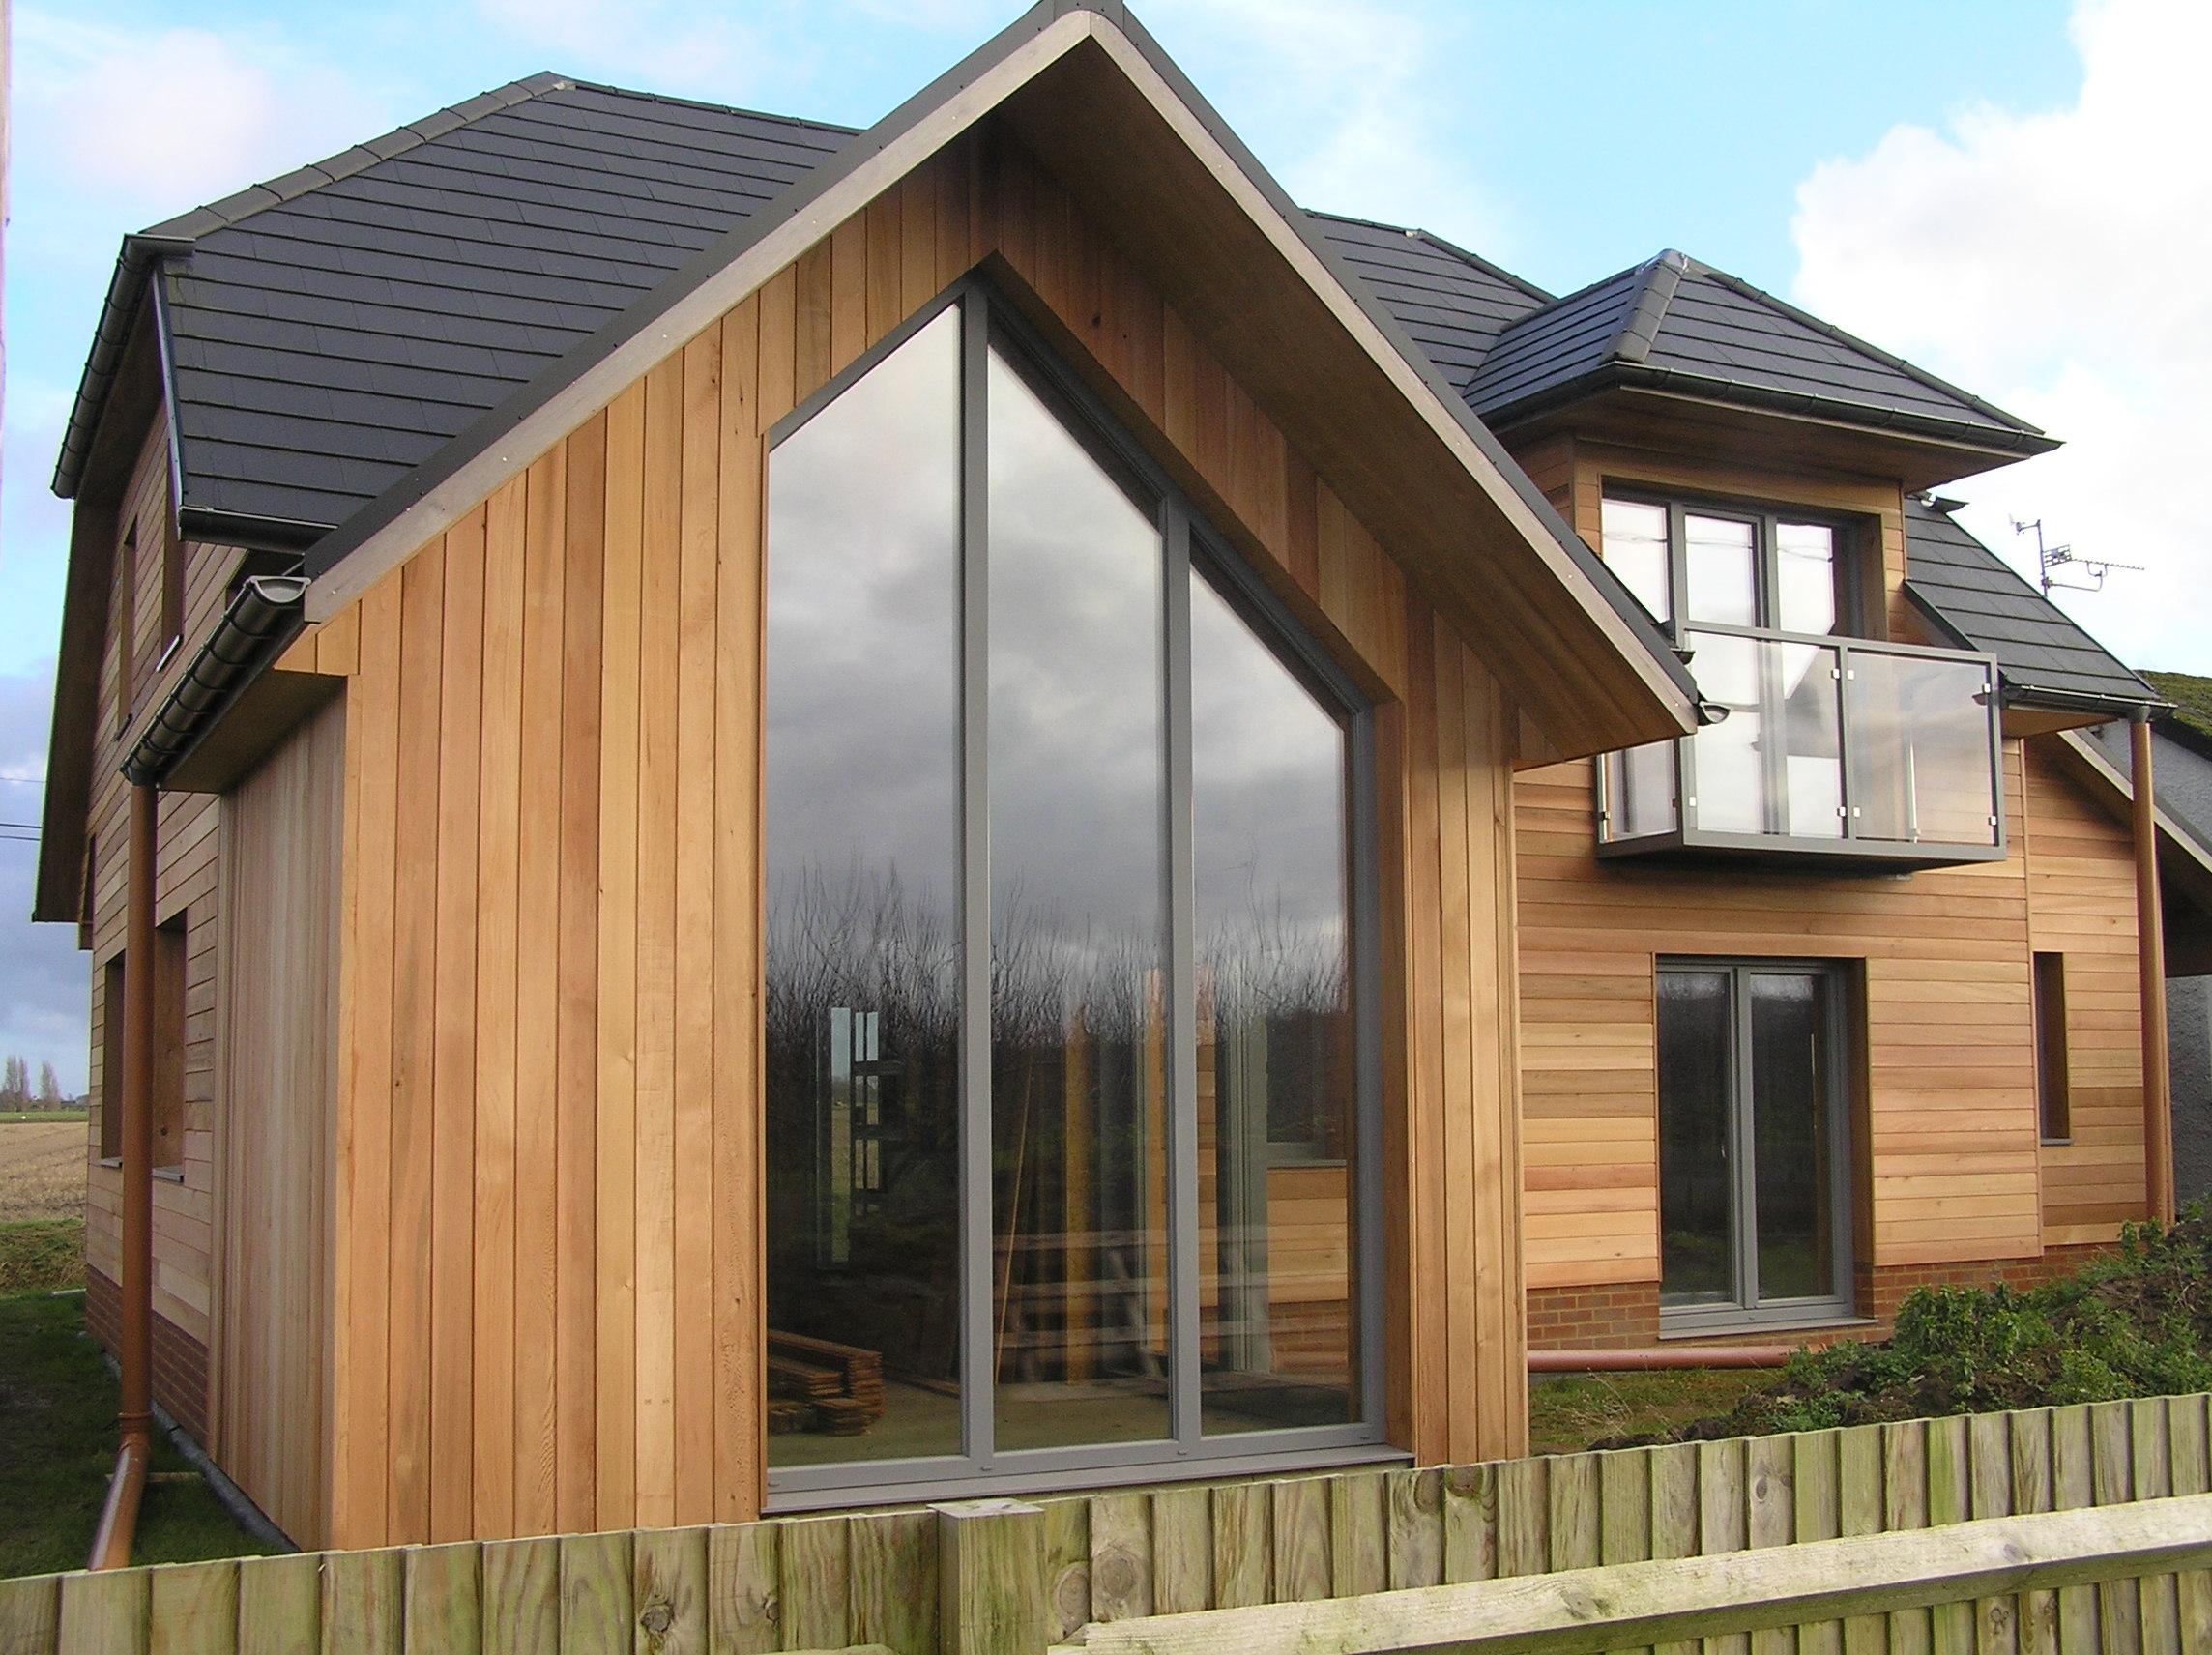
We have a single storey gable end on our sitting room which is just over 4m high. We decided to have it 3/4 glazed to have it look a little different to the normal fully glazed gable. It also reduces heat loss as the corner of the gable faces North. The biggest installation consideration is the weight of the glazing which in our case was 6mm triple units. The installers broke one of the units carrying it from the front to the back of the house. IIRC it weighed 150kg and was unsupported.
 1 point
 -
I have a couple of long extension leads I occasionally use together fir a hedge trimmer ( I did buy a second hand generator but it was a pain/noisy to use). Just make sure it’s dry, fully unwound and put away after use and it will be fine.1 point
-
Any Grid Switch system - make your own combinations.1 point
-
That big terminal box from TLC is the only way I know of making that sort of connection.1 point
-
Deep breath So we decided to have a basement and as the plans evolved it grew from 1/4 to 1/2 to full footprint. Planners didn't blink - represented about 50% extra floor space. As we're in clay / gravel / chalk we anticipated that the foundations would need to be deep anyway (based on a next door's extension, he had to go down 2m of clay) so the cost of the basement structure could be offset against traditional foundations / slab. From a design point of view we originally made it a big open box. Decided on suspended timber floor vs concrete lid as we wanted the basement to be part of the passive envelope and to have wet UFH under the suspended timber. Basement costs are variable and can't be assessed until you have done ground investigation - best if the scope of study is defined by your SE otherwise you may not get key info you need. The ground conditions are the big question - what are you sitting on, how hard will it be to get it out, how much will there be to get rid of (different things bulk up differently) and how will it impact the basement design. Site conditions are next most important -- how tight is your site, how close to neighbours, ease of access to plant etc. If you get PP, your neighbours cannot stop you building a basement, but you will need to respect the party wall regulations. If you are close to their properties, you'll need to take necessary precautions and may have to resort to sheet piling etc which all add ££. Function wise, ours is about 110m2 internally. It's been chopped into four rooms, two are TV /music rooms / dens for the teenagers and the other two are a gym (more boxes than gym kit) and a craft room (full of junk and tools) and then the plant room for MVHR, UVC, power distribution & gas boiler. We were reluctant to put loos etc down there, there is a WC on the GF so not a hardship to come up to use that. We put our old fridge freezer and a cabinet freezer down there and handy for xmas and during the lockdown. Don't want to use any of it for bedrooms per se, but it is classed as habitable space by BC and complies with the necessary fire regulations as it has an independent exit to outside. Cost for the shell was probably £100k - was part of a £120k package for demo of existing and services, fouls etc. Fit out was not that much in grand scheme - electrics, plastering & joinery. We were prepared to defer that if the budget got squeezed but we were ok - economies of scale helped as there are 2.5 floors above the basement that all needed the same. Really happy we did it - gained us 50% extra floor space for maybe 20% additional spend.1 point
-
I have the Salus auto balancing actuators. Best thing since sliced bread in my view. They just work perfectly, quicker to actuate than the wax ones, ensure the flow to the UFH is maximum when the system first switches on, for a fast warm-up, and then they automatically throttle back to maintain a constant temperature difference between flow and return. This temperature difference depends on the flow temperature. Below a flow temperature of (I think) 30°C they maintain a 4°C differential, above that I think they maintain a 7°C differential. We keep our flow below 30°C, as the 4°C differential seems to work very well for our system. I had ordinary wax actuators originally, but these were really slow to open, and meant that the system had to be balanced using the flow control valves, a fiddly and time consuming process to get right. We initially had problems with our kitchen getting too hot, that took ages to try and get sorted by adjustment, and when I did get the adjustment right the kitchen then took ages to warm up if the heating had been off. The Salus actuators fixed that, with no manual adjustments being needed at all. Also quick and easy to fit. The only downside is that they are a lot more expensive than conventional wax actuators.1 point
-
No. Just be told. Buy Makita. This isn't an "Oregon" sort of place. ?0 points
-
Huge range from Makita - I will find the full range list but there are multiple options for pole saws including the multi tool systems. This is a decent image - you can even get a coffee machine ..!!
 0 points
 -
Offered without comments.0 points


This leaderboard is set to London/GMT+01:00