
Leaderboard


Popular Content
Showing content with the highest reputation on 06/09/19 in all areas
-
I agree - the issue we have is a London-centric governance structure that hasn’t actually cottoned on to spending £50Bn on HS2 would be better spent on 50 new garden towns or cities with good rail links, a commerce structure and a set of schools. If you built 25% as social housing, 25% was self build and the remaining 50% was developer sheds, then you could not only revitalize a community, you could build one from scratch ...2 points
-
I met the UK directors of Glatthar when planning my basement, they did one for a friend and did a very high quality job (at a high quality price). As my site & ground conditions were pretty straightforward (my friends were essentially building in the Thames riverbank), I was able to do it cheaper by building in-situ. They were scathing about him. While some of his advice is useful (general design principals etc) and he de-mystifies a lot of the building process, I'd be wary of using a one man band and a secret ad-mix etc. We used a very competent concrete team who did all the steel, shuttering and pouring and were able to spot mistakes in the engineers drawings which were quickly corrected. They used a warrantied Sika system (admix, water bar & expanding plugs for the shuttering holes) which was all supervised and signed off by a Sika rep, who then issued the warranty. The groundworker essentially dug the hole and filled it back in, following the SE's spec.2 points
-
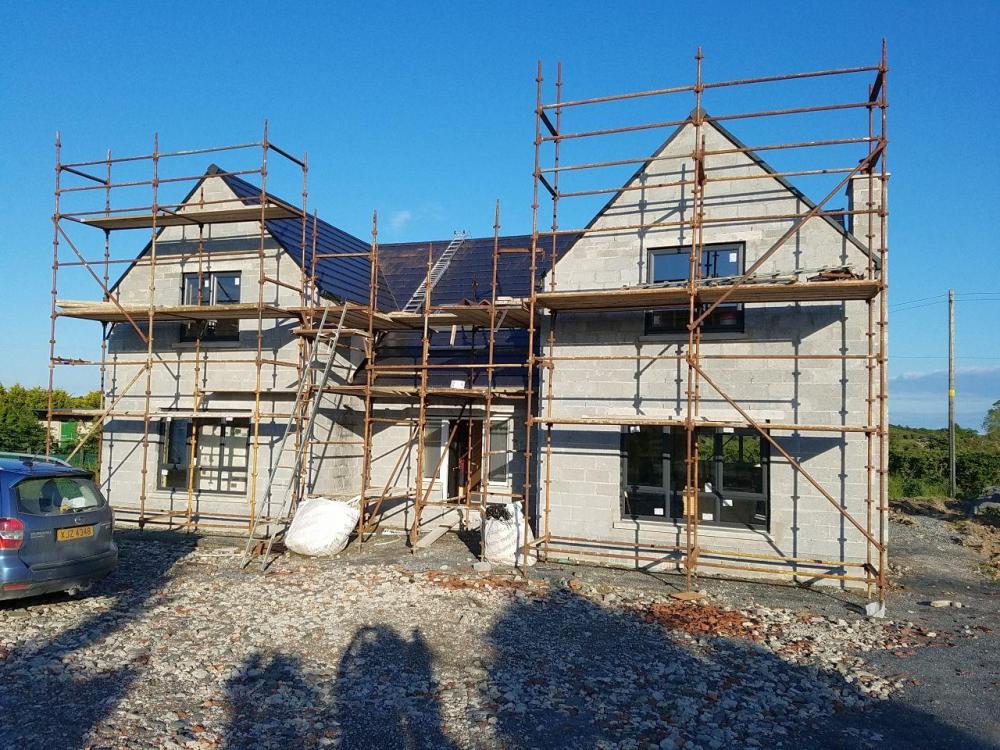
Oh... and did I say the roof is FINISHED? Well, apart from two wee trimmings of ridge tile. But they don't count.
 2 points
 -
Just fighting with this now - I've followed the principles as below Task lighting (above kitchen floor units - we don't have any wall hung cupboards) = height of room - worktop height / 2. For us that means ~ 800mm between recessed LED fittings (Enlite E5 - 60deg spread). For general lighting its = height of room /2 so ~ 1.2 or 1.3m apart. In our kitchen (~ 5m x 4m) we have ended up with 8 LED's for general lights (these surround an island), 3 pendant lights above the island & 11 task LED's over the worktops - all on 3 separate circuits. its unlikely they will all on at the same time. Just concerned that we may be a little OTT on lighting. Are there any guidelines out there that any of you have used? Cheers1 point
-
Wasn't there something if they open their estates to the public for a couple of days a year they can avoid iht or something?1 point
-
I think you can straighten up the roof to form a gable under PD which would make more sense.1 point
-
I don’t think the lesser angle looks good, why not put a gable on it so it matches the other end. As for planning why not go down the council and ask.1 point
-
Pictures with a sketch of what you wish to do normally get a better response,as what you are asking could be very hard to visualise.1 point
-
will draft up a sketch and get it uploaded. Its one of the decisions I'm not enjoying making....1 point
-
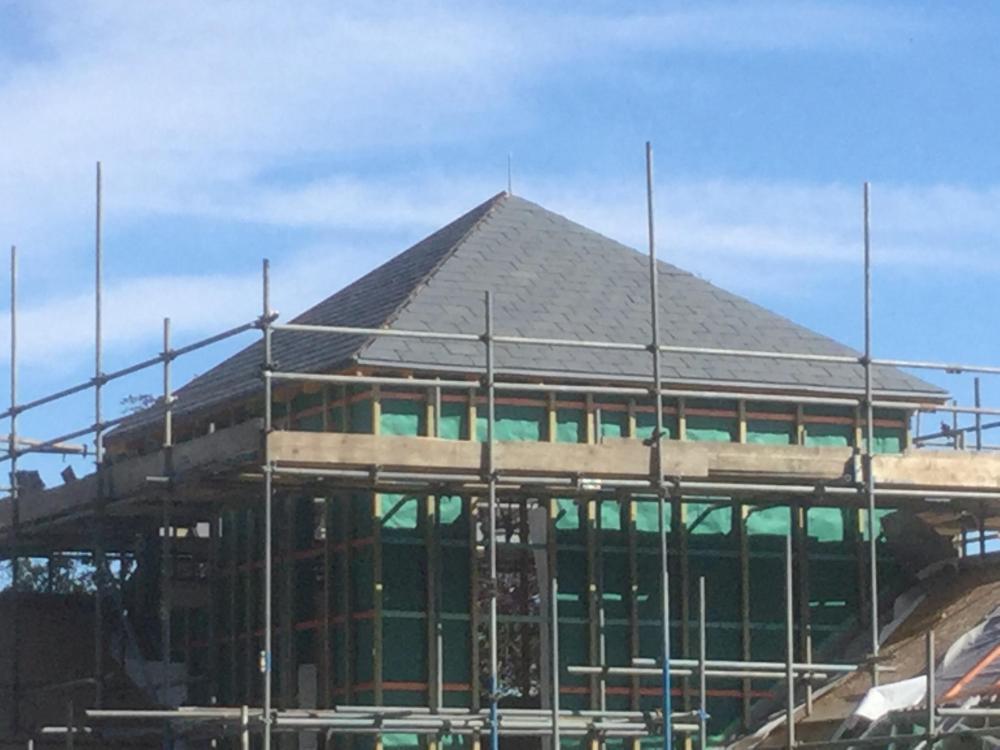
So the roof of the tower is nearly complete, the slates are in and all we need now is the lead man to do the hips.
 1 point
 -
Does a carport need building regs? What about if I put a glamping pod on top? The pod shouldn’t need BR, neither should the car port. But if we put one on the other does that mean we will?1 point
-
Yes, I am looking to project manage etc myself as far as I am able. To a large extent it depends on my day job - it has periods of extremes at the whims of the civil service. (best not go in to that) I will get some photos of the site - it really is fantastic. We spent nearly 3 years looking - along with all the pitfalls of getting beaten to it, out bid etc. It came good in the end.1 point
-
One other thought - like most building, there is a fixed and variable cost with basements that makes smaller ones quite expensive per M2 and larger ones much less so. While we had a variable cost on muck away, concrete, steel, insulation & backfill that was proportional to the footprint & wall perimeter, the crew spent quite a bit of time building the two key pieces of vertical form work (one a corner section with window, the other a flat wall piece) and were then able to cast two sections at a time and rotate around the slab in a very efficient manner. Only took a few weeks in total. They had a rule that one section needed to have at least 3 or so days of curing before they'd cast a fresh section against it - I think this was so the waterbar could be adhered to relatively dry concrete. So there was that fixed time plus plant mobilisation etc which will be pretty much the same whatever the size of basement.1 point
-
I did not put any heating in the basement but did build the 300mm slab off 300mm of EPS200 (50mm sand blinding, 150mm compacted type 1). Basement walls are insulated outside with 200mm EPS70, clad in 3mm corex to protect when backfilling. End result is that the basement is 20oc year round - no heating needed, solar gain from the lightwells, ambient heat from TVs, a fridge, and the plant room all seem to give it the heat it needs. MVHR supply to all rooms also.1 point
-
One of the authors, Guy Shrubsole, has recently written this book, which is reviewed in the Guardian here.
 1 point
 -
Good recommend as it is often the case that windows are let down by install. Ideally best to have someone do the whole job so you are not left with issues. Often I have used approved installers who are really slapdash. They send semi skilled teams who just want to screw the windows in the holes and on to the next job.1 point
-
1 point
-
You mean a death box ...??? These are now coming under scrutiny and it looks like the MEWP rules will apply soon which means the cage will have to be able to have some sort of interlink with the lifting gear. And the downside with 99.9% of tele-handlers is they have no fork pivot lock off so you catch the lever and dump your mate to the floor ....1 point
-
I keep doing the lottery --I really need all 3 pieces of equip tractor with front bucket + self loading pan mixer on the back ,telehandler+ man cage + 5ton digger I keep on dreaming1 point
-
1 point
-
Think the backhoes are a bit more cumbersome as you allude to. Also harder to operate backhoe than you think. I've got a rough terrain forklift. They're a handy tool. Again though the bigger jcb/Sanderson ones weigh around 5t will soon churn up a site.1 point
-
Welcome @Milo.1 point
-
I've forks on my TB125. A couple of hundred kilos up to the first lift is realistic, as the forks weigh a fair bit themselves. The range of angles the fork head can work within limits options a bit too. Twenty block on a pallet onto the scaff? yup. A dozen PV panels on a pallet out the side door of a Sprinter? yup. A full pallet of insulation rolls, on the bed of a BM's wagon? nope. I'd note also that a maxibag of materials is OK off the boom on this size of machine too. My smallest digging bucket has two teeth on and is very handy for hanging a bag off...1 point
-
My local farmer comes around for an hour for £30 with his telehandler, cheaper than buying the fork attachment.1 point
-
It's the mark v. Oversized for just spraying it can also spray plaster!!1 point
-
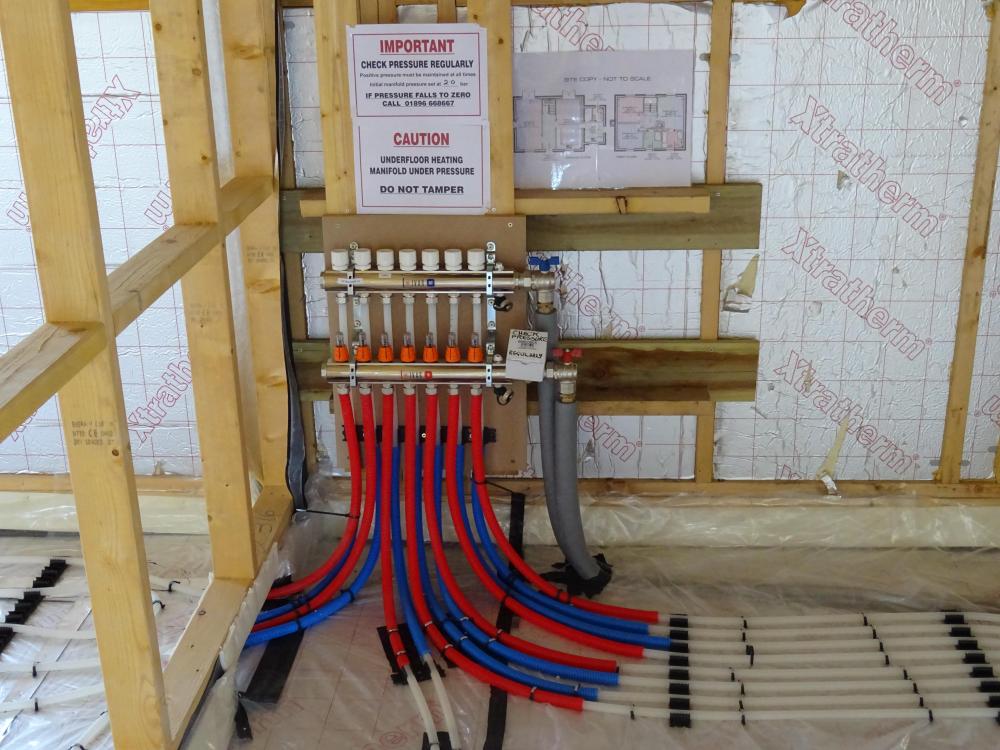
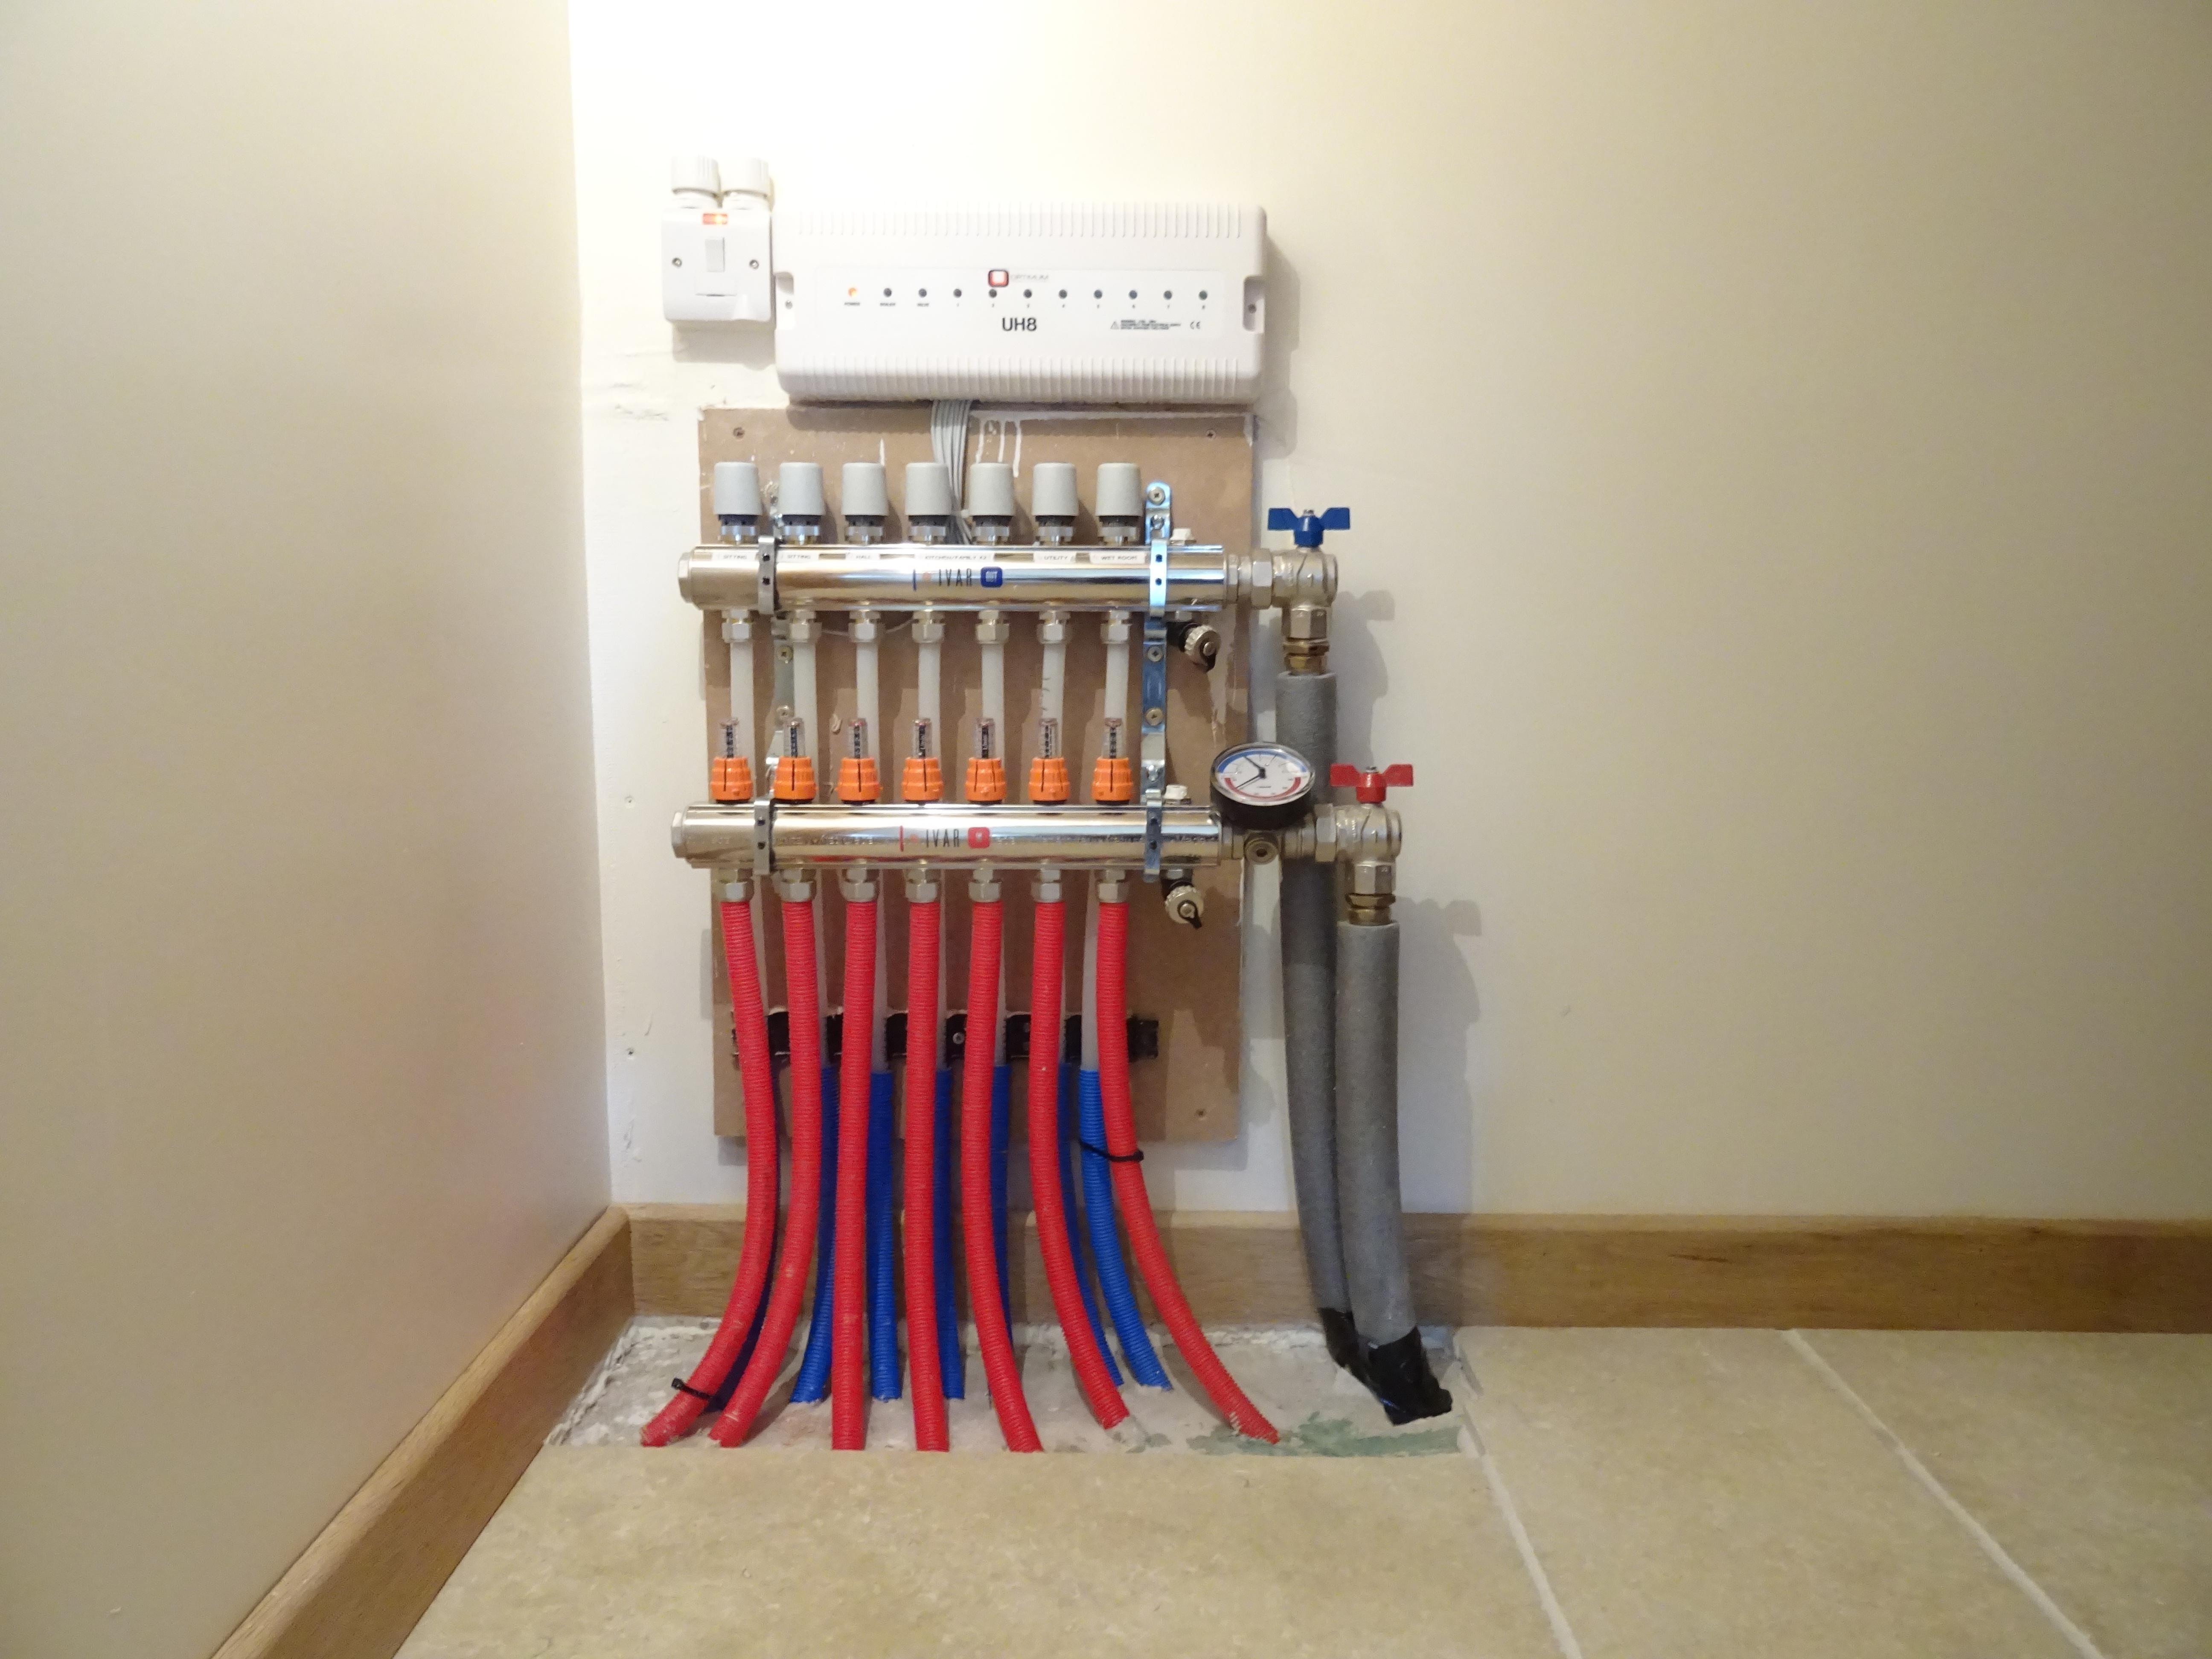
@Wagas - Like @ragg987 We put the screed down over the UFH first as to allow plenty of time for it to dry out prior to the tiles going down. Sometimes an image or two helps. The two images show how the manifold was fixed to a wall, in the under stairs cupboard, prior to the walls being plastered and how it ended up afterwards.
 1 point
 -
When's the lift going in for the shower tray?! Sorry couldn't resist with thread title1 point
-
Thanks @ragg987, that's a useful checklist. When mine is done I'll come back point by point explaining differences. Your checklist is one for @Powerjen also.1 point
-
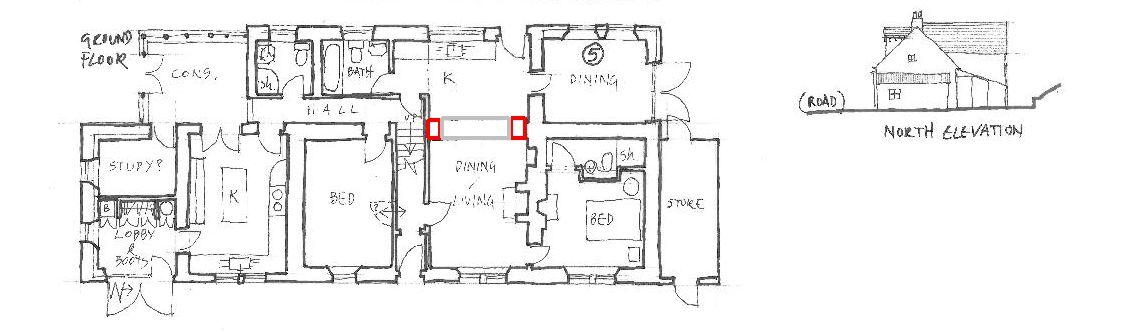
@Powerjen Putting this here because this is where your plans are. I hope you are feeling resilient, having had more attention here than the pandas get at Edinburgh Zoo. Anyhoo. We have talked about QSs and costs, but not about design and PM. I think the point made by @the_r_sole ,that the movement around the house and linking of spaces and light was important, has been lost a little. So, what to do? I quite like the division into 2 halves, although it is a bit too rabbit-warreny for me - but that is the house. I think your big space at the South End should be spectacular if done well. Here is your sketch: The only structural change I would make *now* would be to remove the wall between the kitchen and living in your parents new flat, leaving the pillars of brick necessary each end to support an RSJ. And if they want to keep them separate for smells etc I would insert a significant amount of glass in that wall (= floor to ceiling at least half). The reason is that that will give a double aspect living space. The issue with 2 rooms is that one is East and the other is West facing, and usually we want Kitchen to get breakfast light, and living to get afternoon-evening, and these are the wrong way round. So you want light and interest from somewhere throughout the day. And - obviously - it needs to be quick for your timescale. So, thus: You'll need building regs for that. Though it should be doable on a Building Notice (though I am not sure if such exist in Scotland). I might consider is enlarging a window or two by taking the sill lower, or exceptionally enlrage one if it really needs it. That saves any need to bugger about with lintels. The other thing imo you need is to make the project smaller to give it a pork-chop's chance in veganland of being done by the end of the year. Separately comment on that. Personally I would consider targetting just what you need to move in, and ignore the upstairs and possible all the outbuildings for now. Ferdinand
 1 point
 -
I built a basement with no previous experience. I saw this guy's page when doing research, useful info but as a one man band I'd not consider him for the actual build. The only 'experts' you need are 1) an architect to design the basement in conjunction with the rest of the house (i.e. as a living space) and to get you through planning 2) a SE to design the spec of the basement (waterproofing strategy, steel & concrete etc..). They will require a comprehensive ground investigation report which they or you can commission 3) a construction contractor , experienced in the conditions with which you will be working (not necessarily 'basement Experts') What is important is that you can get an insurance backed warranty from the contractor or the concrete / system provider once the basement is complete, otherwise you will not be able to include the basement in your overall warranty and may have issues re-mortgaging or selling in the future. For my build, it was a detached house on a relatively large plot so the basement was easy enough - did not need to invoke party wall and ground conditions were straightforward. I contracted with a local ground-worker experienced in underground structures (parking garages, etc) and they subbed out the steel and concrete works. We used a Sika waterproofing system which was inspected during the pours and signed off by Sika with a 15 year warranty. TF house built over the top (SE was main point of liason between firms to ensure appropriate loads from above were understood etc.) A local friend used a turnkey basement provider (Glatthar, usually present at the self build shows) and they were good also, especially given they had quite challenging ground conditions (an underground stream ran through their plot!). They were very professional but not cheap - we got quotes and it was about 50% more than our eventual option.1 point
-
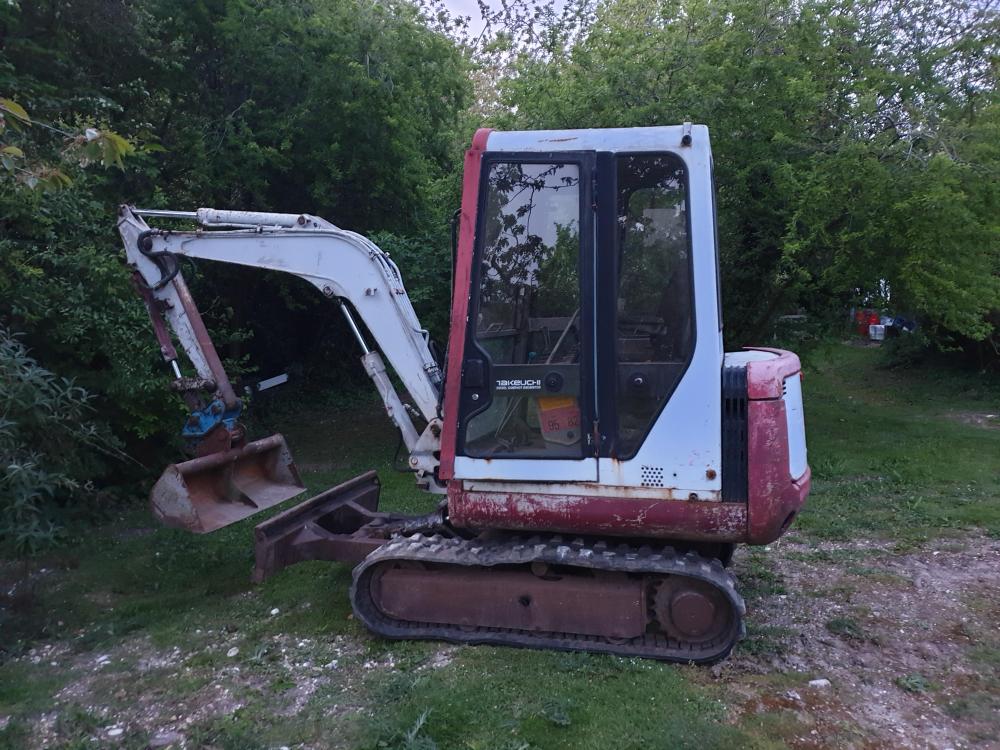
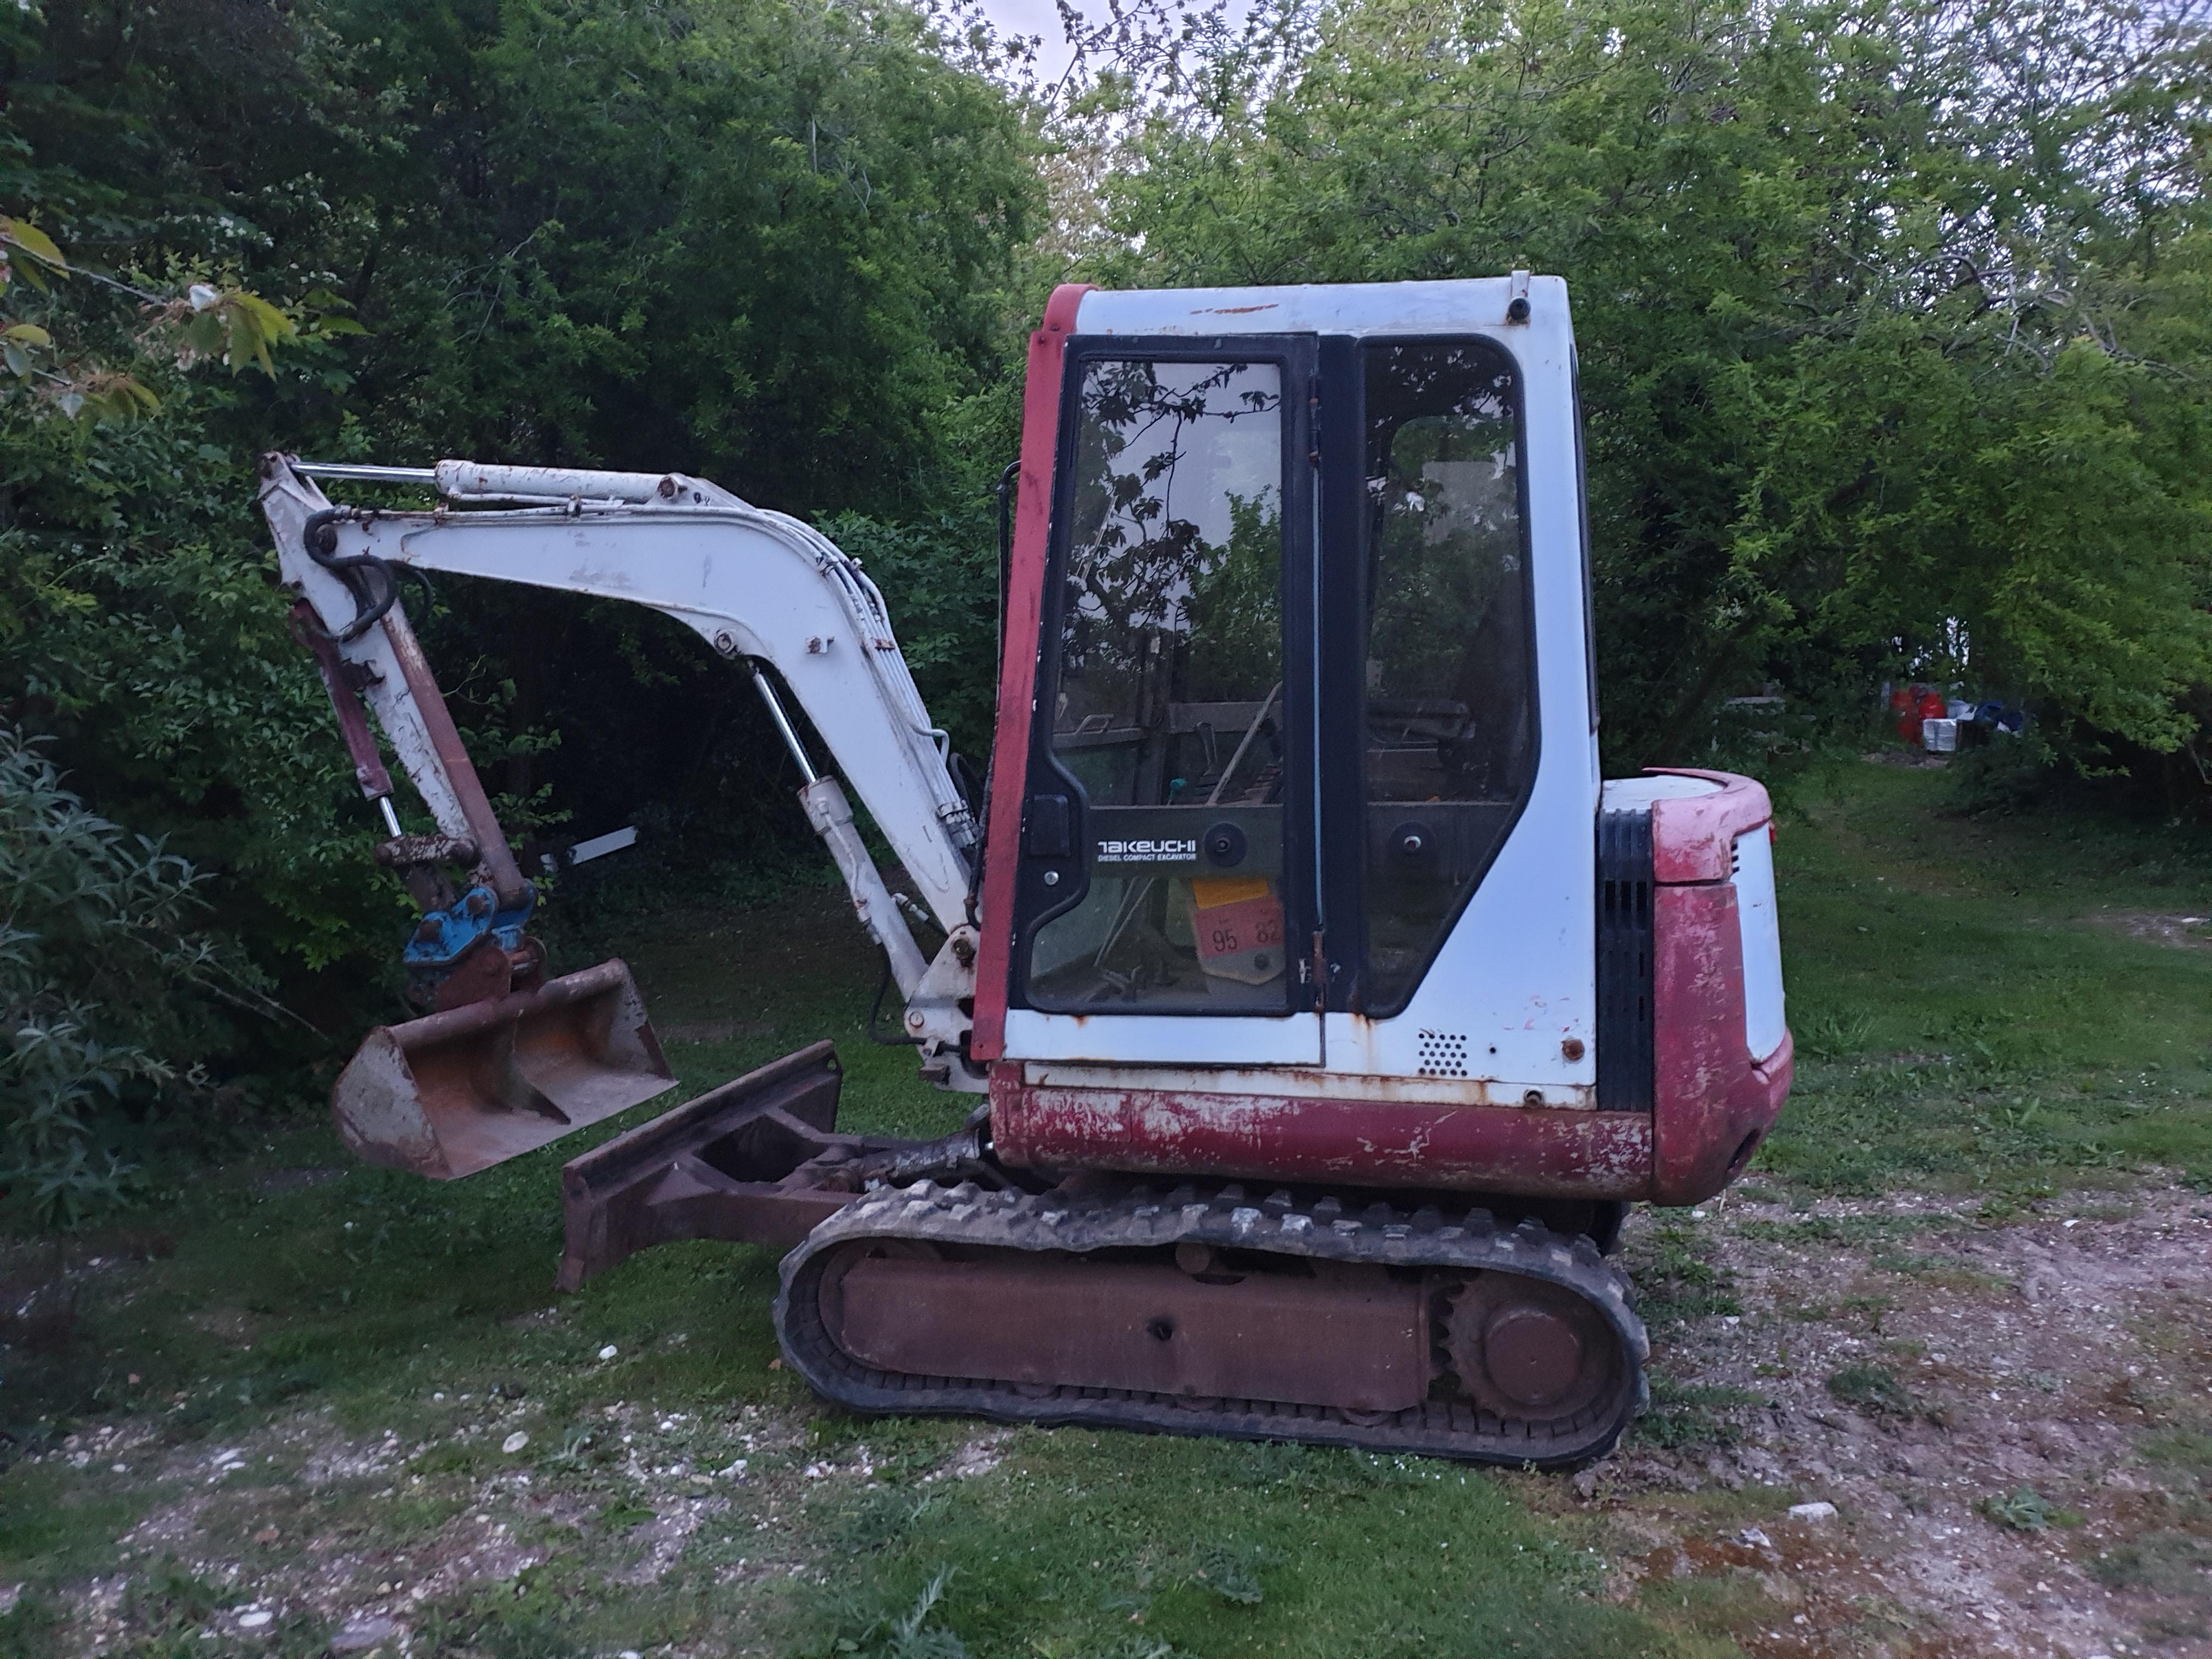
well, after months of searching I finally took delivery today of a 2.8t Takeuchi! Excited would be an understatement!
 1 point
 -
If you want to find the studs after the plasterboard is up, and you haven't marked the floor, then magnets work well. I have some pencils where I fitted neodymium magnets to the end, and these are great for finding plasterboard screws and a lot more accurate than using a stud finder. I also have a dozen or so left over magnets (small ones, around 6mm diameter x 6mm long, IIRC) that I use as markers. They will just stick to the wall wherever there is a plasterboard screw, so I can put several in place to show where all the screws/studs are without marking the paint finish.1 point


This leaderboard is set to London/GMT+01:00