
Leaderboard


Popular Content
Showing content with the highest reputation on 05/31/19 in all areas
-
Me plastering the kitchen and dinning room LINE_MOVIE_1559307156544.mp4 LINE_MOVIE_1559310773535.mp44 points
-
I'm a governor at the local senior school (both kids go there) and got a site tour today of a new 3 storey teaching block that will be completed in October. They're at the 1st fix stage so structurally complete. Really interesting to see the construction method... Steel frame with poured concrete floors, the external walls are framed with what looks like galvanised ribs to which a heavy cement board is attached with ring nails. The exterior has an insulated brick slip facade that has an inner metal reinforcement. Internally, rock-wool is layered in between the ribs before the cavity is closed with plasterboard. The internal walls are very robust, twin layers of 15mm PB either side of a 40mm insulated galvanised rib (to minimise sound transmission between classrooms). Underfloor heating and air-con - didn't ask about airtightness but didn't see any membranes. Also, boys and girls loos are now a thing of the past, all unisex units each with a lockable door and own sink & hand dryer - also used by pupils and staff alike.4 points
-
We have a lot of roof and the only planning condition we have, is that we use local slate, 18 tonnes of it at a cost of £22k. So here’s the front roof of the house. And the rear roof of the house. A total of 18 separate roof planes in all! Why oh why did I let the architect talk me into this design? Once the Timber Frame company left a local roofer started to batten our the roofs for our random width, diminishing course roof. Everything was going swimmingly, however he complained of feeling dizzy whilst on the three storey section, so i sent him to the doctors. He’s very old school of farming stock and would probably be more comfortable going to the vets! The upshot is he was signed off sick and needed hospital tests. The doctor has told him no more roofs. So that’s it, he’s told me to find someone else! I’ve wished him a speedy recovery, he is a really nice local guy and I’m gutted for him as he’s no pension, so relies on local roofing and small building jobs. He’s irreplaceable, but somehow I had to find a replacement. If only I had a magic wand, I’d wave it for him. Gutted! Went to seek the advice of a neighbours regarding good local roofers. The upshot being, I’ve was told to hunt down a guy known locally as “Old Fruit”. I asked the neighbour “don’t you know his real name” the answer, “NO” I’ve only ever known him as Old Fruit” So I have no phone number and only a vague idea where he lives. As luck would have it, the third house I tried was Old Fruits parents house. So I now know he’s called Chris and having looked at the job and agreed an hourly rate, he’s start battening the roof out. Fast forward a couple of weeks and he’s back and this morning the slates started going on in the pouring rain, Old Fruit is keen to get on with the job! More to follow........2 points
-
I am probably a philistine as I wouldn,t spend a fraction of that for any picture2 points
-
I have a name for him but it probably wouldn't pass censors!2 points
-
Yup. That's 100 times better than going in slack and no means of centralising the internal 'bores'. "PROCEED!"1 point
-
They don't make 'em like they used to1 point
-
Not bad for a 60 year old1 point
-
Give it a few days and you’ll be like Billy Elliot My shoulders are hurting just looking at the pictures ?1 point
-
"A total of 18 separate roof planes in all! Why oh why did I let the architect talk me into this design? " I feel your pain...1 point
-
This is Window Shopping as in "looking at all the things I do not need to buy". (Can't decide whether the artist is Welsh or Serbian) Update: Serbian Geordie, apparently.1 point
-
its not even a picture its a print!!!!! surely now you have a picture of it you should be able to make your own ?1 point
-
I was almost tempted to buy it .....1 point
-
From the price of that picture, seems like there's something else that would be stretched, whilst they were jamming their fist up it!1 point
-
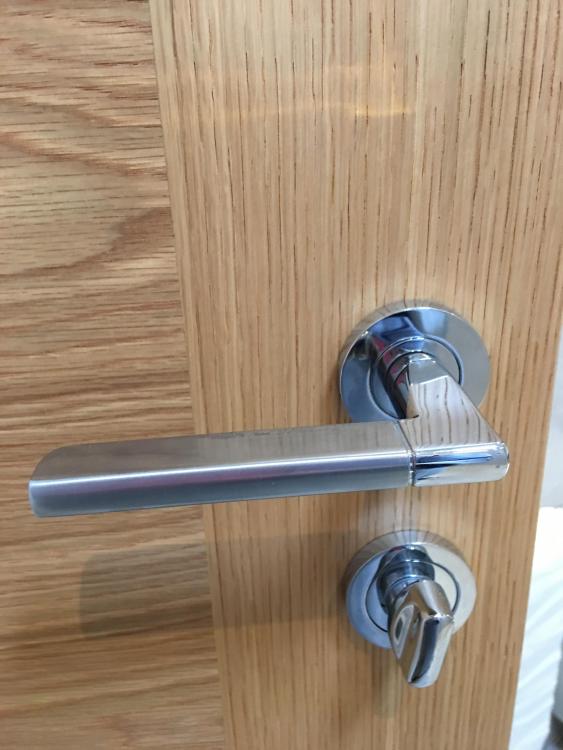
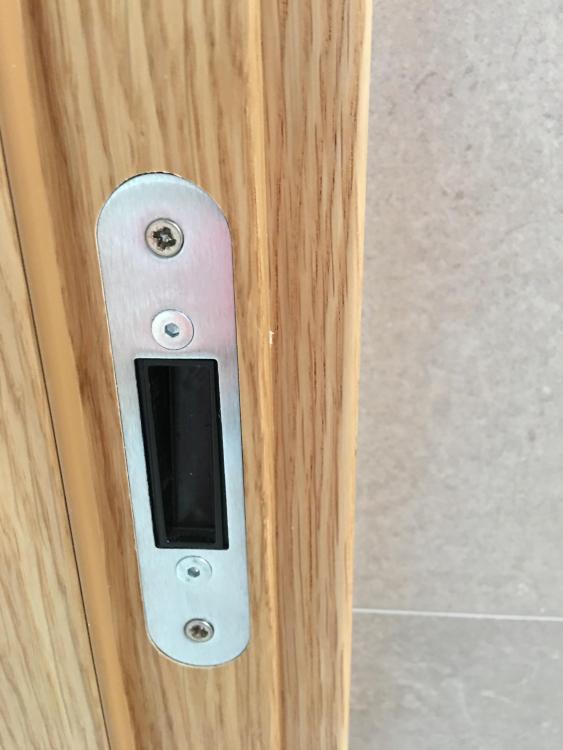
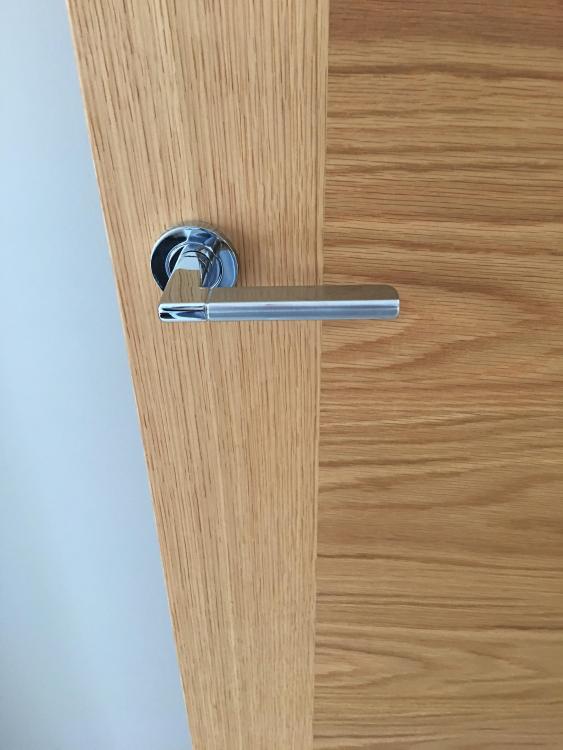
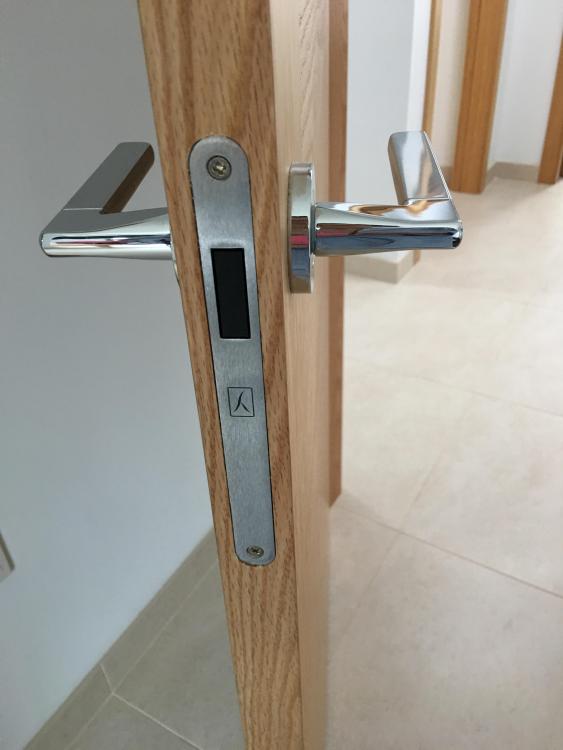
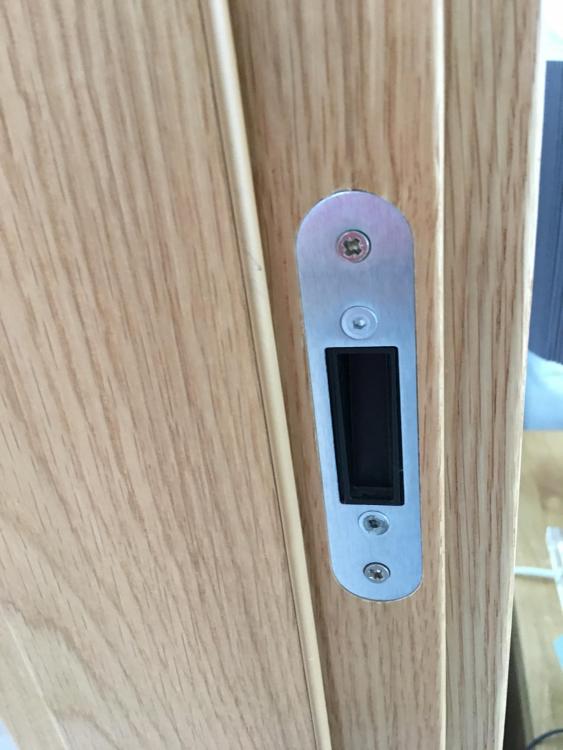
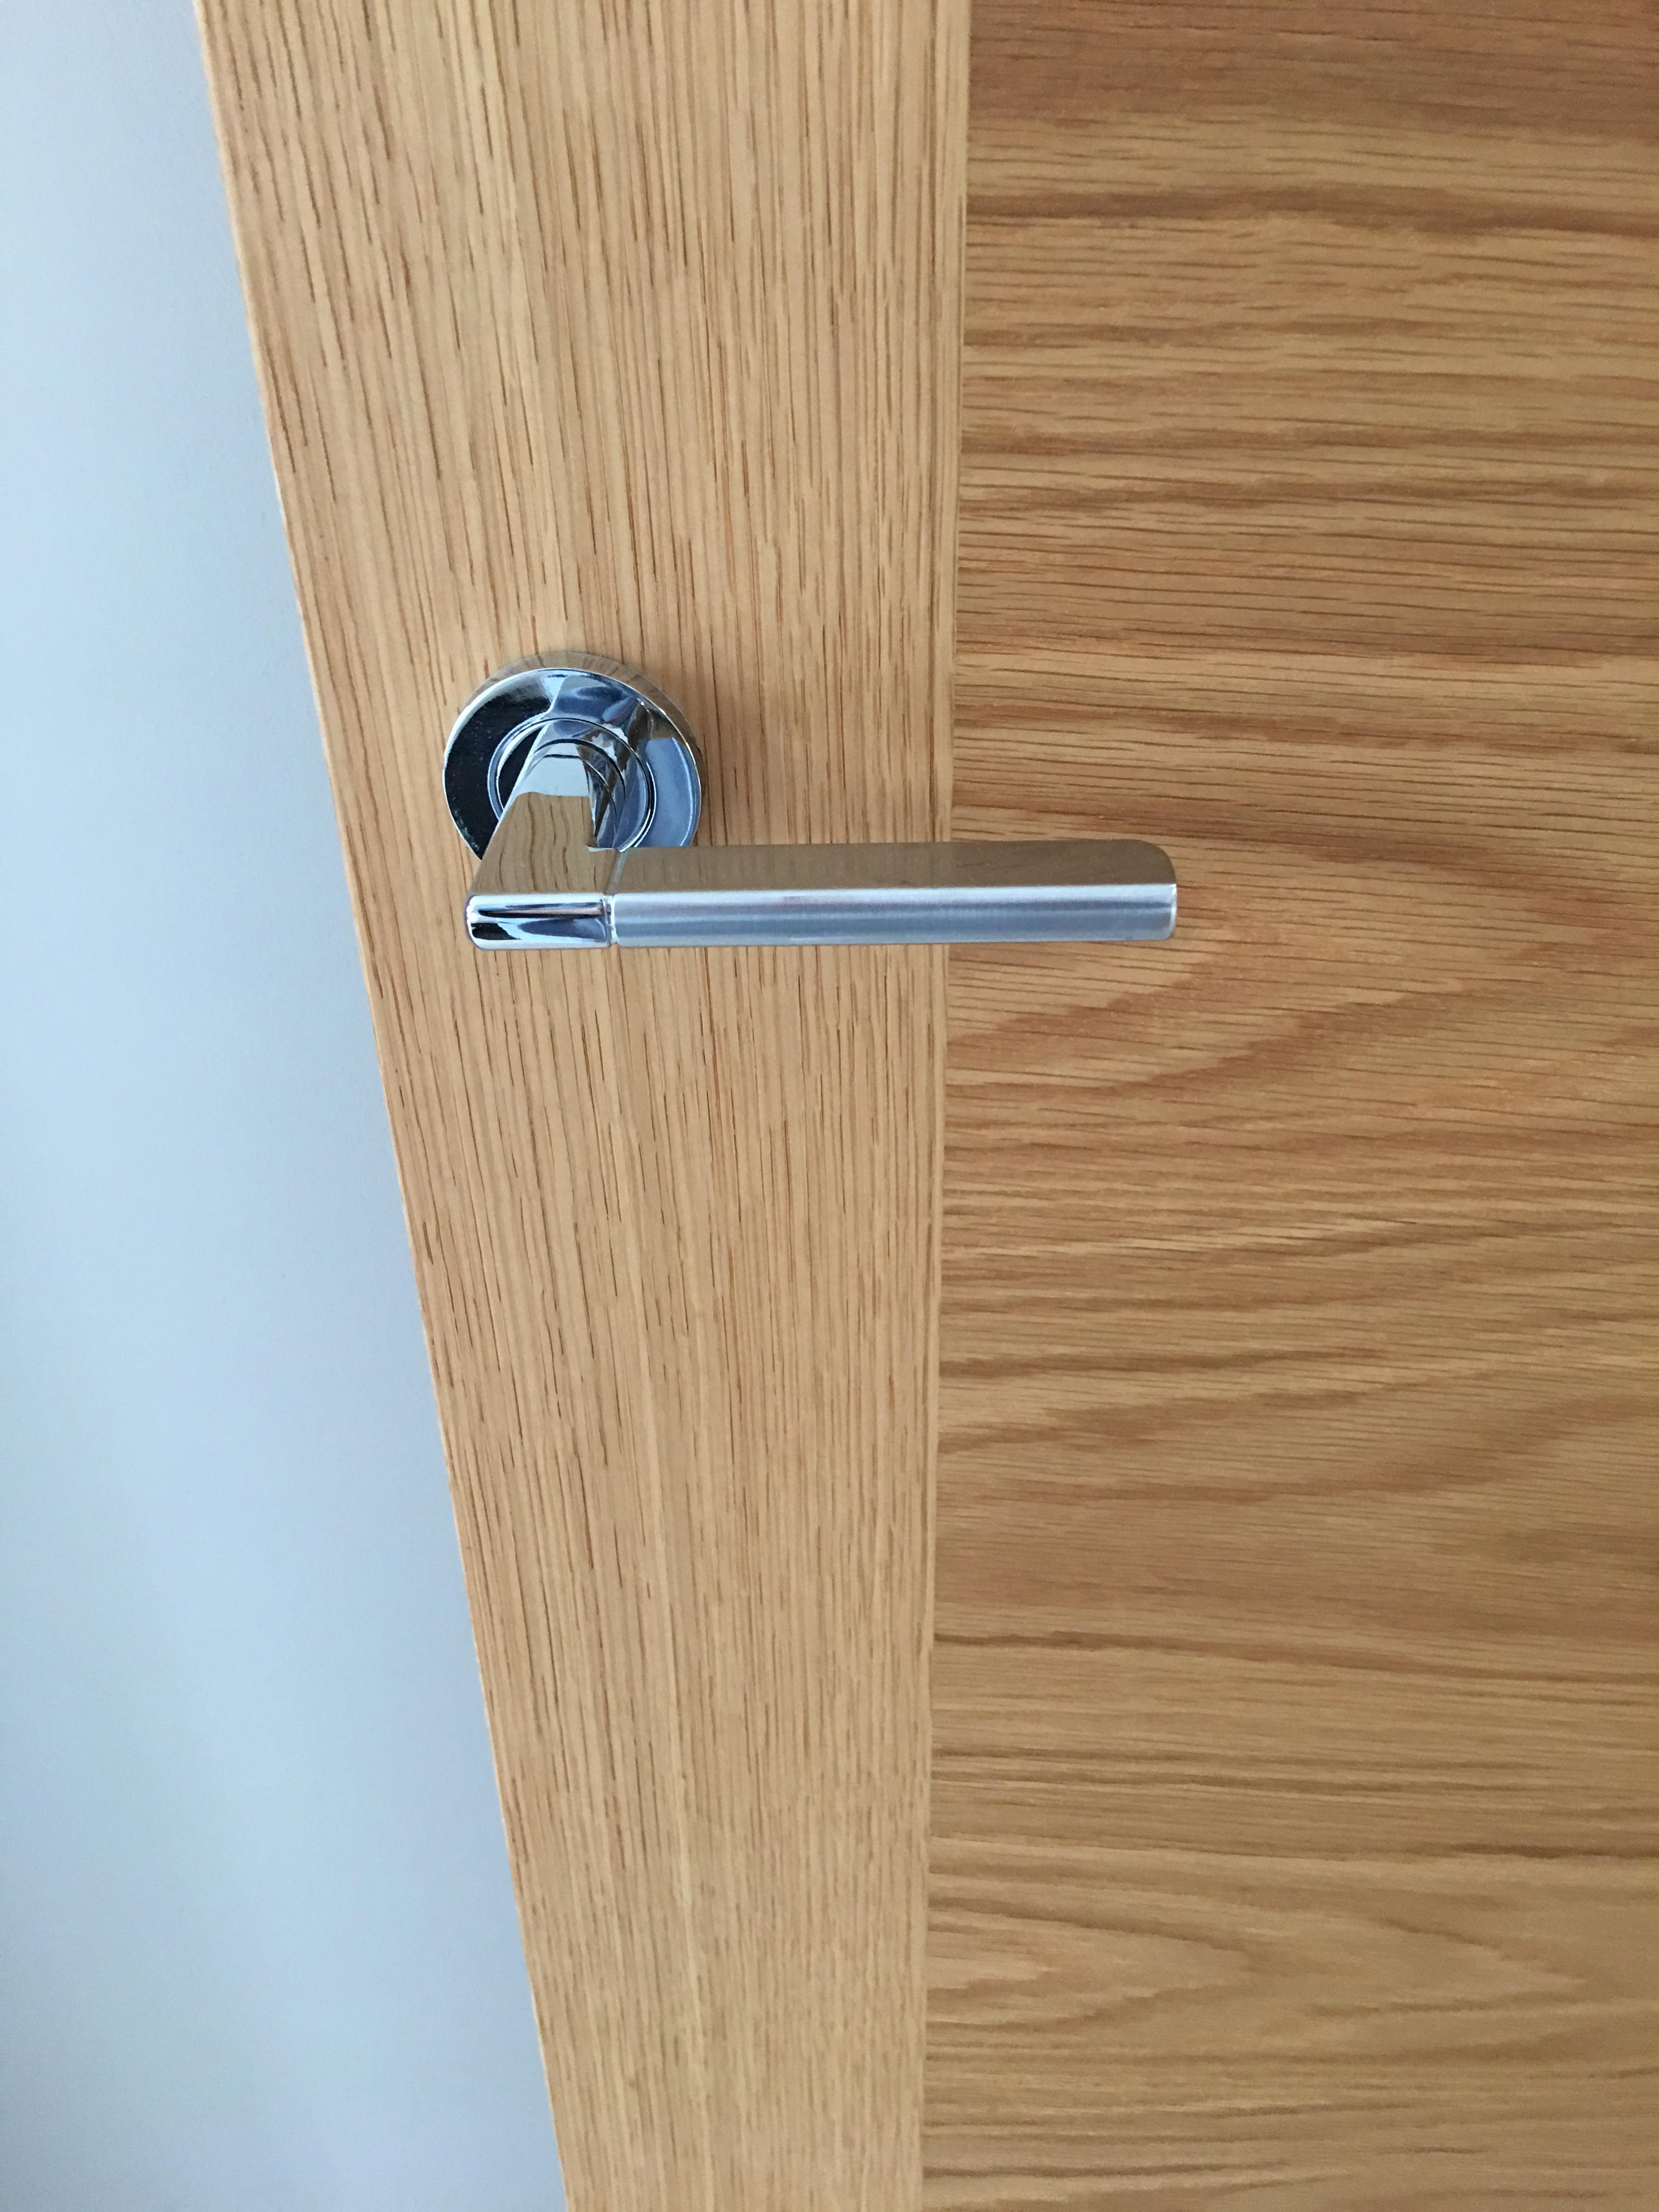
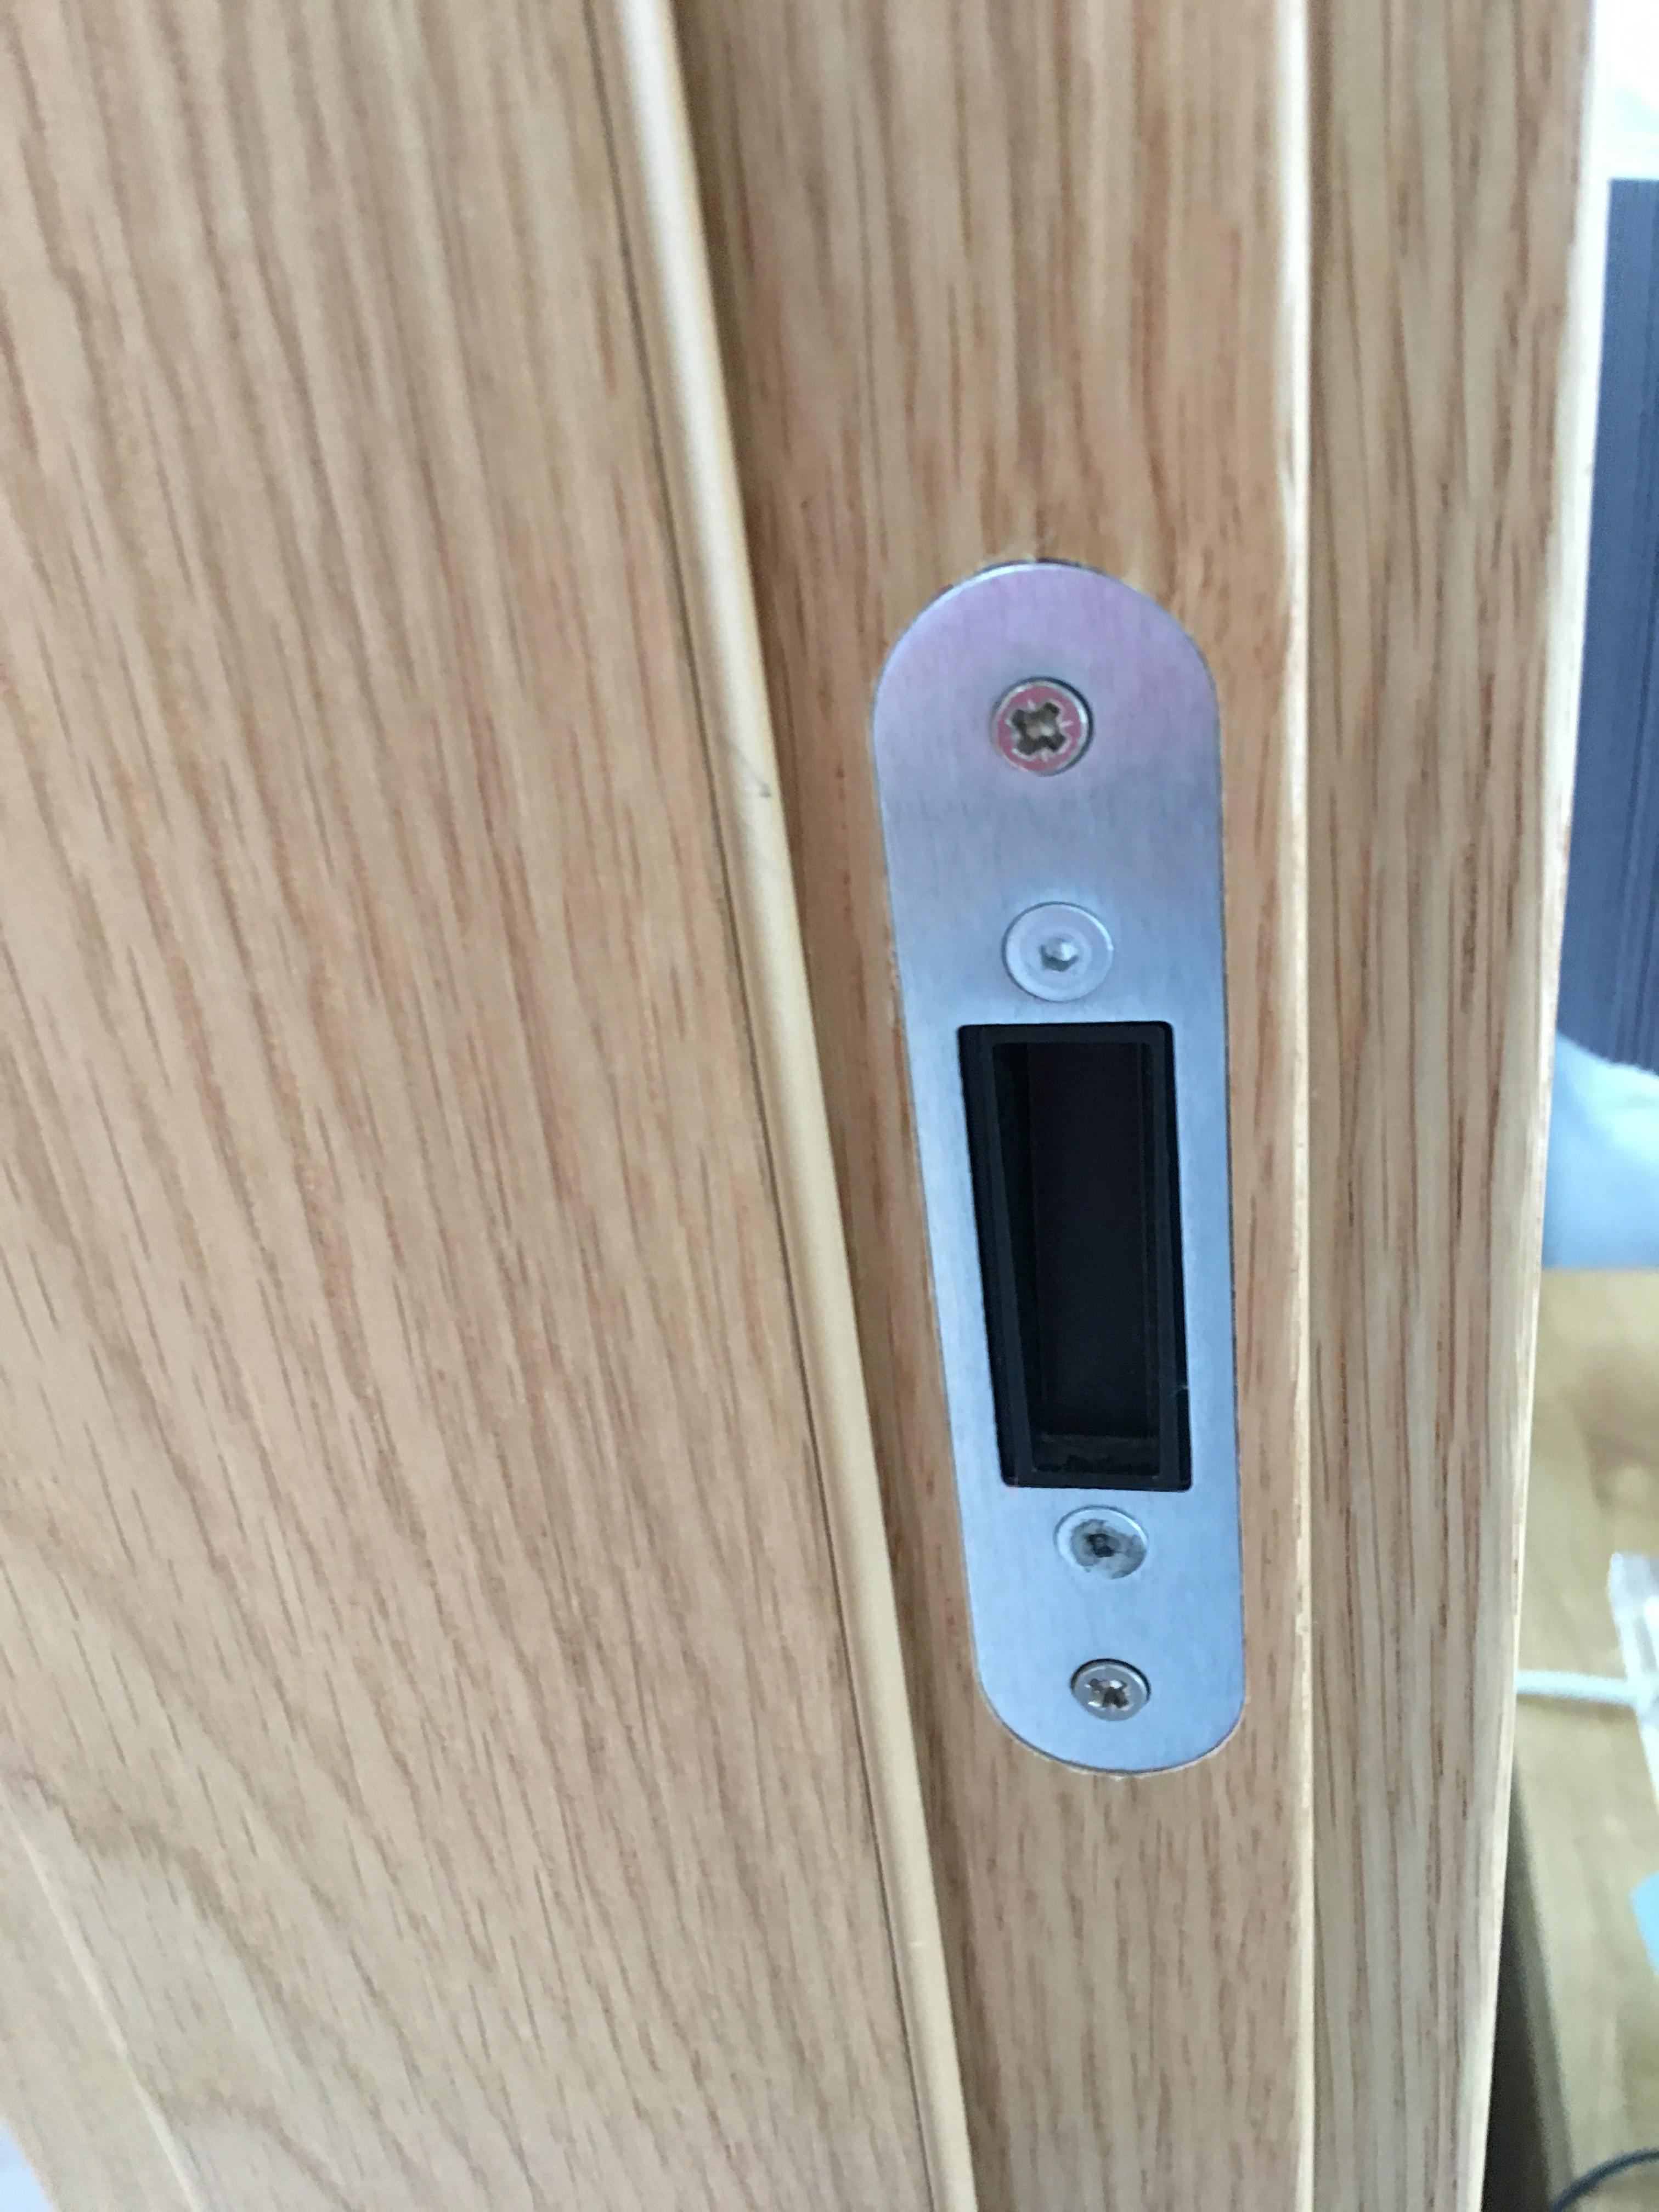
These are my magnetic latches......privacy bathroom door and ordinary door. I’m not sure how the thumb turn privacy latch works as it looks exactly the same as the ordinary door bar the thumb turn.


 1 point
 -
Your wish.... https://www.broadcastnow.co.uk/factual-entertainment/your-home-made-perfect-bbc2/5135865.article Also they use Sian from Moregeous as a consultant iirc. It is like Millionaire with thier questions-first, they do the big reveal at the start, and the tension is in the family story and the choice between the Blue Pill and the Red Pill. https://moregeous.com/2019/01/28/new-trailer-your-home-made-perfect/1 point
-
I price all my jobs from a set out drawing But you have to have settled on materials to be used and of course the building method to be used Your drawing will say things like first floor elevation to be rendered Slate roof etc It would be useful if you have settled on a type of slate etc for a more accurate render1 point
-
Thanks to everyone for your replies - I like the pipe sleeve idea - probably the easiest solution. I will feedback once BC have been and advised. Thanks Wozza.1 point
-
If @steve77r you are looking for cheap you need to follow the route of the mass house builders ordinary square shape, red tile roof, plastic facia, plastic gutter brick n block or timberframe and brick skin if forterra was a cost effective way they would all be using it.1 point
-
Update: Got our PP this week - hooray (despite our wings being clipped by forbidding 2nd floor sunroom, so we ended up with simple 2-storey 4-bed box, half-hipped roof, and an approved non-habitable basement (half-the-footprint). Space-wise it's OK, but of course basement increases the costs, and it starts with the SE quotes already! Had 2x objections from neighbours (both unexpected), but dismissed by LPA. Now feeling really scared ? and the whole thing is quite overwhelming and daunting (still can't believe we're doing this!). Need a Jameson and a ton of biscuits, and back to re-reading the H-Bible!..1 point
-
The price per m² is always based on the gross internal floor area, not the footprint. For example, our house has a footprint of ~85m², but the ground floor area is about 76m² and the first floor area is about 54m², so the area for costing the build is 76m² + 54m² = 130m² (our first floor is smaller than the ground floor as the house is a 1 1/2 storey design). A 2 storey house of 270m² would have a ground floor area of about 135m² and a first floor area of about the same. The footprint would be larger than 135m² as it includes the thickness of the walls. £2,000/m² would be pretty typical for a house built by a main contractor, with you being fairly hands-off. The more work you do, the cheaper it gets.1 point
-
It very much depends on your needs. We built a fairly large 2 bedroom house (~44% bigger than our old 3 bedroom house) because we wanted more space in the ground floor living area, specifically a reasonably sized kitchen, dining room and lounge, plus a utility room and room for each of us to have as a study. We ended up with two pretty large bedrooms, with a walk-in wardrobe and two bathrooms upstairs, plus a fair bit of "wasted" space in a 6m high entrance lobby. We could have squeezed a 4 bedroom house on to our house foot print, as the original plans that came with the plot were for a 3 bedroom bungalow. This site gives some rough areas for new builds: https://www.dwh.co.uk/library/Average-UK-house-sizes/ They reckon that an average 4 bedroom detached house is around 147m². I would guess that may seem a bit small for those looking for bigger bedrooms (and it will usually be bedroom size that suffers the most as house size decreases). 180m² to 200m² might be a reasonable aiming point for a fairly spacious 4 bedroom house, it very much depends on your budget and the nature of your site. The latter almost always dictates the house layout and design more than anything else.1 point
-
You can make it as long as you want however you’ll have an issue with the flange showing through the front brick course if you’re not careful. It may also alter your padstone sizing.1 point
-
It works fine, and is well-proven:1 point
-
A layer can be, by any building standard, airtight yet still be vapour open enough to be put on the outside of any reasonable construction. For example, the Protect TF200 Thermo I have on the outside of my gable walls has a water-vapour resistance of 0.45 MNs/g which equates to a vapour permeability of 2.22… μg/N·s. AFAIK, most membranes just resist gasses, they're not picky whether the molecules they're stopping are H₂O, O₂, N₂ or whatever. 50 pascals for an hour over an area of 1 m² equates to 50×3600 = 180 kN·s which, multiplied by the permeability would let through 0.4 g/m²·h. Air has a density of around 1.2 kg/m³ so that would be an air leakage rate of 0.000333… m³/m²/h. Somewhat less than 0.6 m³/m²/h so, if you can seal it up tight, that membrane while quite breathable and suitable for being on the outside of the building would make a perfectly acceptable airtight layer. More practically, Tom Foster has been designing houses with the airtight layer being the OSB sheathing. With careful control of the brand of OSB used (there seems to be wide variation in the airtightness and vapour permeability of OSB from different suppliers) and thorough gluing of the joints (as he seems to achieve with use of the right builders) that seems a very good approach to me; combining the windtightness and airtightness layers in a bit of the structure well clear of marauding sparkies and plumbers. It's good that you can do the airtightness testing and any correction required very early in the process, as soon as the house is weather tight, while things are still easily accessible. Also, you get to actually test the windtightness, something that's not normally done. That outer layer can be airtight enough without being so vapour tight that an inner vapour barrier (which would then be a de facto airtightness layer) would be required.1 point
-
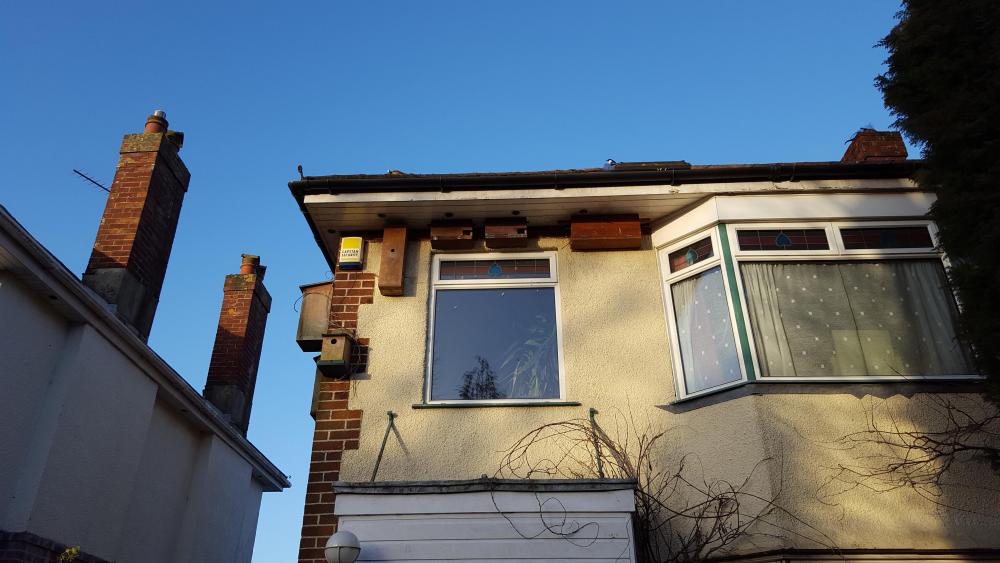
Thinking about Bat and Bird boxes. The only stuff I know is my general impression that bird boxes need middling temperatures rather than hot and cold, so they should not face directly north or south, rather east or west. But I do not know about Swift Boxes. And my general impression is that bat boxes need full sun for most of the day. And do these local authorities that demand bat and bird boxes actually hand out any advice? Has anyone had any help on this stuff from their Local Authorities as part of the deal when conditions are imposed? What did they say? Ferdinand1 point
-
I am planning owl boxes around us, we have at least one barn owl that is resident near us and I want to encourage them. We already have bat boxes built into my workshop and many bird boxes dotted around, we enjoy having breakfast watching lots of different bird types on our feeders. Next year I am looking forward to sowing the meadow (currently a soggy bog) with wild meadow grasses and flowers ?.1 point
-
I hadn’t thought about bird boxes around the place before but starting to love the idea. Our elderly cat rarely ventures out so for the first time in our lives, we are safe to encourage birds into our gardens. Currently putting out fat ball things which is attracting all kinds of birds (and squirrels) and going to collect the dog fur when they are trimmed for nesting. What a lovely thread - has brightened my morning on a very dark day in the world.1 point
-
We have several fully populated sparrow terraces. The sparrows roost in them all year round and they are charming neighbours. OH built the boxes which have perches beneath the entrance holes and hinged bases to make it easy to remove old nesting material. The sparrows have a habit of including lavender and bay leaves in their nests. Here's a selection of the boxes on our current house - sparrow, swift and starling. The swifts haven't taken up their boxes, but the starlings love them.
 1 point
 -
The preservation of swift birds is very important in the area I live. A university student did a research document on them a few years ago. Got a grant to do more research which developed into more grants, involvement by the professors and now the local authority and local area is the main swift conservation area in Ireland. Had to work with the local authority, heritage officer and conservation officer on a few projects where we knew they were nesting. They've a lot of info on the swift boxes here. http://www.swiftconservation.ie/nest-box-advice/ The huge advantage of swift birds is they're very quiet, they don't shlt anywhere near the nest or building like other nesting birds and are generally very clean. The elliptical hole (for which specific dimensions are available) into the bird box ensures the bird box is only used by swifts and not other birds. As for bats, loads of info is available for them. On one project I worked on we had a bat conservation specialist. We called him Batman!1 point
-
Decided to go for it! Removed the yellow bung ready to figure the flush pipe length: Lubed the end with some silcone spray: And inserted into the frame inside the wall. It stops hard against the shoulder on the flush pipe. Marked it: Removed the flush pipe and inserted into the back of the flanged, rubber "stopper" that goes in the back of the pan. Not sure tbh whether the flanged stopper goes on the pipe end with the flange or the plain, to be cut end? Inserted into the pan. Dry it's quite a tough push, lubed with silicone spray almost too easy and seems almost to want to pop back out: And pushed in. Again, would the flush pipe flange be better against the rubber? Can't see it'll really matter once against the wall: With a straight edge I note the back of the pan is pretty much flush with the rubber: So I need to shorten my pipe by the distance from the back of the rubber to the mark I made earlier when it was pushed into the frame: Cut: De-burred inside with a Stanley, outside with some emery cloth and then inserted back into the rubber flange: And pushed into the pan: Onto the poo pipe! Slip the poo pipe onto the pan: And straight edge across the back of the pan: Gloves on and a bucket of Dettol: A plastic bag sandwiched between pipe and rubber helps to stop the stink from the live stack branch: Lube the end of the poo pipe: So out with the large yellow bung, trying not to breathe and into the bucket of Dettol. Push the poo pipe in and mark as before the face of the tiles on the pipe: Remove the poo pipe put the yellow bung back in. Dip the end of the poo pipe into the Dettol! The distance between the two marks needs to come off the end of the pipe. It's the inside of the lhs and far right lines: It was 18-20mm so. used the multi tool and a couple of bits of 3/4" MDF. De-burred inside with the Stanley and then chamfered the outside with it too. We're here, nominally ready to fit: @Nickfromwales, two questions if I may. Should I turn the flush pipe around so the flush pipe flange sits against the black rubber insert? Secondly, should I try pushing it all on as is or put the pipes in the frame first the offer the pan up to the pipes? Cheers1 point
-
Unbelievable Jeff!! So we had a first meeting with an architect. Told him our ideas and budget. Even shared with him our sketches of floorplans we'd done. He said he'd quote - see below. Just to remove any doubt, we're not footballers building some monster pad with a crazy budget. It's a 4-5 bed detached house plus garage/workshop To paraphrase Michael Caine, I'm inclined to think my own bad design is going to be cheaper than some architect's.
 0 points


This leaderboard is set to London/GMT+01:00