
Leaderboard


Popular Content
Showing content with the highest reputation on 11/17/18 in all areas
-
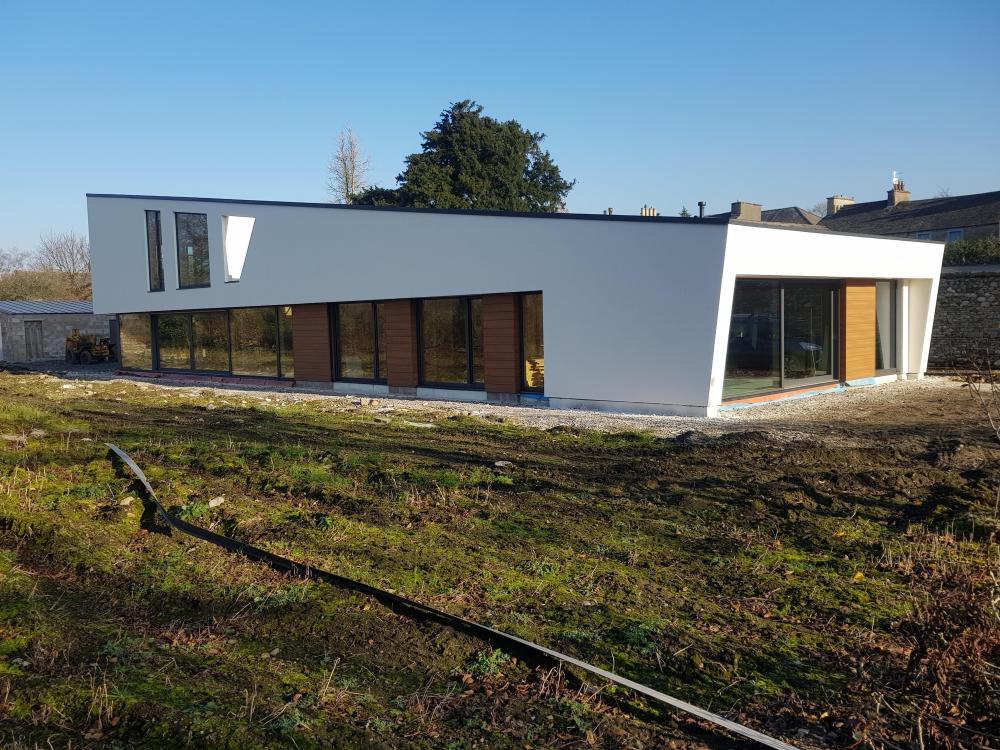
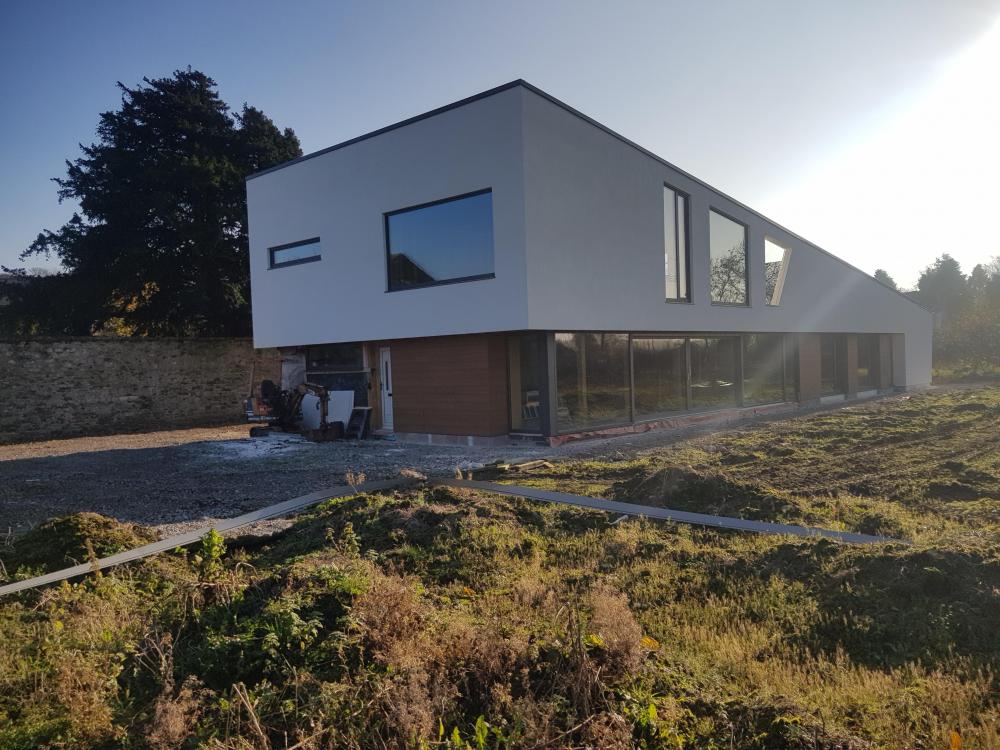
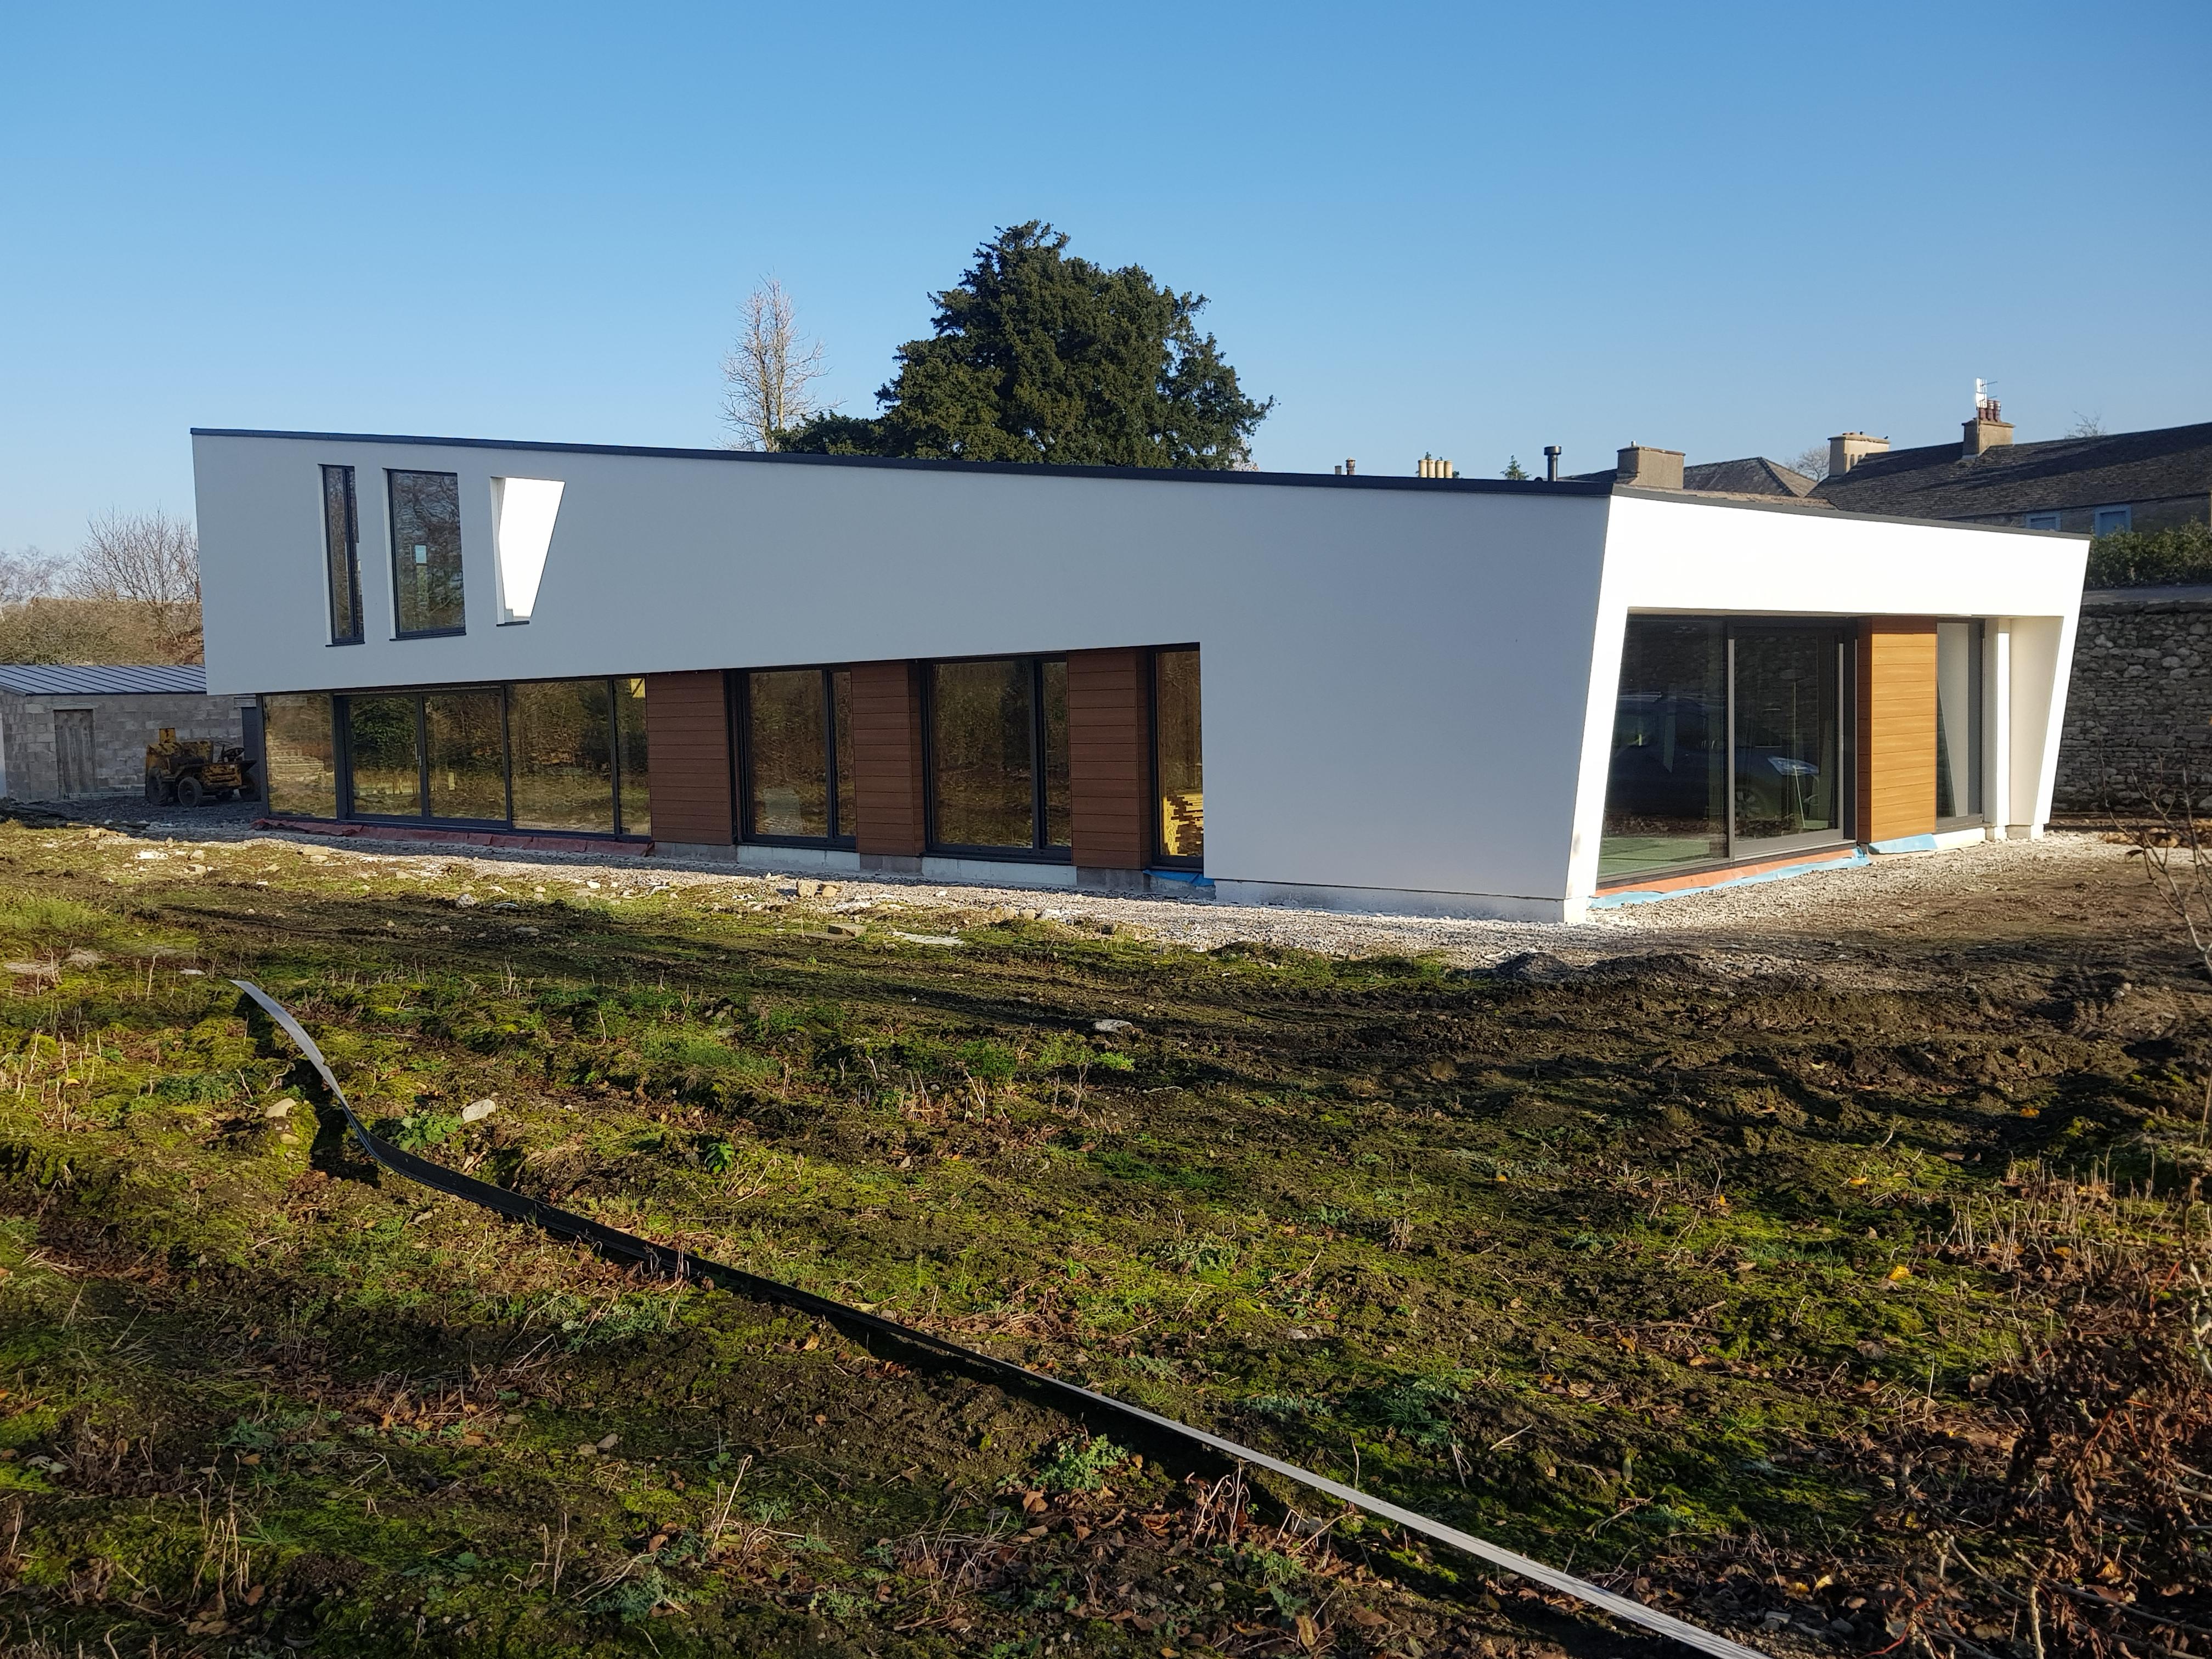
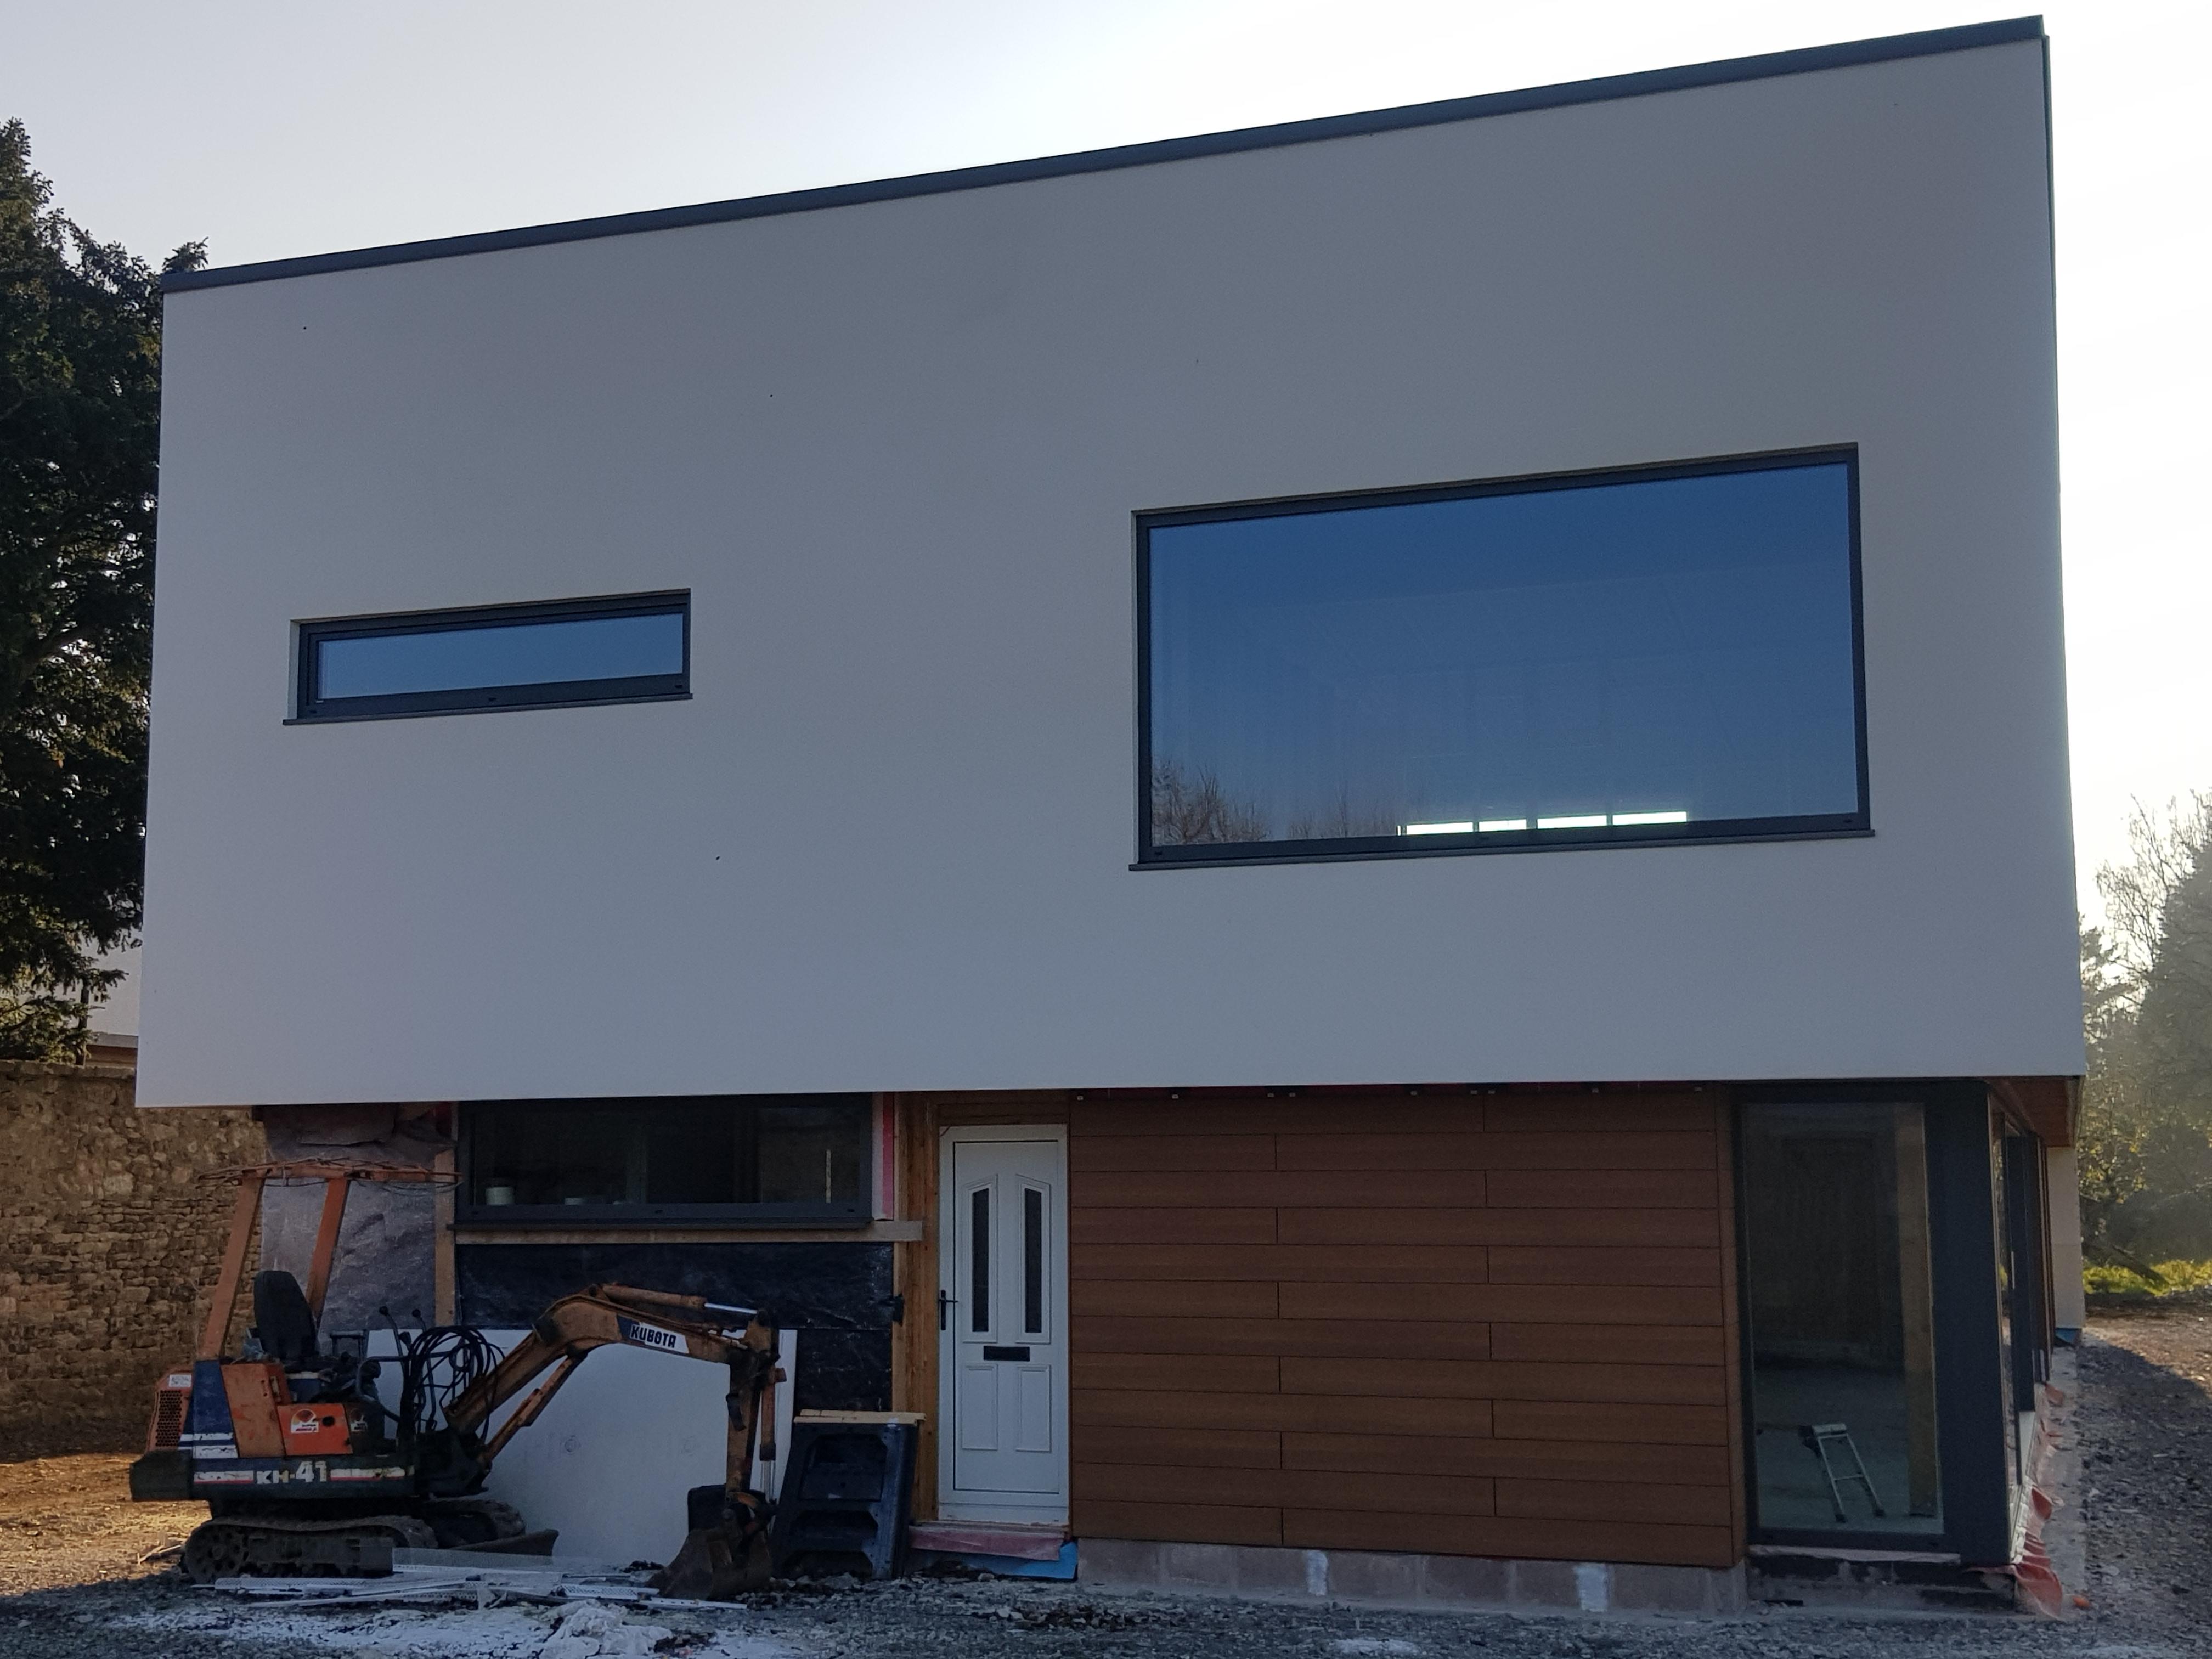
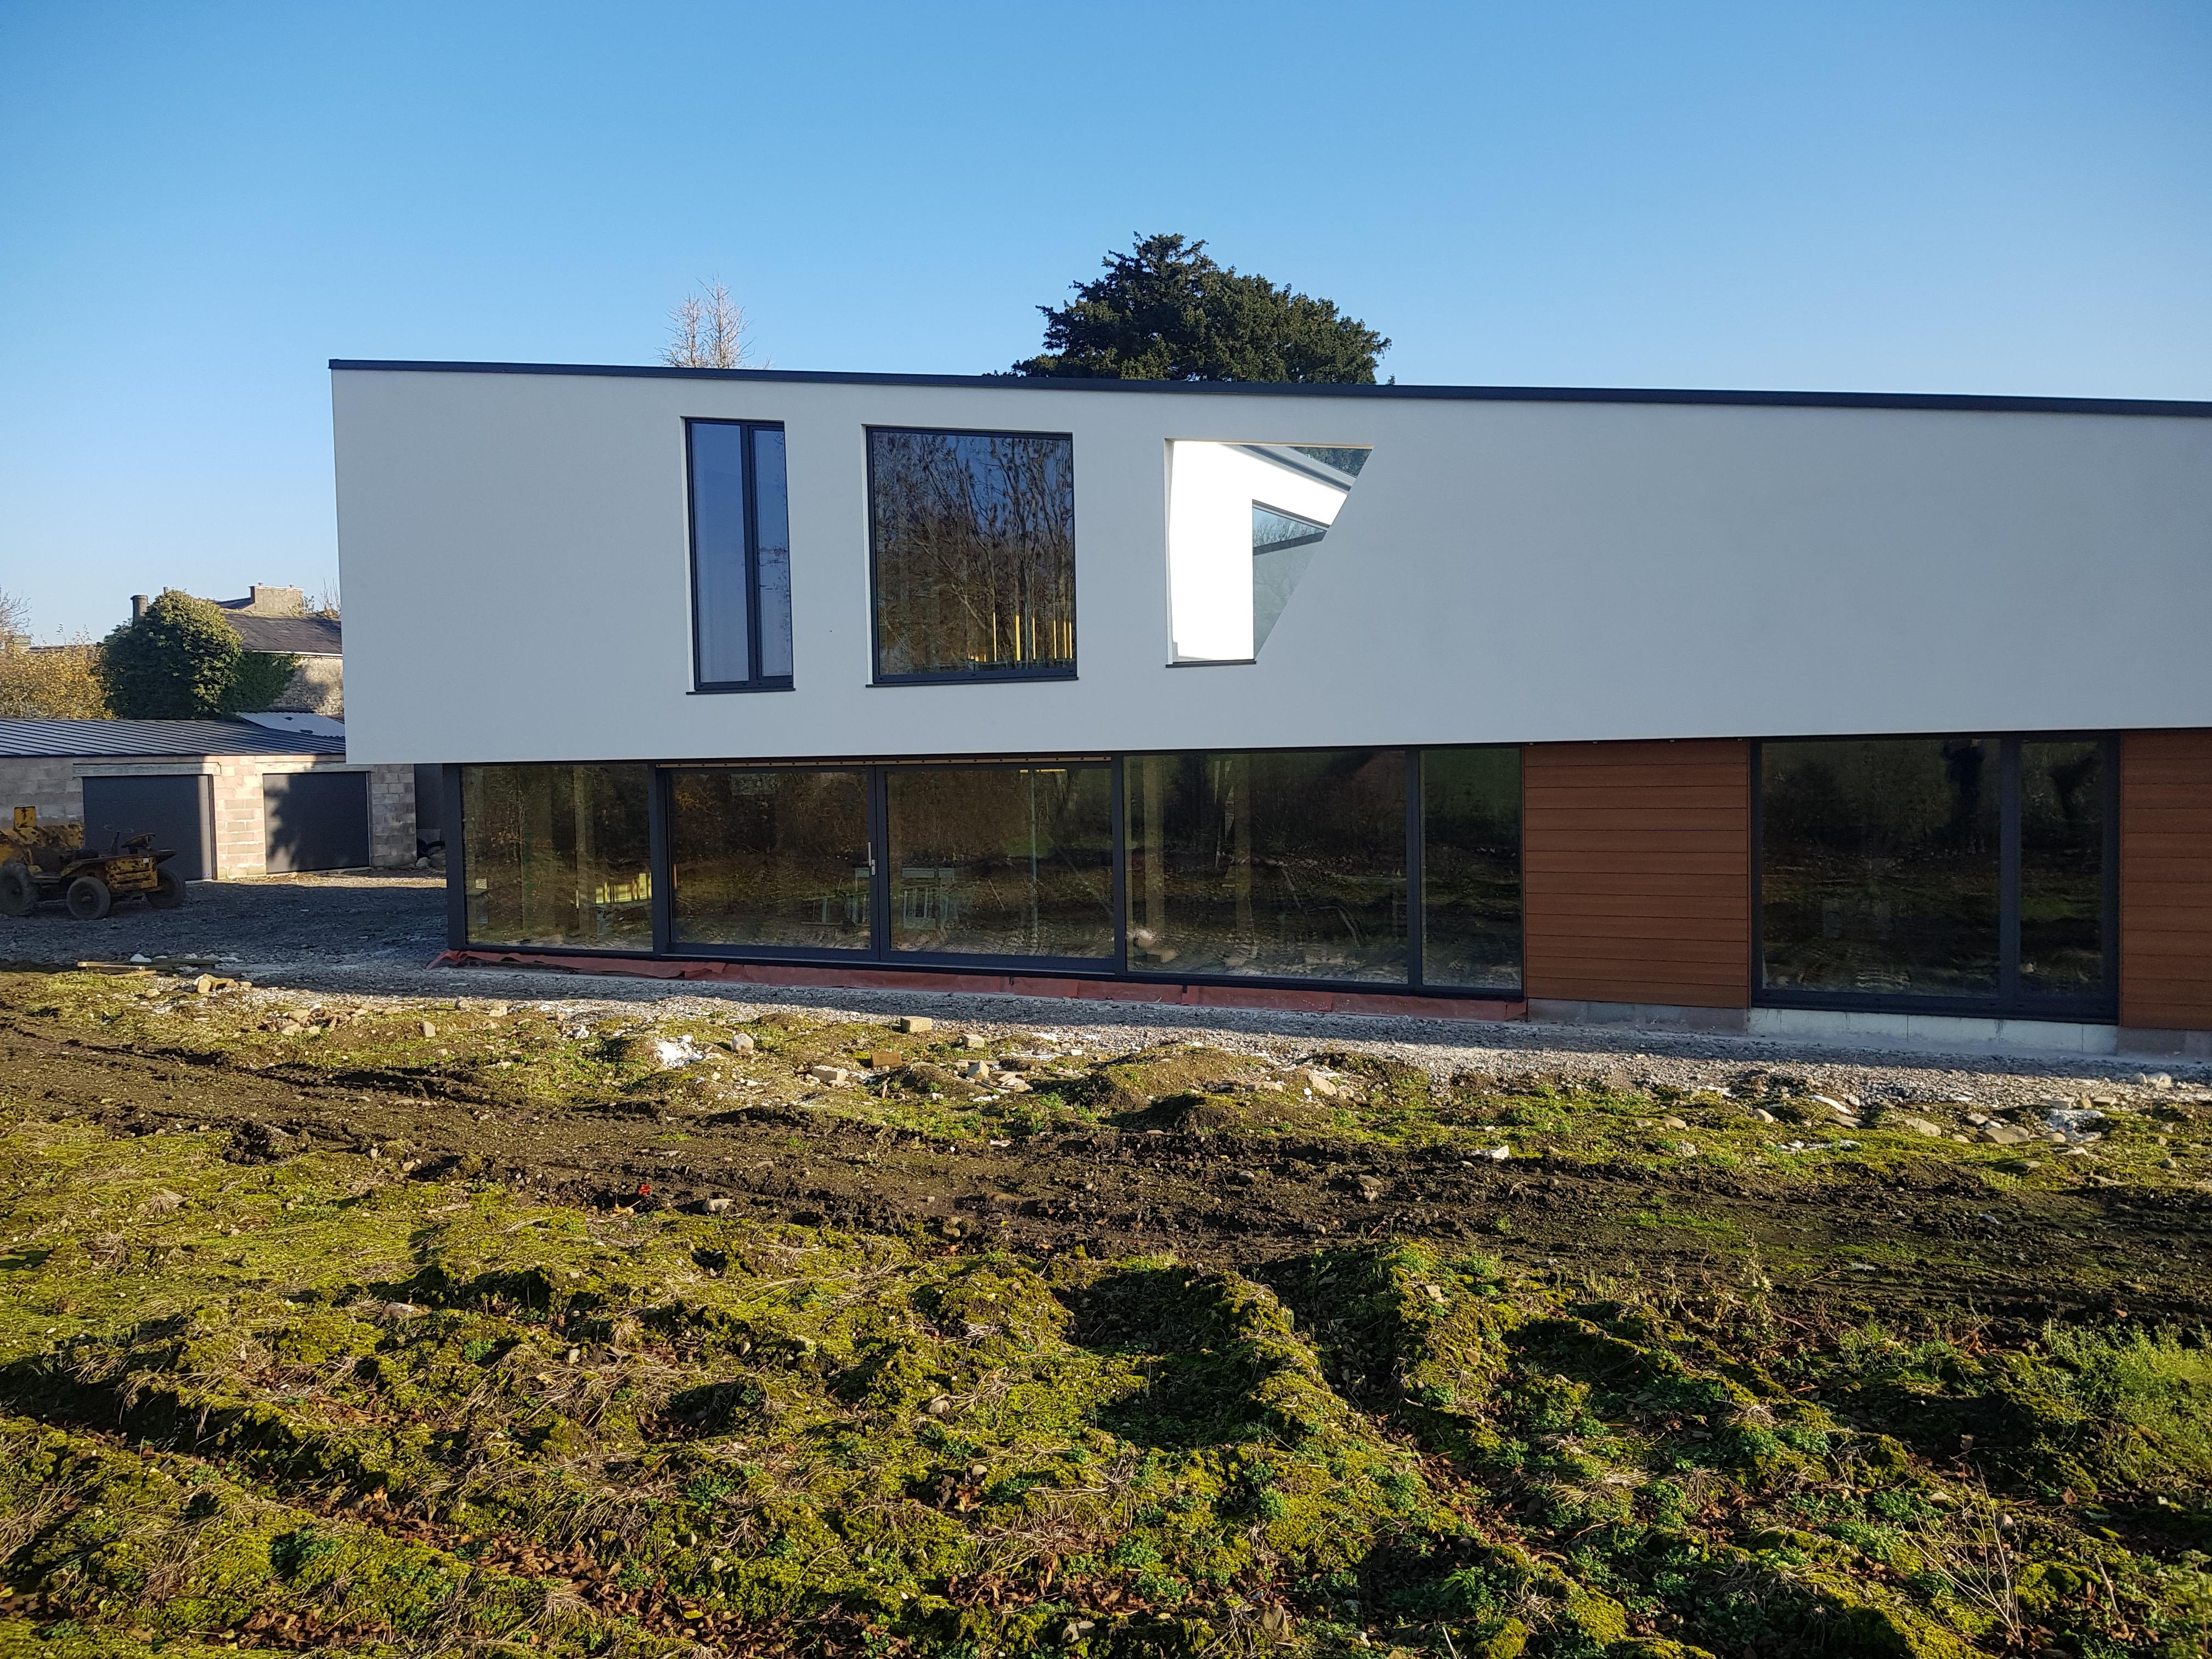
Scaffold finally down and new window fitted although windows still not finished.

 4 points
 -
https://en.wikipedia.org/wiki/Merkin ?3 points
-
A well-chosen AT should not be too expensive, and I expect that you can save more money by putting the same amount of effort into other areas of your build without the extra overall risks. F2 points
-
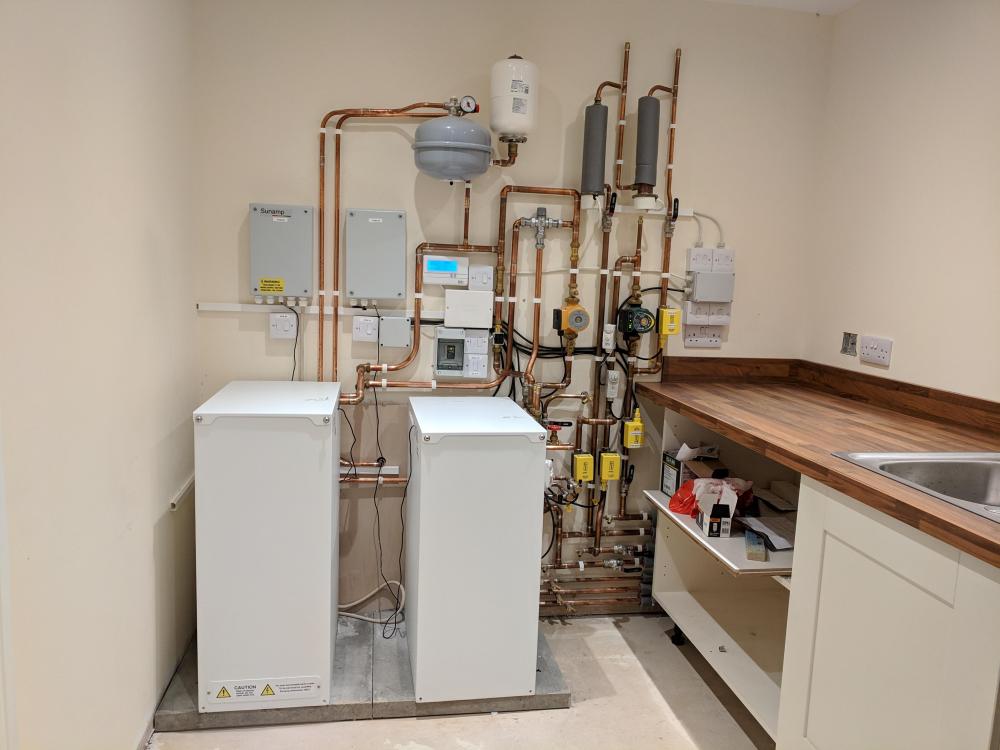
The system works! A ASHP feeds a PCM34 Sunamp that acts as a preheat for a PCM58 Sunamp and also a ufh buffer. The PCM58 has an electric immersion element to charged it ( to be solar PV at some point in future) Though the late addition of a back up pair of Willis units added some complications: @Nickfromwales can explain it in detail if anyone wants to know more.
 2 points
 -
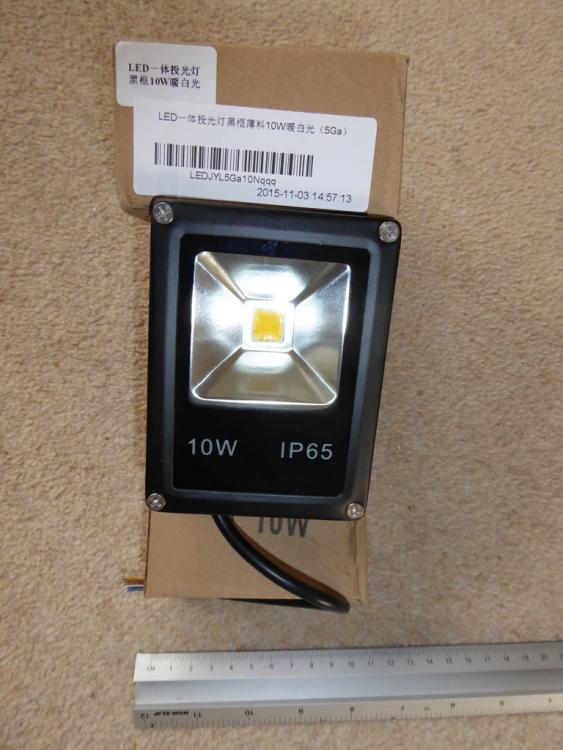
https://www.screwfix.com/p/lap-led-floodlight-10w-black-daylight/604cc1 point
-
Just fitted a LAP 10W unit out of Screweys for a friend, they've got a neat terminal block that's covered by the screw-on cable gland. Clever.1 point
-
LED security lights seem to be evolving. They for a long time did have captive short flexes, but lately, the last few I have wired had a connector on the back that you terminated your own flex into then screwed on the supplied waterproof cover.1 point
-
at least you can't blame the plumber1 point
-
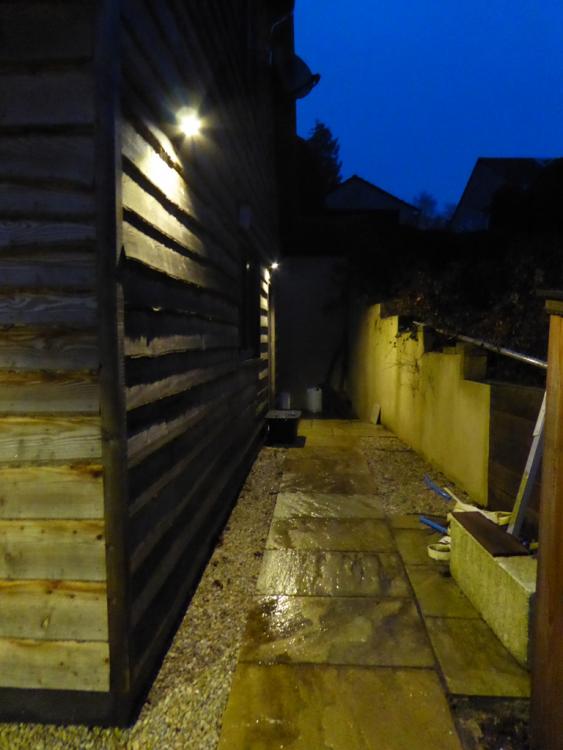
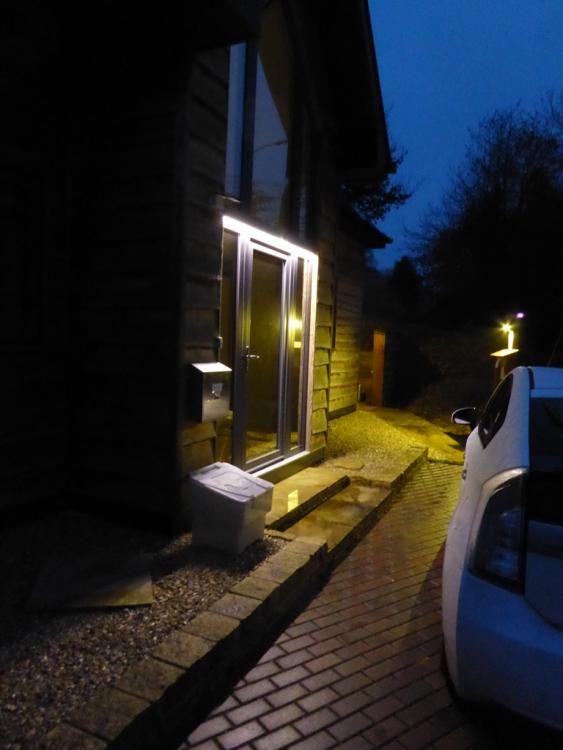
They look very similar, and are almost certainly the same construction as the ones I have. Using an outdoor junction box is fine, if that's easier, but I'd try and keep the short cable they come with out of the sun, as it's probably PVC, and may harden and degrade when exposed. These lights are all (AFAIK) made in China, and can be very good value (look on eBay for cheaper ones that may well be absolutely identical). The issues I've found have been missing earth connections on all the ones I've bought (from two different suppliers, one in the UK, one in China), and screws on the front (M4 x 12mm on the front) , and on the bracket (M6 x 12 on the bracket, IIRC) that corrode very quickly. Apart from those issues (easy and cheap to fix, just connect the internal earth and replace the screws with stainless), the lights are very reliable and give a nice, warm, light that's not too bright (ideal for us as we are within a "Dark Skies" area). This is what a pair of these PIR switched 10W floodlights look like at the side of our house: and this is one mounted on the post that has my car charge point on it (ignore the LED strip light above the front door, although that's also PIR switched):
 1 point
 -
Are the lights similar to these: If so, then fitting a new cable isn't hard, but does need the ability to make a wire-to-wire insulated joint inside the unit, using crimp in-line connectors or soldering with heat shrink sleeving. Happy to talk through how to fit a new cable to similar lights to these. I bought a reel of cable from Screwfix to make new cables for all the ones I have: https://www.screwfix.com/p/time-rubber-pond-flexible-cable-3183p-3-core-0-75mm-x-25m-black/61627
 1 point
 -
IMHO it's better to try and fit a new, longer, cable to the light. I have a few LED outdoor lights, and they all came with short cables (and no earth connection...) and I replaced the cables on all of them. Not hard to do. I used 3183P 3 core rubber "pond" cable, as it's pretty durable when used outside and fitted the cable gland on the light fittings.1 point
-
All mine are T568B too, as for some reason this seems to be more common (at least here) than T568A. No idea why. Anyway, there is still a crossover with T568A, it just switches to being the orange and orange/white that get split, so just as awkward to fit into the connector.1 point
-
Seems sensible. Have just had a dig through my box of network cables and they seem to all be 568Bs, somewhat to my surprise as there was a mixture as I remembered it. (Well, apart from the coax network cable at the bottom ? ).1 point
-
F***! Moment of panic, looked at tile 2 and aok. Thought "pi$$ taking git!" Then looked and realised tile 1 is the wrong way up!1 point
-
The snag is they don't go into the connector in pairs, the green and green/white pair have to be split either side of the blue and blue/white pair, which is what creates much of the problem in trying to hold the eight wires flat and in the right orientation to slide into the connector, IMHO. I was responding to: It would matter if you had, for example, orange/white on 1 and brown/white on 2, or anything else other than <colour>/white - <colour> (or <colour> - <colour>/white>) on each of 1-2, 3-6, 4-5 and 7-8. So if one end is mixing two pairs up then that's definitely the one to fix. For best performance you should consistently use either the 568A or 568B pairs along the length of any run (e.g, to a patch panel, through a patch lead, then to the other device) because the different colour pairs have different twist pitches to reduce cross-talk and so have slightly different transmission characteristics and changing along the way might increase reflections. I think that's only going to matter at very high speed along longish runs, though.1 point
-
Helmet light, not torch. Or an anglepoise. Drew Pritchard will sell you one for £1234. F1 point
-
yep they are a right pain to get in correctly --gets harder as you get older and eyesight gets worse and fingers get fatter.lol1 point
-
I presume that is for supporting an external step? Is it only the main entrances that have this, and perhaps the others are expected to open onto e.g timber decking?1 point
-
The snag is they don't go into the connector in pairs, the green and green/white pair have to be split either side of the blue and blue/white pair, which is what creates much of the problem in trying to hold the eight wires flat and in the right orientation to slide into the connector, IMHO.1 point
-
You really need to keep the pairs paired, at least. Personally, I've never bothered with crimping plugs on the end of cables. Rather, in the few places where I've wanted fixed cables I've always put a socket on the end then plugged in a short pre-made lead as required. A lot less stressful, I think.1 point
-
All I'm reading is you have a length problem!1 point
-
Nah, just go to something that’s not water based so the paint doesn’t soften. CT1 / Sika etc will be fine. Don’t forget to fit the top trim whilst the goop is still ‘wet’.1 point
-
Just bought the stuff I want off eBay: https://www.ebay.co.uk/itm/30-x-100g-SACHETS-NEOSOREXA-GOLD-RAT-BAIT-RAT-POISON-PROFESSIONAL-GLOVES/112554663781? You have to wonder how they circumvent the licence regs?1 point
-
Matches what you’ve got in the other pockets though surely?1 point
-
Why does the ASHP have to be a split? There's no real problem with running a (often cheaper) monoblock, with the flow and return pipes 15m long, using insulated pipe.1 point
-
Ah ha - this is exactly what I'm thinking of! Would seem to be a good solution to me for my place - the only unknown I've got is the ASHP would need to be a split unit with quite a run between the units (circa 15m, TBC). Is that likely to be an issue? I will upload a picture as that'll explain better...1 point
-
Party wall agreement springs to mind here ..! If that wall is in good nick, why not get the SE to check it’s foundations and then use it as the back wall and then just build off the top of it..?? photo may help here ..!1 point
-
I bumped into an article about Bluetooth 5. It seems the standard has significant improvements over 4.2. Hype?1 point
-
So how are you planning on doing the founds for this as if you are right up the boundary wall (yours I assume ..?) then the founds for the new wall will have to go beneath this. Would be better off dropping the wall and using the new house extension wall as the boundary by the sounds of it.1 point
-
The inlet or control group is the multifunction valve that has the 3bar PRedV, the balanced cold draw off point ( where ALL cold feeds for mixer outlets must originate from without exception ( however there is a compliant work-around if it’s a retrofit so ask if you need more info )) and must be within 500mm of the UVC. You can bend that rule a bit, say to locate the group at the attic hatch end of the UVC, but keep it as close as possible. The EV question is easy, carry on with what you want. The absolute rule is no valves / anything between the EV connection point and the EV other than a lockable service valve. Link I routinely fit these as it makes the annual inspection SO much quicker and easier, but good observation of local isolation and some drain points make this unnecessary. Is this a new install ? Have the balanced cold feeds been done from the control group?1 point
-
The input group is what the cold water into the cylinder passes through. It has a pressure reducing valve, typical pre set to 3 bar, and an over pressure relief valve. This is installed by the plumber usually close to the tank. The tank itself has an over temp /pressure relief valve usually connected directly to the tank by the manufacturer. This one cannot be remote mounted it has to stay on the tank. Both need to be accessible.1 point
-
Weight distribution, as that lot is sat on a thin liquid screed. The SA’s are NOT light, but still lighter, by nearly half, of the equivalent hot water cylinder.1 point
-
That proposal to build overhand concerns me. AFAIK it reduces the visual quality of the work substantially, especially if you have to make like Mr Tickle to build it. Can you maintain it, and will you neighbour have to look at it? For me, negotiating access would be a better option for appearance and relationships, or even better leaving enough room so you can get to the outside of it. Ferdinand1 point
-
Regardless of where the expansion vessel is, they will also need access to the input group and the pressure releif valve.1 point
-
It's ok - he felt right at home in mine, plus most of the stuff in there was the pits!1 point
-
That’s a really disappointing picture......... ....... @Nickfromwales prefers to work in a small dark cramped plant room, it reminds him of his youth down the pits1 point
-
I have used fairly cheap plastic trays in the back of my last three cars. They were all from eBay, (like this one: https://www.ebay.co.uk/itm/TAILORED-PVC-BOOT-LINER-MAT-TRAY-Skoda-Superb-Estate-since-2015-lower-trunk/401571377397?hash=item5d7f84f0f5:g:FdoAAOSw6AVbVYv8:rk:29:pf:0 ) and are made from a super-tough, flexible, plastic, with a non-slip pattern that looks like tread plate.1 point
-
Ha ha! Just thinking how I would react in that scenario. If someone said the stat was too difficult to understand I likely would have a look at the manual, but if @Nickfromwales or @PeterW had said ‘don’t touch that as it’ll blow the system’ I would (probably ?) leave it be. My OH used to always say ‘you won’t understand that’ when I used to ask about stuff and given that I wasn’t overly interested I used to leave him to it. Don’t have a choice now though so have to understand a bit more and even if I can’t physically do the job I’ve learned that people try it on a bit less if you demonstrate you have a little knowledge.1 point
-
@newhome And there’s me thinking you would give me grief for doing that.!!!! well the good news is that the stat works (not blown up with the board) and I have successfully modified it to be dry contact (no voltages) who,s a clever boy then ?1 point
-
I have one for my estate, very essential.1 point
-
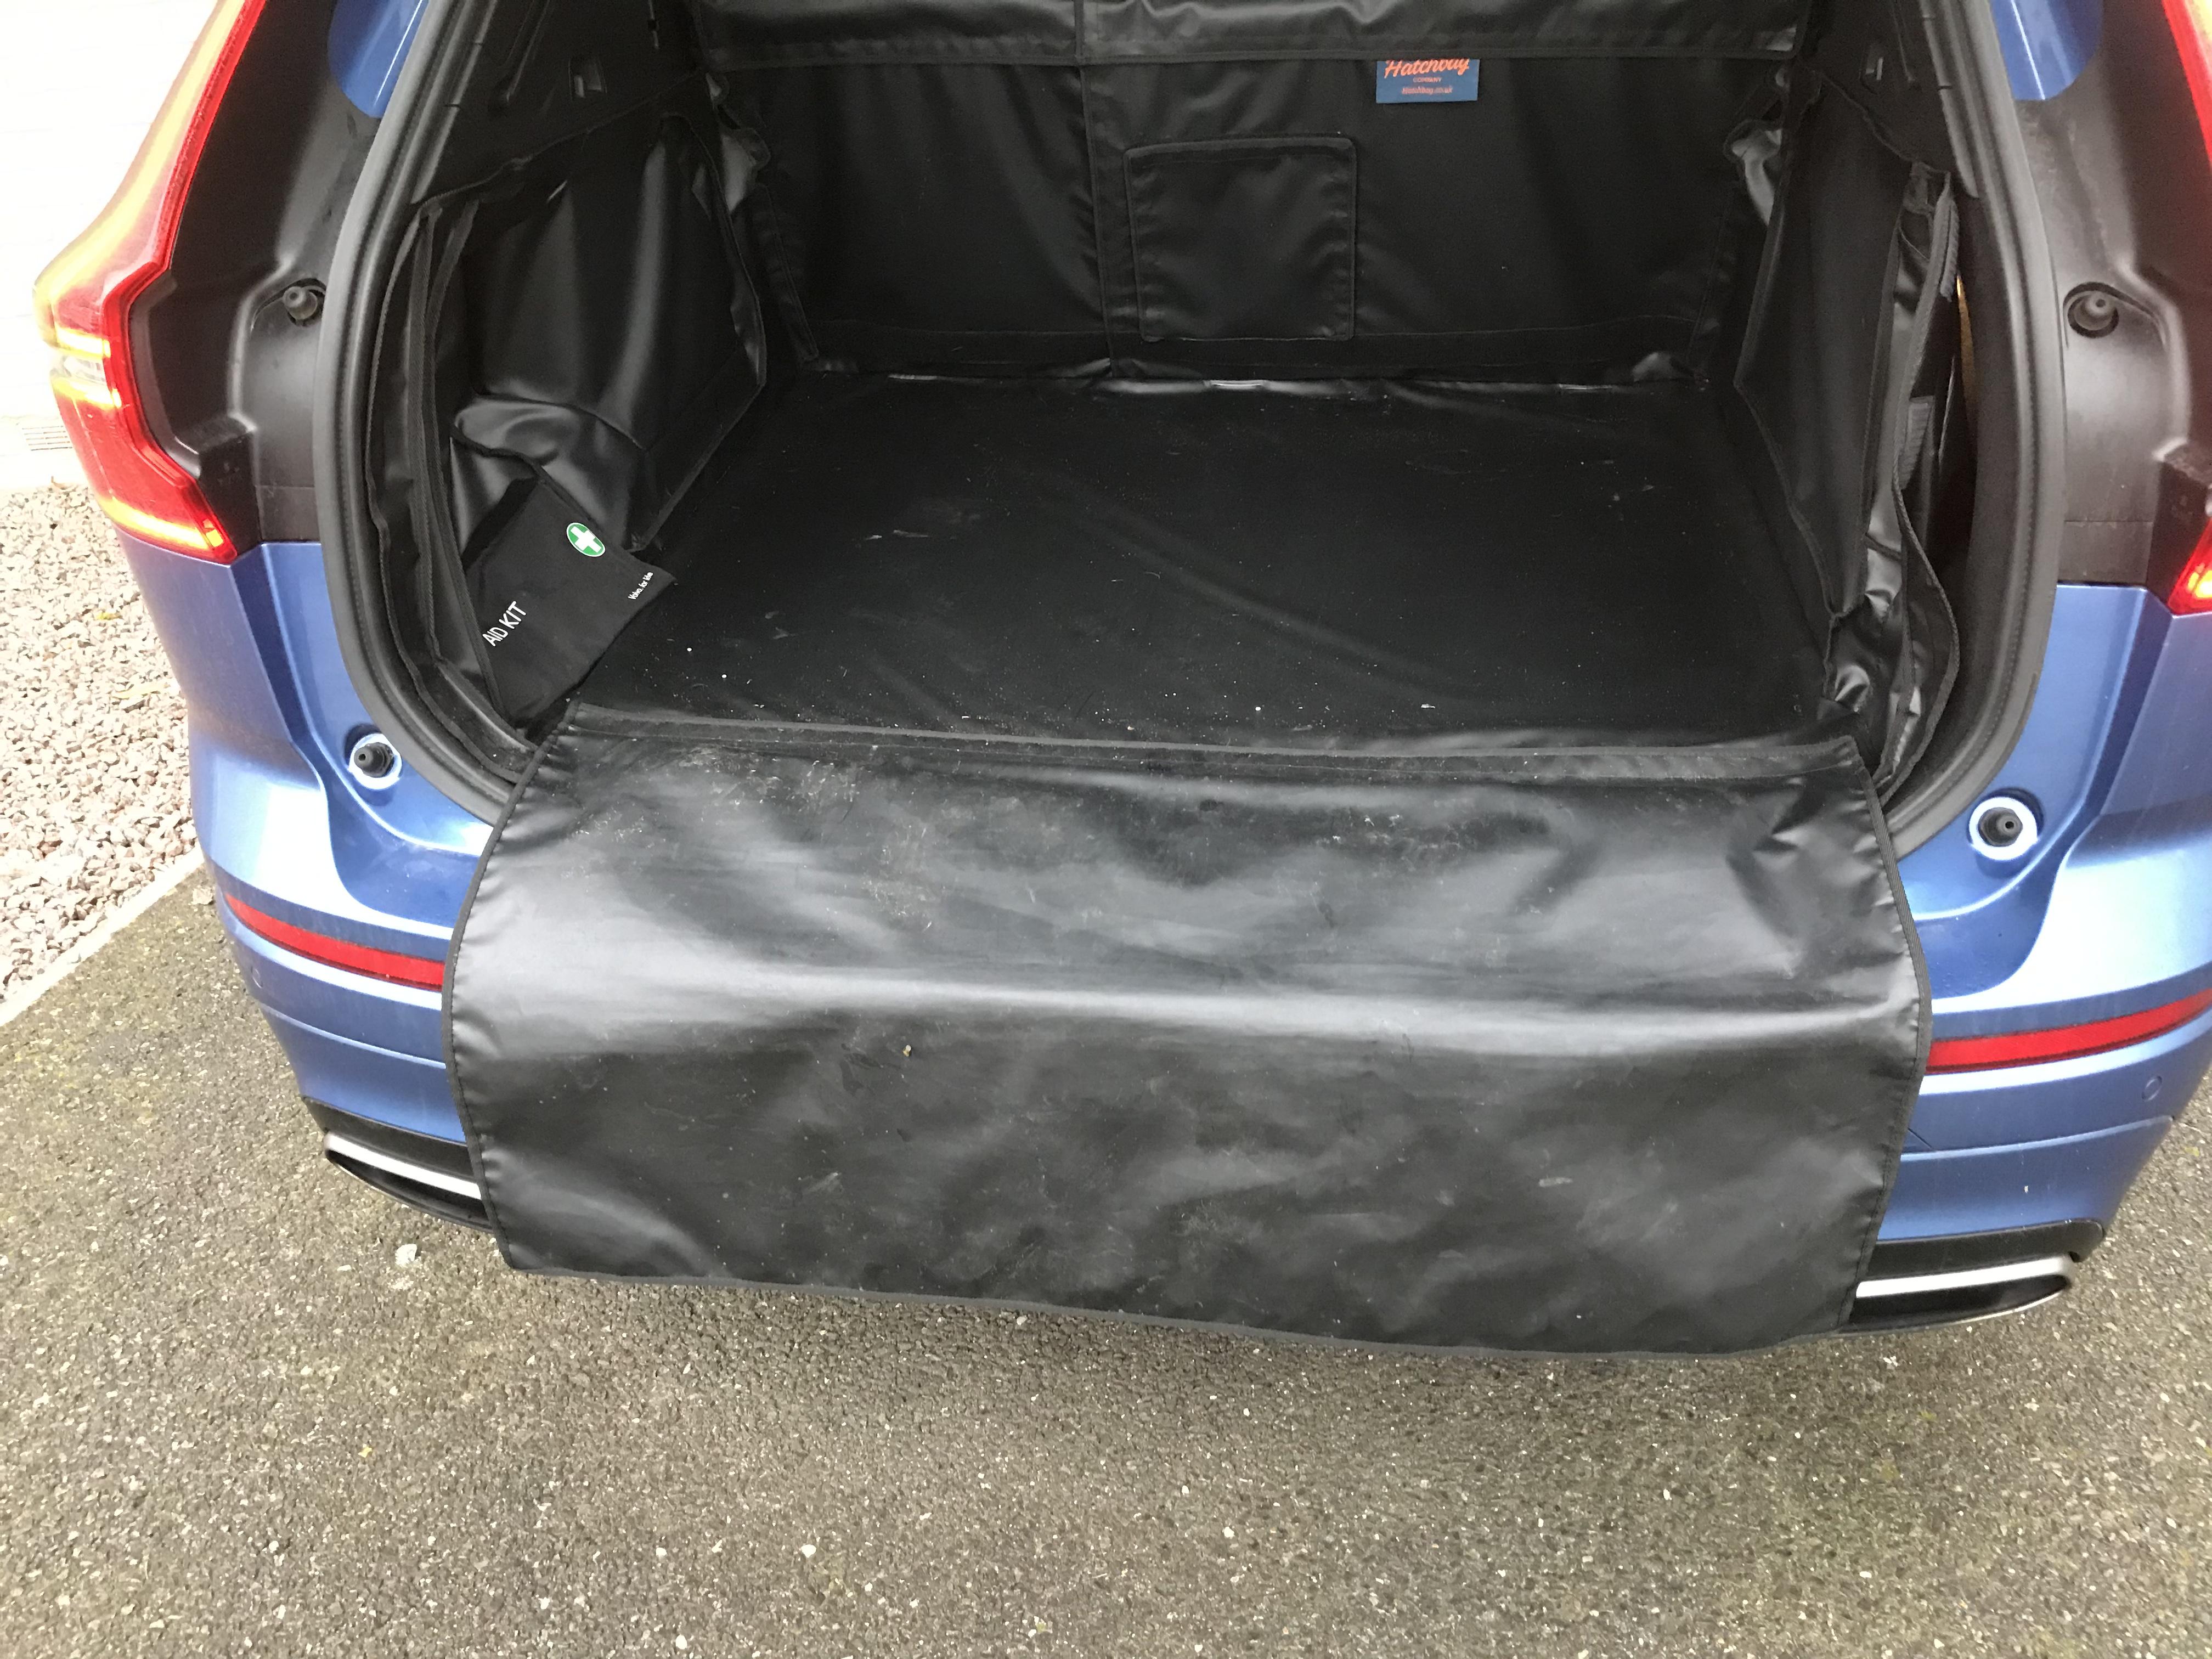
+1 @Cambs I have used Hatchbags for my last 3 cars.1 point
-
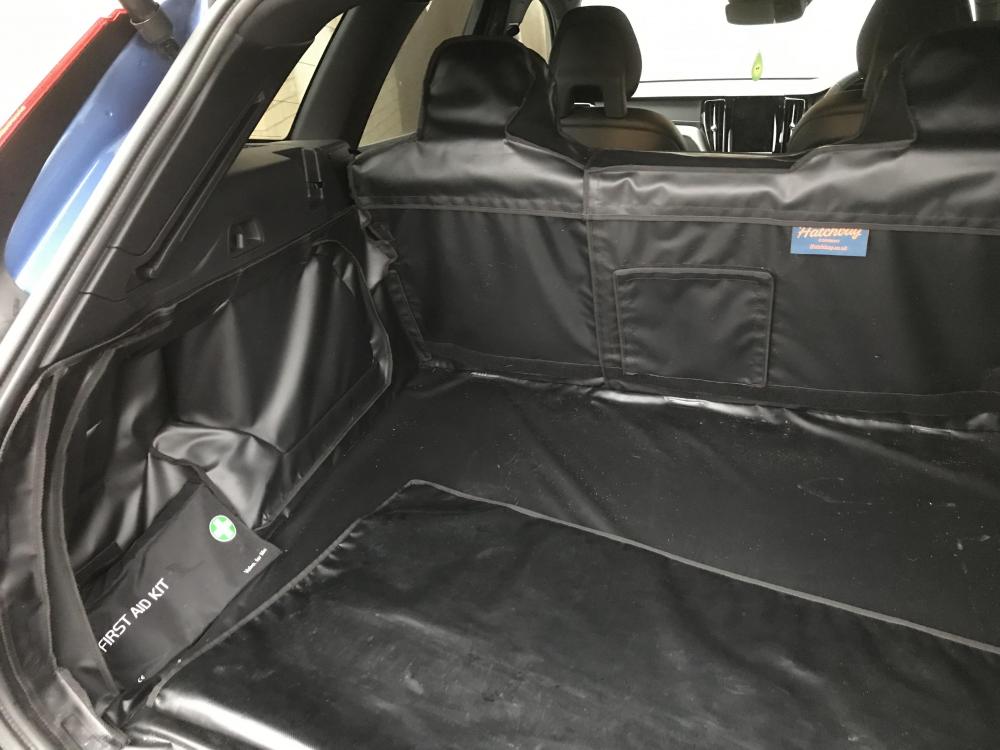
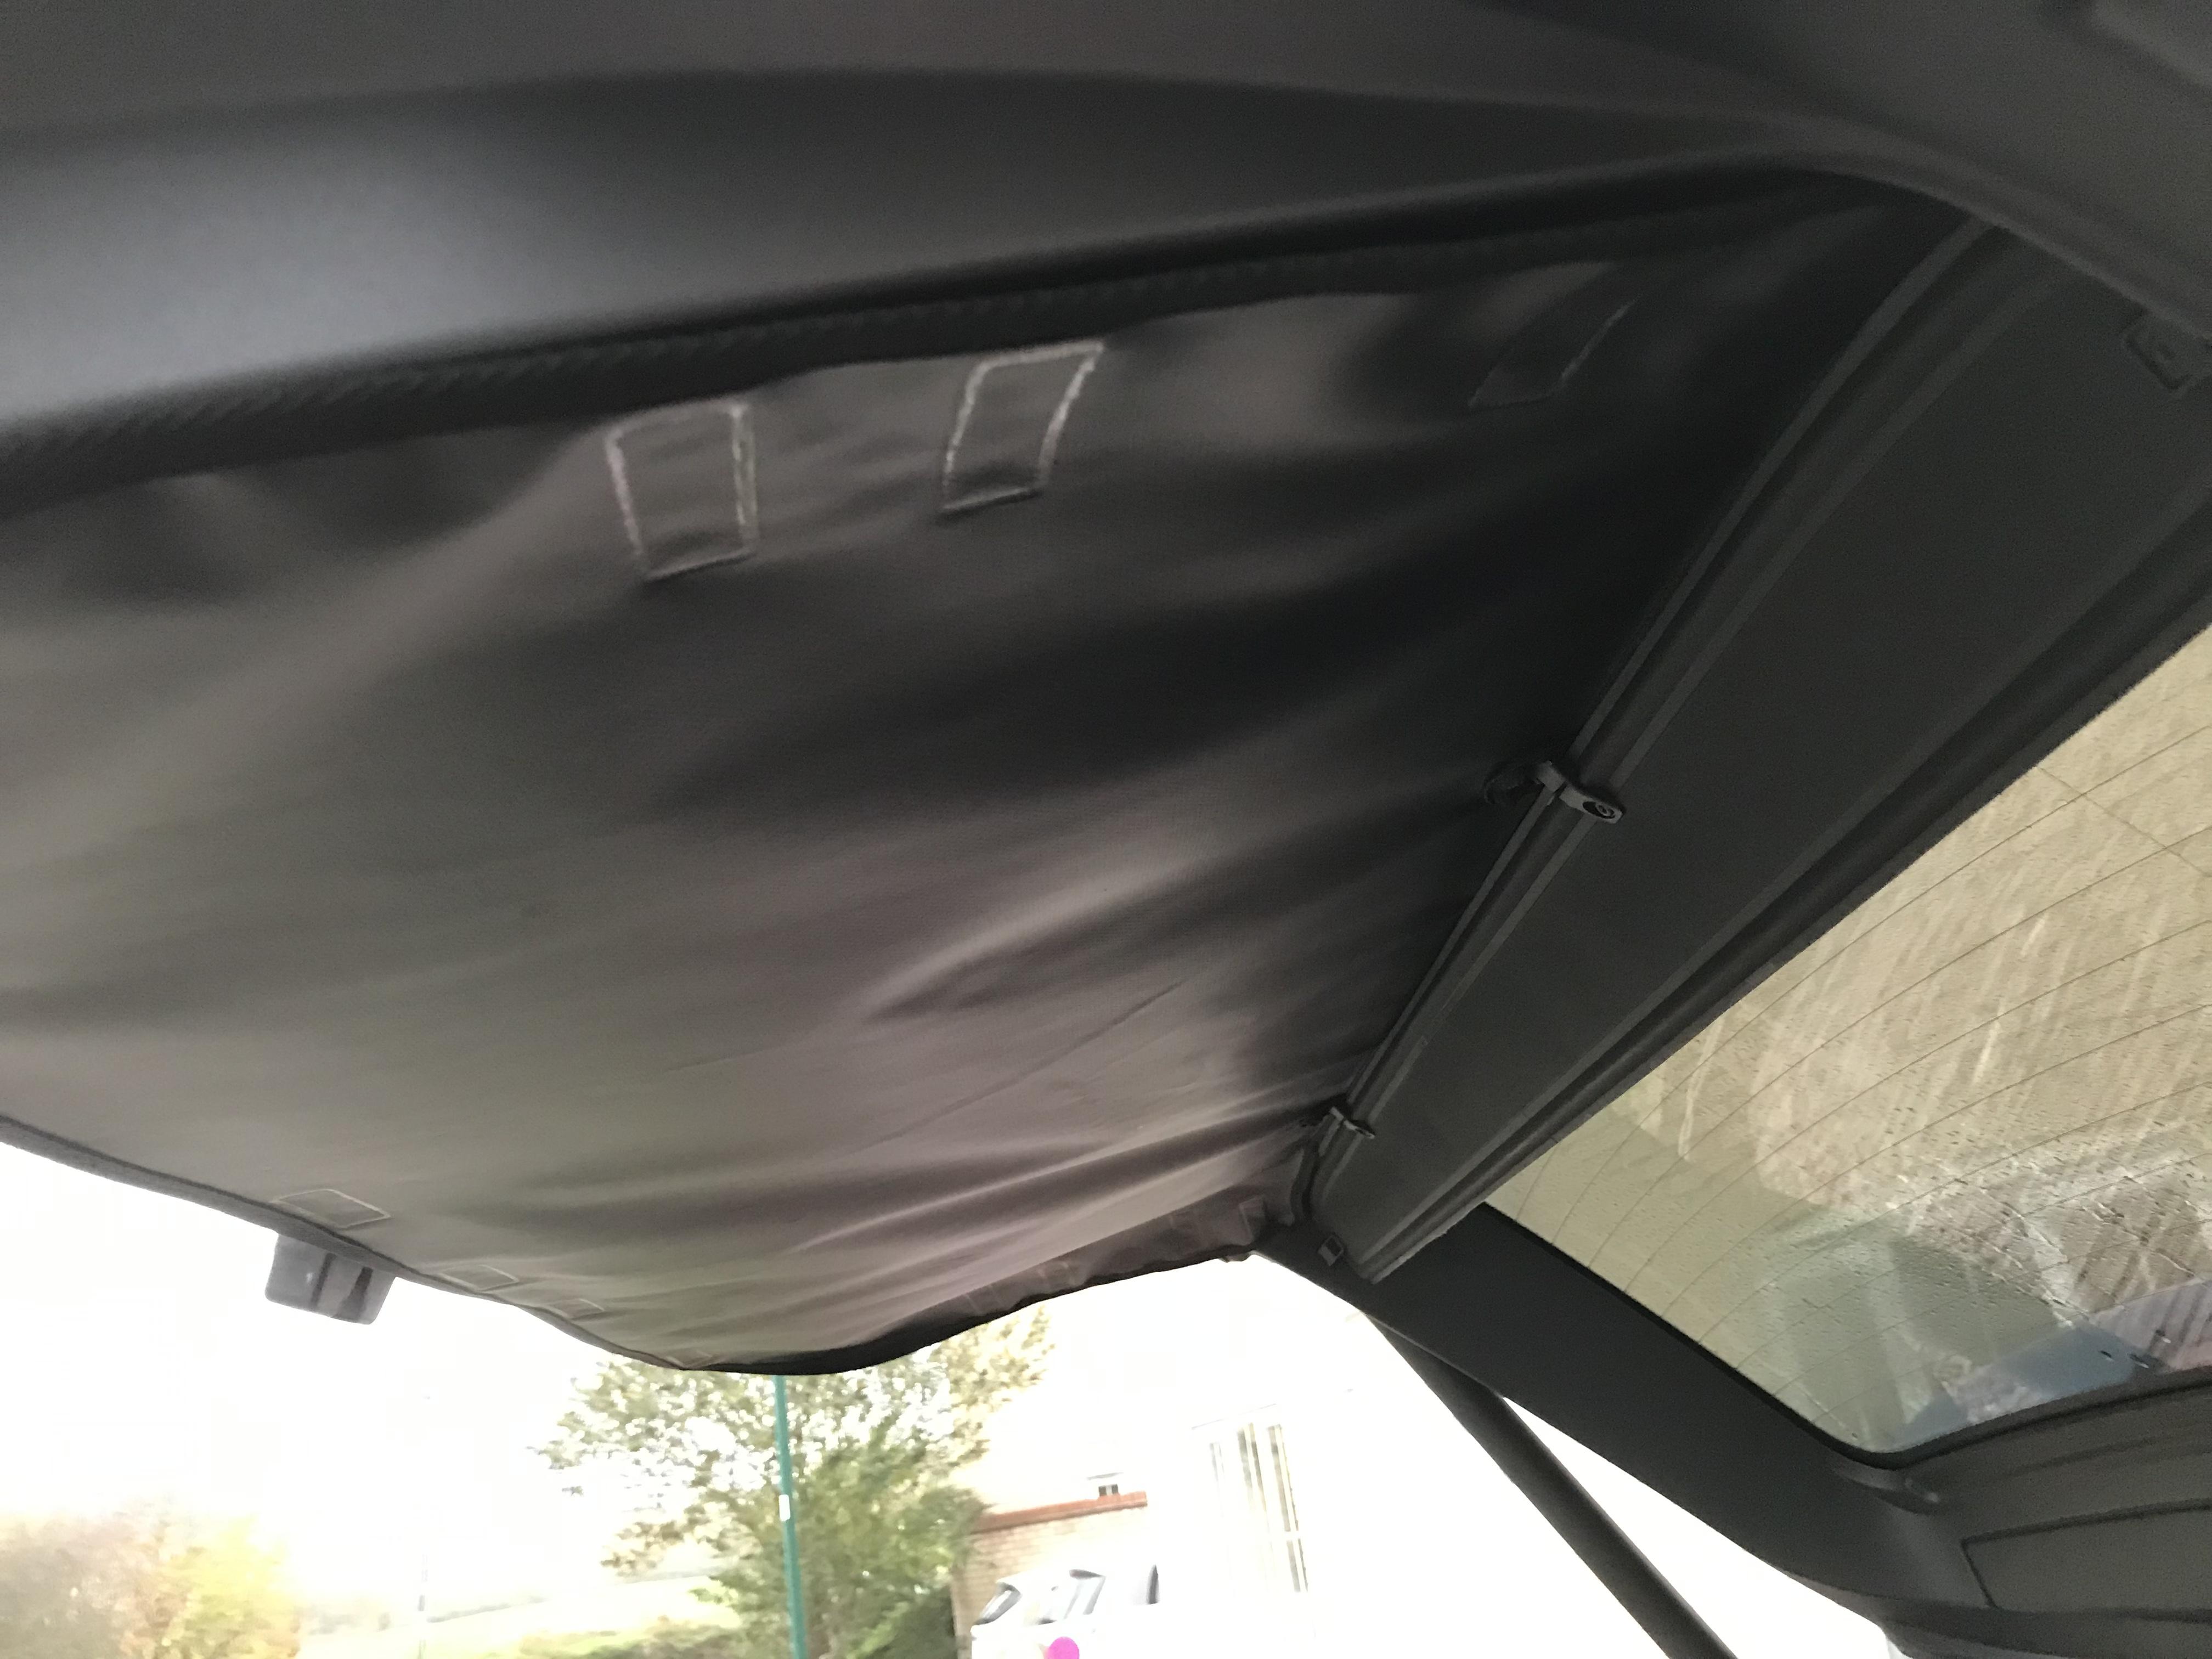
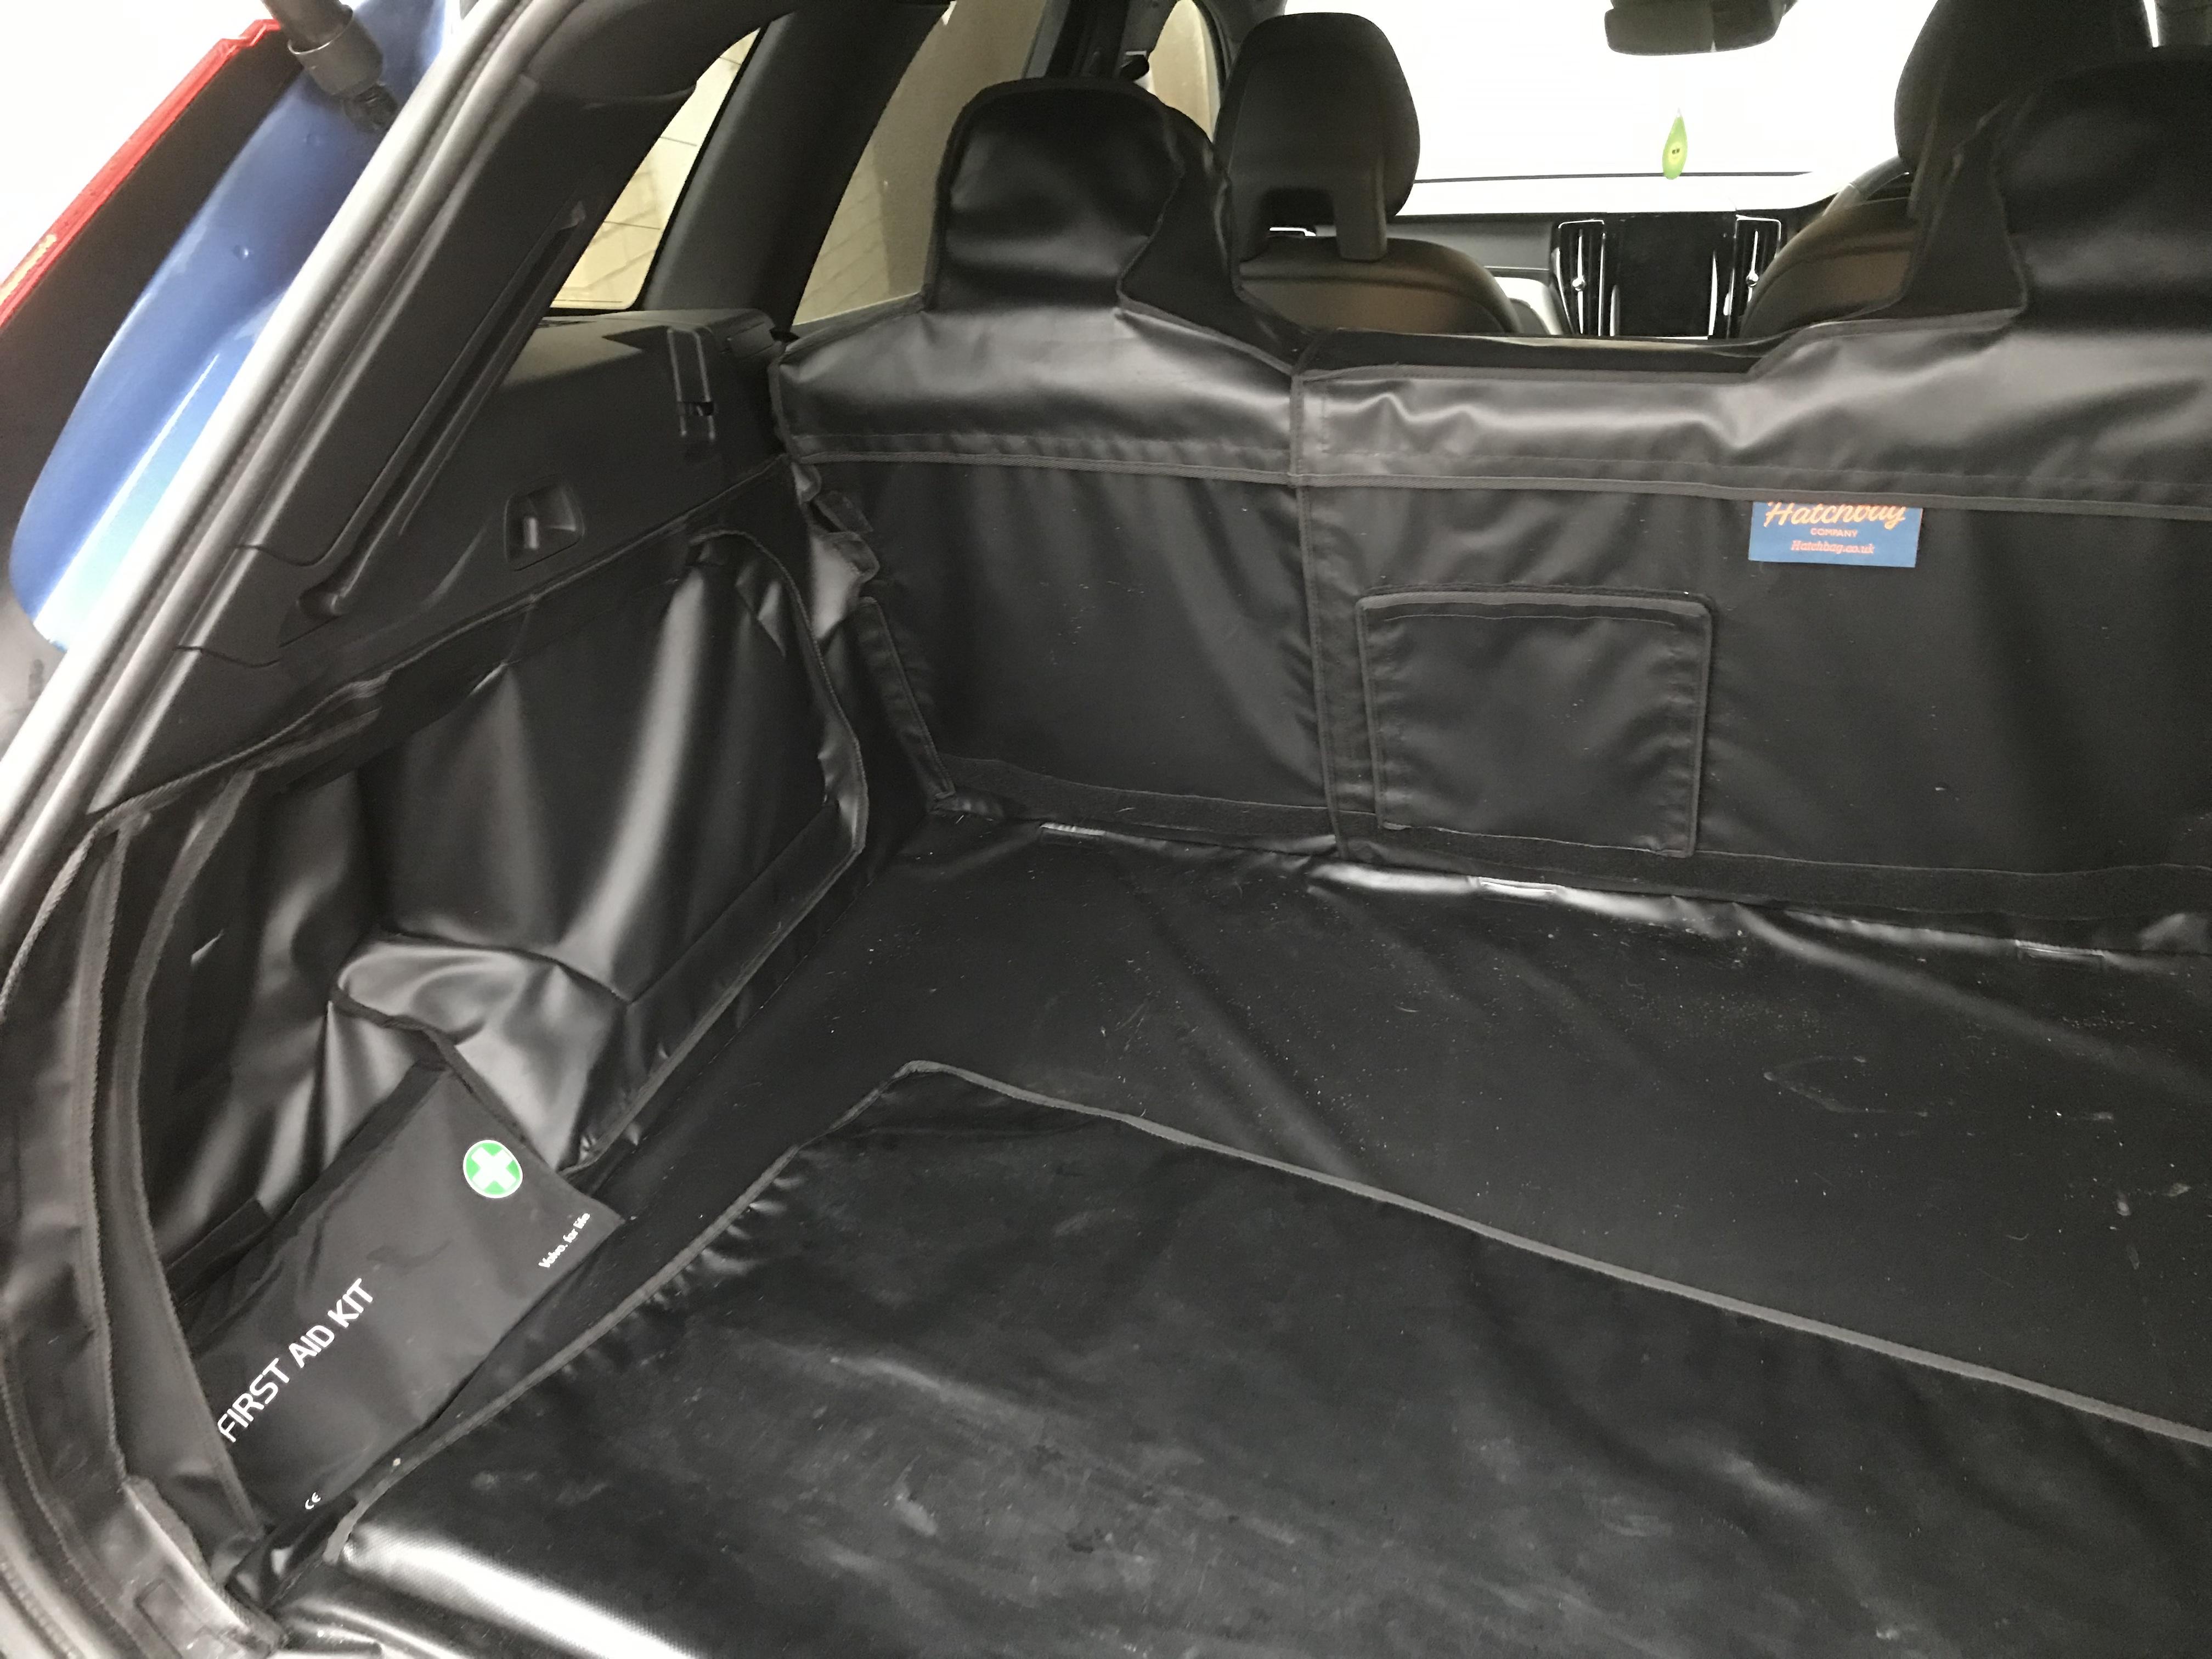
I've bough Hatchbags for the family cars for the last few years. They will likely do all the bits (including protection for the inside of the hatchback) you want and tailored to your specific car model. Not cheap but well made and a perfect fit. Vinyl like material, so if you are looking for a moulded plastic tray boot liner, they may not be for you. As a dog owner, if I changed my car, it'd be one of the first things I buy - makes vacuuming and cleaning a lot easier. https://www.hatchbag.co.uk With the bumper protector out. I usually leave it in and just fold it back in to the car when not in use... The one below shows the hatchback liner - Useful to stop scratches when things slide about .... The one below shows the tailored headrest protector - essential component for stopping Labrador drool ? I also have the boot liner extension (not shown) which Velcros around the front seat head rests and is for use when the rear seats are folded down.


 1 point
 -
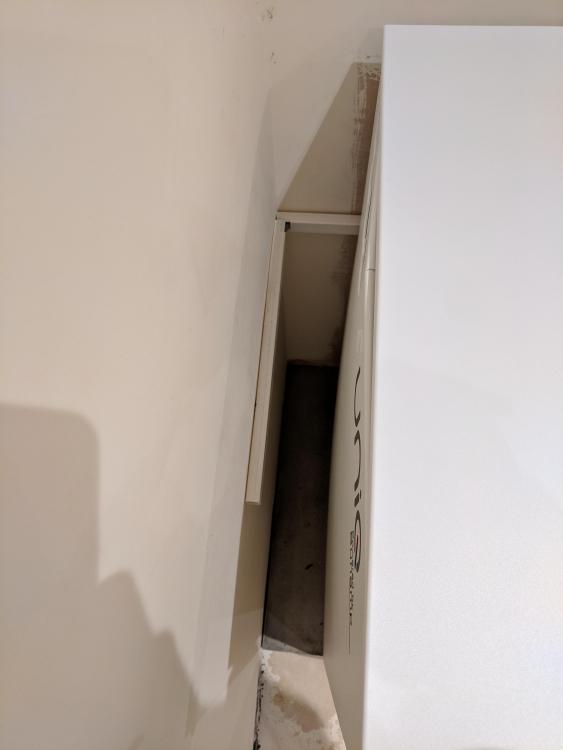
Difficult to photo but my PCM58 Sunamp container is bulging. The lid was also bulging and this has been replaced by Sunamp. Anyone else having their sunamps bulging?
 0 points


.thumb.jpg.bac90f3bbf6868cf2118d010d936c99d.jpg)


This leaderboard is set to London/GMT+01:00