
Leaderboard


Popular Content
Showing content with the highest reputation on 09/19/18 in all areas
-
Hi all. Just a heads up, that member @AndyT has announced his retirement from Sunamp, and is now no longer with the company. I am going to meet up with Andy soon for a social visit and will ask if he wishes to remain on Buildhub as a private member, but in the meantime please do not call on him for SA related questions as you will not receive an answer. I'll update on Andy's wishes as and when I get to speak to him. Best wishes to him for a long and enjoyable retirement.4 points
-
Yes indeed, I hope Andy has a long and happy retirement. What he needs now is a retirement ‘project’, tell him we’re more than happy to help him find a plot and our self build advice is free!3 points
-
Just a heads up, a new series of Grand Designs starts on channel 4 at 9PM tonight.2 points
-
How the *king Hell do they manage to get away with that all the goddam time..... Debbie has stopped bothering to shuuuuush me when I shout at the TV2 points
-
I suspect that there will be a lot of damage to trees. Especially awkward ones with TPOs on them. Ahem.2 points
-
Beautiful animation of it all here. Quite simply the best use of JavaScript I have seen: ever.2 points
-
You can put a wall switch pretty much anywhere in the house except in the zones around the bath or shower or other special places like saunas. This includes in a bath or shower room outside the zones. No controversy at all for a cloakroom like that. There's no zone round the toilet or, contrary to some diagrams on the web, the basin. The only catch I can see if BC or anybody wants to be stroppy about it is that equipment should be specified by the manufacturer to be appropriate for the location. Looking around at specs from various manufacturers I couldn't find any that explicitly say they're OK for bath/shower rooms.2 points
-
advice from BAL is here: https://www.bal-adhesives.com/tiling-onto-calcium-sulfate-anhydrite-screeds/ Edit: Also this advice from Sika: "Calcium Sulphate screeds will not normally start to dry properly until the laitance have been removed. The sooner this process is done the easier it is to eradicate. This is normally the responsibility of the screeding contractor who is best placed to know when the screed has cured sufficiently to proceed. The conditions on site and the thickness of surface laitance play a large part in the drying times that will be required. As a general rule of thumb if the laitance are removed at the end of the 1st week of placing a light sanding action is all that will be needed. In the 2nd week a courser aggregate maybe required. In weeks 3 and 4 you may well require a rotary carborundum stone or a heavy weight diamond grinder. In short, the longer the laitance are left the denser they become and more difficult they are to remove. Once the laitance are removed Calcium Sulphate screeds dry similarly to that of sand/cement, which given the optimum conditions is 1mm per day up to 40mm thick and an additional 2 days per 1mm over this thickness."2 points
-
A poo sauna, how about an UFH water pre heat chamber!2 points
-
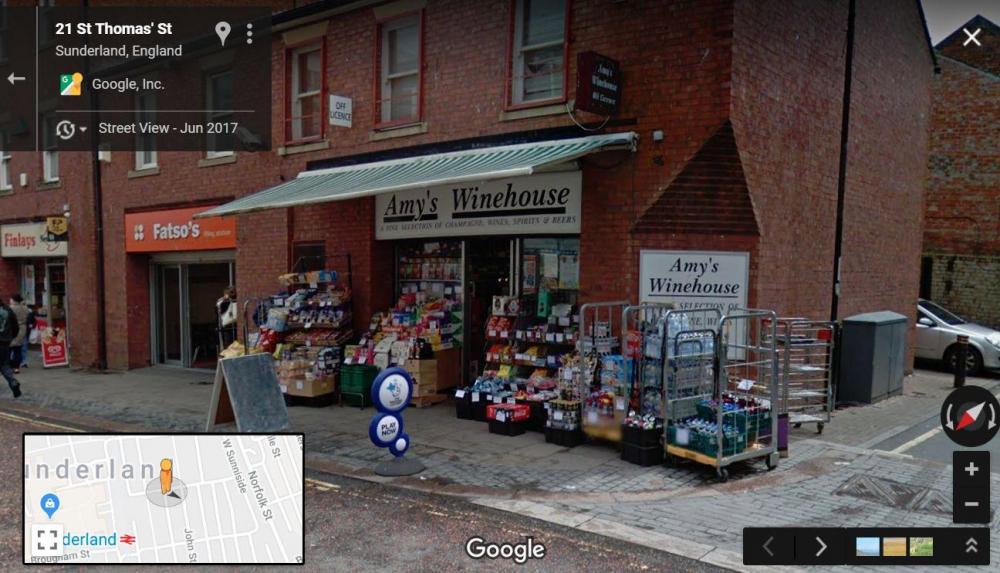
Do not worry .. took me a couple of weeks to do it all. Go down the offie half way through. Unfortunately this excellently named place is in Sunderland. It is like a boozed up version of Open All Hours. I love Fatso's Cafe next door. If they put one of those in London the Mayor would try to ban it for the implicit suggestion that fat people eat more sausages.
 2 points
 -
In the words of Will Smith I decided to get jiggy with it. Anything to put of more tiling. WTF did I pick the most visible, awkward corner when I've never tiled a wall in my life? Main bits o/of scrap MDF plus some softwood edging, not sure how long that'll last! 40 & 65mm diamond grit hole saws from eBay. Was going to varnish it but me and my impulsive side... Tile dropped into the holder, jig plate dropped in. I can add holes to this piece for the hose outlet, basin feeds etc or just cut another MDF "tile": One of the smaller ones: For the 65mm dia one found it easier to fill the hole with water rather than pi$$ about trying to squirt it in: Jig plate removed: A quick rinse: The backside: I can do these to order, might take a while : I'll get away with this I reckon. @ProDave, I need to drill more holes in this tile don't I, between the big and small ones? Has anyone seen my cheapo Parkside set of diamond grit edged hole saws? Need a smaller size for the hose outlet!2 points
-
I had an ACL graft last December, 25 years after a skiing injury that finally caught up with me. The physio has been hard work and so I bought an Aircast ice pack system that wraps around the knee. It compresses and ices the joint and is incredibly good for reducing inflammation without needing drugs. It's not cheap, coming in at around £120 for the whole thing but it's worth it if you have a longer term need.1 point
-
Don't forget that despite a £9m build cost with 3 different architects being used as the clients have more money than sense they still manage to somehow complete a house that wouldn't pass building regs as the stairs have no handrails, no level access or any number of other defects.1 point
-
Ay Ya dwahling, it was all rather left-field for me : one did suffer so....1 point
-
Staircase will do either assembled or in kit form. I went for kit form as there is only a driver so there has to be someone on site who can help with lifting and I couldn't guarantee that. My joiner took less than a day to trim the stairs to size, and fit from kit form. (one staircase x 8 stairs and one x 6 stairs each a slightly different width)1 point
-
It depends on how it arrives from the manufacturer. Mine came with tread/riser stair assembly all in one piece, all balustrade, and all other bits loose. I needed a joiner. To fit altogether along with internal balcony balustrade took a full day.1 point
-
They should be OK once they’ve opened and closed a few times. They are stiff when manually opening them, your pushing against some tight seals and a return spring.1 point
-
Caravans.... I was building mountain tracks in northern Scotland and was living in a caravan on one job, it was on a very exposed carpark with no shelter for miles around. One night I awoke to a terrific wind and was very aware that the caravan was about to blow away.... I jumped out got the work transit and parked it within an inch of the caravan up wind, I lashed the transit to the caravan with a load of rope and went back to bed. It looked a right mess in the morning.... some of the worst rope work I have ever seen. But it kept me safe. I now live in the most exposed location on this island, I like being right in the guts of the storms when they blow in, it’s exhilarating. Just got back from taking the kids on the quad bike right down to the ocean to watch the waves crashing in and get covered in sea spray for little tots (2 and 3) they did really well.
 1 point
 -
Is the pump running? there is a pump on each manifold, can you hear them running? There is also another pump in the pland room is that running? There are 2 motorised valves in the plant room. Try manually opening them with the little lever that sticks out.1 point
-
@lizzie I don't think those pumps have been commissioned properly - have a look at this1 point
-
Have you tried speeding up The pump, it looks like it’s on the lowest setting!1 point
-
I did the measurements myself for Stairbox. The joiner was very impressed with the stairs for what they cost. I allowed for adding the UFH height to the lower set and taking it off for the upper set. What I didn't allow for was boarding and plastering the wall in the area as I misunderstood and thought that as the plastering was happening later the stairs would fix straight to the walls. The joiner just set his saw up and cut all 14 treads and risers to the correct size in about 19 -15 minutes each set. Luckily I got the height spot on. Though he did say if it was a few mm out he could adjust - so long as it was just a few.1 point
-
Problem is that a lot of the cheaper manufacturers (Pears, StairBox,StairsOnline etc) all expect you to measure. Local ones that do bespoke normally measure for you.1 point
-
Who ever is making the stairs needs to come and measure up Most will do it free of charge1 point
-
Very sad but totally avoidable. If I had seen the forecast I would have hitched up and moved somewhere sheltered, not stayed on the edge of a cliff. I did the same in Scotland once, we spend 2 nights not on the normal part of the caravan site, but in the shelter of a stone barn with the 'van lashed down.1 point
-
Just install the extract duct as planned, you could box it in with fire rated plaster board if your concern about the fire rating.1 point
-
All the testing stuff is in City &Guilds 2391, and there are on-line tutorials and check exams you can do. There are also a fair few YouTube channels that explain the basics, and, rather curiously, testing misunderstandings often seem to crop up on some of the electrician's forums (and these are people that have done the exams). Part P is really a separate issue, as it's a building regulation, not an electrical installation or testing qualification. Electrical installation inspection and testing isn't a Part P issue, as Part P only covers some aspects of electrical installation. The only tie-up is that in order to show that a new electrical installation complies with Part P (where that's needed) you need to inspect and test the work done, which is where needing some test equipment and knowing how to use it are key. If I was to guess at the most common problems, then I'd suggest that they are things like missing grommets on back boxes, CPCs ("earths") not properly sleeved, wires not secured properly, with no conductor visible and the screws done up tightly (loose terminal screws seems to be a pretty common problem), CPCs not connected to both the outlet and the back box (if it's metal) and reversed polarity (line and neutral the wrong way around) on socket outlets. Most of the above are really just a matter of taking care and having the hand skills needed to do things properly, which anyone can pick up. There are a host of other important aspects to consider, but your best bet for allowable DIY electrical work isn't to stress over what's allowable and best, or good, practice and what's not, but just ask on here and someone will know the answer. I used to teach this stuff years ago, but I still find myself looking in one of the books from time to time because I've forgotten something (I did a couple of weeks ago; as I'd forgotten stuff and had to look it up in the OSG, the On-Site Guide, a handy reference version of the regs).1 point
-
There's your problem right there! Its some of that acoustic stuff you need1 point
-
@MJNewton It's very common on large commercial buildings that use single ply membrane roofs (membranes like yours) for the membrane to be laid completely flat for example along very long and wide gutter runs (most large new Tesco stores are done that way) so IMO there's absolutely zero chance of your roof leaking due to a slightly shallower angle of fall than the 1:80 recommendation. It sounds like your builder is one in a million! If it were my roof I'd definitely go with option 1. I'd agree with your builder that Option 2 carries a risk of creating unintended damage elsewhere which might mean that you end up with a worse job than the original. Option 3 carries a significant risk of creating a problem with interstitial condensation in the zone between the 2 roof skins.1 point
-
I did not take into account carpet but I wedged the bottom off the floor to allow for tiles, after tiling I let it fall on the tiles then fixed it to the wall. We have a half landing which makes it even more difficult but as made the half landing myself I just built it to fit the walls.1 point
-
@PeterW is correct. Its one of the things that keeps me awake at night, contemplating the section through the stairs.. You need to know if the downstairs floor covering, carpet, timber ect is to go under the stairs or around the base and seat the stairs on the floor slab. Also what is the floor covering at first floor. Take the measurement with the builder. i.e. measure from whatever you are seating the stars on to wherever the top of the stairs will be. if its carpet, then I would think you need ground floor slab to top of first floor timber. make sure you and the builder are ok with what you measure and give this to the stair manufacturer to work to. Easy!1 point
-
Not exactly sure what you mean by stairwell but the wall next to the stairs is plastered yes.1 point
-
My second one arrives today, replacing the original, almost pre-production, Sunamp PV that's been working very well for the past couple of years or so. No real need to change it, other than I wanted the greater capacity of the UniQ 9, plus the agreement I had with Sunamp was always that they would like to do an "autopsy" on the cells in my original one, hence the swap.1 point
-
In general, you can DIY some minor works provided you are a competent person, which doesn't mean being a member of a Part P accreditation scheme, but does mean that you have the knowledge and experience to do work that is compliant with BS7671. The main restrictions are that you cannot do any work in a kitchen, bathroom or shower room as a DIY'er, with only a few exceptions. There's a check list below that may help, but remember that if you DIY any work you may be required to show that you were competent to do so if something goes wrong and you end up facing the wrong end of legal action. I'd wholeheartedly agree with @Onoffs comment about test gear. You do need to test a new outlet to make sure that it's OK, and that doesn't mean just plugging something in and checking it works. You need to know that it's compliant with BS7671 and that means having test gear to test that the insulation resistance is OK, that the polarity of the connections is OK and that the impedance of the fault loop path is OK, and that isn't the sort of kit most DIY'ers will have access to. Part P checklist.txt1 point
-
It's not a special location as in containing a bath or shower. Go for it. You might get an over zealous BC insist on a pull cord rather than a wall switch. The old wet hands switch thing. Ask him how it's different from some kitchens. I would say how are you going to be able to prove the work you have done is safe without the proper test kit? If you do get a sparks in ask for a Minor Works Certificate.1 point
-
At the time, following a few phone calls and exchanges of emails, SA reached the conclusion that I was competent to install the unit myself. Part of that was because I was the first to use a SAPV as a primary DHW system in a low energy house, so had a few discussions with their technical people about what I wanted, what the SAPV could deliver, and some of the details like feeding it with pre-heated water instead of from a cold main. It was after those discussions, and me asking a few questions on the phone having read the draft MI's, that they agreed I could self-install. There's no certification required, as long as you already have the circuit in place to connect the flex from the SA, as connecting to an existing FCU isn't Part P notifiable, and I already had the wiring in place for the immersion and PV diverter, all signed off from when the house was built. The same goes for installing the UniQ eHW 9, (which is arriving today), although I need to add an additional FCU for the low power control circuitry. Luckily I had a 20A DP isolator fitted for the hot water system supply, so I can add another FCU easily enough without falling foul of Part P (it counts as permitted work without requiring Part P sign off).1 point
-
You'll have no problems if you just want to switch the pump off for an hour or so while you're sitting outside.1 point
-
Some say IP20 and others ( the one I linked ) say IP40 Zone 2 + 3?1 point
-
I think it's all down to what the manufacturer says.1 point
-
They are 12v ( S.E.L.V. ) from a separate transformer so no need for the IP stuff afaik. @ProDave @Onoff ?1 point
-
It’s up to you really. But if the BCare not happy they will be a pain. Normally it will be a planning condition that all SW will go to soakaway . As a developer you wound have to overcome the issue. As a self builder I have never seen a building go up and then not be allowed to connect to a drain. In my case I had similar clay, and built a soak away in any case. I only put one connection into it from half the main roof. The rest I piped into the existing combined drain. The soakaway has not caused any issue though. When in clay it is best to have a long narrow trench soakaway which may span over cracks in the clay etc and allow water to “soak away” even though the clay is pretty iimpermeable.1 point
-
My SA units were installed by SunAmp, though all the preparatory work was done by my plumber and electrician.1 point
-
MDF windowboard is so much easier to work with and more stable as it doesn’t shrink or move like timber. 2 coats of gloss and it’s as good as waterproof too.1 point
-
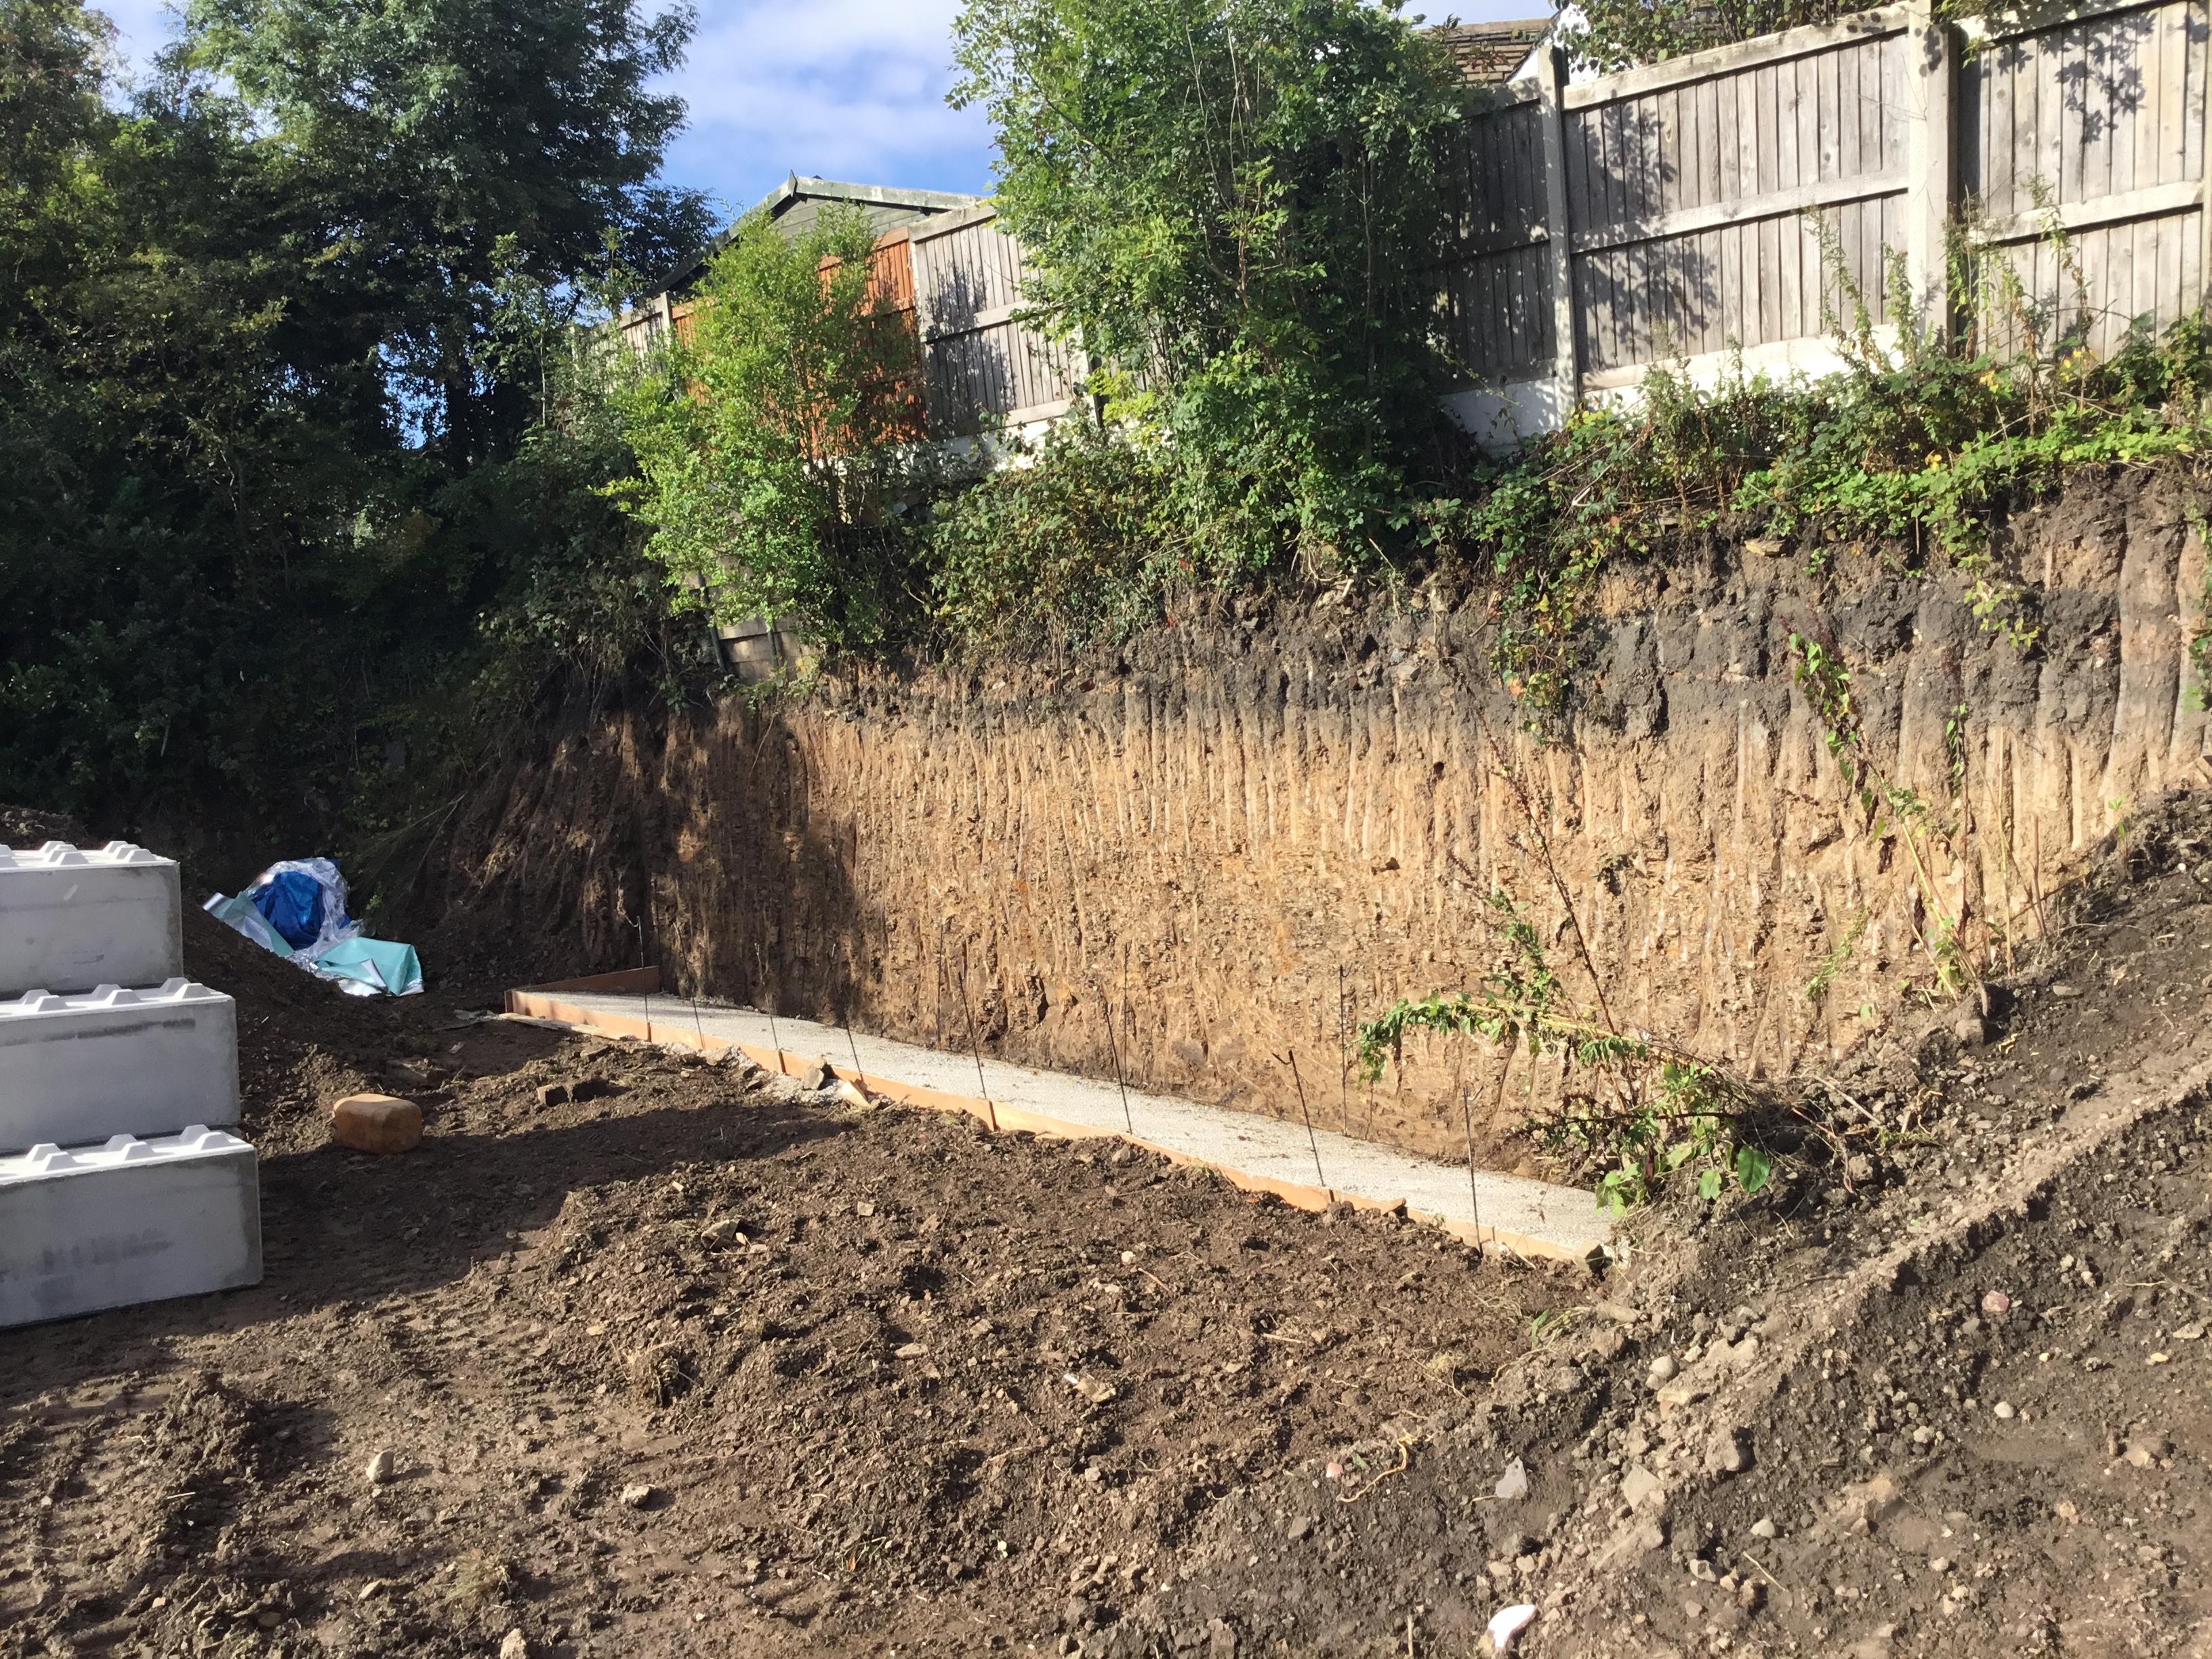
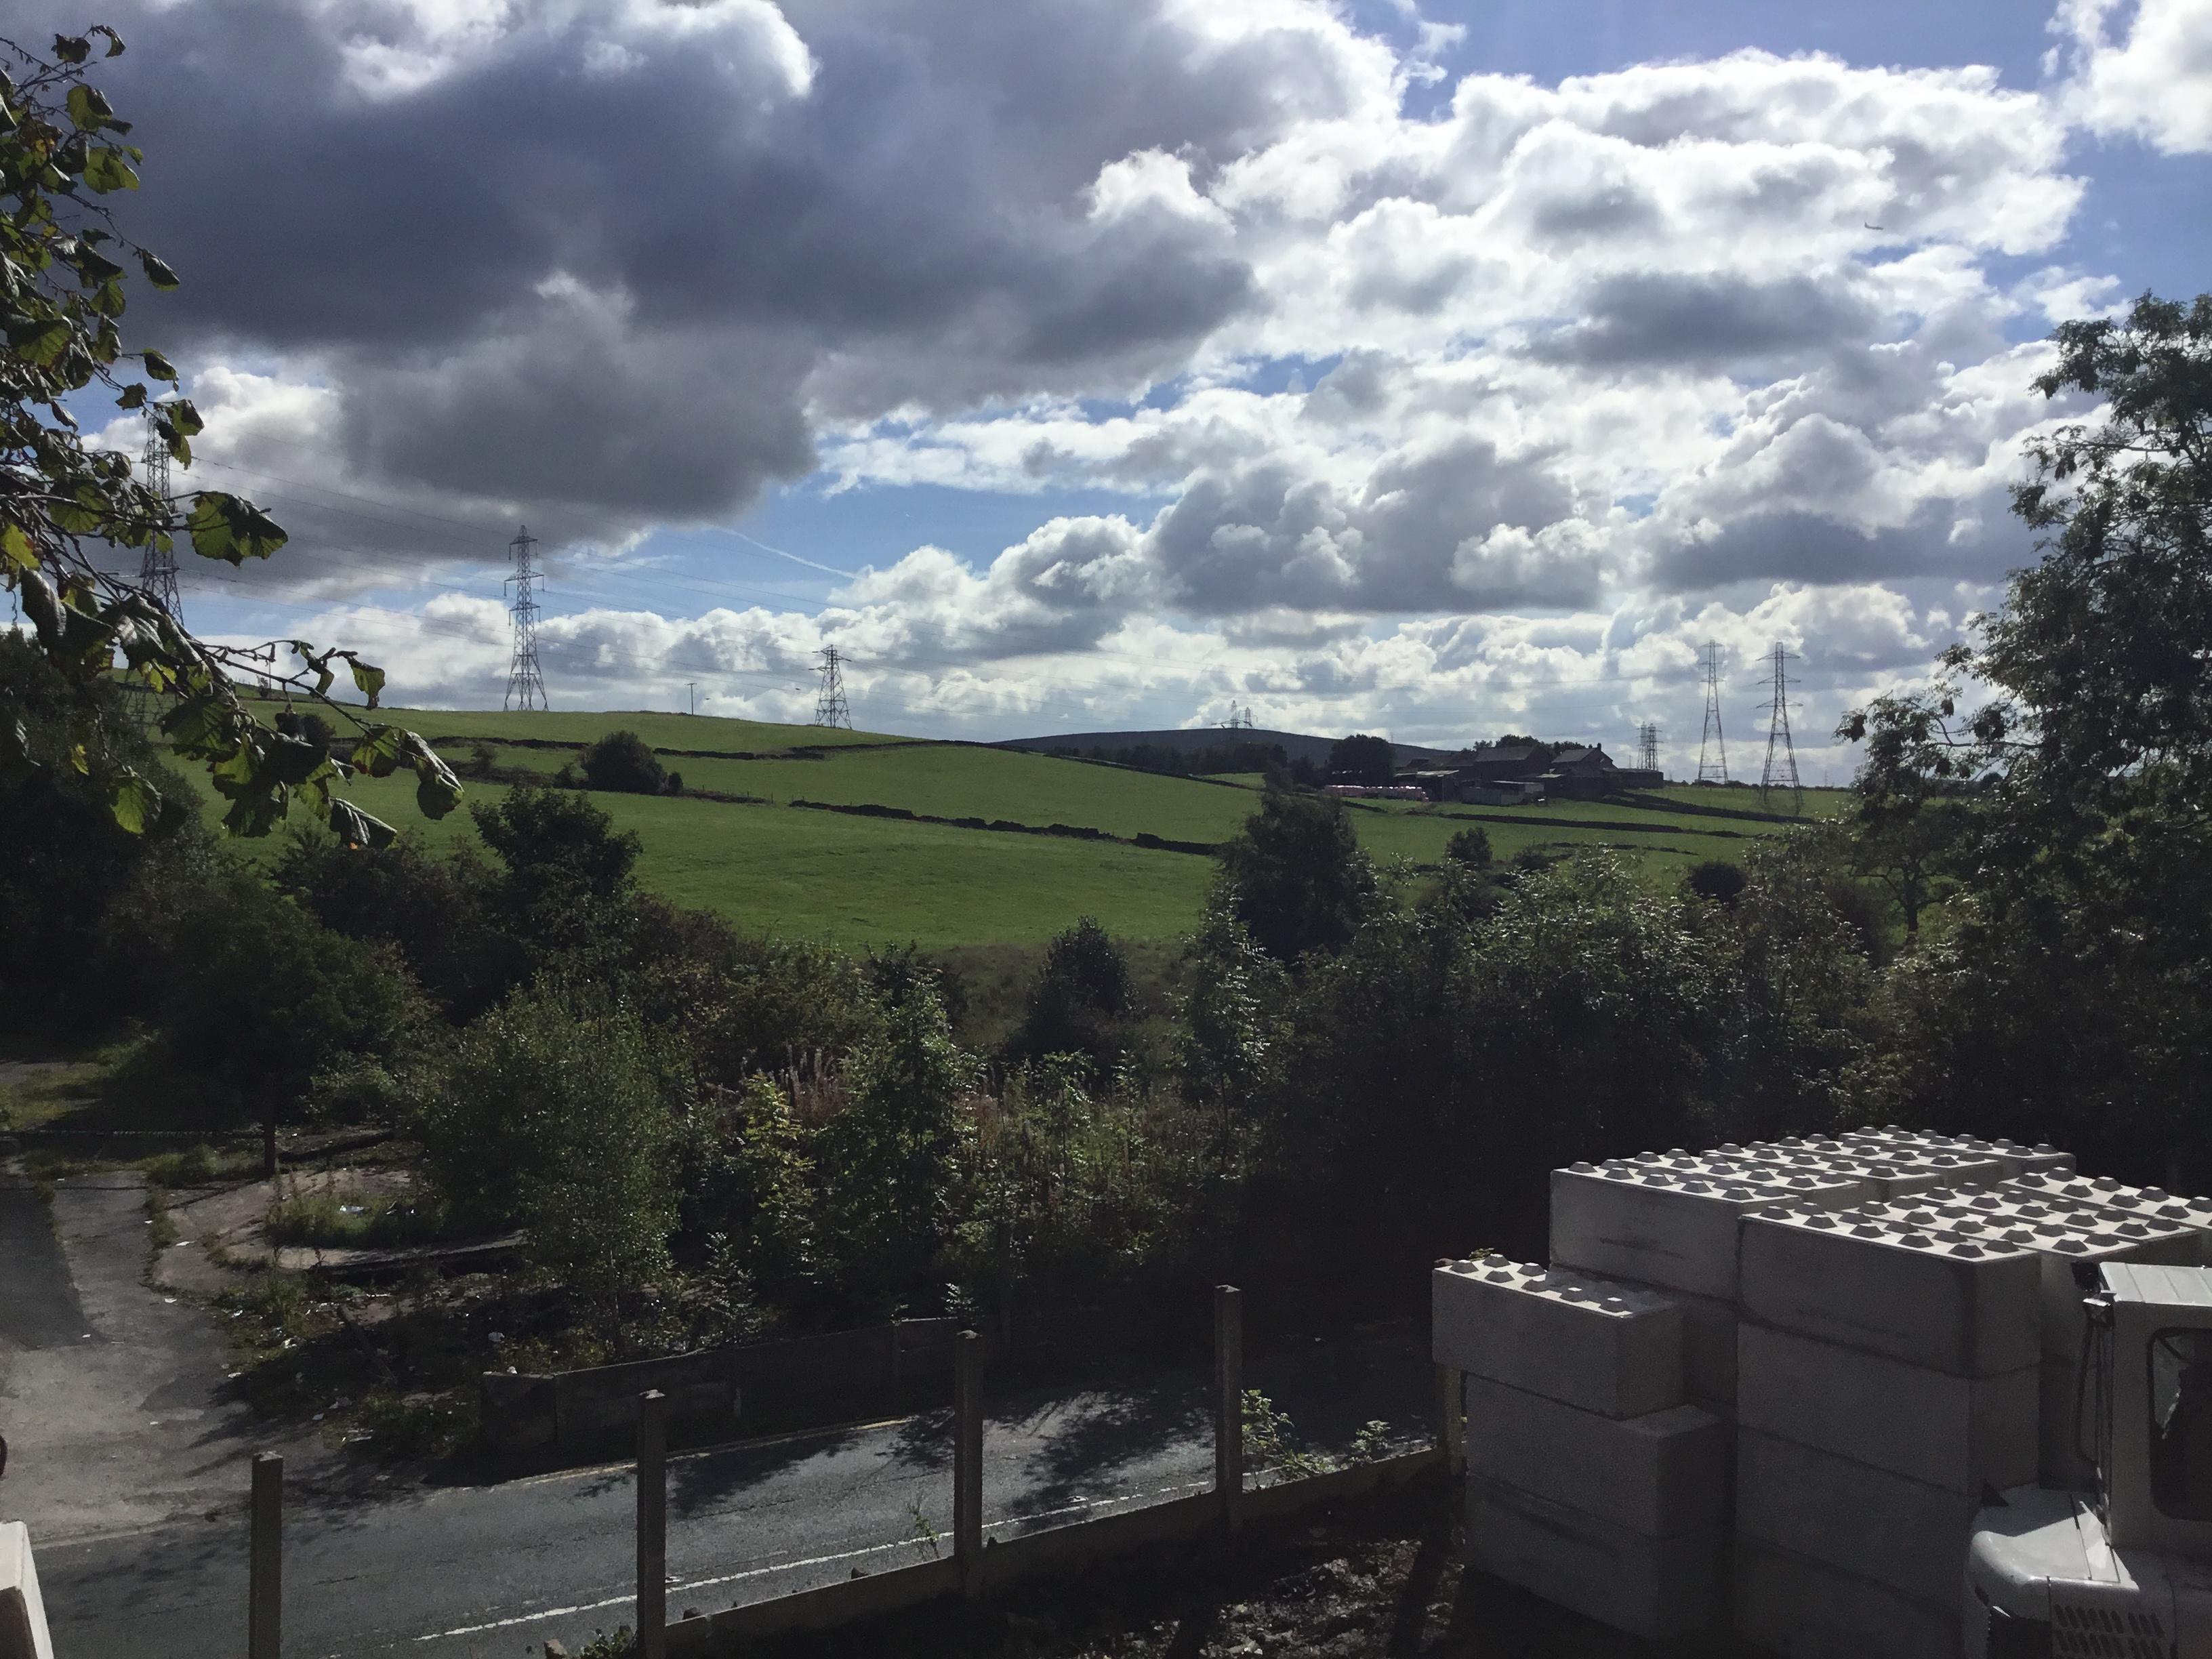
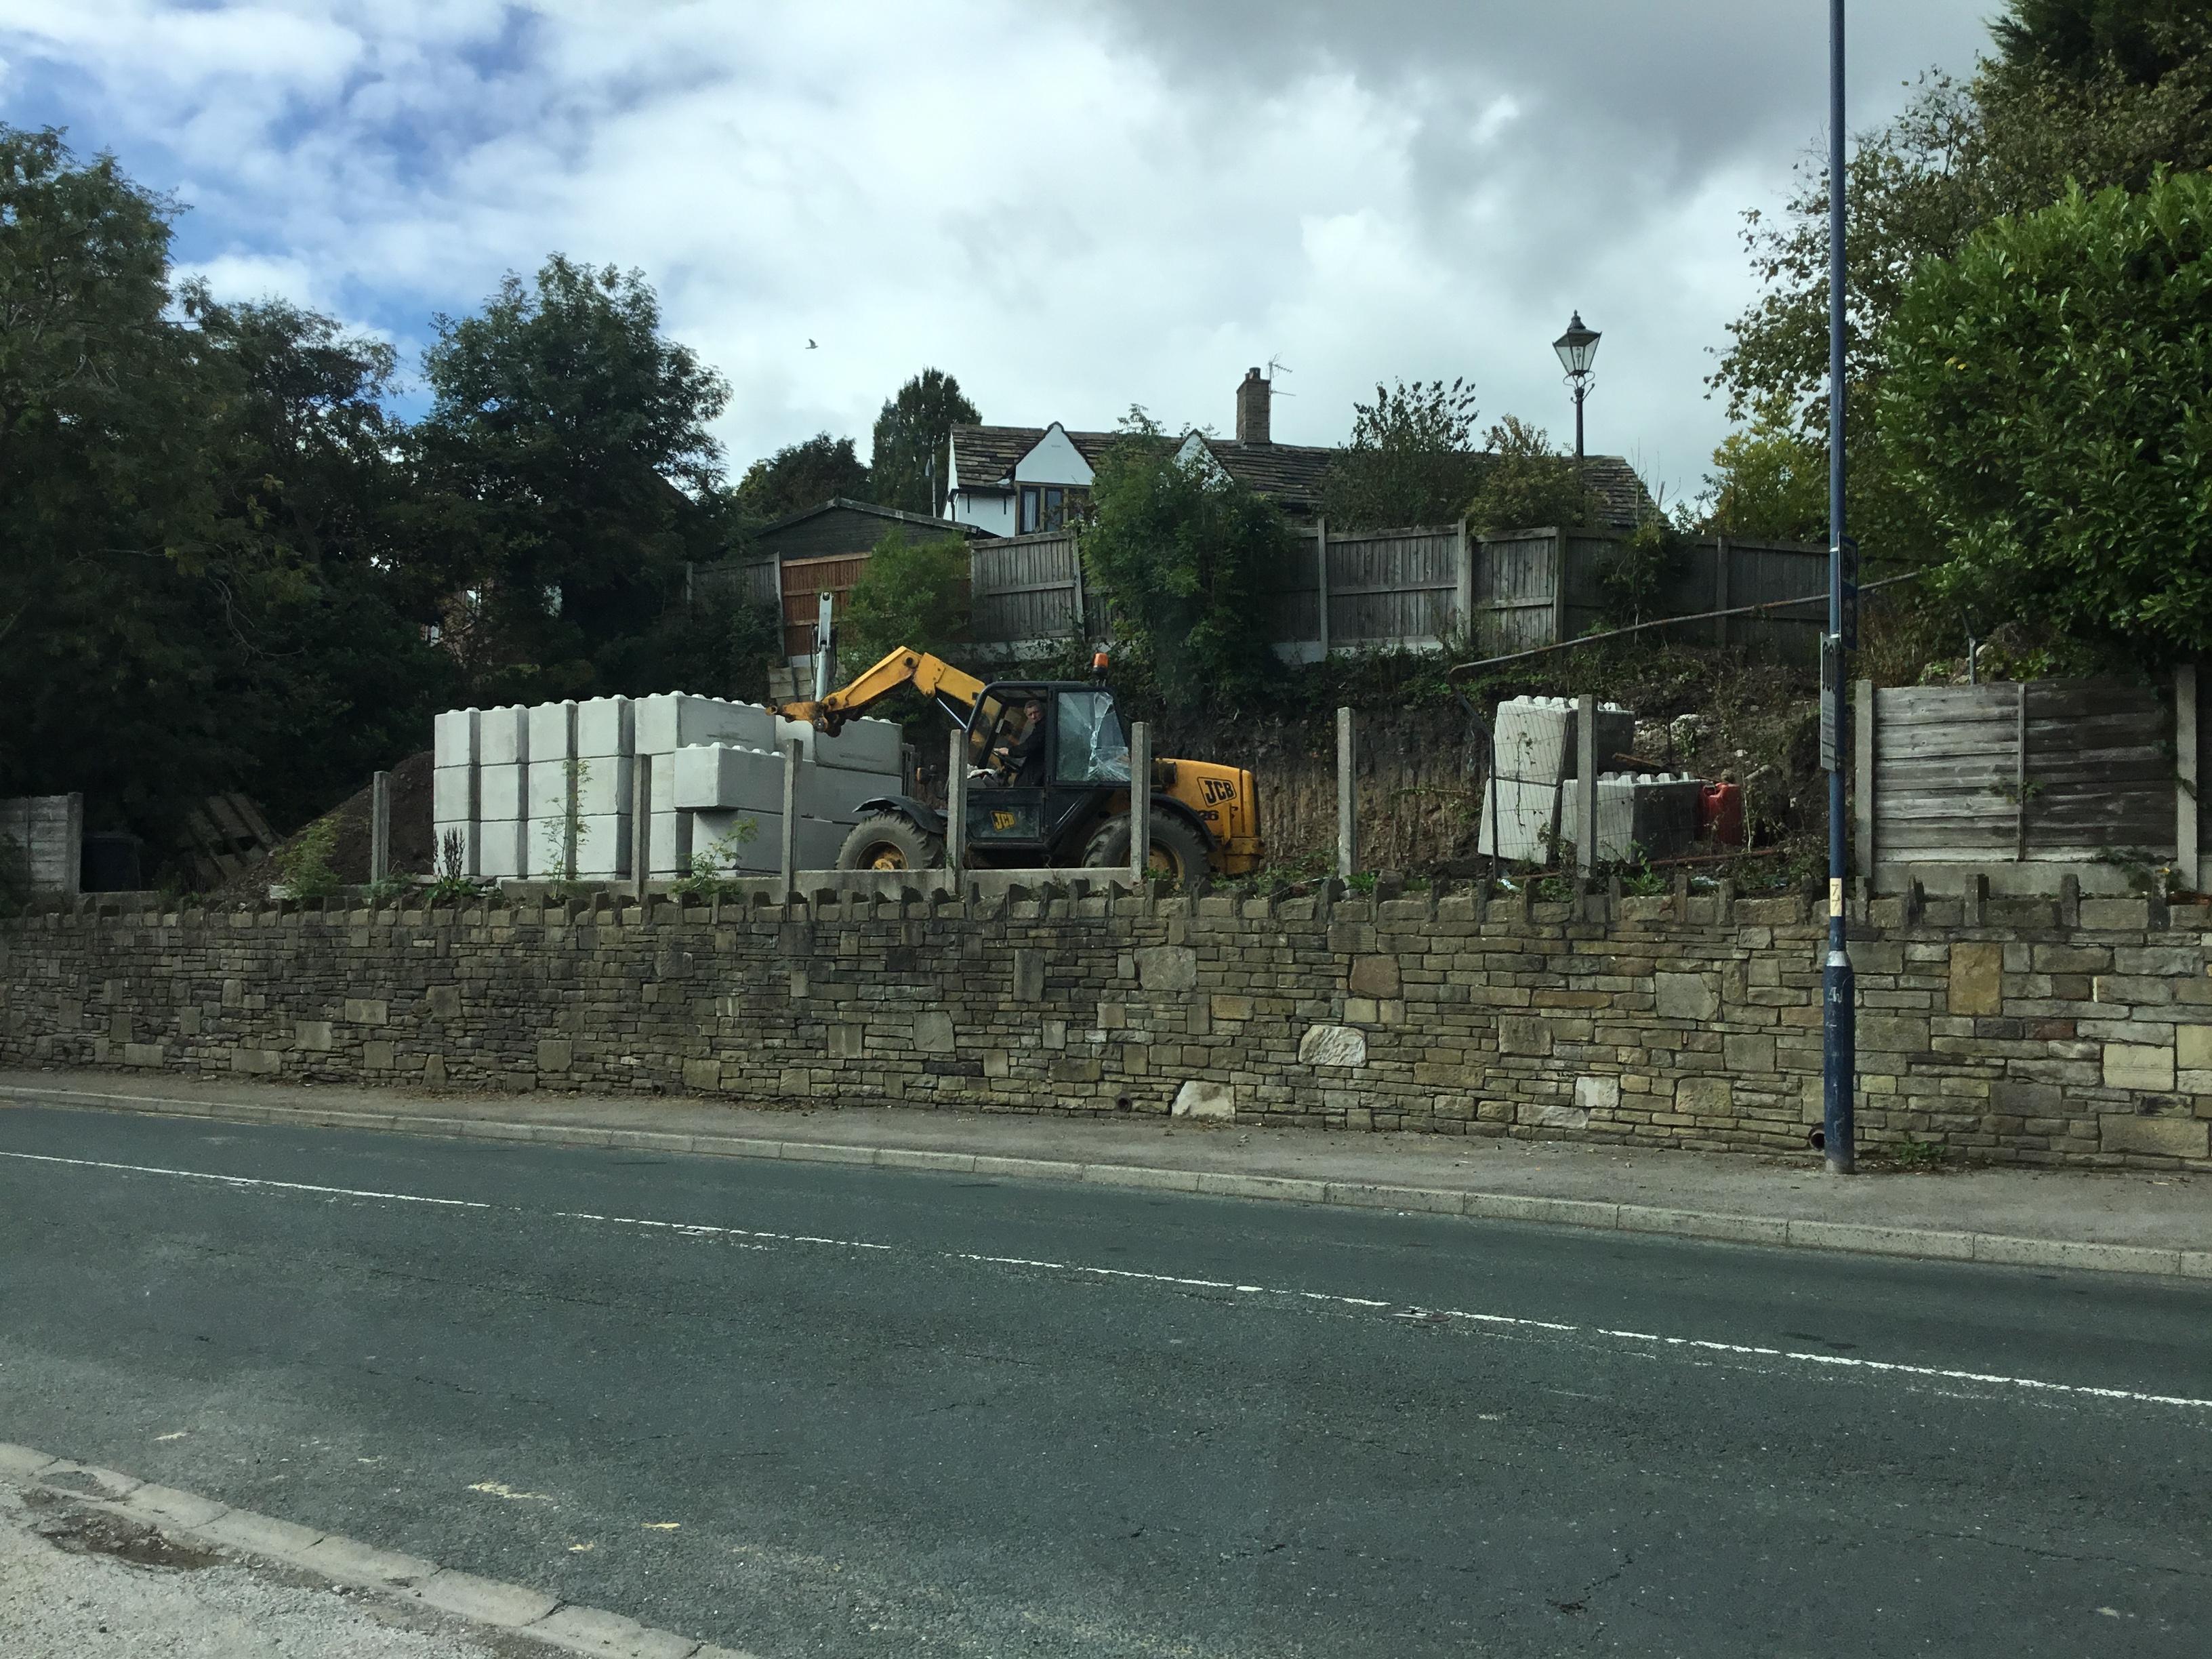
I’ll take some tomorrow. The bottom two courses are 1.5mx0.6mx0.6m blocks, laid lengthways. The upper 4 courses are a combination of 1.8mx0.6mx0.6m and 1.2mx0.6mx0.6m laid horizontally. No need for any mortar as the blocks interlock. The foundation is 400m high at the front and 100m high at the back creating a incline. This massively reduces the required width at the base compared to a traditional gravity retaining wall. Here are are a few pics of the bank and blocks being delivered.


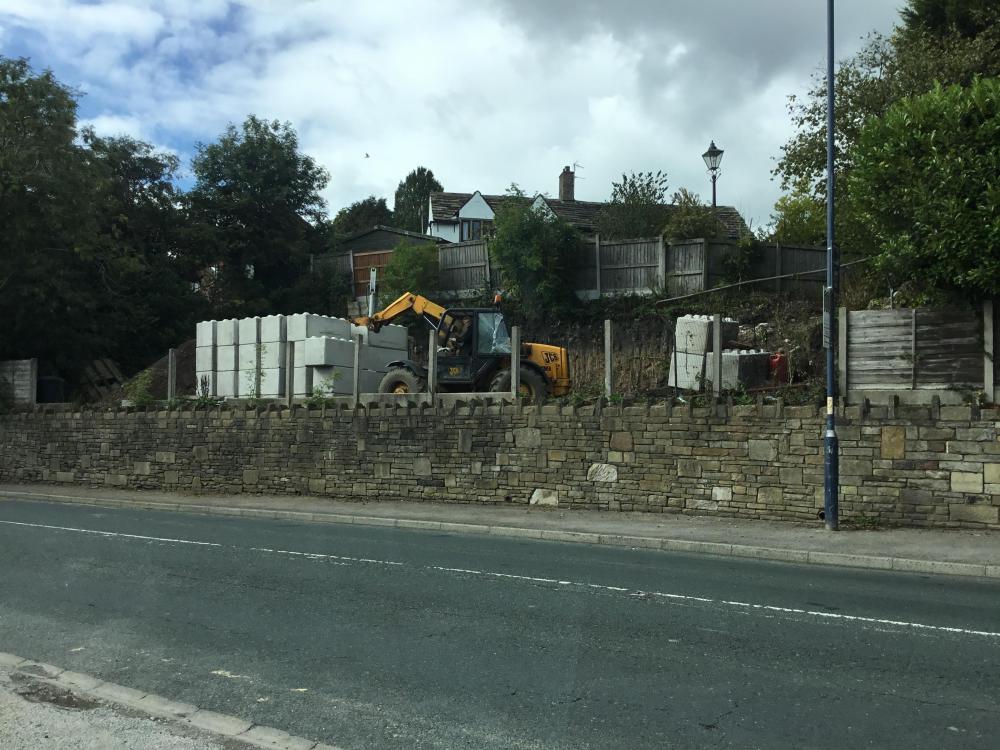
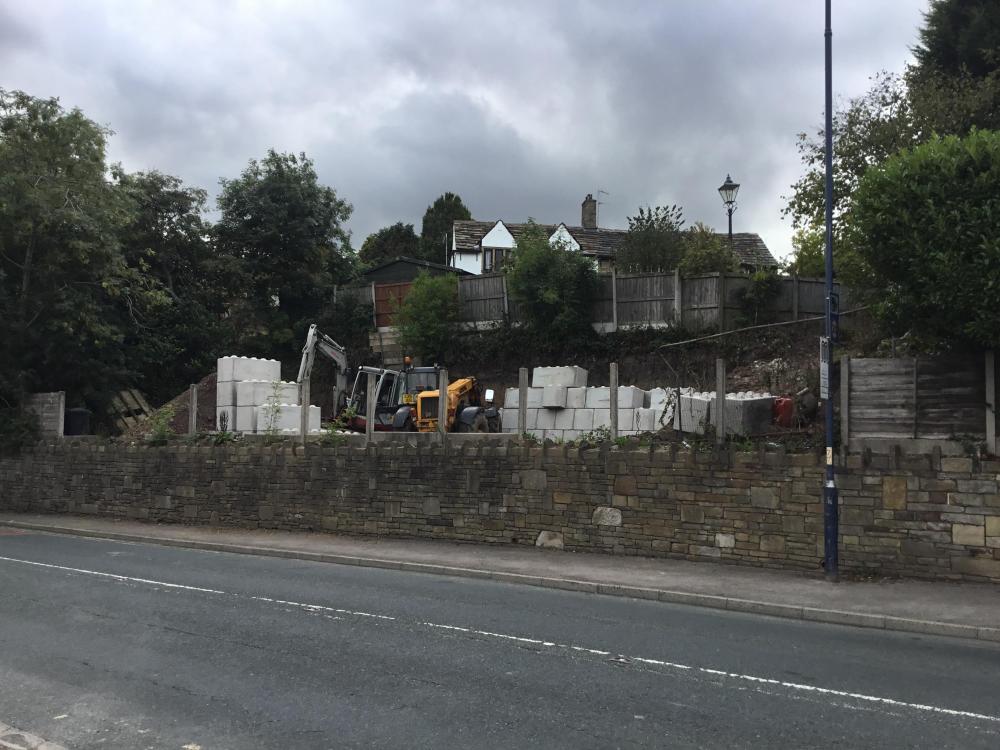 1 point
 -
My sparky - like a long drink of water My plumbers - like weebles1 point
-
Not too keen on drilling into my mvhr duct! Will tile it all first and then see where we are. Happy to put spot in there as long as Nick comes up to bash it off - leave him in there with tiles and adhesive and lock the door....1 point
-
Hi and welcome to the forum. Good luck with the build. IIRC there have been others on here looking into a group build.1 point
-
It is a bit annoying they didn't use 1:60 firrings but it won't make any difference to you. The roof will leak if the membrane fails, whether the fall is correct or not. Correct membrane install and upstand detailing is what is important here, not fall.1 point
-
Try saying Kent really fast1 point
-
The thing I have found Wickes unbeatable for was cement. If you buy five bags the price is about £2/bag cheaper than my cheapest local BM.1 point


This leaderboard is set to London/GMT+01:00