
Leaderboard


Popular Content
Showing content with the highest reputation on 05/31/18 in all areas
-
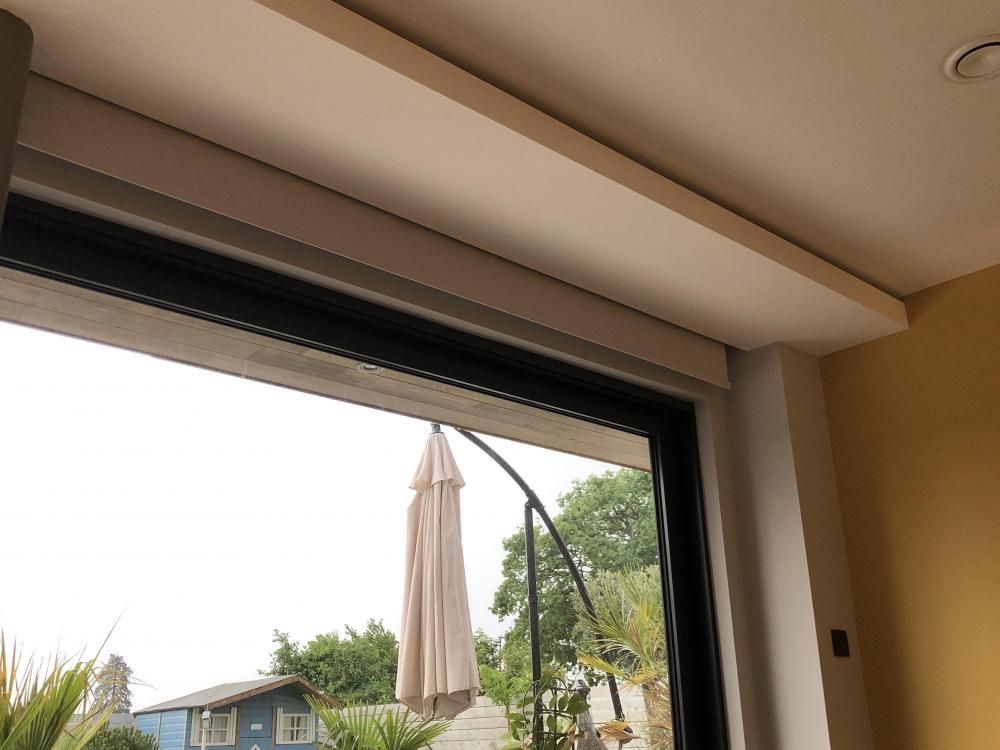
We recessed our blinds into a false ceiling like this to hide the mechanism and give us space for the handles....
 3 points
 -
Thanks Nick It is often the most obvious route that I am blind to. Following your advice I have now contacted the supplier (where we bought most of the sanitary ware) and following a visit from them today they will get back to the manufacturer and hopefully we will get some resolution. I can understand that showers can be a bit slippery, but once this is wet, it is like it is coated in eel juice! I will keep you updated, as now we have fitted 14 trays and boarded and tiled the walls any remedy may be "tricky"...2 points
-
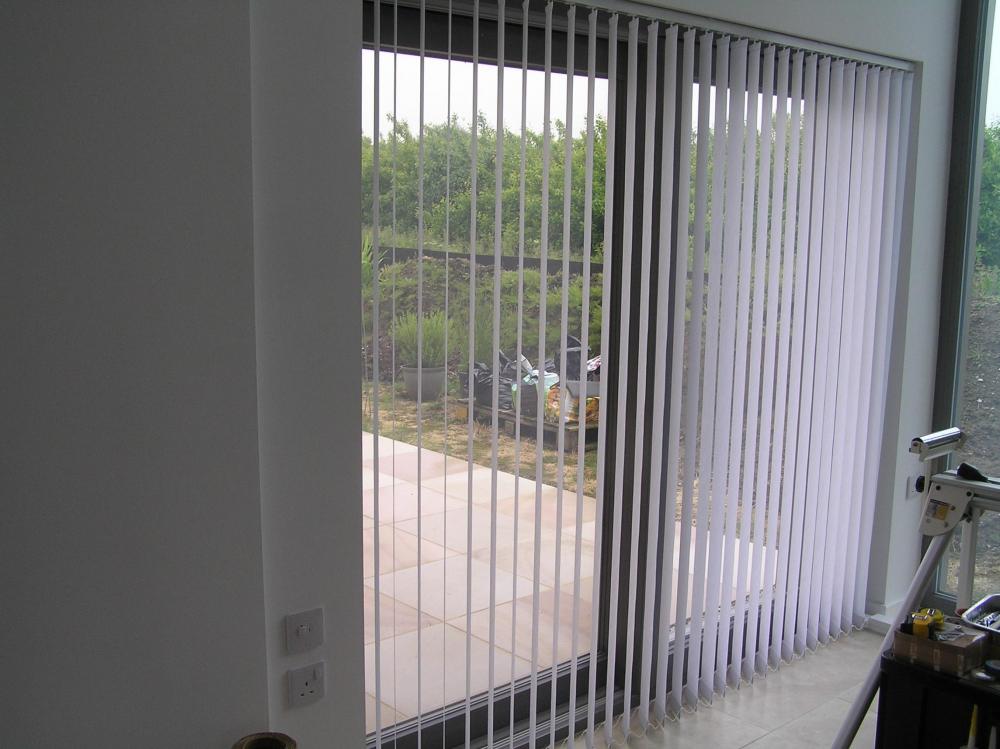
We're lucky in that our reveal is 160mm which is just enough to allow us to have vertical blinds where we have the lift slide door. You'll have to excuse the saw in the sitting room but there isn't anywhere else to store it at the moment.
 2 points
 -
This is what a rational pro builder would do. The irrational self builder in me wants to be able to tap a real solid oak beam and know it is making a structural contribution to the house. I will also be able to spin a yarn that my reclaimed oak beam is rumored to have once supported the upper deck of one of Nelson's ships of the line.2 points
-
After making the classic error of going to see someone else's lovely house (with a massively larger budget than ours), we have discovered the beauty that is grey Jura limestone with a gorgeous smooth matt finish. I've heard some bad things about "regular" limestone; easily damaged/stained/resin filled, but apparently the Jura variation is much harder wearing. Has anyone used it? We're thinking of it on floors and *possibly* walls (budget depending) in 3 bathrooms. Where did you buy from? Is all Jura limestone the same or should I be looking for particular things? Does it need to be "babied" - we are a careless and clumsy family. I have managed to utterly destroy the (presumably unsealed) sample with a teabag, tomato puree and lemon juice. None of which should be present in the bathroom, but I do have small children. Actually, tea might well be present, along with wine.1 point
-
I'll second that your kitchen is definitely fine (more than fine in my opinion) Including 2 full height fridge/freezers and A drawer fridge, That drawer fridge on its own would be enough for me LOL1 point
-
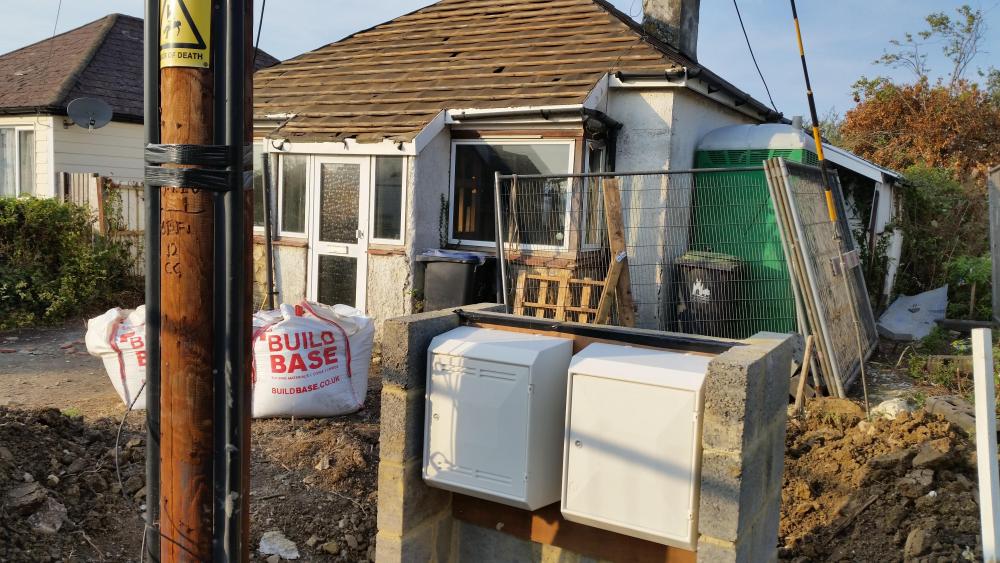
Here are a couple of snaps of our block house before we demolished the old house. The front has gas an electric meters and the back has electric distribution (to the house / garden room / garden / lighting and car charger point) and the comm cabinet with the phone line in with wired router and alarm system.
 1 point
 -
You could upgrade to a 140mm wall if your heart’s set on it,would save a lot of mortar compared to a 215mm wall.1 point
-
We came in largely on budget until my husband got sick and then it probably cost about 20k in labour costs more than anticipated but not too terrible in the great scheme of things. We also had an element of luck involved as some things did indeed cost more than expected and we had some unexpected items too, but it was balanced by some things coming under budget (like the roof - we were amazed at how cheaply we got the roof done TBH, as in the labour that was half what we anticipated and the guy and his team did a great job), and scaling back the budget on areas like the kitchen and bathroom fittings. My relatively large initial kitchen budget scaled back dramatically to compensate but it still looks fine TBH and I still managed to keep the granite island and worktops. I don't regret scaling back the cost TBH because when I come to sell I will get back at least what it cost to build and it's very easy to pay out more than a house is worth here. Of course there are things that I wished I had done differently but I don't think there are many people who can say that everything worked out perfectly.1 point
-
@lizzie That's a really good point about the handle, thank you! We haven't quite decided our reveal depths yet so will make sure we take this into consideration. I remember when fitting blinds to our current house I completely forgot about the handles (doh). Good luck with finding a solution, I will watch this space with interest1 point
-
That looks very neat.....even with the saw LOL1 point
-
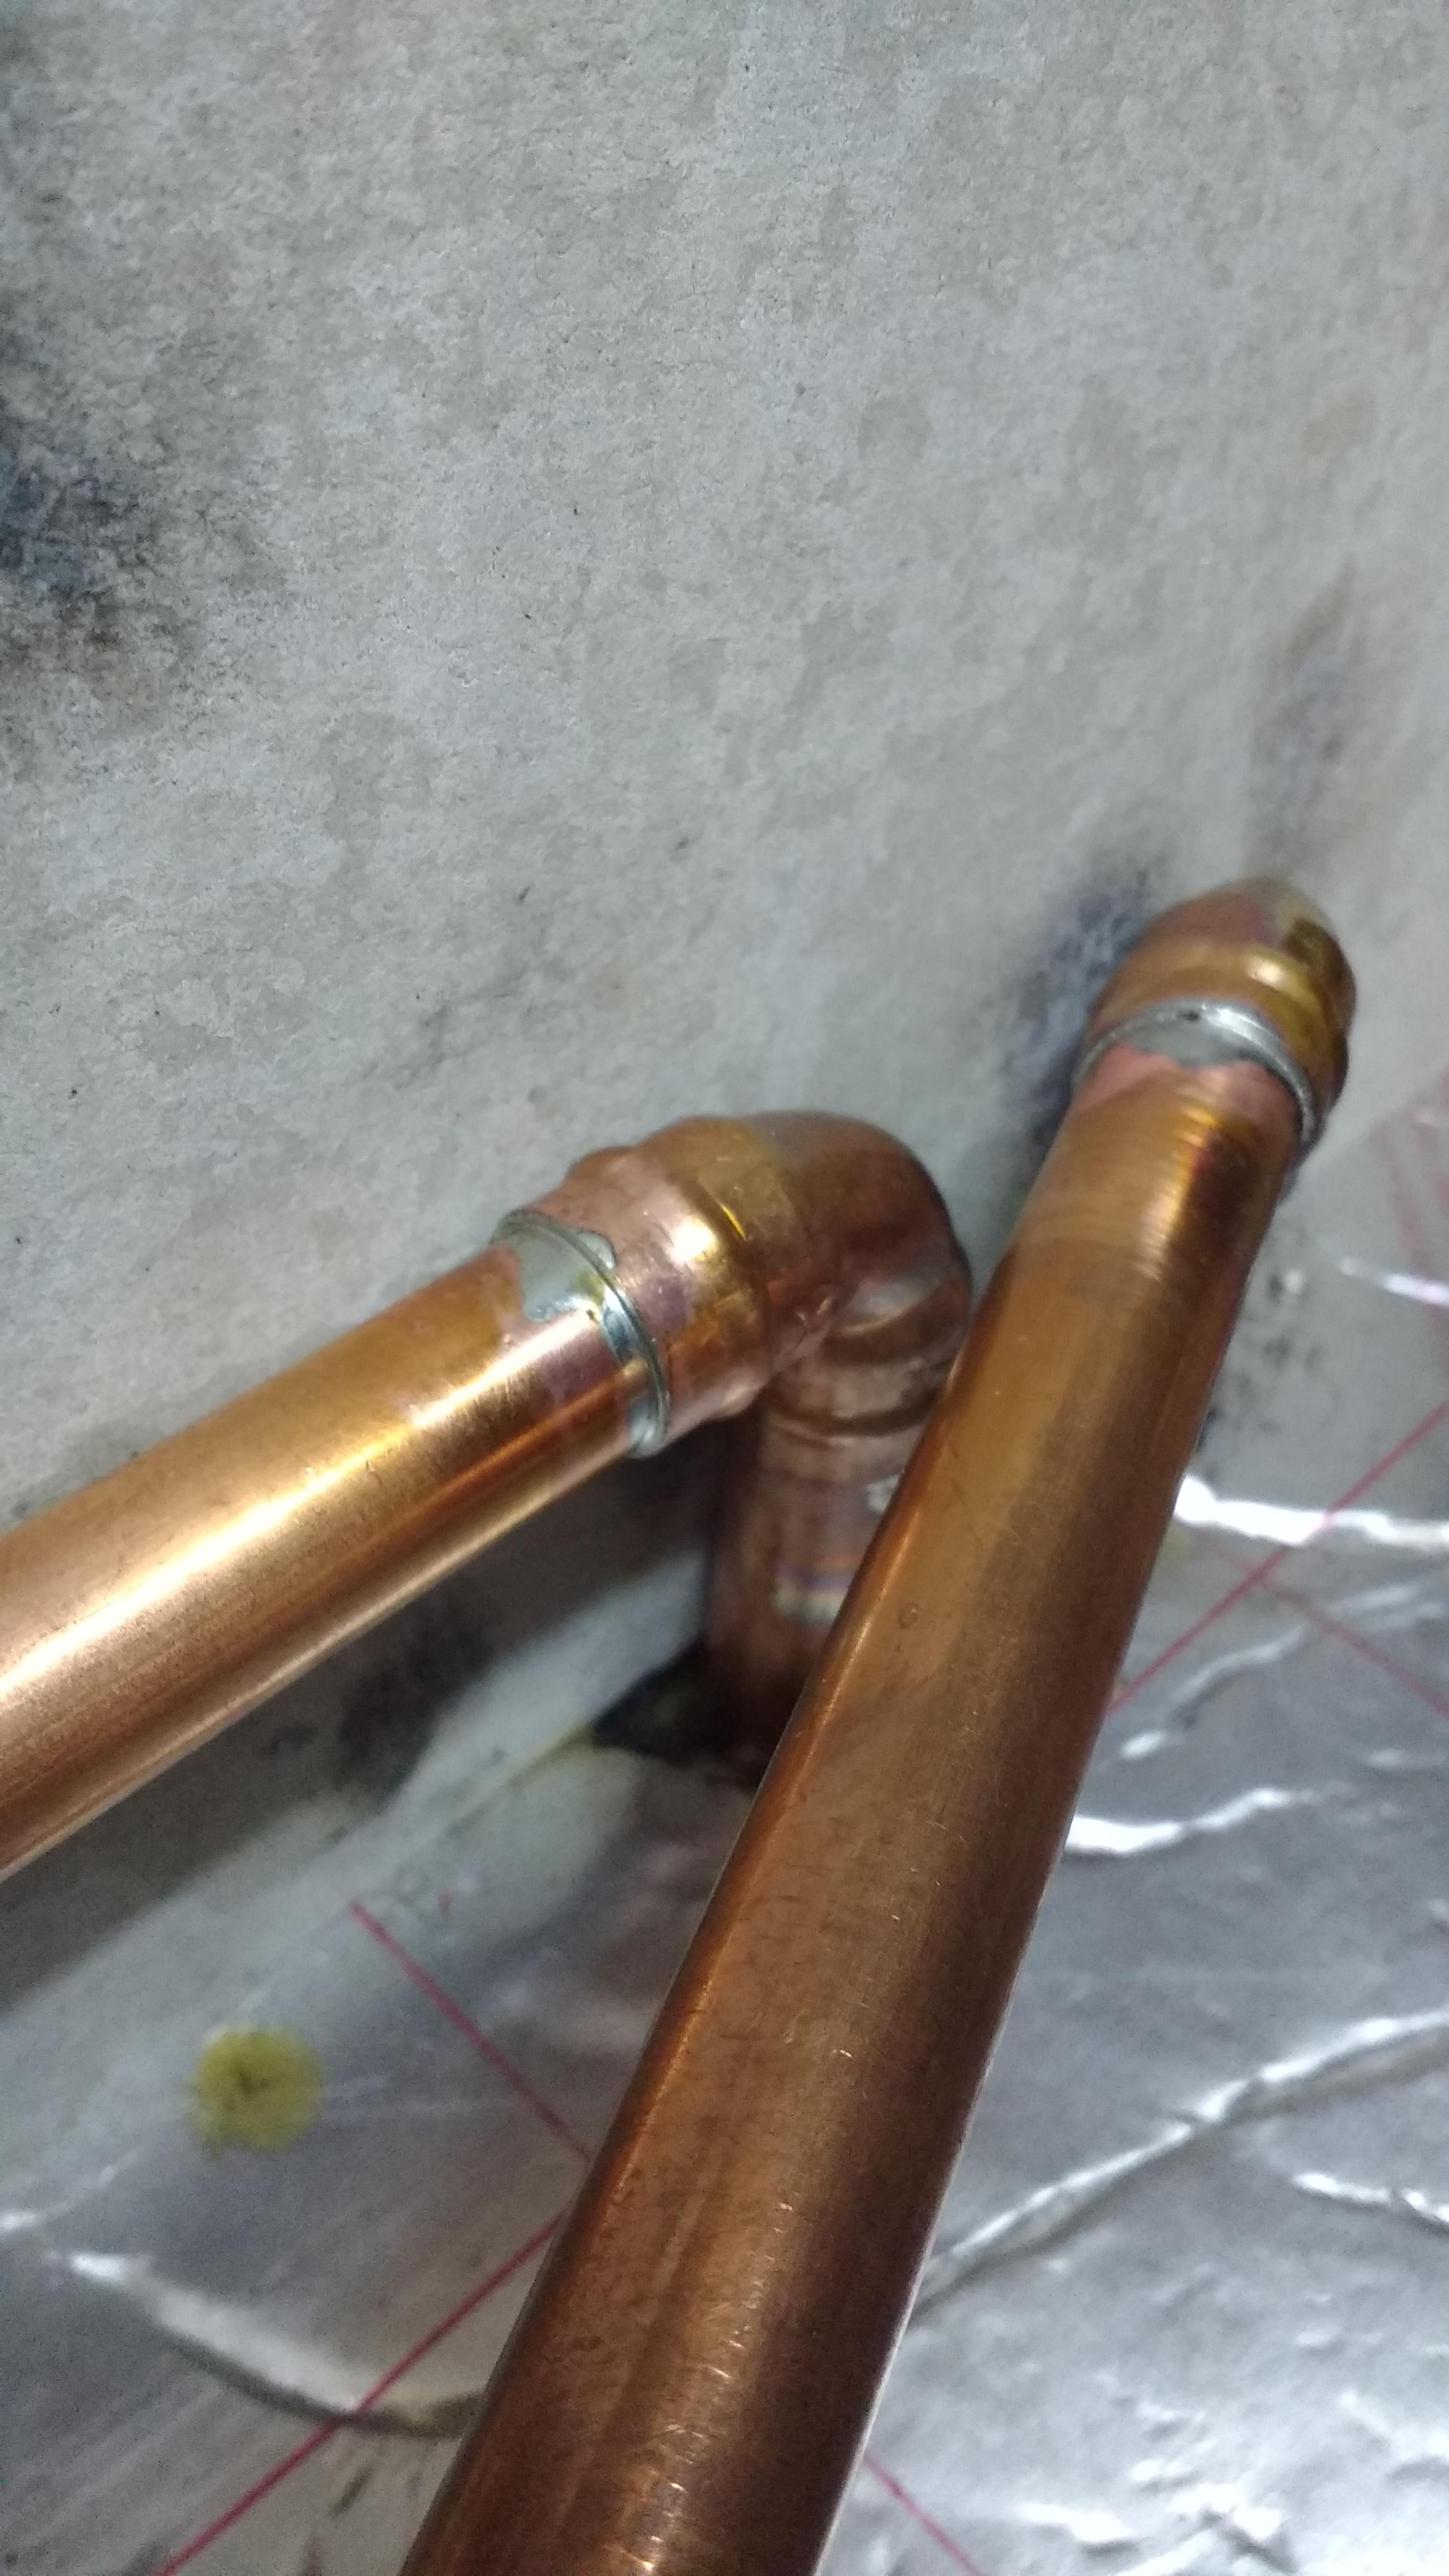
Where is the begrudgingly, face like a smacked arse, you're right as usual emoji? Did the new ones and went over the "old" like you said. Propane/lead free/Templars:
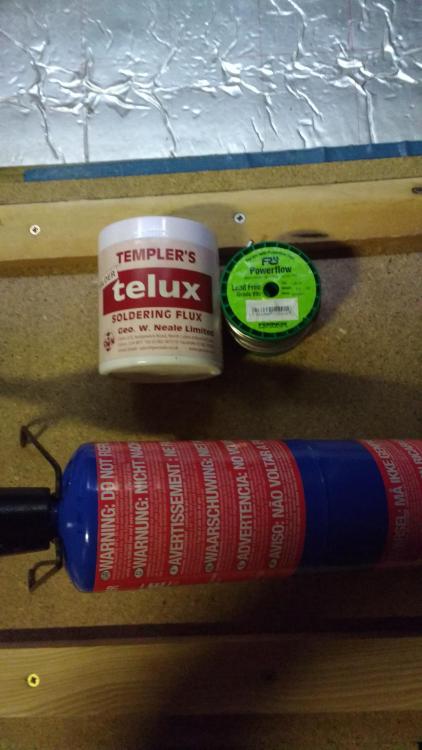
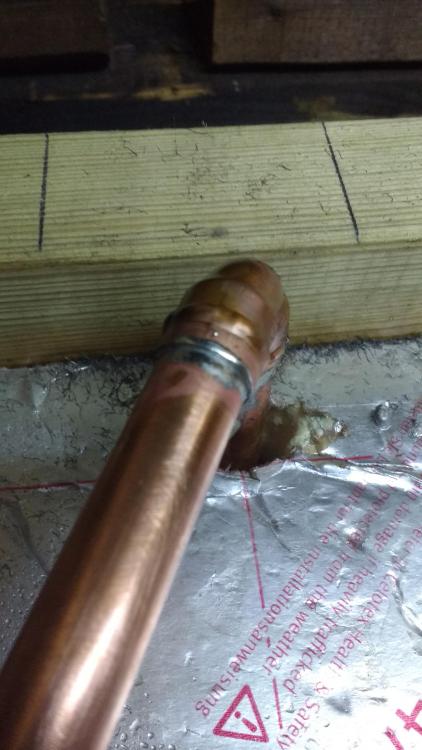
 1 point
 -
None of that’s needed anyway ...!! How long is the wall we are talking ..?? Assuming it’s 10m, it needs a single buttress somewhere between 4 and 6m in its length. That buttress needs to be no more than a block on side or a stub return wall of 450mm from memory. ( @StructuralEngineer Can probably confirm) The steel is doing nothing ....... it’s not “tying” anything unless it’s bolted through to padstones both ends and even then your maximum load is the mortar strength. Lateral restraint of walls is usually done using the bent straps attached to the joists.1 point
-
Got a reply after filling in the OR form: So looks like I need to contact BT ?1 point
-
If I did, I'd want a bloody long tea break anyway. (Contrary to earlier post, I think I may have a Ryobi P210 which has 40Nm torque despite its age. I think the batteires only give you one attempt at that torque before they need charging again)1 point
-
@MirandaPoth thats a great idea if you are still at the stage to cater for it. Sadly I am not, we explored that look and it would have worked (I have the special heavy duty plasterboard everywhere anyway) but what stopped us on that idea is our internal wall reveal depth is 70 and that is exactly the amount that the handle on the window juts out so we have not got enough depth to cover handle with blind hence only option I am being offered is surface mounted on the wall over the window. TBH I would rather do without blinds than take that option! I don’t give up easily so am still looking.1 point
-
We're getting an Internorm big slider in our main open-plan living room. Some of the windows in the room are too big for the Internorm integrated blinds so we're probably going to have separate blinds on all of them (so that they match). The problem we ran into was that normal roller etc blinds don't go more than about 2m wide and our slider is 5.3m total, which means I want two blinds about 2.65m wide each. We found that Luxaflex's Duette blinds can cope with this width and look really nice. They are about 25mm wide so the plan is to fit that extra-strong type of plasterboard above the windows and leave the battens off so that the blinds can disappear into the gap when they're open and when they're closed they will still be 'inside' the window reveal. We'll reinforce with aluminium or something if it looks like it needs it. It won't look as nice as having fully integrated blinds or blinds fitted into the inside of the window frames like in @PeterStarck's picture but we think it will look OK. That's the plan anyway, will be following this post in case someone has a better idea!1 point
-
There are ranges of lower voltage tools that are much smaller than the typical 18v monsters that would probably be more than adequate for most odd jobs.1 point
-
@PeterStarck Are these Luxaflex blinds? They look good in any case!1 point
-
I agree that it’s mostly about practice but many power tools are quite heavy and I find it hard to hold them with one hand like most guys go. I’m all for equality lol but not everything is equal. I guess we might just need lighter equipment, and not in bloody pink! Maybe once you’ve learnt how to use the equipment proficiently the weight becomes less obvious and you become more use to the feel and the balance of the things.1 point
-
@Ferdinand My own build was similar to what you've described. It's a timber frame, cedar weatherboarded 2 bed bungalow that we use as a holiday home. It's 71 sq.m internal size on a large 1.5 acre steeply sloping plot with awkward access. My wife and I both work full time so the only work we did ourselves was the painting & decorating + I did the design work, all drawings and building regs myself and some project management during the build as we didn't use a main contractor. The timber frame contractor gave us a shell minus windows and the rest was separate trades. The build time for the house itself start to finish took 8 months but the whole process took 5 years as PP took 2 years inc an appeal and the garden was done after the main build at weekends. Costs: The cost for the 71 sq.m building was £96k including all fixtures and finishes to a mid/high standard, a new sewage treatment plant and all new foul & surface water drains. (I could have easily reduced the cost by £10k by choosing cheaper finishes.) £96k for 71 sq.m is £1,350 sq.m I didn't have to pay for the land but extra to the above costs were: the cost for all the external works was £5k inc 150 linear metres of perimeter fencing and 3 gates Other costs were £7k and included: the fee for a Planning Consultant (well worth his fee btw!); PP and Building Regs application fees; air pressure test,;SAP calcs; demolition of an abandoned building that was on the site. So overall cost for the 71 sq.m build was £108k which is £1,521 sq.m1 point
-
There definitely is an economy of scale factor. A simple consideration of volume: surface area tells you that smaller houses need more materials per m2 than big houses. In addition there are many fixed costs such as fees, services, and to some extent fixtures and fittings (you still only need one oven, one front door,etc) My build was at the extreme end of the DIY scale. I designed and built every aspect of it, but had a digger driver at the start to create the access (major work involving rock breaking and building up ground), and I also had a plasterer, an electrician, and a plumber who signed off the UVC. I had no causal labor or any other site workers, so apart from those three guys it was all materials costs only. It has worked out at just shy of £1000/m2 including all fees and services. My site was not the cheapest to develop, thanks to that access issue and an expensive sewerage treatment system that gobbled up nearly 20% of my budget. The spec was reasonably high including 3G windows. If I had doubled the size of the house,I think my cost/m2 would have been slashed. I just couldn't afford to spend any more, and doing all the work myself has already taken me three years.1 point
-
I think I bought a 12” and a 24” set a couple of years ago, just to have the tools for when I lose padlock keys or have recalcitrant bits of cable that are a stretch for even big pliers or bolts. I guess I have used them 8 or 10 times since, even for things such as separating rusted studs. Will check which ones they were. F1 point
-
That set only has 3 reviews, one bad and one doesn't count so I'd give them a miss. I would go for a more expensive set such as the 450mm Draper ones. There are just some jobs where having decent cutters is just so useful. Also there is a knack to using them, such as taking two bites. Push the wire or rebar as far as possible into the jaws for the maximum leverage and squeeze in the handles. If this doesn't cut first time then it will cut into the sides and squeeze the cross-section more oval. Now open the jaws again and you can push the rebar further into the jaws for a second cut with more leverage. If you are cutting bolts or screws (useful if your screws are just too long and the points are braking through and you don't have a suitable smaller screw size), then the trick is to do a 2-cut but turn the bold / screw through 90° for the second cut so you end up with a more squared break. PS. If you are worried about strength then you might need to go for 600mm cutters, but they are also a but more heavy to manipulate.1 point
-
So where are we now then? Selfbuild insurance arranged and in place. First delivery of materials arrived- twenty lengths of 160mm perforated twinwall, and a shiny new gate. The swing off the lane and into the drive is just a bit *too* tight so some fences will need massaging a touch. Any burnable scrub is torched. New gate is on. We're ready for the digger to be let loose next week!1 point
-
@lizzie just seen the photos of your kitchen. Wow, its fantastic. I love the hob sunk into the granite. What a wonderful idea, no chipping the edge of the hob.1 point
-
I solved this with rolled up balls of chicken wire, with a bit of heavy gauge fencing wire threaded through the centre and twisted back in itself. What you do it feed the pipes, cables etc through the ducts, then poke the ball of chicken wire down, with the heavy gauge wire poking up. Then use expanding foam to seal the duct on top of the chicken wire, again with the heavy gauge wire poking out. Do this at both ends of every duct, although there's no need for foam on the outside ends. The ball of chicken wire should act as a pretty effective rodent barrier. If you ever need to run another cable or pipe in the duct, you can just pull the ball of chicken wire out using the heavy gauge fencing wire as a handle. The foam seals the ducts up reasonably well, but doesn't adhere that well to the inside of the duct surface, so can be pulled out (I've already had to do this to one to run another cable in). I finished off over the foam with some airtightness tape inside the house, but I don't think it's really needed, the foam does a good enough job.1 point


This leaderboard is set to London/GMT+01:00