
Leaderboard


Popular Content
Showing content with the highest reputation on 04/03/18 in all areas
-
Digger and dumper on site, ready to start : ) It feels like Christmas Eve.3 points
-
Bloody Hell! That new Sunamp goes on the wall and looks like a telly!2 points
-
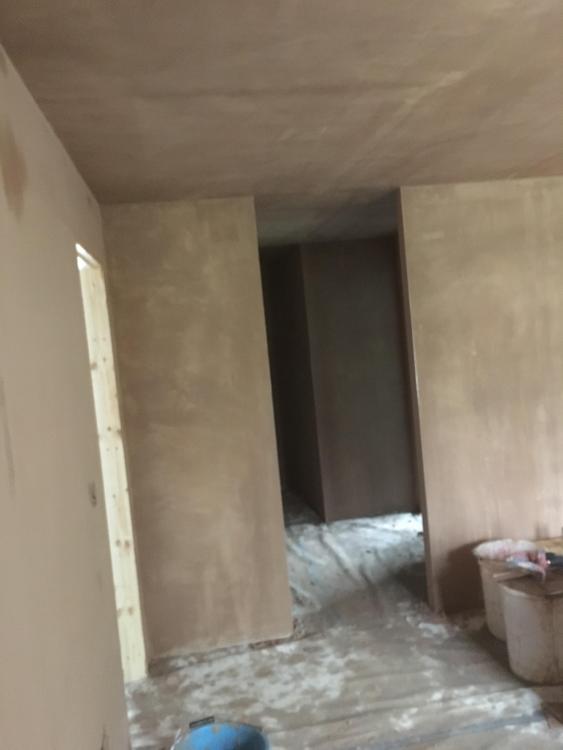
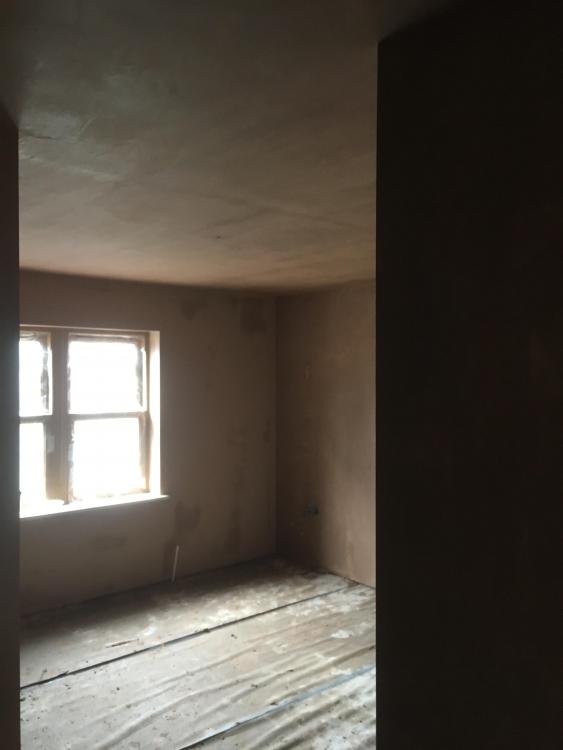
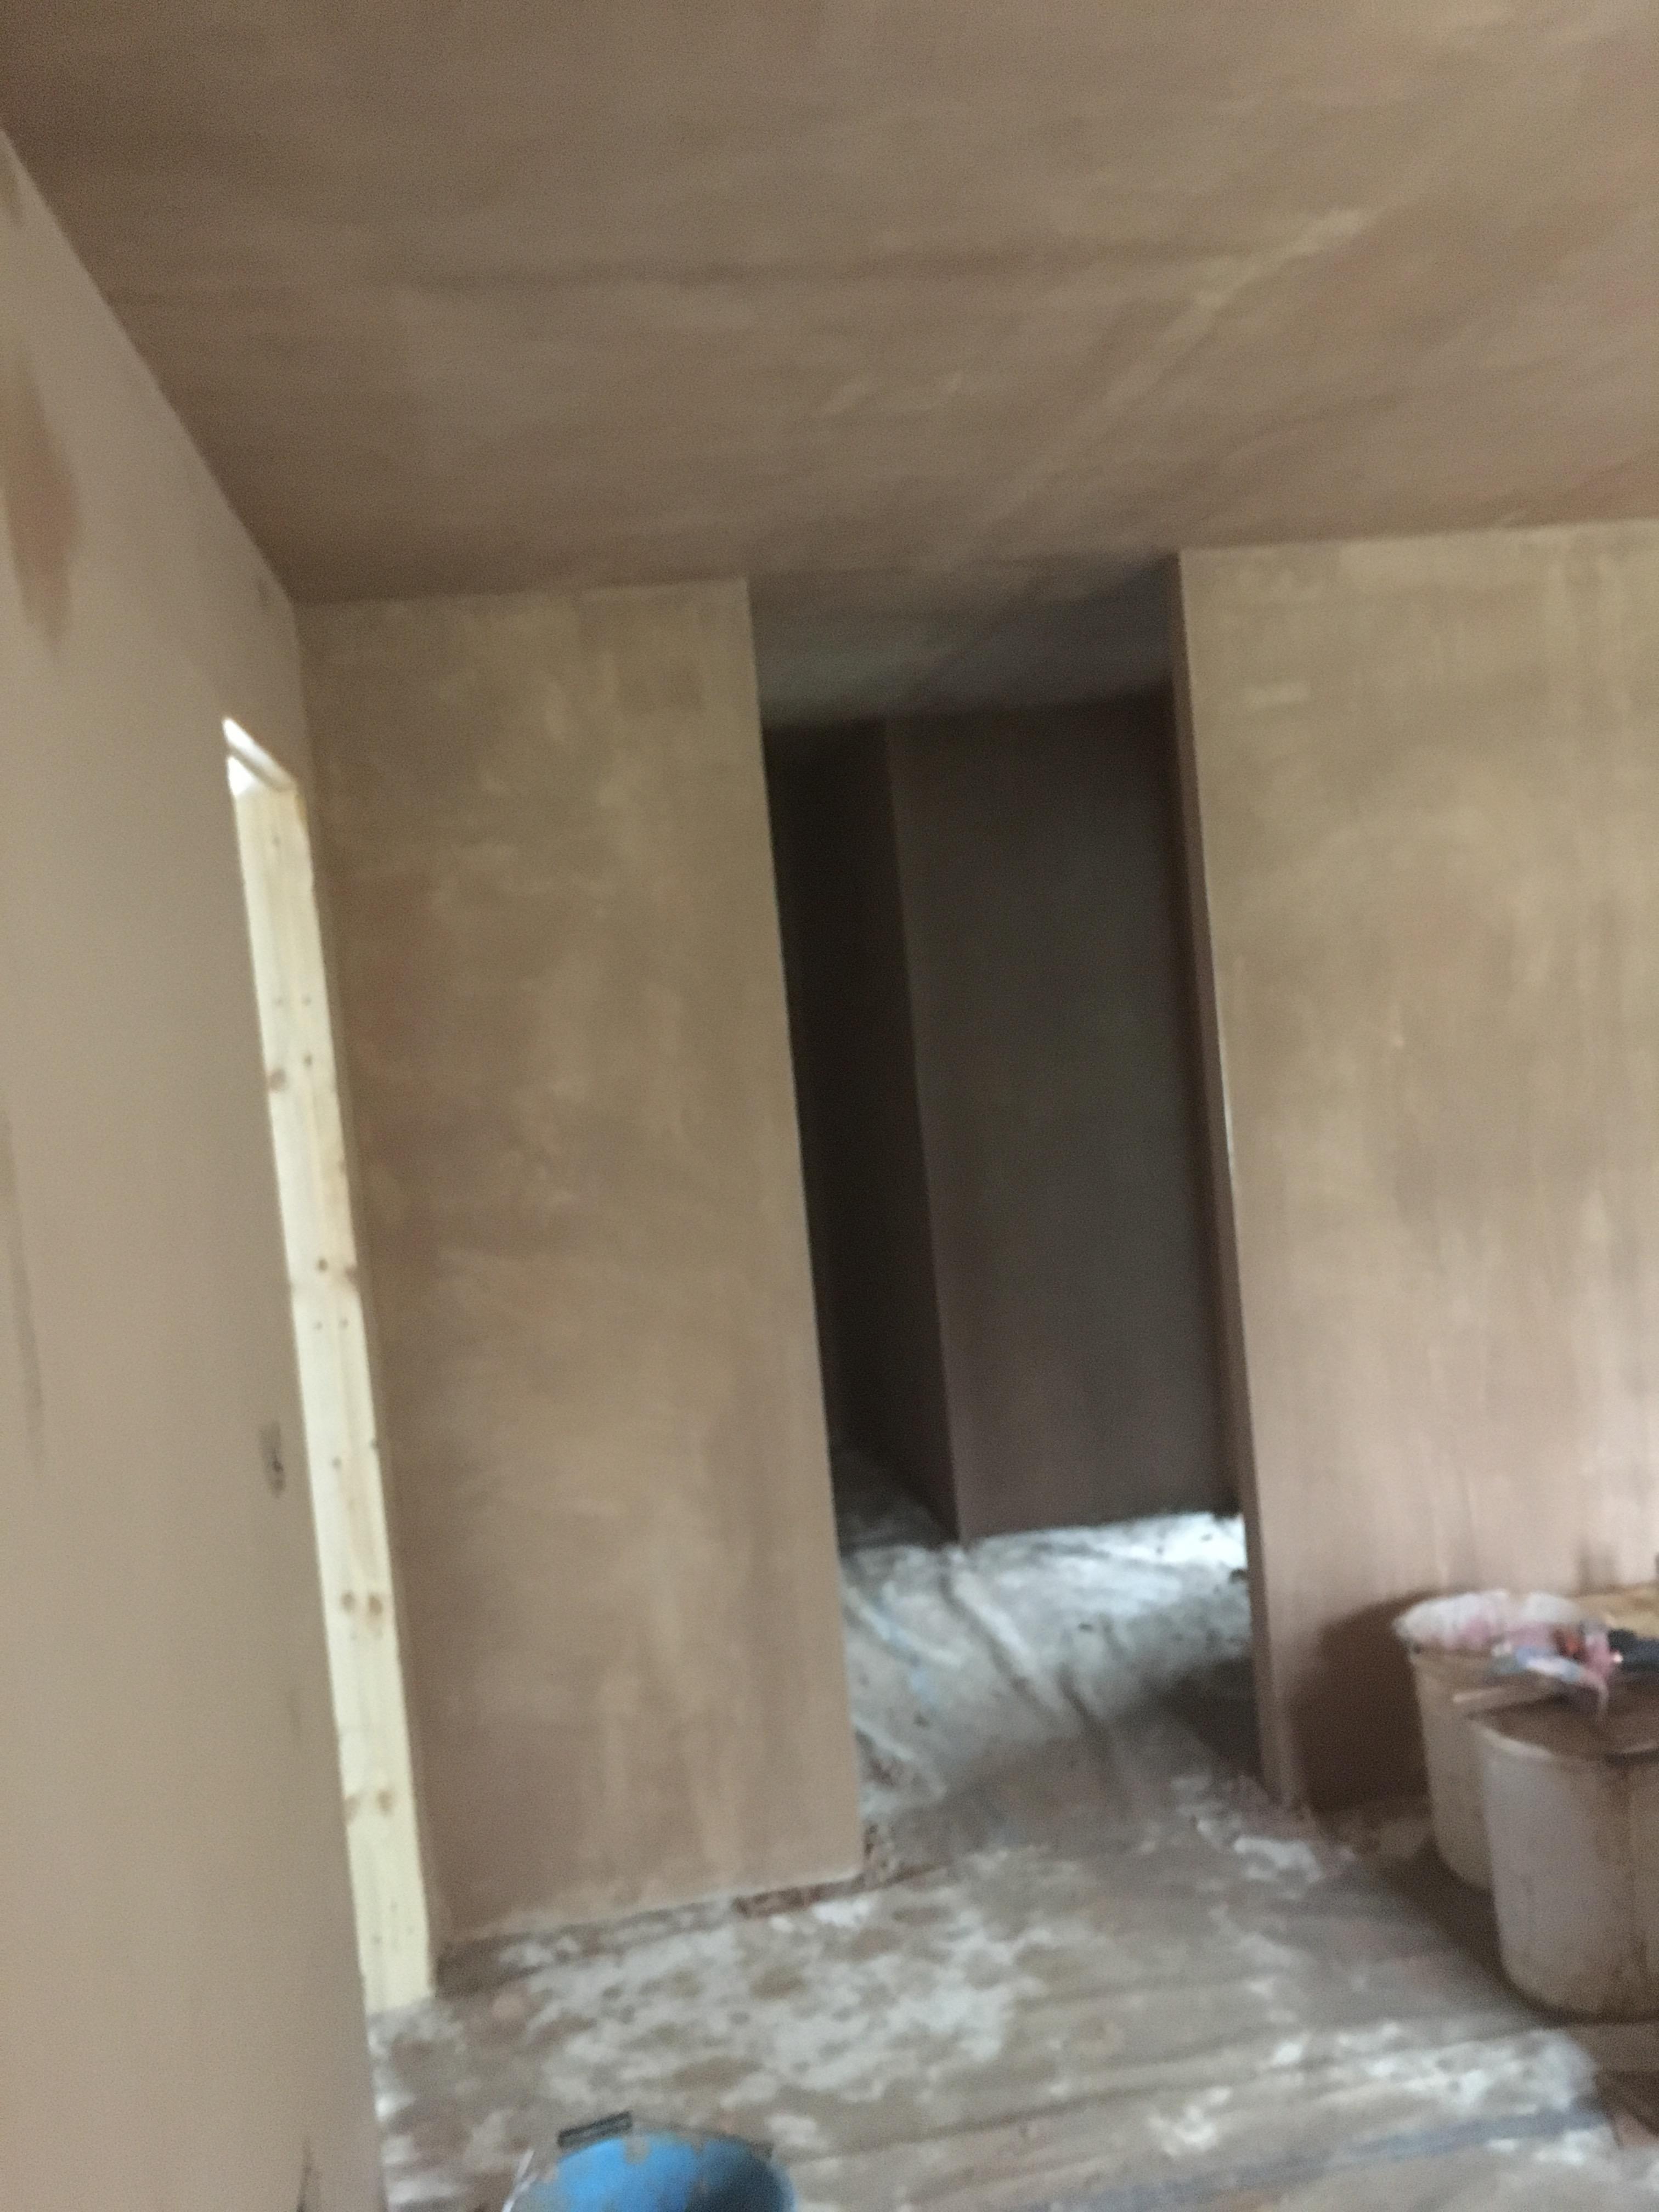
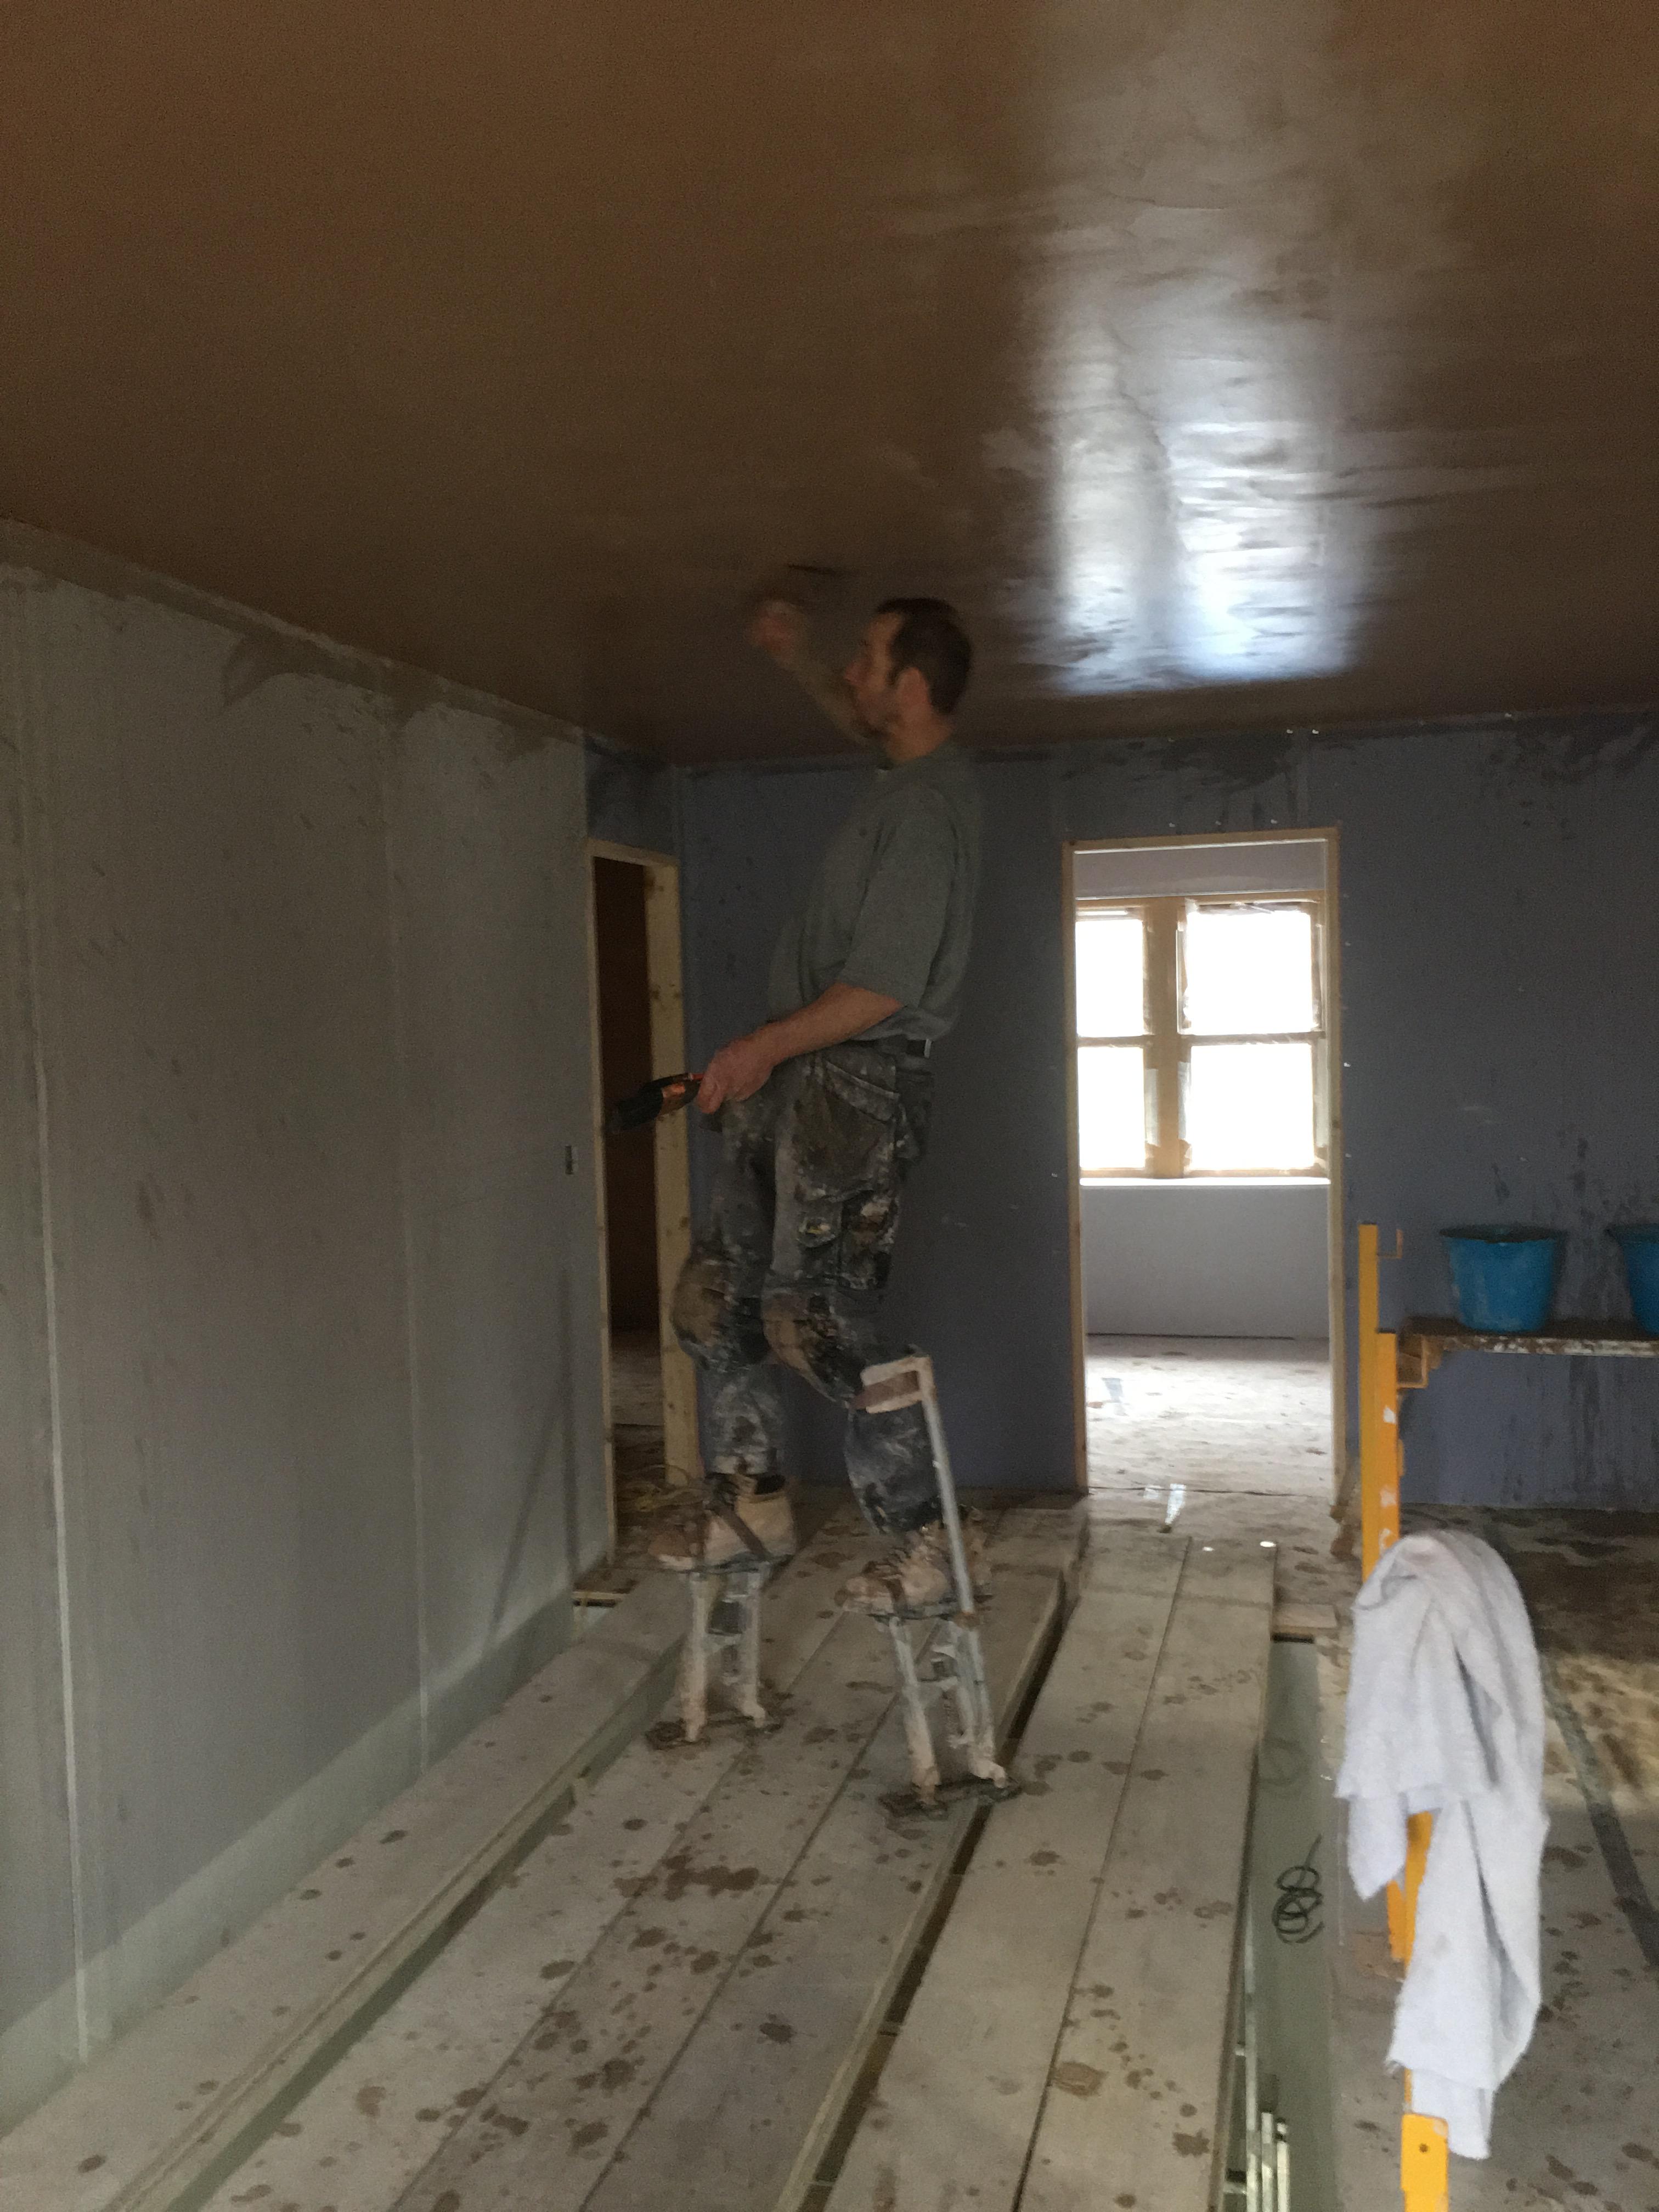
I made a start skimming The upstairs today suprising what difference a bit of plaster on the walls make Just waiting for the landing and bedroom ceiling to go off Then its Home for me
 2 points
 -
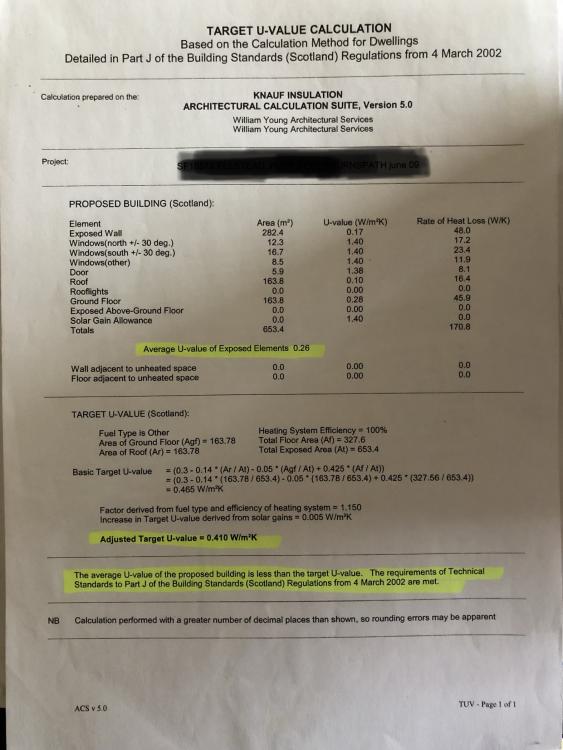
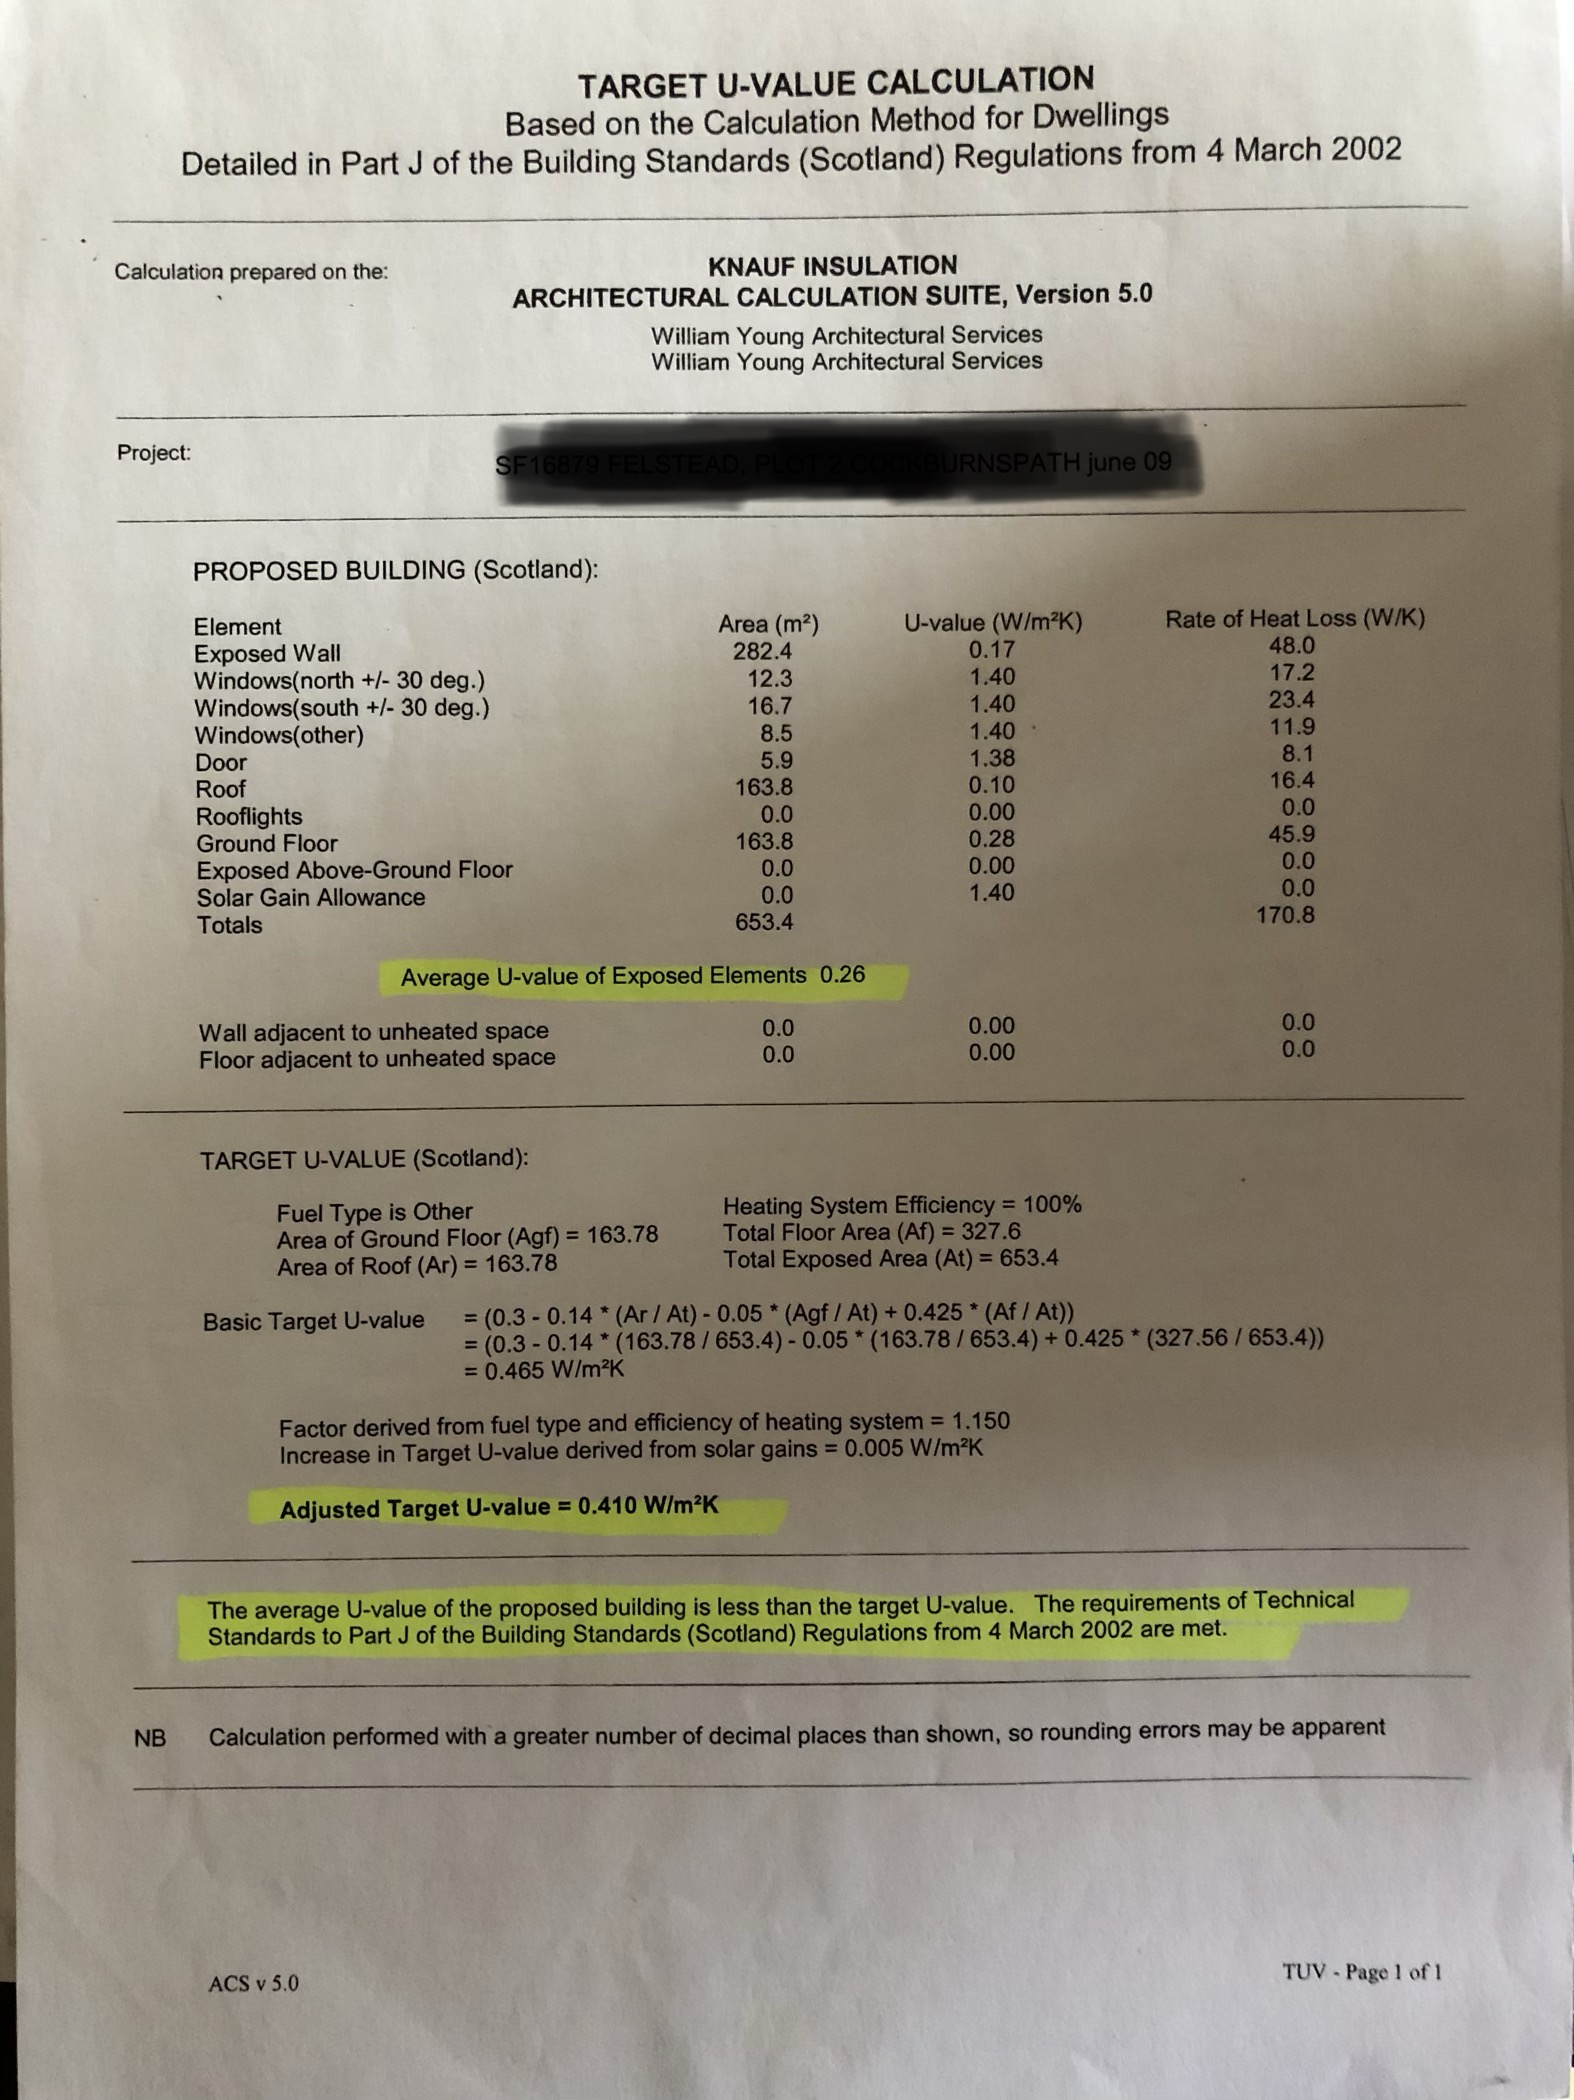
Does anyone have a link to an idiot proof guide to help me understand my U-Value calculations, and what ‘Ok’ might look like please. I don’t have a passive house, so it won’t be super efficient, and some of the assumptions in mine aren’t quite right I believe as surely if I have MHRV it shouldn’t say ‘ventilation natural, fans 5’ ? It also doesn’t take the extension into account either. I really just would like to form view of how my house performs, and how I might be able to calculate a revised value. I doubt I can change anything at this stage. Many thanks! Summary of mine is below.
 1 point
 -
cheers Nick. Need to get the ceilings skimmed first then its game on. if @Onoff can get a move on then I need to just do it1 point
-
All the best things are my fault. Except vodka.1 point
-
I put together a heat loss calculation spreadsheet ages ago, really as a "what if?" tool to try and see what effect changing different aspects of the construction etc had on the overall heat loss. It does mean putting in some basic data about the internal areas of outside walls, floor, ceiling (or roof), window and door areas, U values etc, but generally gives a reasonable estimate. Others here have used it and found that it comes pretty close to reality, but it doesn't take account of any incidental heat gain, from occupants, appliances etc. You can download it from here and have a play with it, it may or may not be helpful!: http://www.mayfly.eu/wp-content/uploads/2017/01/Fabric-and-ventilation-heat-loss-calculator-Master.xls1 point
-
Mine was a s sectional garage door, it came as five sections and was a double garage width, they cut the sections to the dimensions of the opening. I paid around £1200 for it five years ago.1 point
-
We did not do a passive cat flap, instead I run a concierge service for the cat who now comes and sits patiently by my feet when she wants to go out. I think this is the one discussed a year or two back. The letterbox came from here - you can get cheaper but we liked the finish of this one. We bought direct from the German supplier. Instructions in Polish. Note, this is NOT a passive post box, its for our outside wall.1 point
-
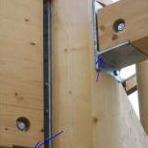
Hi @Kgthomas. It sounds to me from your description that you have a steel portal frame structure and that your steel sheeting acts as the building envelope to keep rain and wind out. traditionally with this form of construction you might wish to span a steel or timber "header support" between the posts and build a blockwork wall of about 1.5m to 2m under it. If you fasten the blockwork wall at the top to the header, and at the sides to the steel columns, you should have a robust wall for your workshop.1 point
-
Sorry can't help you for a ideas on how to actually to do this but as jsharris says above I also have concerns with using kwikstage as a wind breaker.1 point
-
@Jude1234They are Hormann garage doors, I got mine from https://central-garage-doors.co.uk/ and fitted them myself.1 point
-
Just turn the taps off gently for now, and fit a small water hammer arrestor vessel ( EV ) when you go to mains.1 point
-
Worth planning fitted wardrobes far enough in advance that walls can be placed to suit the optimum configuration of the system you intend to fit. We based ours on the IKEA pax so have a 2255mm deep walk-in wardrobe that uses 3 x 750mm wide units on either side, and another wardrobe run in a 2555mm alcove allowing 5 x 500 wide doors on 2 x 1000 and 1 x 500 units. By the way, don't be put off of using the extra tall pax units just because IKEA say you need so much (100mm from memory) clearance above in order to be able to stand them up after putting them together. We built them in situ without any difficulty so they go pretty much right to the ceiling (which we also planned for).1 point
-
Here’s a link to a video of the PH15 system. It shows window installation, including the use of the split tapes, starting at about 22mins 25 secs. https://en-gb.facebook.com/phstoreuk/ I hope the link works for you, I don’t have a Facebook account and it seemed to work ok for me. I found it a really useful, practical and informative video. Better than any others I’ve seen from the timber frame suppliers.1 point
-
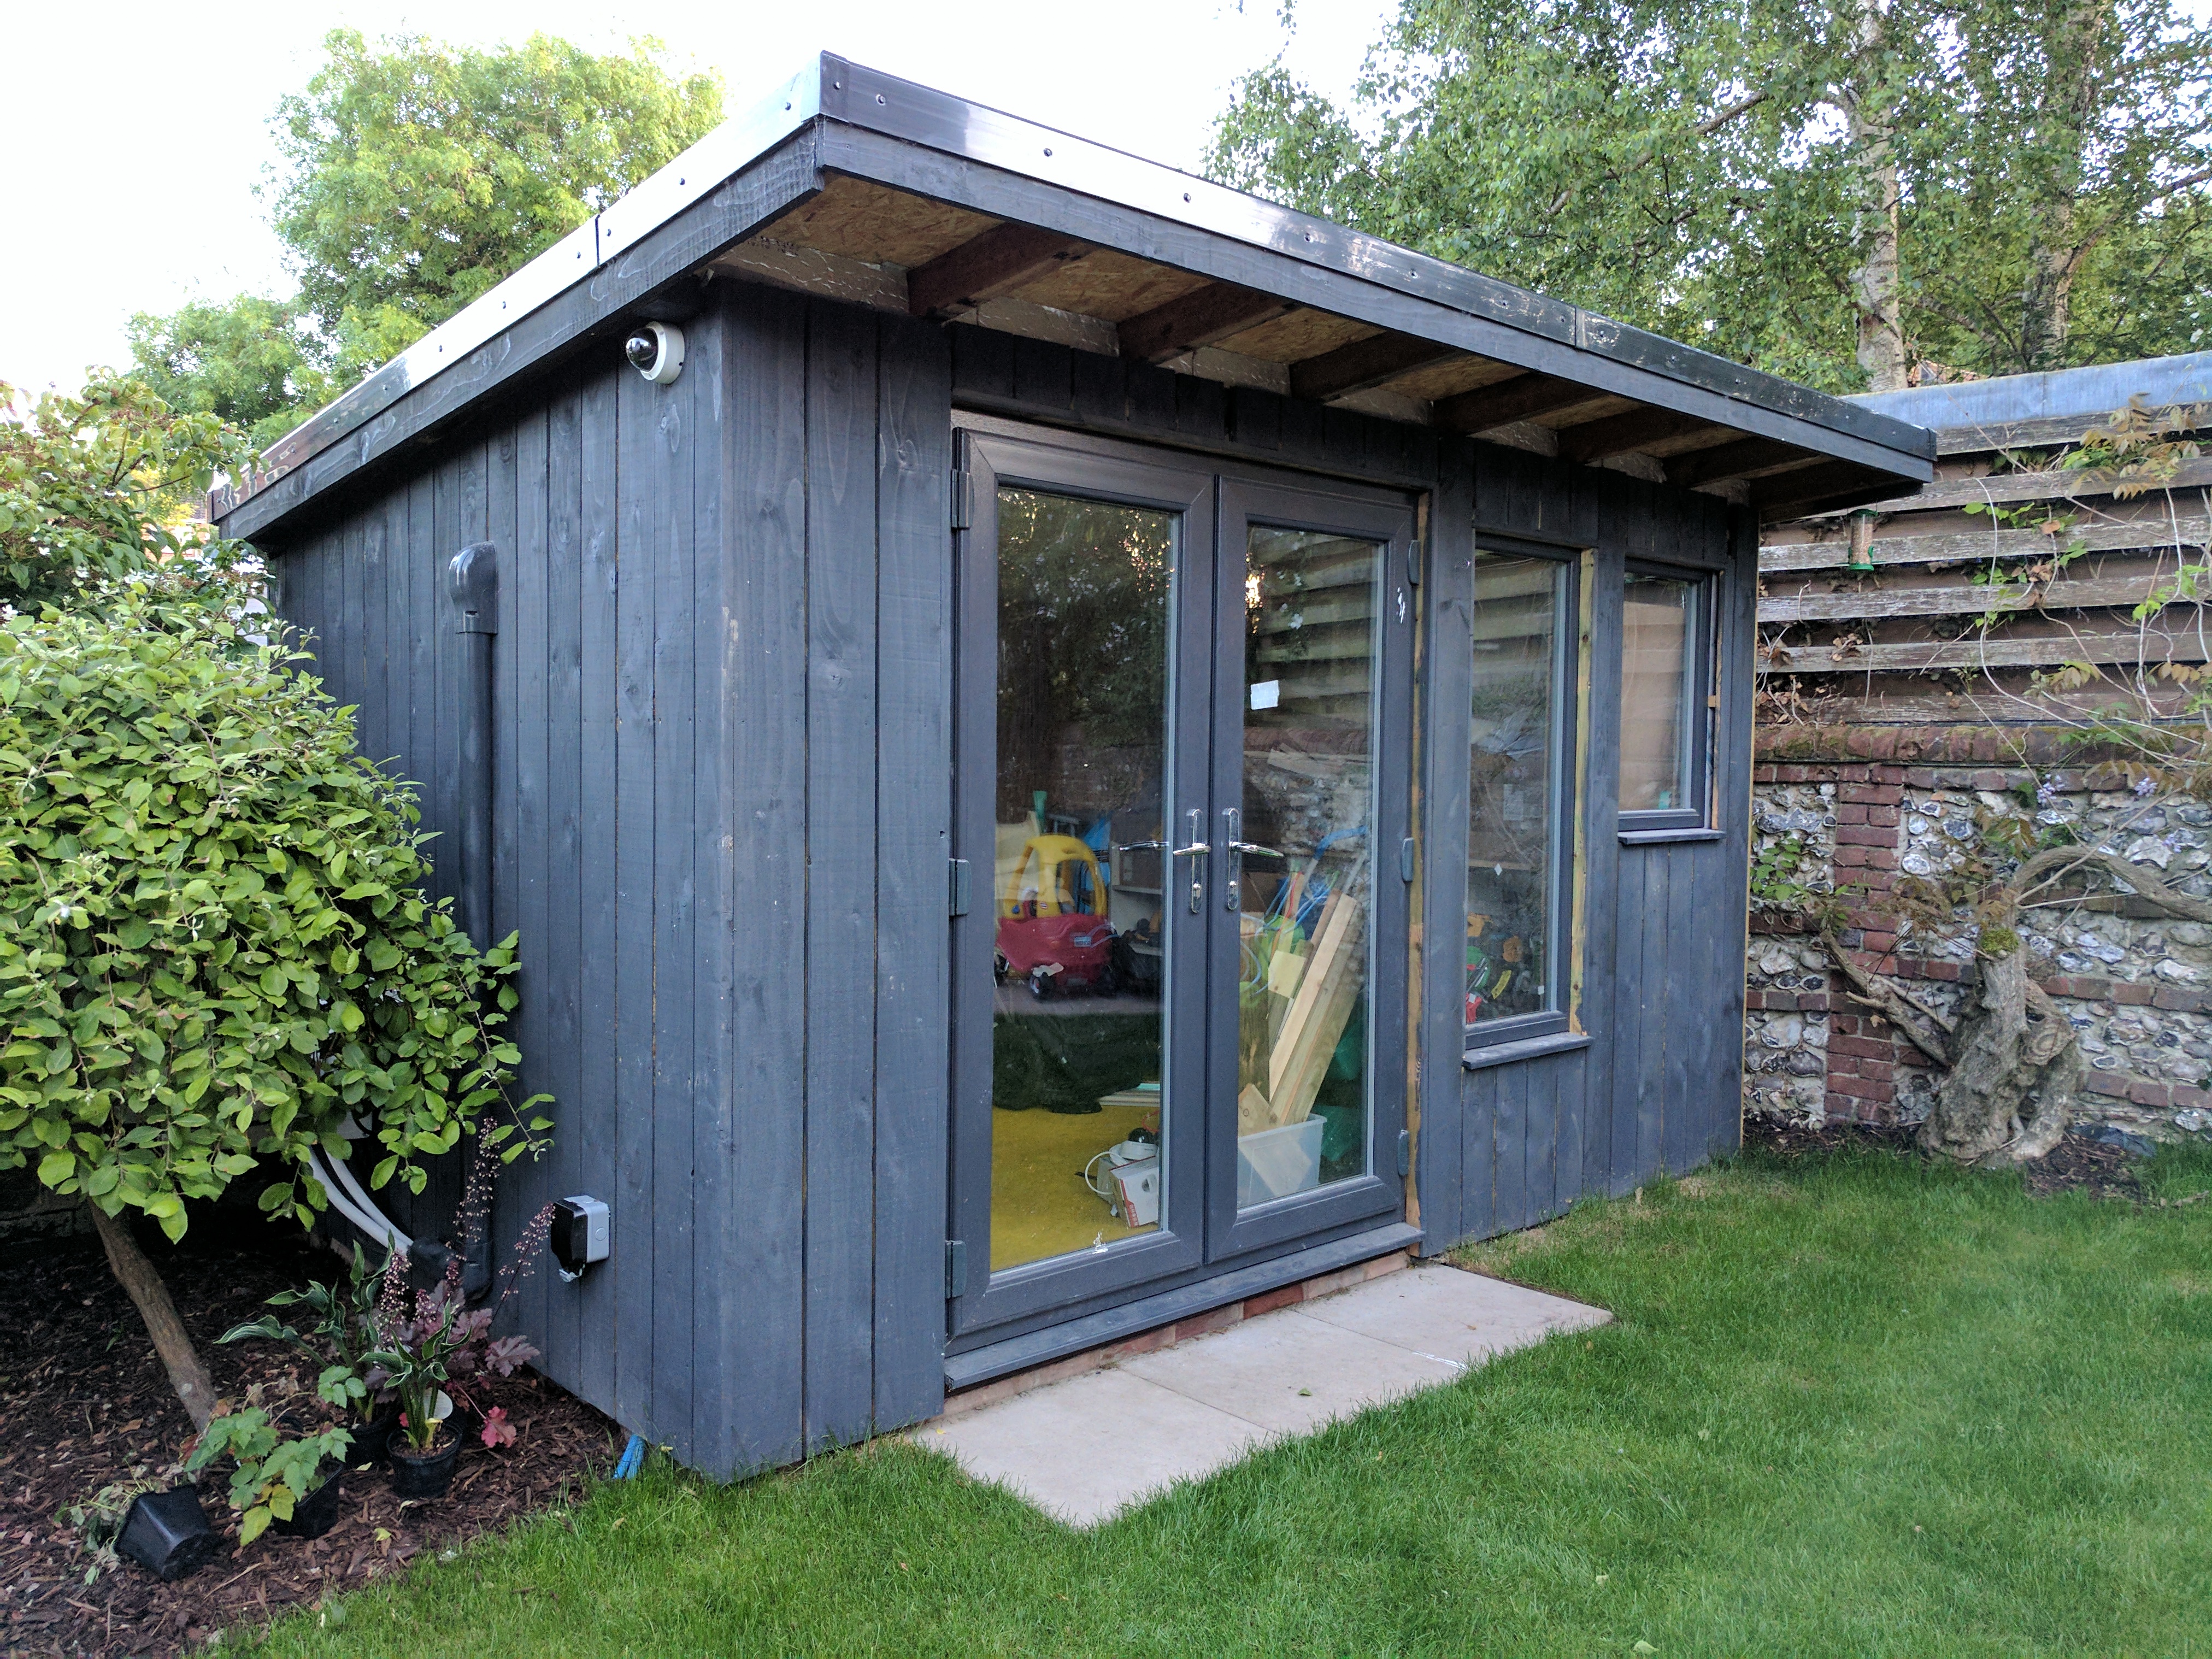
For info/inspiration here's something that I'm just in the process of finishing up - my garden shoffice (half shed, half office) Wall construction was (inside to out) - - 11mm OSB - Multifoil insulation (I was curious to see how well it worked..) - 4x2 stud filled with 100mm Knauf Ekoroll - 9mm OSB - Breather membrane - Horizontal batterns - Vertical cladding (gravel boards "good" side facing out) (there should be more air gaps and such, but it's a shed at the end of the day...!) Roof is EPDM on 18mm OSB, 4x2s @ 600 centers, mix of ekoroll and celotex, 11mm OSB internal finish Floor is 18mm OSB on 6x2s @ ~400 centers. Ekoroll supported by breather membrane looped over the joists Costs add up surprisingly quickly but saved money by sourcing all the joists from a nearby bungalow that was being scalped and turned into a house - the builder said it's a shame as it all treated, slow grown, dead straight wood but because it isn't graded he has to burn it or skip it. All the joist wood cost me £20 + labour for denailing etc. Smallest 9000btu ASHP for heating Still needs some finishing touches and another coat of paint/stain (Cuprinol Shades) but otherwise it's probably very close to what you're trying to achieve.
 1 point


This leaderboard is set to London/GMT+01:00