
Leaderboard


Popular Content
Showing content with the highest reputation on 01/14/18 in all areas
-
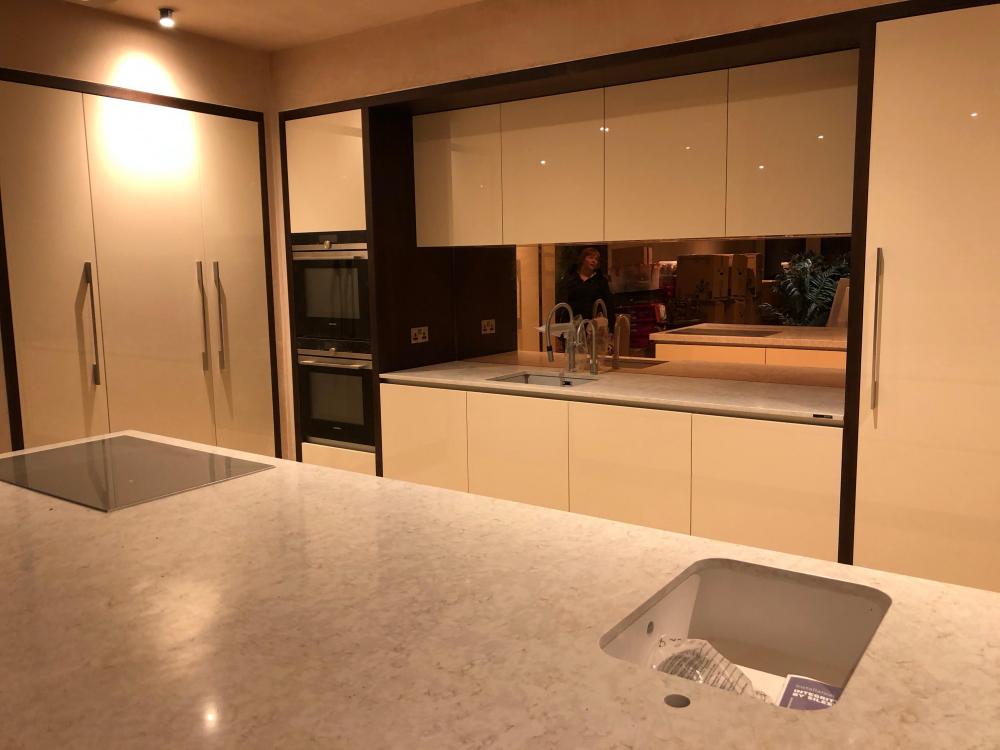
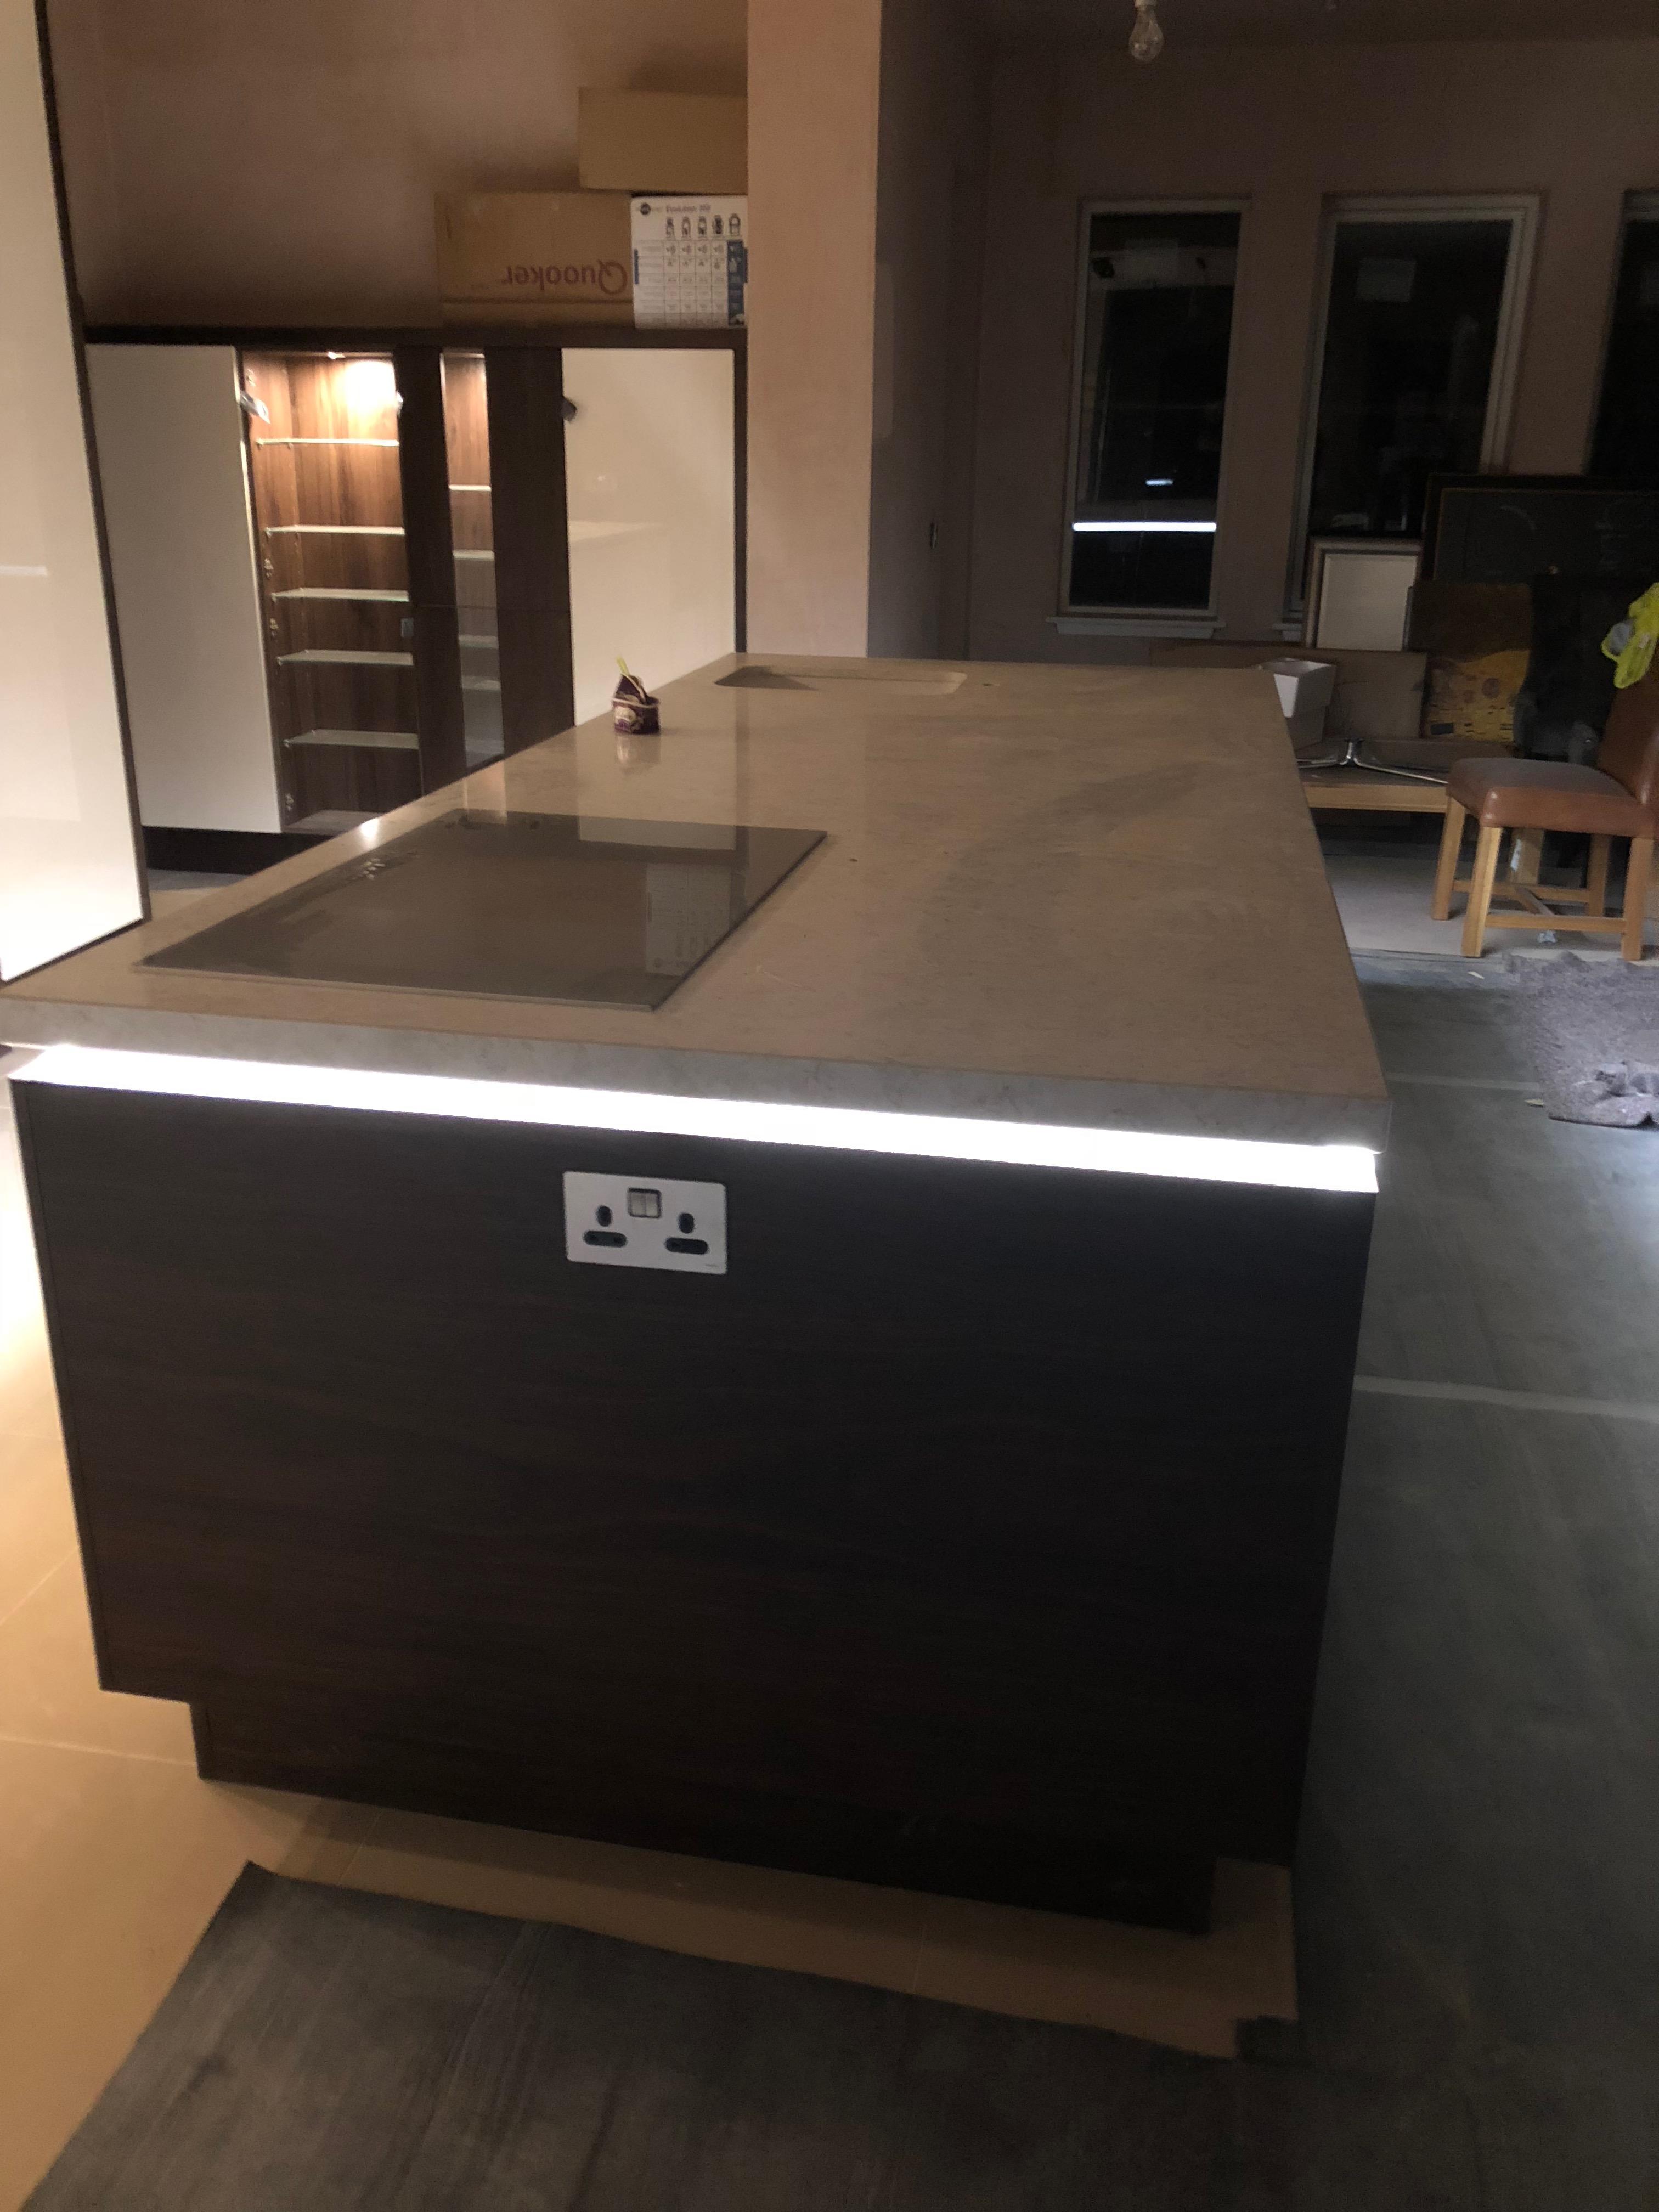
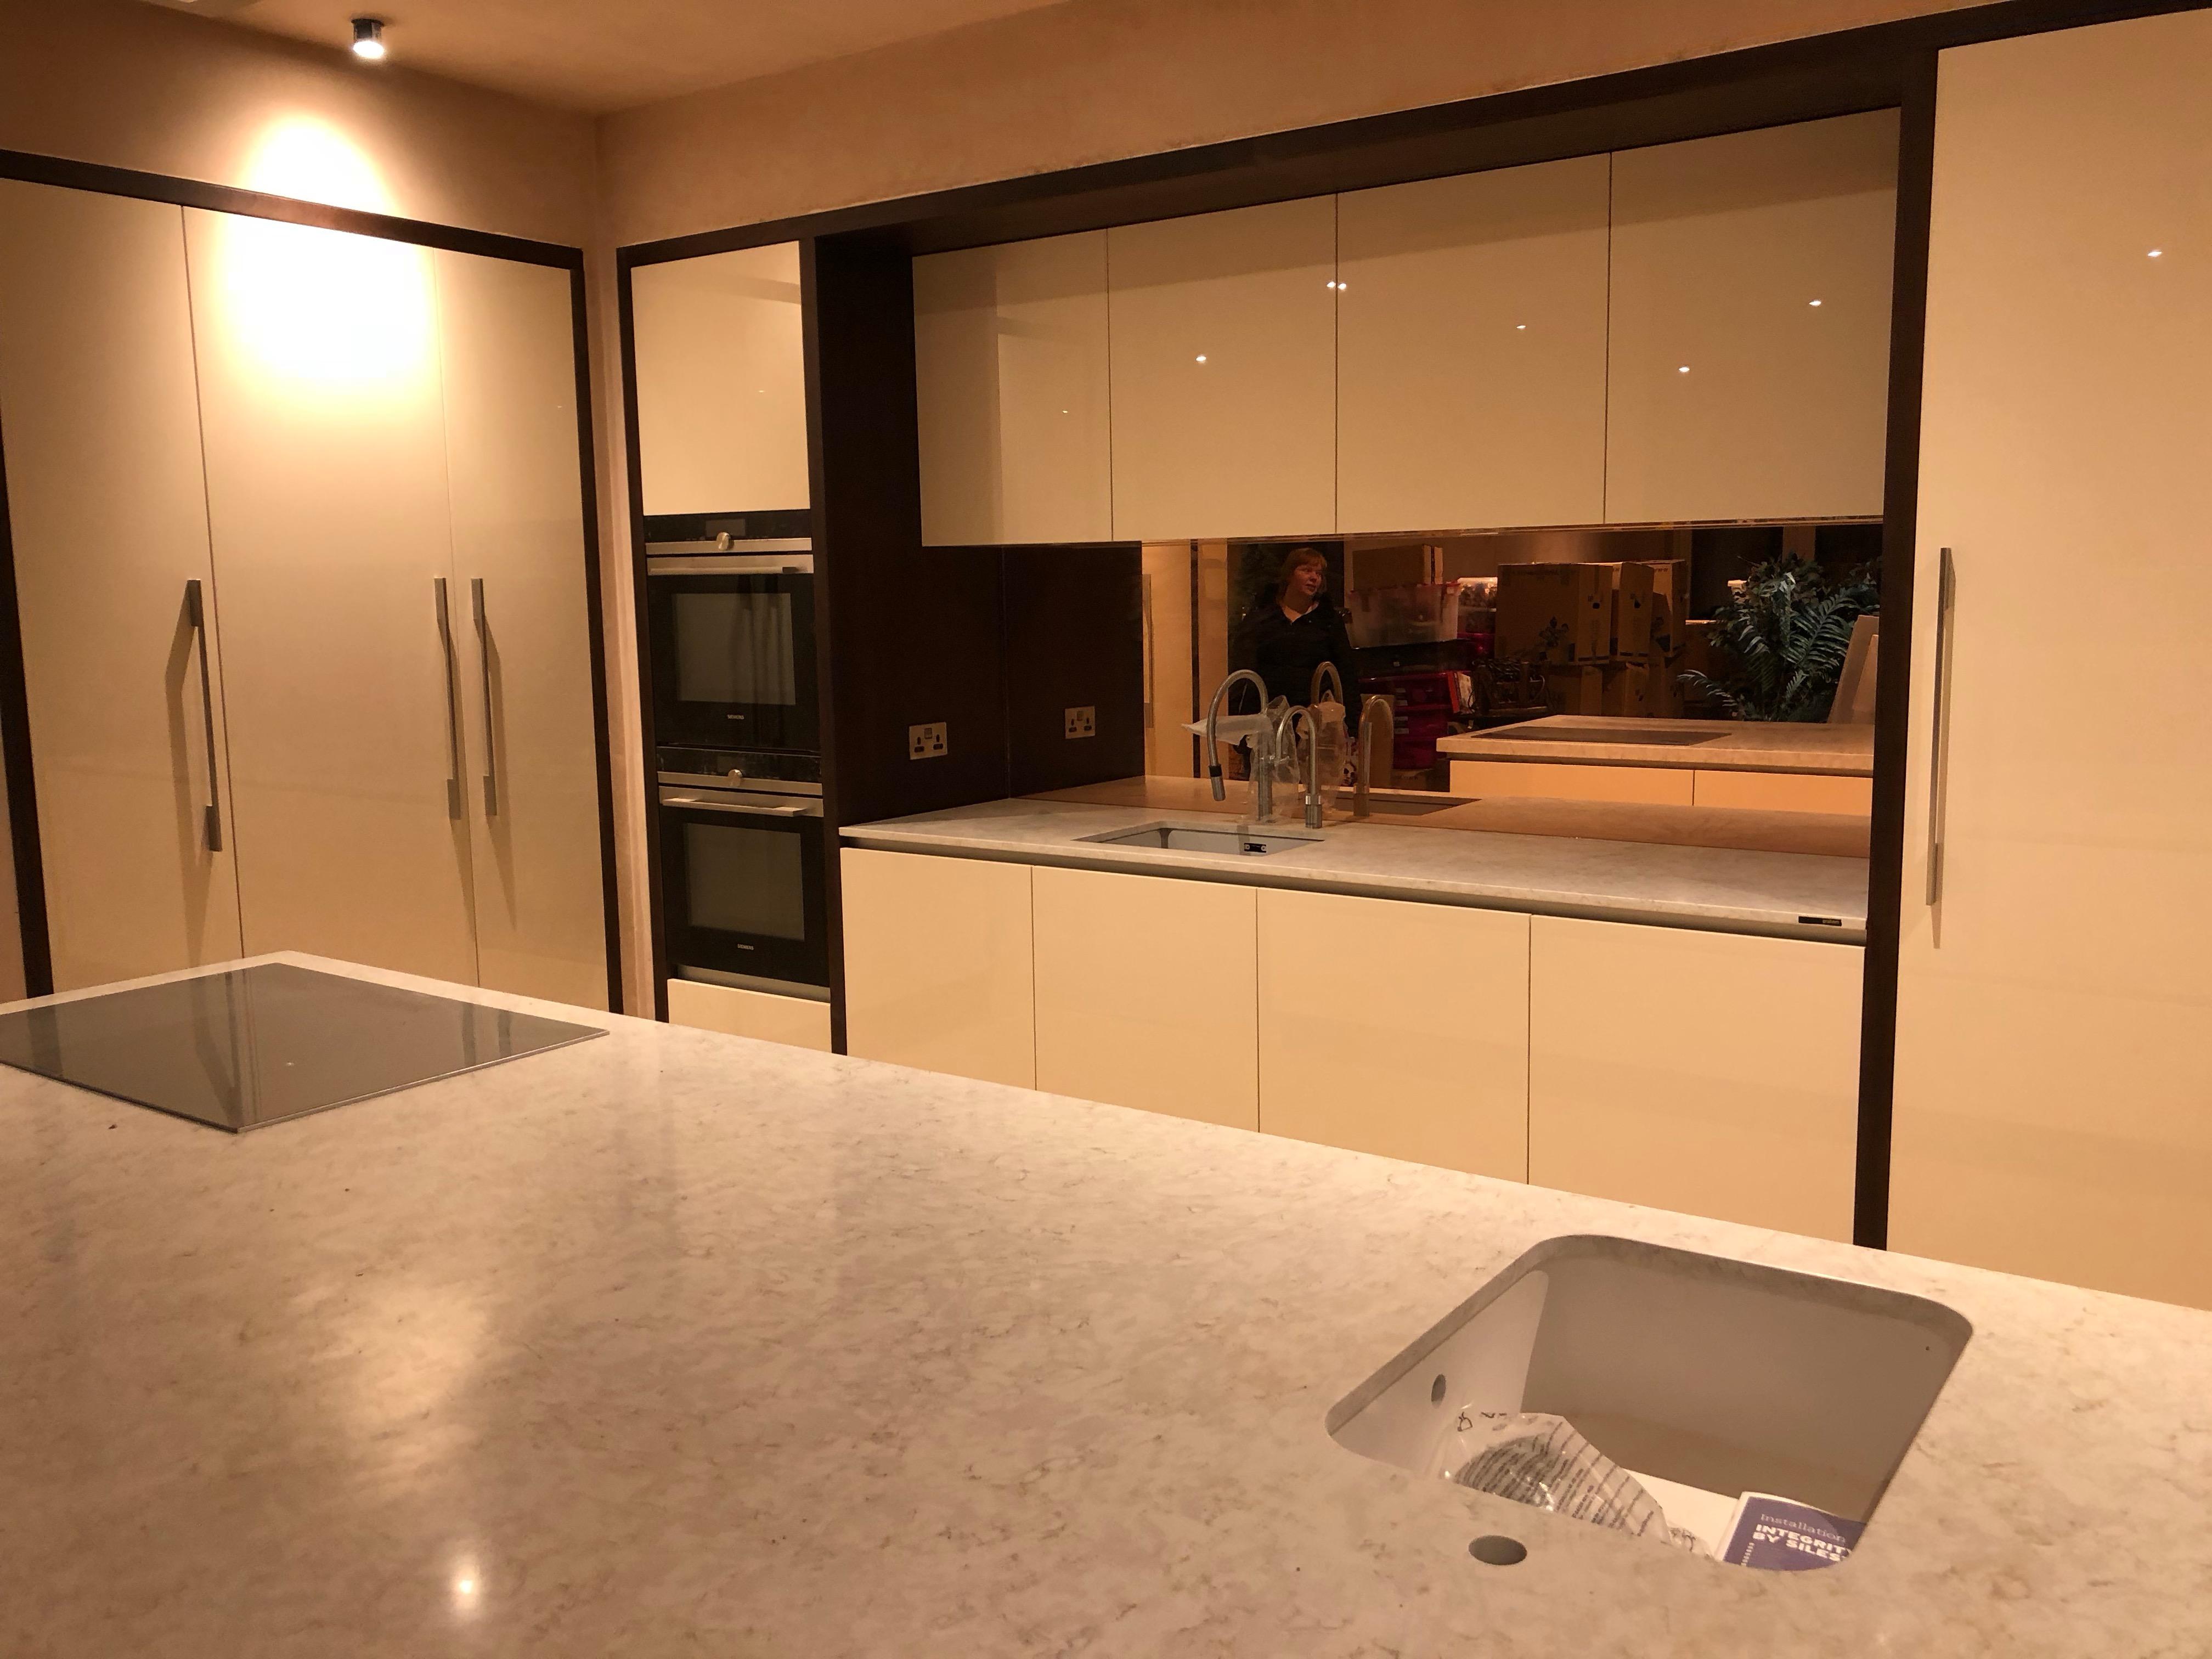
Kitchen almost finished

 6 points
 -
We have used all manner of these pre made edgings over the years, and found them to all be a bit flimsy and over priced. We now recommend standard mild steel in 100 x 4mm or 150 x 5mm both come in 6m lengths we secure these in place with 16mm re bar tack welded to the back with a bit of care you can create some nice sweeping curves and some very sharp looking corners. If fitted down the side of a driveway any dodgy driving where a tyre rides over it will result in no damage to the edging, unlike the garden centre stuff that won’t like it one bit. The steel will rust to a nice brown colour and looks quite arty. I will try to find some pics.2 points
-
@Onoff I've never had one with a backnut. Tbh, it's rare to get rear access so you'd never get to fit one anyway. The one you've got fits as follows. : 1) you measure the diameter of the fitting, the chrome bit after the brass thread. 2) you get that size tile hole saw and make a hole 2-3mm bigger. 3) you fit an outside tap backplate into the wall at about 1/4" shy of finished tile face. 4) you tile and grout after blanking the outlet and pressure testing. 5) turn the fitting into the outlet until its tight. At this stage it'll likely have bottomed out without the chrome going past the tile face. 6) measure what you need for the chrome bit to finish 3-4mm into the tile. 7) cut that much off the brass thread. 8) you put 22-26 turns of ptfe onto the last 25mm of thread ( so 50 turns or so in total to get the thread covered ) 9) turn the outlet into the backplate until it's pointing down and just shy of proud of the tile face ( slightly recessed ) 10) do not go so far that you have to back turn anti clockwise 11) clear ct1 the tile hole tobthe brass thread by pumping it full. 12 ) push the cover ring down the outlet until it rests on the tile. It's NOT there as a waterproof seal, and the rubber o-ring is only a friction ring to keep it parked. The ct1 forms the watertight element. Clear as mud ?2 points
-
We have an open vented central heating system with gravity fed hot water. For reasons over which we will draw a polite veil, we (well 'I') drained the radiators, refilled them, flushed out what I could: and ............made the heating problem worse. At the very best time of year for that to happen. So, in a fit of rage and frustration, I re-drained the complete system took all the radiators off and, at long last, discovered what the problem is. I don't know what I'm doing. Anyway, here's the thing: 's gonna get cold in the next few days and I'd like to stay married. The 'boiler' is a multi-fuel fire. It has a back boiler which is now empty. Please tell me I can light the fire anyway, even though there's no water in the heating pipes. In other words use the fire as a simple space and running hot water heater...... If I can't there's a nice warm hotel right next to where SWMBO works, and .... well you can guess the rest.2 points
-
That's not the type that gets wound in by a hex key until it bottoms out and then the chrome bit get fitted over it and it's o-rings and then centralised and held in place by grub screws. Stick to my ( comprehensive ) instruction and you'll be all gravy, baby. Regarding the PTFE tape just put loads on, for the depth of the outlet female thread and a bit beyond.1 point
-
I like to think by only providing half the answer @Onoff gets to learn more1 point
-
I would confirm the 'plumbness' of the door before you go any further. Vertical and horizontal. If nothing else it's better than assuming - either use a laser line or a checked long bead - I say checked before I sadly found out after 3 frames and a lot of headscratching that one of my short beads was not true - which explained why I had a lot of problems (I ended up buying a small cross line laser early that was to be for the tiling, made it ten times easier if anyone else is doing this)! And check the level of the floor across the threshold too. Also check the hinges have been morticed uniformly - just in case. Best have a firm confirmation of all the above before going on any further (I suspect they will all be fine tho). If it is the floor, if you have the laser you could try work out just how much out of plumb it is - if you want to know.1 point
-
When you win the Lotto you can have it made in stainless steel!1 point
-
+1 @Russell griffiths We visited Cliveden House, which is a big National Trust property, and they were using this method for huge areas of landscaping as parrt of the renovation of the original gardens around the house ( which is now a very exclusive hotel). I thought at the time it was a very practical and clever idea1 point
-
It was mentioned in @PeterStarck's blog the other day:1 point
-
Ah yes, I recall the thread now. Either way, it would be nice if the doors were as beautiful and functional as the cladding! Windows and doors seem to cause as many problems as everything else put together in the self build process.1 point
-
That looks lovely! It's a pity that the sliders still need replacing, but they look great.1 point
-
The island already has that. Currently the micro-grid that supplies all the properties has 112 kWp of hydro capacity, just under 10 kWp of PV capacity 24 kWp of wind generation capacity plus a diesel generator and a battery back-up system and inverter. Given that baseload electricity can be provided by a pretty high percentage renewable scheme, I would concentrate any secondary microgeneration on site at peak shaving, rather than base load provision. Hot water is an obvious first priority, as it's very easy to store heat, with none of the cycle life problems that electric batteries have. After that it starts to get tricky to reduce loads. Heat storage for heating is unlikely to make sense, as the very time when you need heat will be the time when there's little in the way of renewable generation. Combined heat and power might be a winter option worth looking at. The same friend who makes his own biodiesel for his Landrover has been running his house off-grid for many years, with pretty much all his winter demand coming from a home made combined heat and power system. He uses a big single cylinder Lister generator, with a heat exchanger on the buried in the ground oil drum exhaust silencer and runs his radiators from the waste heat from the engine and exhaust cooling system. He runs the Lister on waste vegetable oil he gets for free, by just filtering it and pre-heating it to make it thin enough to flow through the engine injector OK. There are better CHP solutions around, now, though, including small Stirling engine versions. I'm not 100% convinced that I'd look at battery storage just yet, primarily as the choice is limited and it would be an expensive investment. Opt for an off-the-shelf system like a Tesla Power wall or a Power vault, and it's not going to integrate easily, because both really need a grid tie, and have to be frigged with to work as stand alone systems. Opt for a more conventional off grid system, with something like Rolls lead acid batteries and an inverter/charger system and you're well and truly into DIY, with a fair bit of maintenance work, too. I think my starting point would be to make the house so efficient that the heating demand is tiny (a bit like ours), and then you should be able to manage everything except hot water from the 5 kW microgrid supply. The big demand is hot water, it will dominate energy usage usually, and there I think it gets to be a tough call as to whether to go for solar thermal or PV. Normally it's a no-brainer to go for PV, because it's a heck of a lot cheaper to buy and install, plus you can export any excess generation. In this case I don't think that may apply, as being able to store a LOT of hot water may well be a really big advantage. One option not mentioned yet would be to forget about the Sunamp PV altogether, as I don't think it's the right product for this application, and look at fitting a large evacuated tube solar thermal array plus either a very big water filled thermal store, or better, if the budget allows, a Sunamp Stack, which would be a lot smaller and have a lot lower heat losses, allowing more hot water storage. As a backup, then a low capacity inline electrical heater, that could be run off the microgrid during low demand periods, might do the job. I think I'd aim to try and store maybe three days worth of hot water, if possible (that's a guess - I've not looked at the insolation data for Eigg yet!).1 point
-
Thanks, but no need to, as I have it on DVD as an original production copy, along with a load of "behind the scenes" photos, like this cheeky one:
 1 point
 -
Unless I suppose 79 of you fall out with the other 26, as you then have the requisite dominance necessary for an amphibious assault from the sea.1 point
-
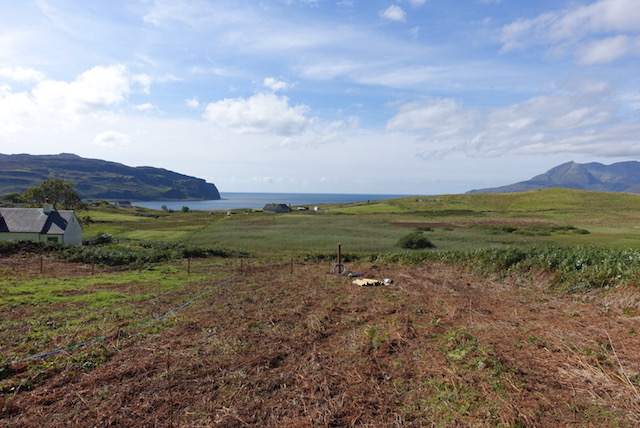
Hi Thanks for the quick replies I'll try and answer your questions: The plot is is on a slope (about 5 degrees) and has about a 1m of sandy clay before hitting bedrock. The front of the house will face west, I've attached a picture of the view looking west. It is on the Isle of Eigg they have their own integrated renewable energy system (solar, wind and hydro) that supplies electricity to the island. Each house can take up to a maximum of 5KW from the grid. As this is not the national grid but a small self-contained system run by the island at present there is no possibility of individual house being grid-tied to it. Building the timber frame on site is very much something I want to consider. Has anyone got any contacts for this so I can explore the possibility. I have only spoke to timber frame kit manufacturers so far. This summer we hope to be in a position to get the access road laid and build a self-contained office at the bottom of the plot which we will use for accommodation during the build which I will eventually use to work from. Bulk materials are usually brought across on a local landing craft then there are various vehicles around to take the material across the island. I've also attached our current idea for the build. Thanks Elevations.pdf Roof Plan & Section.pdf Floor Plan.pdf
 1 point
 -
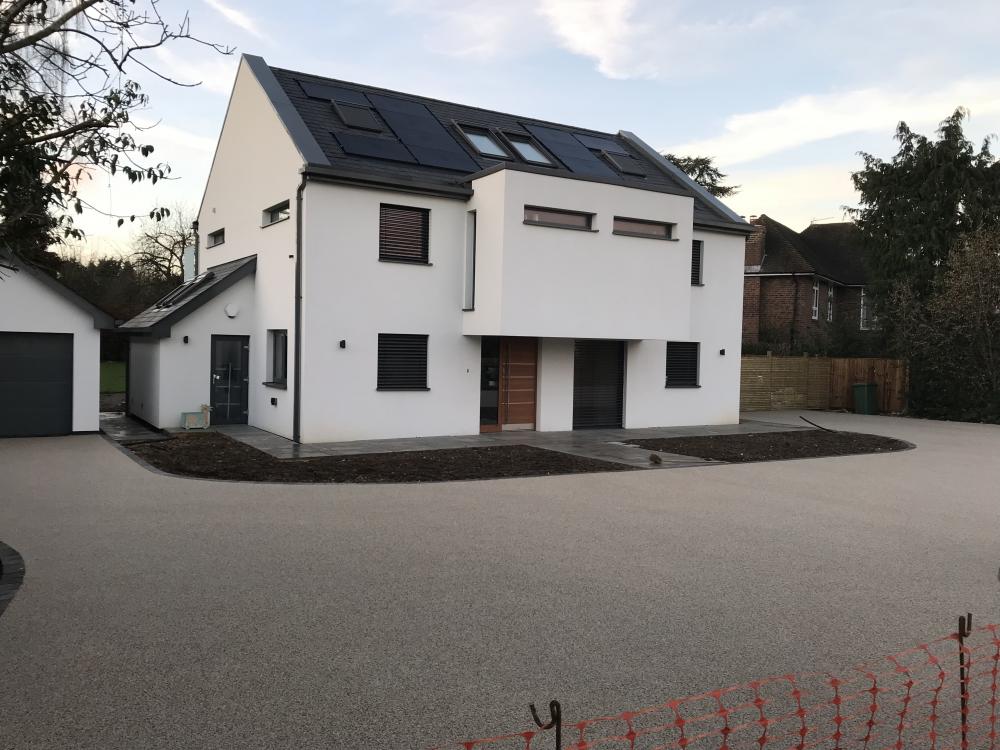
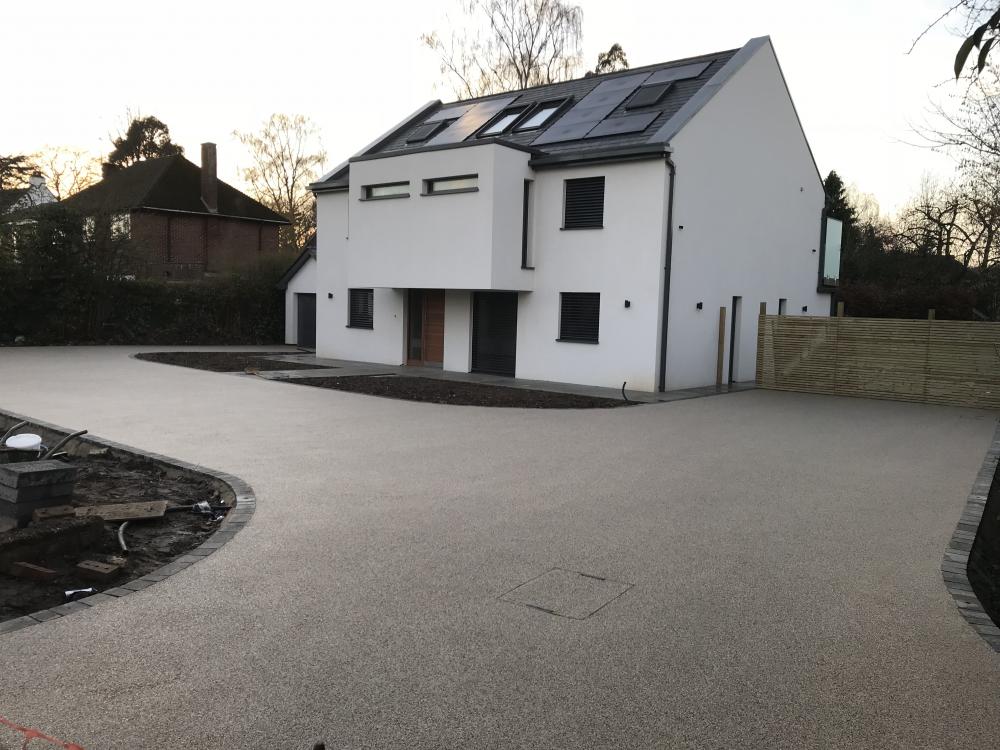
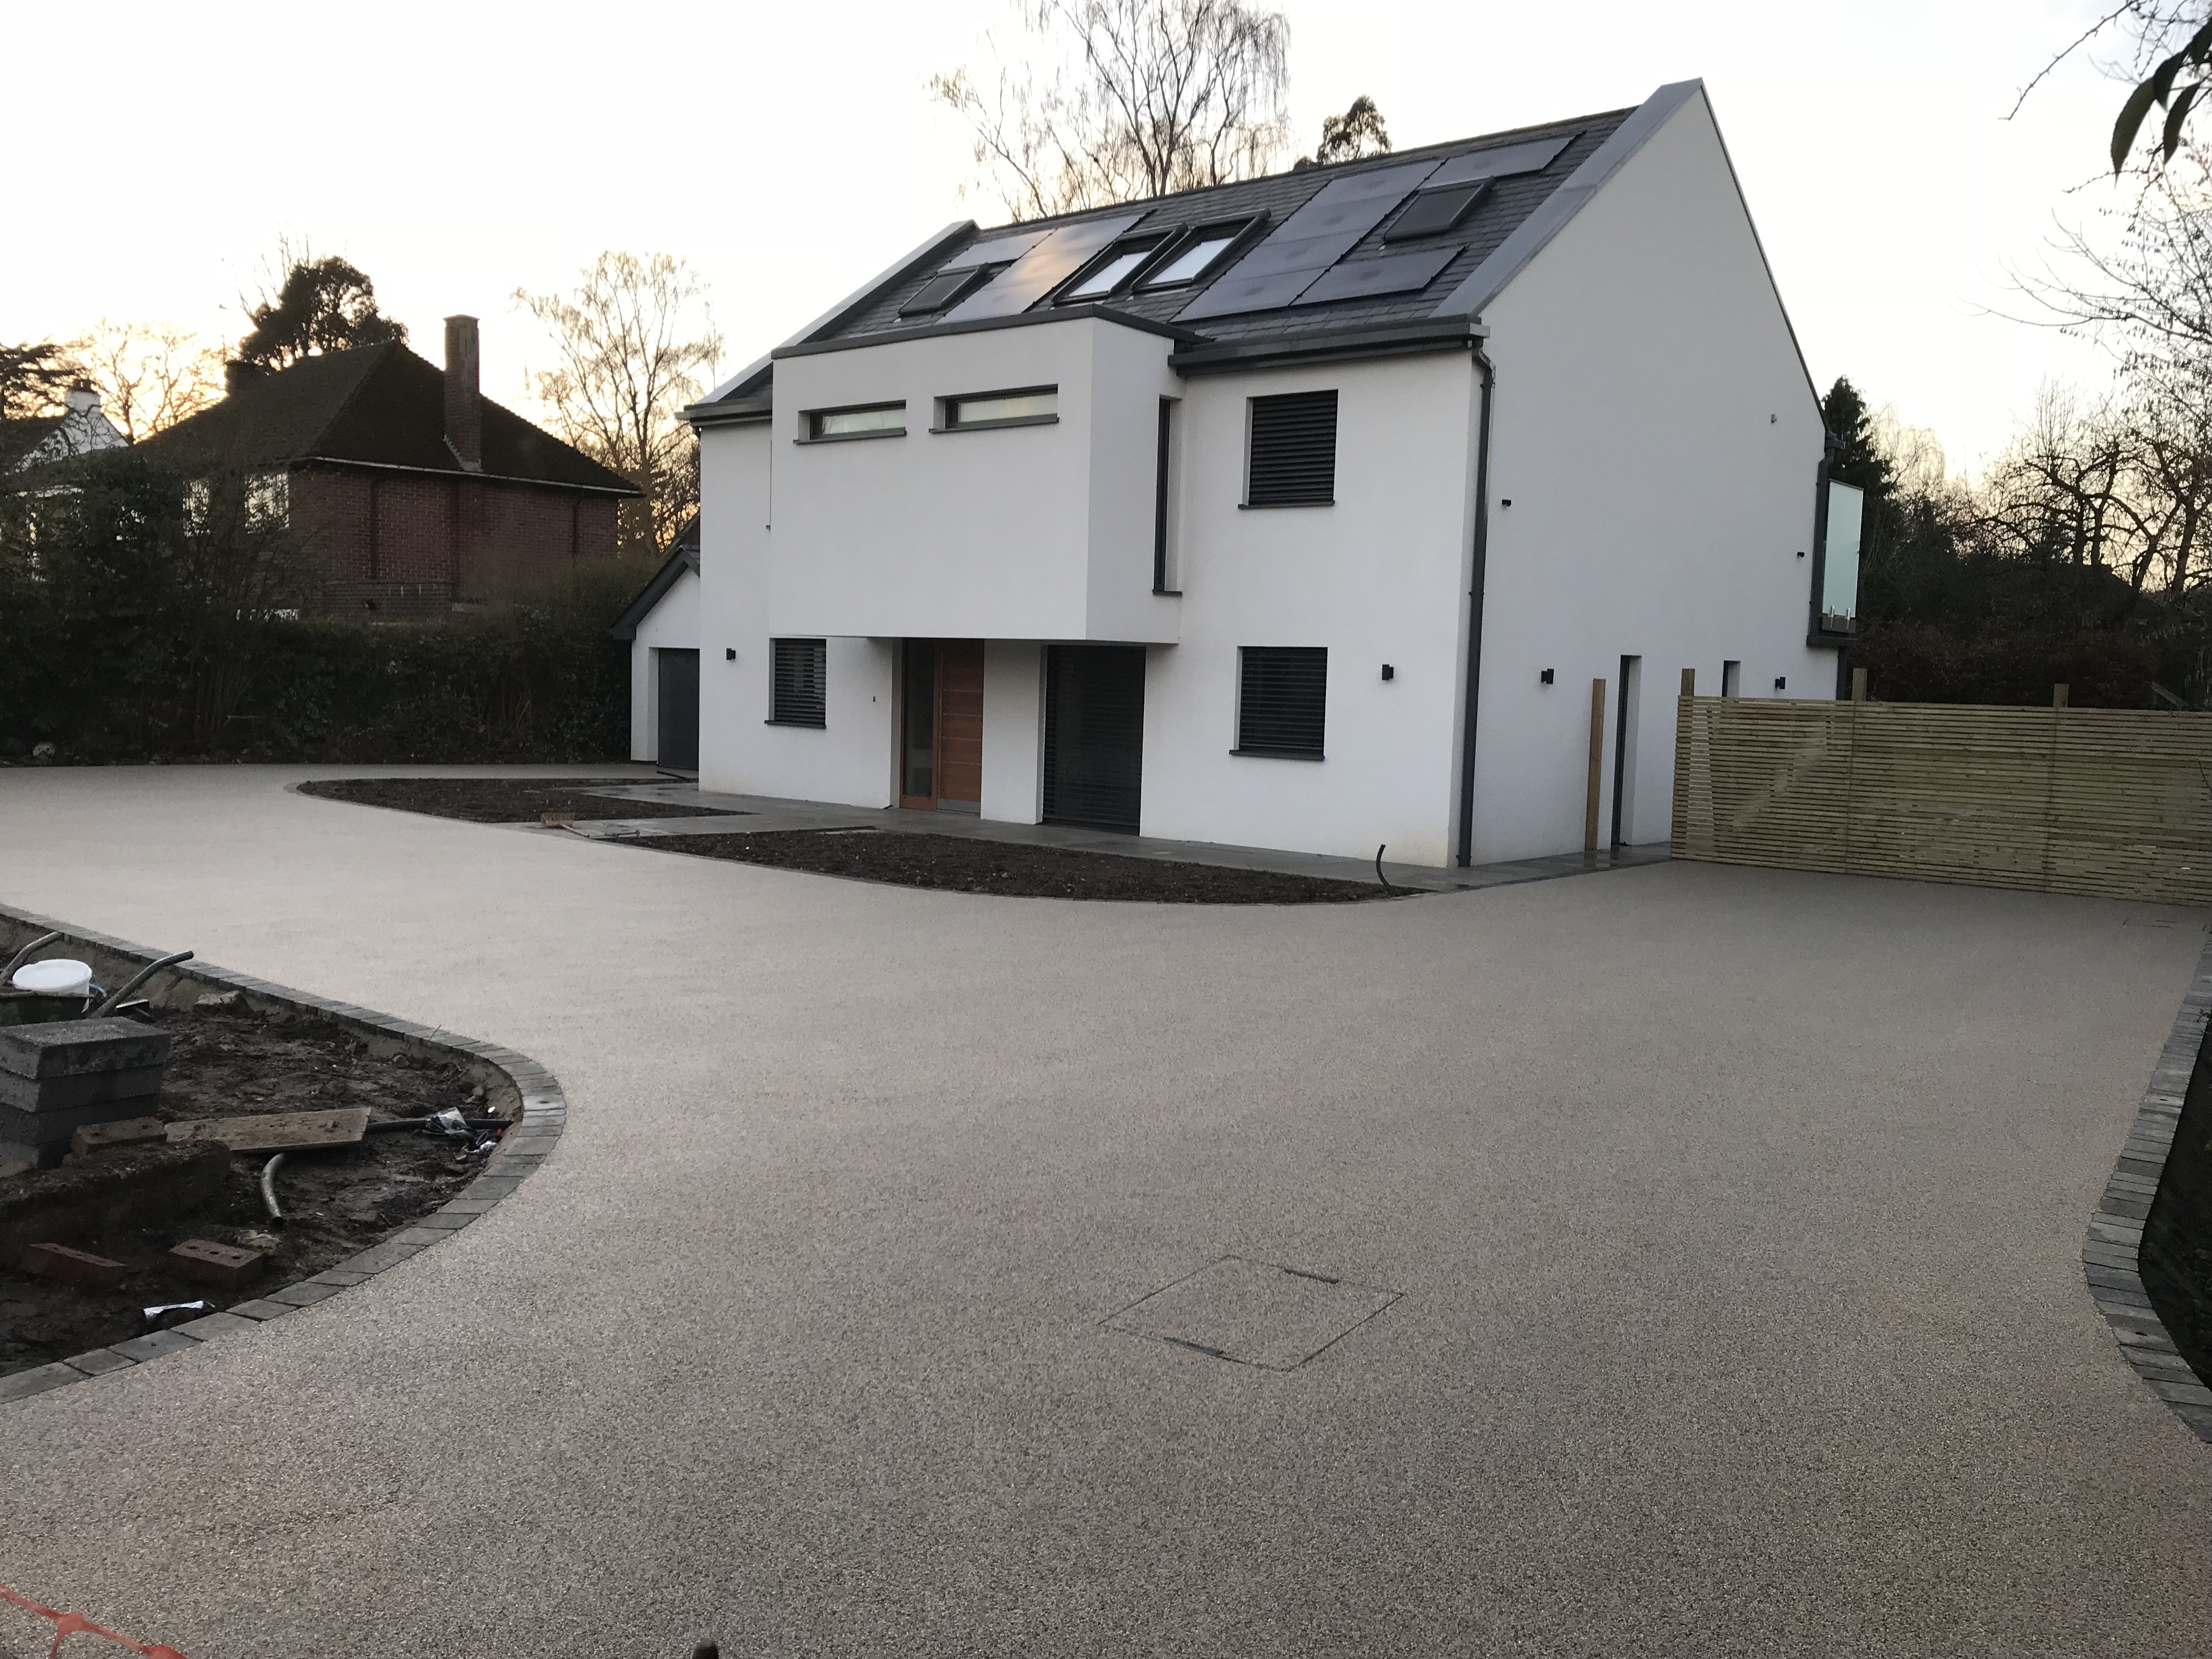
All done - just need to keep cars off it until we get the entrances paved next week. Then I can render wall, hang gates, plant hedge, turf front etc... I keep telling myself that we’re almost done ?
 1 point
 -
Not sure centre distances or use of hangers are necessarily the culprits - ours are at 600 centres, on hangers, and the floor is really rock solid, not an iota of movement. In fact on reading this I've just been testing it by jumping up and down in the centre of the widest span and not a jot of movement or noise (apart from me landing ) could we detect. Our floor is nailed and glued 22mm thick Eggar Protect board on top. Minor thought - do all the holes in the hangers have nails in? My BCO picked up that there were no nails in the lower holes in the hangers and made me do them. I protested at first saying that clearly they are superfluous since the joists aren't about to jump out of the hangers, being nailed also in the upper holes, but his point (probably correctly) was that movement has been encountered when the lower nails have been omitted, resulting in squeaks, (and subsequent complaints) so they like to see every hole in them nailed.1 point
-
Forget the female elbows, I'm going to use the push fit stem elbows, a small section of copper, then a 15-16 converter hidden behind the rad, job done!1 point
-
This thread just shows what an amazing place this forum is and I love the "yeah I'll give it a go" mentality!!1 point


This leaderboard is set to London/GMT+01:00