
Leaderboard


Popular Content
Showing content with the highest reputation on 09/06/17 in all areas
-
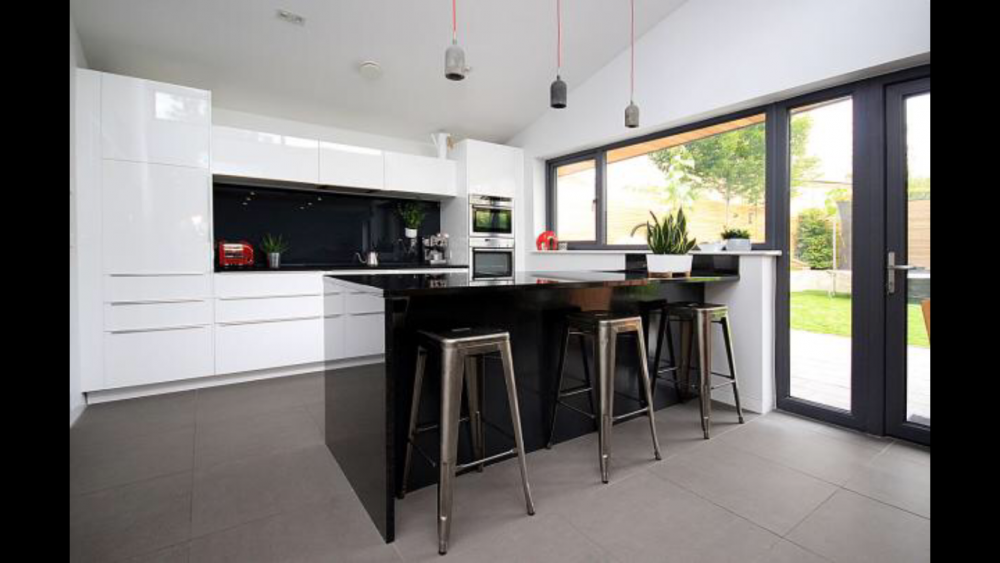
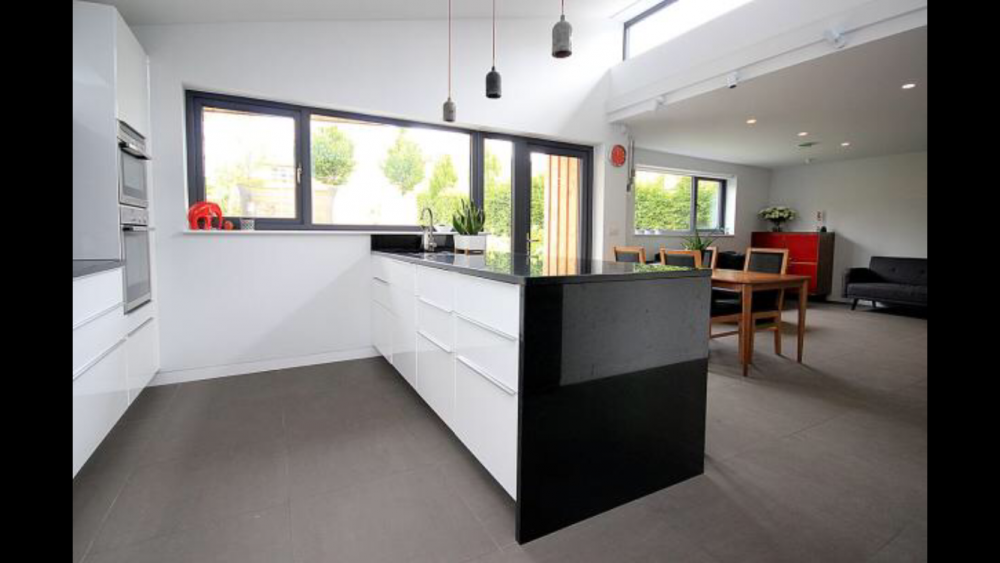
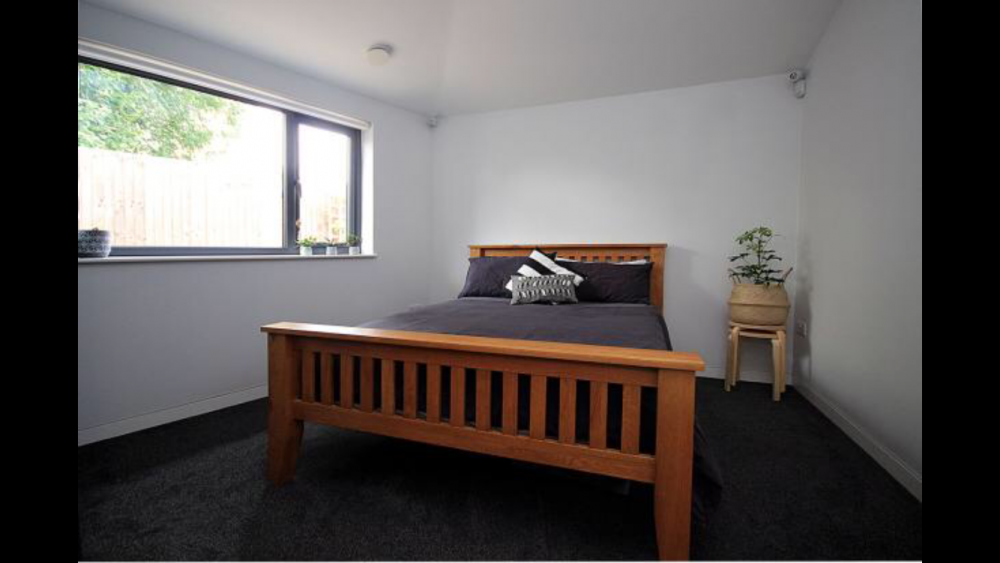
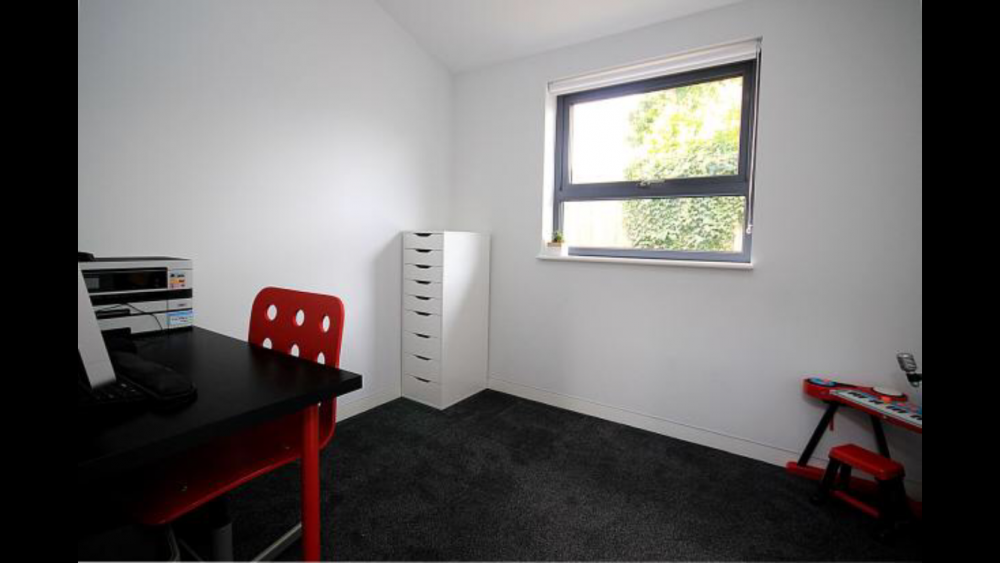
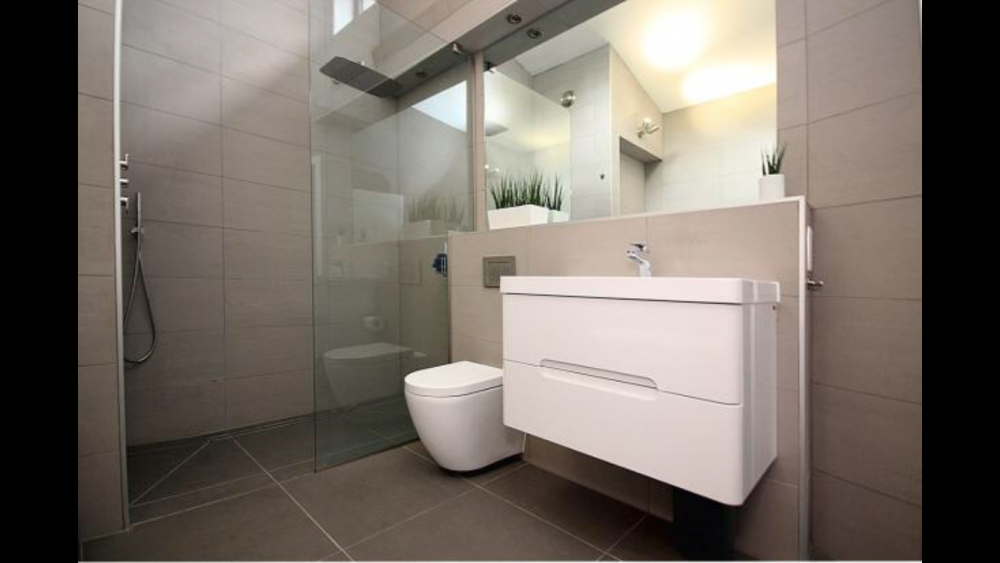
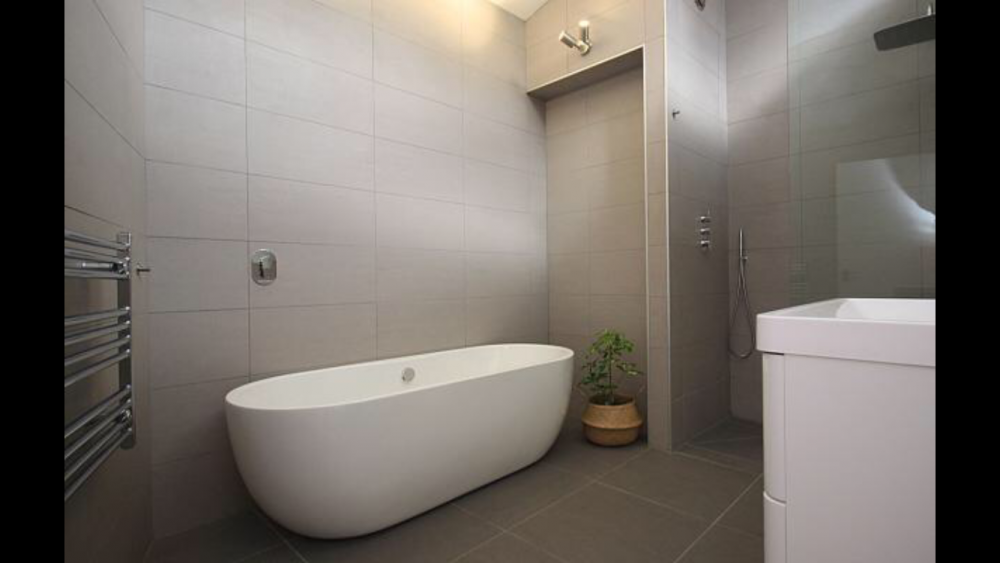
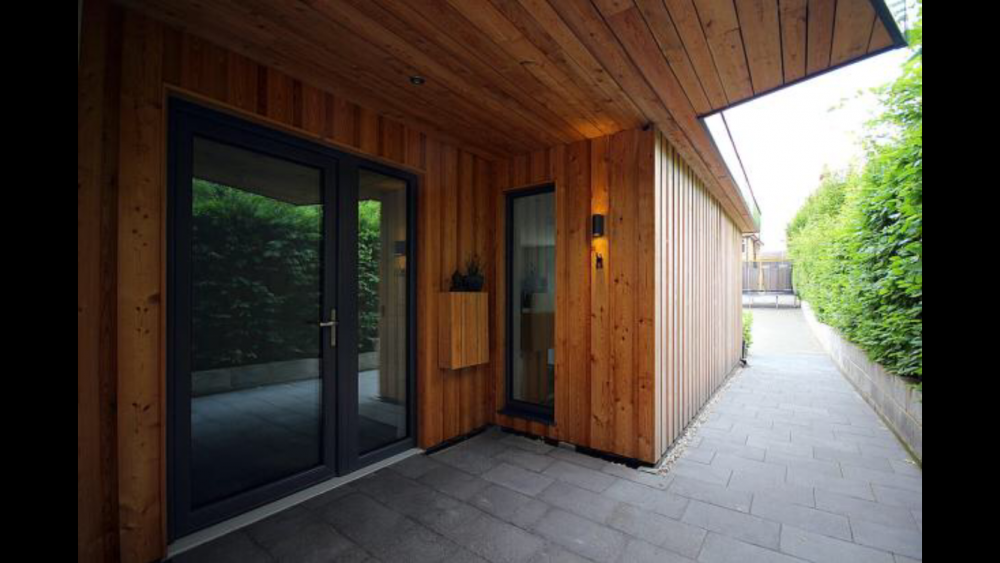
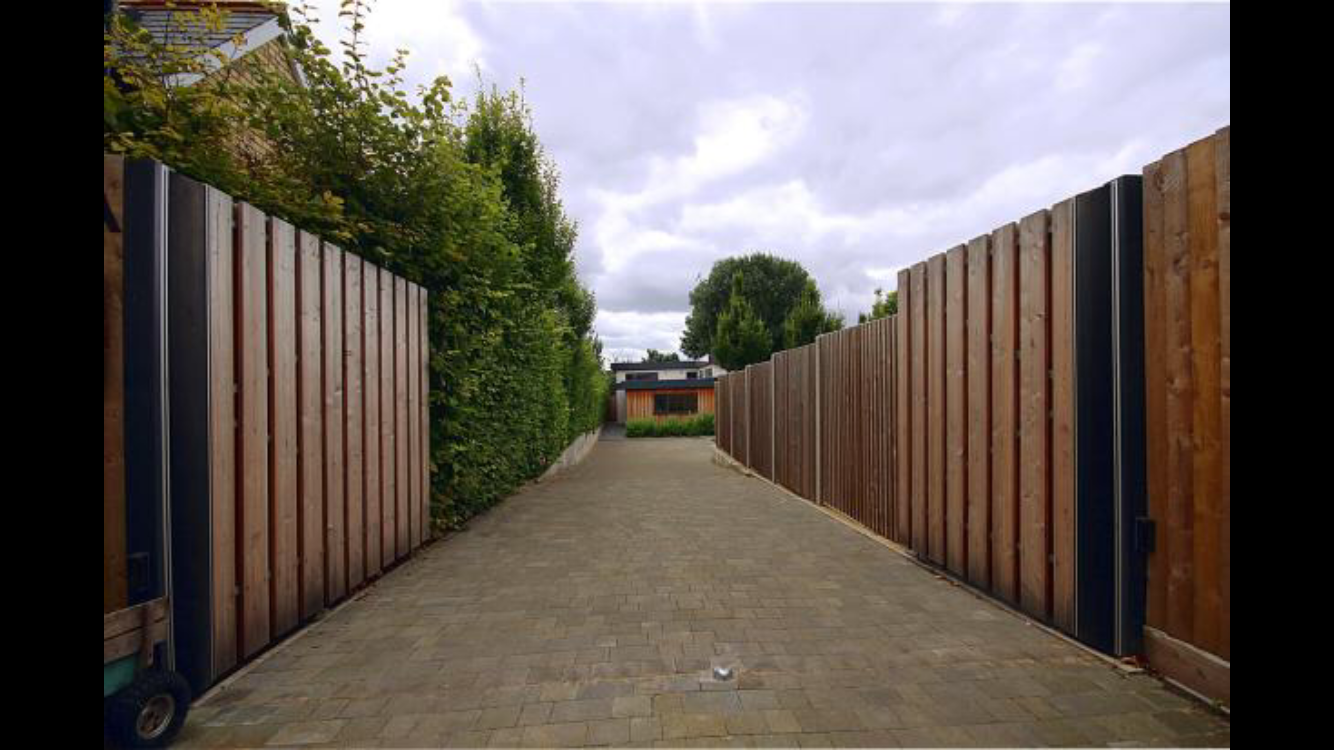
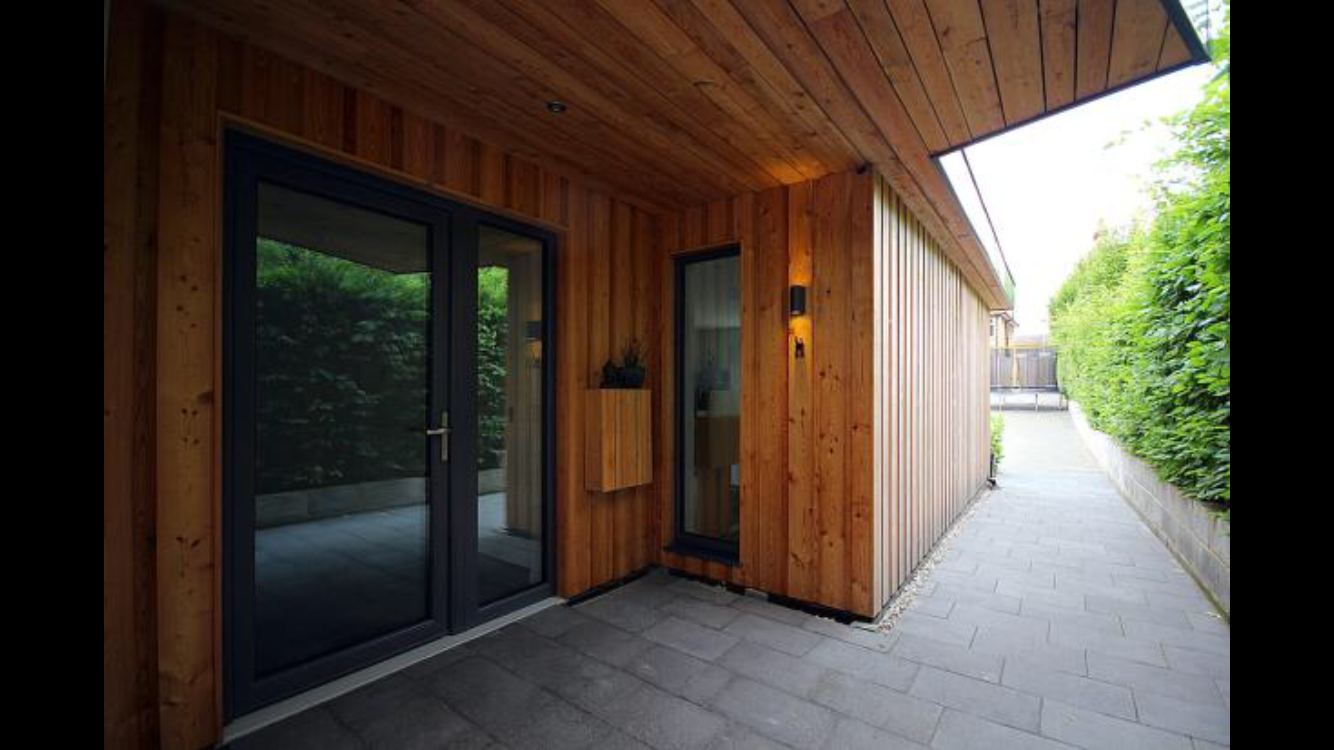
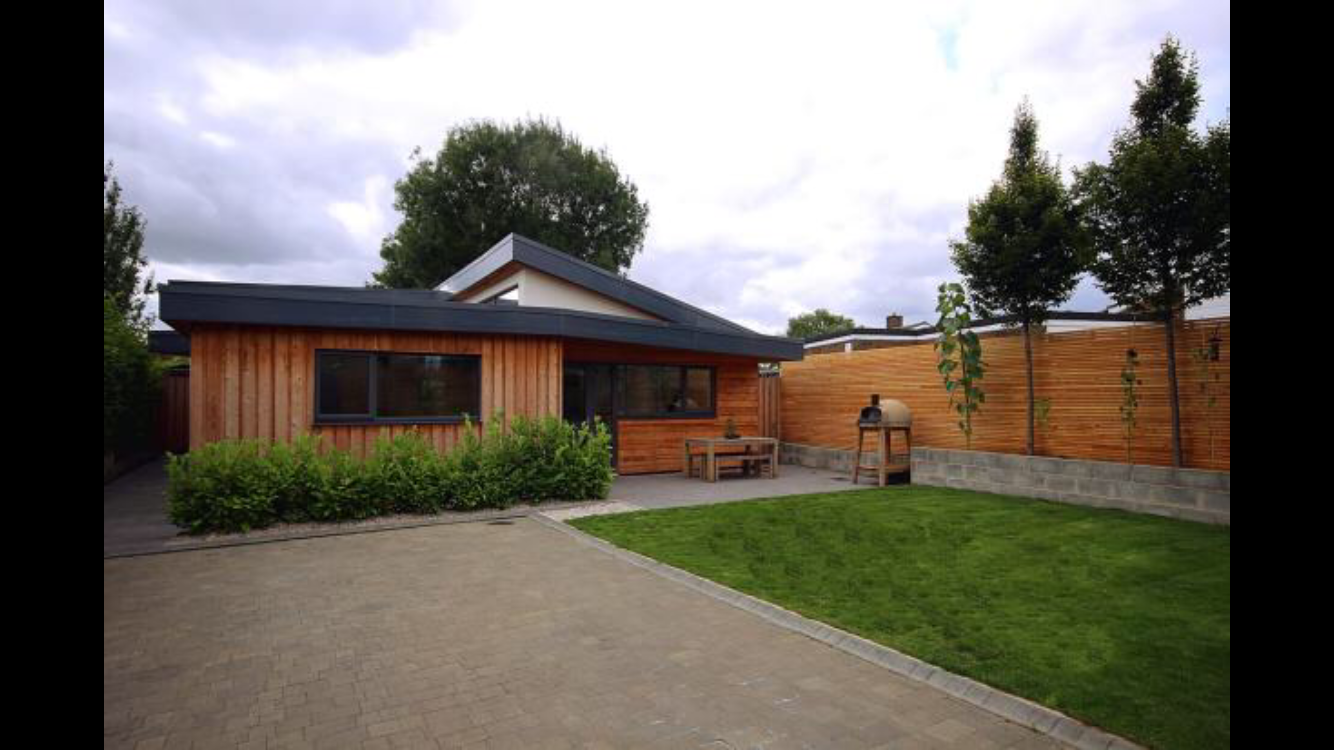
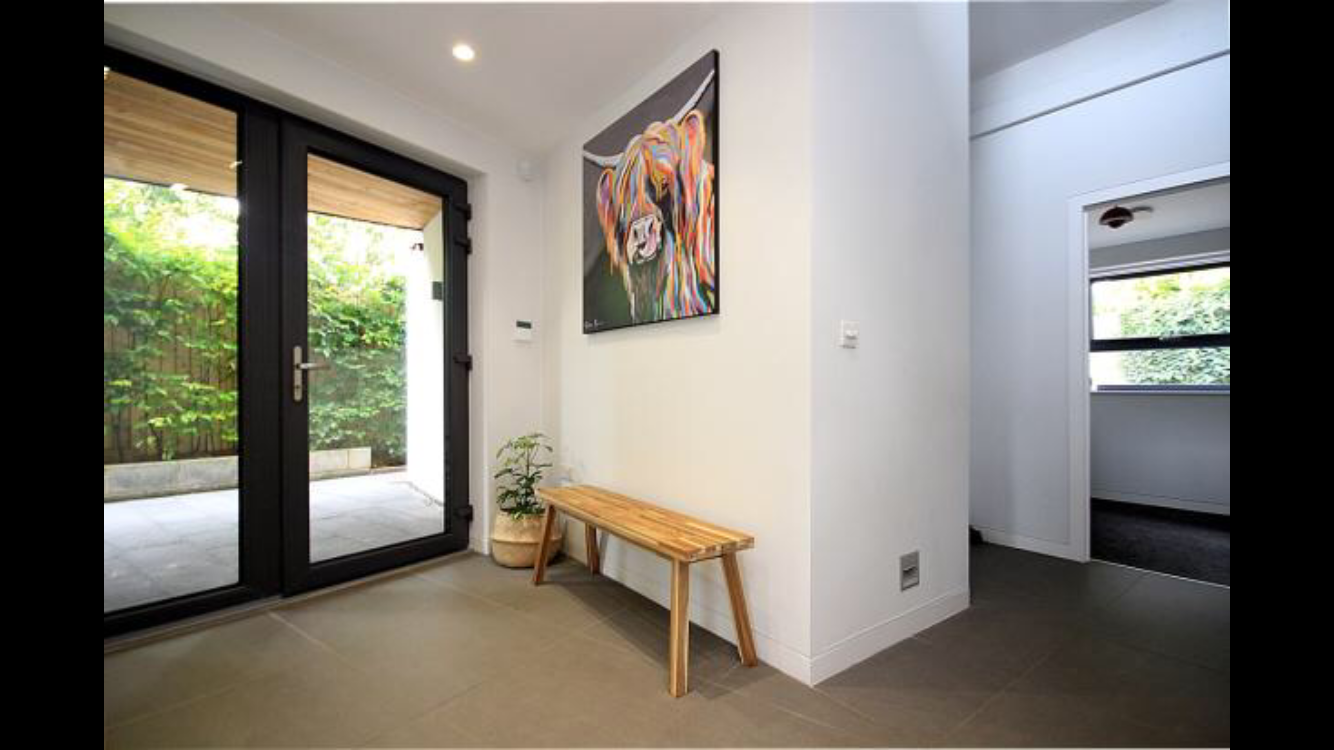
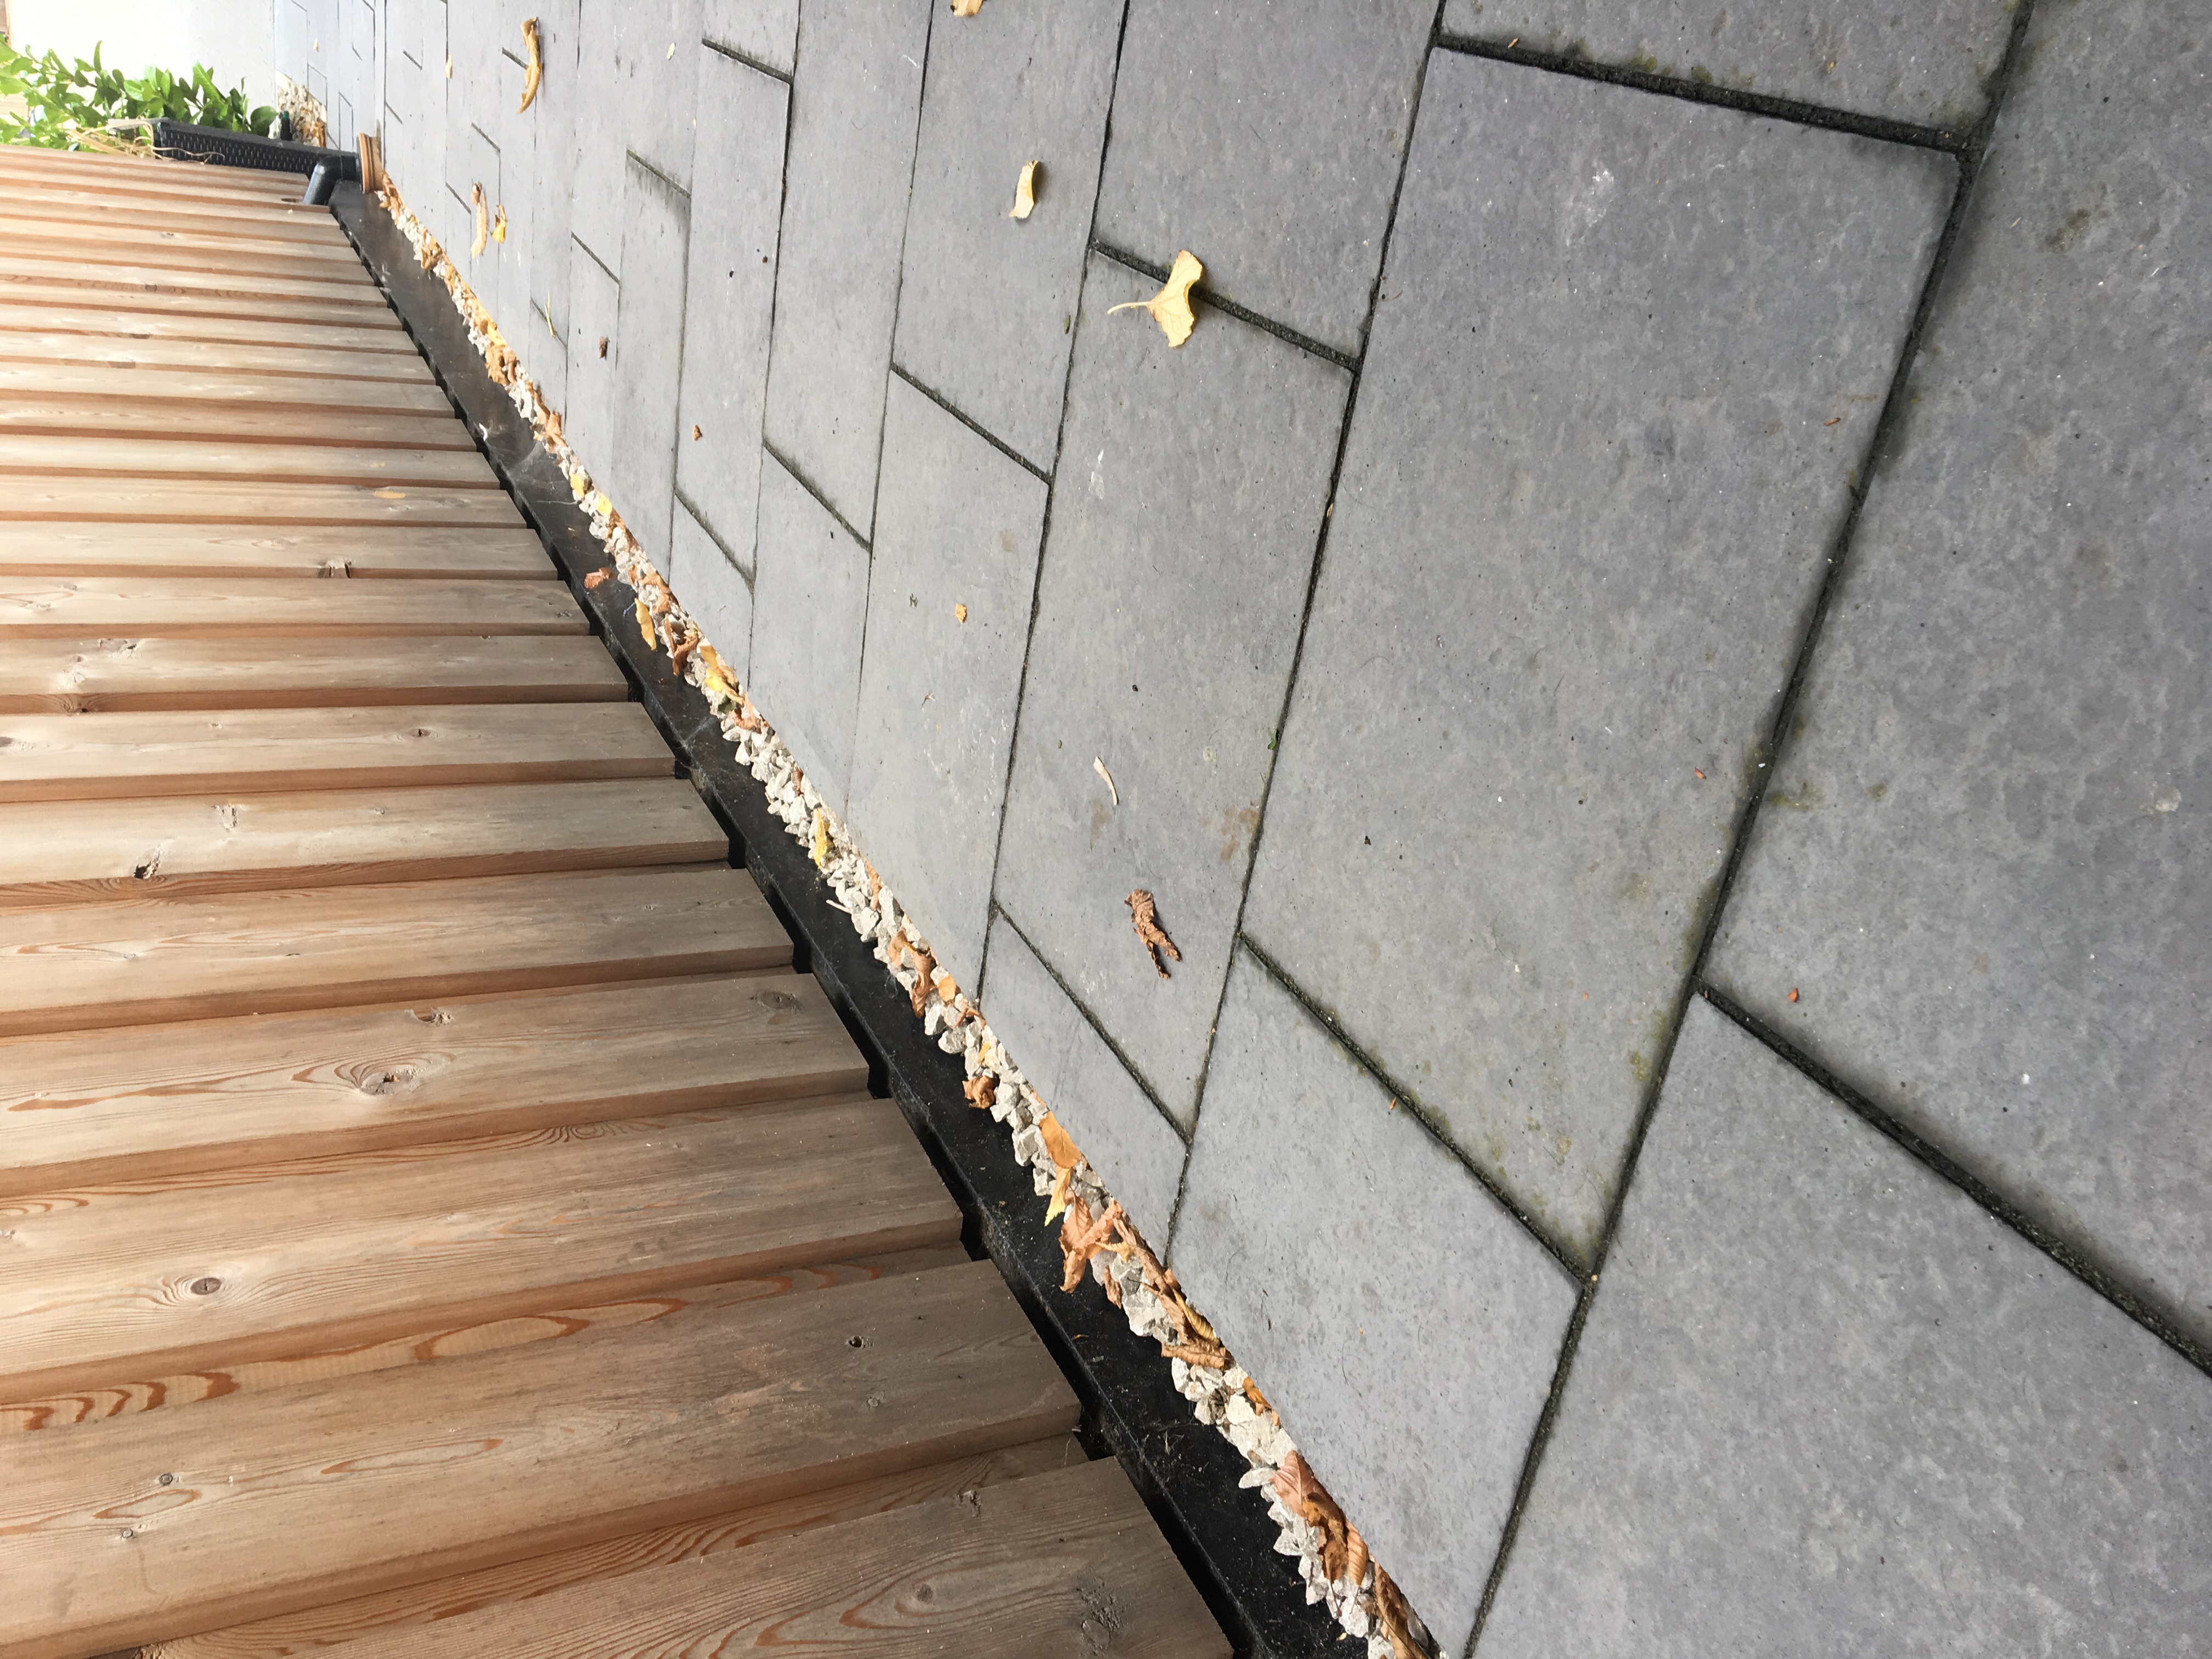
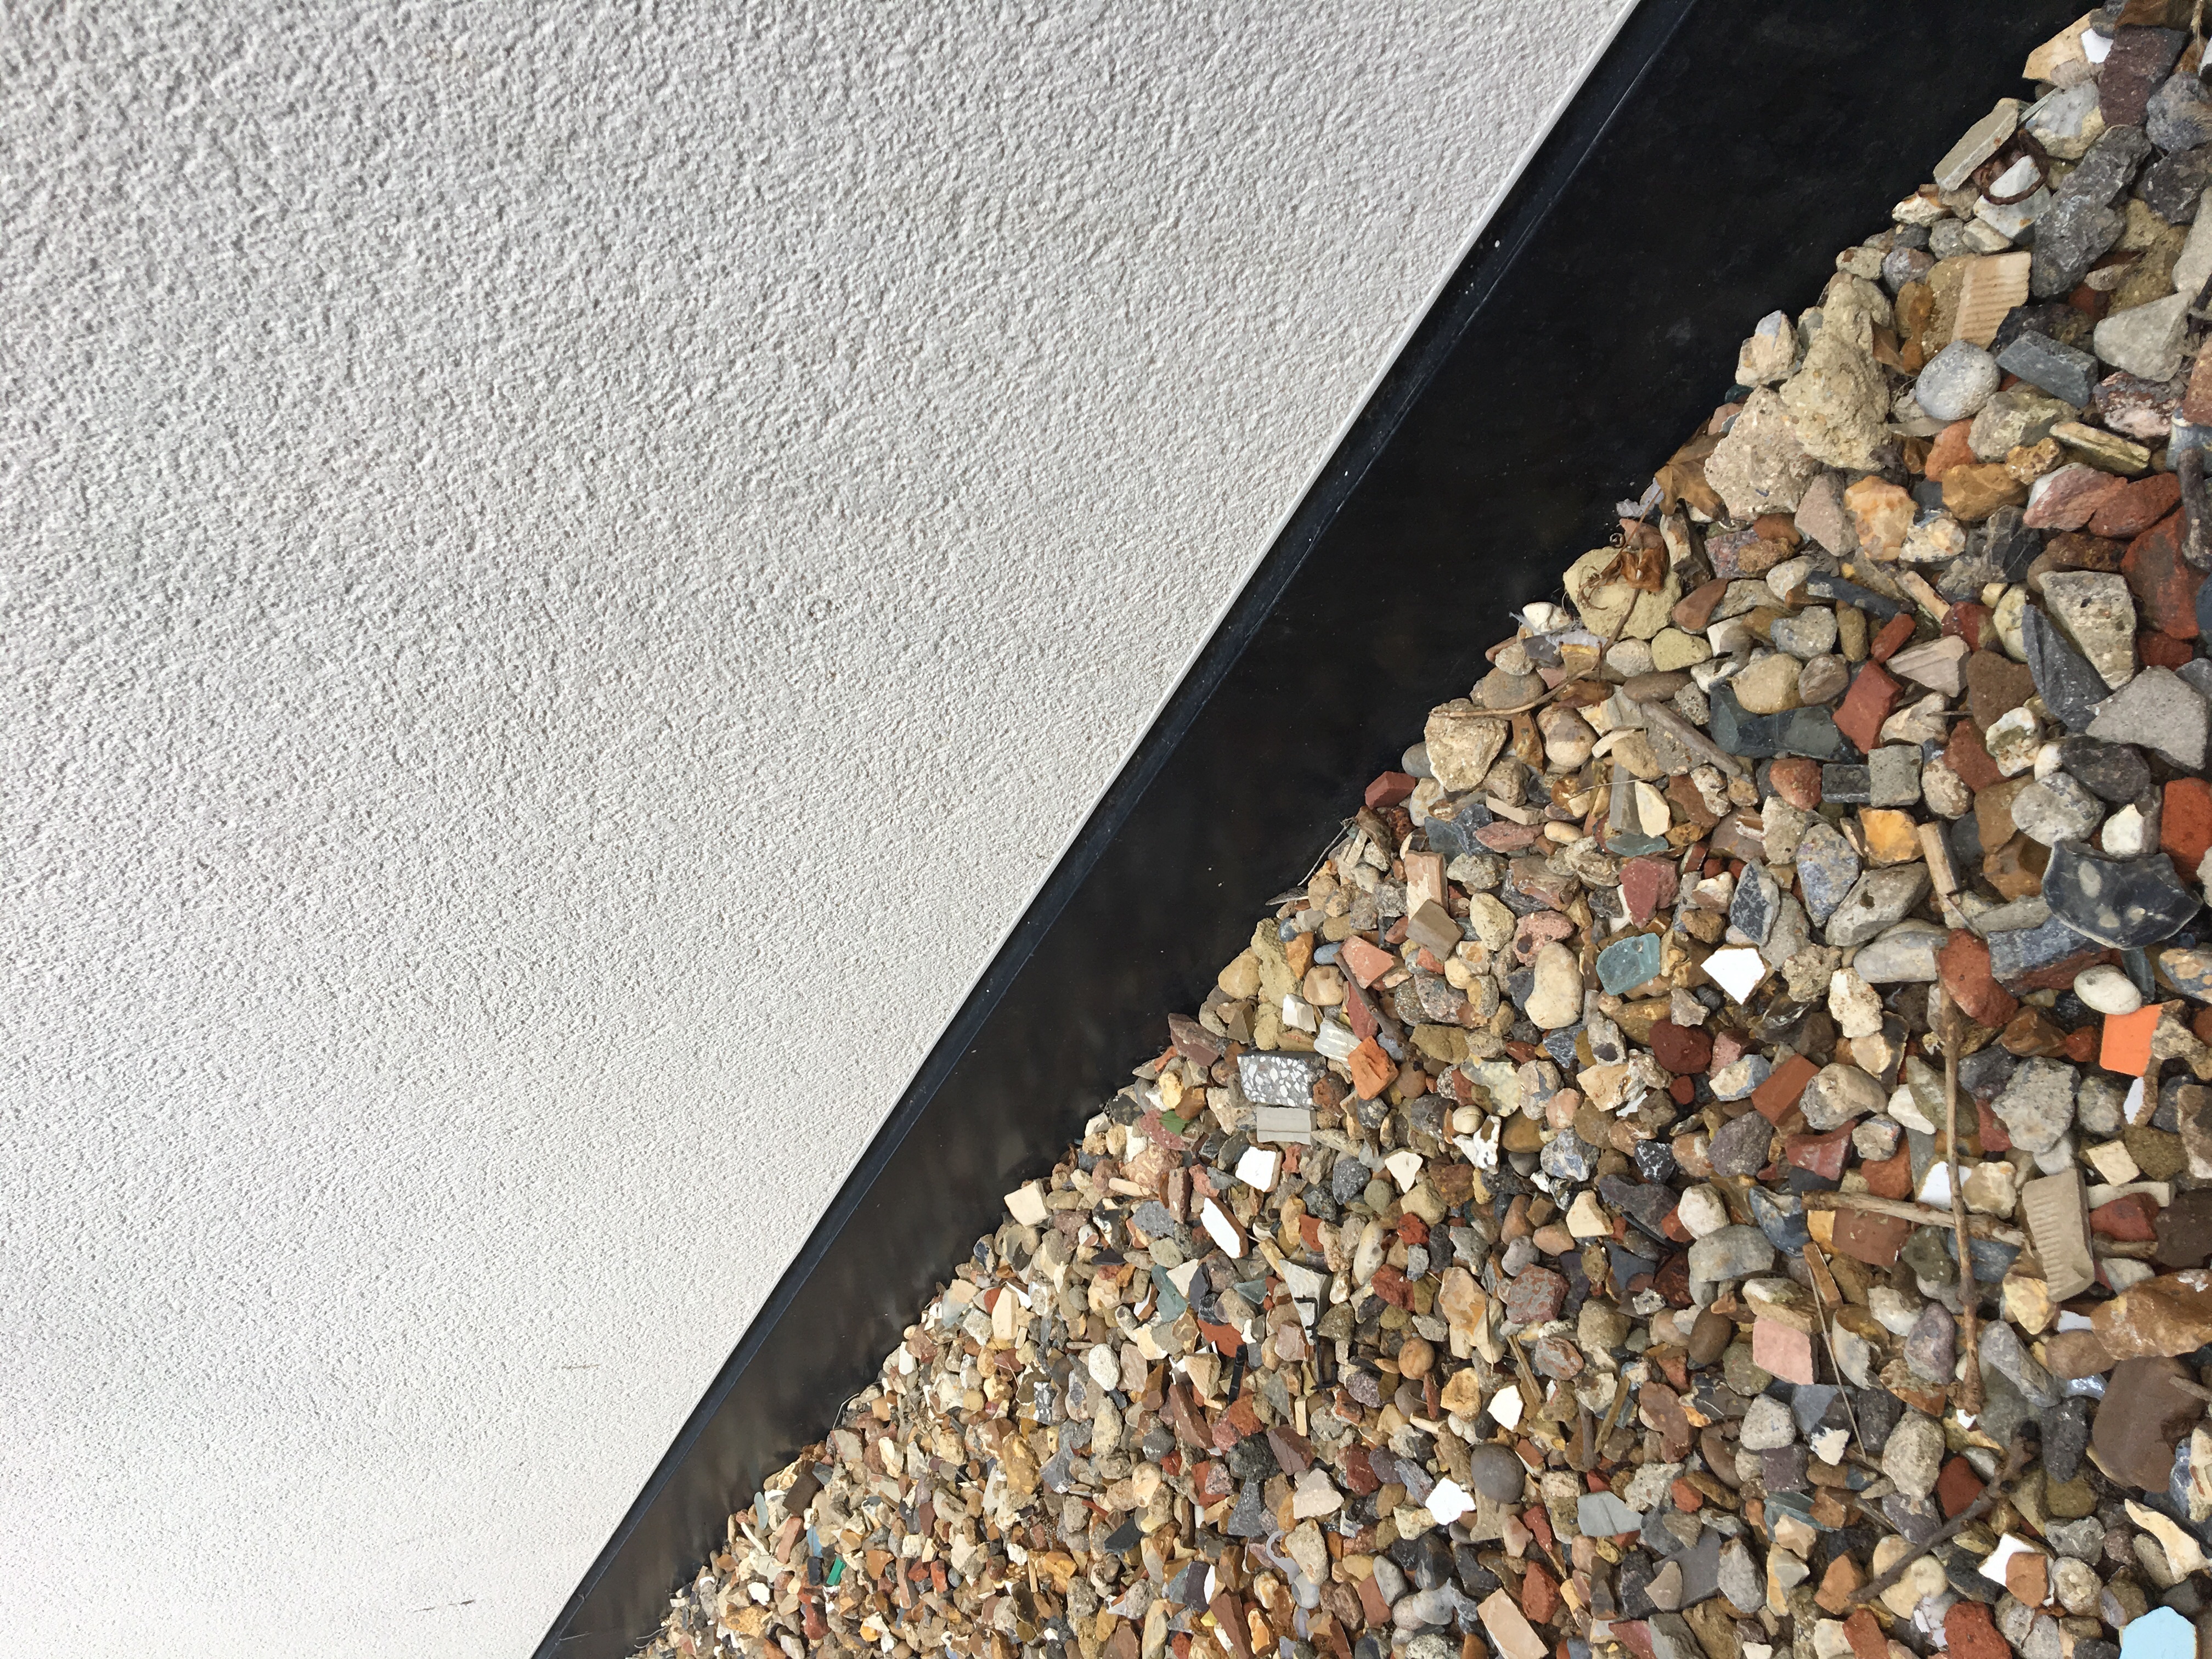
Here are some photos of the finished house.


 12 points
 -
Its you you donut3 points
-
It's not too hard to do, but does need some special tools. I made up a very long 6mm timber drill, by turning down a drill shank, drilling the end of a length of 6mm studding and brazing the two together (I did it this way to maintain concentricity). This is long enough to drill through around 370mm or so, IIRC. The other tool I made up was a turned up cone of acetal, that is a very tight fit into the end of a bit of 20mm plastic cable conduit. The technique is to find a suitable location, away from studs and battens, and drill a long pilot hole that slopes slightly down towards the outside. I did mine from inside to outside. Next, drill a larger hole with a hole saw (say, around 30mm diameter) through the inner skin only (in your case the Fermacell). Then drill a 20mm diameter hole with a hole saw through the inner timber vapour proof board. Next, go outside and repeat this process. Use a 40mm hole saw to drill an oversize hole in the external render and carrier, then a 20mm hole in the outer OSB skin. The cellulose will stay packed in place. Then comes the fun bit. Starting from either inside or out, whichever is easier (I went from inside to out) poke the bit of 20mm plastic conduit, with the conical end, into the hole and try very hard to aim it at where you think the hole is on the other side. I found it useful to take a vertical and horizontal offset measurement from datum points when I had the very long 6mm pilot drill in place (I took the long drill bit out of the chuck to take these measurements, whilst it was still poking right through the wall), as a guide to get the angle right. The cone on the end of the conduit will compress the cellulose out of the way, and the point of the cone should make finding the hole on the other side easier (although it will be fun, I can assure you............). Once you have the conduit through, push it out enough so that you can remove the cone. Smear some sealant (I used Sikaflex, but CT1 would do as well) around the outside of the conduit, on the INSIDE bit, close to the 30mm hole. Push the conduit back in so that the sealant bonds to the vapour proof board well. It helps to rotate the conduit a bit when doing this, and use loads of sealant to try and get a bead around the joint with the inner board. Leave the conduit oversize, so it pokes out too far at this stage. Next, go back outside and squirt some low expansion foam around the annular gap between the conduit and the 40mm hole in the rendered face. It's worth masking up the face of the render to avoid getting foam on it. Let the foam go off, then trim back the foam and the conduit, so that it's flush with the wall. On the inside, do the same, use foam and trim it back. When all has cured, fit the cable and squirt some low expansion foam as deeply into the conduit as you can get from the outside, to seal around the cable, then bond an outdoor cable cover on with a downward facing slot, like this one: http://www.satgear.co.uk/fk21 On the inside, do the same, but fit one of these types of cover: http://www.satgear.co.uk/fk22 . Fit the inner cover before the foam has cured - it should just slot down inside the conduit. If you're stuck, I can post you the long drill I made up, plus the acetal cone that fits into 20mm conduit.3 points
-
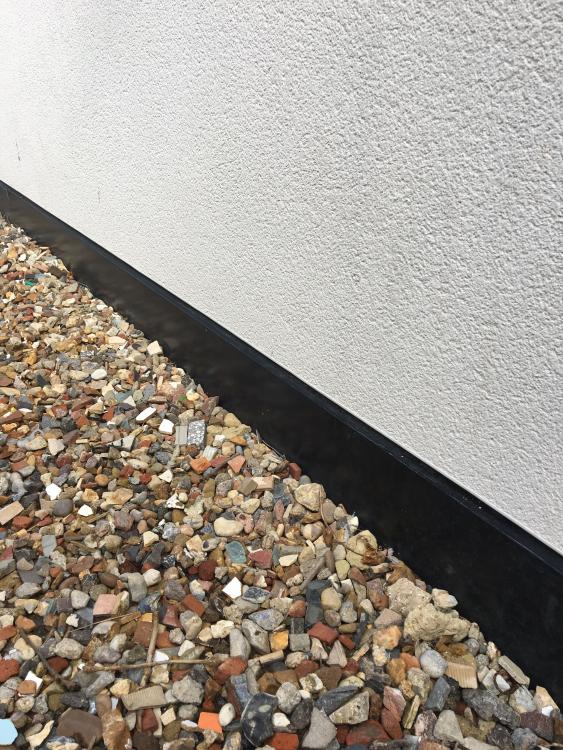
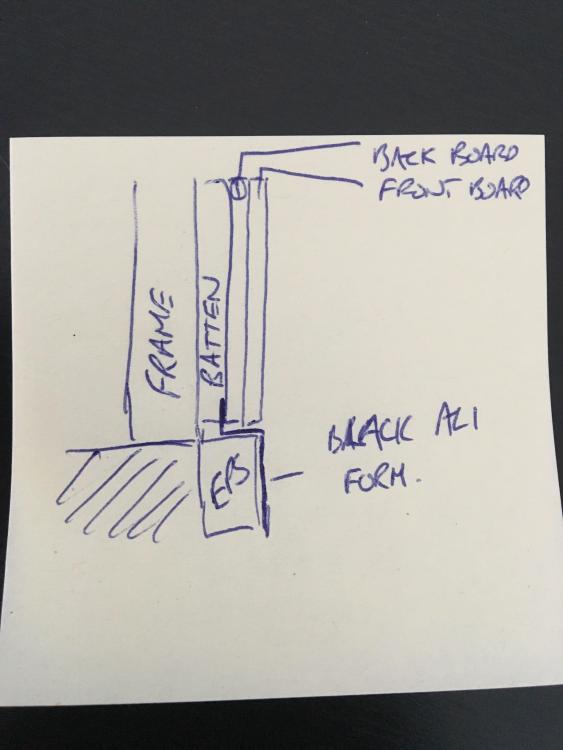
This is what we have done. But we didn't just use an L shape, we added a further up stand as per the last picture. The idea of this was to ensure that any water dripping down the wood ended up away from the frame. As we didn't have the twin wall we had the issue that the frames didn't over hang the EPS so we would have had to have thick battens to ensure we were clear of the EPS, using the profile saved us some making it really thick.
 2 points
 -
I am not sure this works as a motto.1 point
-
I'm with couple of nuts on the end and a quick blob of weld on the end of the stud. You can then get a decent spanner on them too try and screw them out.1 point
-
I hadn't realised that there was nothing under the jambs ..?! you need to pack under the corners with something solid - packers is fine - and then you can foam the rest of the cill. It's irrelevant as to whether you use M10 or M12, they are holding the frame square and in the opening but should not be holding it up as they aren't designed to do that.1 point
-
Time to dig out the bingo cards.

 1 point
 -
Oooh a new series. I wonder how many women folk he will get pregnant in this series? He should give up building houses and try fertility, the blokes a bloody god1 point
-
Well, after being told the electricity connection process was "with wayleave dept." I spoke to the guy who owns the land our connection has to come 1 metre through - he is absolutely fine about it, but confirmed last night that no one has been in touch with him! So posted this on NorthernNetworks Facebook page again last night and surprise surprise I got a call today from an apologetic lady saying she works in wayleave and only received the job last night. You really have to wonder how firms can get so bad at what they do - I mean you'd really have to go out of your way to be this bad! It takes dedication and a lot of effort. Anyway, on the plus side, I took a day off work today as I'm expecting several deliveries and by sheer chance the building inspector rang and said could he come and take a look at the roof today. So that was great timing and he's more than happy with it and commented on how good the standard of work is. We are pleased too and a nearby roof has also been done recently and even with a laymans eye you can see that our guys work is better. We are really pleased with the roof - it's done with recycled slates, and as we'd hoped, looks the part (it's in a rural Northumberland village) already as if it's been there years. Only the neatness of the lines gives away that bits new. Today I am putting the DPM and floor insulation down on the utility and downstairs bathroom floors with the intention of doing them first so we can get the washing machine etc in and have a shower and loo ASAP. The UFH kit is due to all arrive today, so hopefully we might get that down before the weekend in those rooms, though the utility room is where the manifold will live so the pipework there is a little involved so I'll need to be sure its right before I concrete it!.1 point


This leaderboard is set to London/GMT+01:00