
The end is nigh

Entry posted by Simon R
1517 views
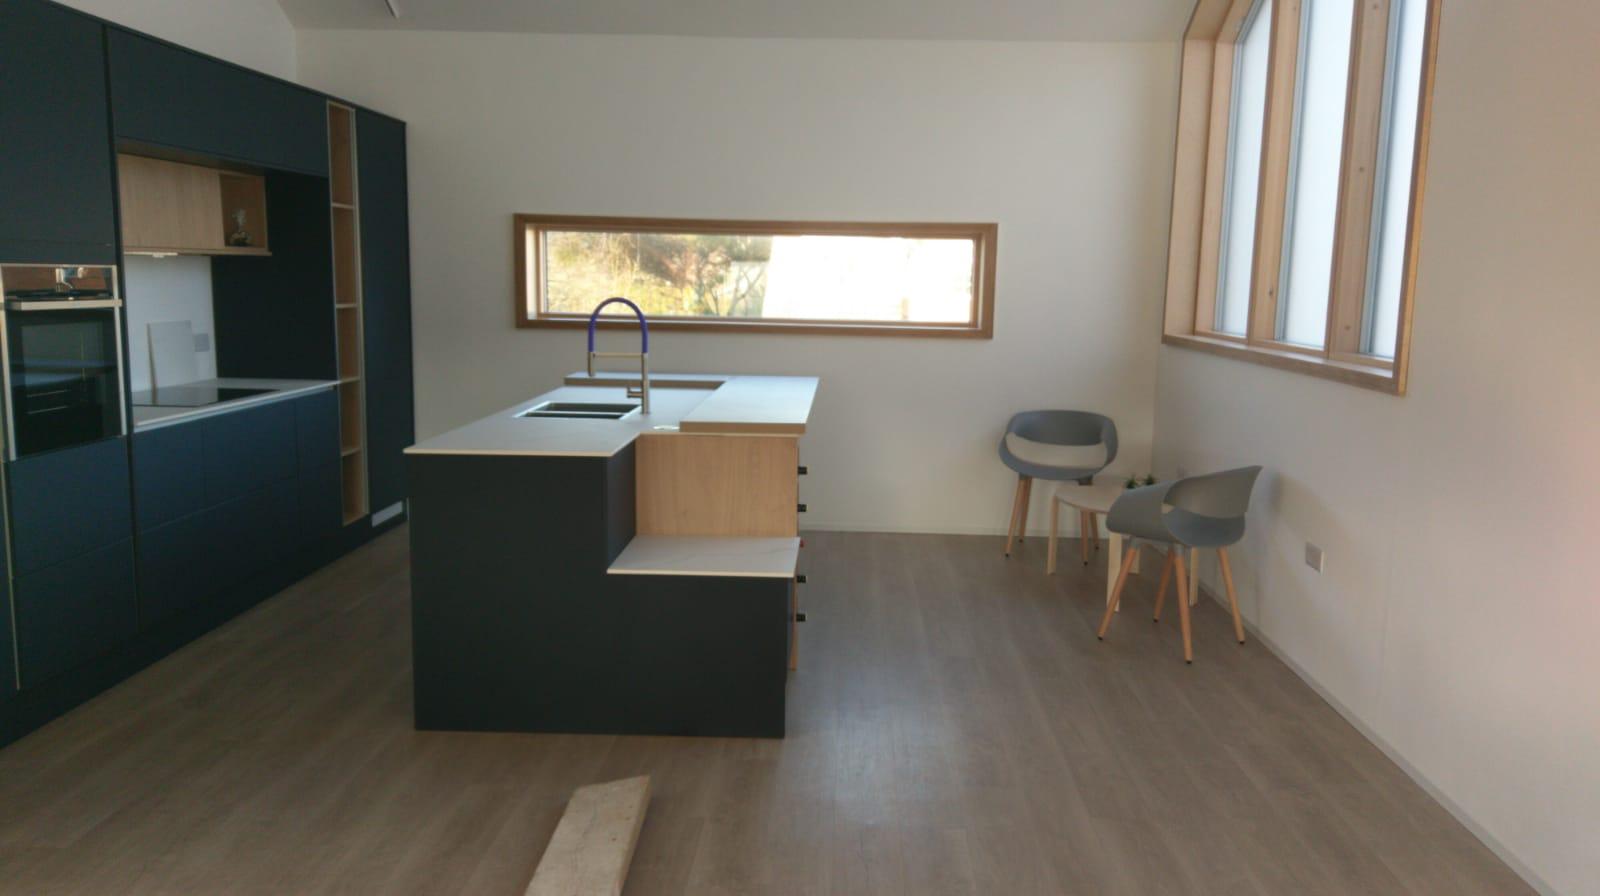
We’re getting there! flooring, kitchen and stairs, just bathrooms to go. It’s great to see it all taking shape as the finishing jobs get done. Not that it’s all gone to plan.
The first job we tackled was to get the floor down. We wanted to get it done before installing the kitchen rather than having to work around the units. As the kitchen is part of the open plan living area on the first floor it meant doing the whole area some 70m2. It’s a lot of flooring and we needed something that was easy care and tough. After a fair bit of looking at the options, we opted for lose lay vinyl. There seem to be three vinyl options, adhesive plank, click and loose lay. I didn’t fancy sticking down such a large area and we have a couple of floor access panels that I wanted to keep access to. The click version is not dimensionally stable and requires an expansion gap and it’s not designed to have heavy objects such a kitchen units on it. Loose lay ticked the boxes, dimensionally stable, OK with heavy objects and as it turns out the simplest to lay. Karndean and Amtico both have loose lay options but they come in at £30-£40 per square metre. By lucky chance we found a commercial flooring supplier Quadrant who have a loose lay flooring system Salto with a spec pretty much identical to Amtico Access but at £22 per square meter. The planks get laid onto a three metre grid of tackifier, a non setting glue that just stops the tiles from sliding rather than actually gluing them down. If a plank gets damaged you can simply lift it out and replace it.
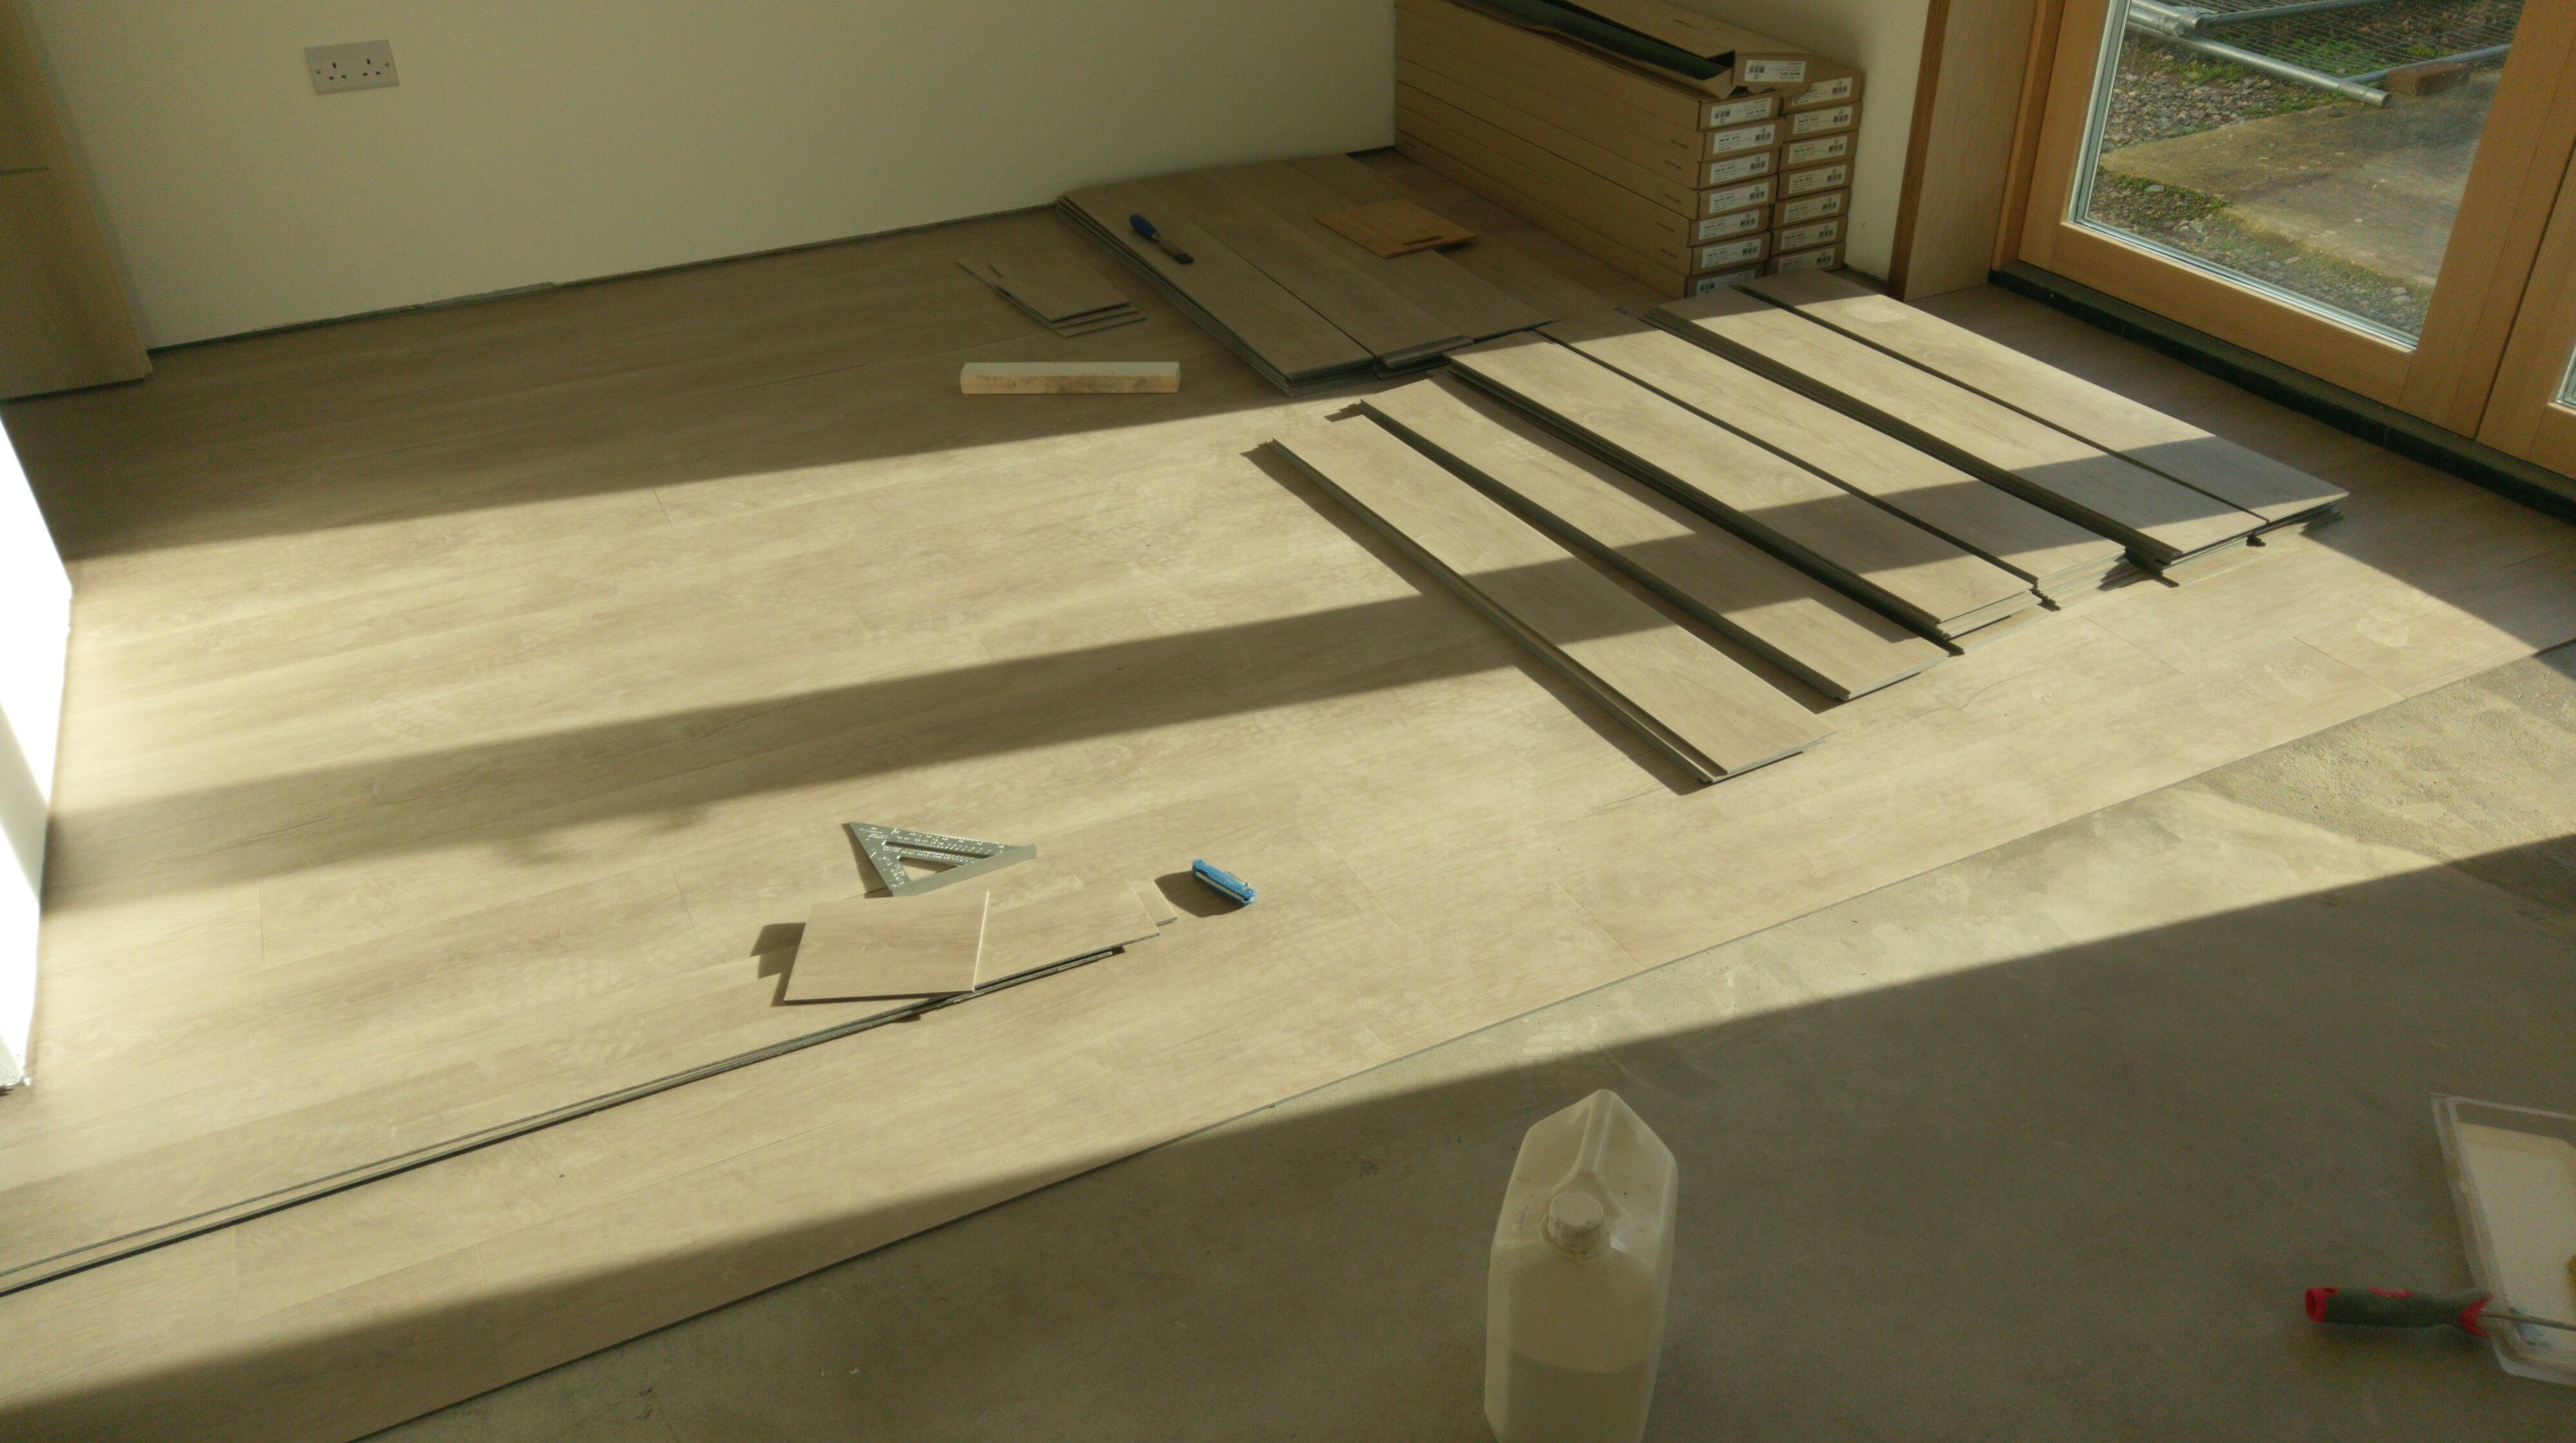
Laying the floor could not have been simpler. In a couple of places we found that the tackifier was just not enough and we ended up fixing one or two end of row planks with a patch contact adhesive.
With the floor down we could then start on the kitchen. With no stairs in place we used our electric winch to get the cabinets and appliances to the first floor. We bought the winch to get the 80kg MVHR unit onto the second floor and it has been invaluable in getting flooring, doors and many other heavy bits safely upstairs.
With the units all upstairs we made a start putting the kitchen together. We had gone through a couple of design iterations and of course the one we settled on meant that the electrical sockets we put in when plaster boarding required moving to meet the 300mm minimum distance requirement. It’s easily fixed with a splash back so not a real problem.
Our appliances are built in, a first for us. So we started out by getting the fridge freezer into its tall unit. There certainly is not much clearance, having carefully got the fridge correctly located I discovered I could not fit the hinges with the fridge in situ, so had to drag it out of the unit. Unit doors fitted and fridge shoe horned back into the unit. You then have to connect the fridge doors to the unit door, a bit fiddly but it all working nicely. Pushed the unit into place only to find the lead was a couple of centre metres short of the spur socket installed for it. Dragged the fridge out, made another hole in the carcase and re-routed the cabling, put fridge back in unit, push unit back into place only to remember the unit had not been secured to the wall after the second cable hole had been made…needless to say there was a bit of cursing as the fridge was dragged out again! A least if we ever have to fit another we’ll know how to set about it.
The kitchen has a long set of linear units, which should have been a doddle to install against a nice straight wall. Unfortunately the wall they were getting installed against was the one that didn’t get braced properly on the final pour. Needless to say the units all required spacing out from the wall to form a line. A task not made simpler by the design which has two rows of bridging units over the hob. These are mounted on a wood frame constructed to fill the gap, which of course I cut before remembering the wall was not true. It didn’t take much work to re-jig it thank goodness. We also had to construct the shelving unit as this was a bespoke piece, to make the position of the boiler housing correct.
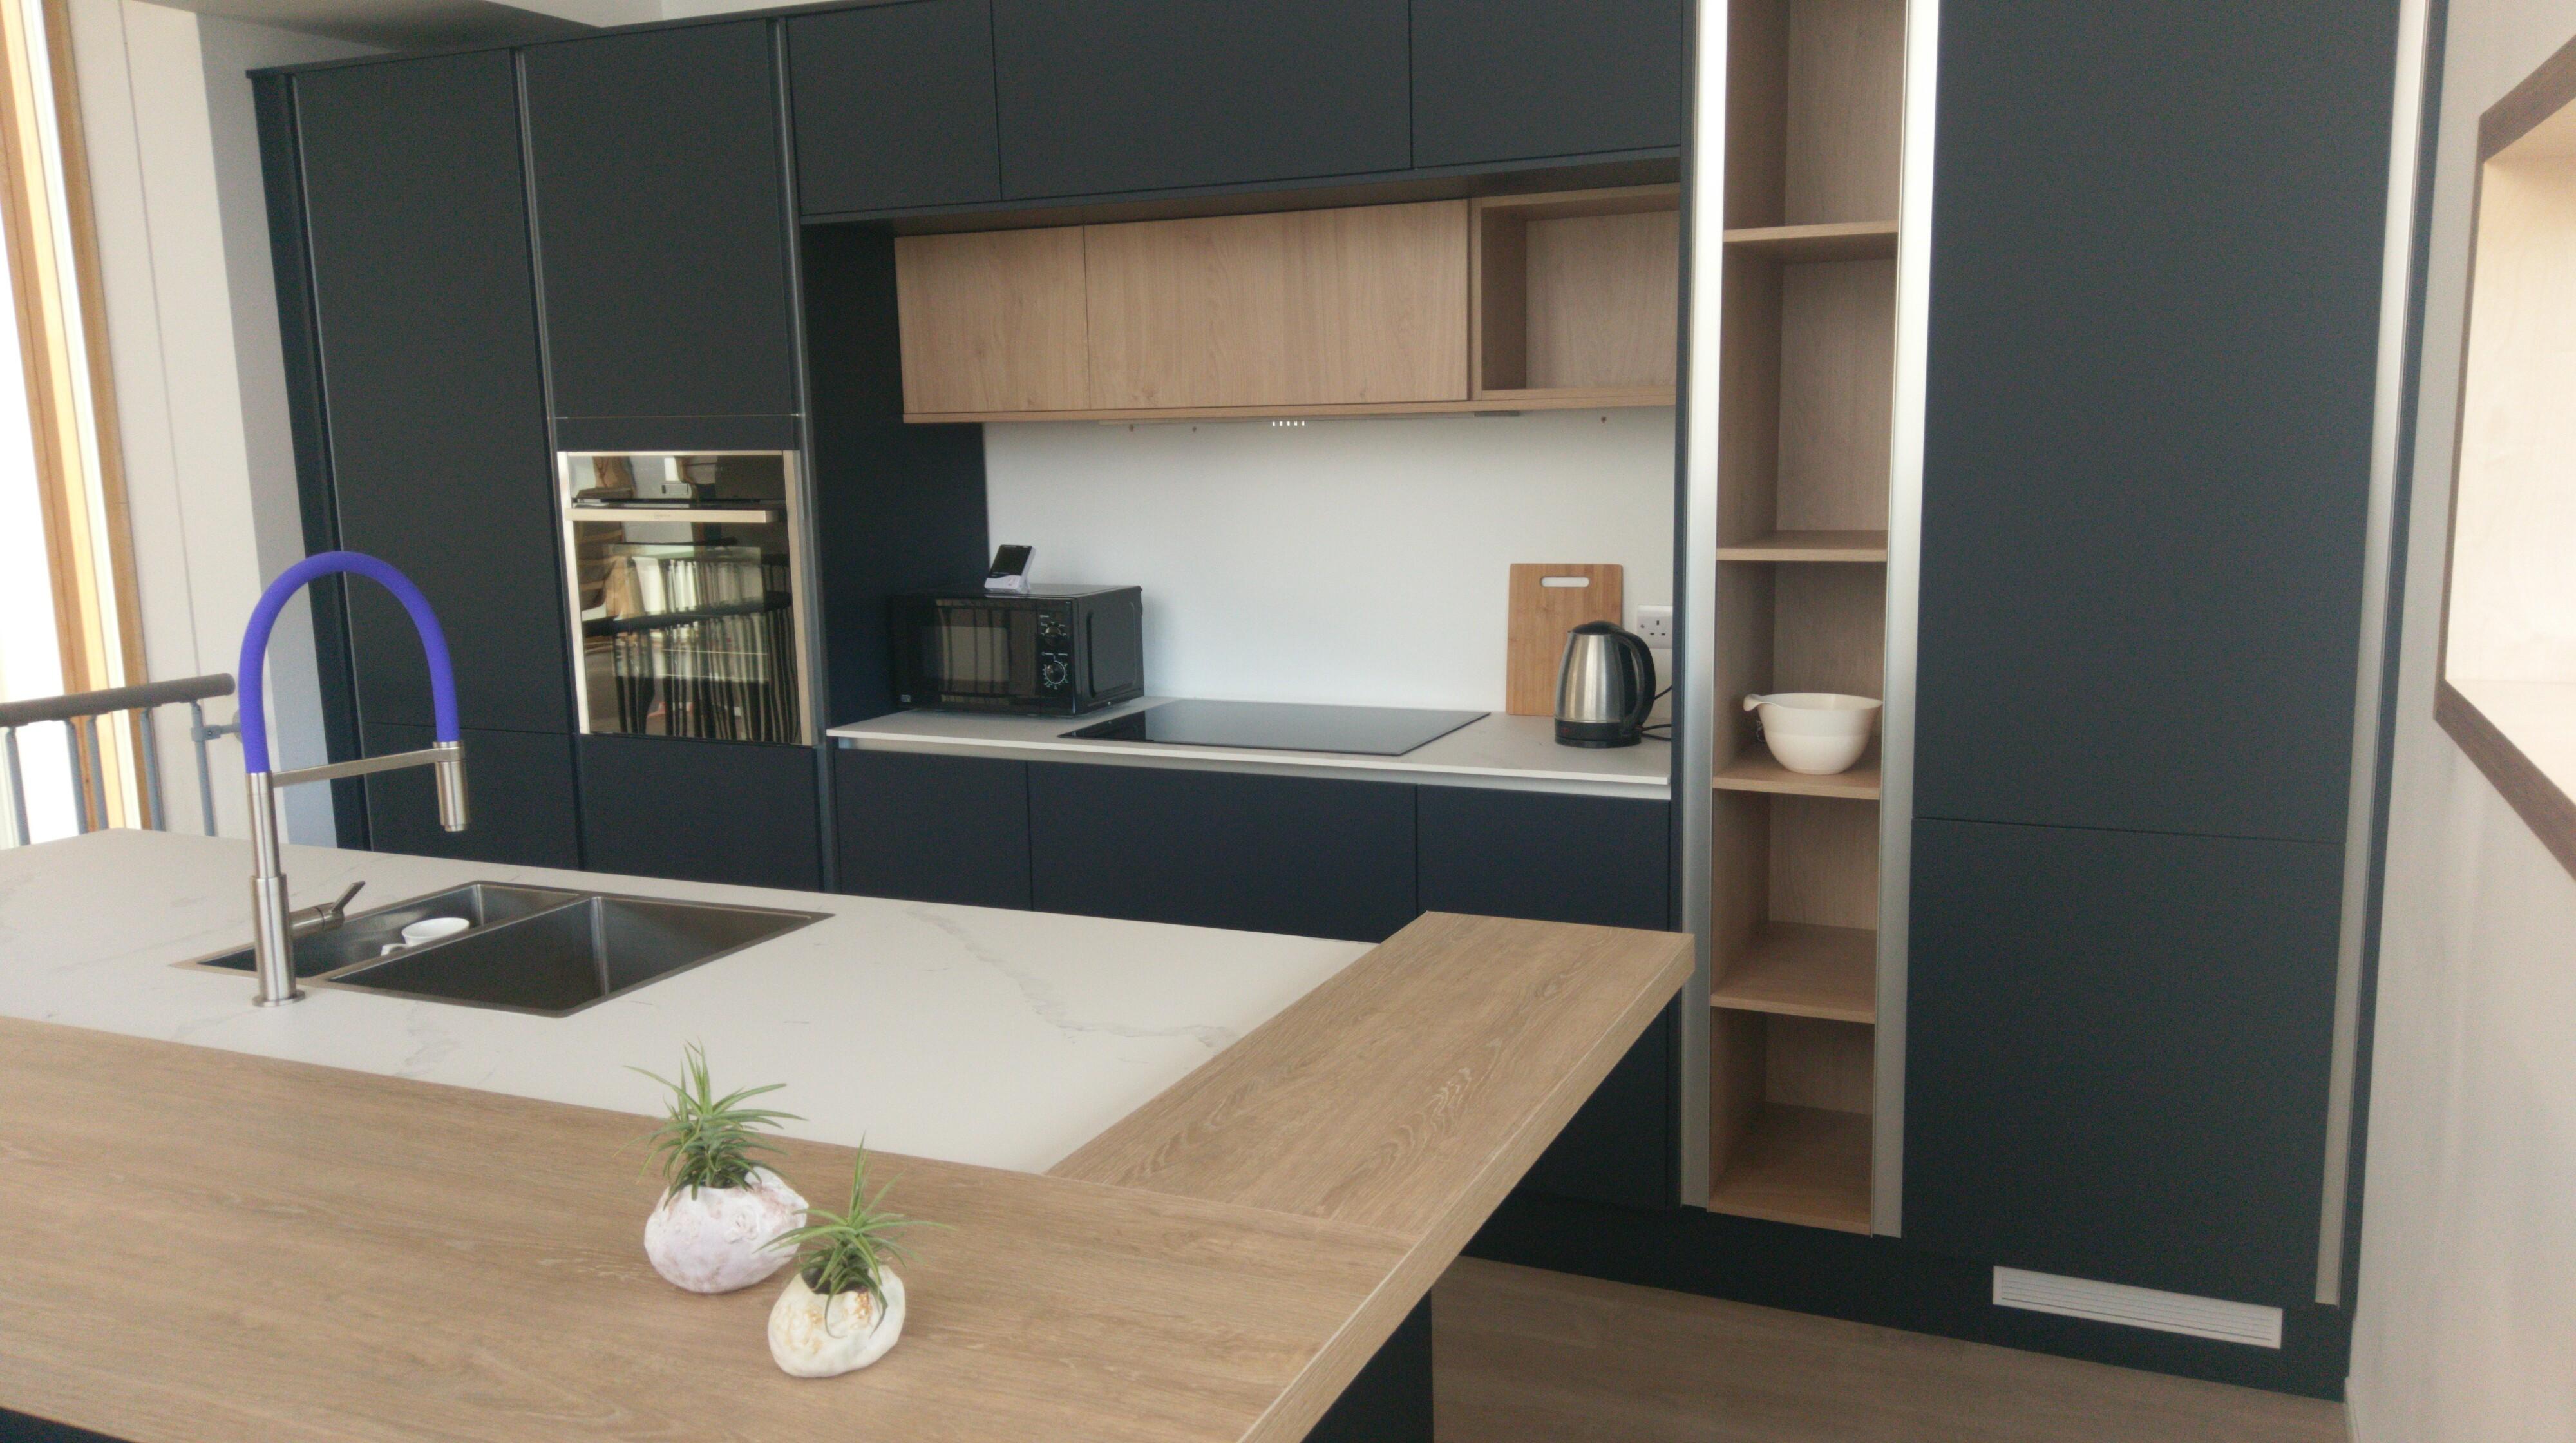
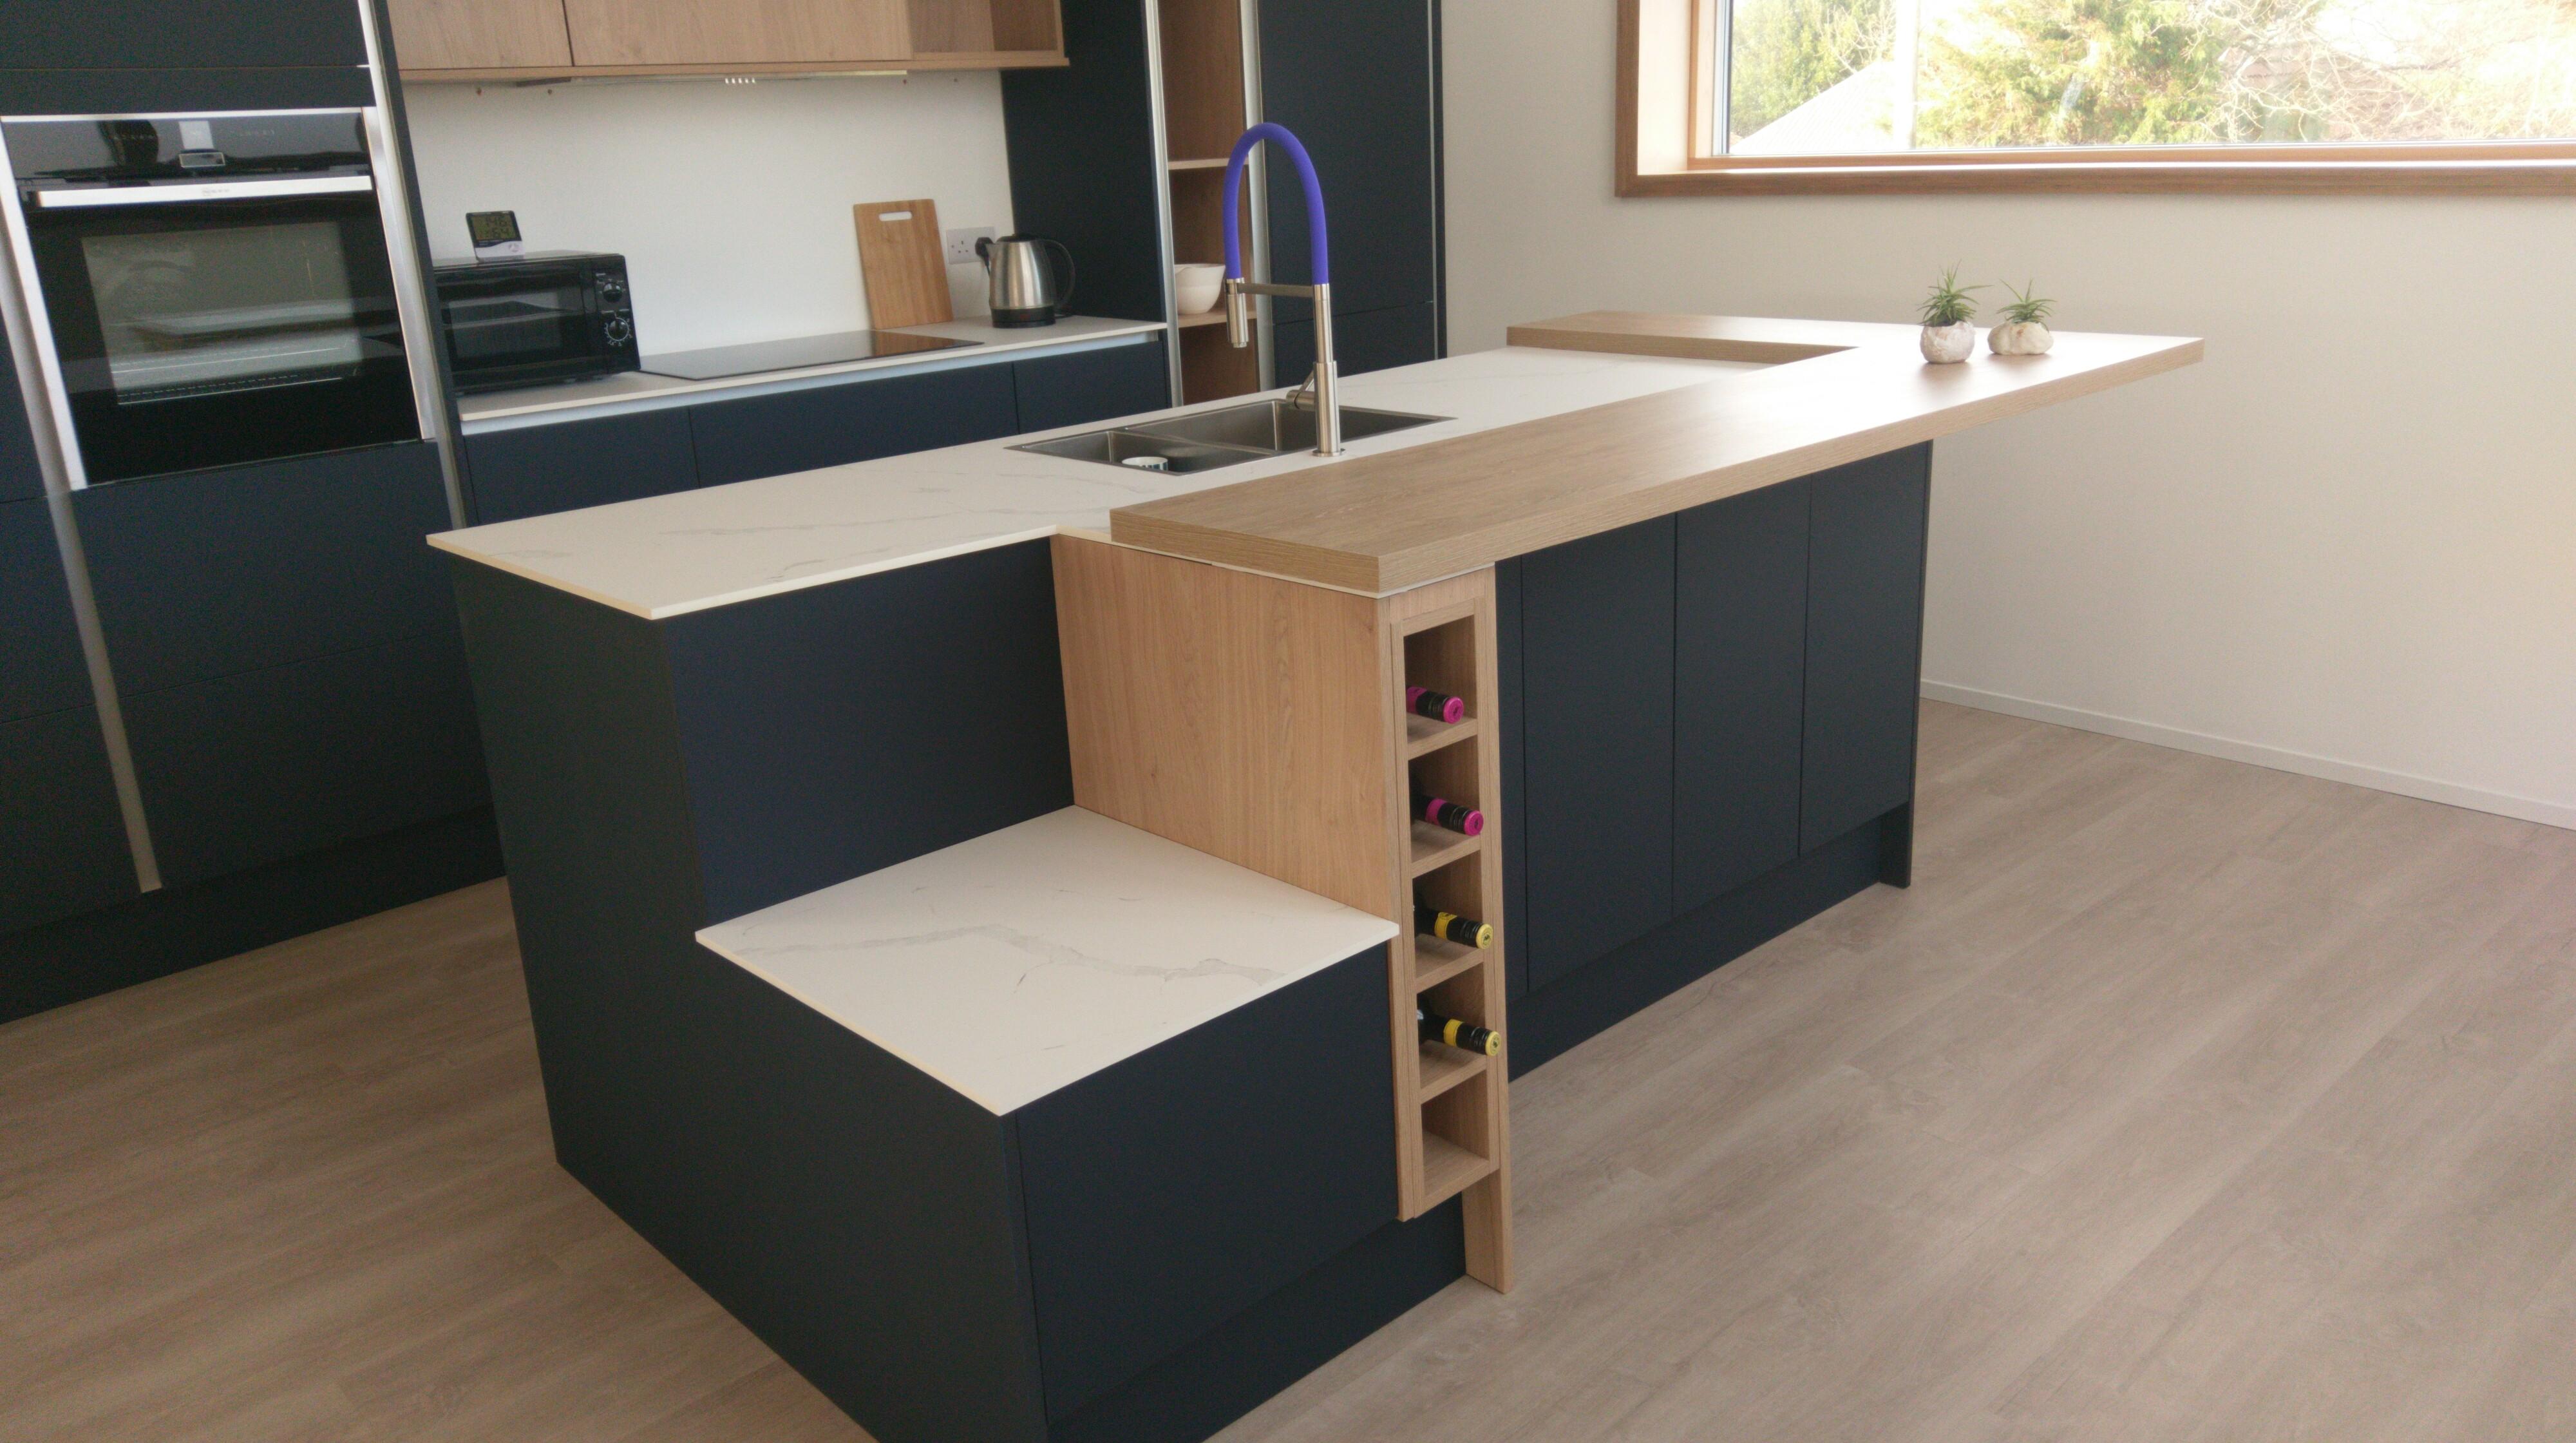
With the linear section of the kitchen built, it was time to build the island. As it turned out this was a much more straight forward proposition as it didn’t involve and dodgy walls. It did involve cutting down a unit by half and cutting the composite worktop. We discounted doing an under-mount sink as we were cutting the worktop and any router chatter would ruin the worktop look. In any event the island went together nicely and the kitchen looks the part.
One by-product of having the kitchen done was the completion of the electrical circuits. We duly called back in our electrician to do the final checks. With a couple of minor changes it was all passed. A significant mile stone to pass regarding building controls. Our electrician has been brilliant and supported our work through the build. Not something that all electricians are prepared to do and we were fortunate to find such a good one.
It’s been cold and despite the high level of insulation in the house we were getting uncomfortably cool and decided it was time to get the gas boiler connected. We calculated our structure requires about 68w/degree input so very minimal heating should be required, making heat pumps not cost or energy efficient, hence the gas boiler. The boiler feeds two towel rails, no radiators. All the pipes had been put in place long ago before plastering and painting. A bit of a risk but we pressure tested everything before we put the plaster board up. When we finally got round to filling the system and pressurising it we found we had a leak and water was running down behind a radiator. Careful removal of plaster board revealed the cause, I had put a plaster board screw straight through the pipe! With the damaged pipe cut out and fixed, plasterboard and plaster re-done. I put the radiator back up and pressurised the system again only to find another leak. This one took a little longer to find. Again it turned out to be pipe damage, this time on the other radiator, and was one of the radiator mounting screws. Not impressive and something we’ll conveniently forget.

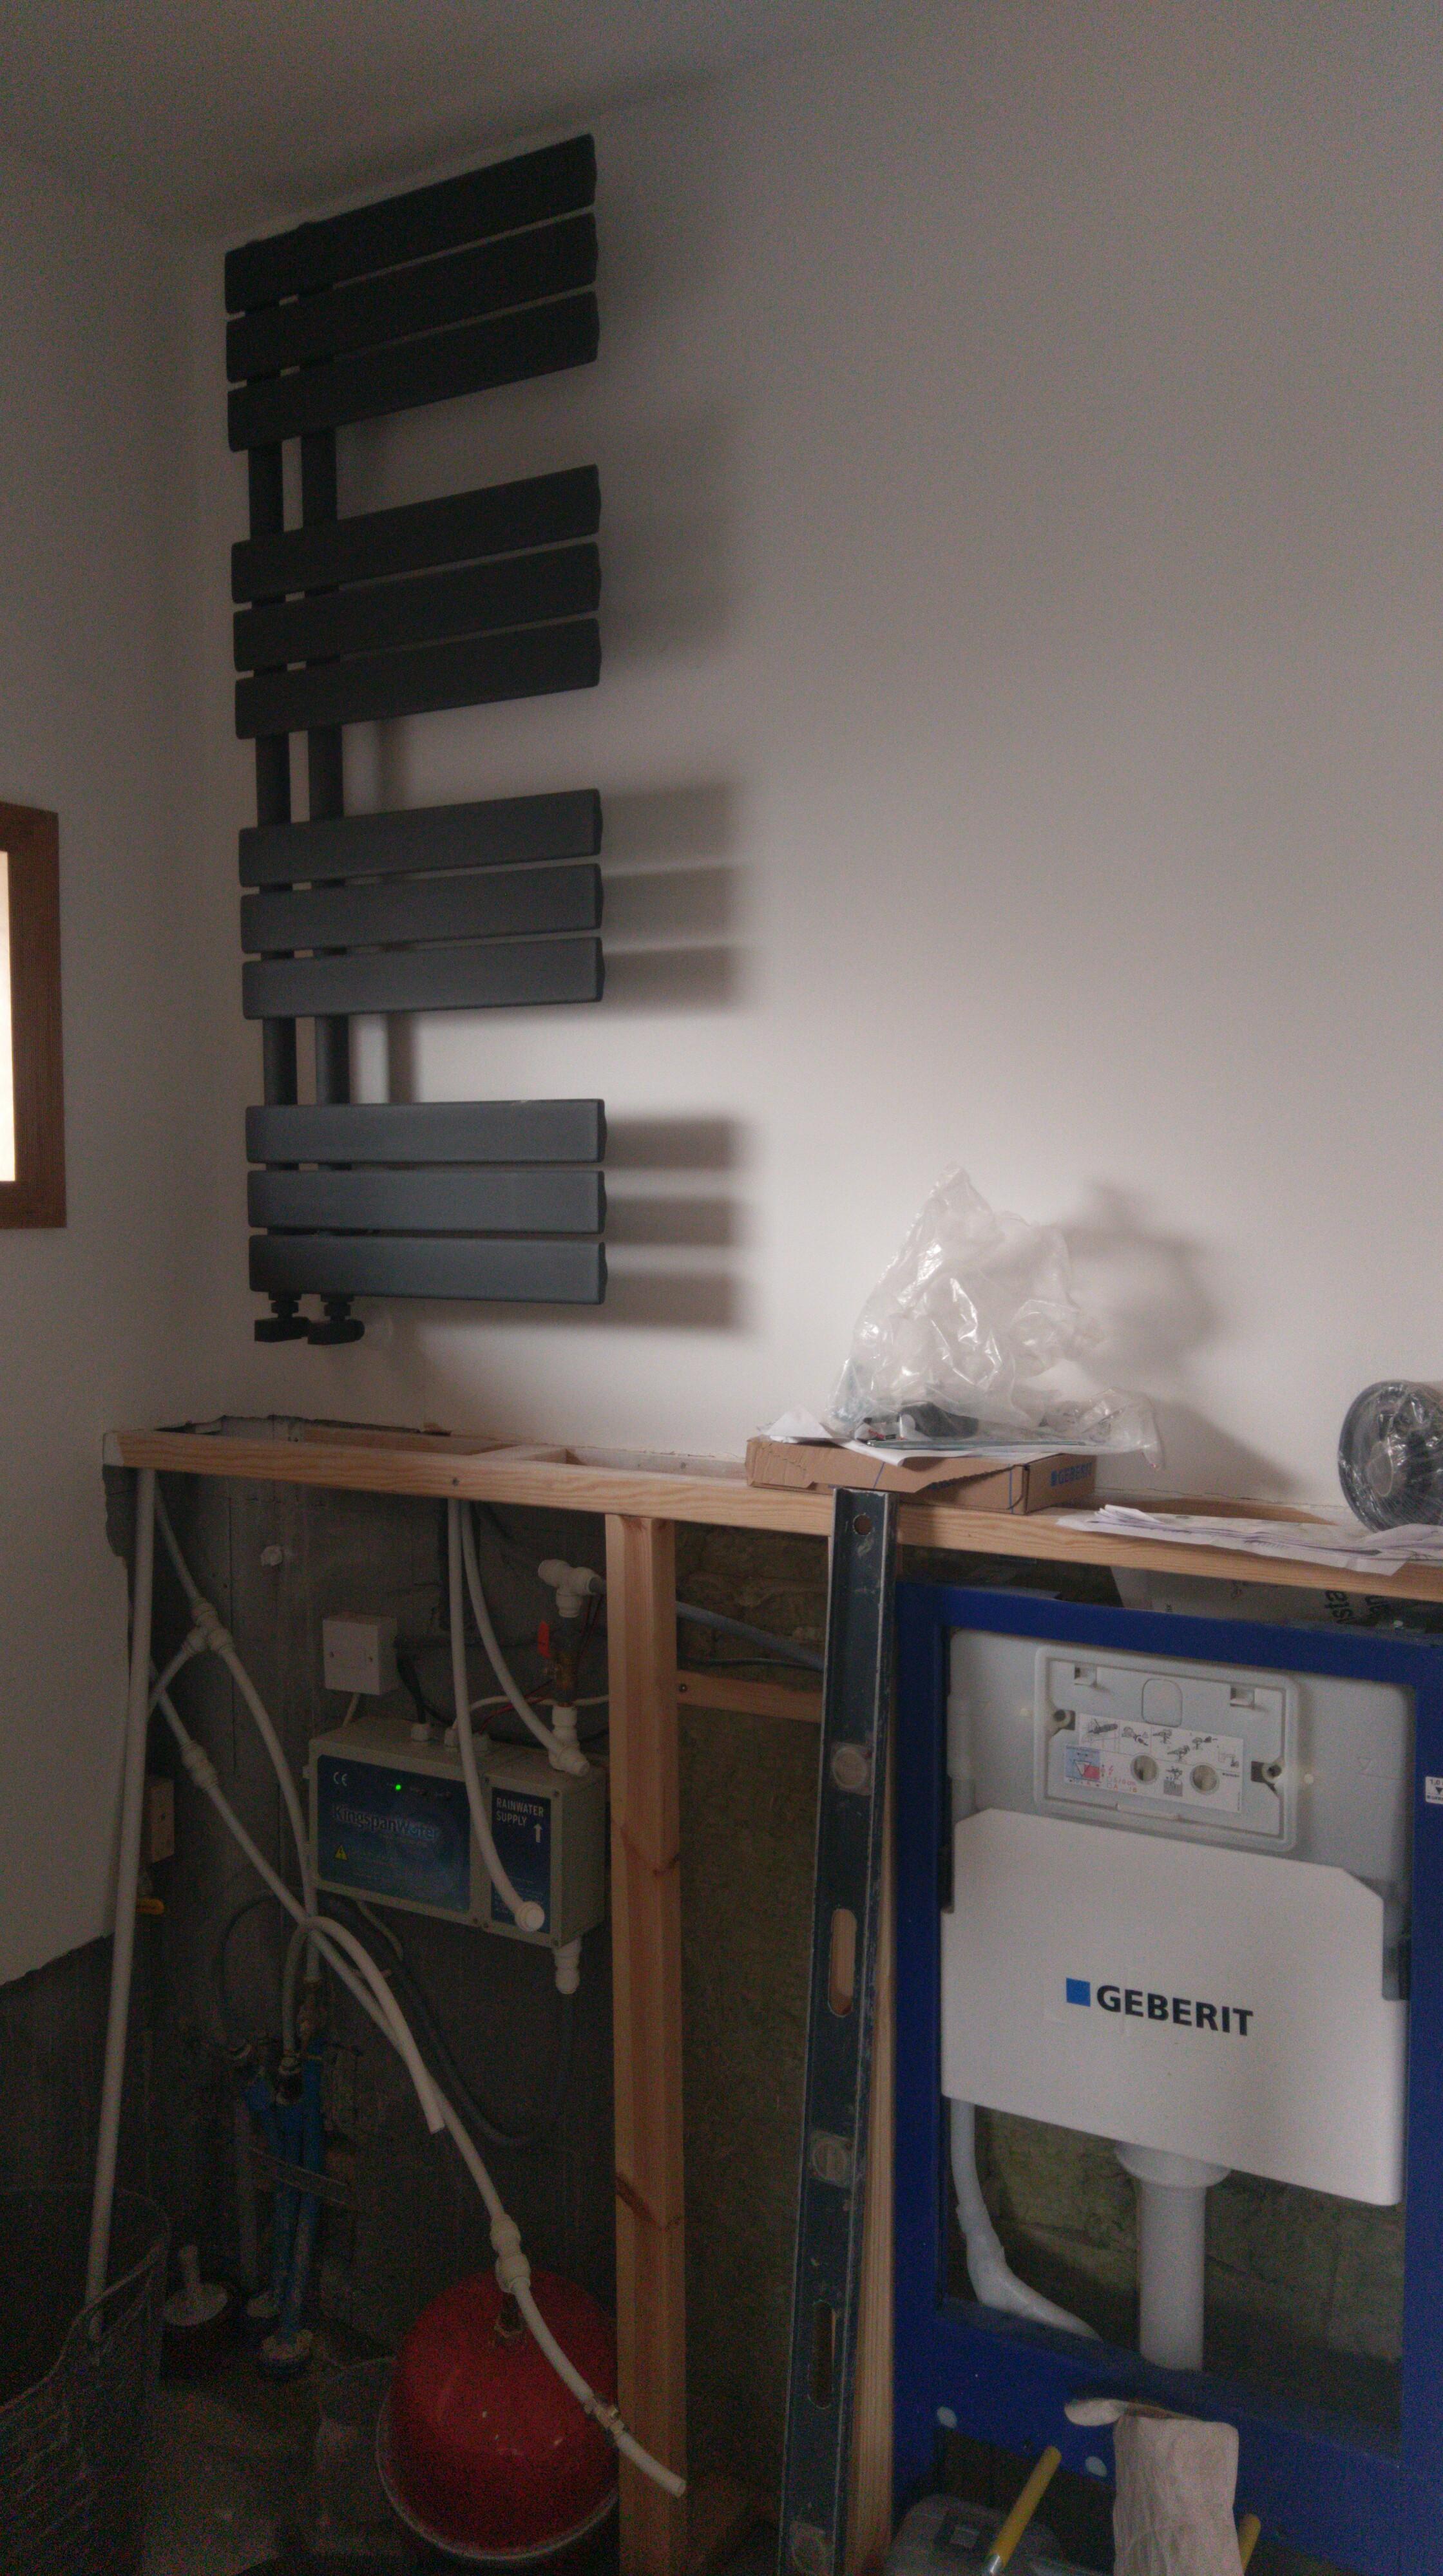
At this point the system was holding pressure and all looked good, time to call in a gas safe man to commission the boiler. Called a couple of local gas fitters only to discover they were not prepared to commission a boiler they had not installed. Tried “check a trade” and one of the gas fitters replied saying he wanted to see the installation before taking the job on which is fair enough. Well, he turned up looked at the installation and said he was prepared to do the commissioning, he also pointed out that pipes within 1M of the boiler should be copper and not push fit fittings. We’ve been reciting building regs in our sleep since starting this project and had completely missed this requirement. We had done the gas pipe in copper of course, but why the water pipes? Still no point in arguing….so out comes the carefully installed kitchen cupboard and pipes replaced. Pressurised the system and guess what a leak, this time in a push fit with the new copper pipe. The pipe had caught the o-ring and cut it in two. Easily fixed but none the less annoying when you can’t see any benefit from changing the last meter of pipe to copper. All fixed time to call the gas man in, only to discover his colleague had a covid contact and they were all waiting on test results. Two weeks elapsed before he could come back and the boiler was commissioned at last. Bliss watching the room thermometer slowly creep from 9C to 18C. It certainly makes turning up on site a lot more welcoming.
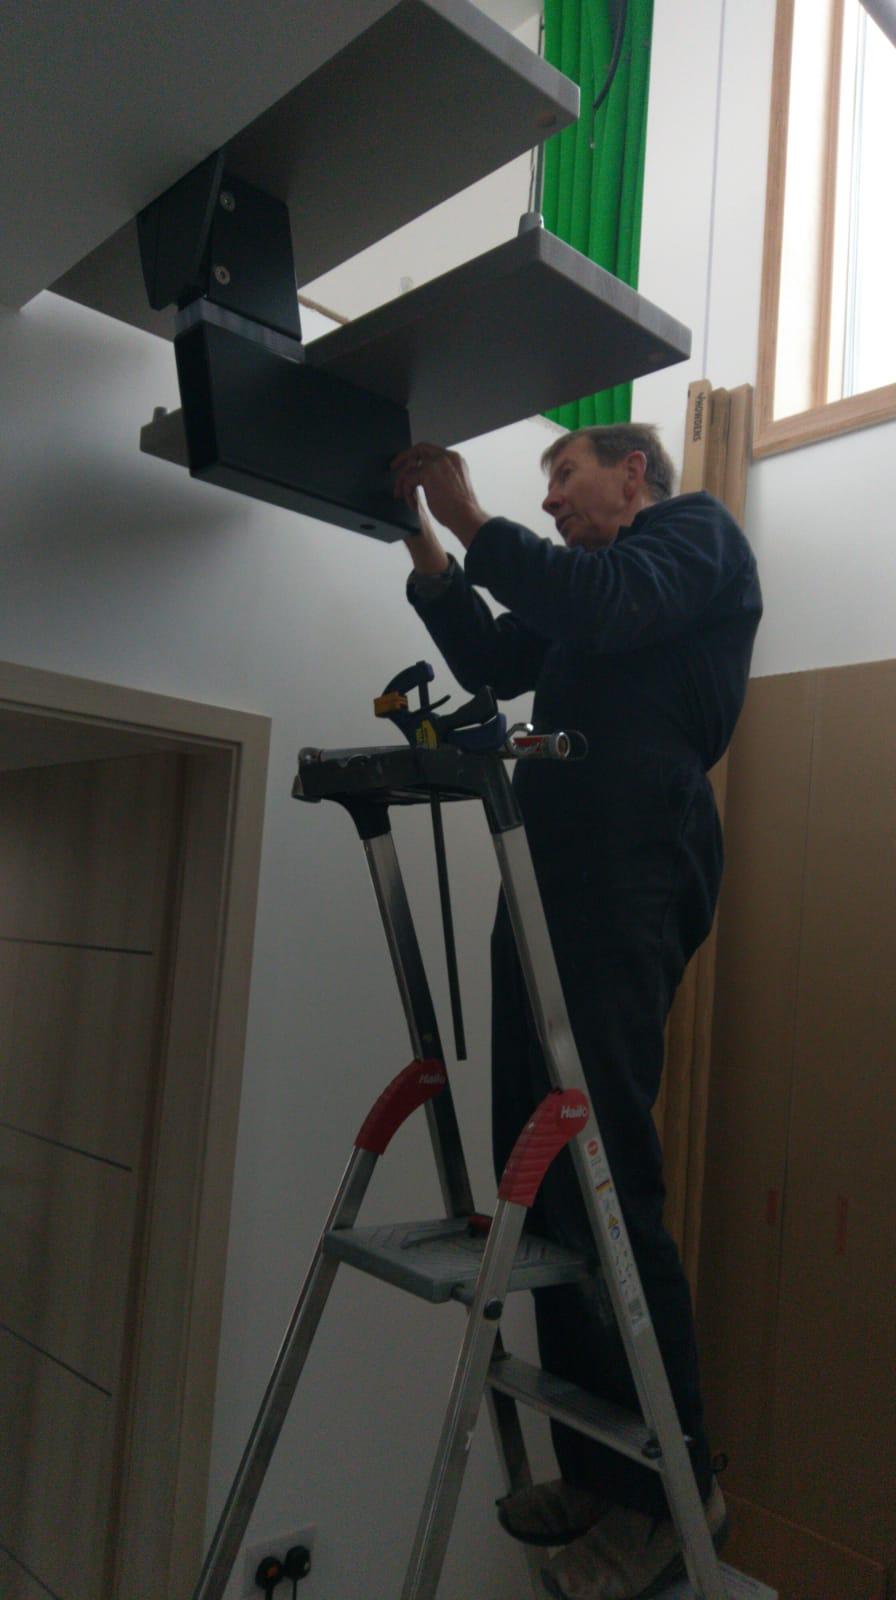
Last but not least we got our stairs in. We had bought the stairs from Fontanot last year and had agreed that the manufacturer would store them until we could take delivery. So they had been sitting in packing crates in Italy since last June and we didn’t get them delivered until October. They were well packed and all we did at the time was a superficial check of the contents, no damage, all present and correct. The stairs are modular and very minimalist, they give the impression of floating in air. Each stair tread support is connected to the next with an M20 bolt through the steel tread supports and spacing shims. It gets built from the top, so you start by installing the head bracket, then each tread until you get to the bottom step where another bracket secures the foot. On the ground floor this is fine, on the first to second floor it isn’t as the stairs don’t terminate on a horizontal floor. The manufactures representative had been on site so was well aware of this, the drawings also showed this but the stair kit shipped was identical to the lower stair. We contacted the supplier who was very responsive and would get back to me with a solution. Time ticked by with no word, so we contacted them again. They rather sheepishly admitted they had no “stock” solution and would have to make up a special bracket. Time ticked by again and we contacted them for progress. What they came back with was not elegant to say the least and would have spoilt the line of the stairs which are a feature of the build. We took a look at alternatives and realised that modifying one of the standard head brackets and mounting it inverted would provide a much better looking solution.
New head bracket ordered from Italy along with a tread support. The tread support was modified to bolt directly to the head bracket. Progress at last. Modified bits arrived and unpacked, modifications just perfect, but they were the wrong colour...doh! So we are not out of the woods yet. It will get resolved just it is proving a rather painful process.
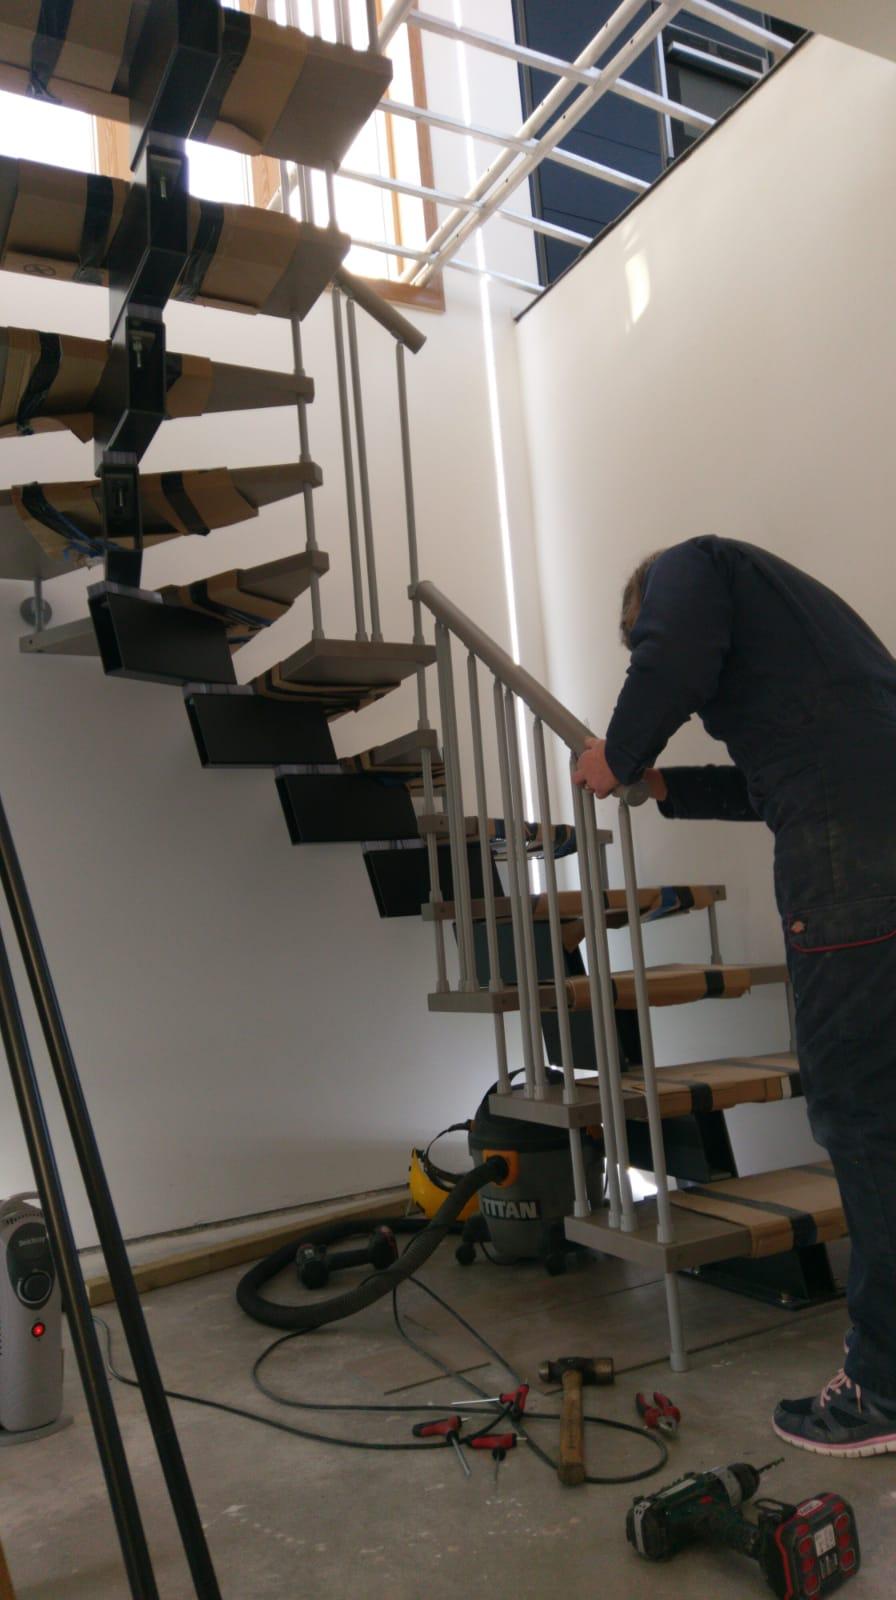
Back to installing the ground floor stair. Working from the top, the steps adding one at a time using hand rails rods to maintain positioning. The bolts get torqued to 140nm, even so the stairs moved around rather worryingly. Every third step we put a wooden prop to support the construction. By the time you get the bottom step there is a LOT of weight in the structure and it did not feel at all firm.

The bottom tread support bolts in to the floor. In our case this is an insulated concrete raft, which is fine as it is strong and plenty deep enough. However it does have a lot of re-enforcing rod, needless to say we found it on two of the four holes. Drilling through with a masonry drill should be possible, but we didn’t manage it and ended up ruining two good quality 12mm HSS bits to get through it. I’m sure there are better ways to do it, over an hour per hole. At last we could bolt down the bottom step. With all the steps secured we left the props in and installed the had rails and four stabiliser brackets. With some trepidation the supports were removed and a tentative test at climbing them was made. They were solid as a rock! Result.
-
 12
12
7 Comments
Recommended Comments
Create an account or sign in to comment
You need to be a member in order to leave a comment
Create an account
Sign up for a new account in our community. It's easy!
Register a new accountSign in
Already have an account? Sign in here.
Sign In Now