Jump to content

Kitchen almost complete!


MikeGrahamT21

2012 views

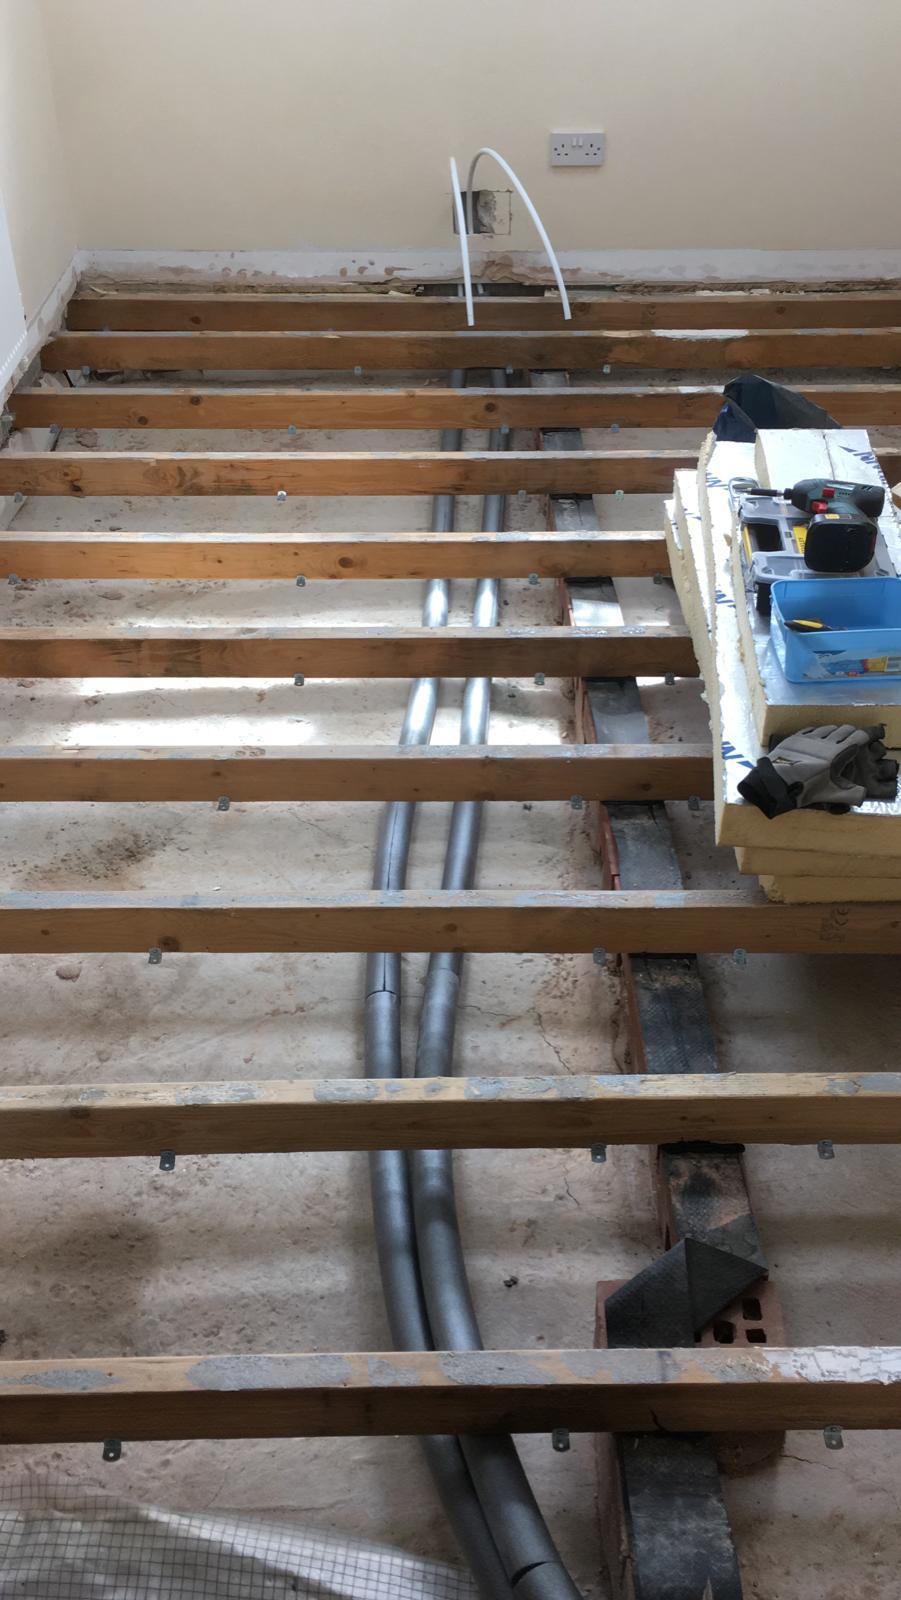
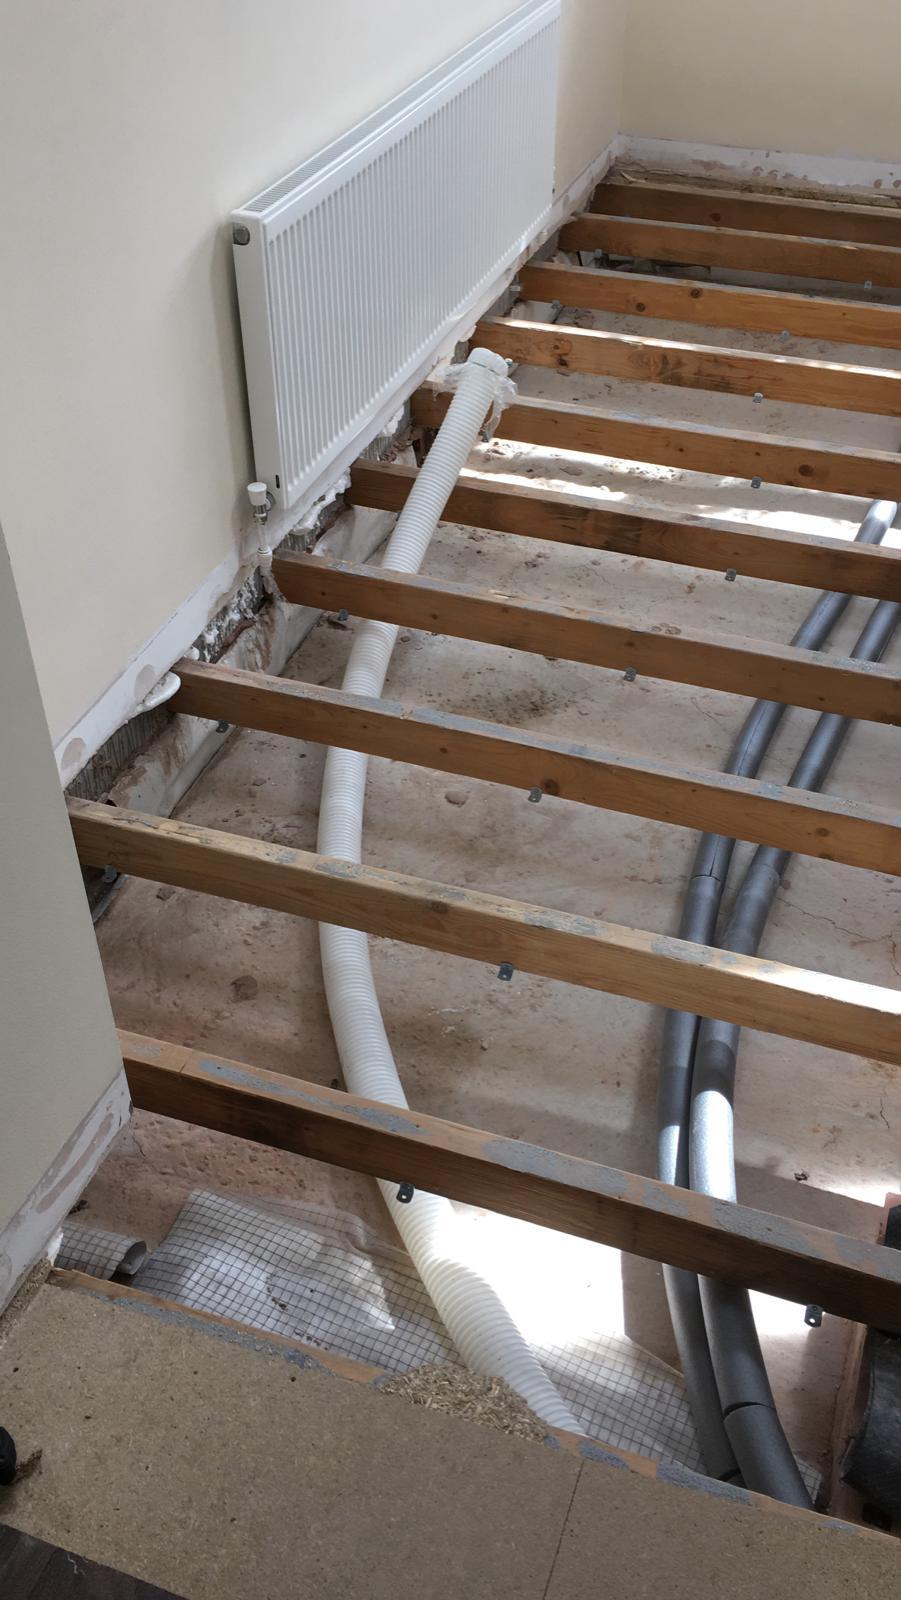
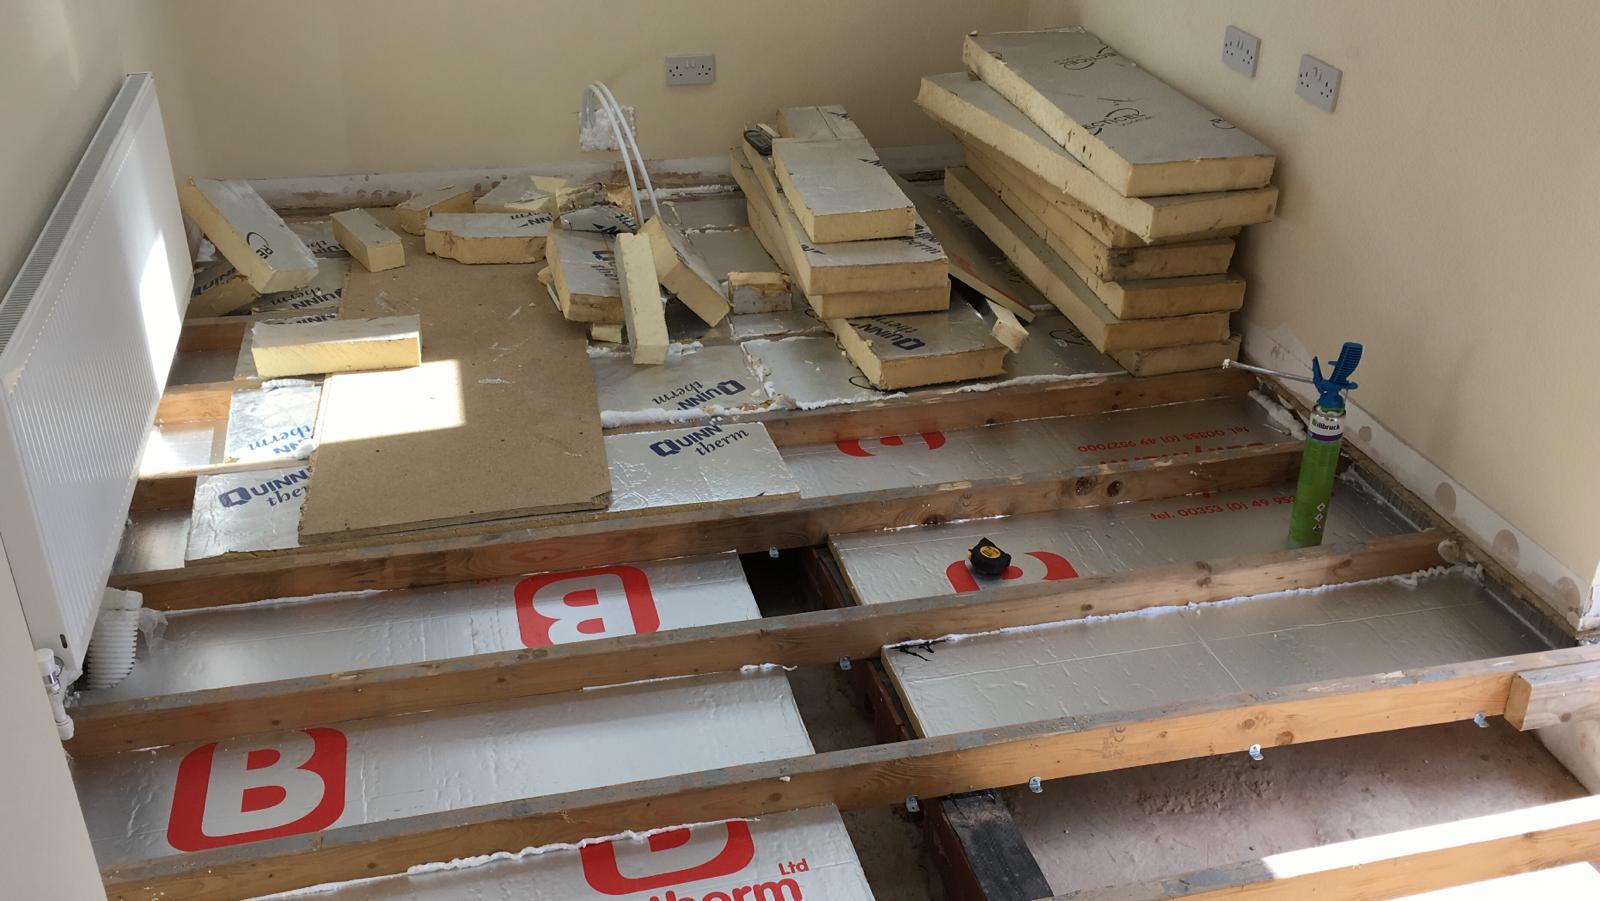
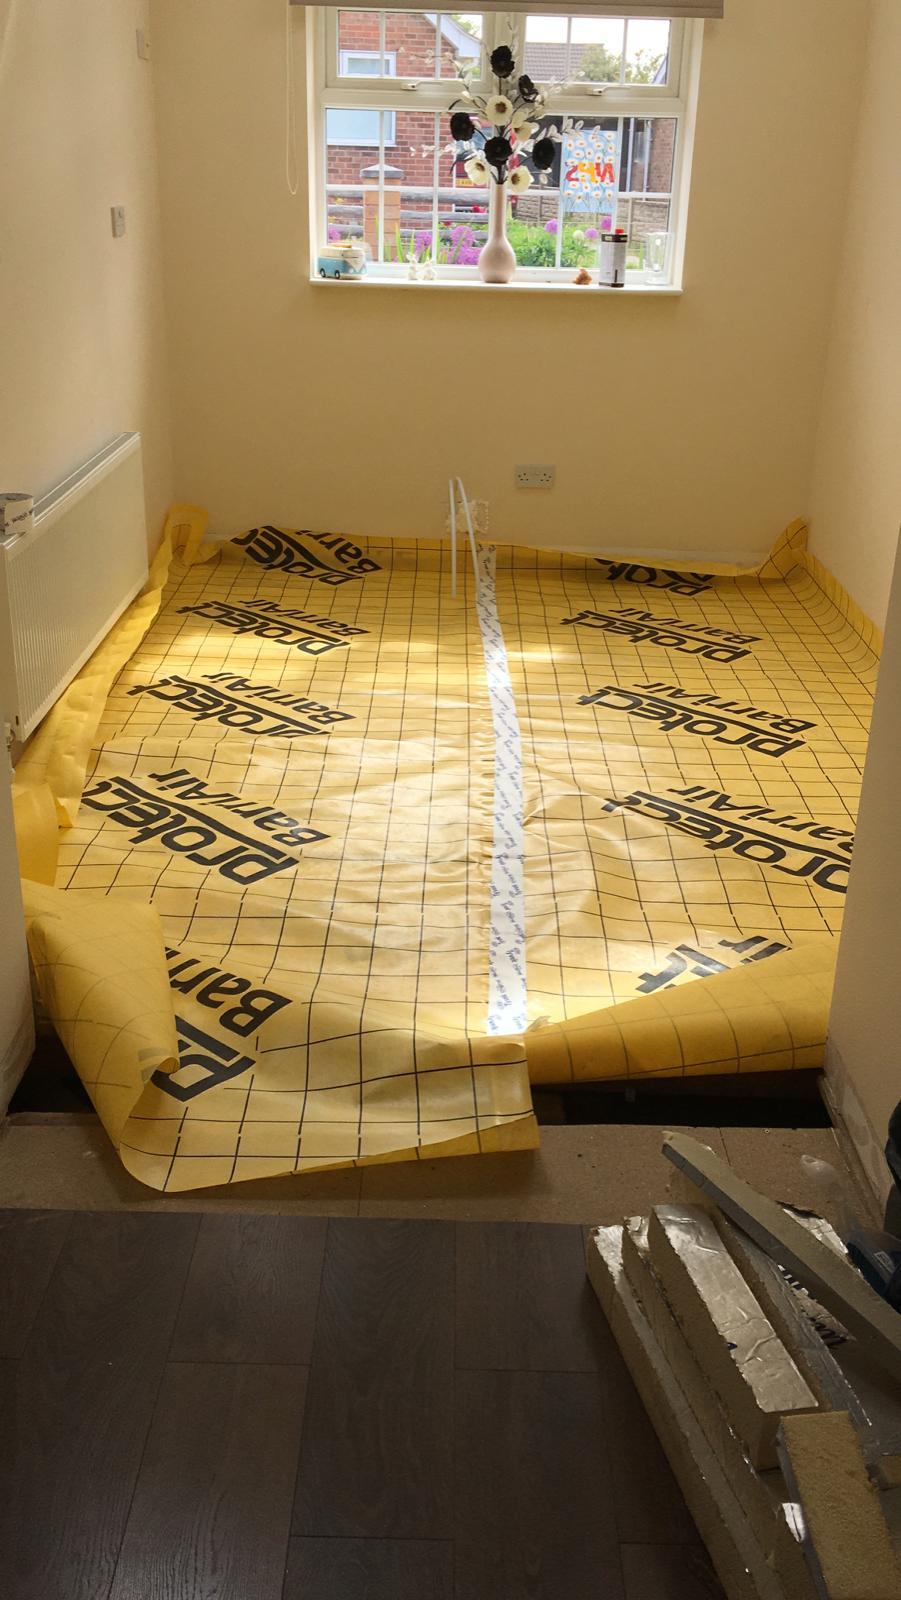
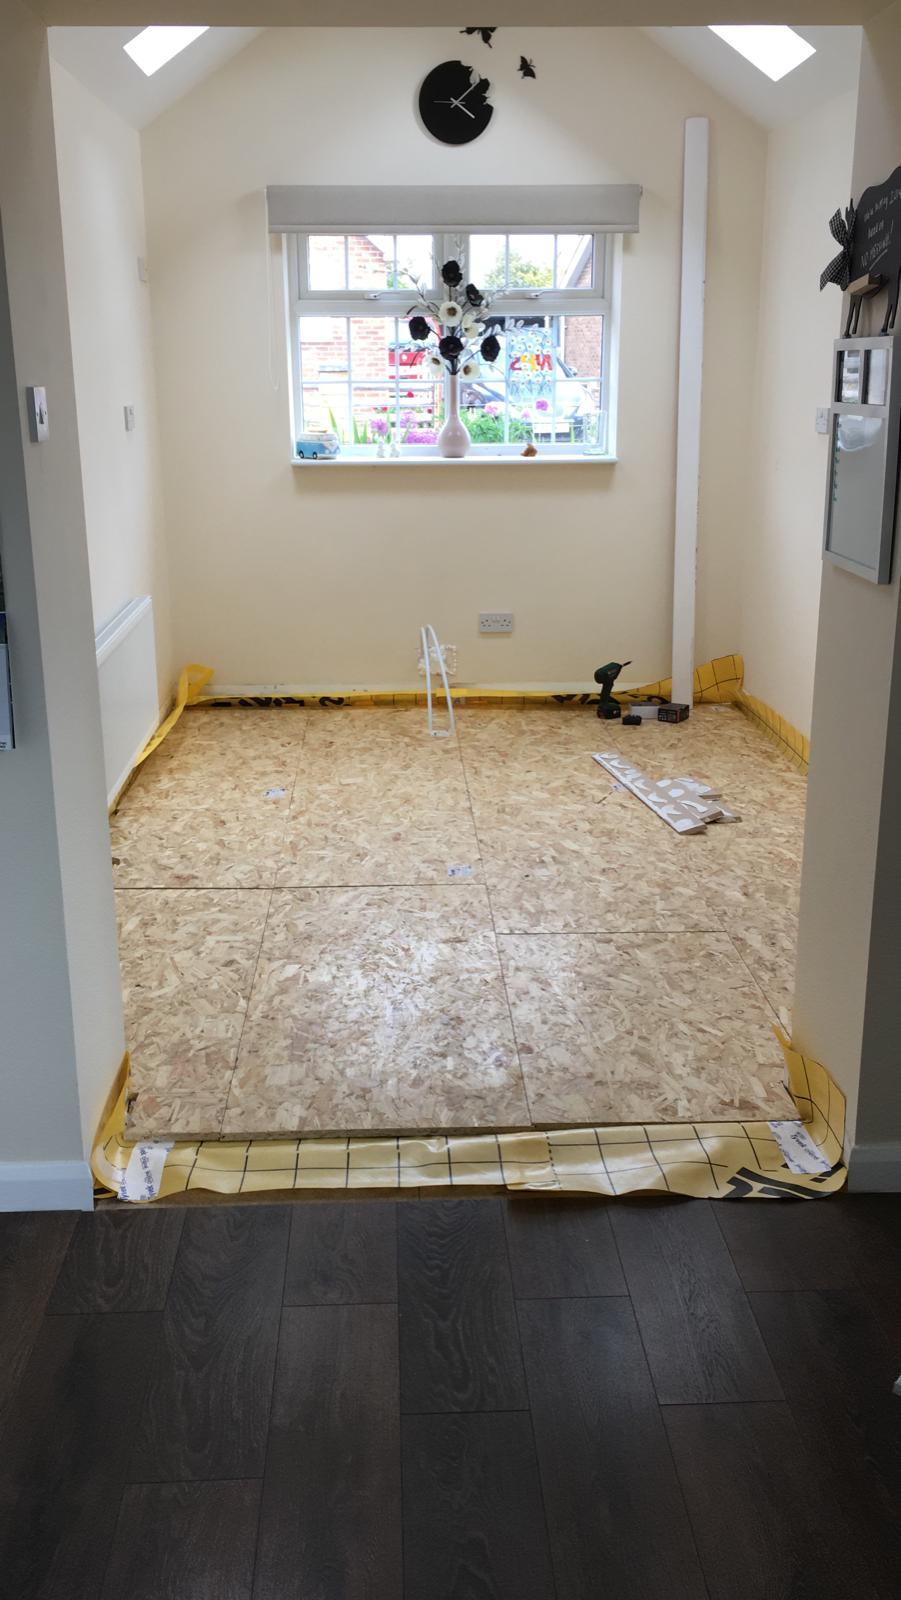
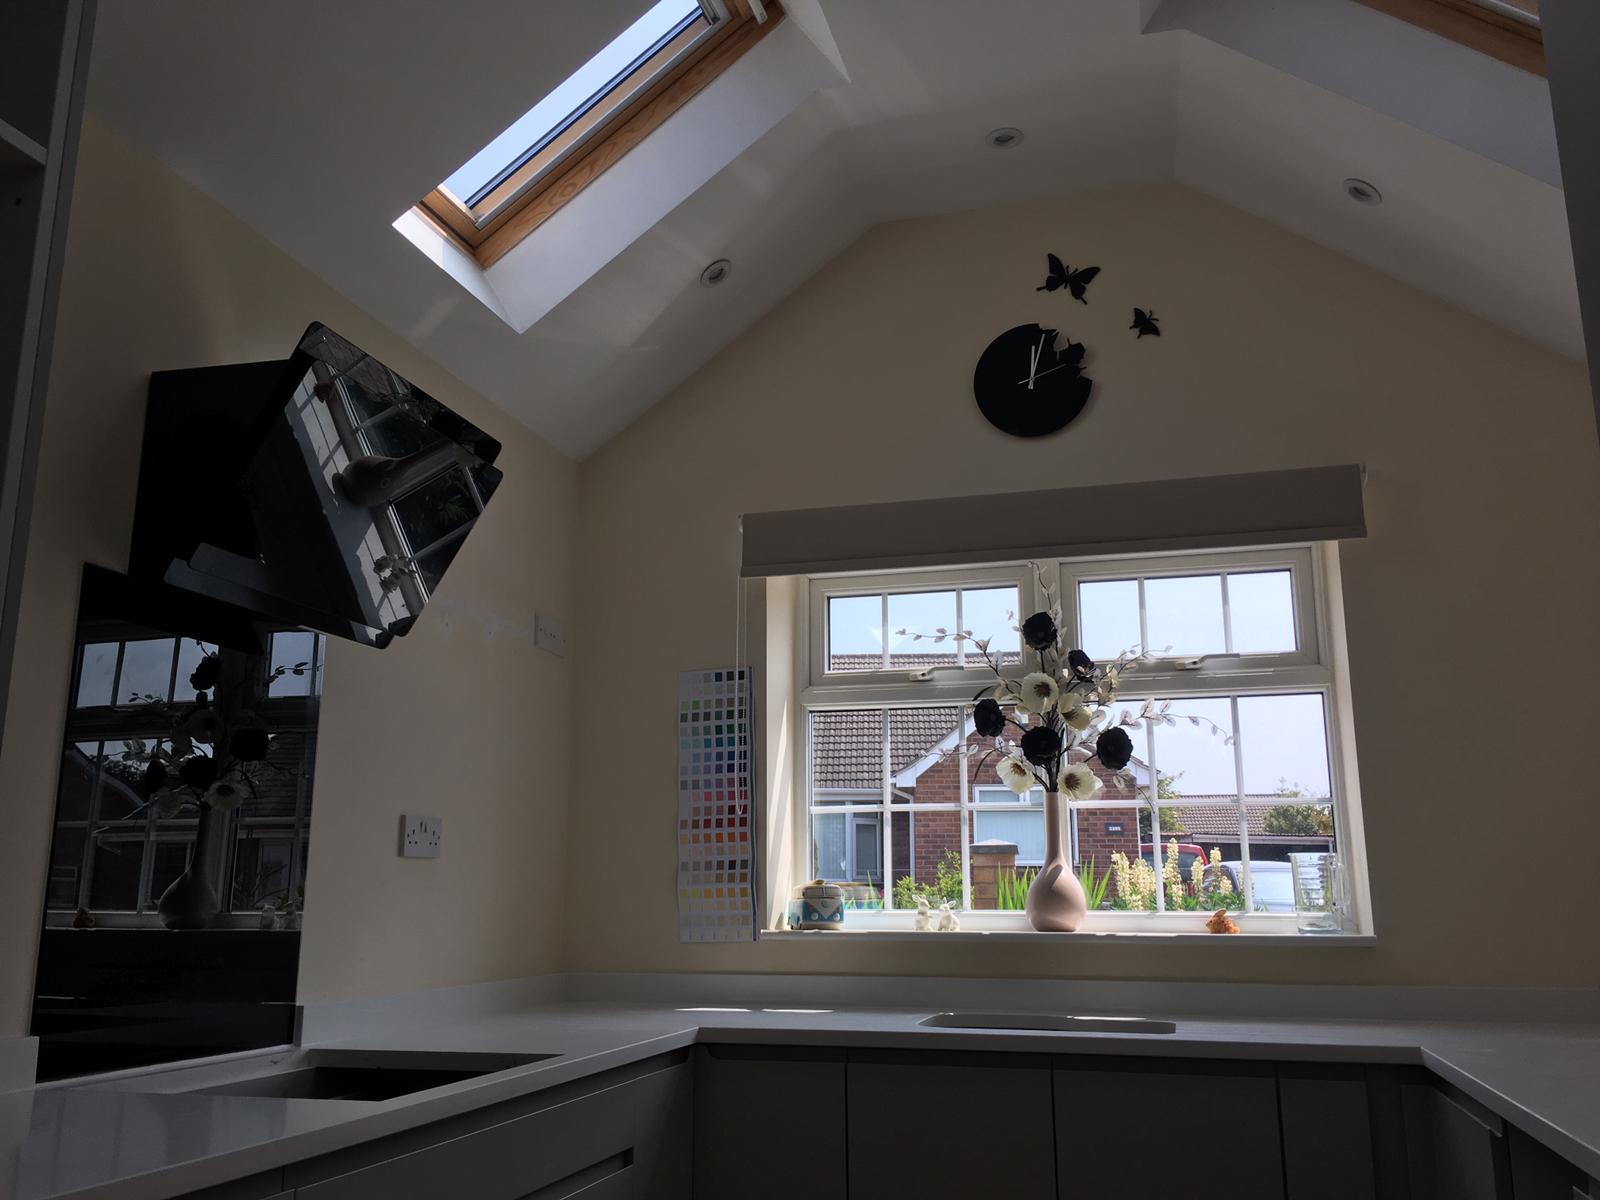
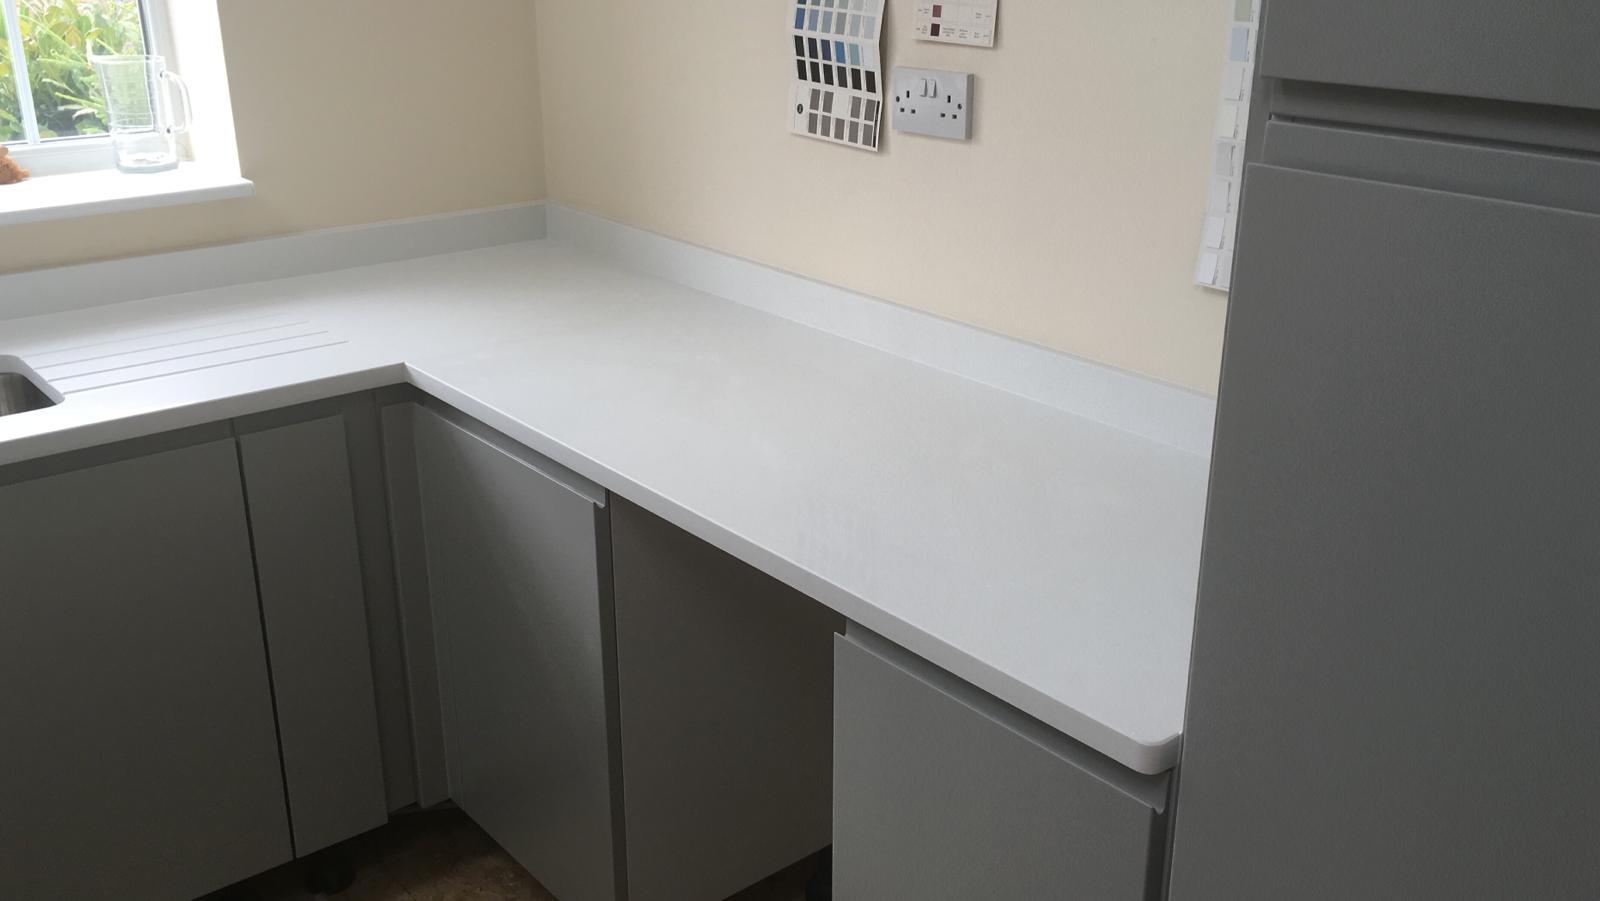
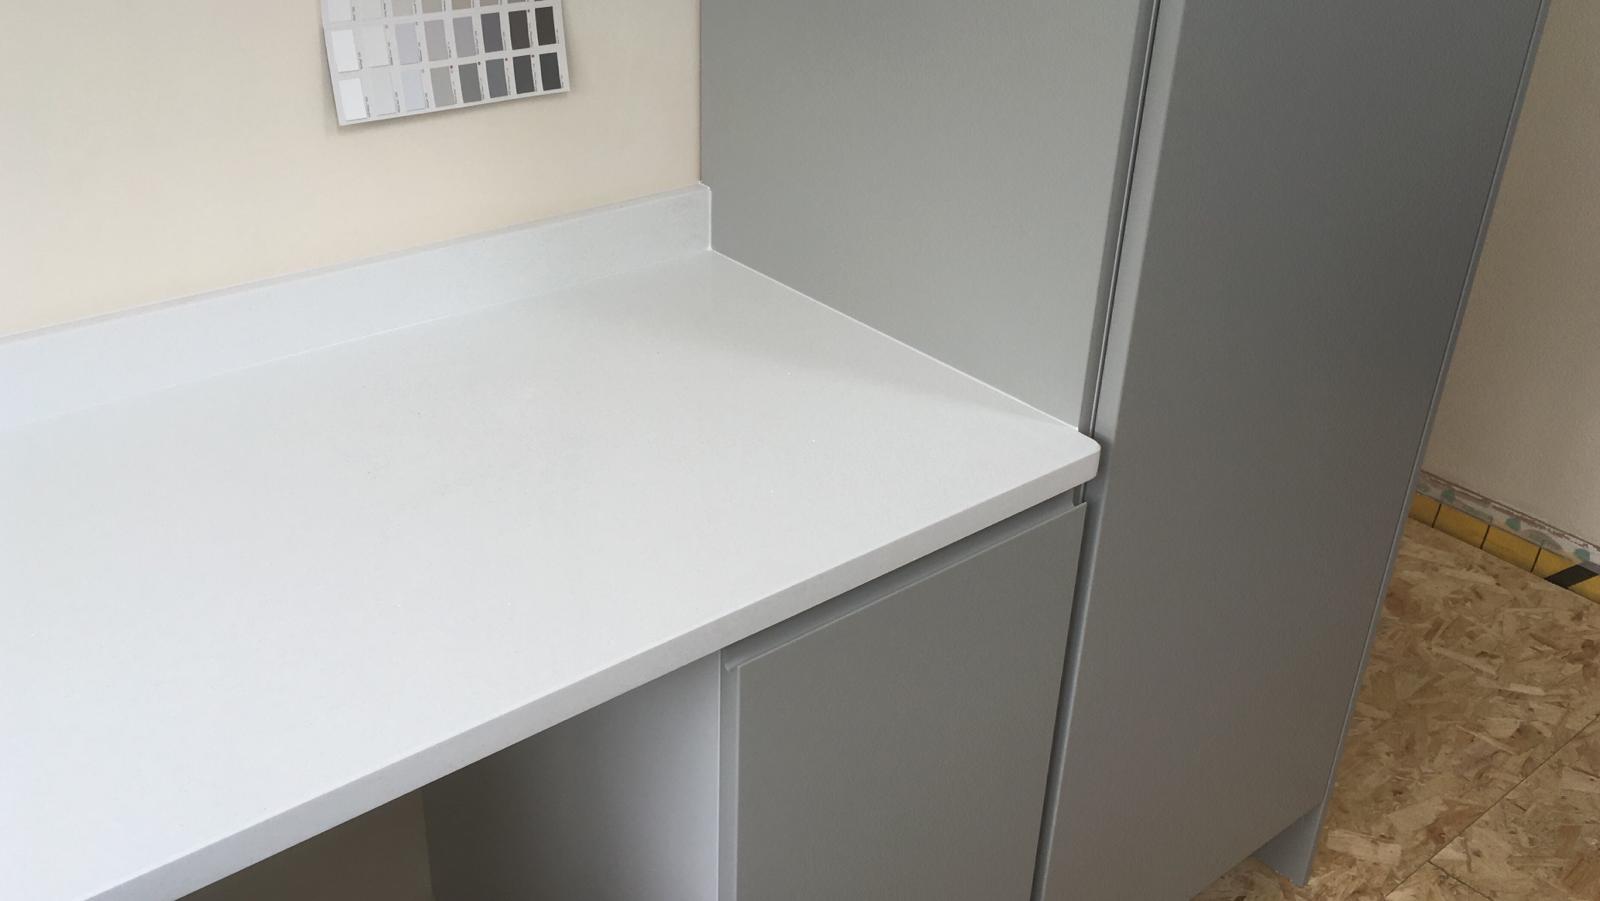
So this one has been 10 years in the making, which is when I originally built this extension, and not long after i'd built it, the outdoor bunny became an indoor bunny! So the glorified rabbit hutch has now become the kitchen it was intended to be. Worktops just been installed. Will crack on with tap, dishwasher, hob, and oven later this week. Really pleased with it all, just need to choose some paint, but will sort that in the autumn, as I've got the old kitchen to rip out and the room to bare brick, and floor to replace first!


934765503_WhatsAppImage2020-05-16at10_18_37.thumb.jpeg.38777410b87aace2596b91008693e43b.jpeg


1586381972_WhatsAppImage2020-05-16at11_07_13.thumb.jpeg.edcc95d59ca45aeb1b90d9049a0aadb9.jpeg


1772856457_WhatsAppImage2020-05-16at13_24_45.thumb.jpeg.594255f4fae2b3c3e68bbf3082dfc7d0.jpeg


190735144_WhatsAppImage2020-05-17at10_46_20.thumb.jpeg.10d505a690827eb3b991356d1a806dff.jpeg


1556997985_WhatsAppImage2020-05-17at16_11_11.thumb.jpeg.676ee7647890ac70e94c6112ddf85176.jpeg


336121239_WhatsAppImage2020-06-15at12_06_29.thumb.jpeg.68a51cd321b152099d4baa2fbf0651c2.jpeg


1556935805_WhatsAppImage2020-06-15at11_26.10(1).thumb.jpeg.0cfa93ce22d5dc3b2cf5cb67d5ed8d93.jpeg


1065315683_WhatsAppImage2020-06-15at11_26_10.thumb.jpeg.6cb289cb645eae73367a90a6b5ecabd4.jpeg


1840209432_WhatsAppImage2020-06-15at11_26.11(1).thumb.jpeg.088686f80502850cf0063520d6a27ddb.jpeg


2006486093_WhatsAppImage2020-06-15at11_26_11.thumb.jpeg.91ead4a9f4caee04bd7f1251eb09320e.jpeg


542123161_WhatsAppImage2020-06-15at11_26.12(1).thumb.jpeg.be005b9296fd615f9a7688a751c42959.jpeg


435383580_WhatsAppImage2020-06-15at11_26_12.thumb.jpeg.223ad7697ffa35f267b8d95f4c5a5a10.jpeg


  • Like 8

10 Comments


Recommended Comments

Nearly there! Just waiting for DIY Kitchens to come and fit the mechanism for cupboard doors on the oven unit.


690D6A0C-A772-4D88-951F-DD4F7F8176E7.thumb.jpeg.8010d1055c6411842ba496d864fa1ef9.jpeg
 

CB1EB9AD-91FD-44F8-AA99-9175C4905415.thumb.jpeg.32ee2dd42bd975d545f65119732da611.jpeg


4107FABE-7C3D-421F-8CC5-254FEA0D3048.thumb.jpeg.f5d074fccd6a78f62a5a3b487e36d8f2.jpeg


  • Like 2
Link to comment

That is looking good! I'm always a big fan of a brand new kitchen.


Regarding the sink cutout, do the installers use/need the sink manufacturer's technical drawings or do they just measure up on site? Also, we're having a 1.5 bowl undermount sink just like yours and wondered if it's necessary to ensure it doesn't sit proud of the cupboard i.e. do you need to recess the lip of the sink slightly (by its depth e.g. couple of mm) on whatever ends up supporting it? (Ours will be sitting in single width cupboard so it'll be supported by the vertical side panels).

Link to comment
45 minutes ago, MJNewton said:

That is looking good! I'm always a big fan of a brand new kitchen.


Regarding the sink cutout, do the installers use/need the sink manufacturer's technical drawings or do they just measure up on site? Also, we're having a 1.5 bowl undermount sink just like yours and wondered if it's necessary to ensure it doesn't sit proud of the cupboard i.e. do you need to recess the lip of the sink slightly (by its depth e.g. couple of mm) on whatever ends up supporting it? (Ours will be sitting in single width cupboard so it'll be supported by the vertical side panels).

Talk to your stone supplier.  Our sink is hung from the underside of the wotktop with no support from the kitchen units.

Link to comment

Oh okay! Hung in what way? Glued presumably? (I am assuming there aren't many screw-type fixing methods available for thin quartz-type worktops?

Link to comment
43 minutes ago, MJNewton said:

Oh okay! Hung in what way? Glued presumably? (I am assuming there aren't many screw-type fixing methods available for thin quartz-type worktops?

The fixings are epoxied to the underside of the worktop in site. the whole underside of the worktop had been prepared with a rough surface for that purpose.


The fitting process is more involved than I expected. It starts by a site visit to template the worktops, which means making an exact 1:1 scale worktop in plywood, including any scribing to make it fit all the walls.  They then take the sink with them so the hole they cut is exactly right for the sink.  This is where you sort out details, e.g in our case we wanted the join between the full and half bowl to exactly line up with the centre of the kitchen window.


You will need to cut some of the sink unit away.


Anyway I seem to have hijacked Mike's blog so if you want to ask more tag onto my kitchen worktop thread


  • Thanks 1
Link to comment

Sheffield Solid Surfaces (SSS) where i got mine from used some sheets of plastic to template the room, and made a complete mock up, with all cuts. With regards the undermount sink, they need to know the model number of the sink you want, SSS already had a jig made up for this sink, but they took the sink with them to ensure a perfect fit, so ensure you have it available.


Sink itself is glued to the underside of the tops, and then there are little blocks which were epoxied on, they look like some sort of stone, possibly marble, stunk to high heaven for a good couple of days.


With regards to the type of unit it fits in, there are minimum width units for the varying sinks, i'm sure you will have checked you had the right one. Mine is an 800mm wide, and theres not a huge amount of space either side the bowls.

Link to comment

Thanks Mike. Reassuring to hear things were done in a similar way, and effort, to that experienced by Dave. Thanks for the caution about the minimum unit sizes - we're going for a 1.5 bowl Franke Ariane and it specifies a standard 600mm as the minimum; notably with no room either side so if there are going to be any additional blocks etc glued we'll need to the hack the cupboard a bit - they might well just glued the sink and use the cupboard sides as the additional support assuming that's what purpose the blocks serve.

Link to comment

1831100960_XRIX42591.thumb.JPG.2b68b29ce5cb9abb26827d5b151d9def.JPG


Forgot to post this one, just the oven to raise up a bit which i'm going to do today, and then its onto flooring, kickboards and cornice which i'm hoping to get done this weekend, photos to follow!

  • Like 2
Link to comment

Didn't realise i'd not posted a final done photo. Just the walls to paint at some point, but not decided what colours to go with yet.


1184602775_IMG_10731.thumb.JPG.9ef5d1988fc65245e6bfa6aad22ae232.JPG

  • Like 1
Link to comment

Create an account or sign in to comment

You need to be a member in order to leave a comment

Create an account

Sign up for a new account in our community. It's easy!

Register a new account

Sign in

Already have an account? Sign in here.

Sign In Now
×
×
  • Create New...