
Treatment Tank/Landscaping

Entry posted by Thedreamer
2463 views
Hello,
Another post and another year of self building.
Since my last entry we have made some progress in a few areas.
I previously mentioned some trouble that I had with the treatment tank.
We choose a Tricel model as it is widely installed on Skye and the local merchants all suggested it. The alternative was a rotating one with moving parts which I was keen to avoid. Other models were getting costly to be delivered and would require some form of mechanical unloading at my end.
After my post I had a fair bit of communication with the manufacturer and the merchant. I didn’t back down and didn’t pay, in the end they backed down and sent a replacement. This went via Inverness and the merchant wanted to inspect before delivering to Skye, guess what they found?
.JPG.8556c2f79620620a9db58e365a6933cd.JPG)
Three tanks later and it’s now in the ground.
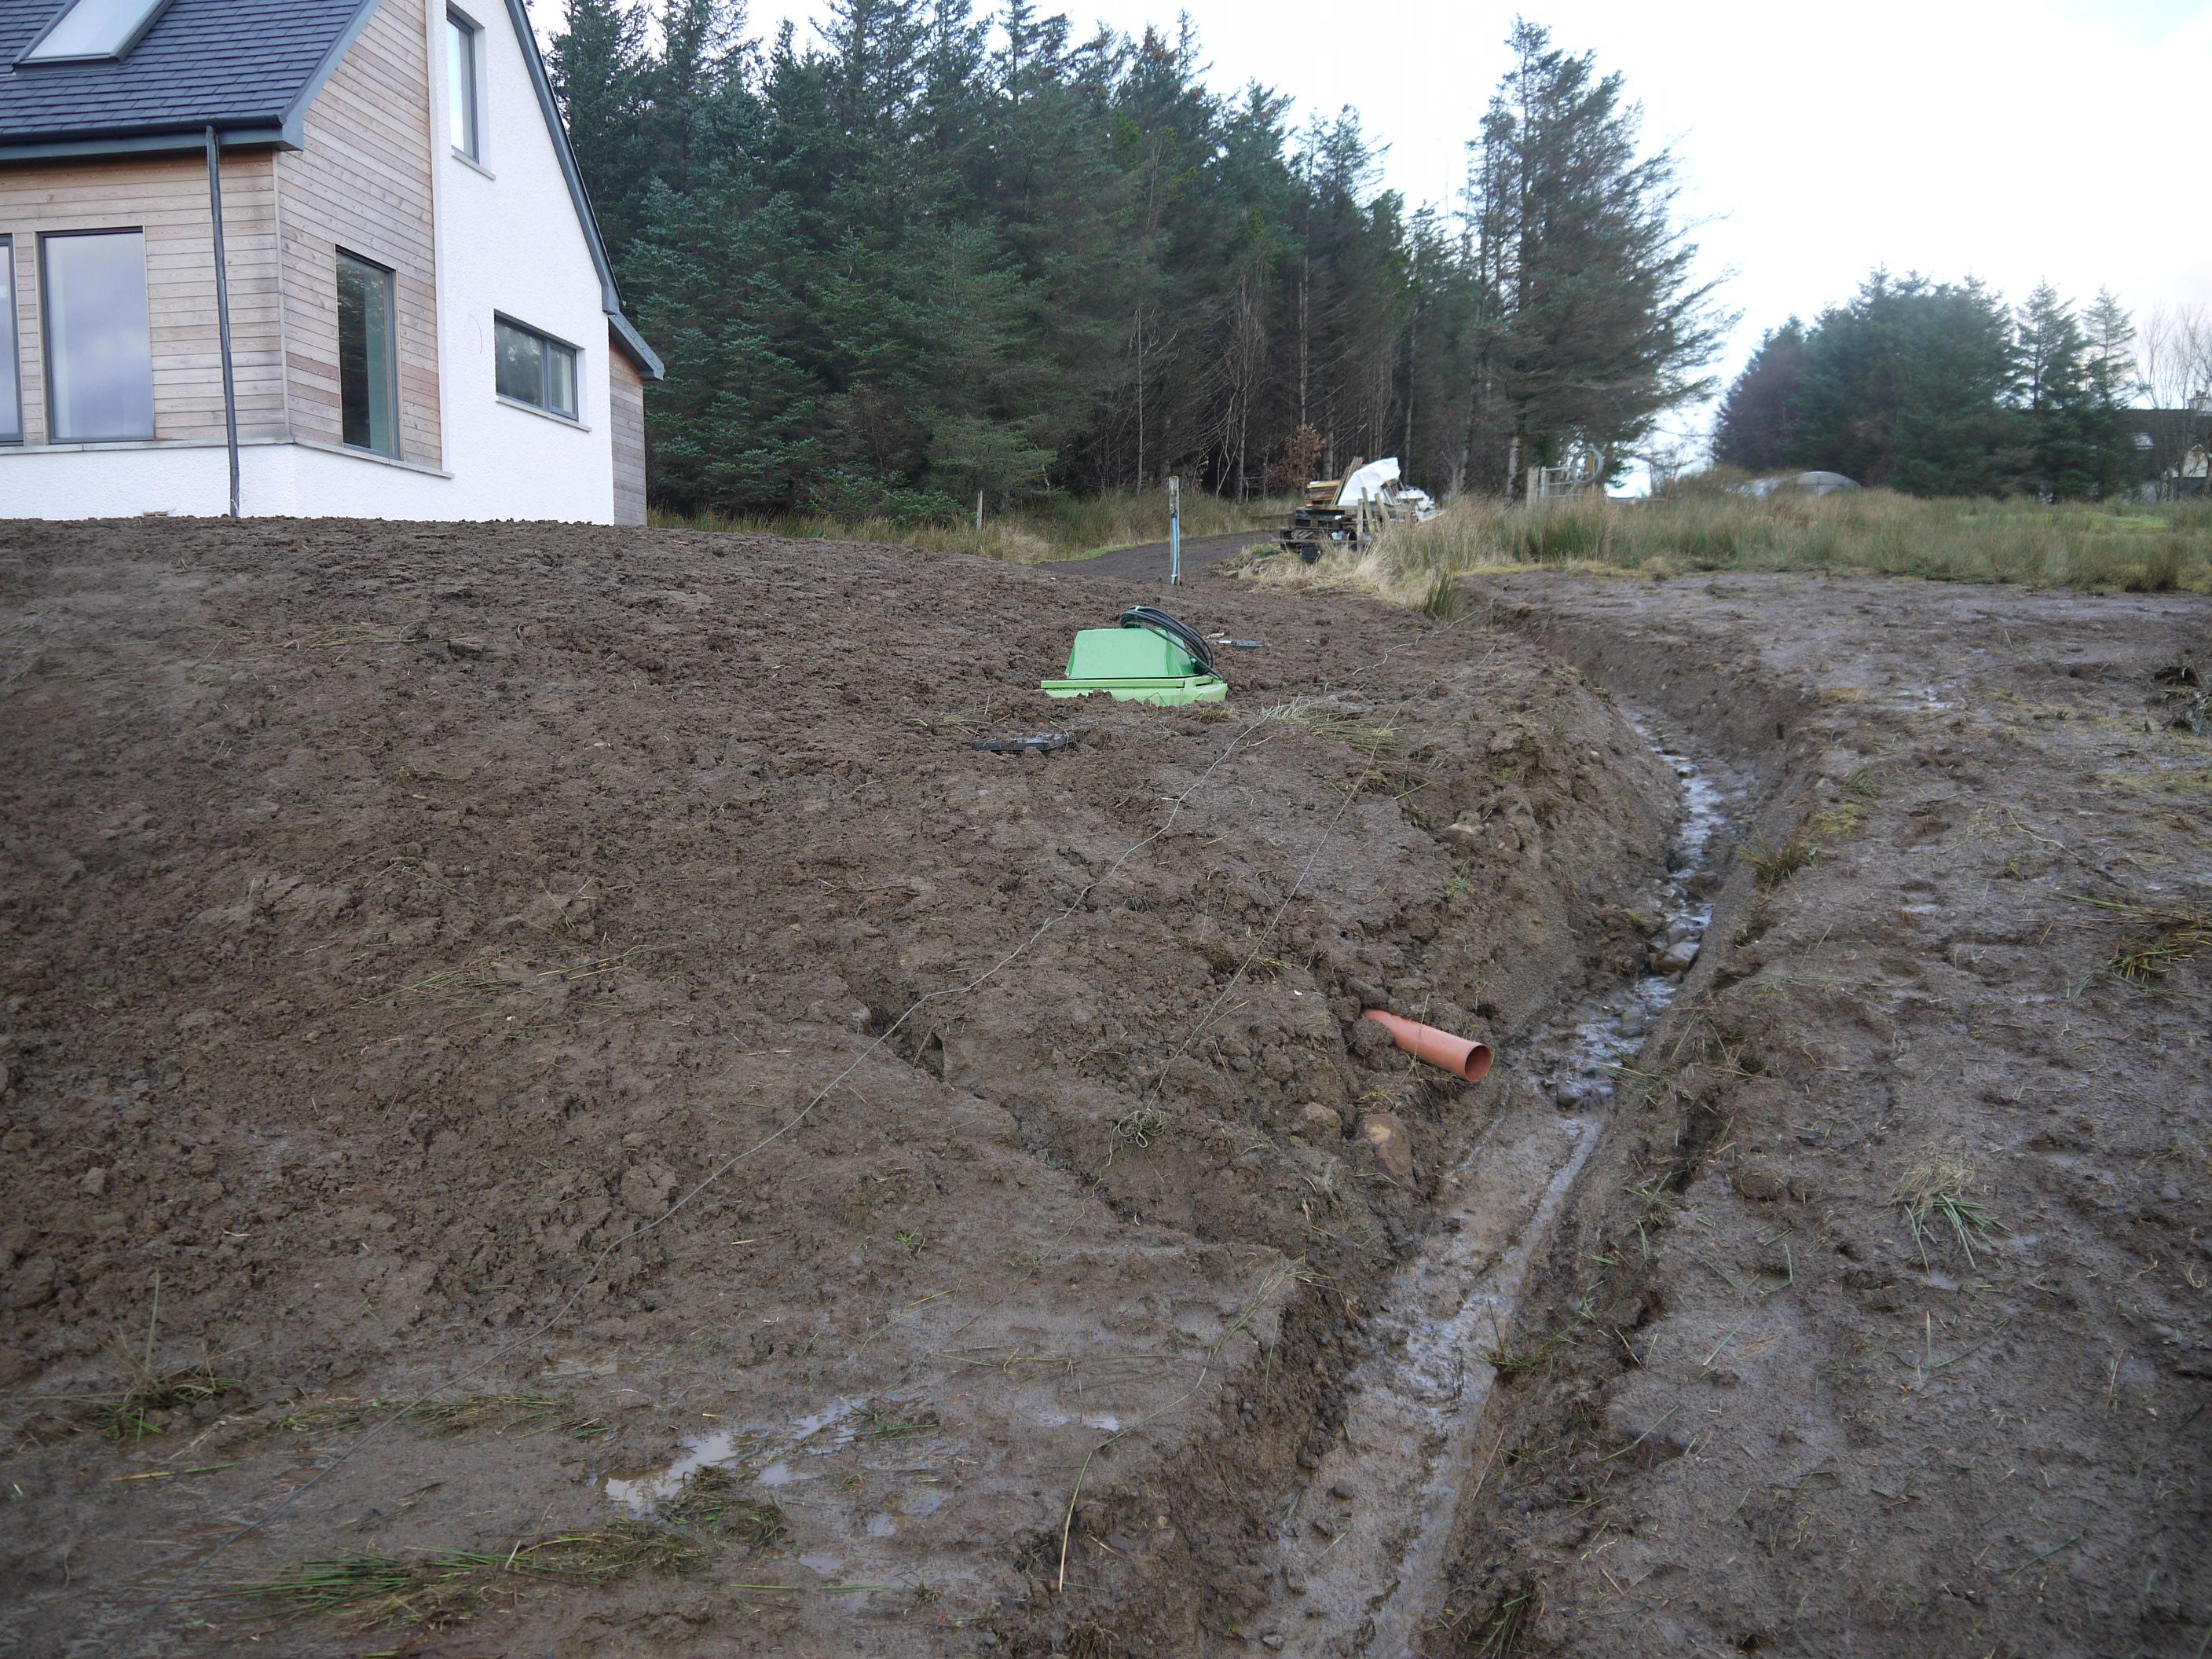
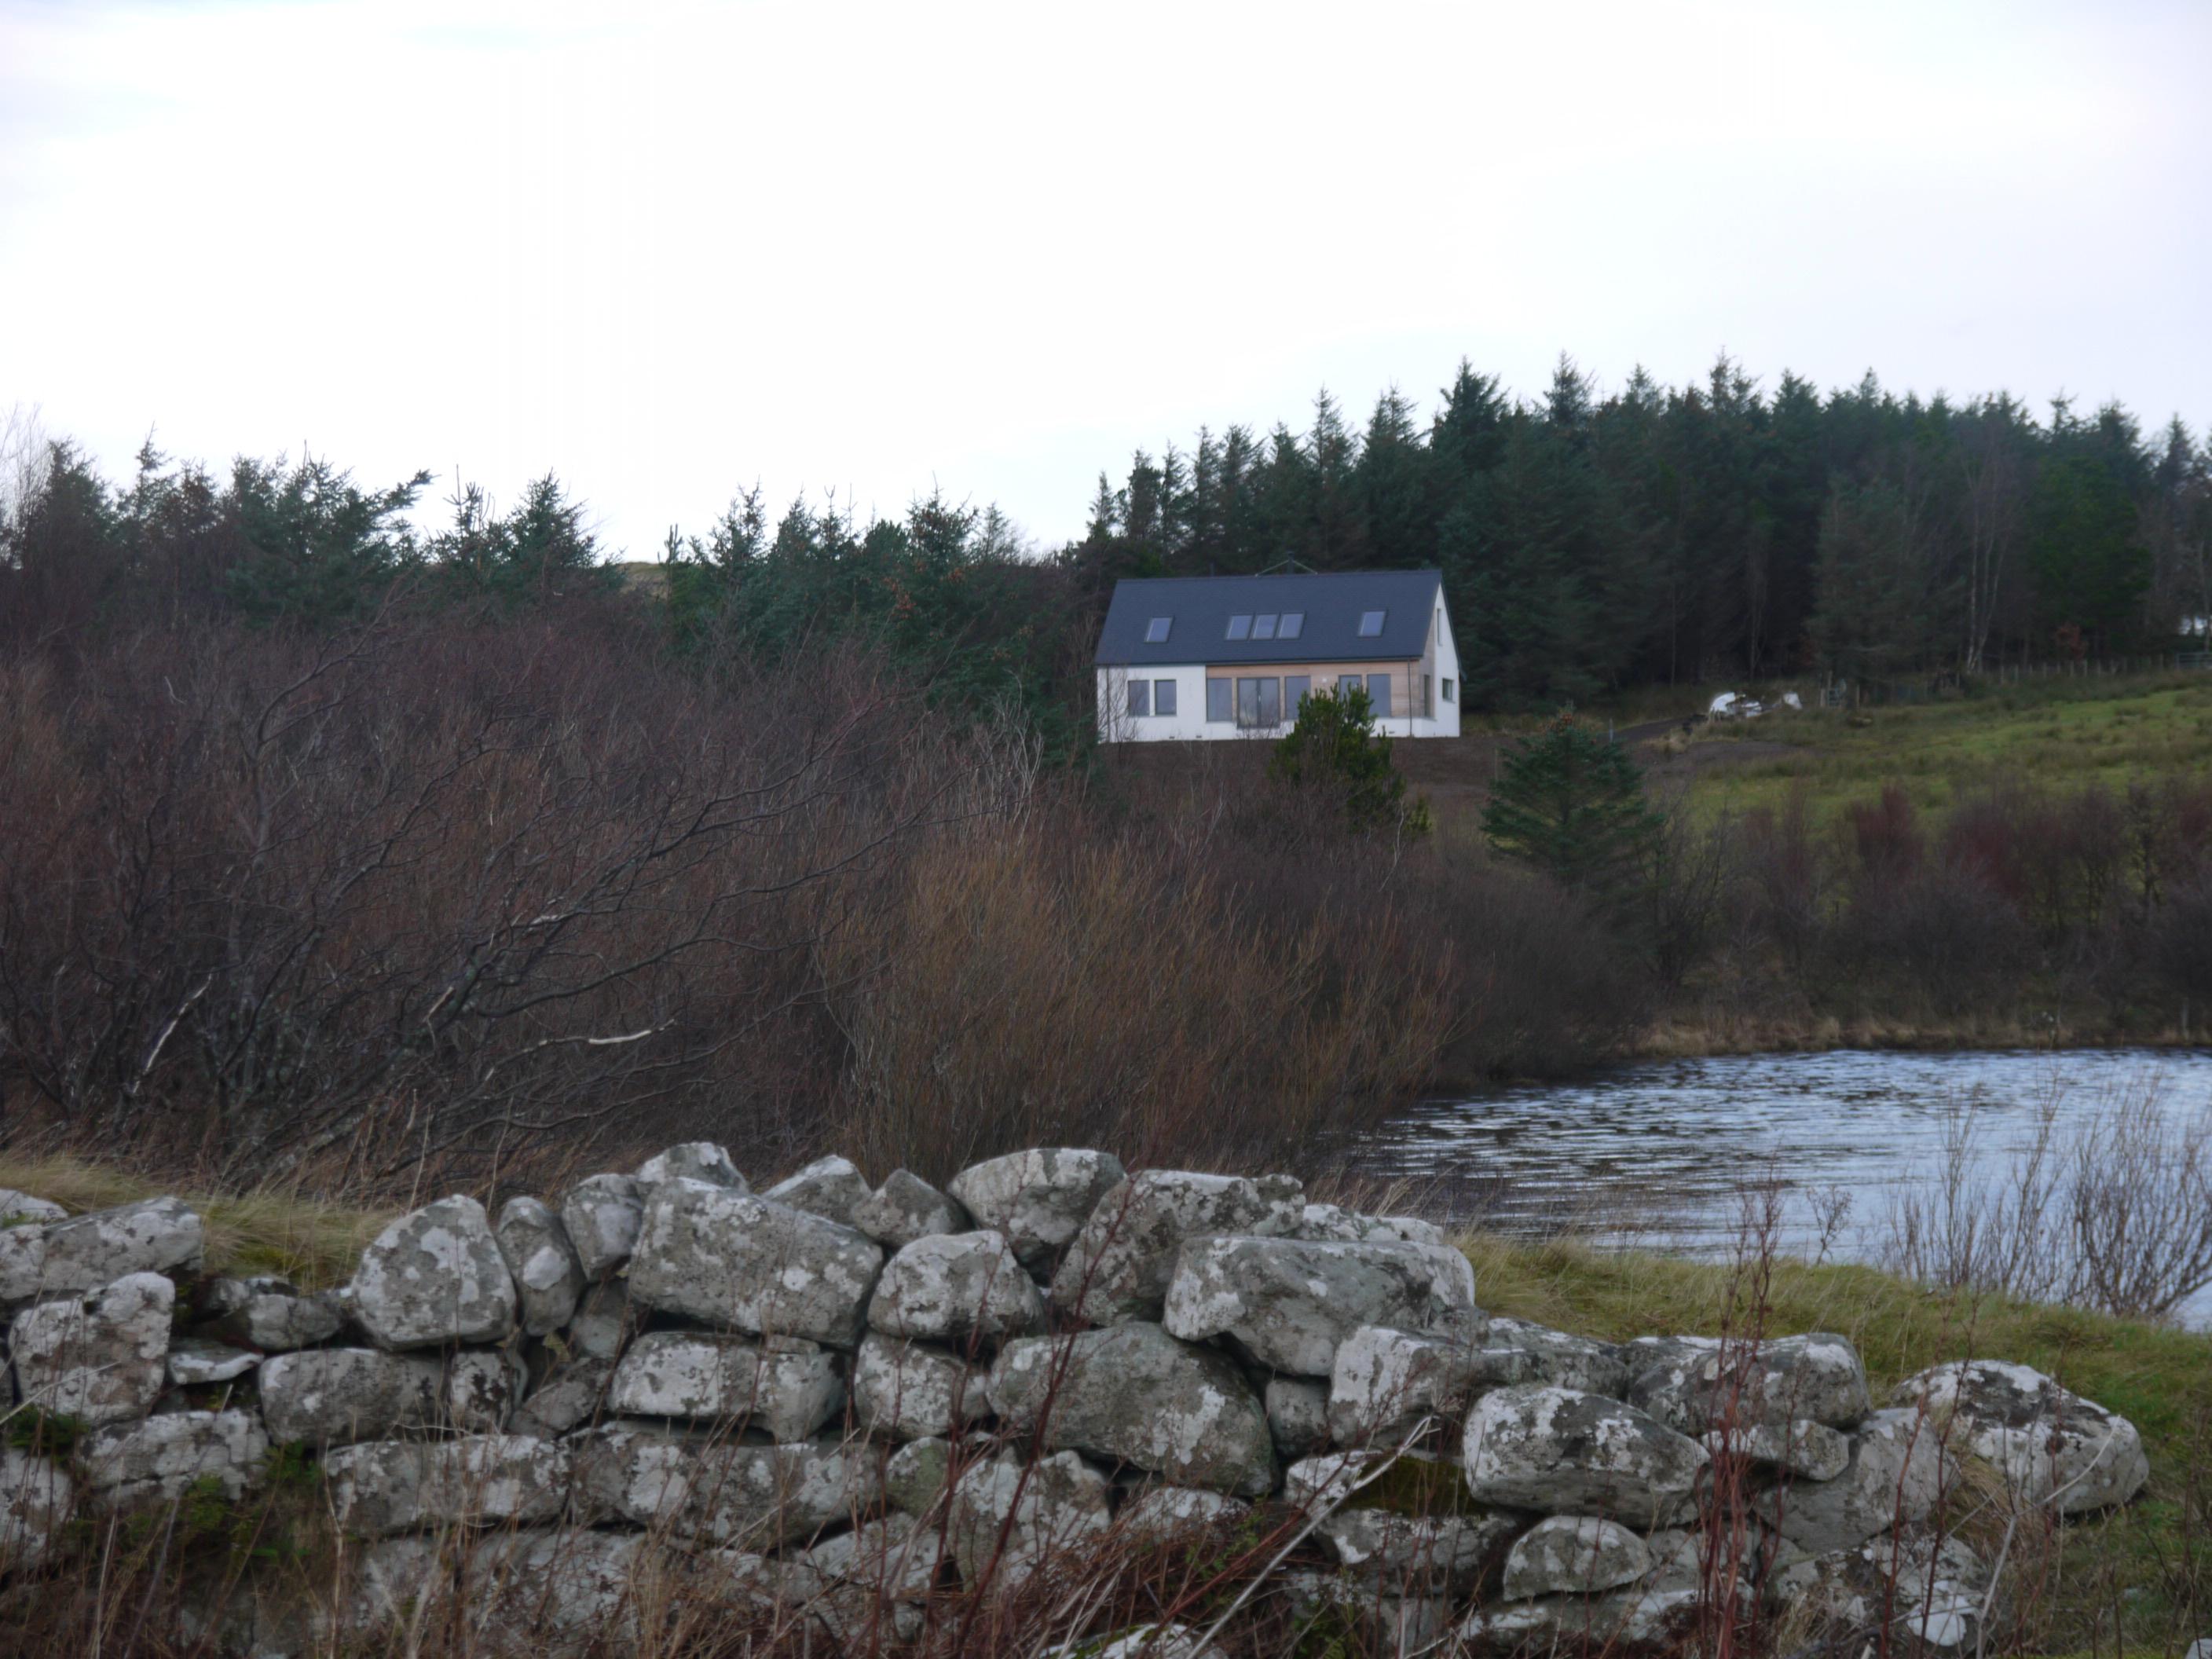
Discharge will be to a ditch, which at this time of year is wet but for most of the year is usually dry, this runs off to a wooded area at the bottom of the croft. Our original warrant and SEPA approval was for a traditional septic tank and soakaway (amended installation was agreed with both parties). After some posts on BH it was clear that a treatment tank would be the better option all around.
I should say that a traditional septic tank and soakway is still quite popular in the Hebrides, two recent self builds both installed this set-up.
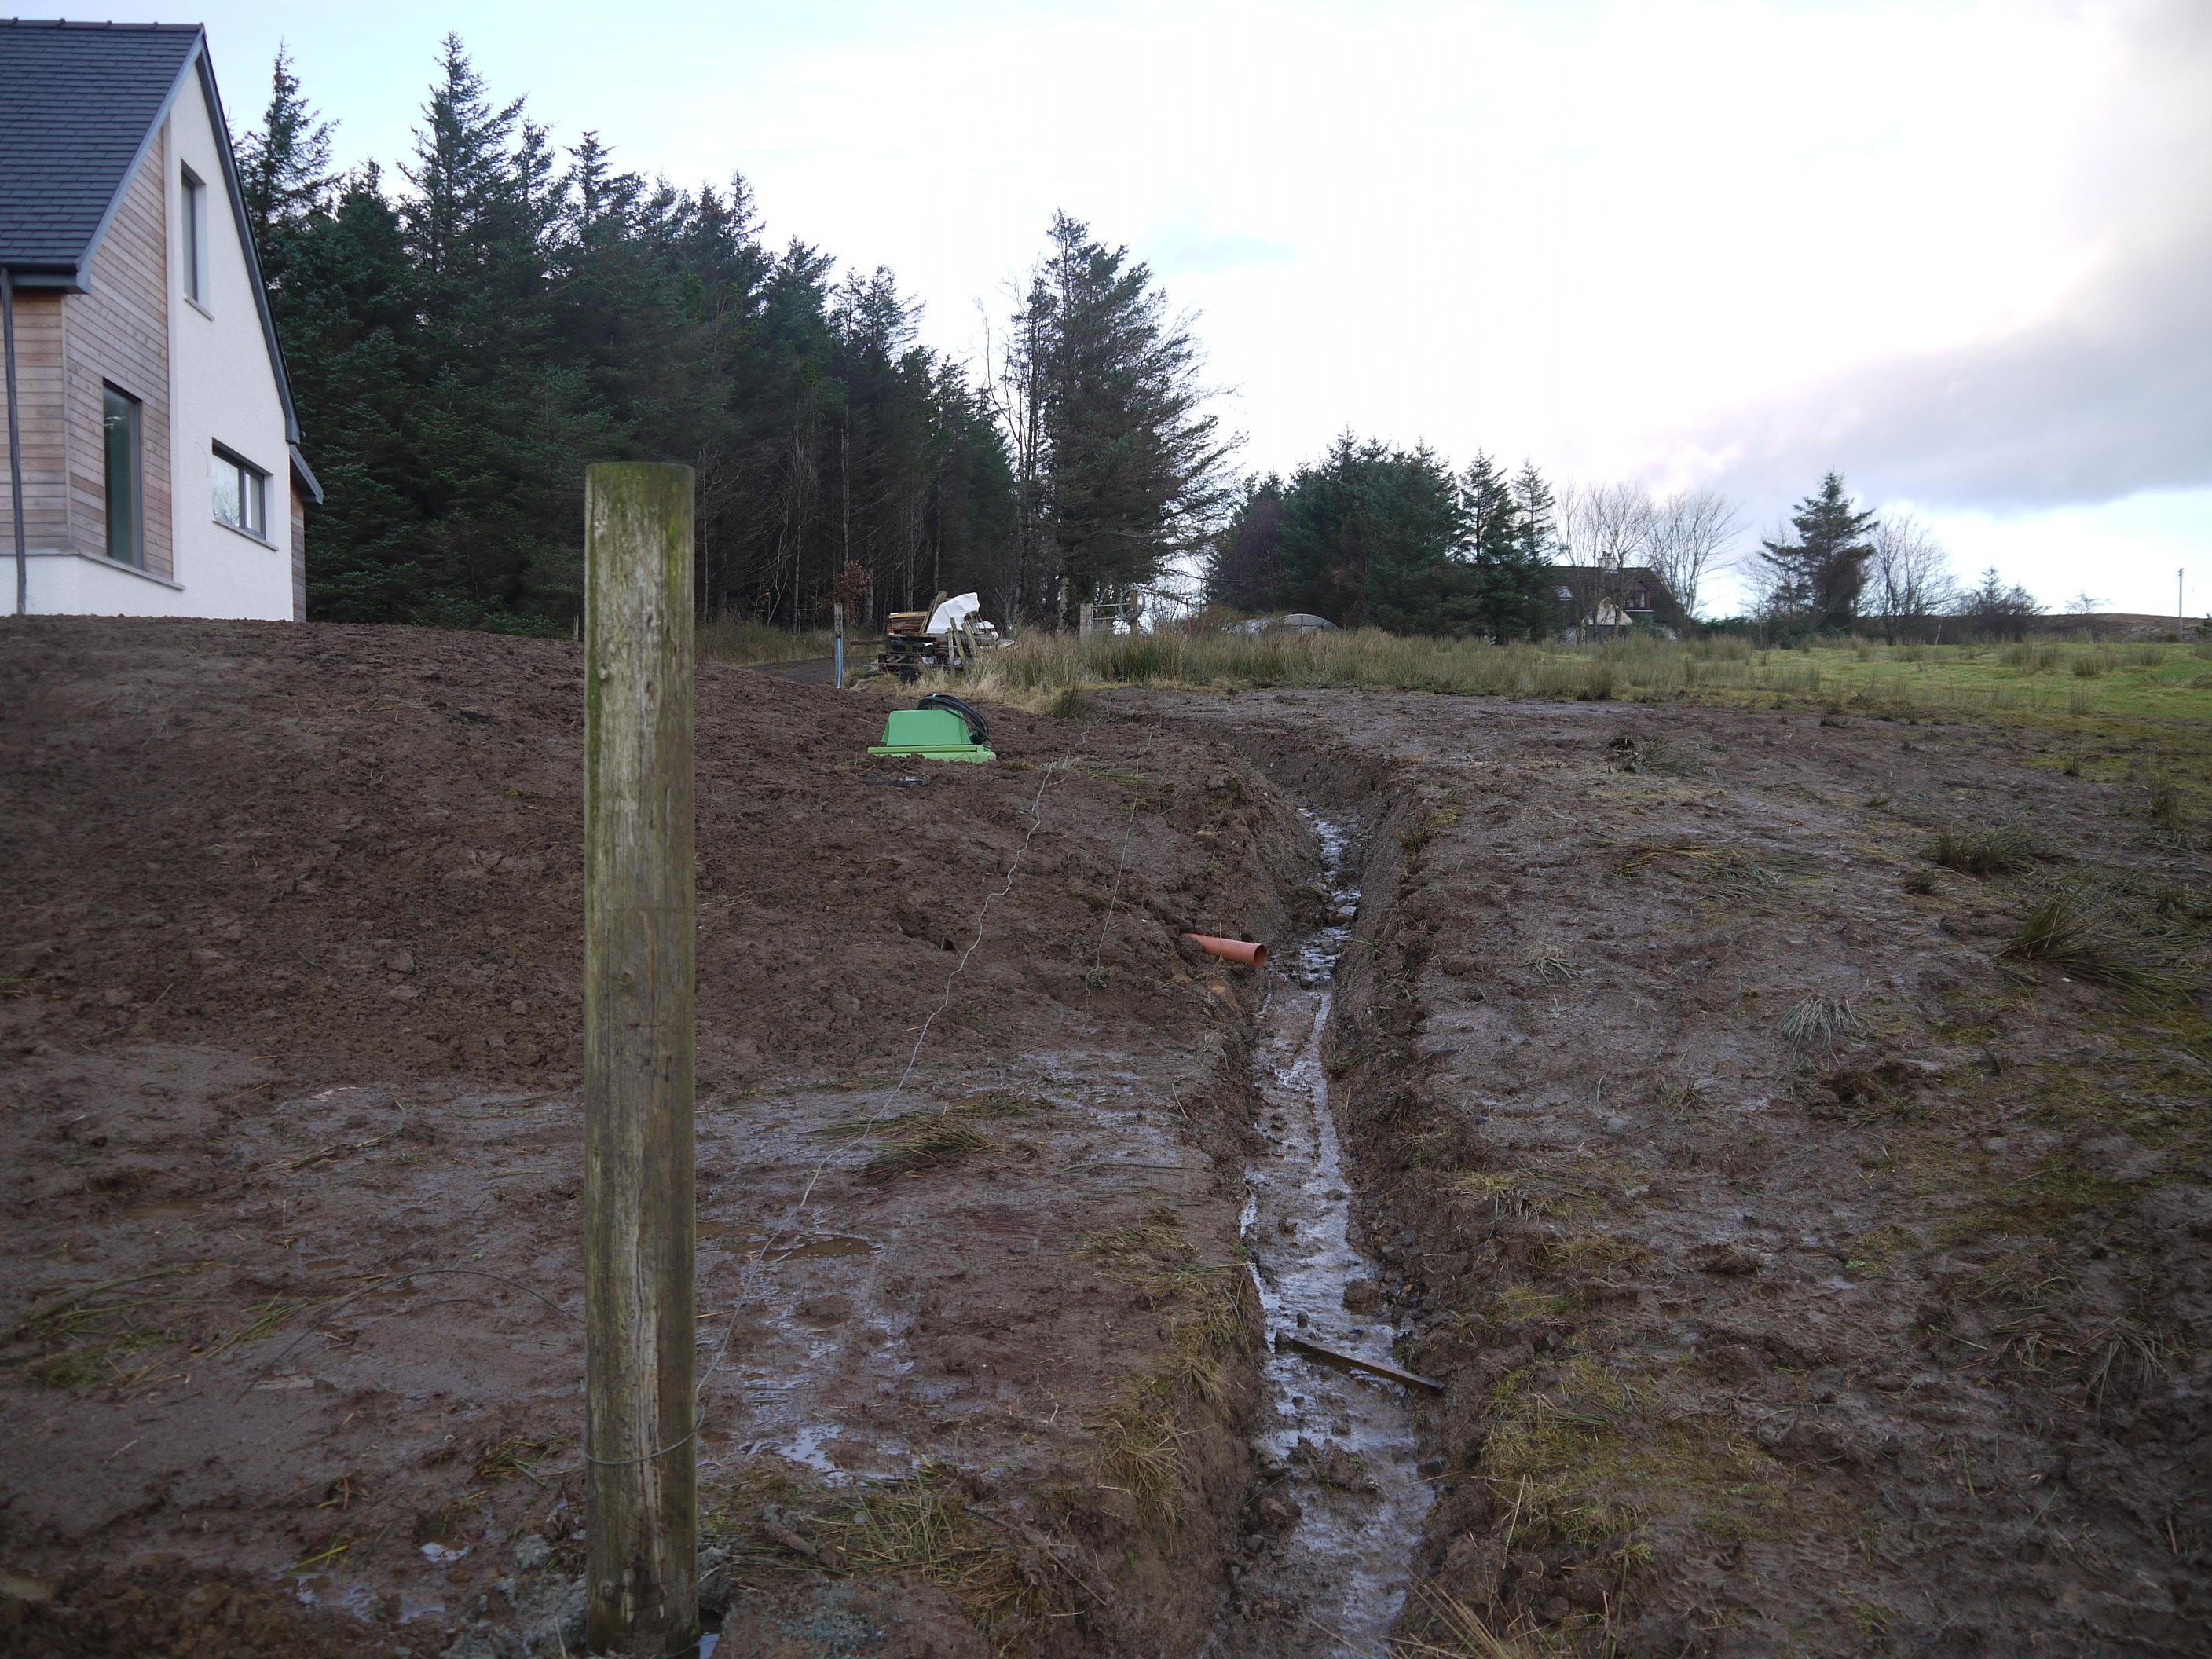
Whilst the digger was here, we decided to get some further work done.
A gravel drain was put around the back and is working well.
Rotten rock which was at the front of the house was used to bring up the level around the house.
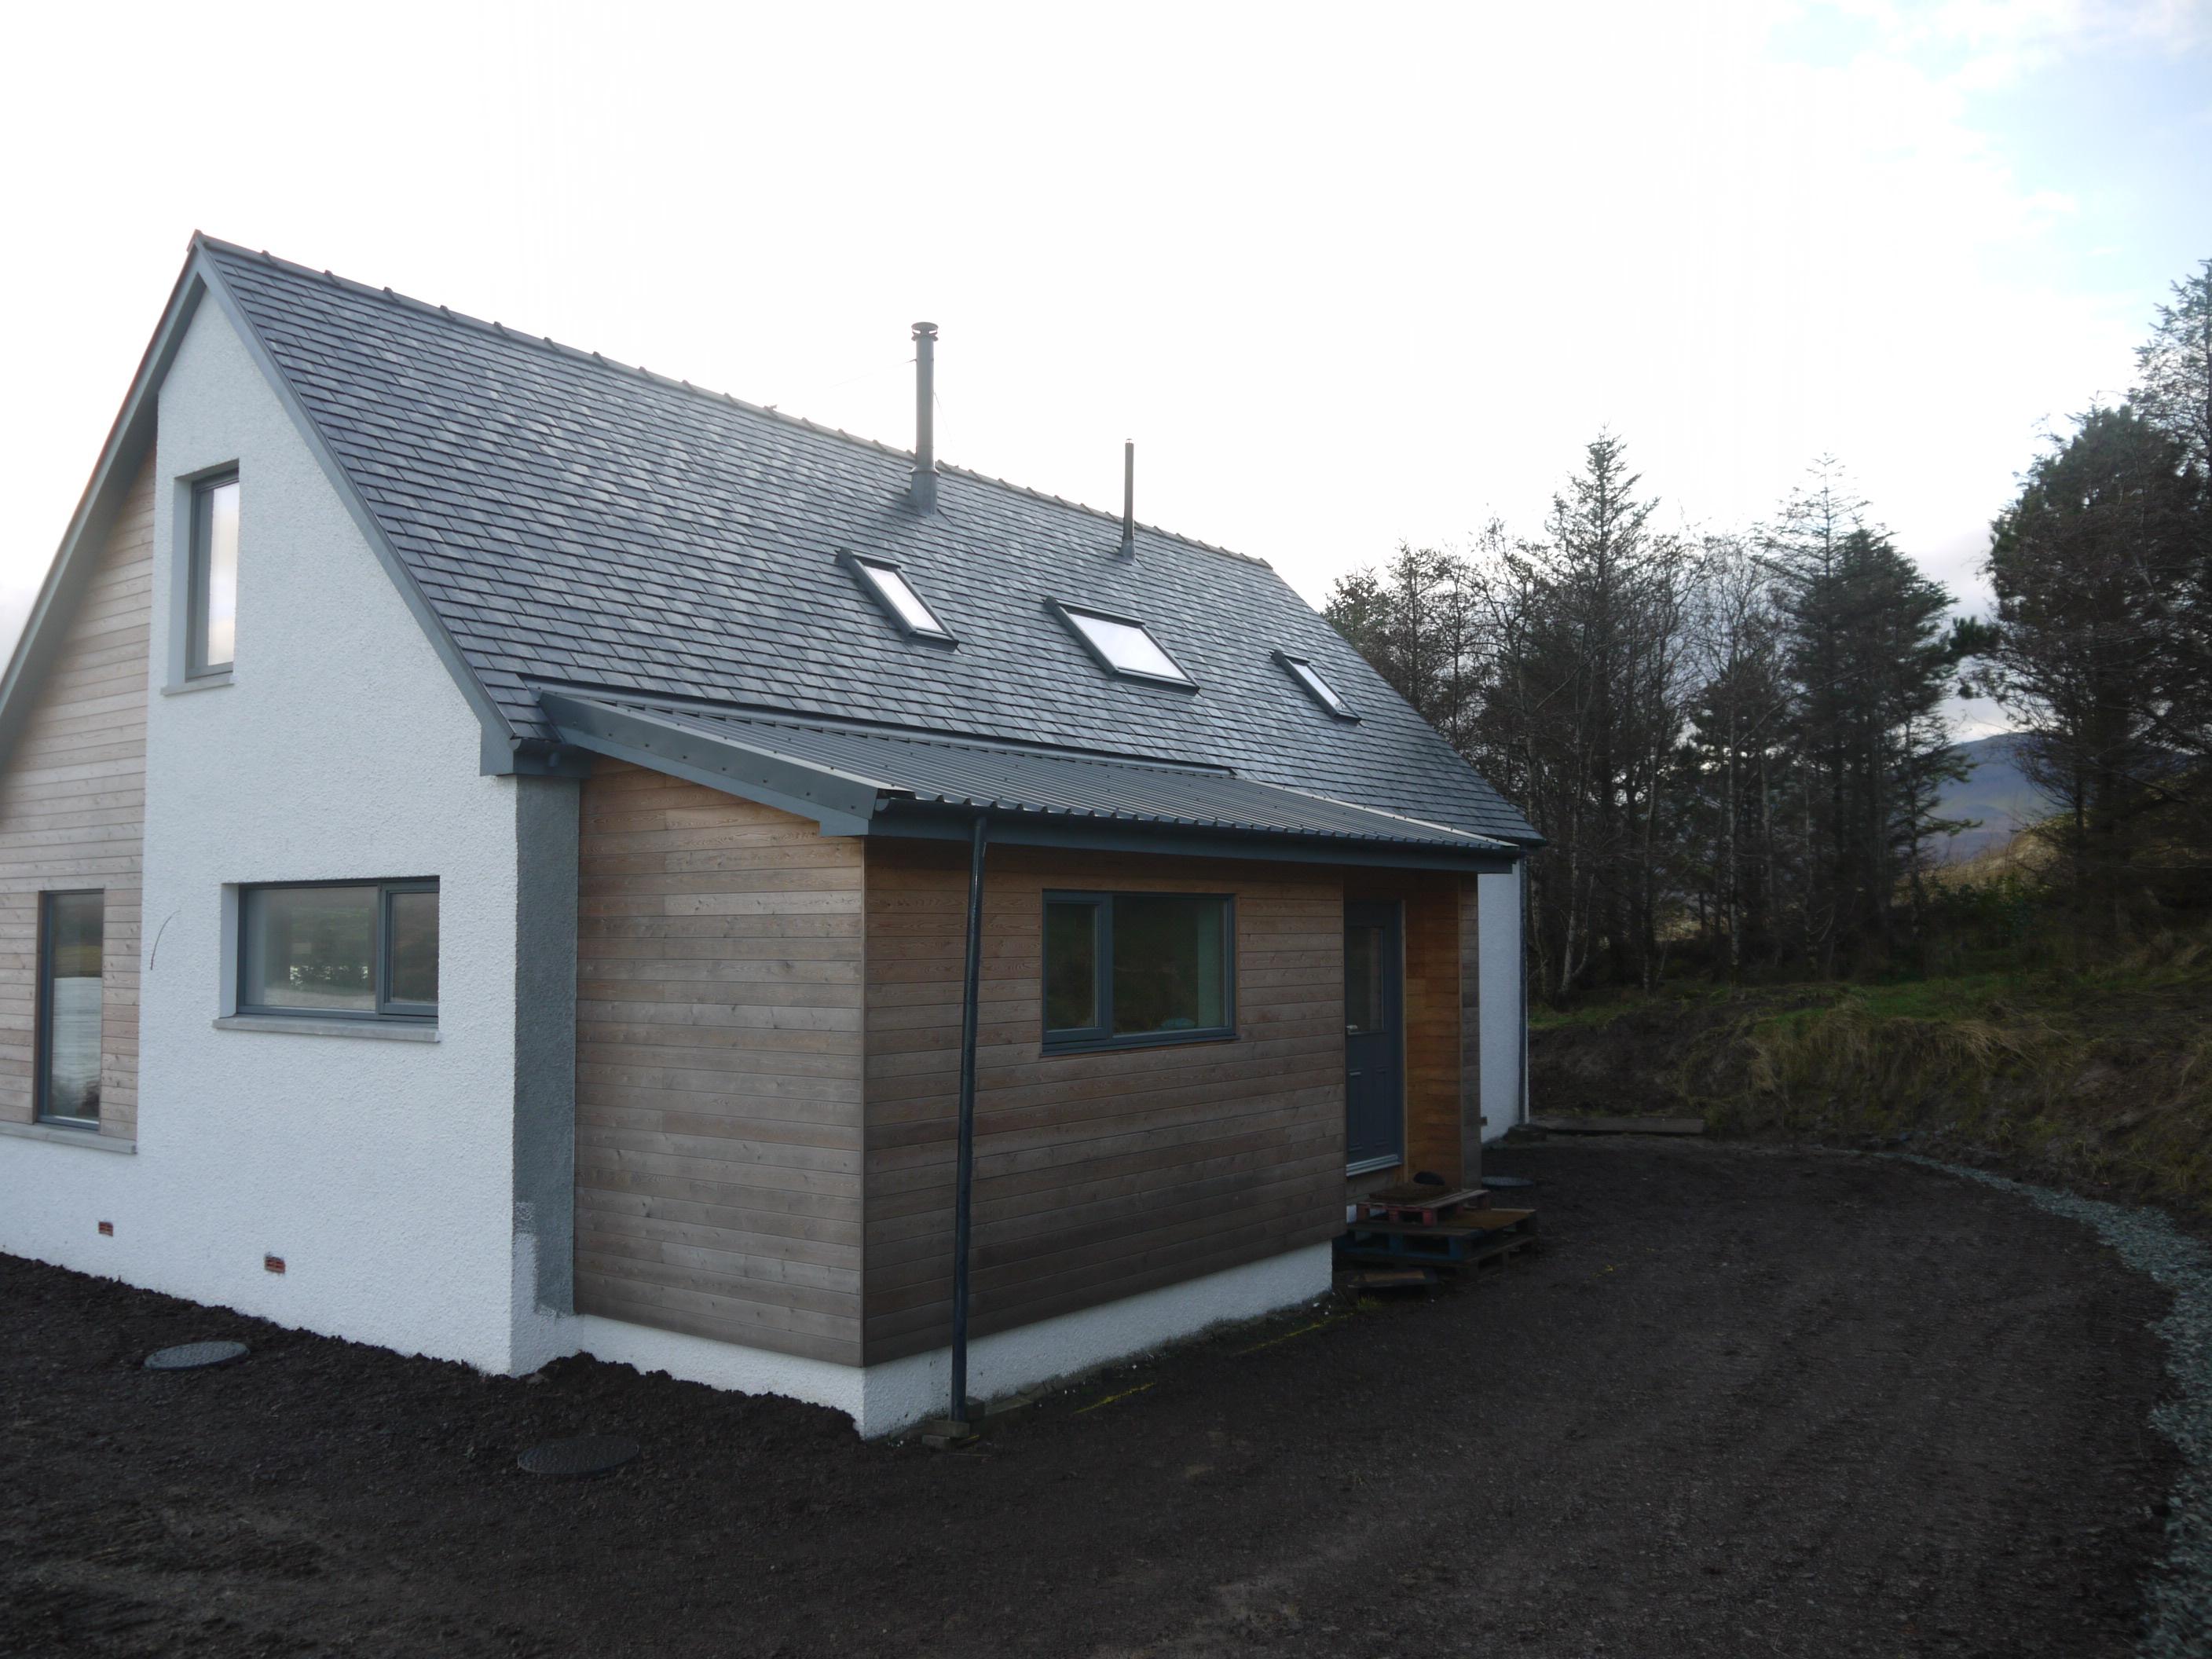
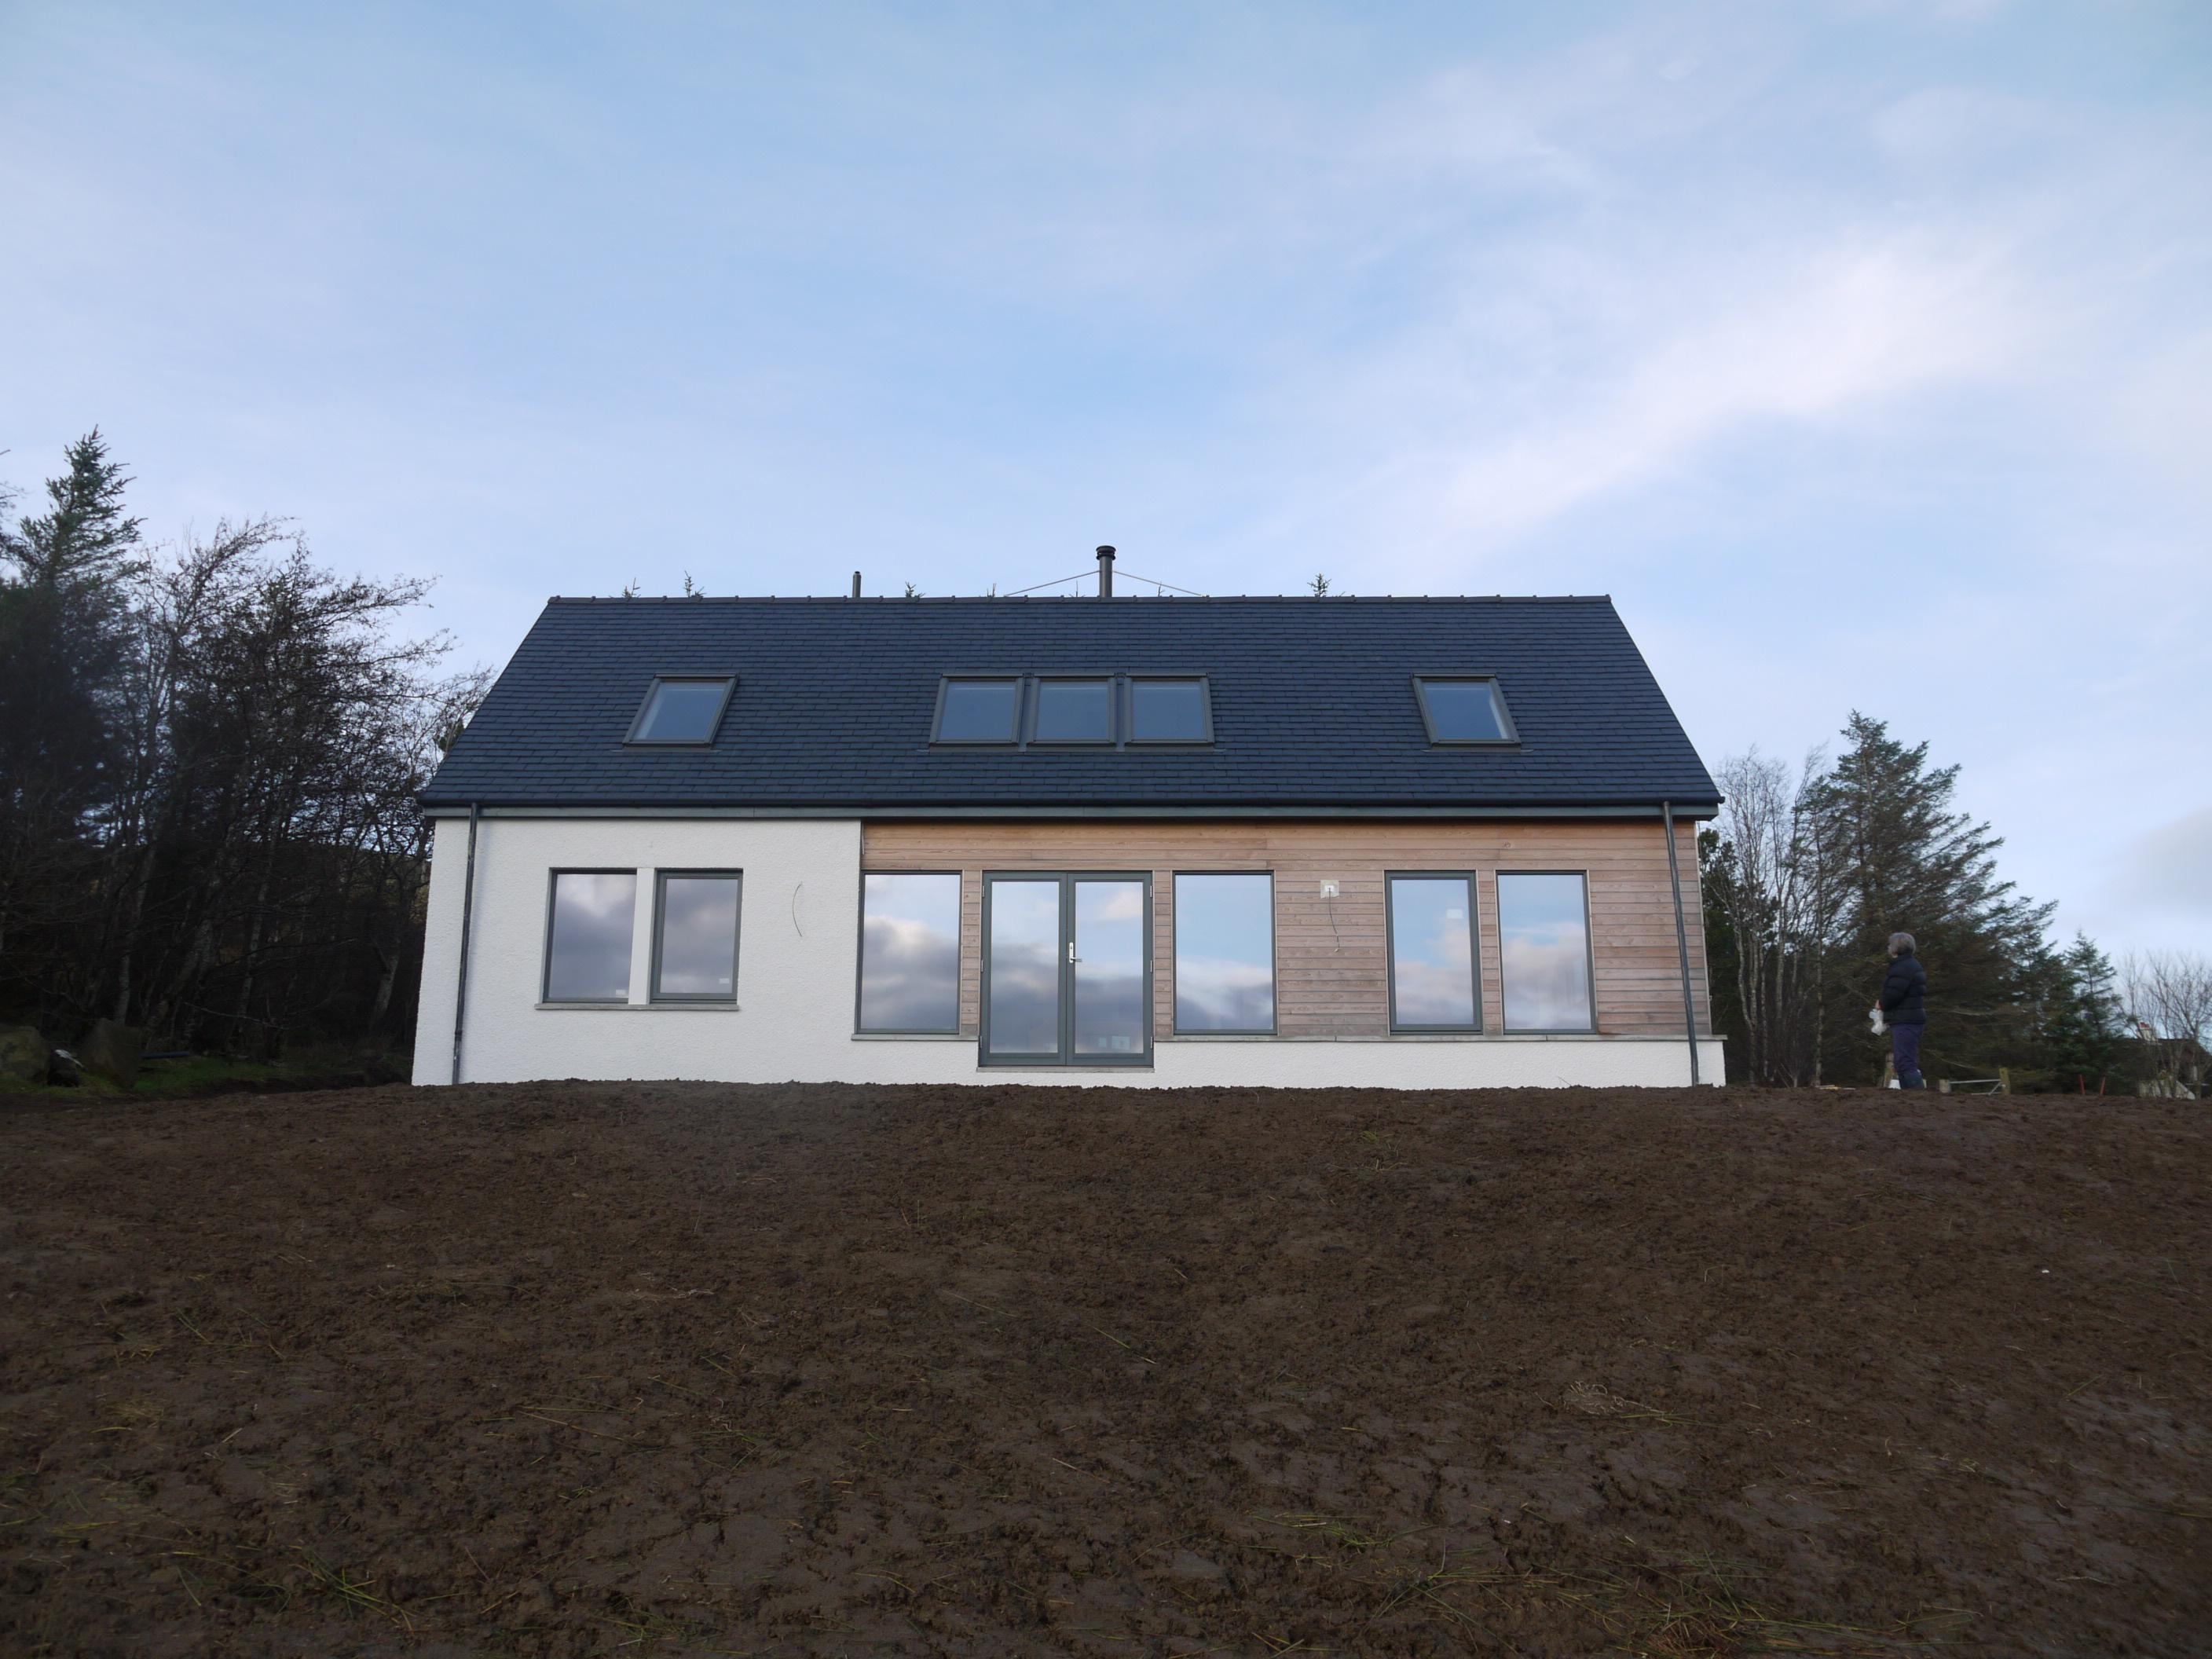
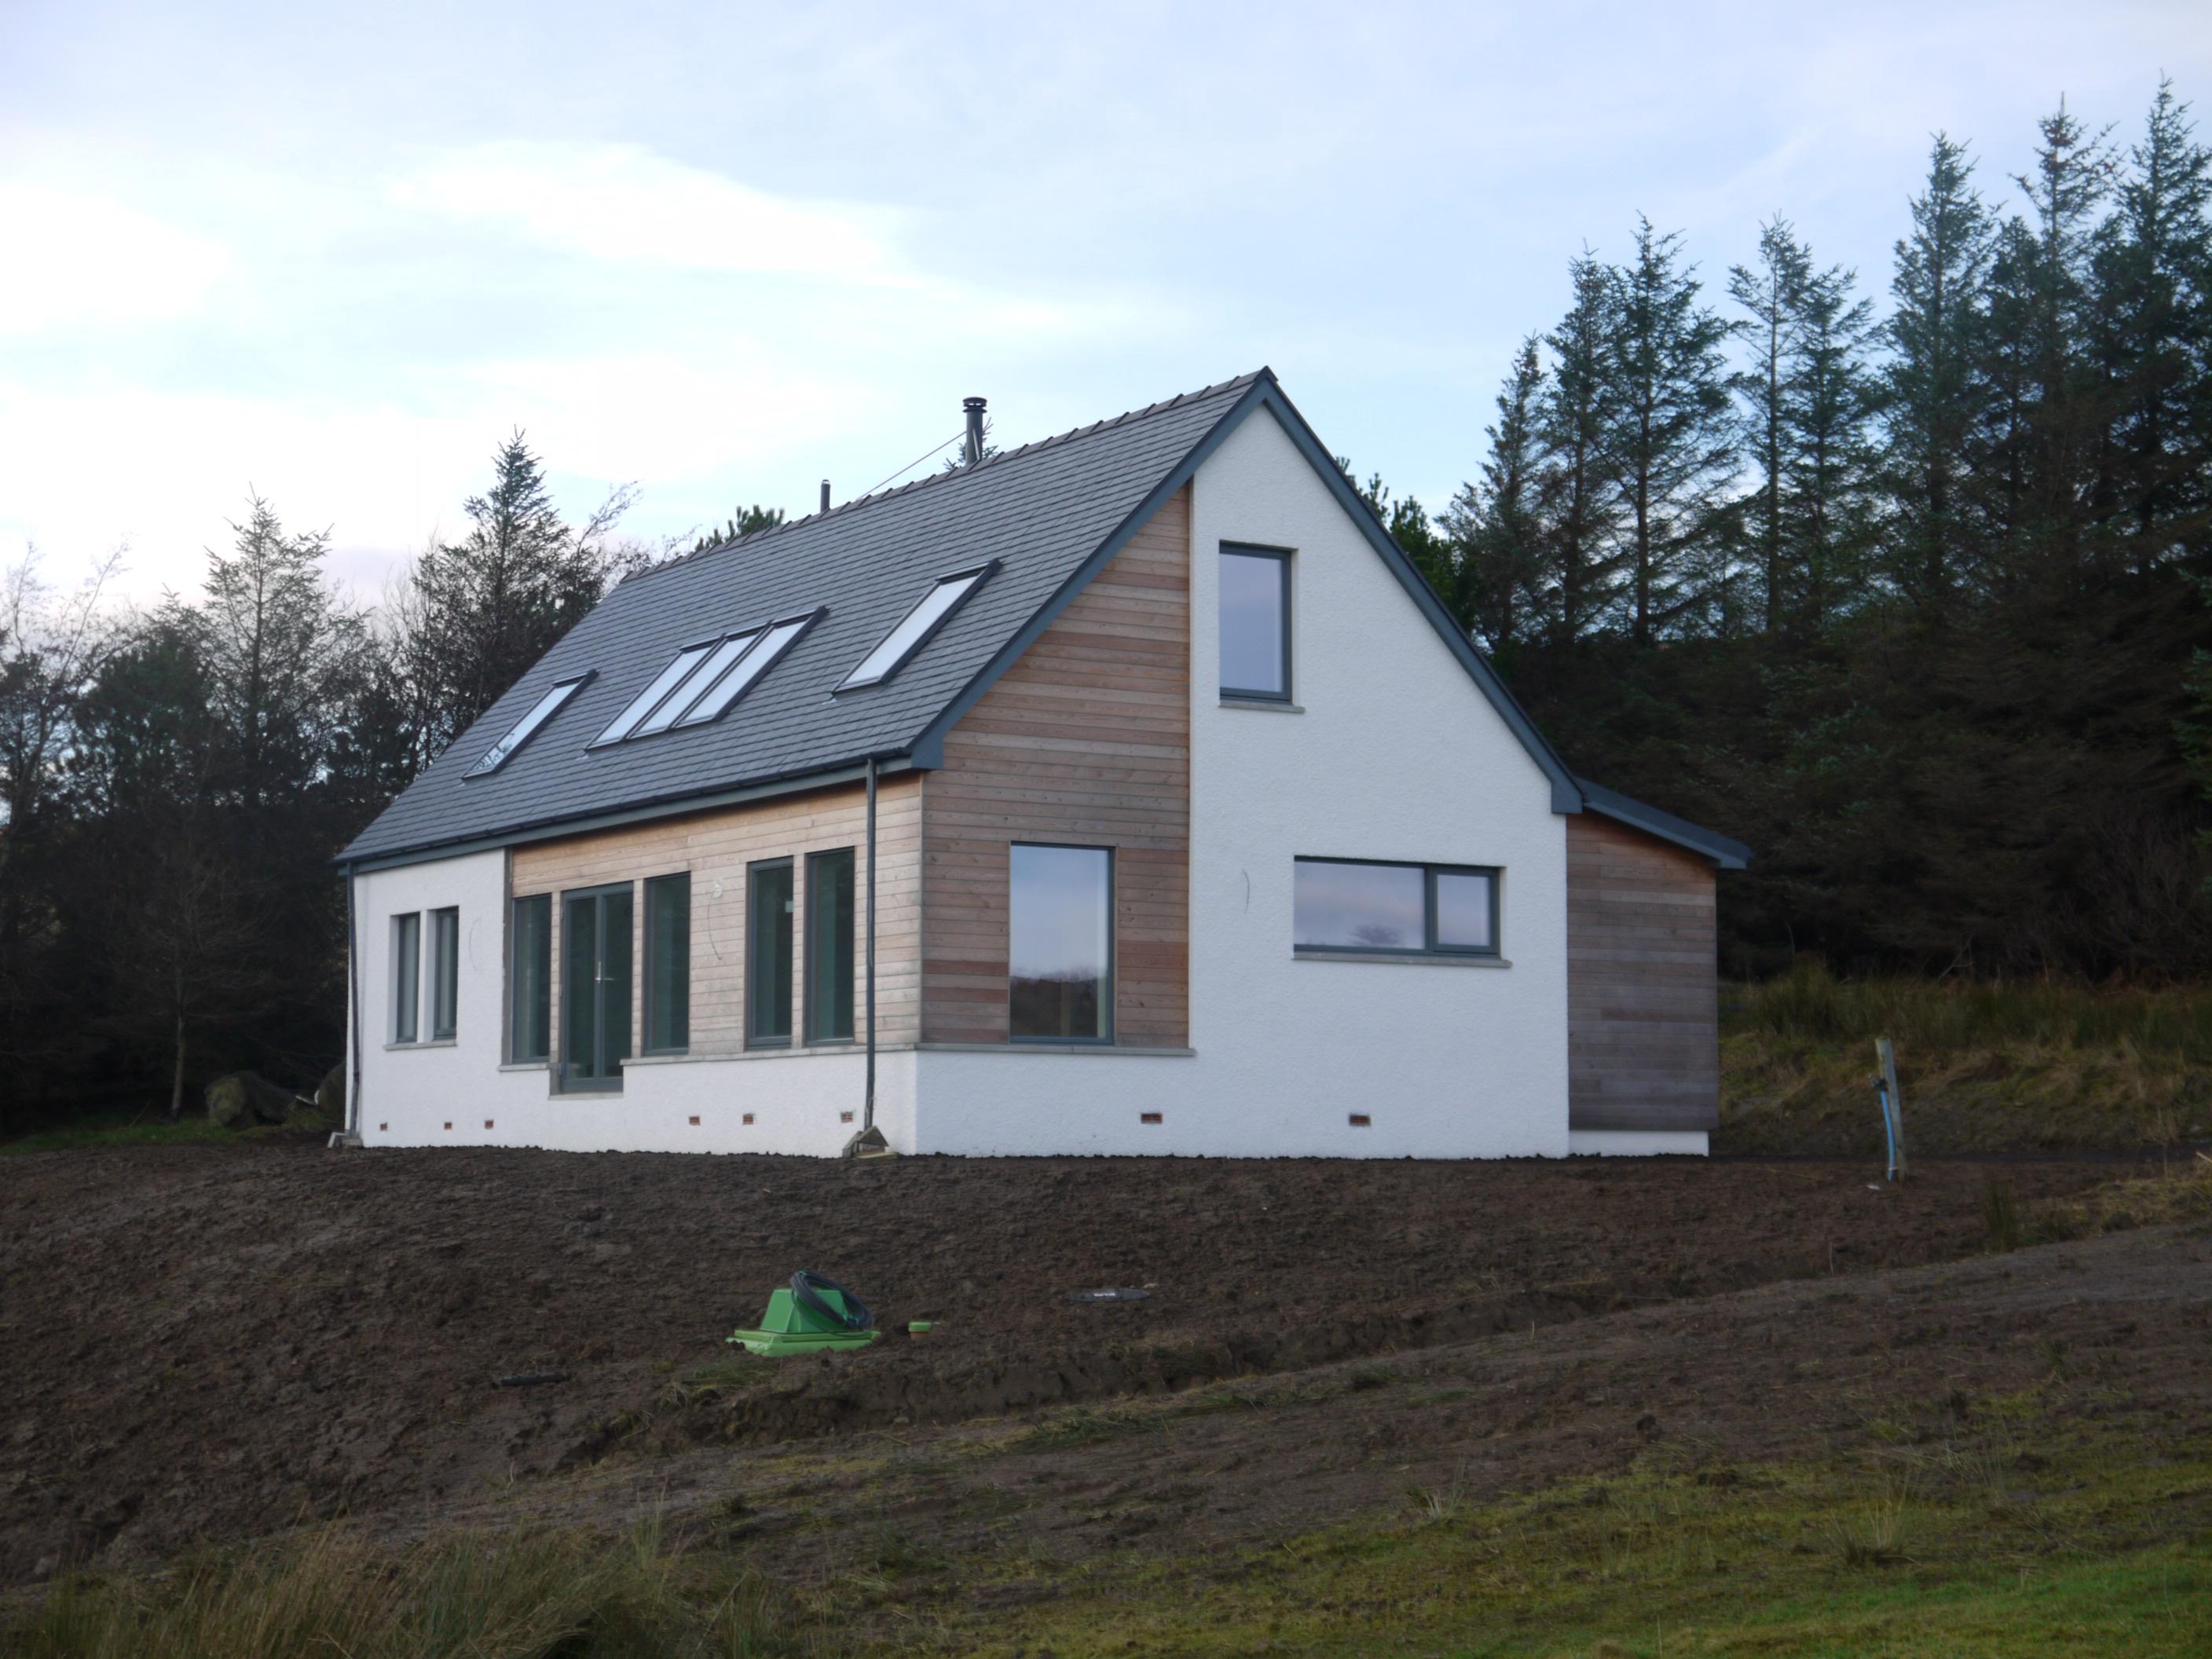
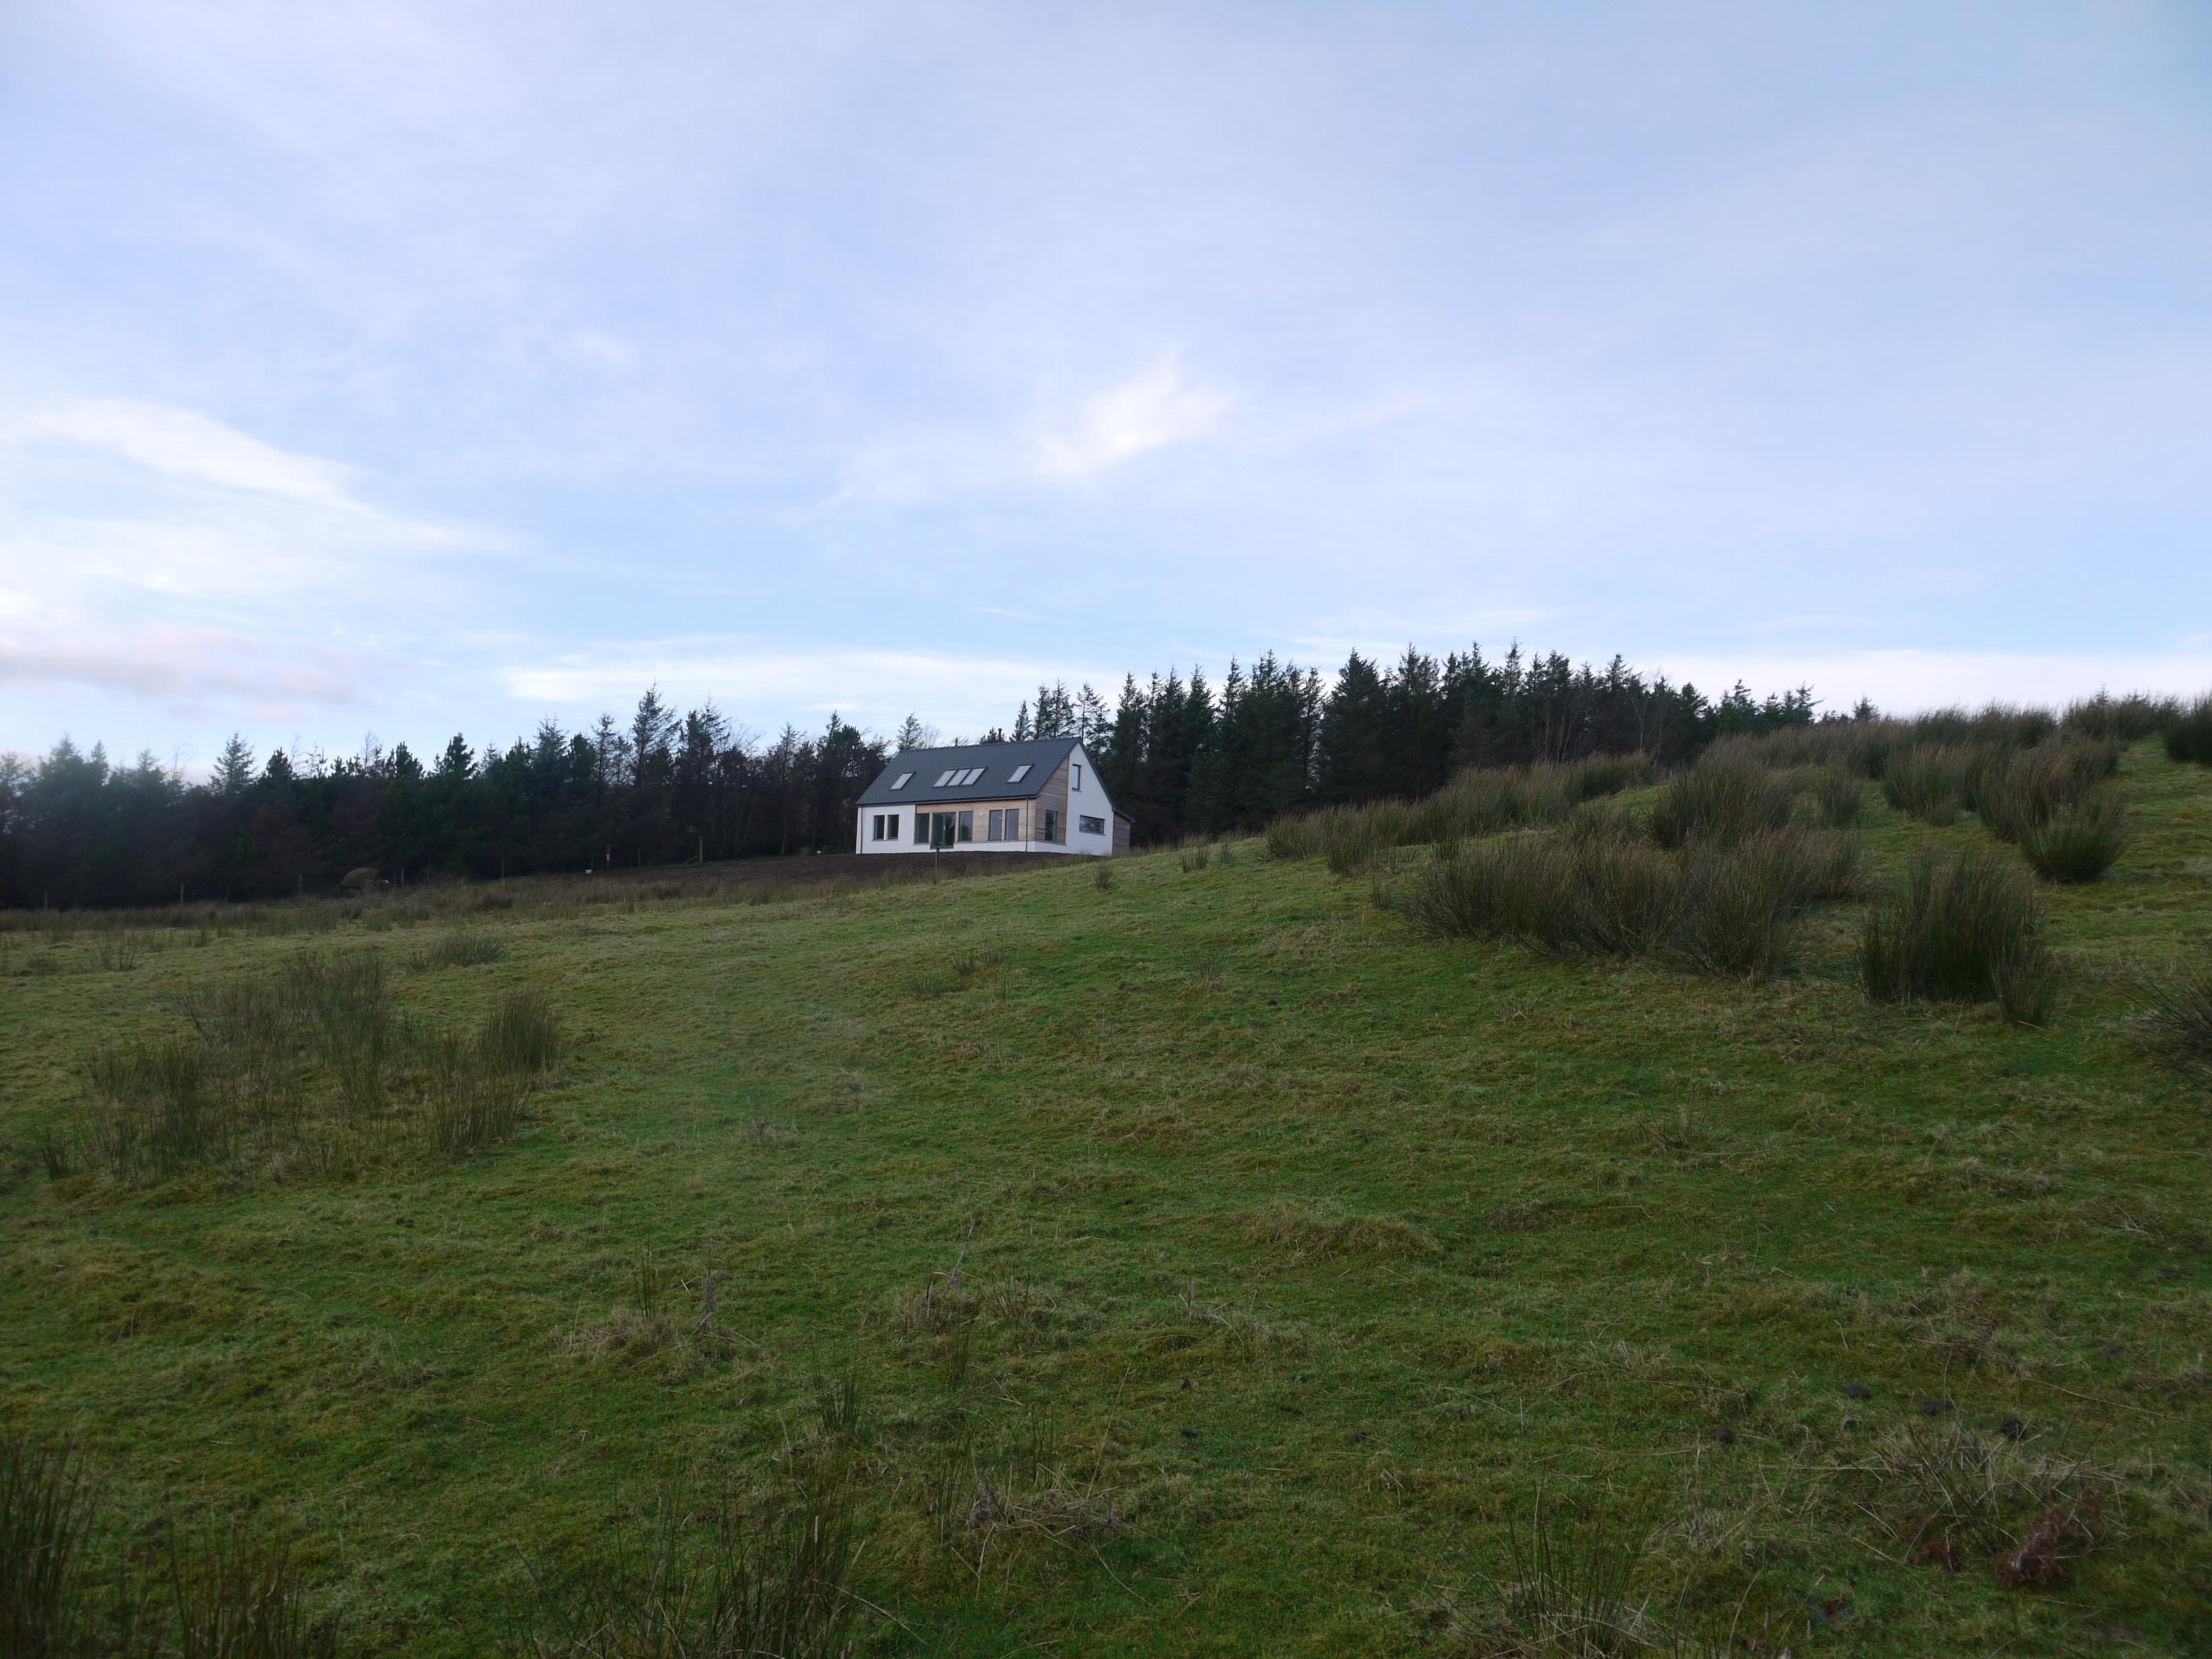
A big pile of clay and top soil (or mud mountain as some called it ?) from works back in 2015 was then landscaped around the site.
We are pleased with how the house sits in its surroundings.

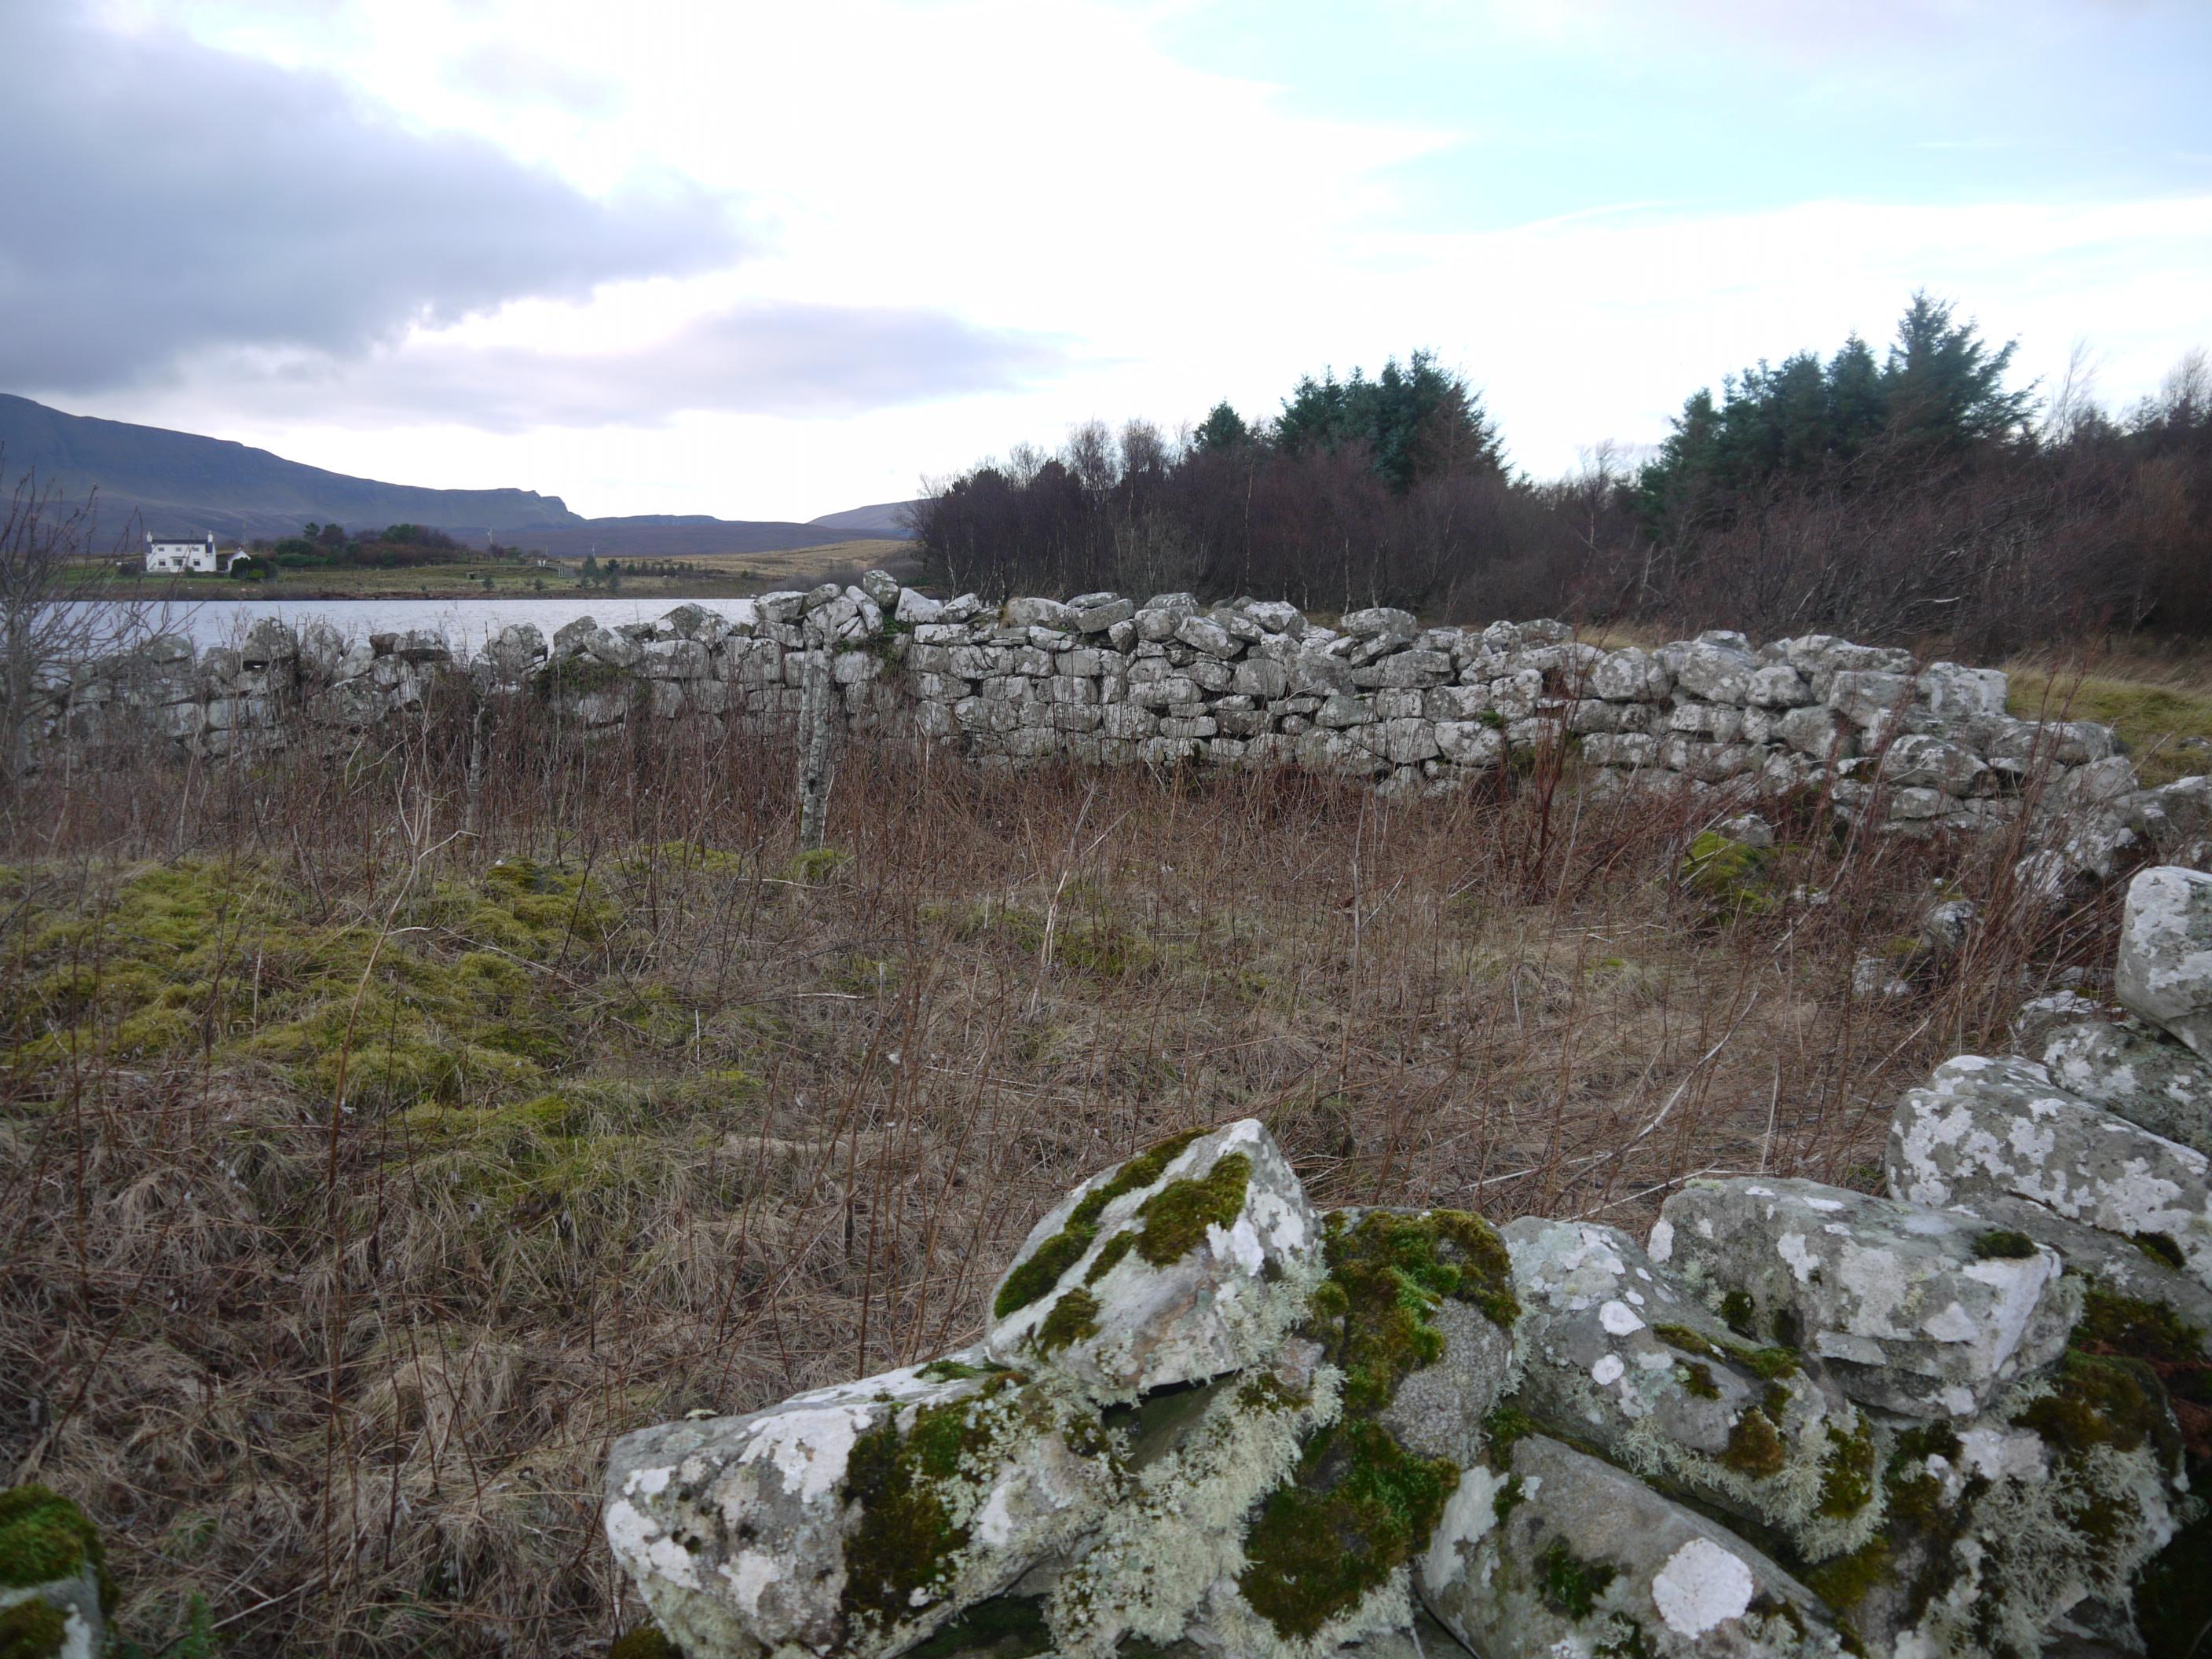
Finally, here is one from the Broch.
People have been self building here since the Iron Age! Although this one is down to foundation level with the rock reused multiple times in various self builds during the last two thousand years.


We now need to put the fence back up around the site to allow our sheep to come back on the croft. Today’s job has been digging and fitting four posts.
The electricity connection was moved from the temporary supply box into the house. The cost for this work was cheap at around £200 and done by two very tidy and polite SSE workers.
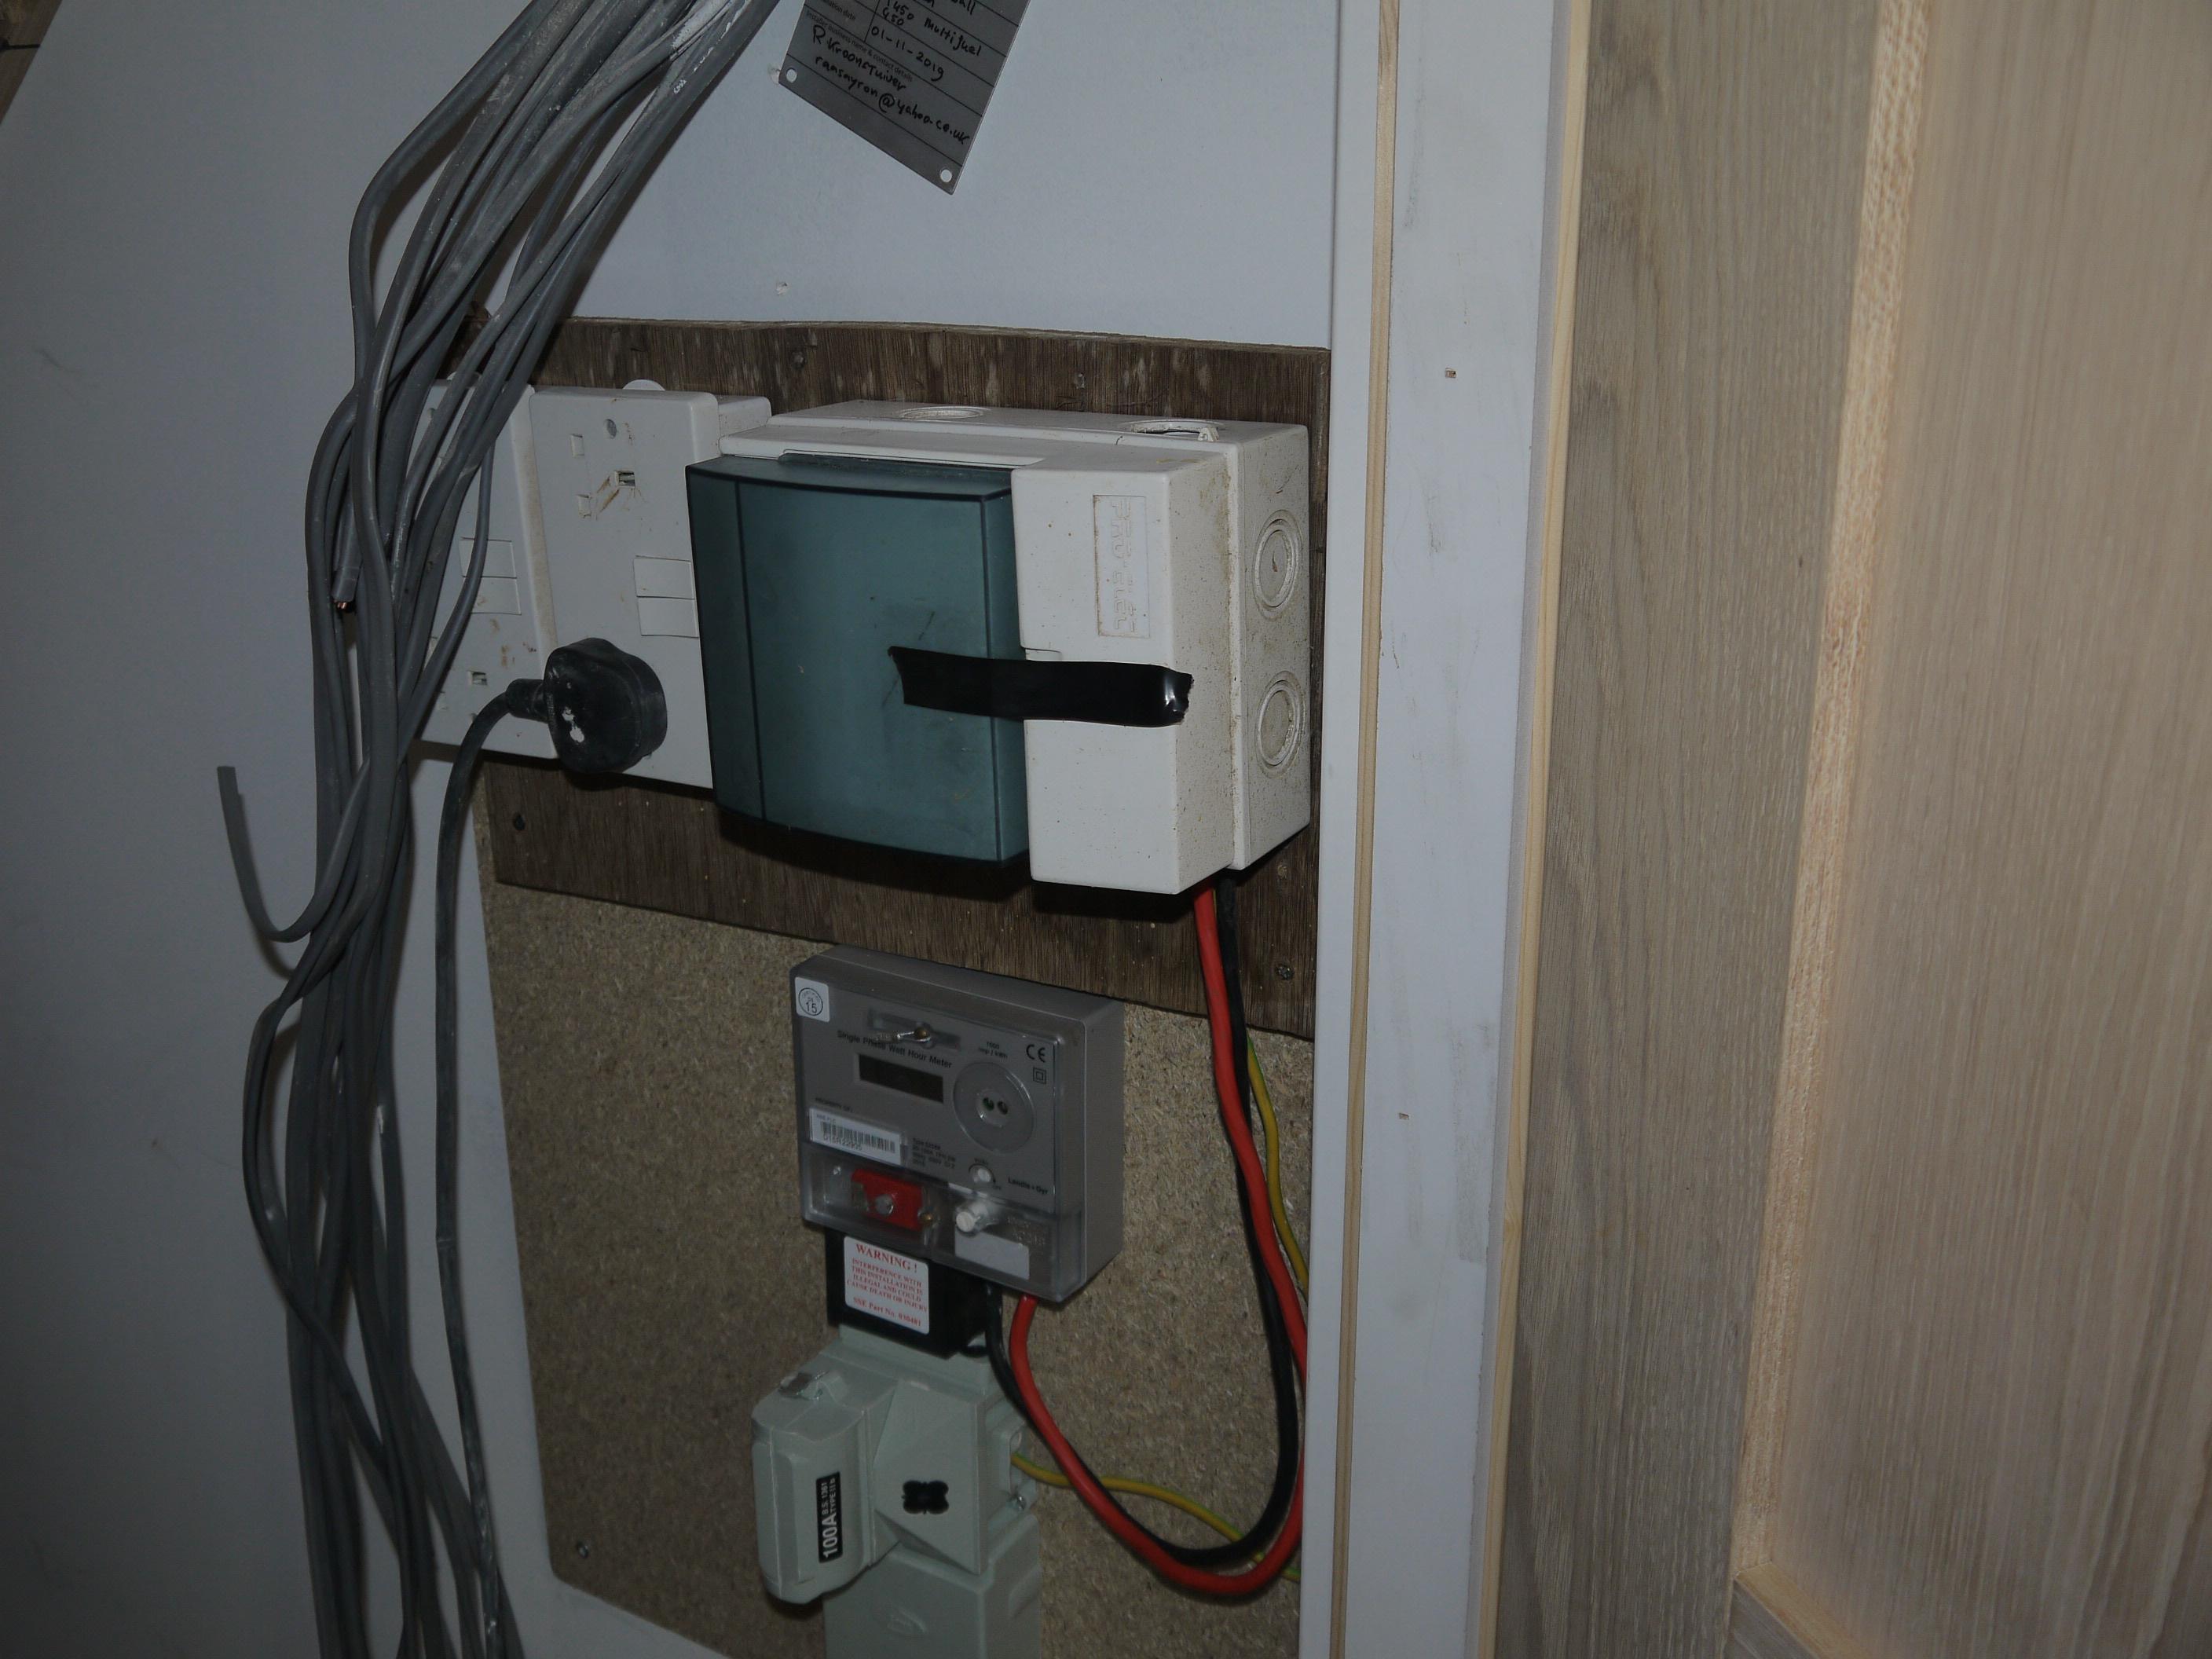
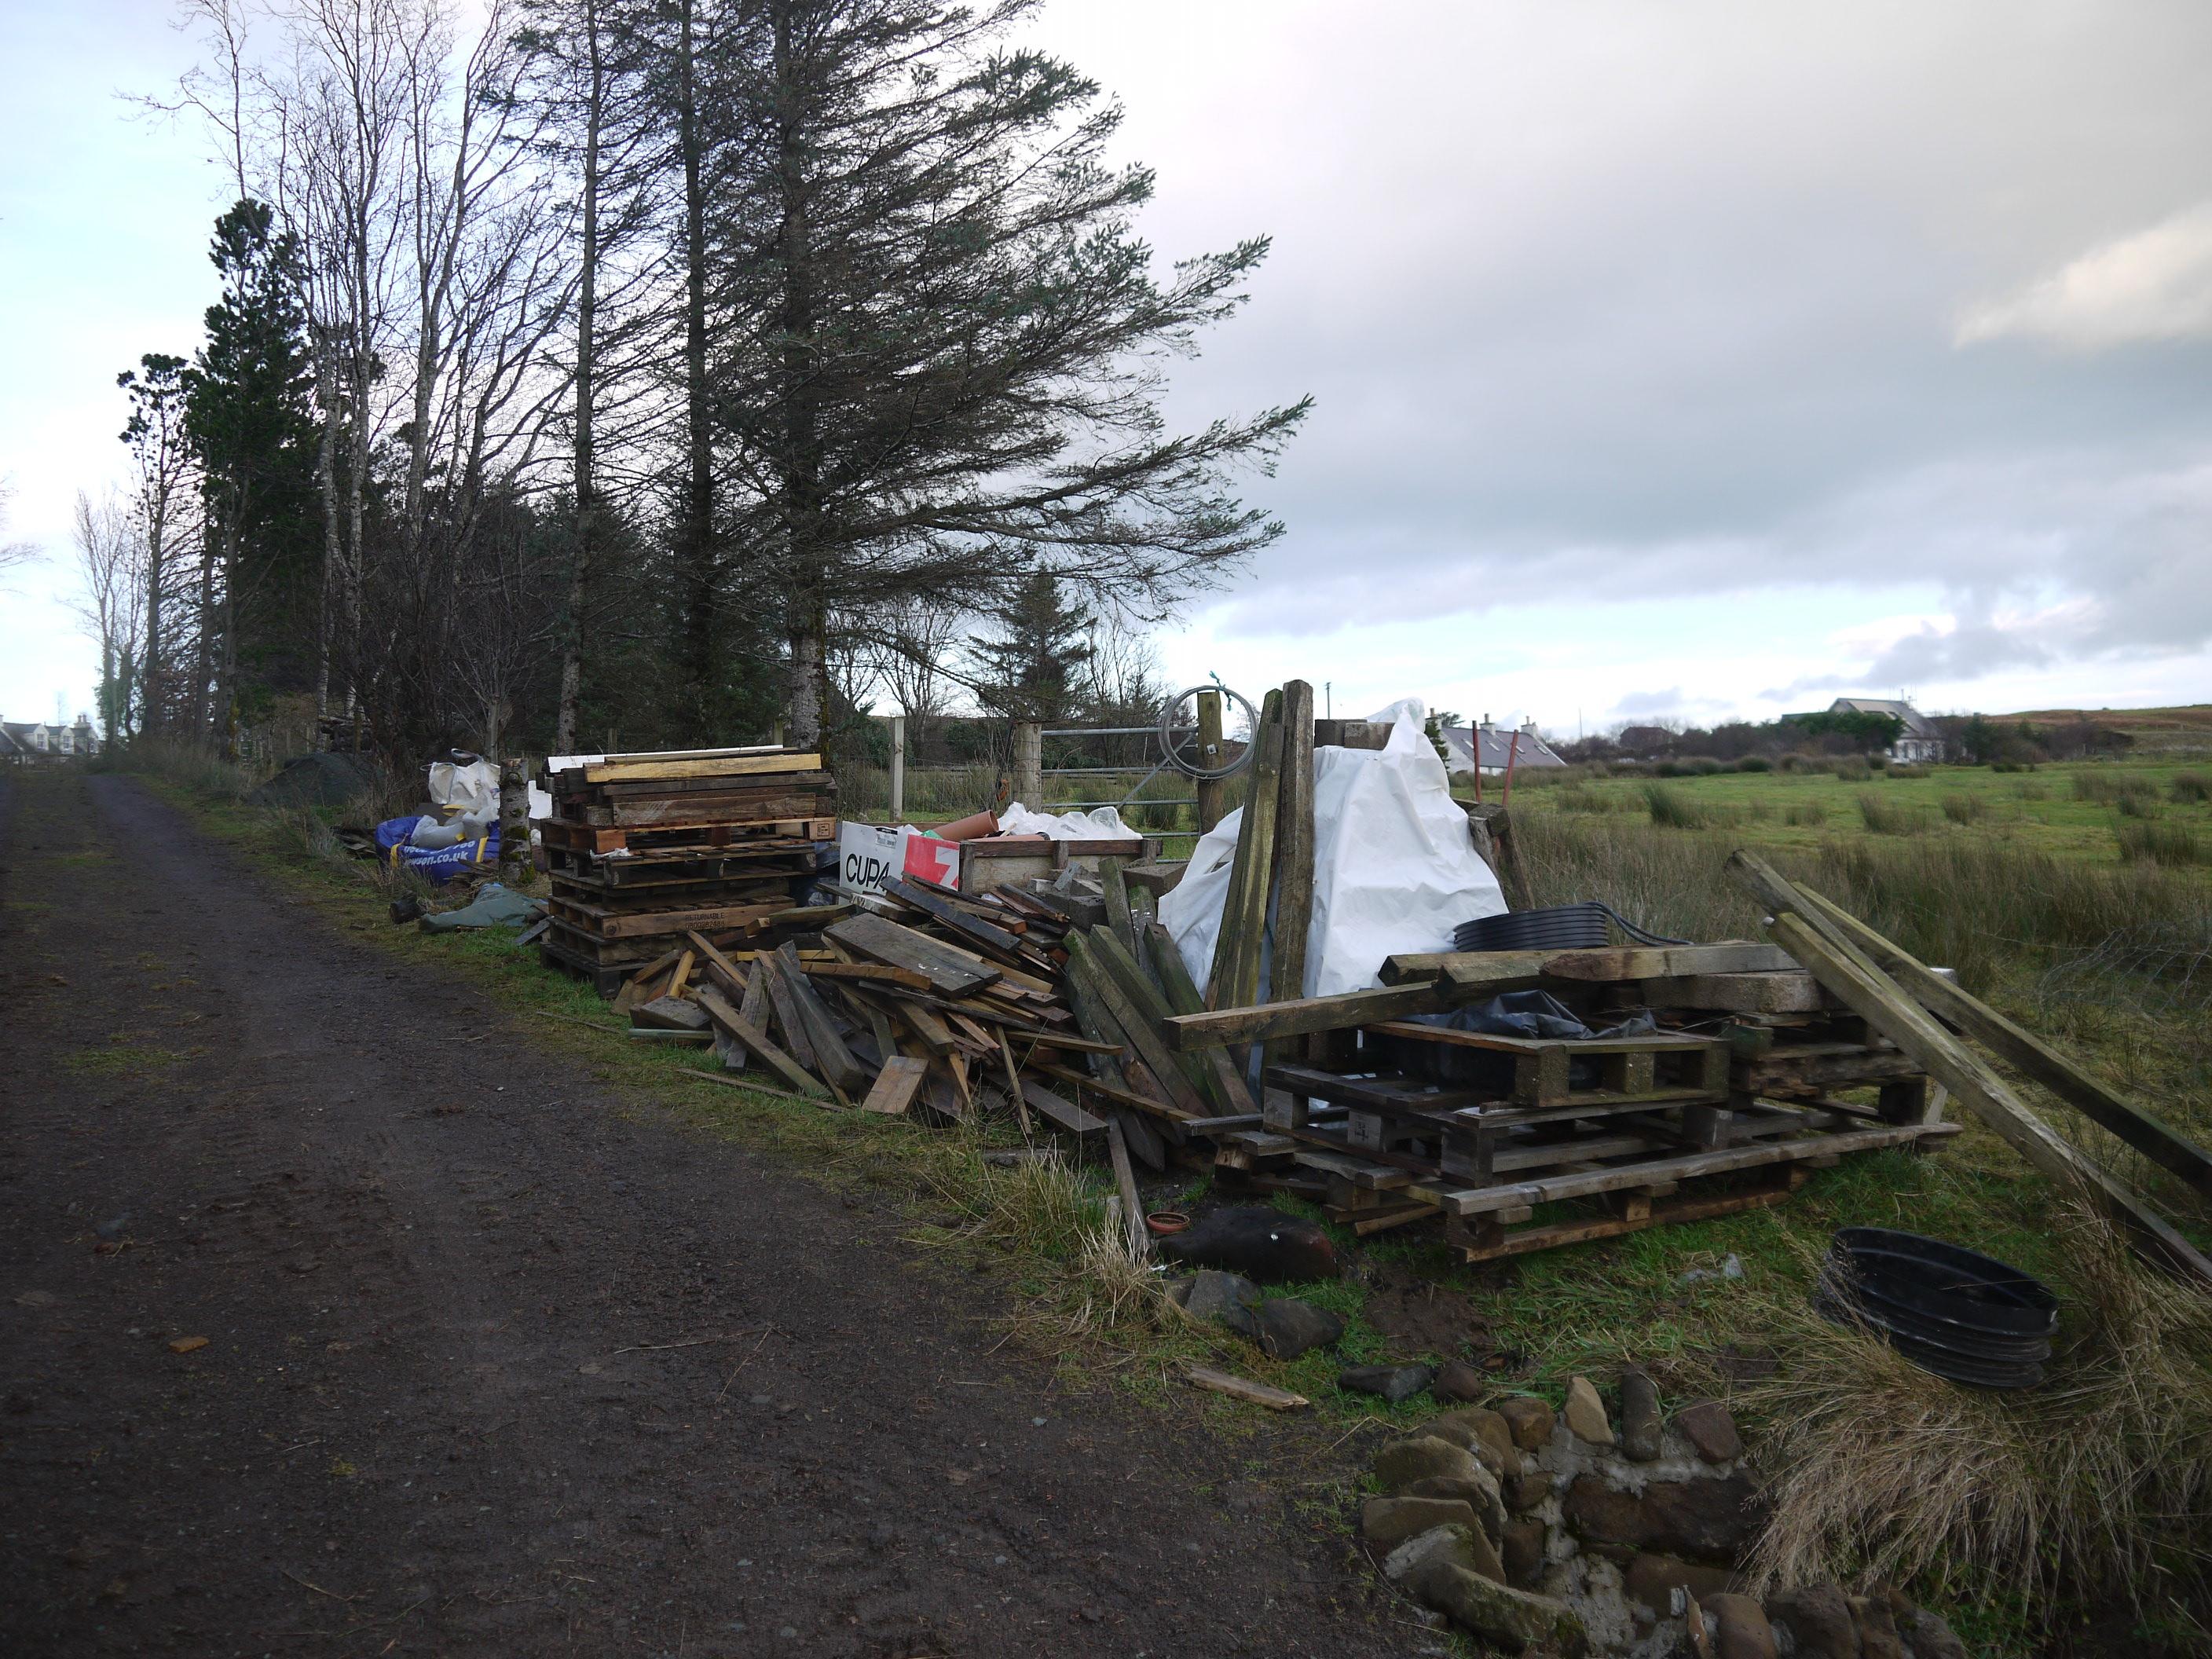
This simple homemade box was constructed from scraps and has lasted four long Hebridean winters but will now be recycled for another purpose.

Talking of recycling, I don’t have a skip on site and everything apart from dust is stored and will be used for another job.
Internally all our efforts have been on the upstairs of the house. Upstairs is an easy win to get completed as it’s just our two children’s bedrooms and an upstairs living area. A bit of time has been spent with our MDF skirtings, architraves and cills. We used real wood in our last build project and it has moved slightly over the years, MDF won’t do this and is cheap, but requires work in sanding and painting.

Carpets are due to be fitted at the start of January and once these are down it will just be electrical sockets, lights etc to finish the rooms. Internal decorating can then commence downstairs.
That’s about it, the kitchen has been fitted and downstairs flooring is done but both are covered by copious amounts of cardboard and I’ll upload some photos once this is removed.
Thanks for reading. This will be the last post for 2019, hope everybody has a great Christmas and best wishes for your projects in the New Year!
-
 9
9
-
 2
2
3 Comments
Recommended Comments
Create an account or sign in to comment
You need to be a member in order to leave a comment
Create an account
Sign up for a new account in our community. It's easy!
Register a new accountSign in
Already have an account? Sign in here.
Sign In Now