
Vertical slate cladding & the pond

Entry posted by vivienz
1869 views
At the same time that all the indoors first fix was going on during December, there was plenty going on outside, too. From the perspective of the build, the main event was the slate cladding but the thing that drew by far the most attention was the digging of the pond. I use the term 'pond' loosely, and it has been the subject of great debate, but it is a wildlife pond. Not a swimming pond, not a boating lake, nor a flight pond, which are all alternative suggestions that have been made. It will be a wildlife pond.
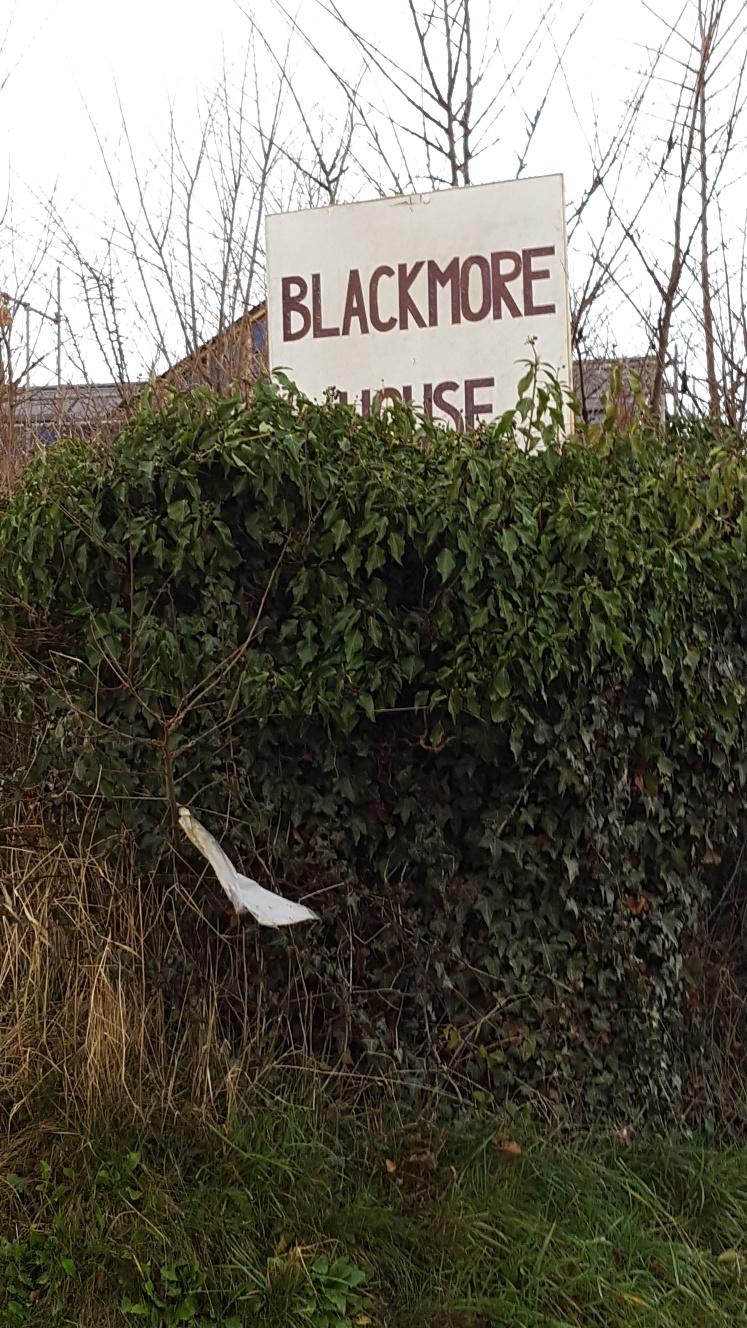
Let's begin with the simplest thing - a old inspection whiteboard from work and a permanent marker meant that I finally got a sign up to stop all our delivery drivers carrying on down the lane and
annoying the farmer.
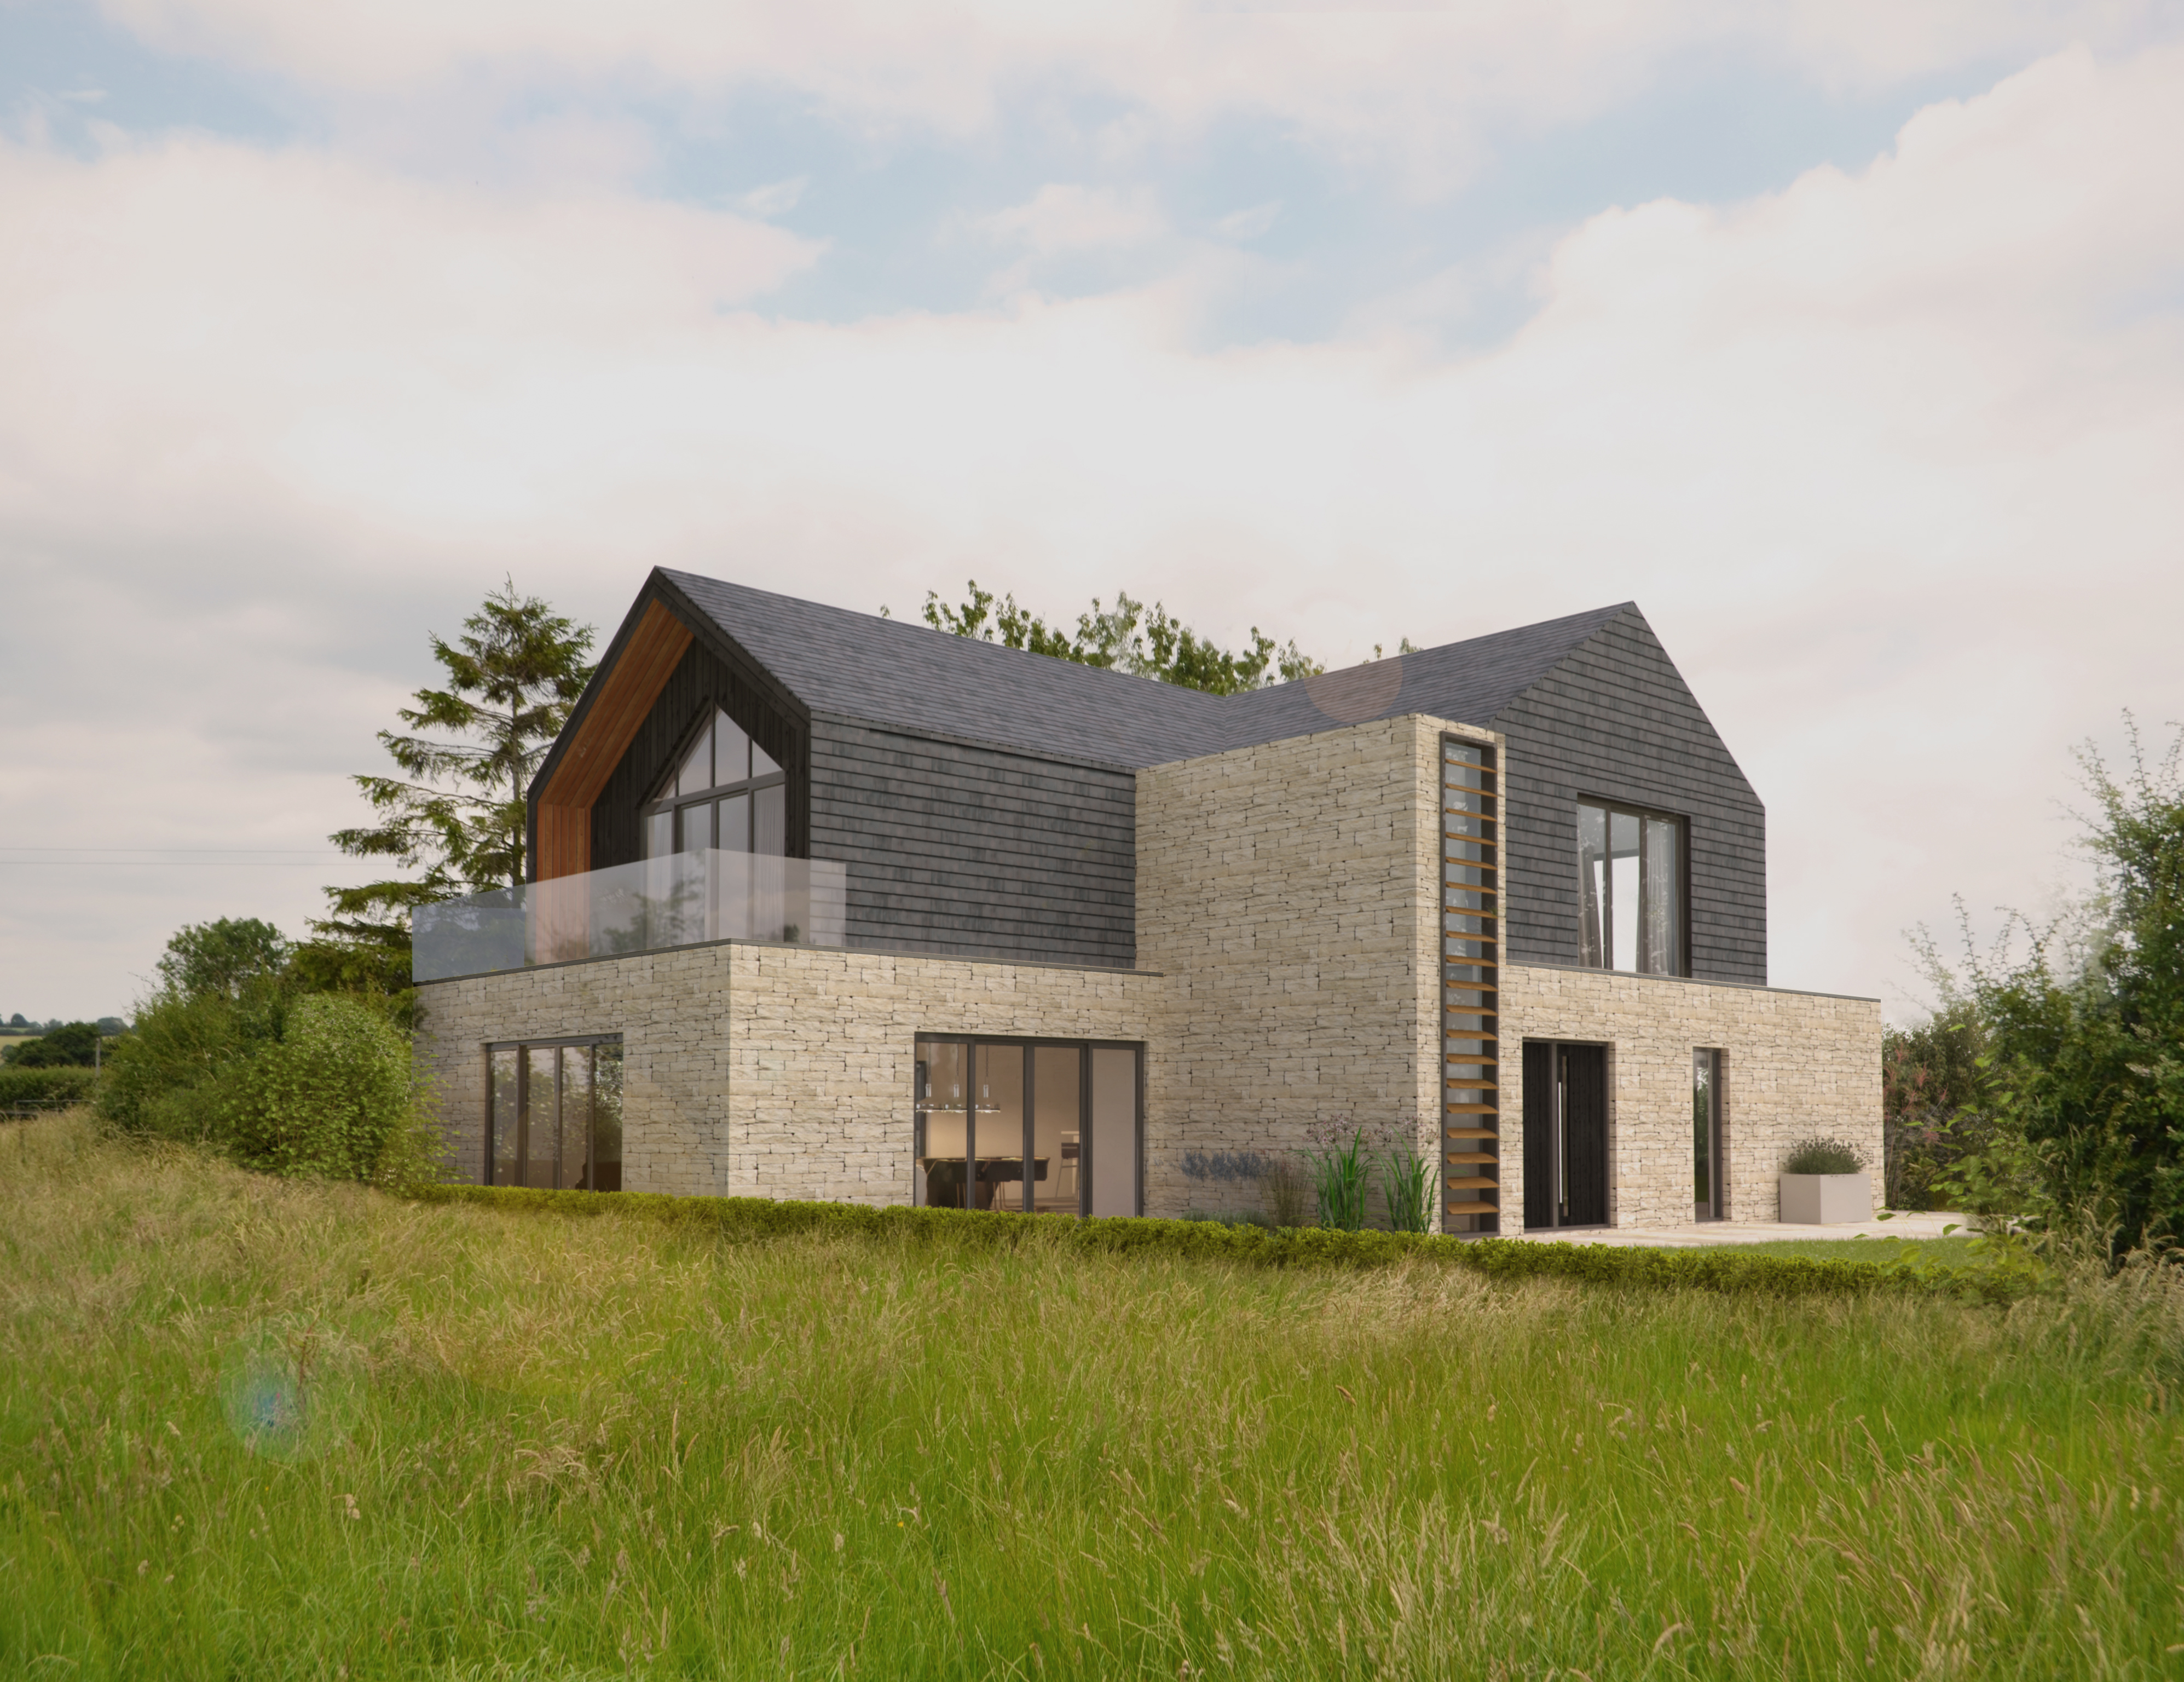
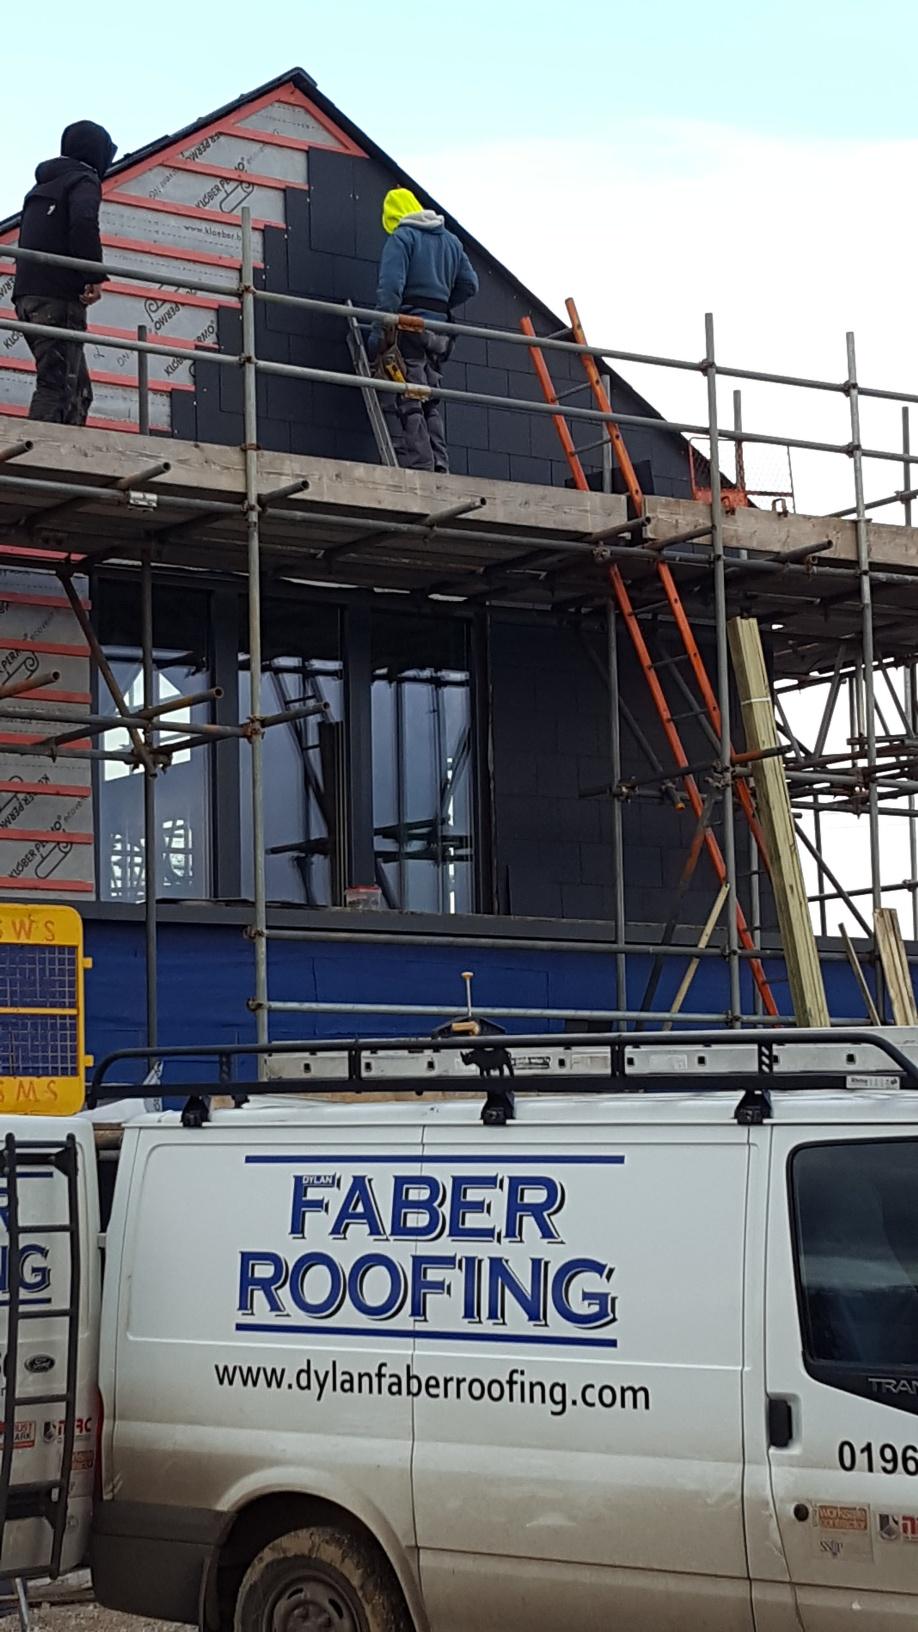
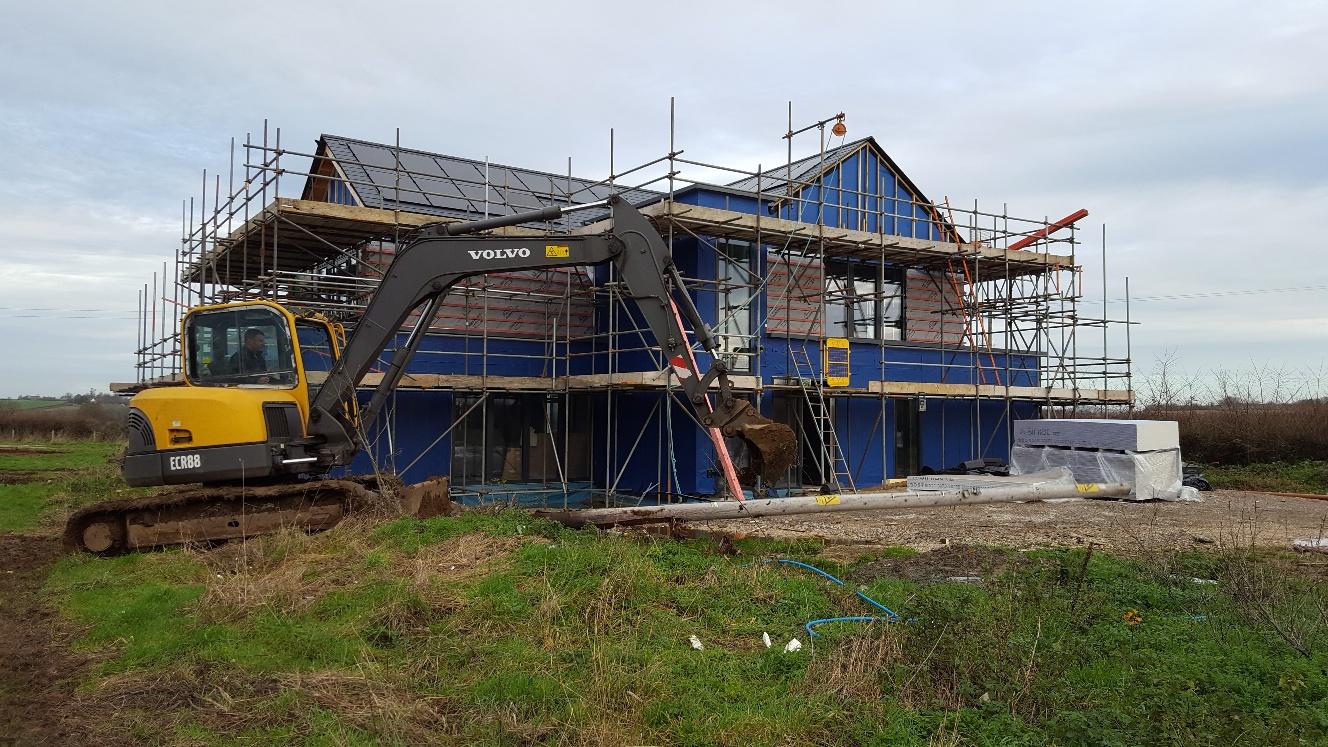
During the design stage, the architect was very keen for us to have the super-trendy (around Dorset, anyway) burnt larch effect cladding, but we really didn't like it at all. Not the colour, but the overall effect, and so when we saw a house with slate hung vertically as a type of cladding, we decided that was the one for us. I persuaded our roofer, Dylan Faber, that this would be a really good job for him to undertake and add another string to his bow. We had originally intended to use Marley vertigo slates, which are designed to be used for that purpose, but it turned out that they aren't used much in the UK and would have to be made to order in France and then shipped over, giving a lead time of somewhere in the region of 8 to 10 weeks. Instead, we used the same slates as are on the roof, but with the Marley trims and accessories, and it all worked out well, particularly as the slates were slightly cheaper than the Marley ones. The brand is SVK.
The process is exactly the same as for the main roof - membrane, batten and counterbatten with the slight variation of using copper rivets rather than the hooks that were used on the roof and they're nasty scratchy things that you don't want to lean up against.
Here's the first stage of the prep work:
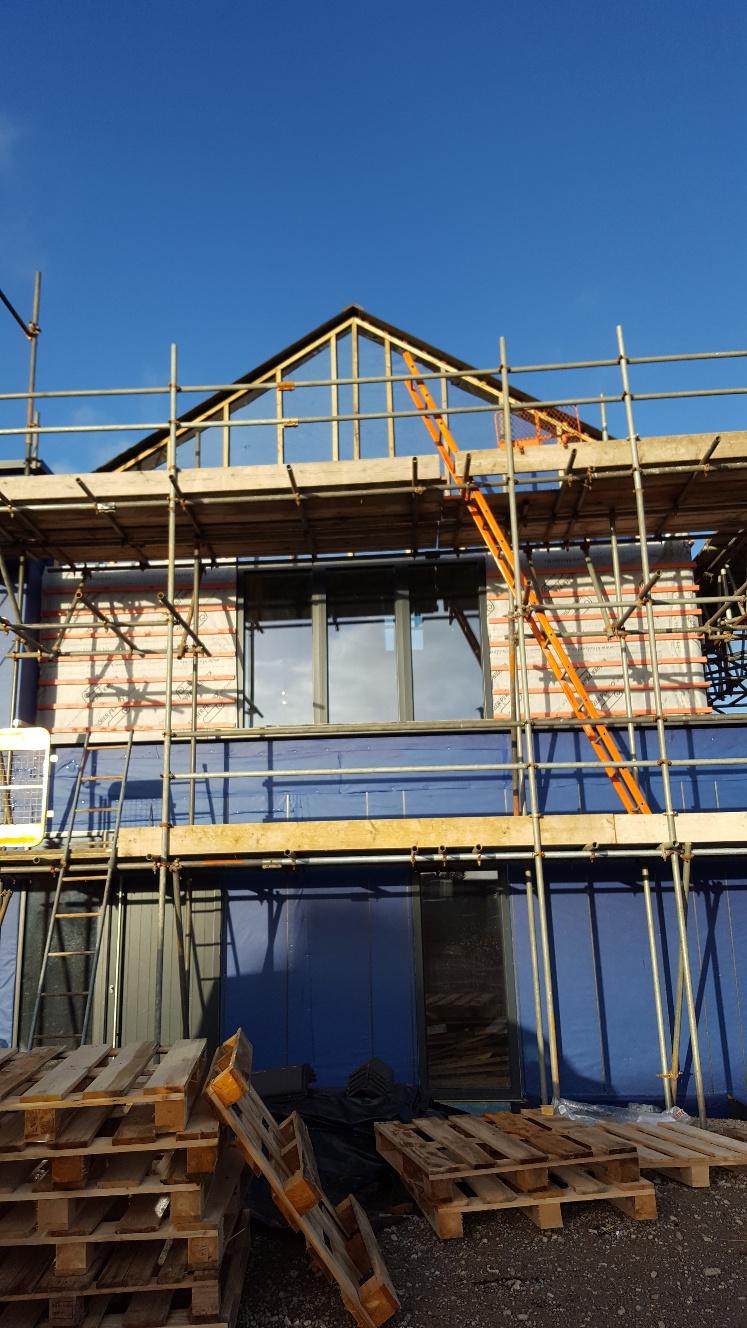
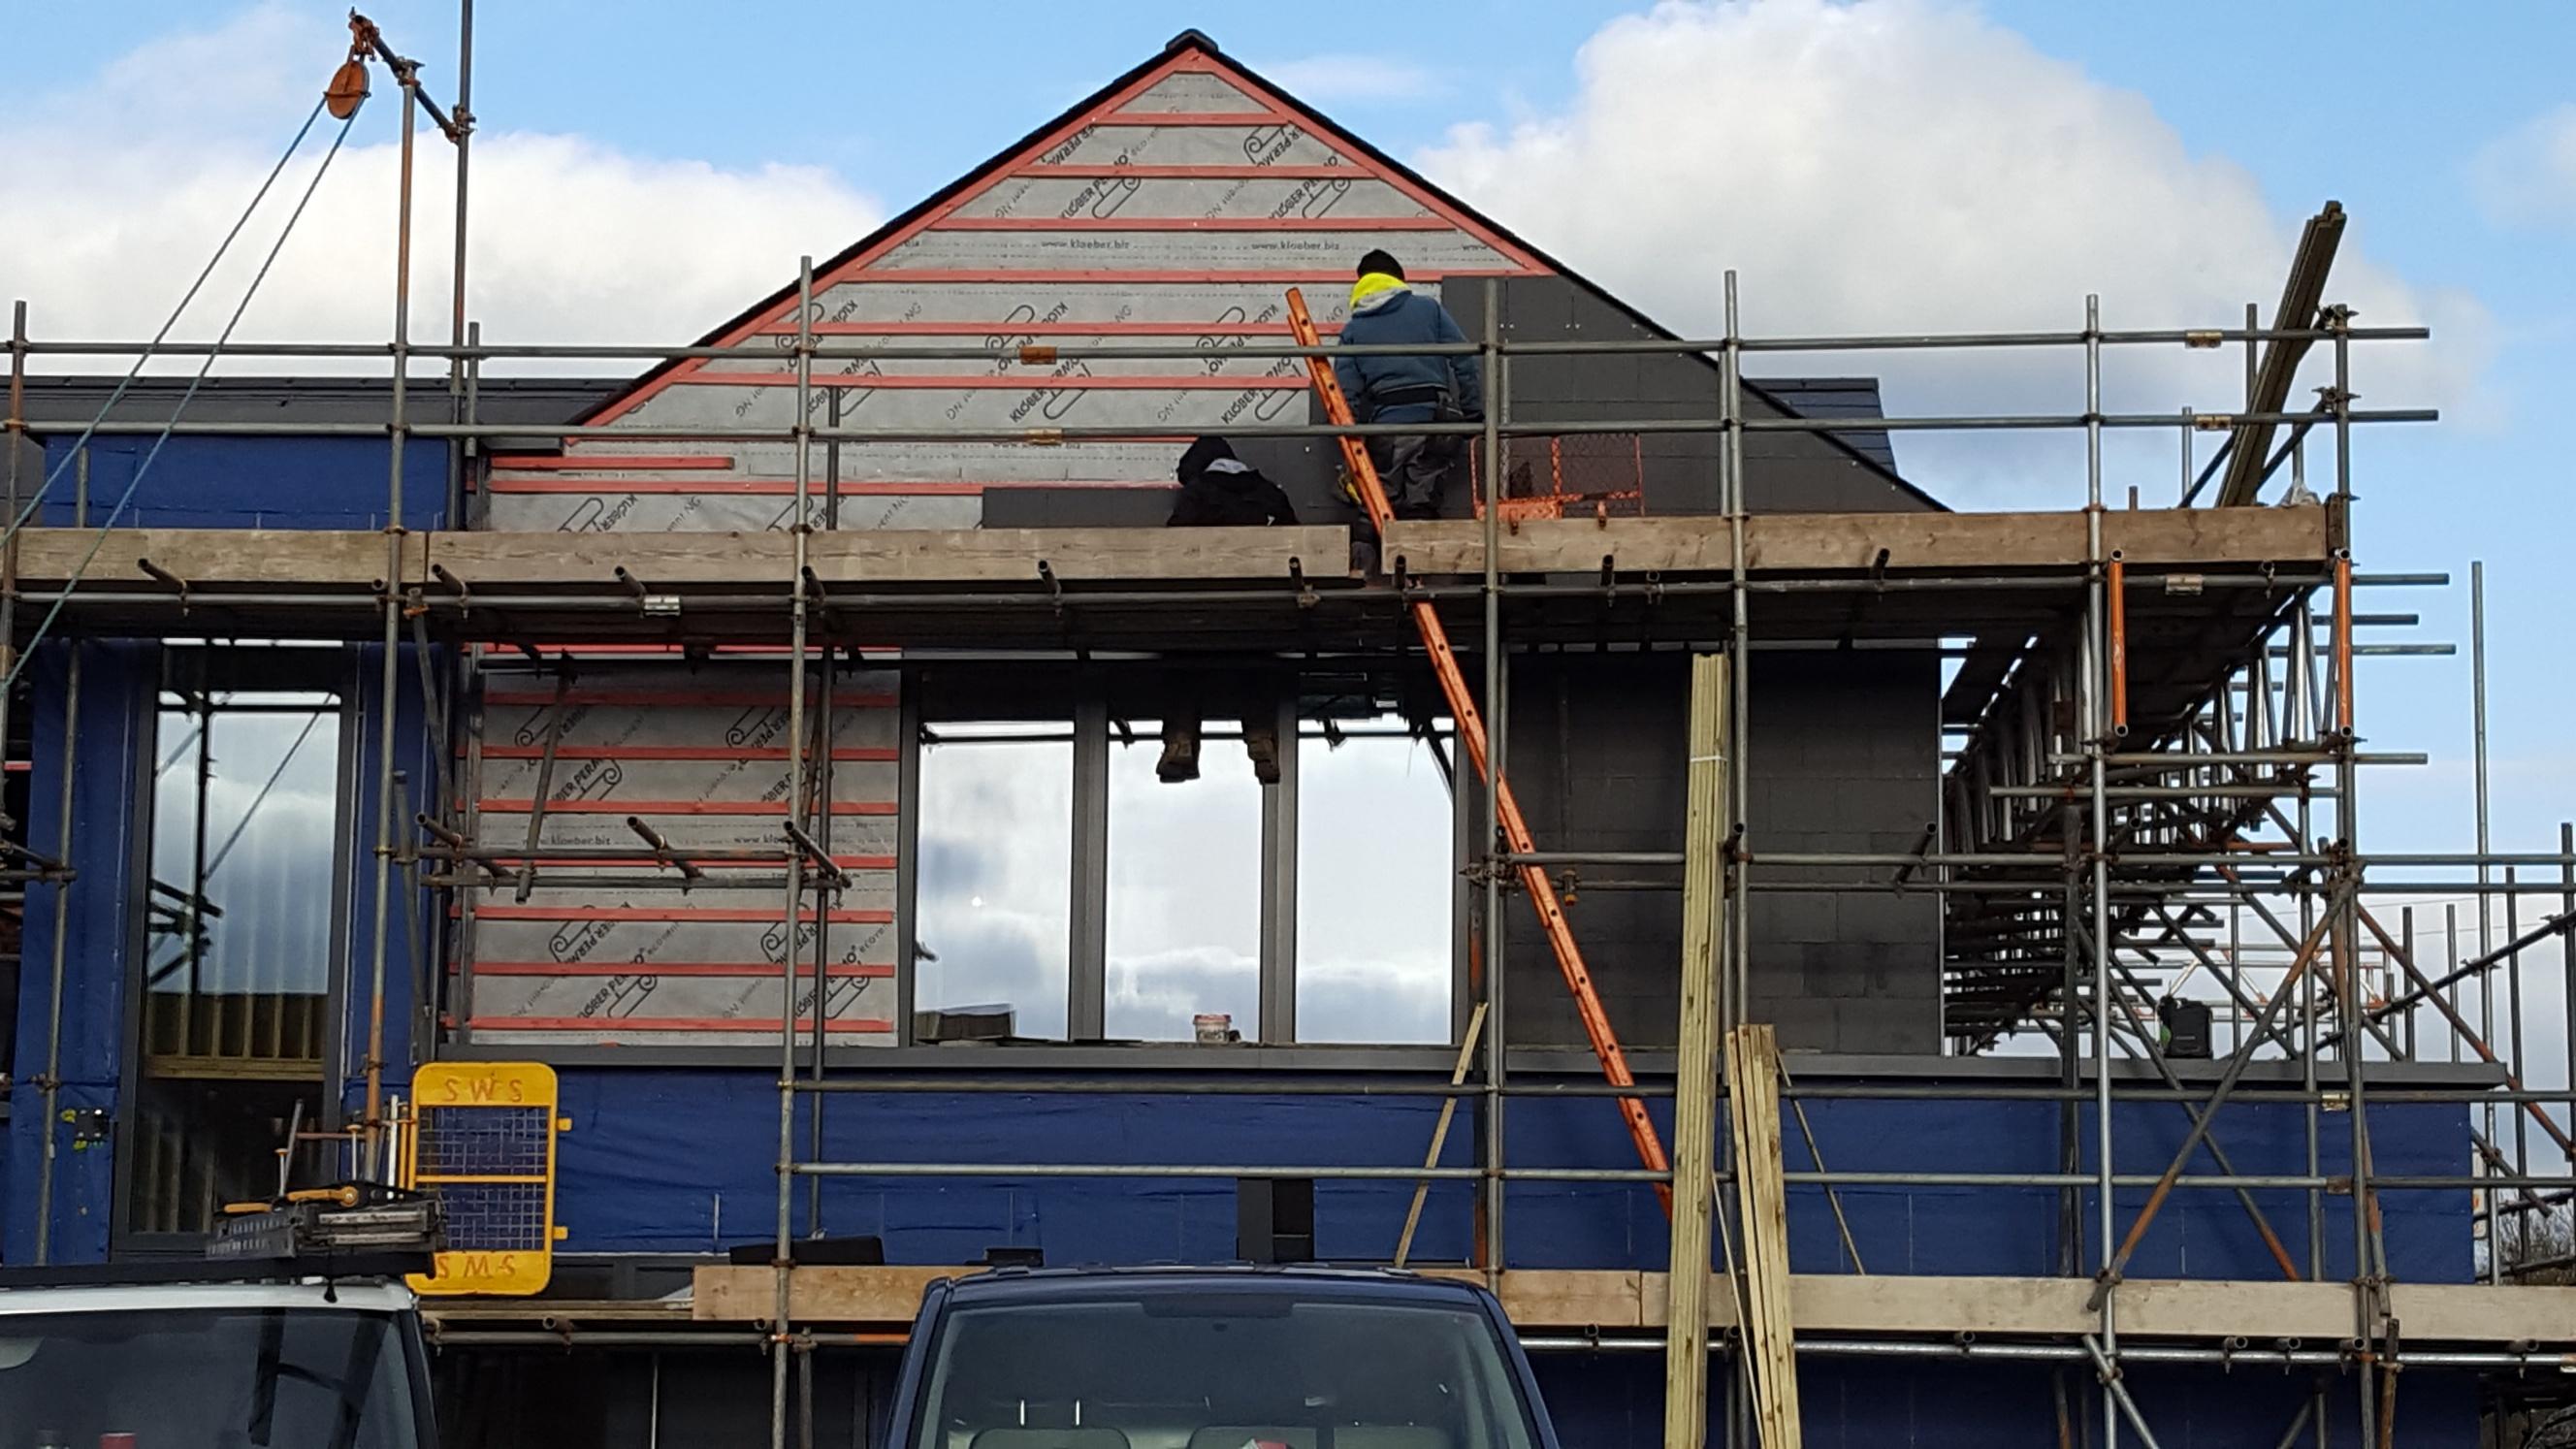
Once all the counter batten was up, the slating could start. The team started at the front as this is the most weather exposed area and I was keen to get some protection on it and make the building more water tight.
A little later that day:
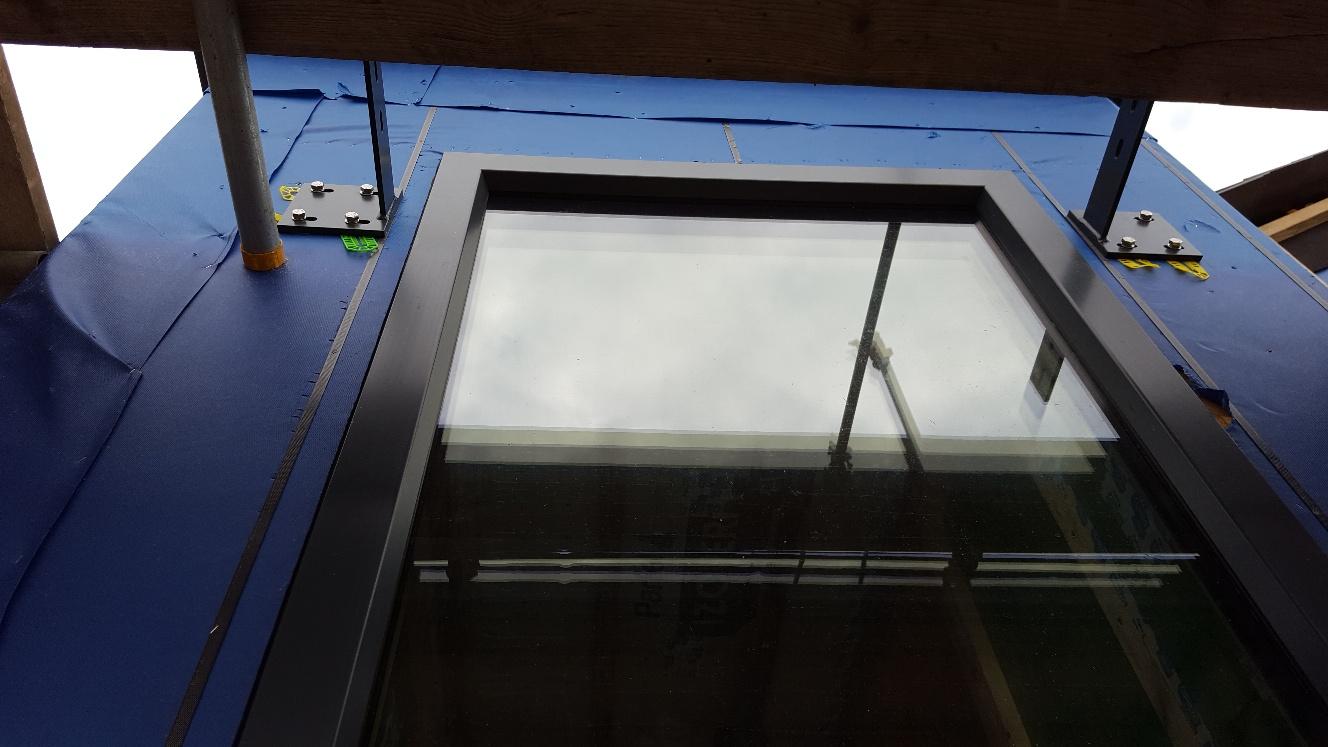
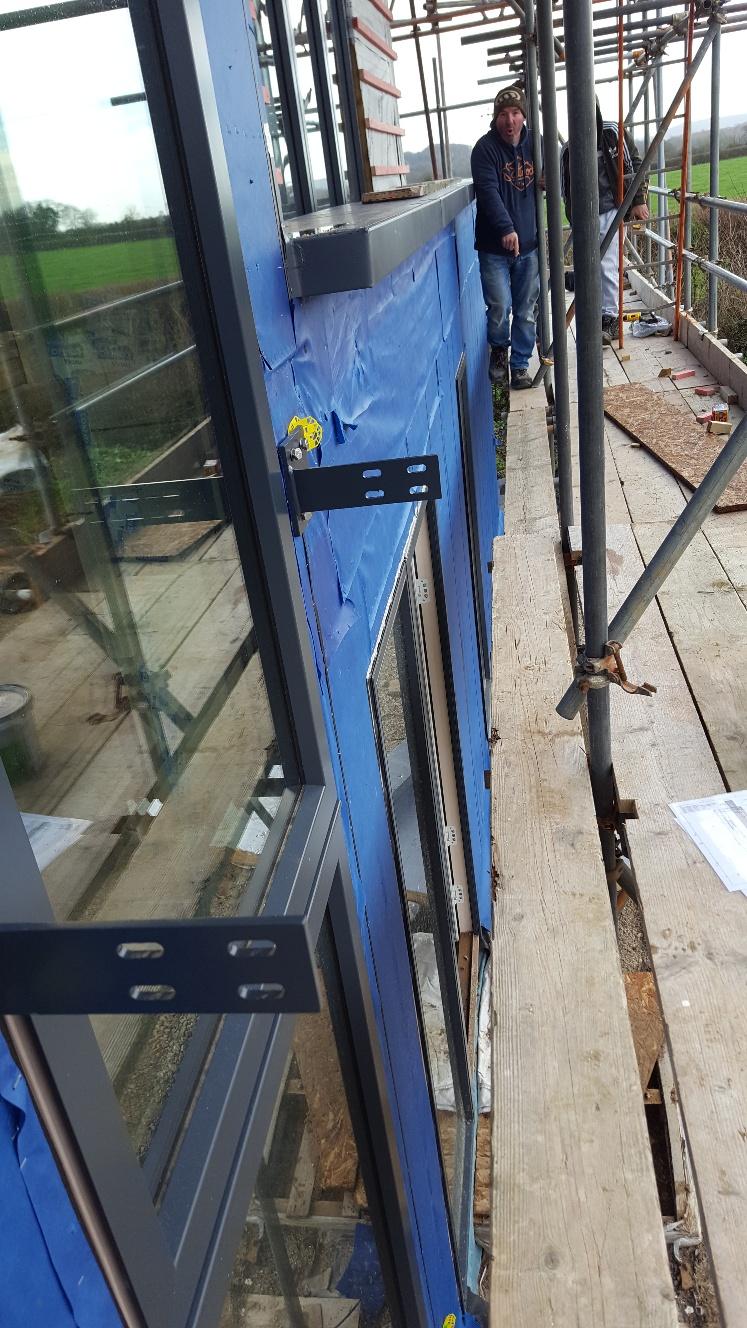
Other than the stairwell section, the whole of the upper floor of the house is now clad with the slate, and a fine bit of work it is. Dylan Faber and team have been a pleasure to work with and I would gladly use them again.
The stairwell section will be clad with the stone slip Tier system that's going to cover the ground floor. This gives a nice break to the slate and reduces the visual impact of the upstairs, and this work should be getting underway at the start of February. It's a little later than I had planned, but that's largely due to the lead time to get the materials in as the supplier has stock of every colour apart from the one we're having.
Besides the slate and the stone slip, one of the more dramatic features outside is the brise soleil that sits in front of the stairwell window. This is a vertical run of horizontal cedar fins that are held in position on a RAL coated steel frame. The brackets and coach bolts that hold the frame and fins in place had to be done as a first fix item and before the cellulose was blown in. There are 3 sets of brackets, top, middle and bottom, and it's the top and middle ones that take the majority of the weight of the entire structure. The MBC timber frame construction means that there is nothing behind the outer boards and so the positions for the brackets had to be packed out before installation. This meant cutting out a section of the airtight board on the inside, attaching some nice sturdy noggins to the external wall from the inside, then re-sealing the cut out. Clearly, trying to do this once the cellulose had been blown in would be more than tricky. Once packed, the guys from Contrasol Ltd, who are supplying the system came along and first fixed the brackets. Here are the top ones:
And here are the centre ones:
In due course, once the cladding is complete, the framework will be attached to the brackets and the timber fins fitted. Contrasol have been a really good firm to deal with and the standard of how they approach things has been very professional. Besides working out all the loads for the framework, etc., they also calculate the optimum angles for the fins and the fins themselves are engineered and precision cut. The fins are actually manufactured by Vincent Timber Ltd in Birmingham, and they are things of beauty in their own right.
Here are the fins carefully stacked up just after delivery:

And here's a close-up of them:

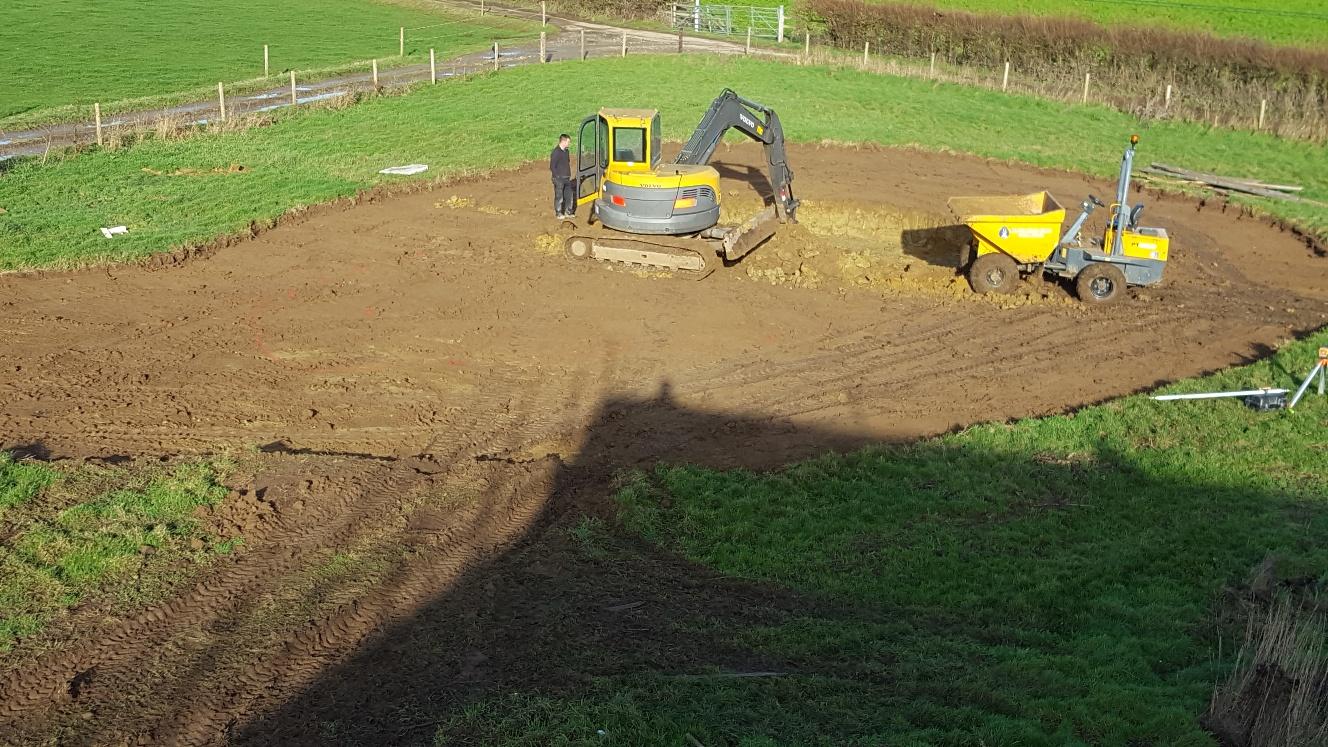
Besides the house itself, we've intended from the outset that the garden and field were every bit as important a feature and fundamental to this is the wildlife pond. One could ask what else we would do with such a large plot otherwise, but this has allowed OH to realise a long-held ambition of having what we hope will develop into a fabulous haven for wildlife. Given that, there seemed little point in limiting our ambition at the start so our groundworkers, Keith and Gail, got digging. This started off with me using a couple of cans of line marker paint to give the outline and then Keith scraping off the turf. Next up was scraping off the topsoil so that we could retain that for later use.
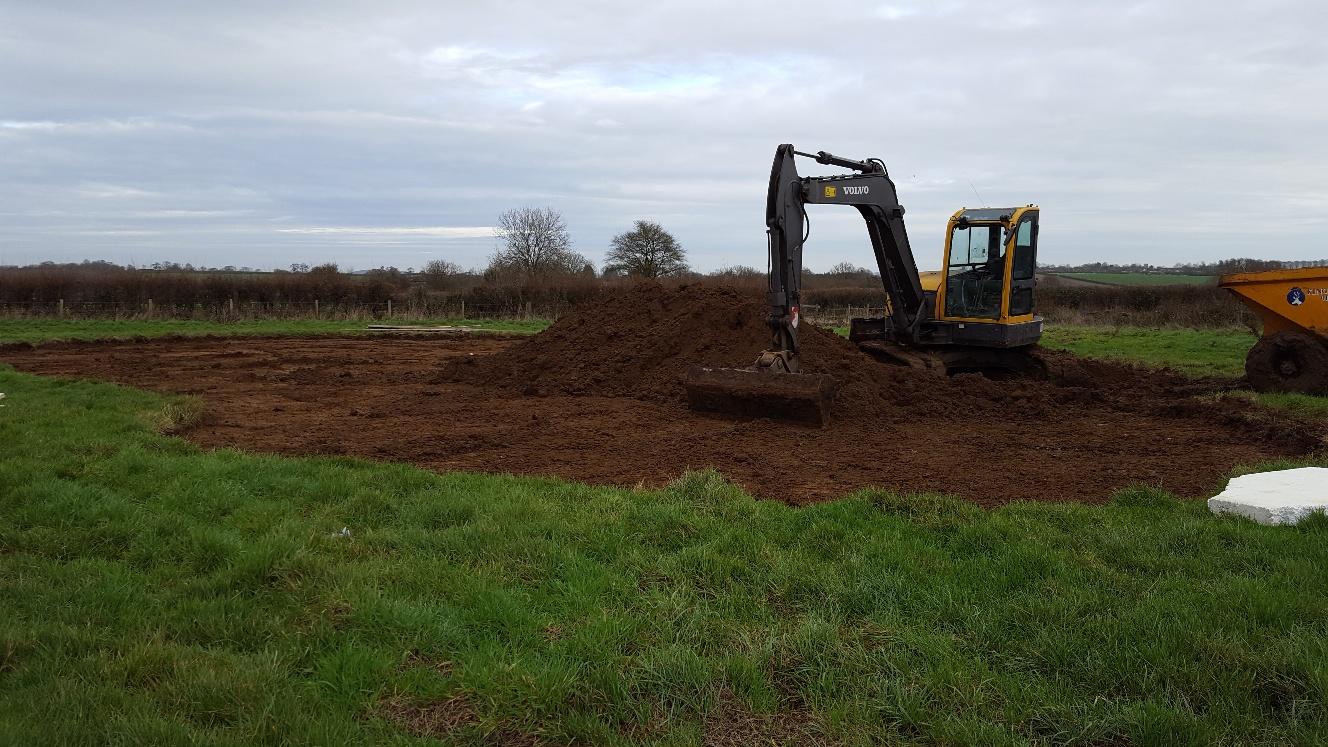
Here's the outline of the pond, as seen from the scaffolding. Keith had just started digging out the deeper part of the pond when the tracks came off the digger - the first of many times that day. That will teach me to try and save money by hiring kit from the local farmer.
This is what he had to contend with multiple times:

We finally got there over the course of a few days, and here's the pond with the deeper centre dug out, prior to having these scraped a bit more and given gradients rather than steps.
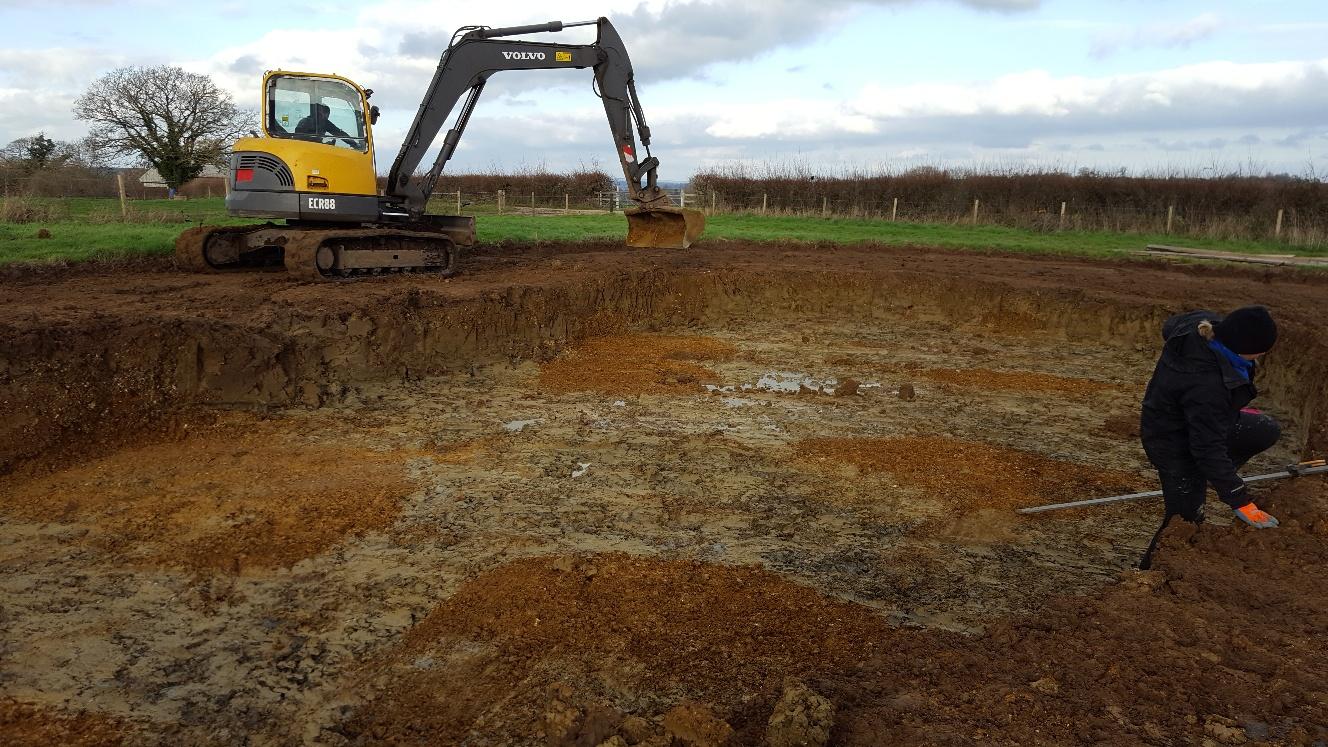
Once things were smoothed off a bit, this is how it ended up. The water you can see coming in is from a land drain that we broke through, which we will leave broken as it's as good a source as any to fill it up. Our attempts to block the other end of the land drain haven't worked so we need to give this another go in due course as we'd really like the water to stay in the pond.

Finally, this is to prove that I'm an equal opportunities employer and that ladies can do groundwork as well. And because Gail felt very neglected about not being pictured on the blog when she and Keith have done so much work on the site. This one's for you, Gail!

Keith's other act of vandalism work that week was to give the old electricity pole a good shove and get it out of the way once and for all. Most satisfying.
Next up on the blog will be more inside work involving vast amounts of plasterboard and rockwool, but that's for another evening.
TTFN
-
 7
7
4 Comments
Recommended Comments
Create an account or sign in to comment
You need to be a member in order to leave a comment
Create an account
Sign up for a new account in our community. It's easy!
Register a new accountSign in
Already have an account? Sign in here.
Sign In Now