

"It's just like Lego!"

Entry posted by Nelliekins
1660 views
So, our slab is down, starter bars set ready for our walls, lovely. Time for some ICF...
Nope - more prep work to do first, apparently. The boss from Logix UK came up a couple of weeks prior and gave us some on-site training. "It's just like Lego!", exclaimed I. To be fair, it did seem really simple. I learnt just enough on the first day of training to be dangerous.
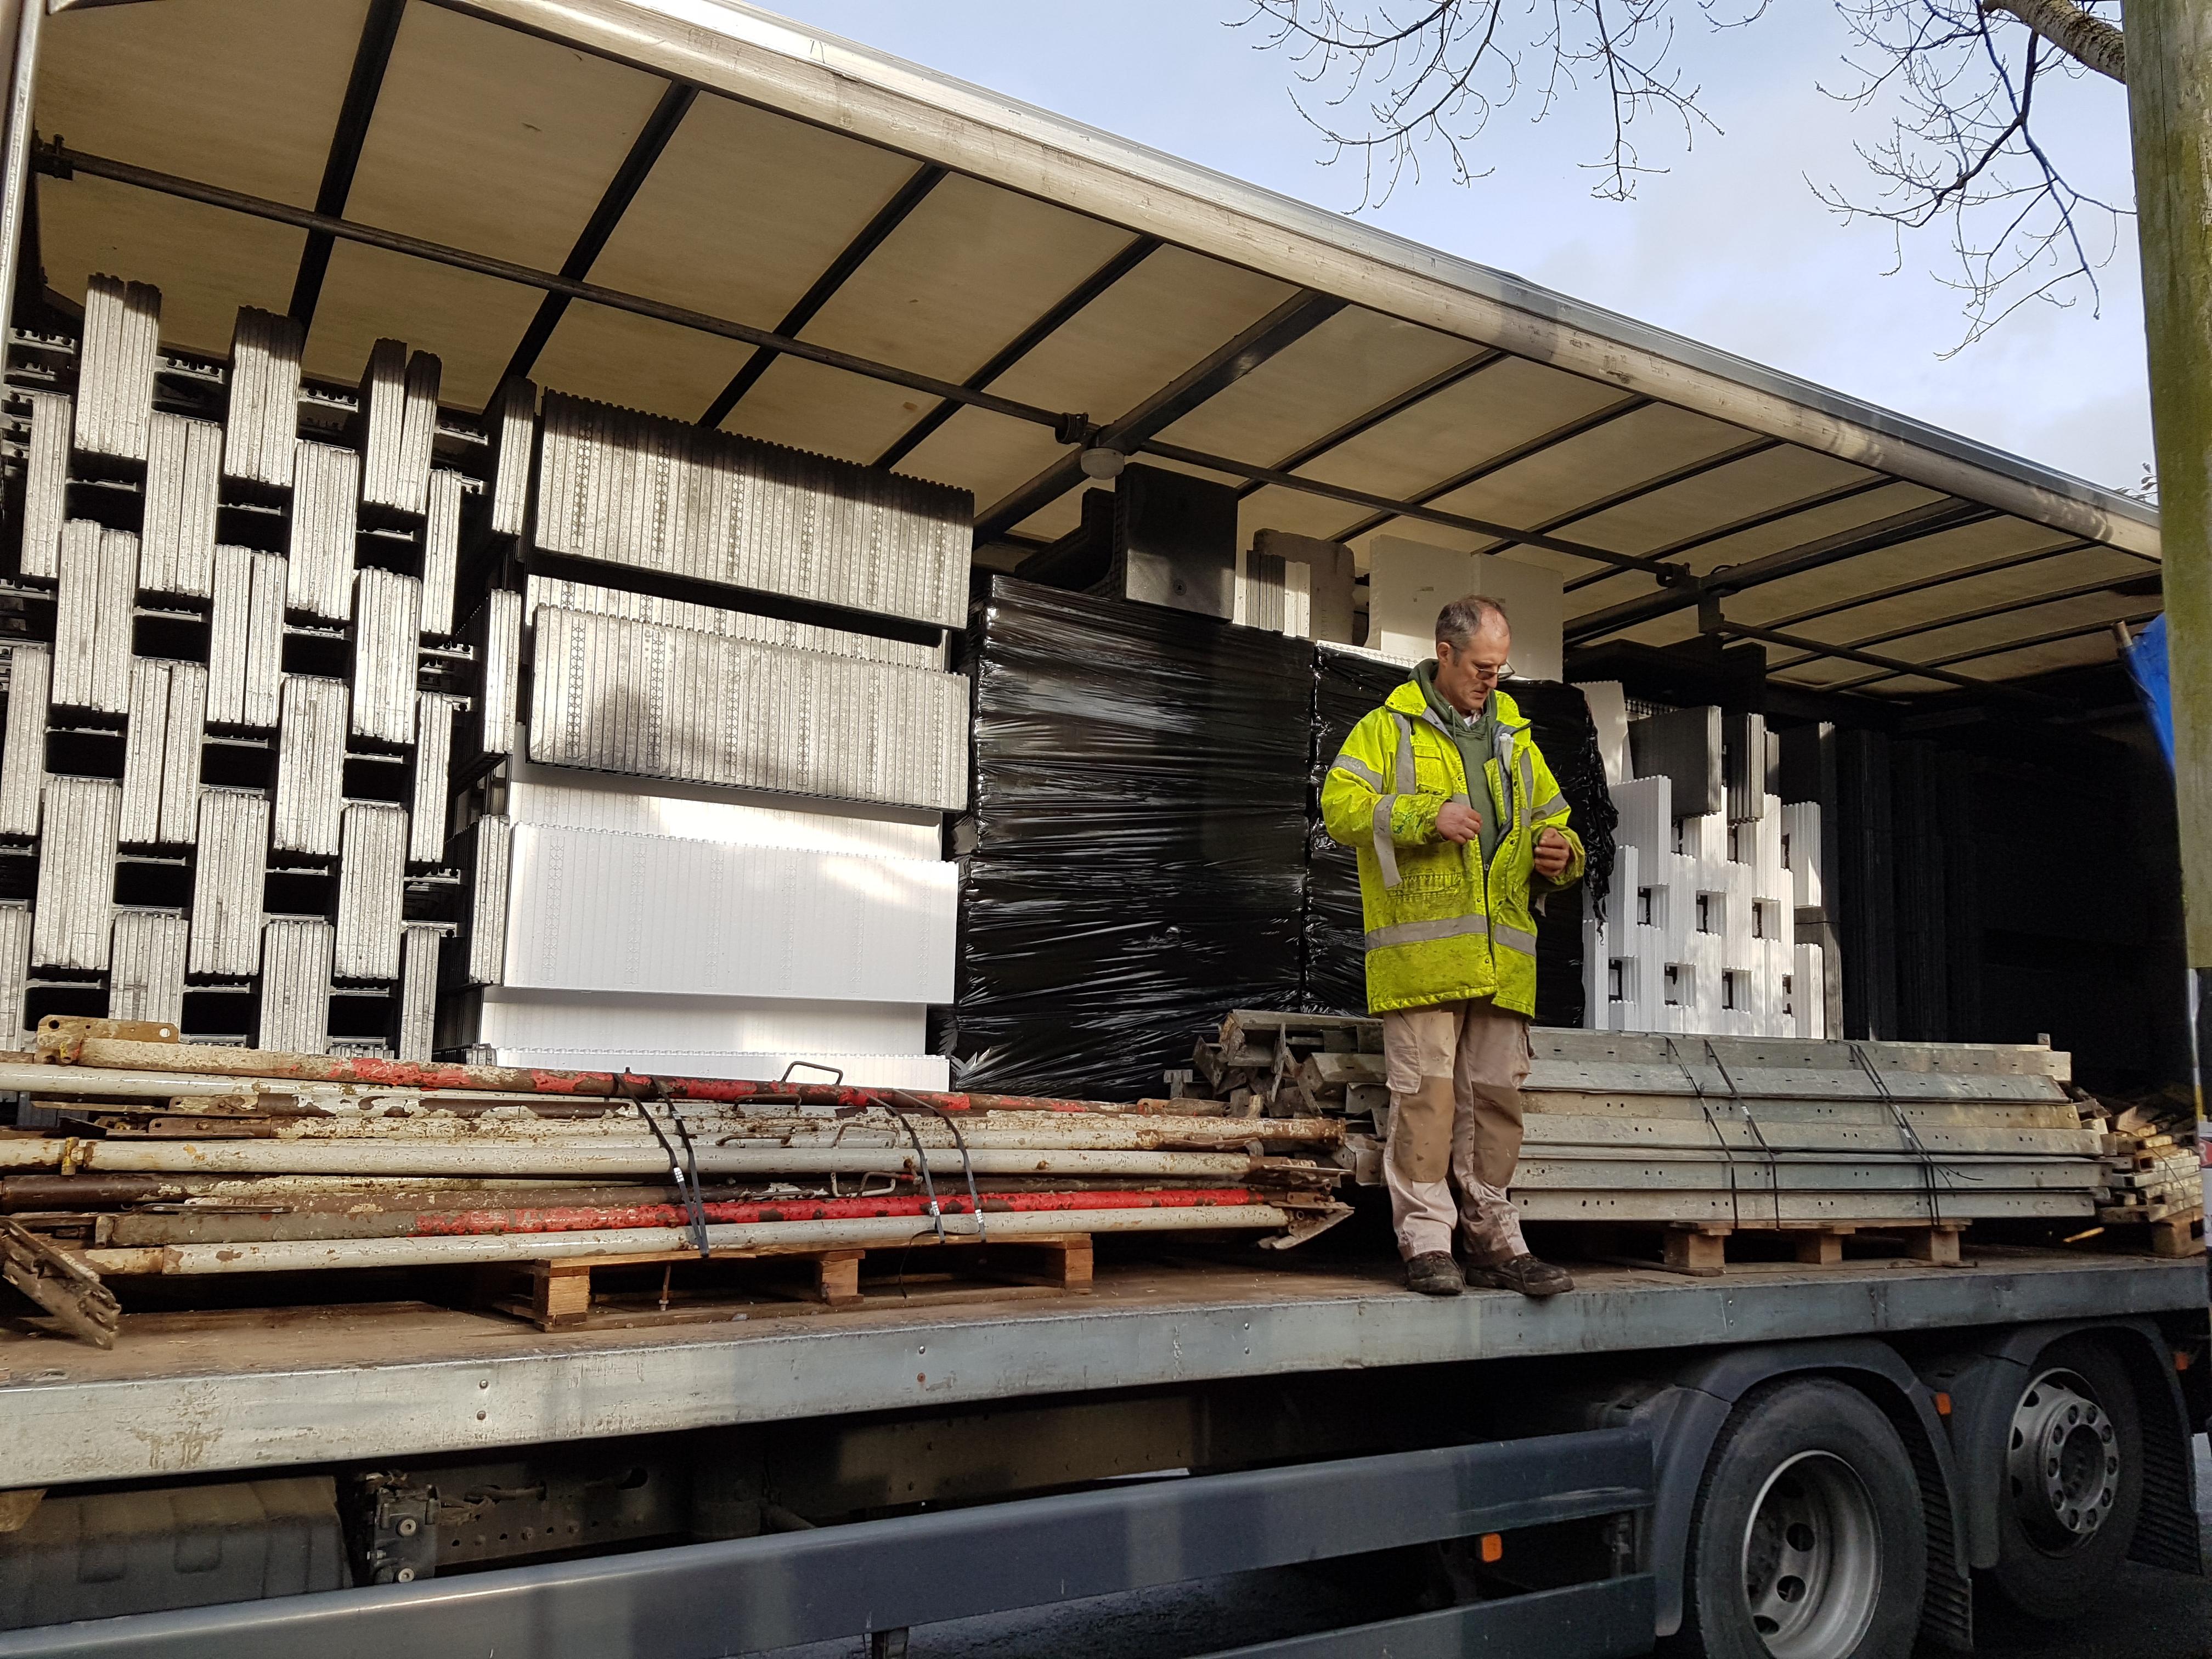
The basement wall blocks arrived on a pallet truck. Except it was only some of the blocks - they'd forgotten to send the internal wall blocks, and only sent flat panels for us to make most of the blocks ourselves. No biggie - it only took a hammer and 60 seconds of effort to assemble each of the blocks. Shame there were a couple of hundred...
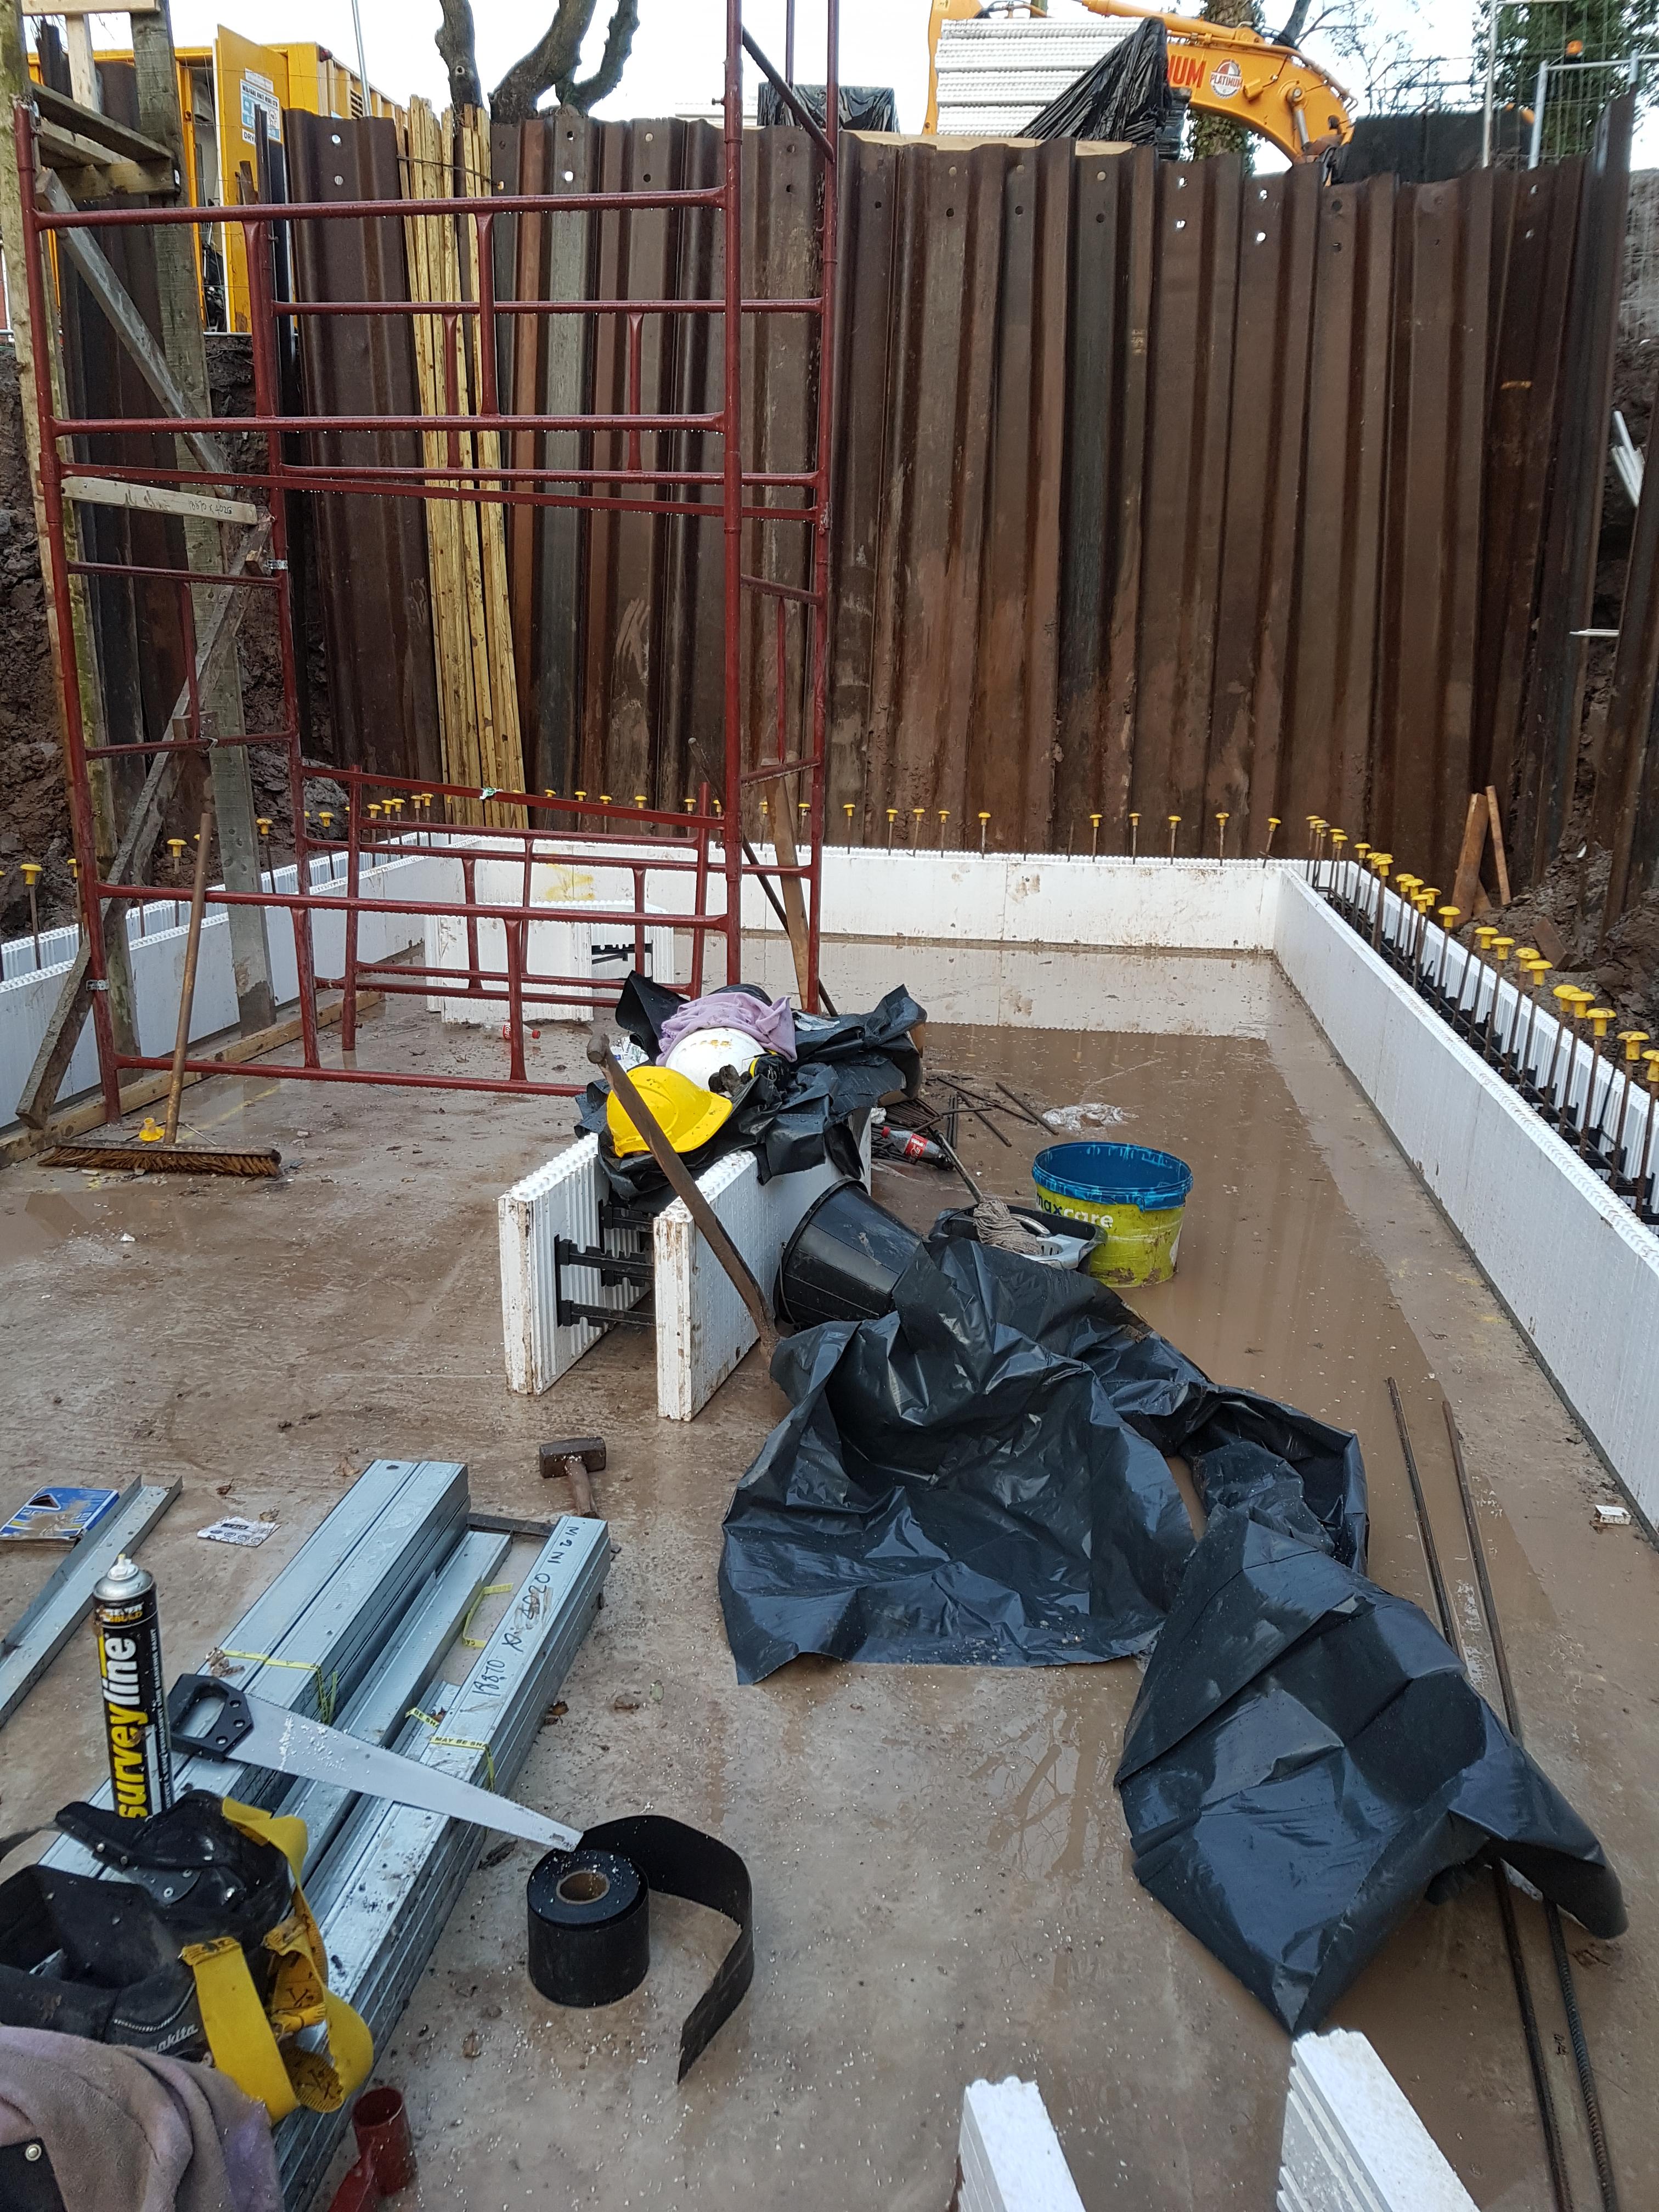
So, getting the blocks into our hole was entertaining, though - we started off hand-balling them down a ladder! After we had a few down, we started looking to set the first course. We bolted a set of aluminium track around the perimeter - the track is 72mm outer width and 70mm inner width, which is exactly the same width as the EPS panels for the basement. It came in 3m lengths, so with 16 lengths bolted down, we had a perfect perimeter into which the blocks would sit.
Here's the first block going in for a trial fit:

Oh, the sharper-eyed among you may have noticed there is what looks like a channel/groove set into the slab, just outside of the starter bars. That was cast into the slab (using lengths of 20mm electrical ducting) to take the Sika swellable water-stop bar, and it was a perfect fit... shame we didn't think to set it into the channel until after we had placed the first course of blocks! DOH!
Anyway, the block fit perfectly, so we carried on setting out the entire first course, then realised our mistake and put the swellable bar into its channel (stuck down with some horrendous swellable mastic provided by Sika, that took best part of a week to wash off my hands - oops!)
So far, so good. But hand-balling blocks or panels down a ladder wasn't cutting it, given we needed to get several hundred blocks down... so we made a slide! The pairs of timbers were set so that the webs on individual panels fit perfectly between the 2 timbers, keeping them level and preventing them from flying off.
Before we knew it, a good chunk of the basement walls were up. Next day, and we continued apace. By the end of the week, most of the basement walls were up and it was time to call it a day. The man from Logix had suggested we cover the tops of the walls temporarily to prevent the swellable bar from getting too wet, so we used the ICF cavity closers - after all, we were relatively sheltered from the wind, so they shouldn't go anywhere...
Next day onsite was the following week, and a surprise arrived - the internal wall blocks! Not only that, but the boss of Logix UK arrived with them, to carry on our on-site training...
Since he had brought his internal wall blocks and the bracing system with him, I figured he could help with the internal walls. Now, if ever there was a mistake...
I don't know if anyone paid attention to the design of the house, but there is this lightwell out the back of the basement. It's designed to serve 3 purposes:
- To provide a secondary means of escape, in case the basement stairs are on fire (there's a window being put into the back wall)
- To provide a place to put the rainwater harvesting tank (I'm a notorious cheapskate, and I had noticed that above-ground tanks cost a fraction of the below-ground tanks... ergo, with a lightwell - covered by a deck at ground level - I could house a giant above-ground tank, but keep it out of sight!
- To provide somewhere to site our perimeter drainage sump (we were going to backfill around the basement walls, with a french drain that flowed into the sump chamber in the lightwell, so that it could be pumped away, and remove hydrostatic pressure from the basement walls
"So why is he banging on about the lightwell?" I hear you ask. Good question.
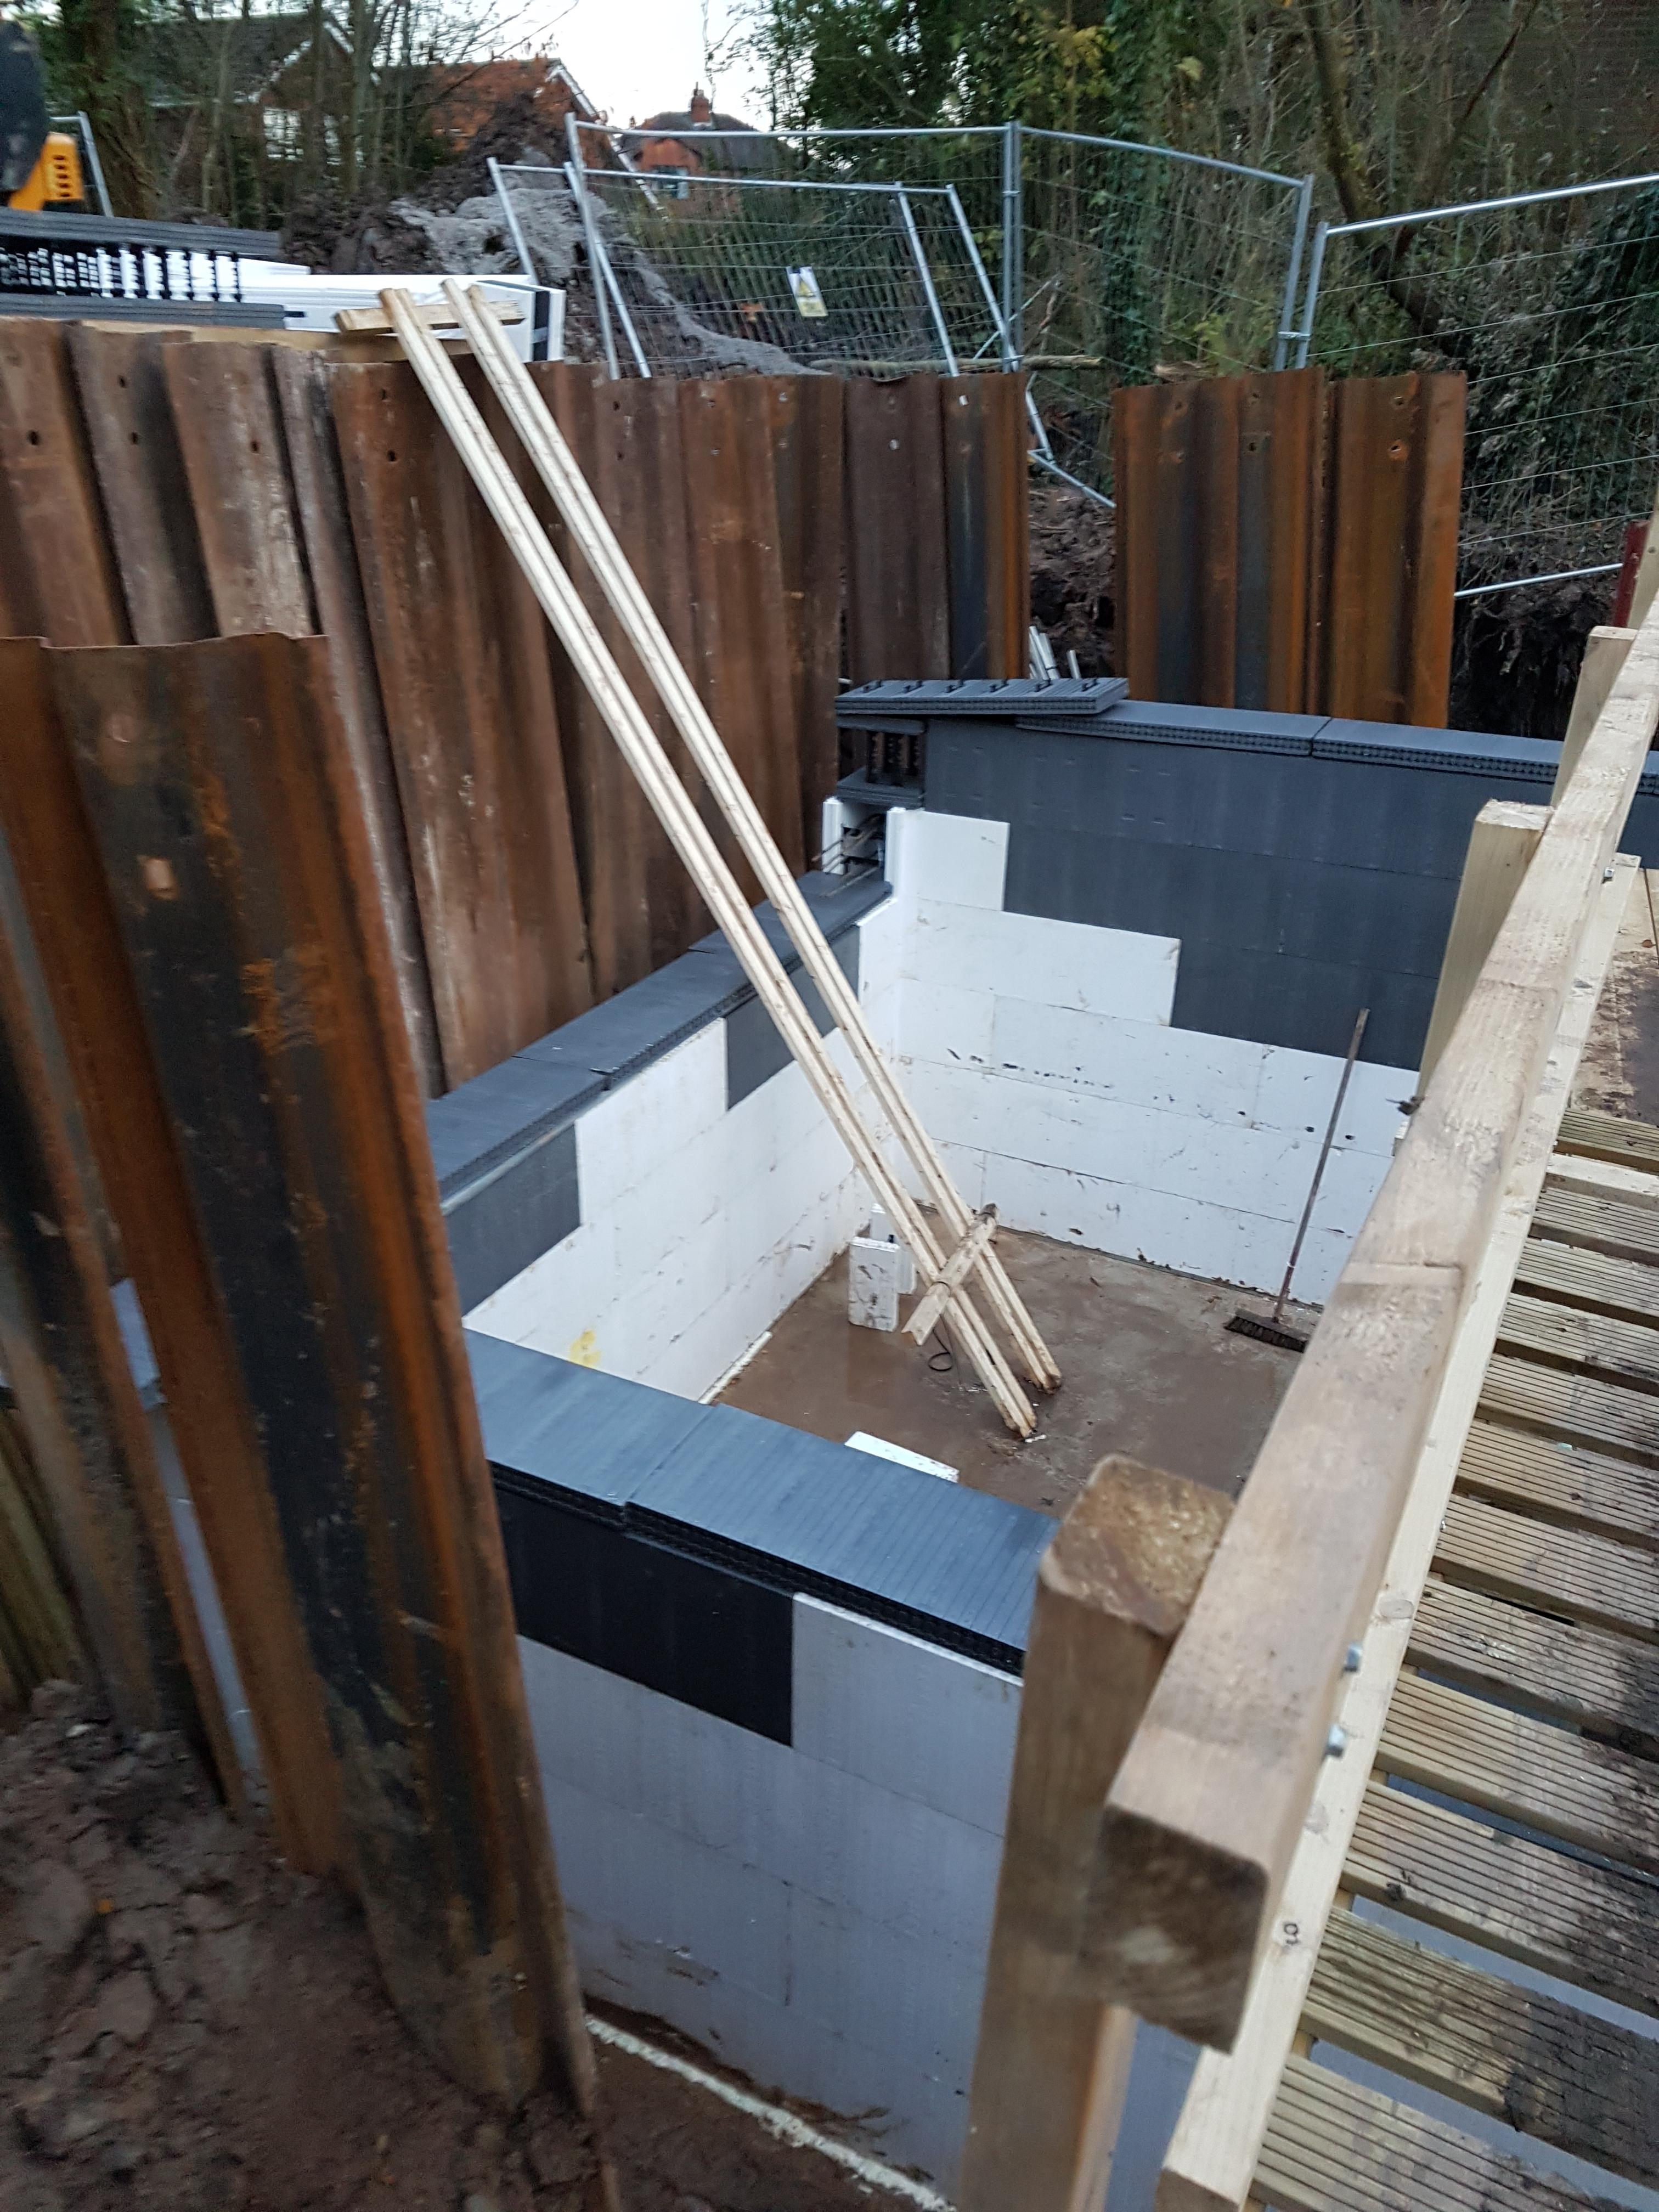
Internal T-walls with Logix are made with dedicated T-shaped blocks...in the US and Canada. Over in Blighty, they're not allowed to make those blocks (because Logix UK is a licensing outfit, with very limited production rights), so you have a choice of waiting up to 6 weeks for them to be shipped across the Atlantic, or bodge the T-wall by simply cutting pockets out of the side walls to allow concrete to flow between side and cross walls, and you can put rebar L bars into the wall to tie it all together. Which option do you think I picked?

If you look carefully, you can see the pockets cut out of the side walls, and the steel rebar hanging out of the side wall to tie the side and cross walls together.
Which would be fine, except this is the external wall of the house. The area to the left of that wall is the basement, and the area to the right of that wall is the lightwell.
Now here's a little test for the brighter students among you... what's wrong with this arrangement? Answer in the next blog post! ?

6 Comments
Recommended Comments
Create an account or sign in to comment
You need to be a member in order to leave a comment
Create an account
Sign up for a new account in our community. It's easy!
Register a new accountSign in
Already have an account? Sign in here.
Sign In Now