
And the build goes on.

Entry posted by vivienz
1203 views
Having got all my water issues out into the last post, it's time to move on to happier things and talk about other progress. Actually, that's a little unfair because there is a lot of work in all the flat roof stuff, far more than the pitched roof, and aside from the wet stuff it's going well.
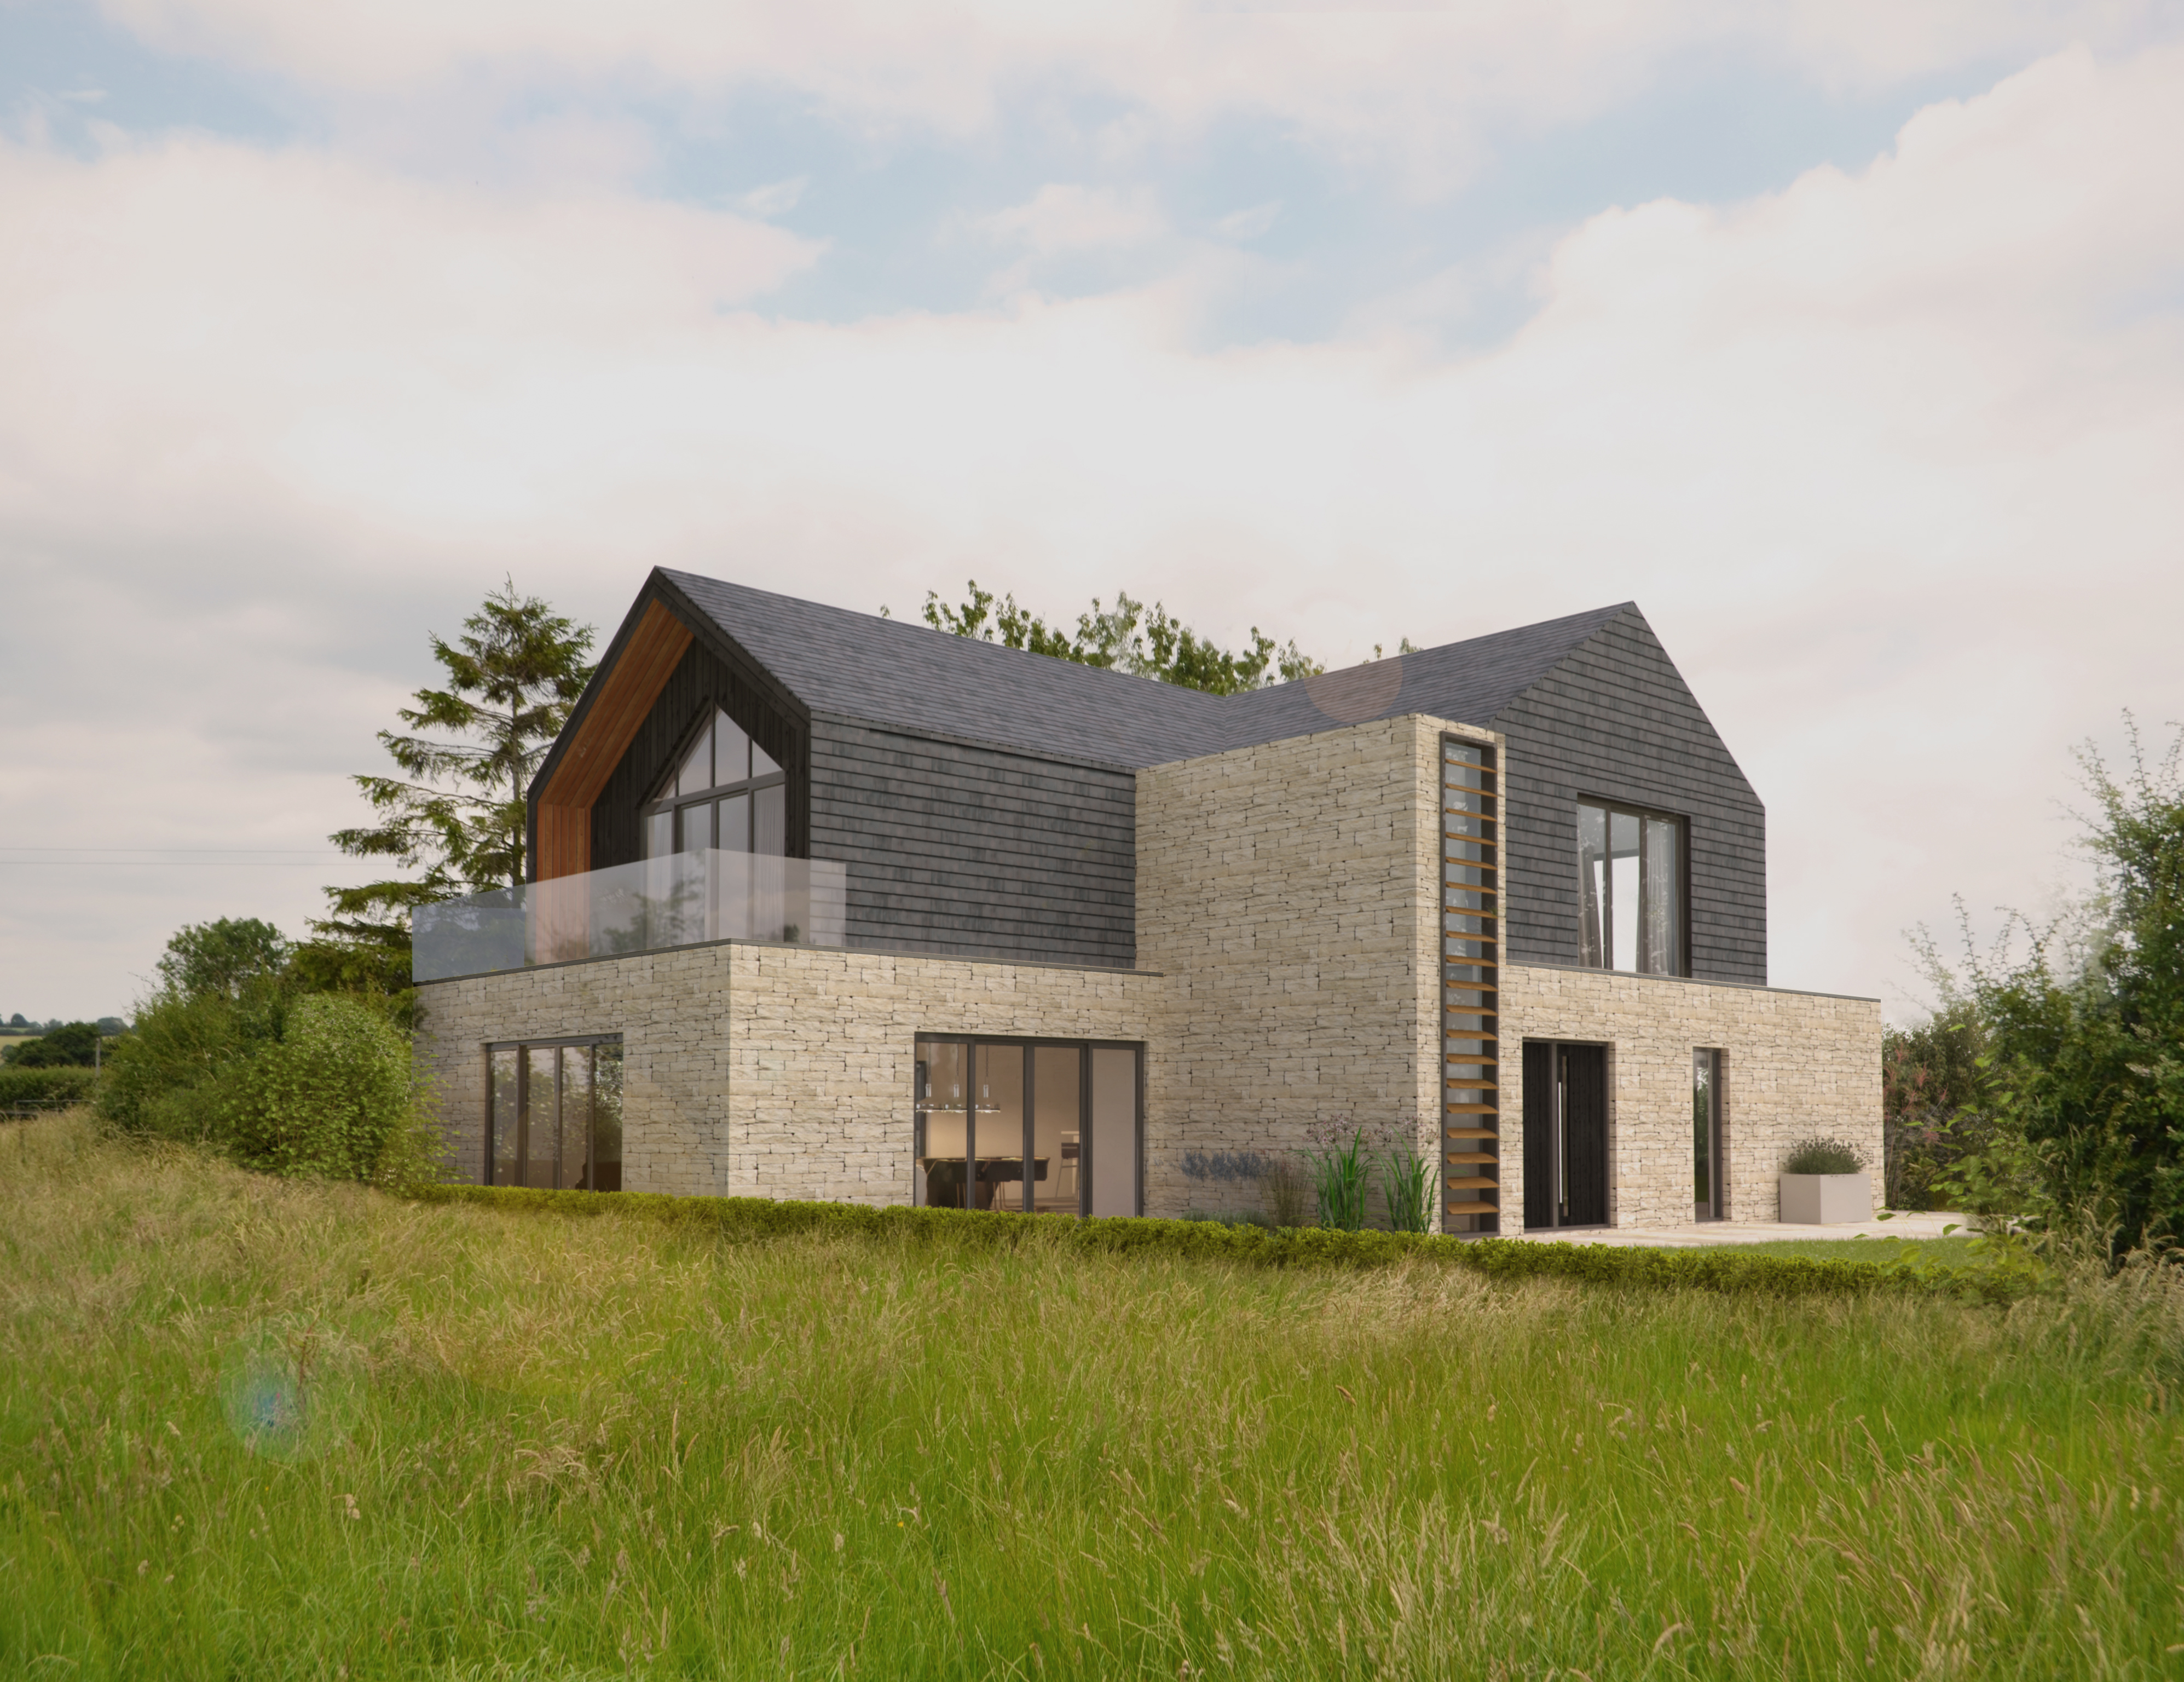
At the end of the penultimate post, the solar PV panels were just going on and the pitched roof was also still a work in progress. The building was still a shell with no power and plenty of work left for MBC to do, and outside was largely untouched apart from the buried mains cable that was terminating in the garage, into the meter moved by the meter fairies.
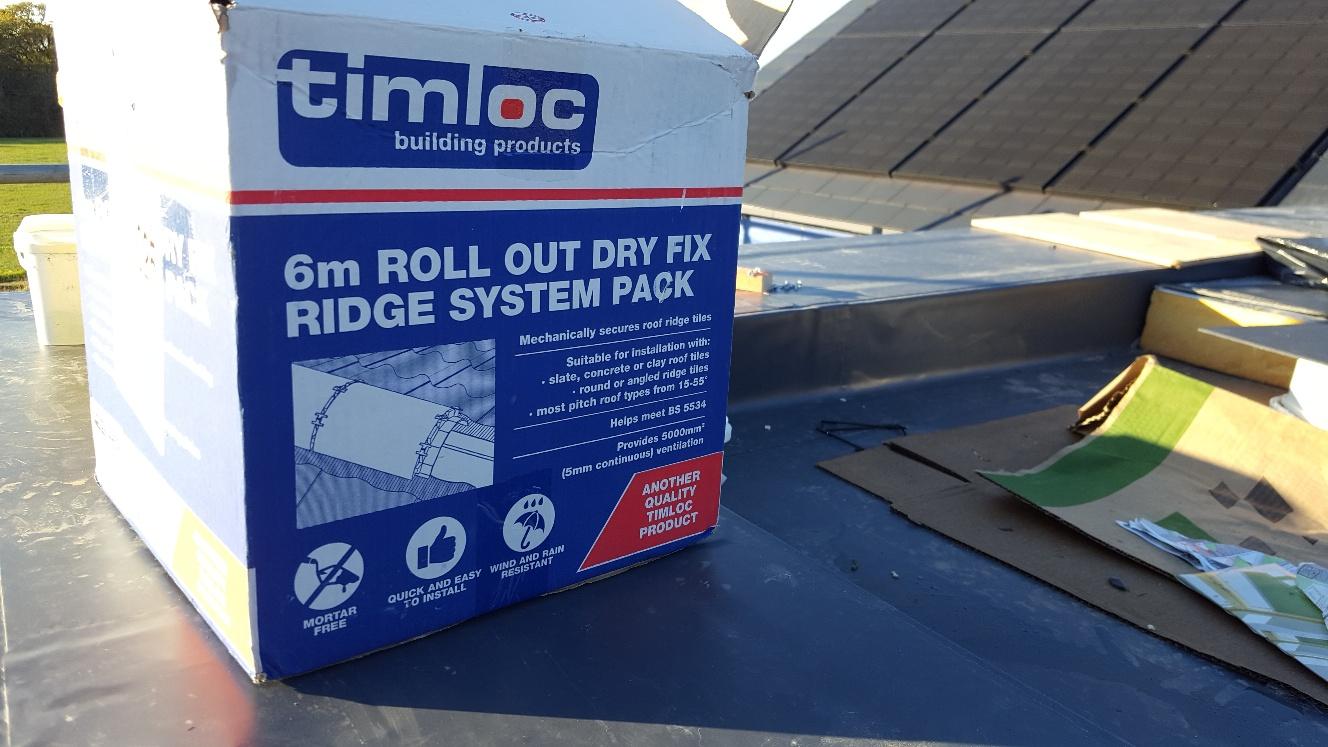
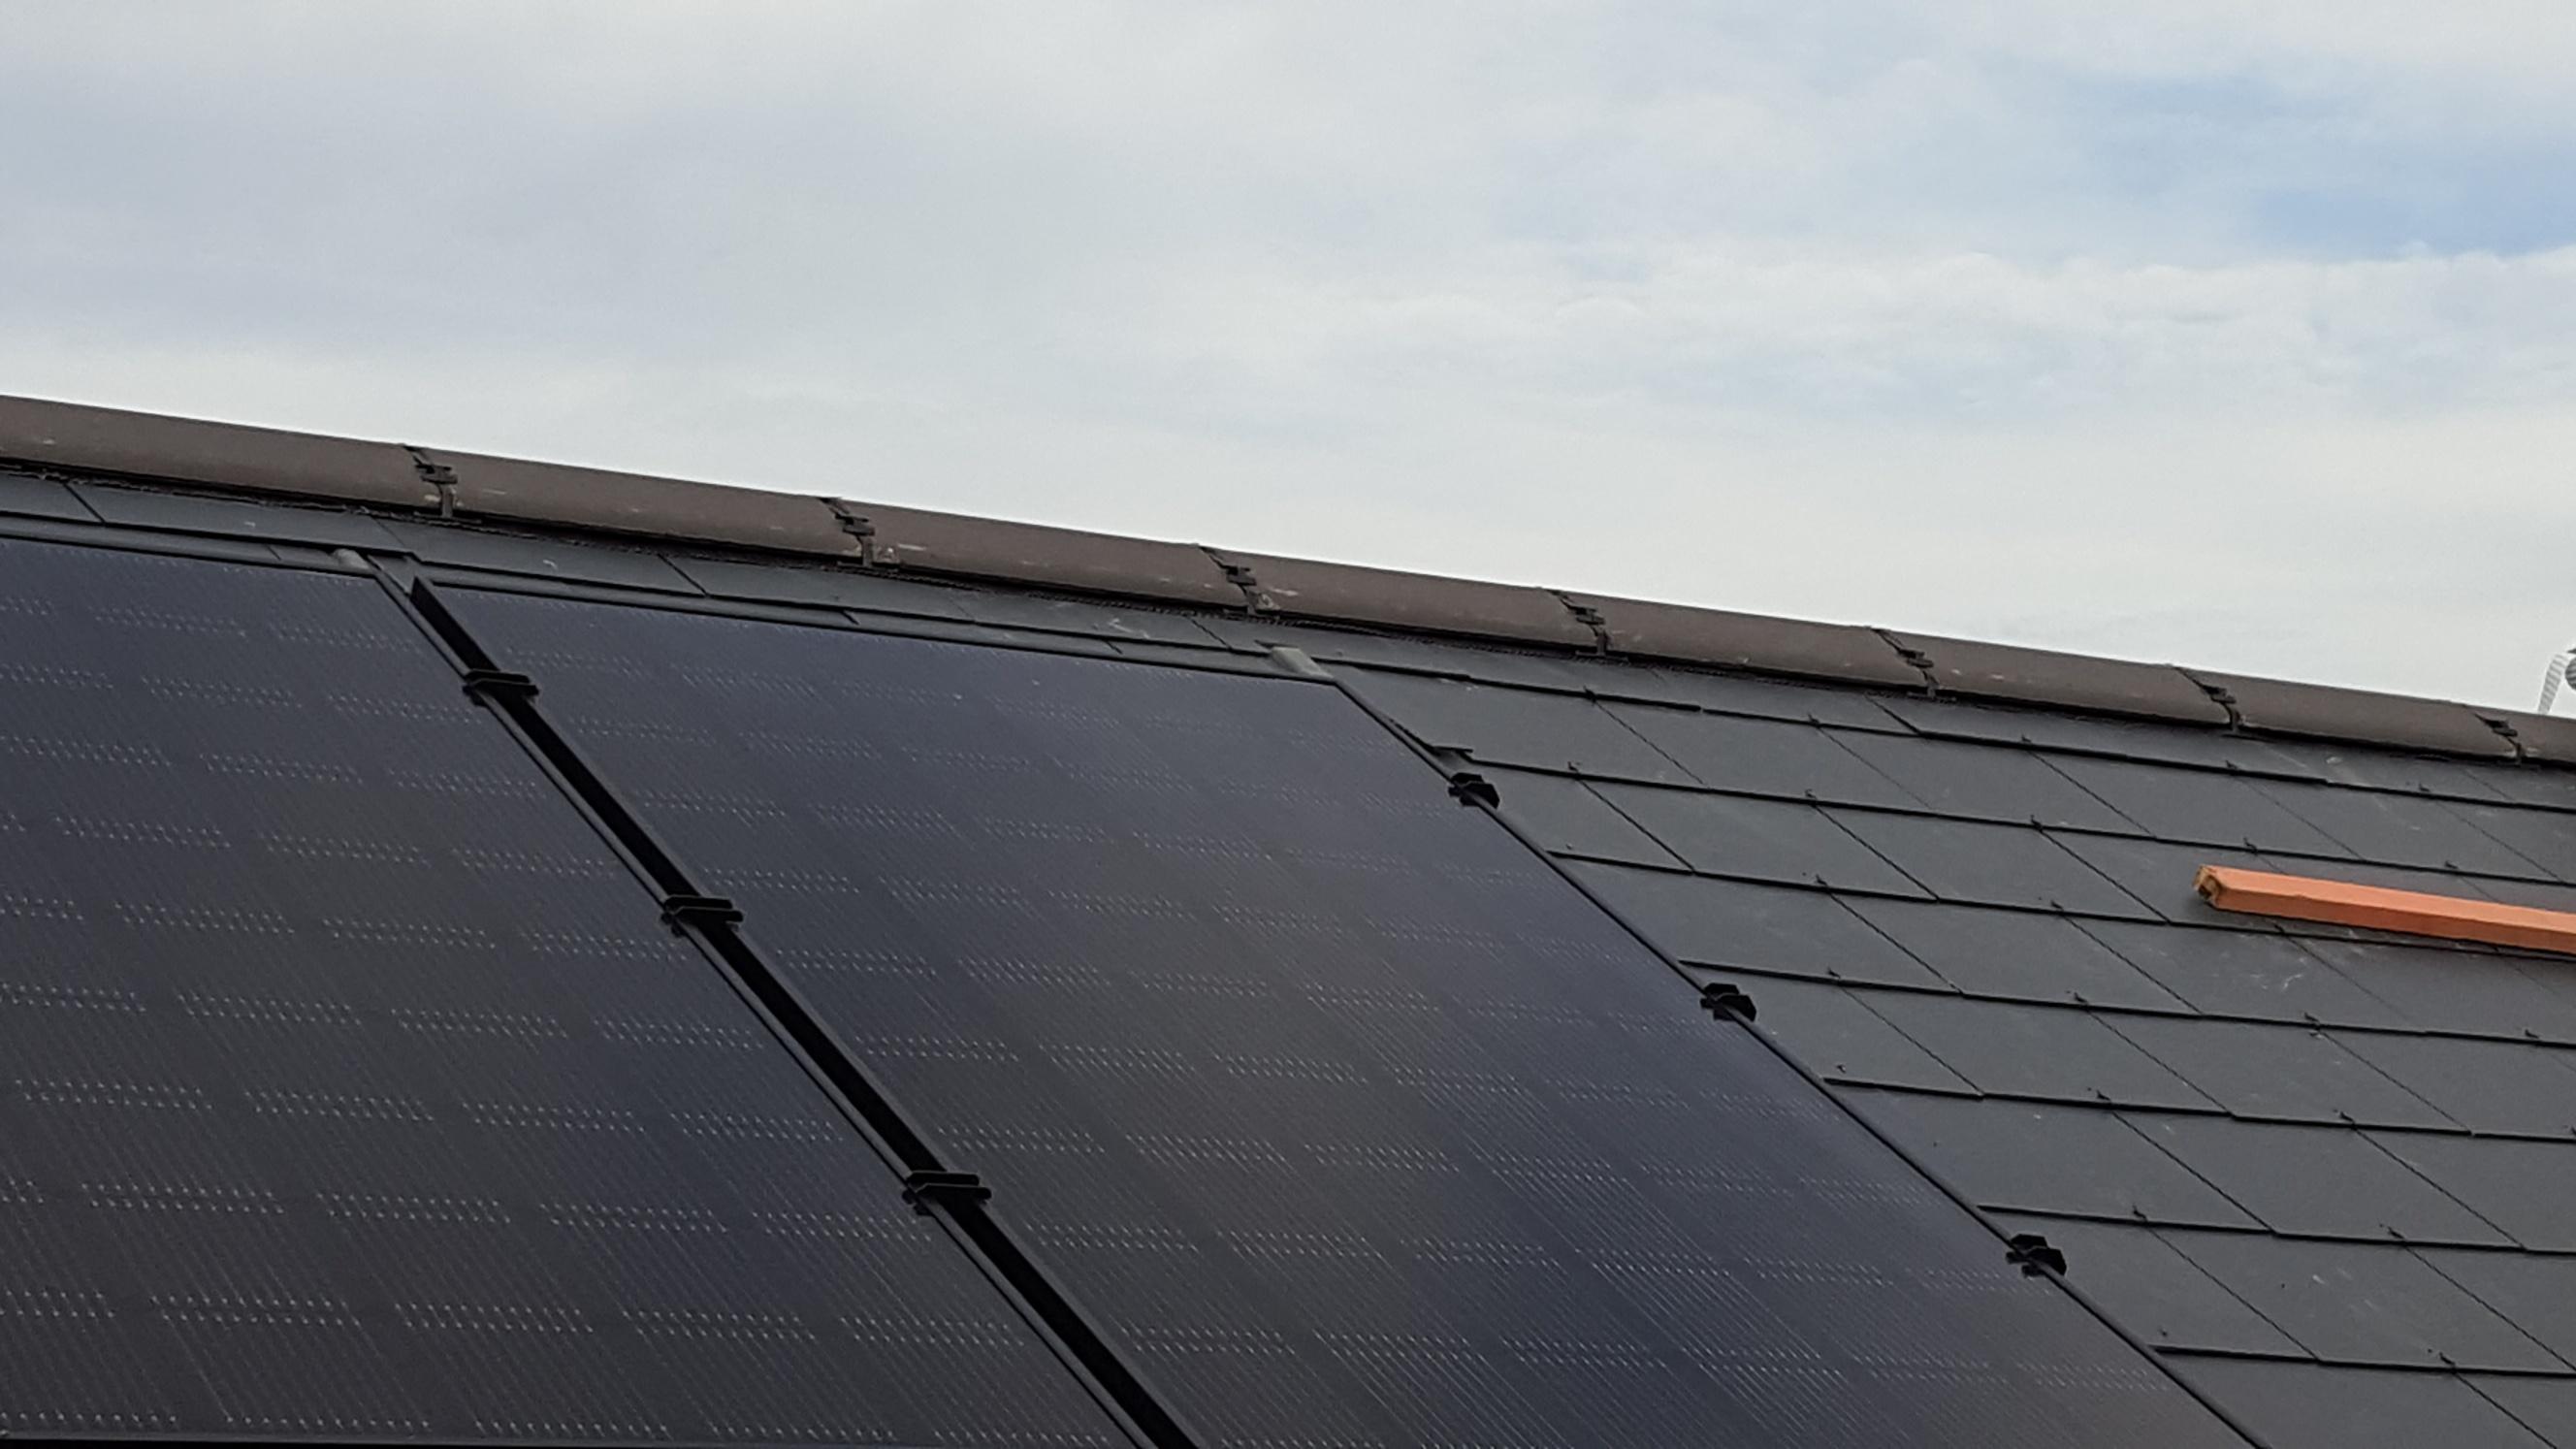
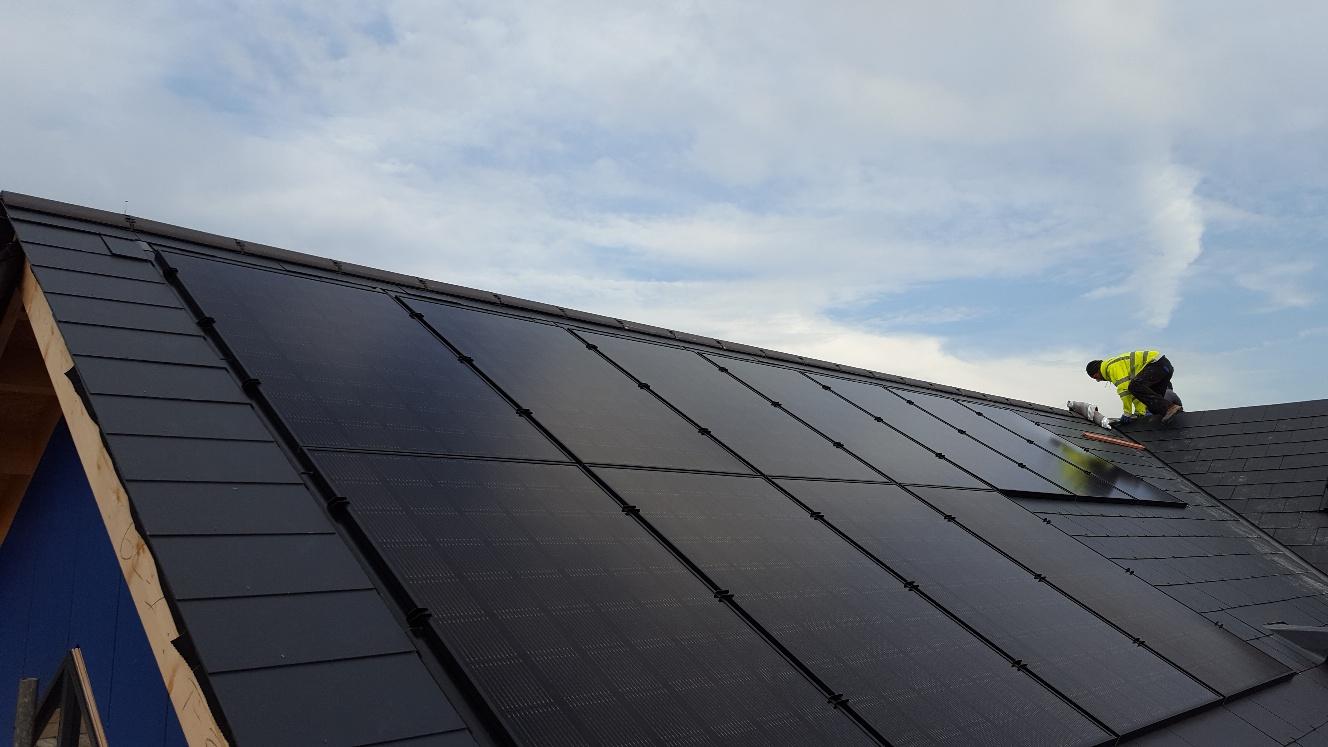
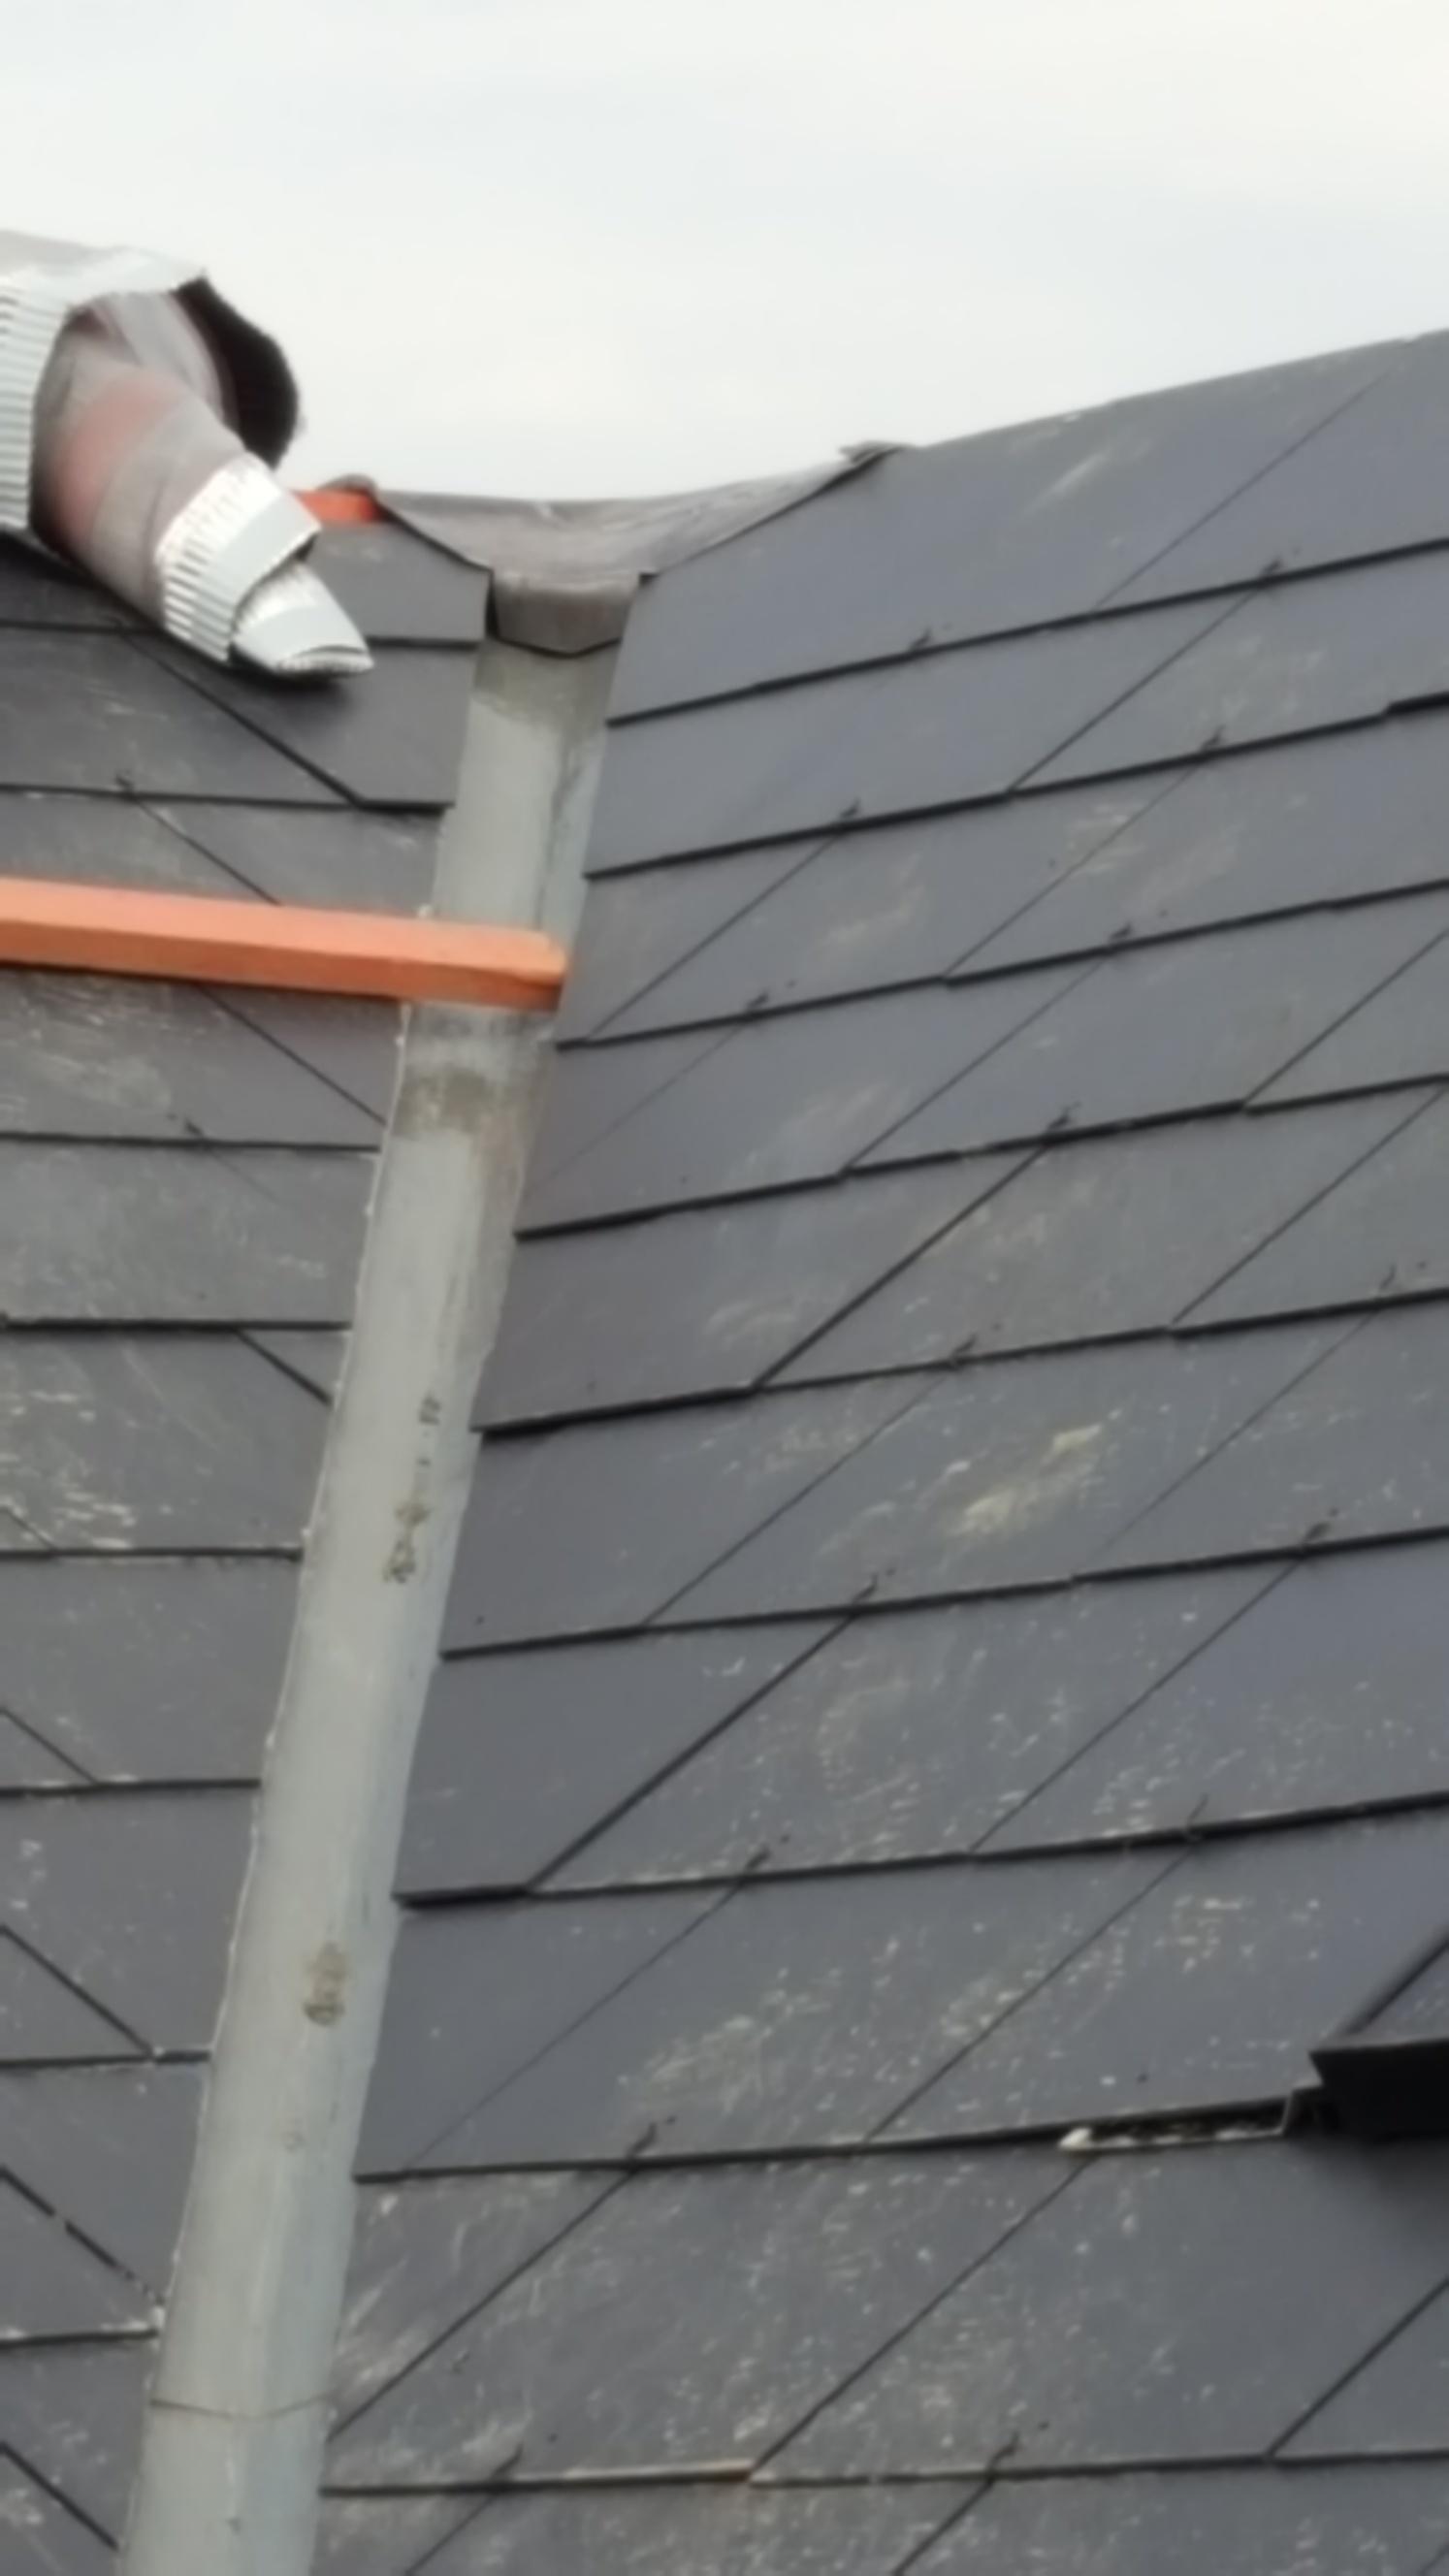
Let's start at the top and work our way down. The solar panels are all in now and all the slates around them are done. All the velux windows are in and the ridges were done last week. We have a dry ridge system. I had to ask what this was and was told 'that means there's no gunk underneath the ridge tiles'. So technical that even I could understand it! Here's the stuff that they line it with. When they roll it out, it has a corrugated wave shape to it and each side is sticky - one for the roof ridge surface, the other for the ridge tiles.
This is Mike, one of the roofers, bringing the final tiles right up to the ridge before putting the dry ridge stuff over it.

And here's a view of the ridge tiles in situ, fixed to the sticky stuff and clipped together.
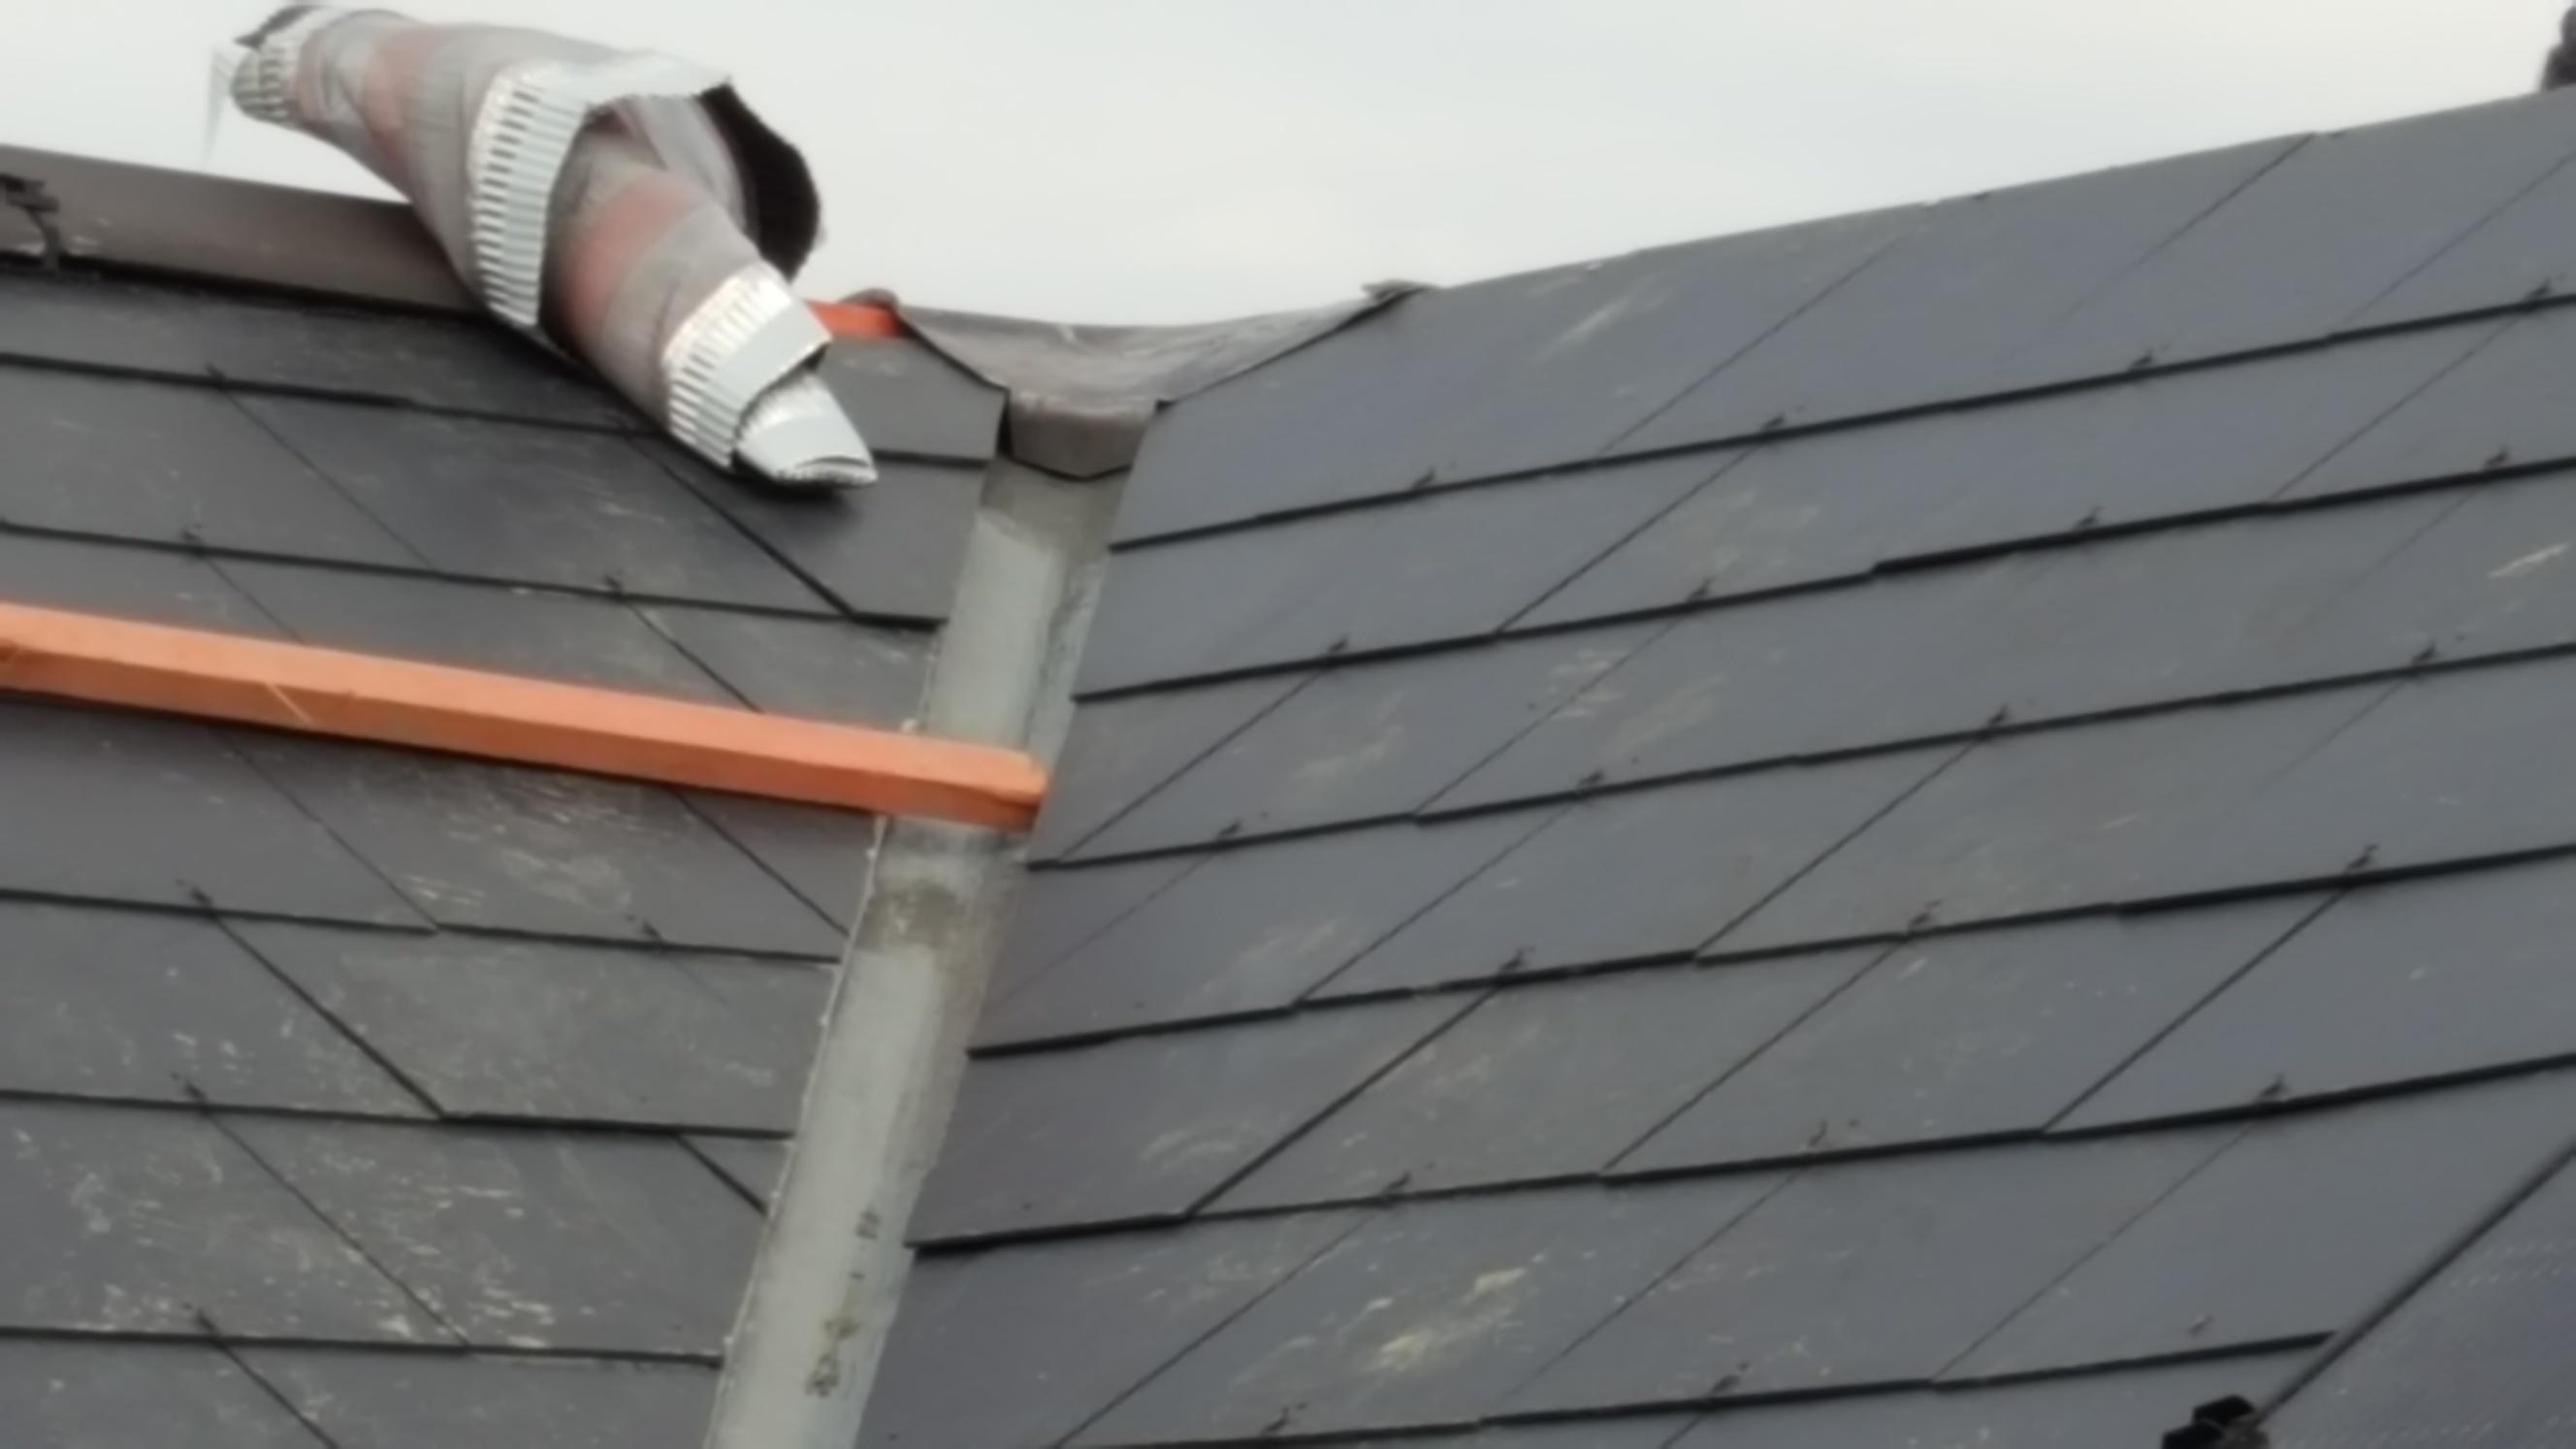
We have 3 ridge lines on the roof, all meeting somewhere over the north east bedroom. A plate of good old school lead was shaped to cover the meeting point of the 3 ridges, creating a neat flashing for the centre. Here's Terence welding the lead to create the flaps going down each gully.
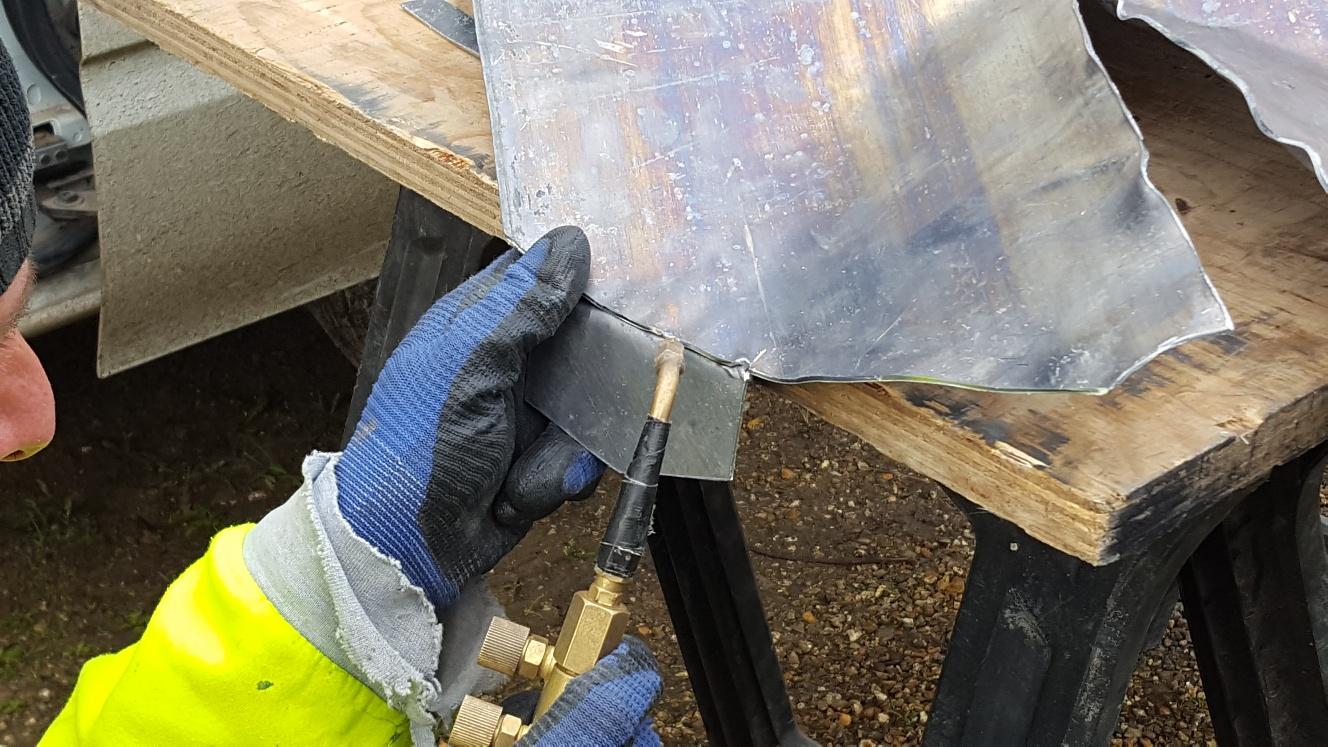
Here's Terence putting it into position on the roof:
And here's a close-up of the same thing. You can see the fixing for the dry ridge system unrolled next to it.
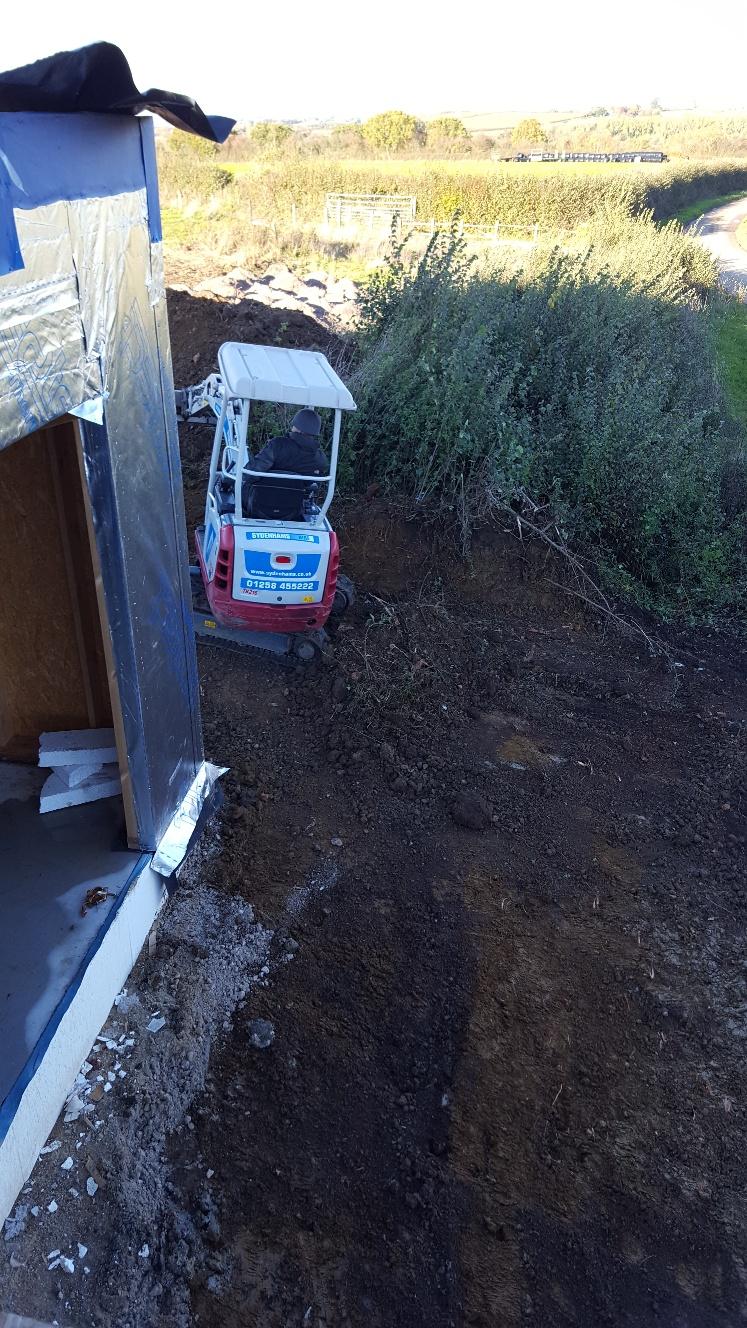
Staying with jobs going on outside, there were some groundworks that week, too. I needed to get the electricity supply cable trench back-filled and whilst we had the plant on site I decided to get a few other jobs done. The Openreach guys turned up that week and the old redundant BT cable was removed, so that old electricity pole is all clear now. My neighbour has already bagsied it, so there's no problem with disposal. One of the groundworks jobs was to open up the ground between the garage and the lane. I'm not getting the driveway done quite yet but I did need to get it clear because my sunamps will live in the garage and it will be a lot easier to get them forklifted straight into the garage from the lane rather than trying to drag them all through the house. Keith got onto it, clearing around the side of the garage a little, too. There is an area of concrete there that used to have a shed on top of it. For the time being, I'm keeping that there as it's nice to have a surface that isn't clay.
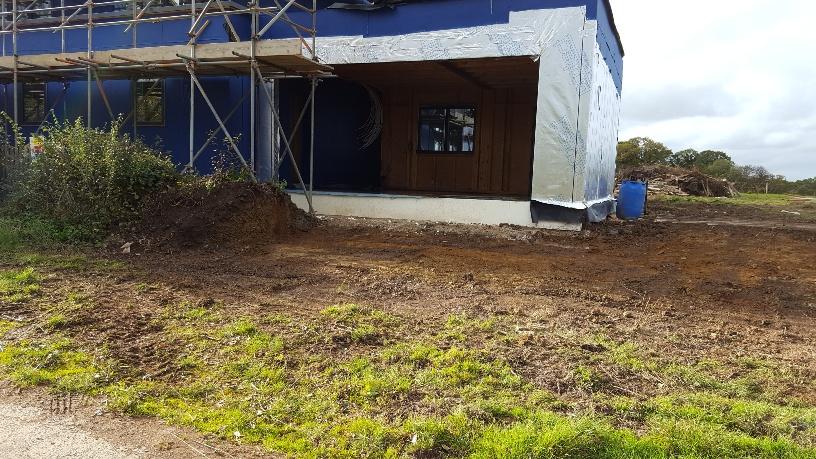
And then this is the view from the lane up to the garage. This is, in fact, where the pedestrian entrance to the old bungalow was, hence the gate that is still there. Once we've got rid of the scaffolding, we can clear the remaining few feet of the entrance and make the proper driveway. Keith will be doing most of the work on this, but I need to get someone with a ticket to do the dropped kerb between the lane and the verge. It's outrageously expensive for what it is - just for the 6m stretch of opening and 2m back, tarmac surface, that will be the princely sum of £1,200 plus £285 for the licence from the council. And that's the cheapest quote out of 3!!!! I will be continuing the tarmac for the driveway, and also around to the side of the garage so that there's hardstanding for a couple of vehicles next to it.
And Keith's final job for that week whilst the plant was still on hire was to scrape the grass from what will be Paul's pond. I marked out the original perimeter and he took out the line for this but then I did that typically female thing and told him it was no good and I wanted it to be bigger. Naturally, he obliged.
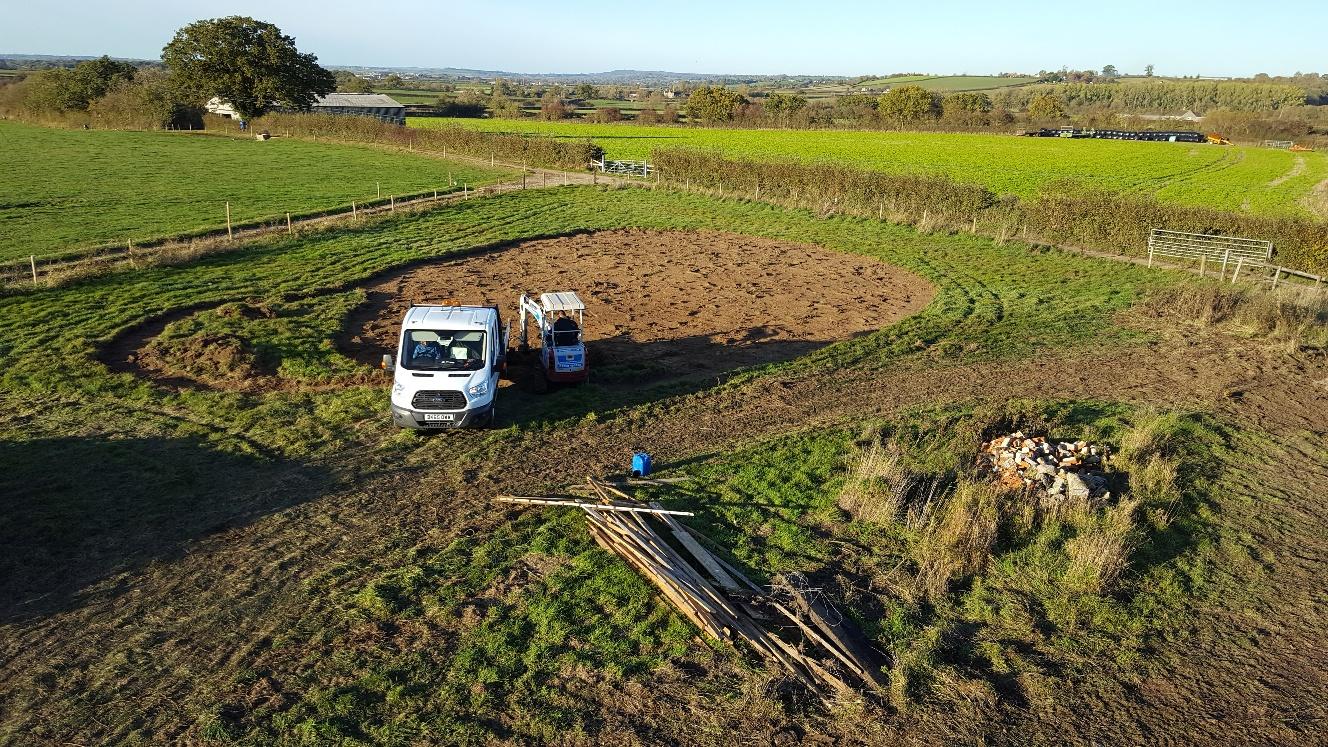
Not that we had much doubt, but for the sake of interest, Keith dug out a small trial pit within the pond perimeter, about 1m deep. It has filled up nicely with the subsequent rain and shows no sign of draining any time soon. I may have cursed our clay for its giving the need for piles, but we certainly won't need a pond liner.
That's most of the outdoor stuff for the time being, so let's step inside and see what MBC have been up to this week as they've starting on the prep work prior to the airtight test. This is scheduled for next Tuesday, 20th November.
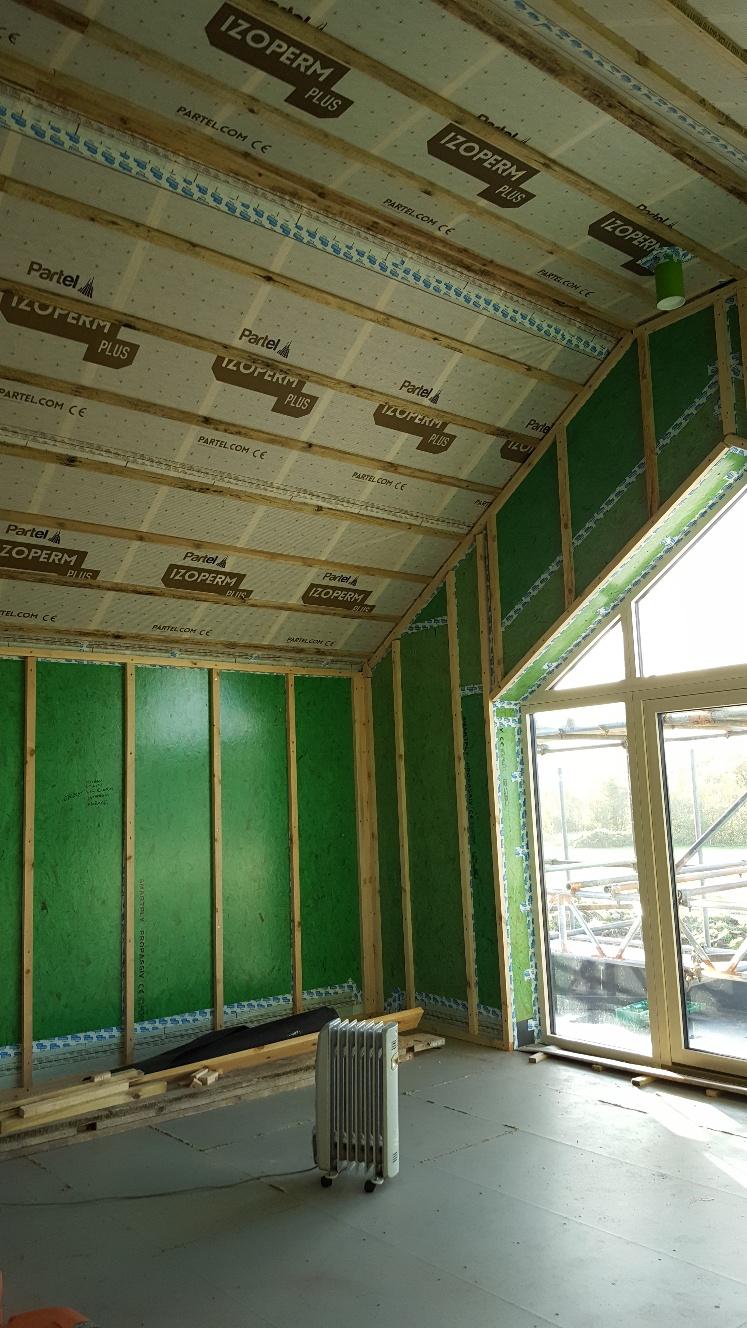
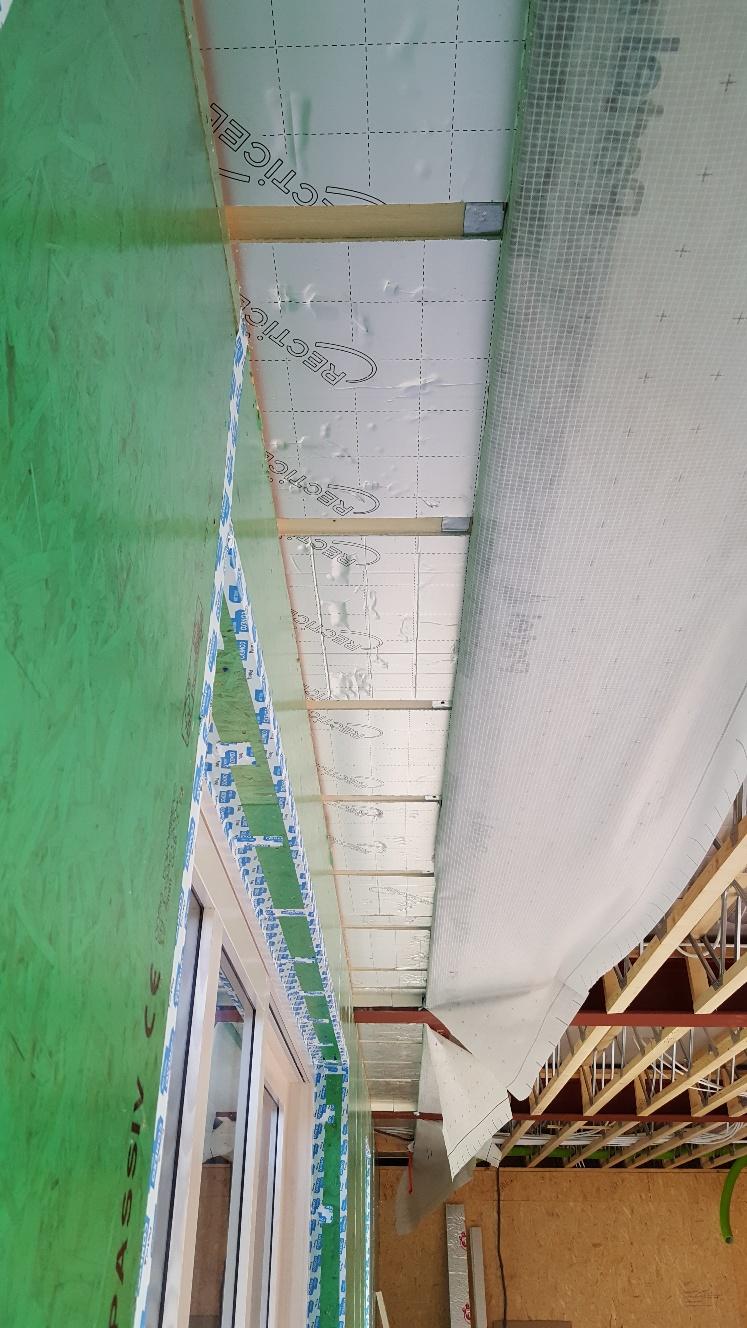
The velux windows have all been boxed out and they've been drawing the airtight membrane up around the web joists forming the roof/ceiling.
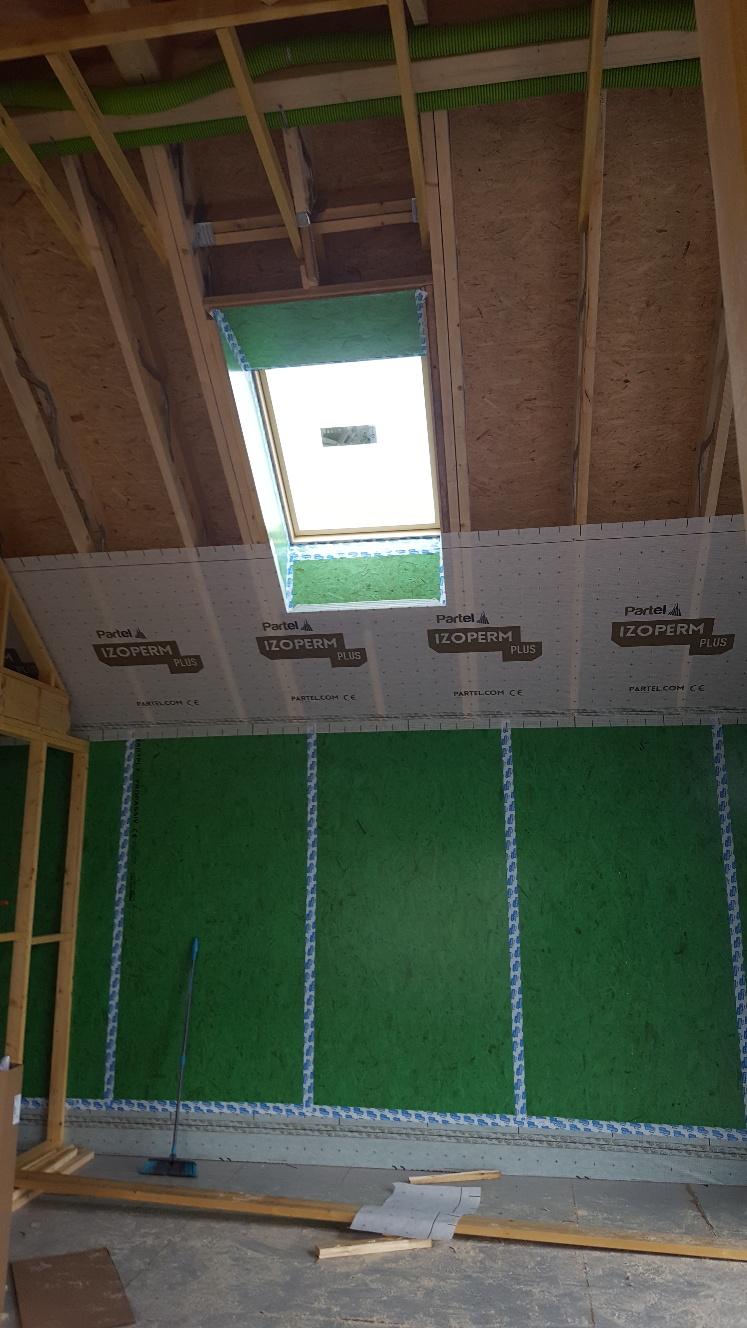
This will be the main/shared bathroom and it's only natural light source is the velux. It's rather nice to think I can lay in the bath looking at the stars. Assuming it's not raining. The green tubes on the far wall are for the MVHR.

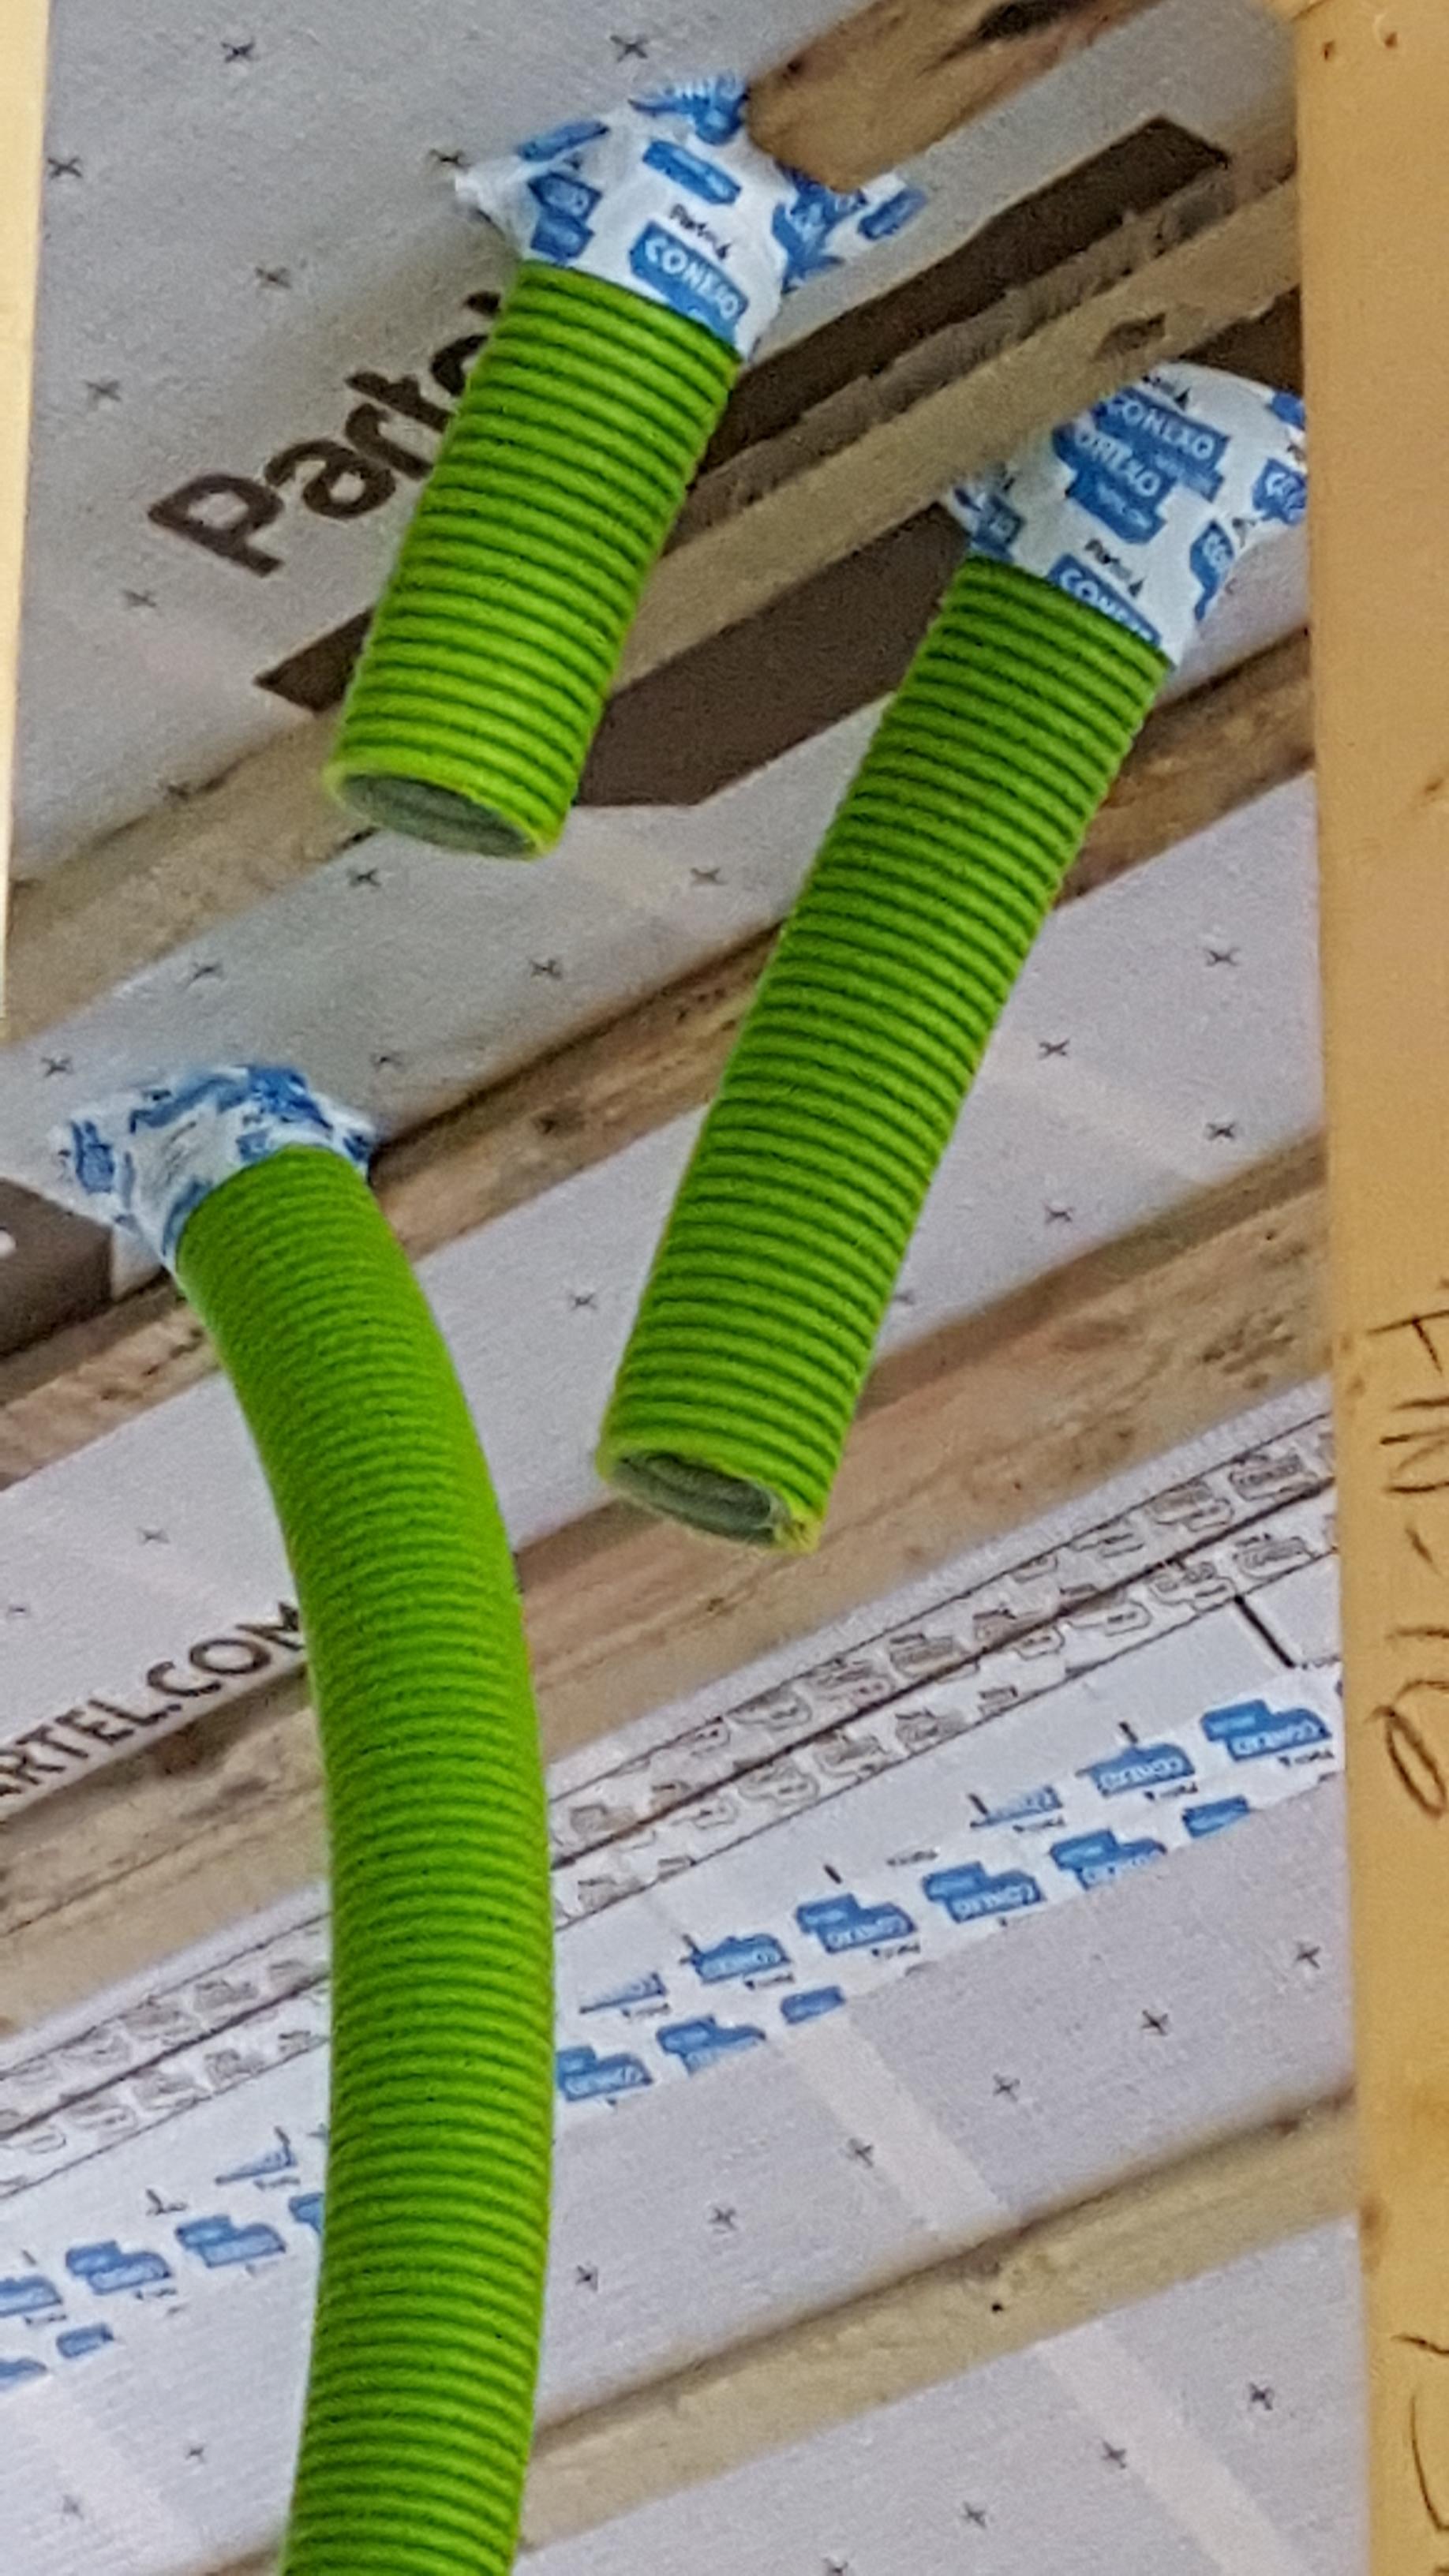
A close up of some of the MVHR tubes to show the careful taping around them where they come through the membrane.
This is the main bedroom that has been battened out now. I've wedged some bits of timber under the membrane that's underneath the window to dry out the water that came in at the weekend after the tanked balcony incident. All the battens have been screwed on, much to the chagrin of Darren. It's probably not so necessary somewhere like a bedroom, but in bathrooms and the like where the weight of tiles and mirrors can be considerable, I wanted the peace of mind that the battens weren't going to move for anything and so requested screws rather than nails.
This is the north east bedroom, below where the three ridges meet. The guy putting up the plasterboard will be cursing me here.

Heading downstairs, the insulation changes a bit here. Instead of being all blown cellulose held behind the membrane, there is celotex in certain places. This is beneath the parapets and the balconies and it's been used here because less depth is required than for the cellulose, allowing the ceiling to be level throughout the ground floor. If blown cellulose had been used, the entire outer edge of the ground floor rooms would have had a step down to allow for this.
That's pretty much it for now, but the next lot of work has been scheduled. The vertical slate cladding is booked in to start on 3rd December and this is being done by my roofers as it seemed logical given that they're using the same materials as on the roof. I'm nagging and cajoling them to see if they will do the stone board cladding on the stairwell walls as well; they may say no eventually, but I'm working on it as that will be pretty much all the stuff at height done other than rainwater goods. It would also protect the south west corner of the building nicely, as that's the direction for the prevailing weather.
I'm aiming to get some more groundworks done in early December; at some point I need to get the sewage treatment system set in and also the rainwater storage tank. There is, of course, the rest of the pond to be dug out and that will need some muckaway. I'd rather get it done this side of the winter as we can then let it fill up with rainwater and see how it settles.
Internally, there's some work on soil pipes and the MVHR, but no sign of the MVHR unit itself. Once MBC have completed their air test next week, we can really go at it with first fix, so I need to make decisions on external electrics. On order is the big brise soleil for the floor to roof window in front of the stairwell. The plans for this look great but I'm waiting on a production date at the moment as the framework is a first fix item. The wooden fins can go on any time after that. Similarly, I have a guy coming to measure up for the external motorised roller blinds for the other large south facing windows. As long as sufficient clearance is left with the cladding, these don't need to be installed as part of first fix so we're not so reliant on a production date for these. They have a lead time of 3 to 4 weeks.
There's plenty that I've omitted, I'm sure, but it will all follow in due course. It will be great to get past the air test and make some good progress in doors.
No aviation buzz this week, but the hunt was out today. I stood on the top lift of the scaffolding late this afternoon watching the horses and riders galloping over the distant fields down near the river and could hear the hounds baying and the horn being blown. I'm not sure what they were hunting but it all seemed very evocative on a late autumn afternoon and really brought home just how rural our place is.

-
 8
8
0 Comments
Recommended Comments
There are no comments to display.
Create an account or sign in to comment
You need to be a member in order to leave a comment
Create an account
Sign up for a new account in our community. It's easy!
Register a new accountSign in
Already have an account? Sign in here.
Sign In Now